To shoot dynamic biking action using off-camera flash
Time needed: One hour
Skill level: Intermediate
Kit needed: DSLR, flash with slave mode, remote triggers (optional)
Freeing your flash from your camera will open up your options for far more interesting lighting. We’ve looked at using off-camera flash for static portraits before, but it’s a technique that's also really useful for action photographs. Fast-paced sports such as mountain biking can be difficult to shoot without using flash to freeze motion.
Flashguns are an invaluable bit of kit. When mounted on your camera’s hotshoe they can tilt and turn in all directions, allowing for significantly better light than a pop-up flash can provide. However, they can also be fired-off camera, and can be angled to give your images more depth than a straight-on flash is capable of.
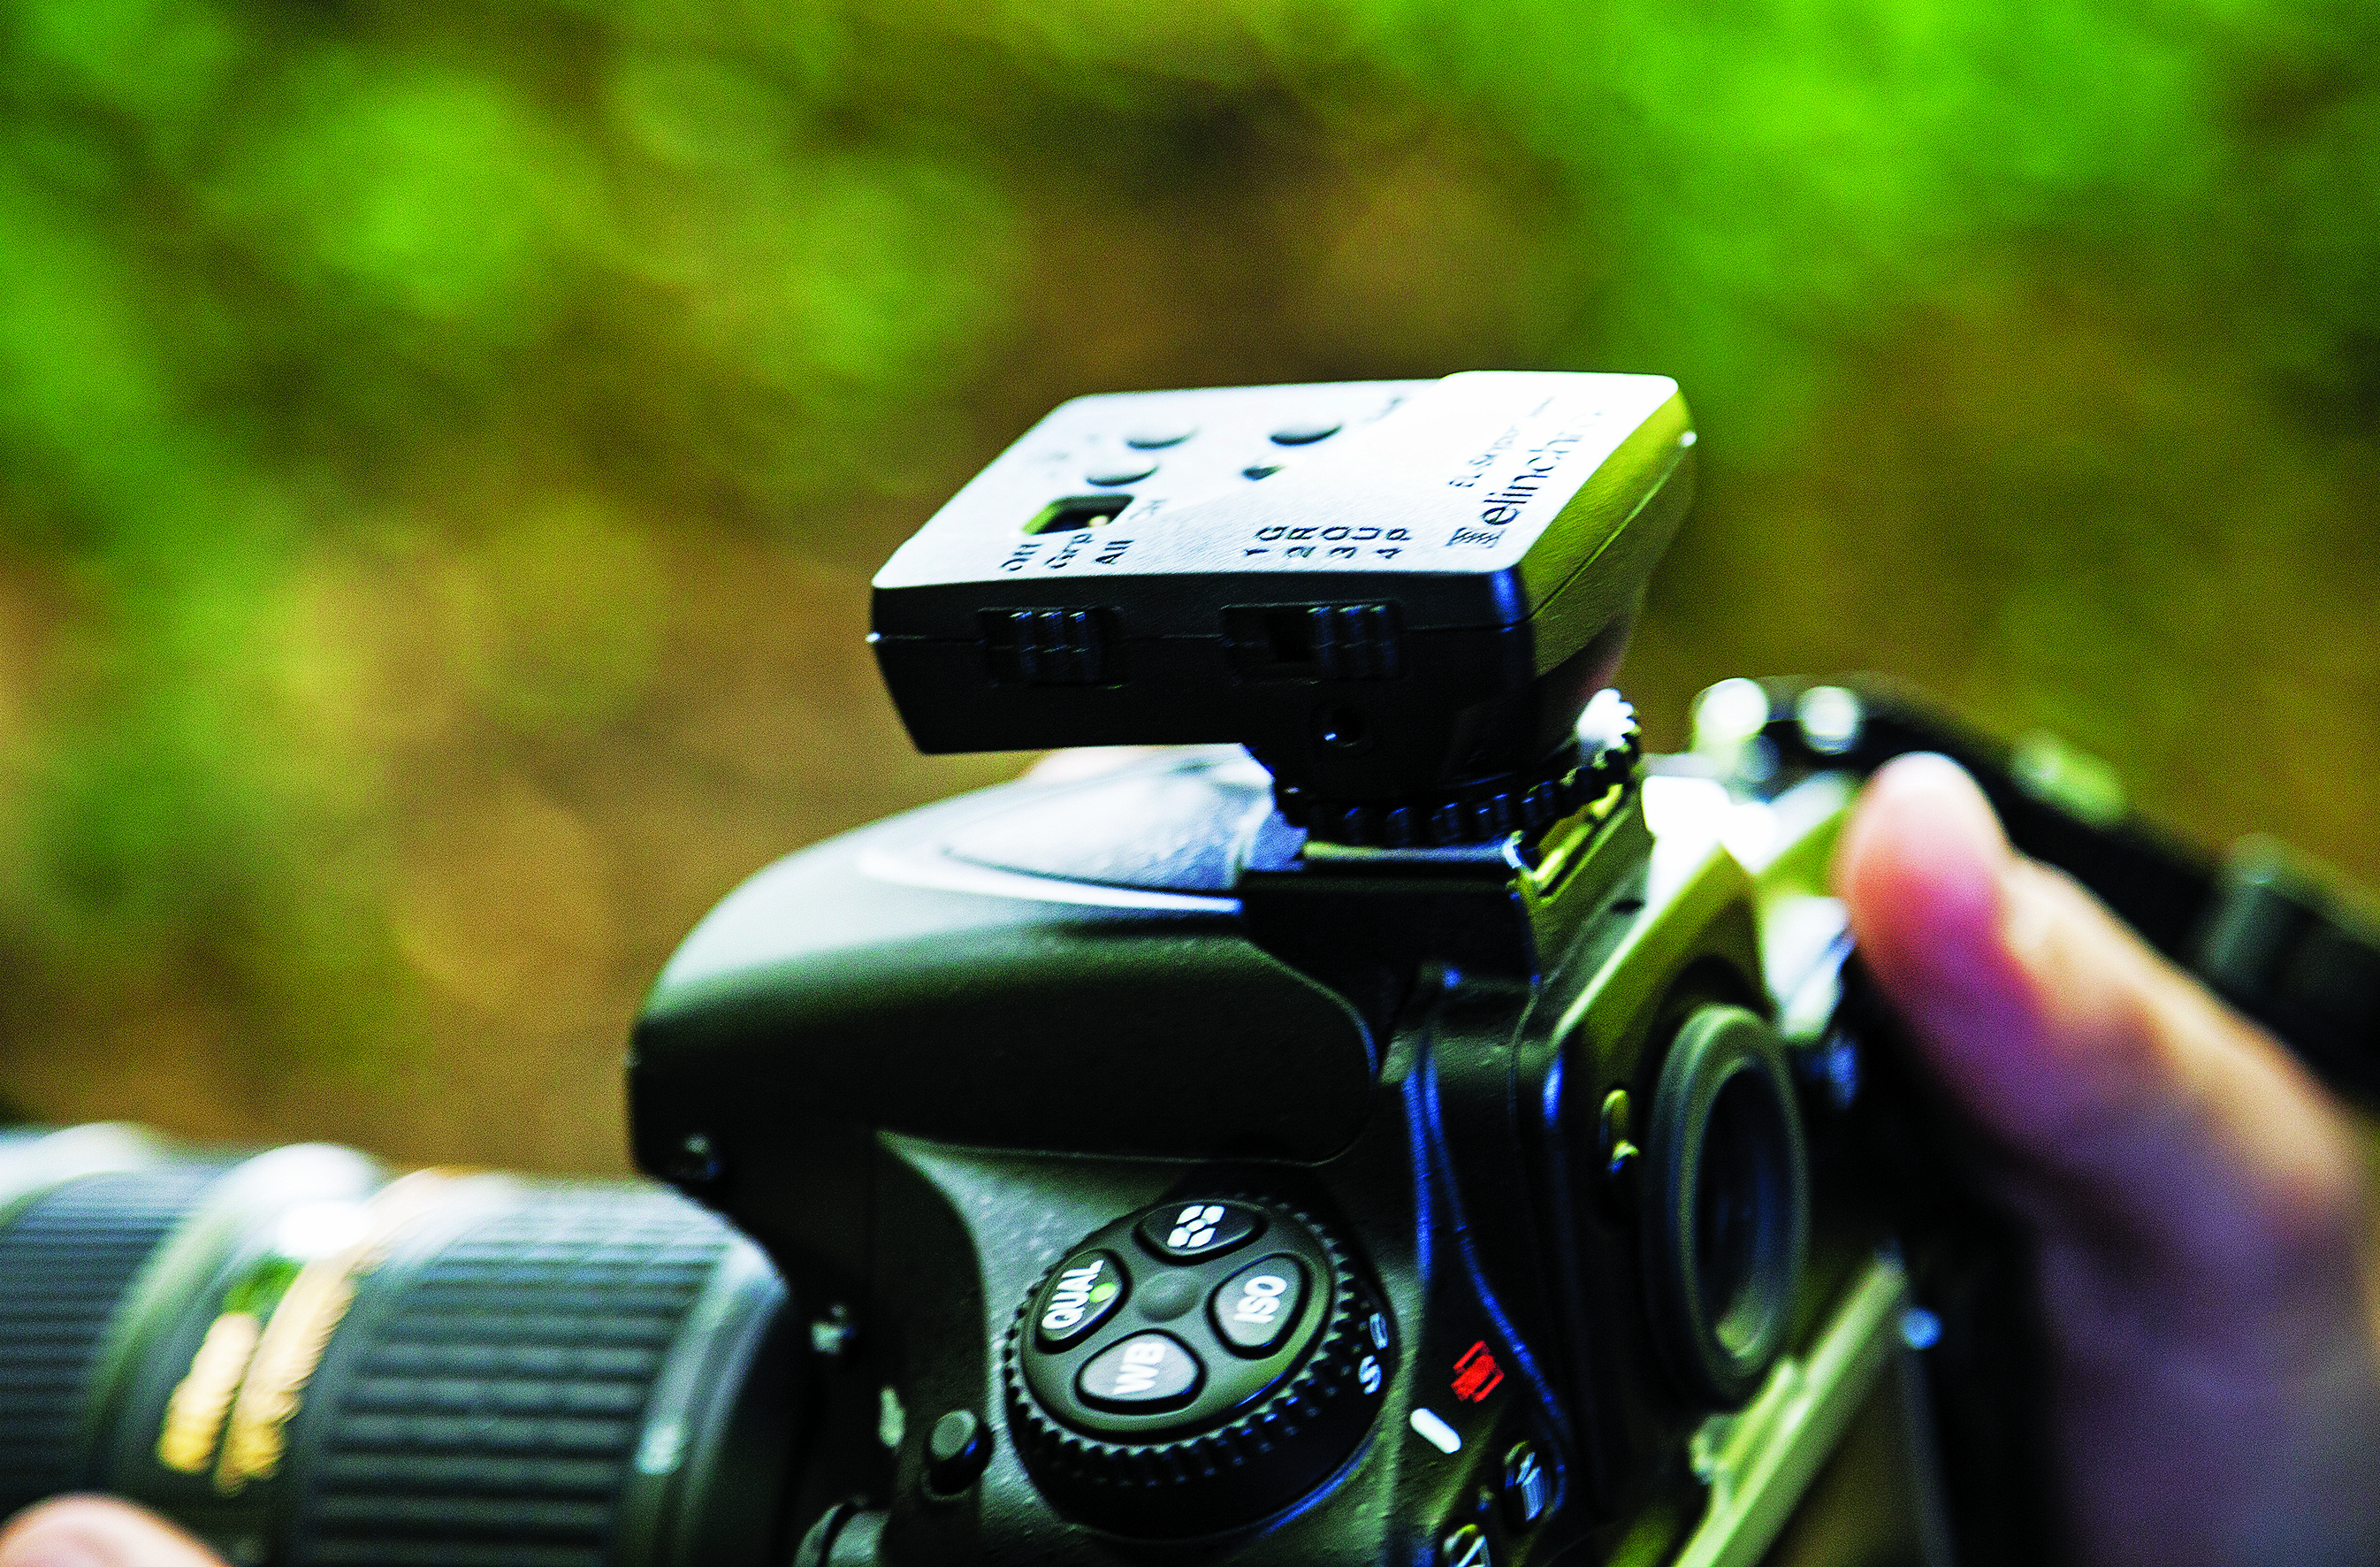
There are multiple ways of triggering flashguns. Most will have a Slave mode, which means they are triggered by the light from another flash. A more reliable method though is to use remote triggers. These attach to your camera’s hotshoe and the flashgun, and trigger the flash when you press the shutter button. These are the solution if your camera is one which doesn’t feature built-in flash, or your flash lacks a Slave mode.
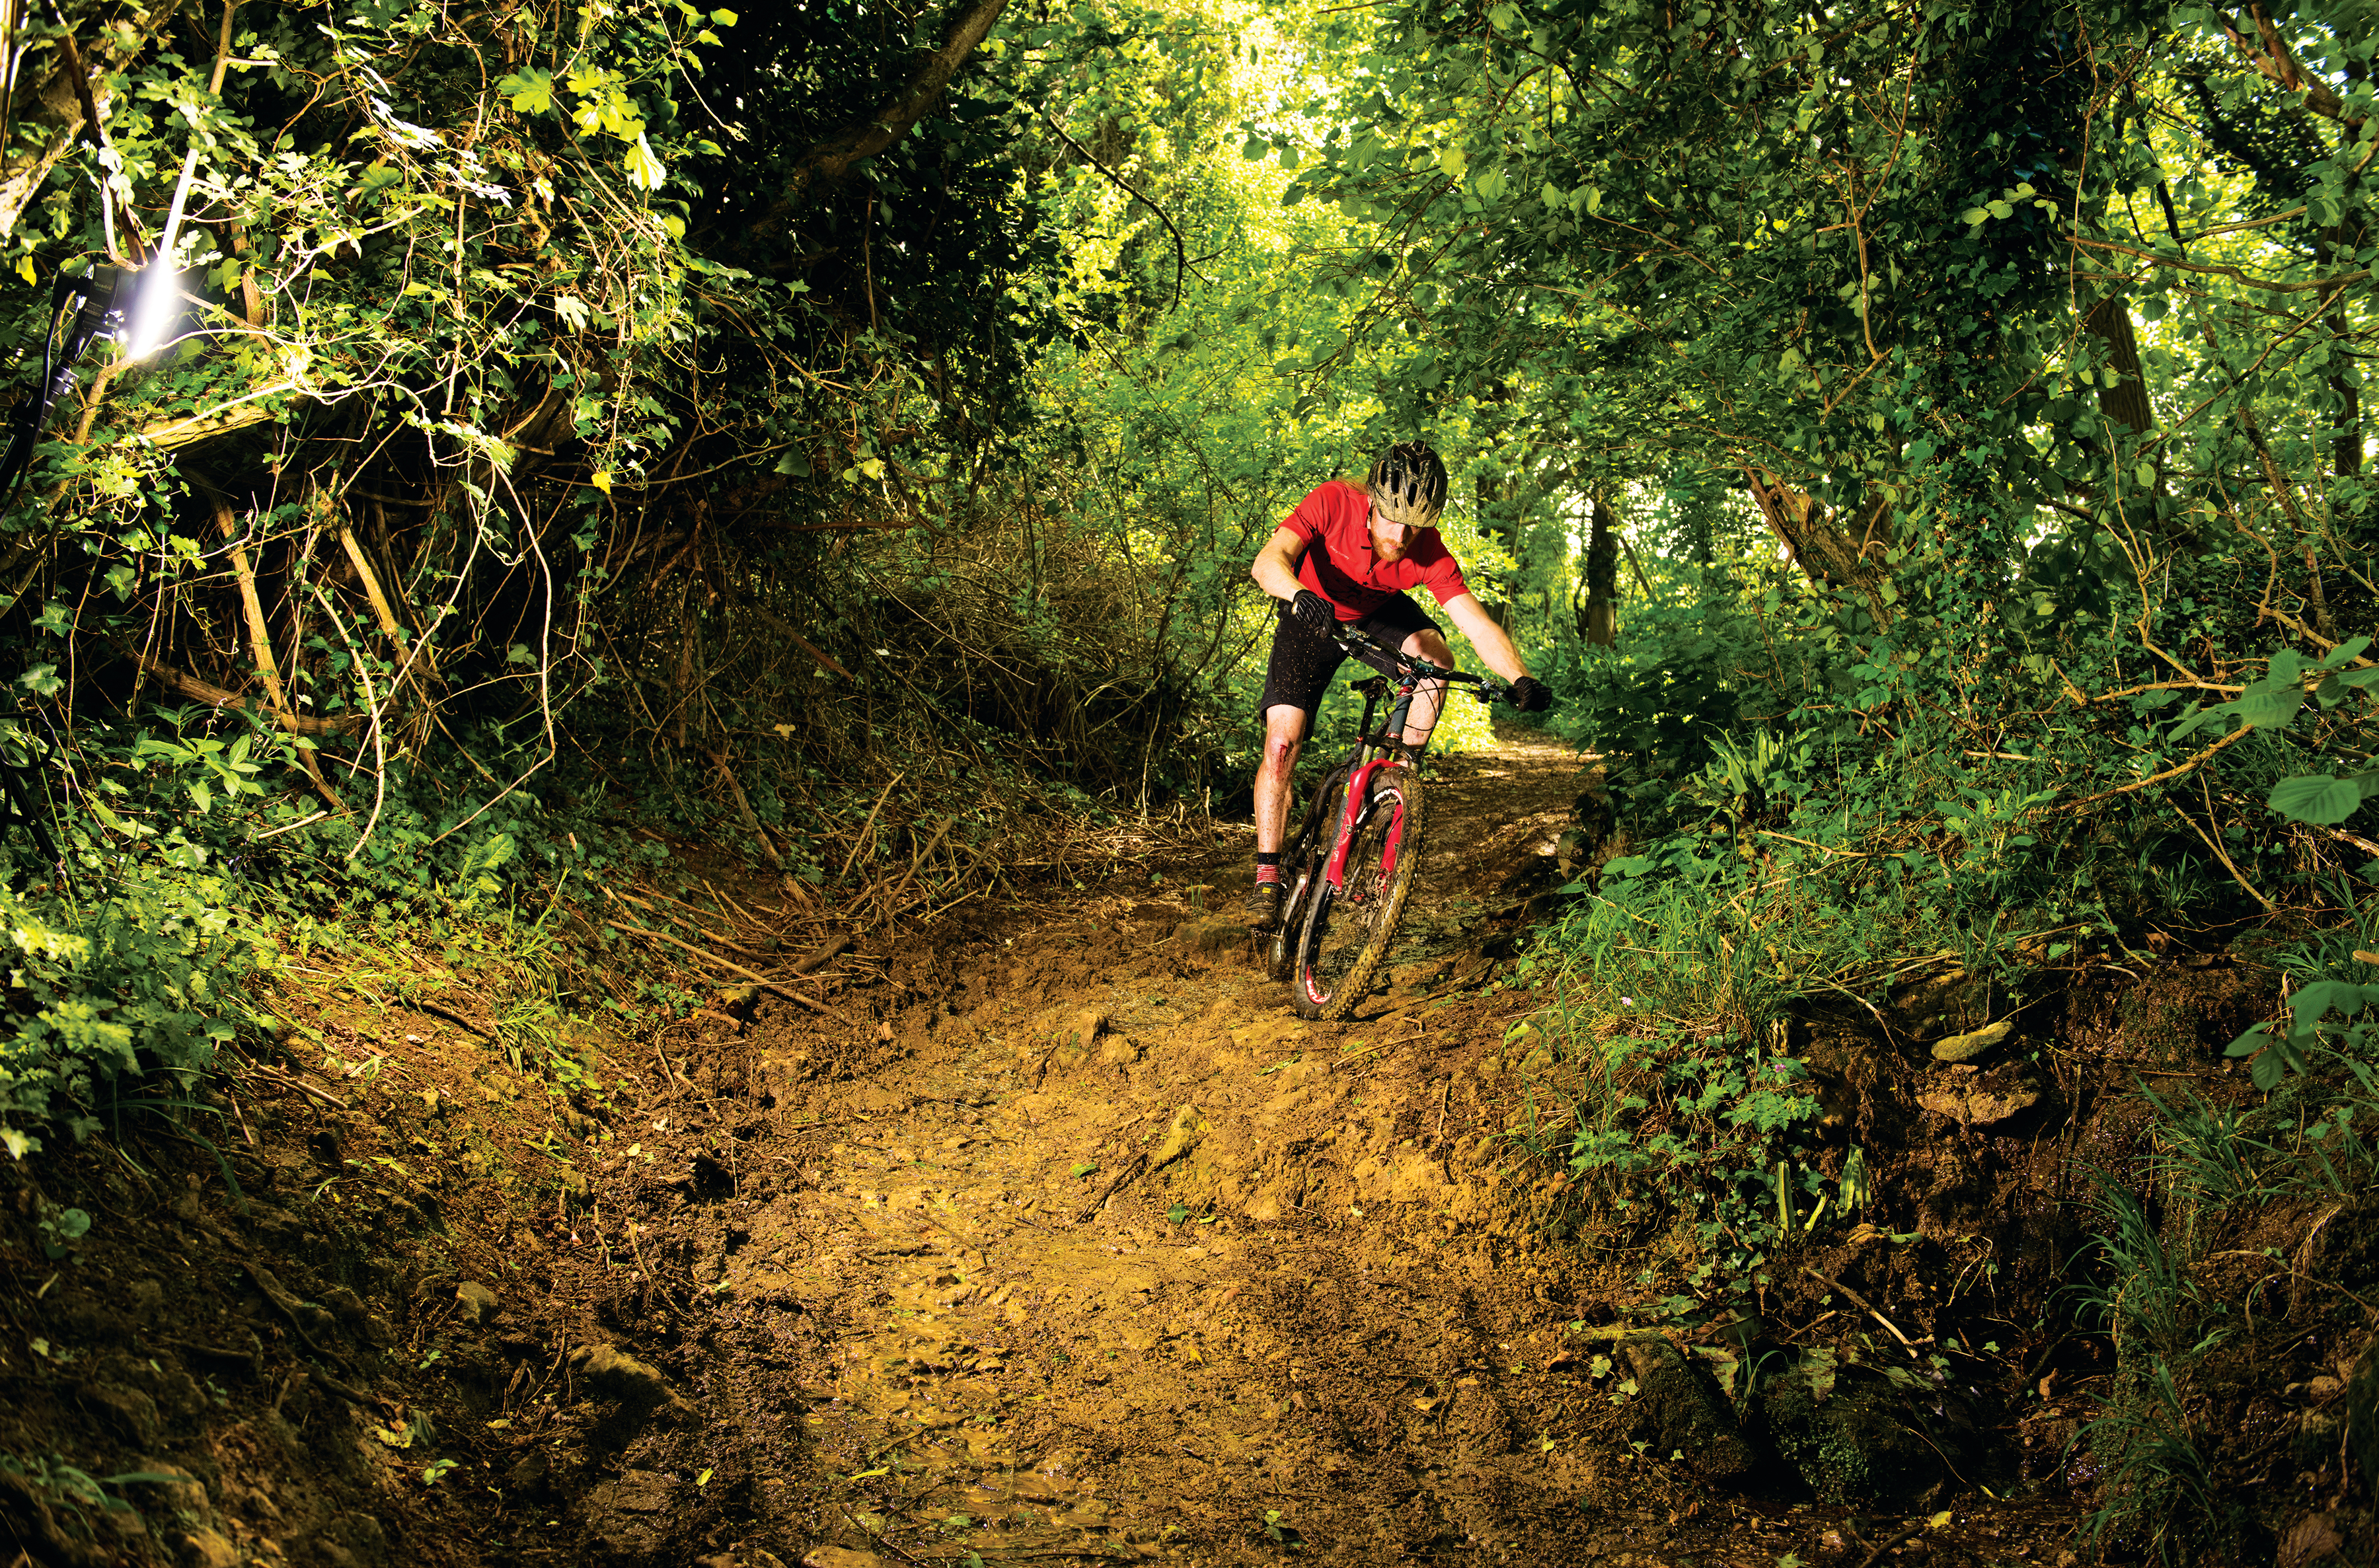
When photographing mountain bikers in action, flash is almost essential. In areas shrouded by trees, such as the track where we were shooting this tutorial, using a high ISO would create far too much grain, plus any shadows would be very deep.
A flashgun, however, can fire from any direction to lift unwanted shadows and increase the depth of others. Flash also makes faster shutter speeds possible. Without it the shutter speed cannot dip much below 1/500 sec before movement blur occurs in shots, whereas with flash we can shoot as slow as 1/125 sec comfortably, as the brief, bright flash effectively freezes the movement.
Step by step: Freeze movement with flash
Light up subjects with a Speedlight to capture fast-moving action

1. Pick your spot
Look for an interesting feature in the terrain and think about how your subject will move through that area. Rocks work well in photos as they catch the light, highlighting the ground. Corners are good locations to shoot from as the rider will be in more interesting positions.

2. Position the flash
Once you’ve estimated where the bike will be, work out where you’d like to light it from. We chose the left of the frame. If you’re using your flashgun’s Slave mode, make sure that it is within range of the camera and face the sensor towards the camera’s flash.

3. Take remote control
If you have remote triggers, attach them to your camera’s hotshoe and your flash, matching up their channels if needed. Otherwise, switch your flash to Remote.

Try taking a darker, more moody-looking shot. A narrower aperture and lower ISO will darken the scene. Expose for the sky, so that the foreground is more or less completely dark, then fire your flash on a higher power to use it as the primary light source. This will give a high-contrast effect, almost as if shooting at night.
4. Expose for the background
Keep your shutter speed above 1/160 sec. Use a narrowish aperture (we shot at f/9) to get a fairly deep field of focus and increase your chances of getting the bike sharp. Adjust the ISO to set your exposure for the background without the flash – don’t worry about it being under-exposed.

5. Focus first
Ask your rider to stand where you’re going to shoot to check the exposure. Focus on them and lock your lens into manual focus to avoid the AF searching as they ride past. With faster-paced shooting, pre-focus before they go past by half-pressing the shutter release.

When shooting something moving fast, a slight panning movement will help for sharp shots. We found we could get a perfectly sharp image at 1/100 sec just by following the subject through the frame.
6. Get down low
Typically the best angles for sport are from low down. Looking up from ground level will create a more dramatic composition. When shooting steep areas, the trick is to be level with the rider, as looking up or down will cause the slope to appear flat. Now you’re ready to shoot!
Get the Digital Camera World Newsletter
The best camera deals, reviews, product advice, and unmissable photography news, direct to your inbox!
N-Photo: The Nikon Magazine is a monthly publication that's entirely dedicated to Nikon users. As a 100% independent magazine, you can be assured of unbiased opinion from a trustworthy team of devoted photography experts including editor Adam Waring and Deputy Editor Mike Harris.
Aimed at all users, from camera newcomers to working pros, every issue is packed with practical, Nikon-specific advice for taking better photos, in-depth reviews of Nikon-compatible gear, and inspiring projects and exciting video lessons for mastering camera, lens and Photoshop techniques.
Written by Nikon users for Nikon users, N-Photo is your one-stop shop for everything to do with cameras, lenses, tripods, bags, tips, tricks and techniques to get the most out of your photography.

