Craft jaw-droppingly detailed HDR panoramic photos in Lightroom Classic CC
Stitch multiple exposures together into a ultra wide view to show off immense detail in your vistas
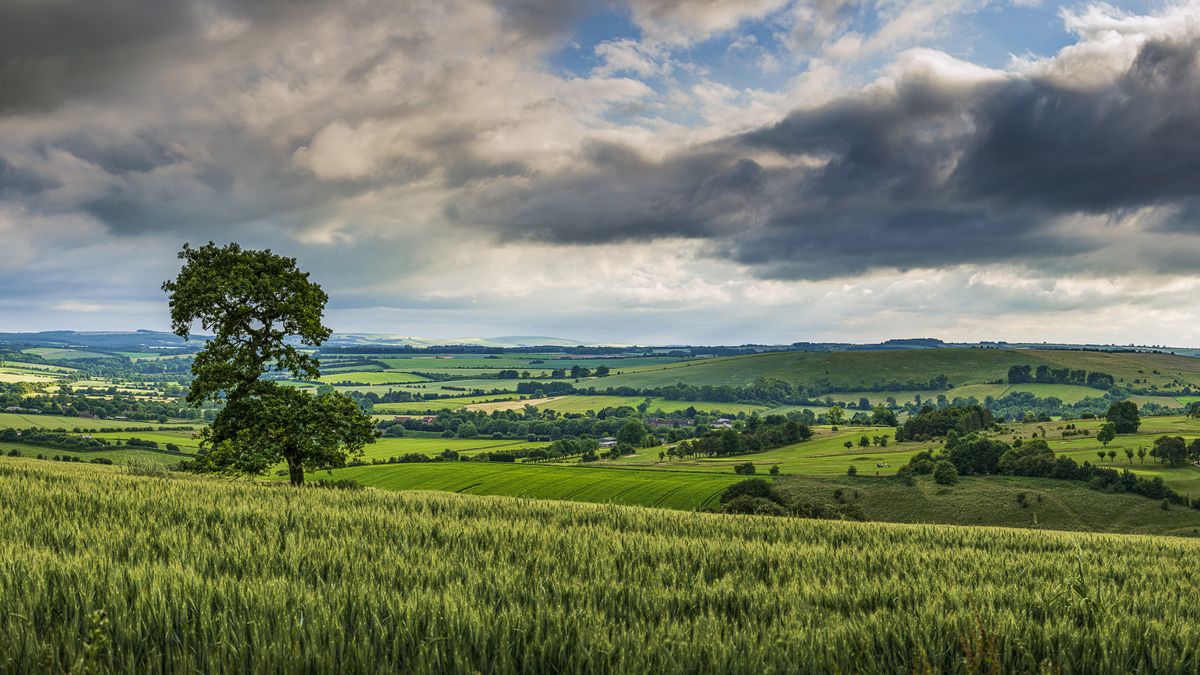
Watch video: Create an HDR Panorama in Lightroom Classic CC
Both Photoshop CC's Camera Raw plug-in and Lightroom have long offered separate HDR and Panorama features, but there's also a handy feature that combines the two commands into one.
◻︎ A TRIPOD
Pretty essential really: Best tripods
---
◻︎ A PANORAMIC HEAD
Not essential, but it can help align frames: Best panoramic heads
---
◻ ADOBE PHOTOGRAPHY PLAN
Essential for this tutorial: Best Adobe Photography Plan
Previously, we’d have to merge HDRs first and then stitch them into a panorama after, but this handy new command performs both tasks at once. It produces a detail-rich Raw panorama with a heavily expanded dynamic range, making it easier to tease detail out of the tonal extremes. In this straightforward tutorial, we’ll explain how it’s done.
There are many situations in which a HDR panorama might be a useful technique. More often than not, the point of a panorama is to capture a sweeping landscape, achieved by shooting several segments, then stitching them together. However with landscapes there’s usually a slight imbalance between land and sky – if we expose for the sky the land comes out dark, while exposing for the land can end up blowing out the sky.
The solution is to shoot bracket of images for each of these segments. We of course start by using a tripod, engaging the camera’s bracketing feature and then we shoot at least three frames for the first ‘segment’ of the panorama, then pan the camera horizontally (ensuring there’s a little overlap) and shoot another bracketed set, going on until the whole scene is covered. We may, as you would expect, end up with a dozen or more shots, thankfully they’re easily united with the ‘Merge to HDR Panorama’ feature.
• See also: Why I dumped Lightroom CC and went back to Lightroom Classic
01 Open the image set
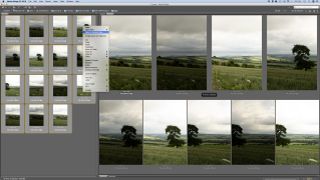
Open Adobe Bridge and navigate to your set of bracketed panoramic images or download the start images here to edit along. If you're using Lightroom, you'll need to import the photos and go to the Library module. Click on the first image, then hold Shift and click on the last to select them all. Then right-click them and ‘Open in Camera Raw’.
02 Begin the merge
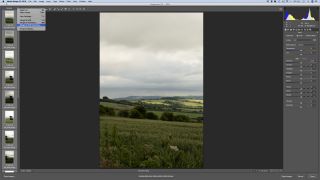
Once open, hit Cmd/Ctrl+A to select all the images in Raw, then right-click the selection and choose ‘Merge to HDR Panorama’ from the list that appears. After a few seconds, the merged .dng image will appear in the ‘HDR Panorama Merge’ dialog box.
03 Experiment with projection
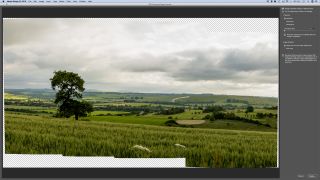
The three options – Spherical, Cylindrical and Perspective – at the top right each affect the way the panorama is stitched. Click through to find the best option for your image set. At this stage it can be useful to uncheck ’Auto Crop’ so you can see the edges.
04 Fix the edges
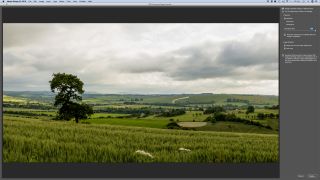
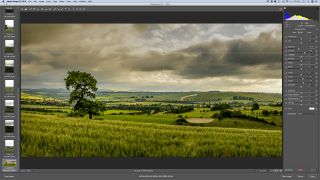
The Boundary Warp slider works by reshaping the edges of the panorama. Here dragging it to 80 allows us to correct for the tilt in the set of shots (which often happens with panoramas). We can recheck Auto-Crop to tidy the edges up. Once happy, hit Merge.
05 Tidy up any ghosting

For us, slight movement has caused ghosting in these flowers. Grab the Spot Removal tool from the toolbar and paint over them to remove these distractions to make the image look flawless.
06 Enhance the tones

We use tonal sliders and the local adjustment tools to enhance our shot. Get the Graduated Filter tool, click the minus icon next to the ‘Exposure’ slider and drag down from sky to land. Next, up Dehaze to make the clouds more intense and make any final adjustments.
PhotoPlus: The Canon Magazine is the world's only monthly newsstand title that's 100% devoted to Canon, so you can be sure the magazine is completely relevant to your system.
Read more:
100 Photoshop tips
Lightroom Classic review
The best photo editing software: image editors for novices through to pros
The best photo-editing laptops: top laptops for photographers
10 best online photography courses – from beginner guides to masterclasses
Get the Digital Camera World Newsletter
The best camera deals, reviews, product advice, and unmissable photography news, direct to your inbox!
The lead technique writer on Digital Camera Magazine, PhotoPlus: The Canon Magazine and N-Photo: The Nikon Magazine, James is a fantastic general practice photographer with an enviable array of skills across every genre of photography.
Whether it's flash photography techniques like stroboscopic portraits, astrophotography projects like photographing the Northern Lights, or turning sound into art by making paint dance on a set of speakers, James' tutorials and projects are as creative as they are enjoyable.
He's also a wizard at the dark arts of Photoshop, Lightroom and Affinity Photo, and is capable of some genuine black magic in the digital darkroom, making him one of the leading authorities on photo editing software and techniques.


