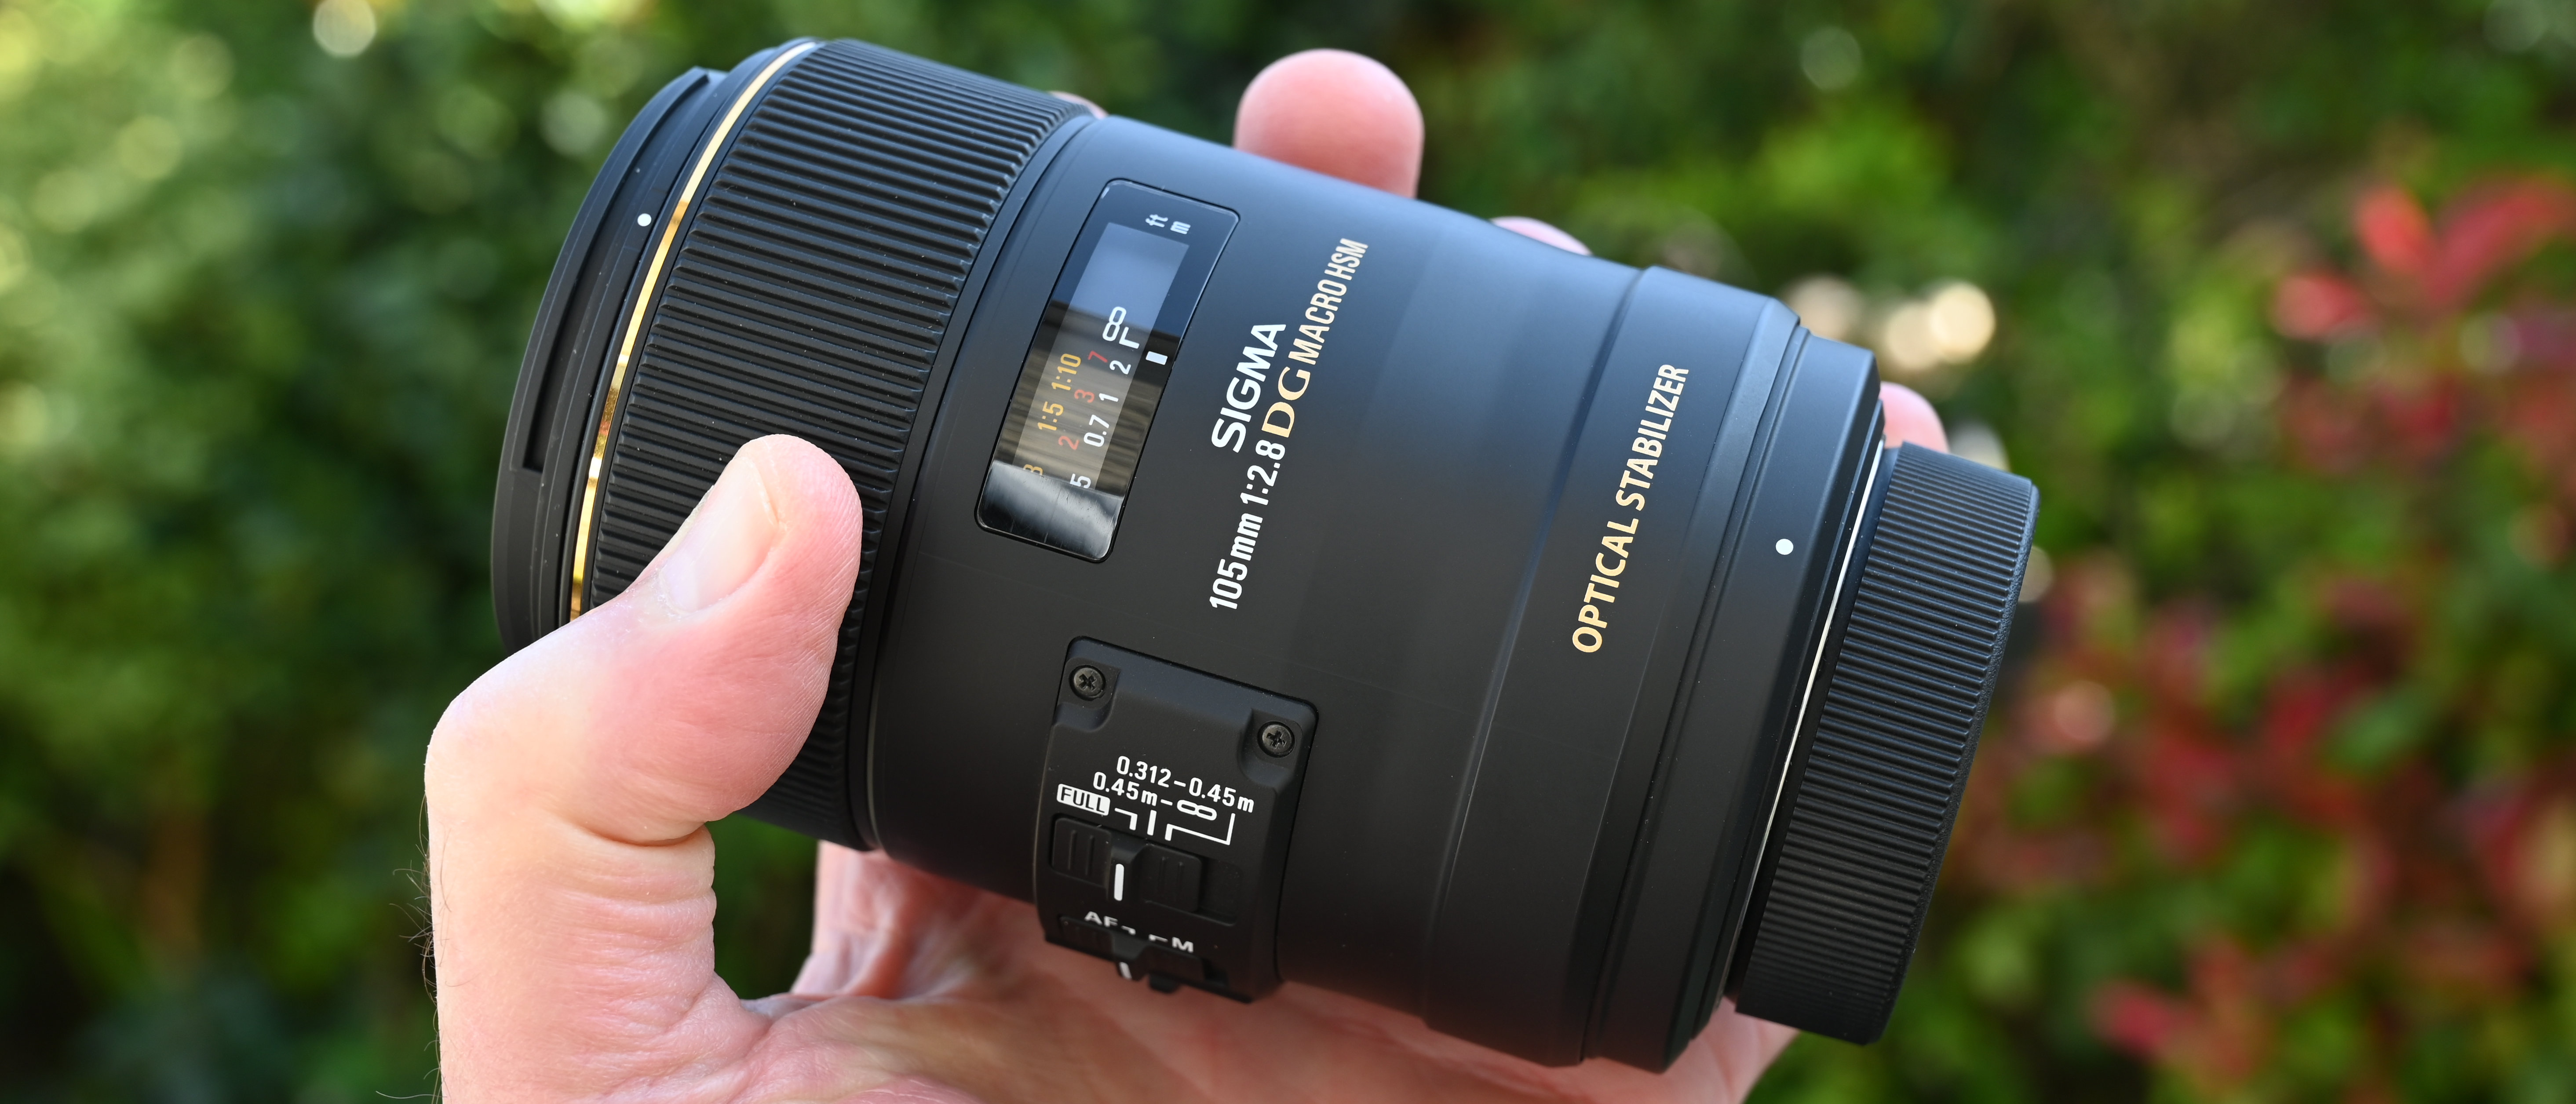
Cleaning a camera lens: tips for removing dust and fingerprints
Get your camera squeaky clean by getting rid of grit, grime and grease from your lens and LCD
Watch the video: cleaning a camera lens
You can get all manner of gadgets and solutions for cleaning your lenses and camera, but in most cases you need just two simple things to get the job done.
Lots of photographers panic about the damage that they can cause by cleaning their gear, and are particularly cautious about wiping off the inevitable fingerprints, dirt and dust that accrues on the front element of lenses.
• More photography tips
A certain amount of caution is justified. A good lens is a significant investment, and if looked after carefully can last a lifetime. The front element of your lens, or any protective filter you put over it, has special coatings over the glass which, if cleaned with the wrong tools or too much enthusiasm, could rub off.
Our first mantra about cleaning camera and lenses is, ‘Only do it when you have to’. You don’t have to do it every time you go out, or even every week – unless you are live in an area that is particularly dusty or sandy. Even a relatively thick layer of dirt on the front element of the lens is not actually going to affect image quality.
We use two different tools for cleaning the outside of our kit. The main item is a microfibre cloth. This ingenious material has pores that simply suck up greasy fingerprints and dust as you wipe the surface of your lens or your LCD screen – and unlike the traditional lens tissue there is no need for sticky solutions. You can get these at any camera store, but larger low-cost ones can be found in car accessory stores.
The other essential is a hurricane blower. This enables you to blast the recesses of your camera with air to dislodge specks of dirt. The bigger the blower, the better. The beautifully-designed Giottos Rocket (£12 / $17) is a popular one, but similar and less costly models can also be found.
1. Give it a good blow
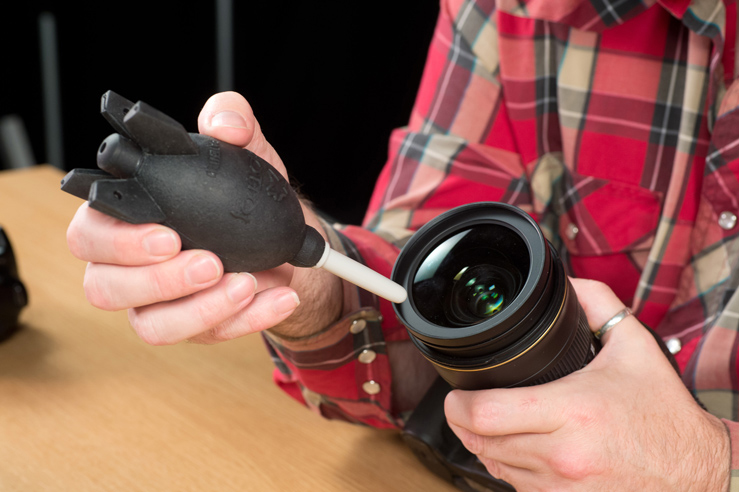
Use a hurricane blower to blast the recesses of your camera with air to dislodge specks of dirt. It is particularly useful when cleaning a lens, as it helps remove bits of grit and sand which could scratch the lens if you used the cloth on its own. Pay particular attention to the filter ring.
2. Micro surgery
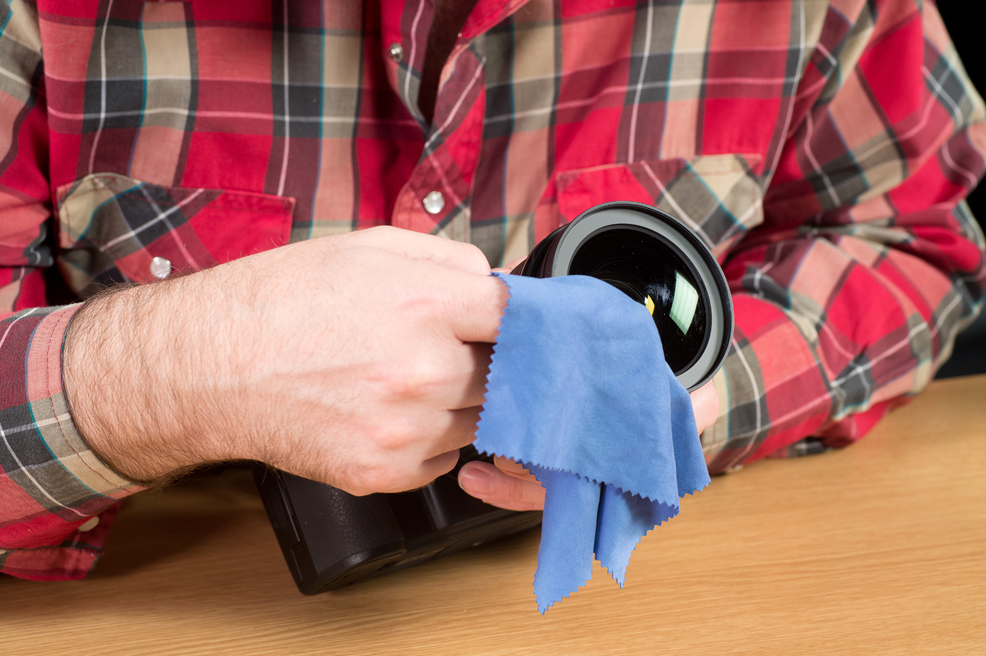
Next use the microfibre cloth. For the front of the lens, you should avoid rubbing too hard. Use a gentle circular movement to wipe away any dirt. Start from the middle and work outwards, so any dirt is moved away from the central ‘sweet spot’ of the lens.
3. Hot air treatment
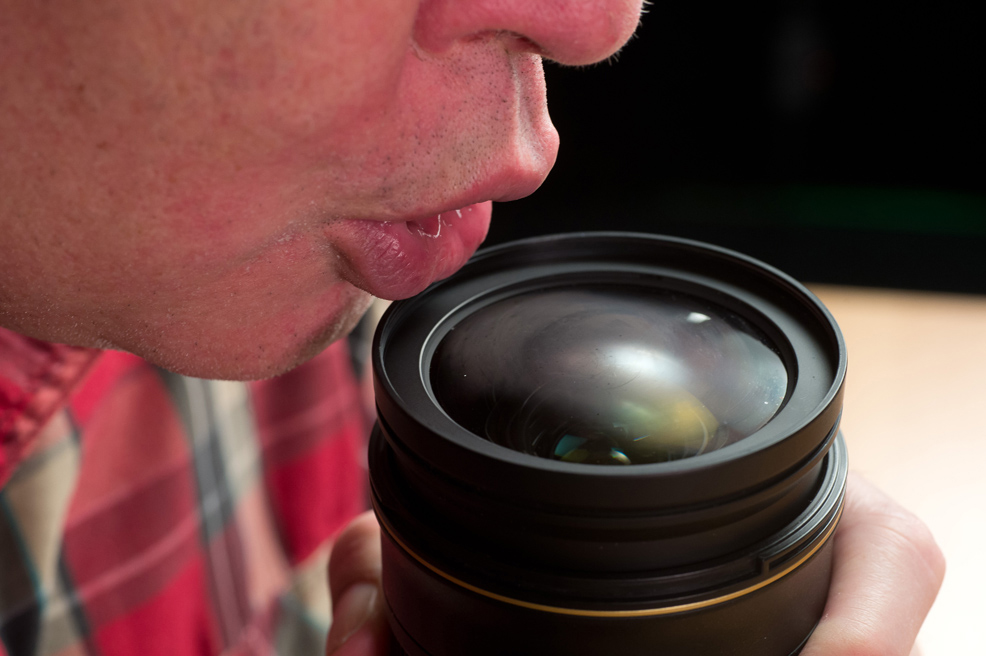
With dried-on dirt or stubborn fingerprints a rub alone may not do. You can buy special liquids to help here, but I prefer the good old-fashioned method of breathing onto the lens. The condensation this creates has enough moisture to get rid of most offending spots with another gentle rub.
4. Eyepiece correction
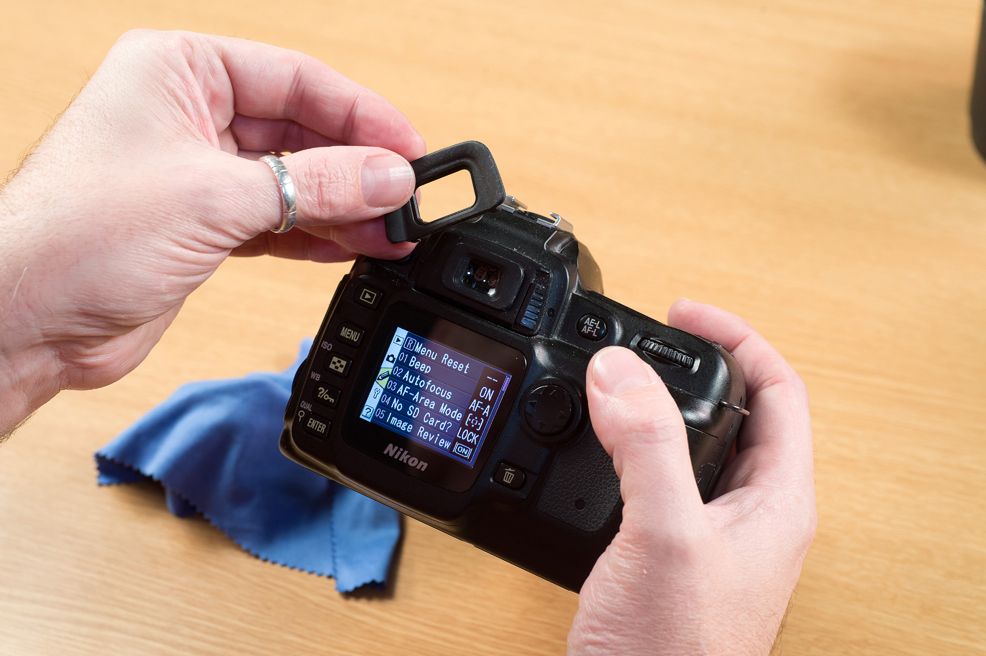
While you have got your microfibre cloth out, use it to give a quick wipe to other parts of the camera that benefit from having a cleaner surface. The LCD on the rear of the camera is worth a wipe. So is the eyepiece – with most models you’ll find this easier to do if you remove the eyecup first.
More videos:
147 photography techniques, tips and tricks for taking pictures of anything
Cleaning a camera sensor: tips for removing sensor spots and dust
Studio portrait lighting: essential tips and setups explained
Depth of field and hyperfocal distance in landscape photography explained
Get the Digital Camera World Newsletter
The best camera deals, reviews, product advice, and unmissable photography news, direct to your inbox!
Chris George has worked on Digital Camera World since its launch in 2017. He has been writing about photography, mobile phones, video making and technology for over 30 years – and has edited numerous magazines including PhotoPlus, N-Photo, Digital Camera, Video Camera, and Professional Photography.
His first serious camera was the iconic Olympus OM10, with which he won the title of Young Photographer of the Year - long before the advent of autofocus and memory cards. Today he uses a Nikon D800, a Fujifilm X-T1, a Sony A7, and his iPhone 15 Pro Max.
He has written about technology for countless publications and websites including The Sunday Times Magazine, The Daily Telegraph, Dorling Kindersley, What Cellphone, T3 and Techradar.

