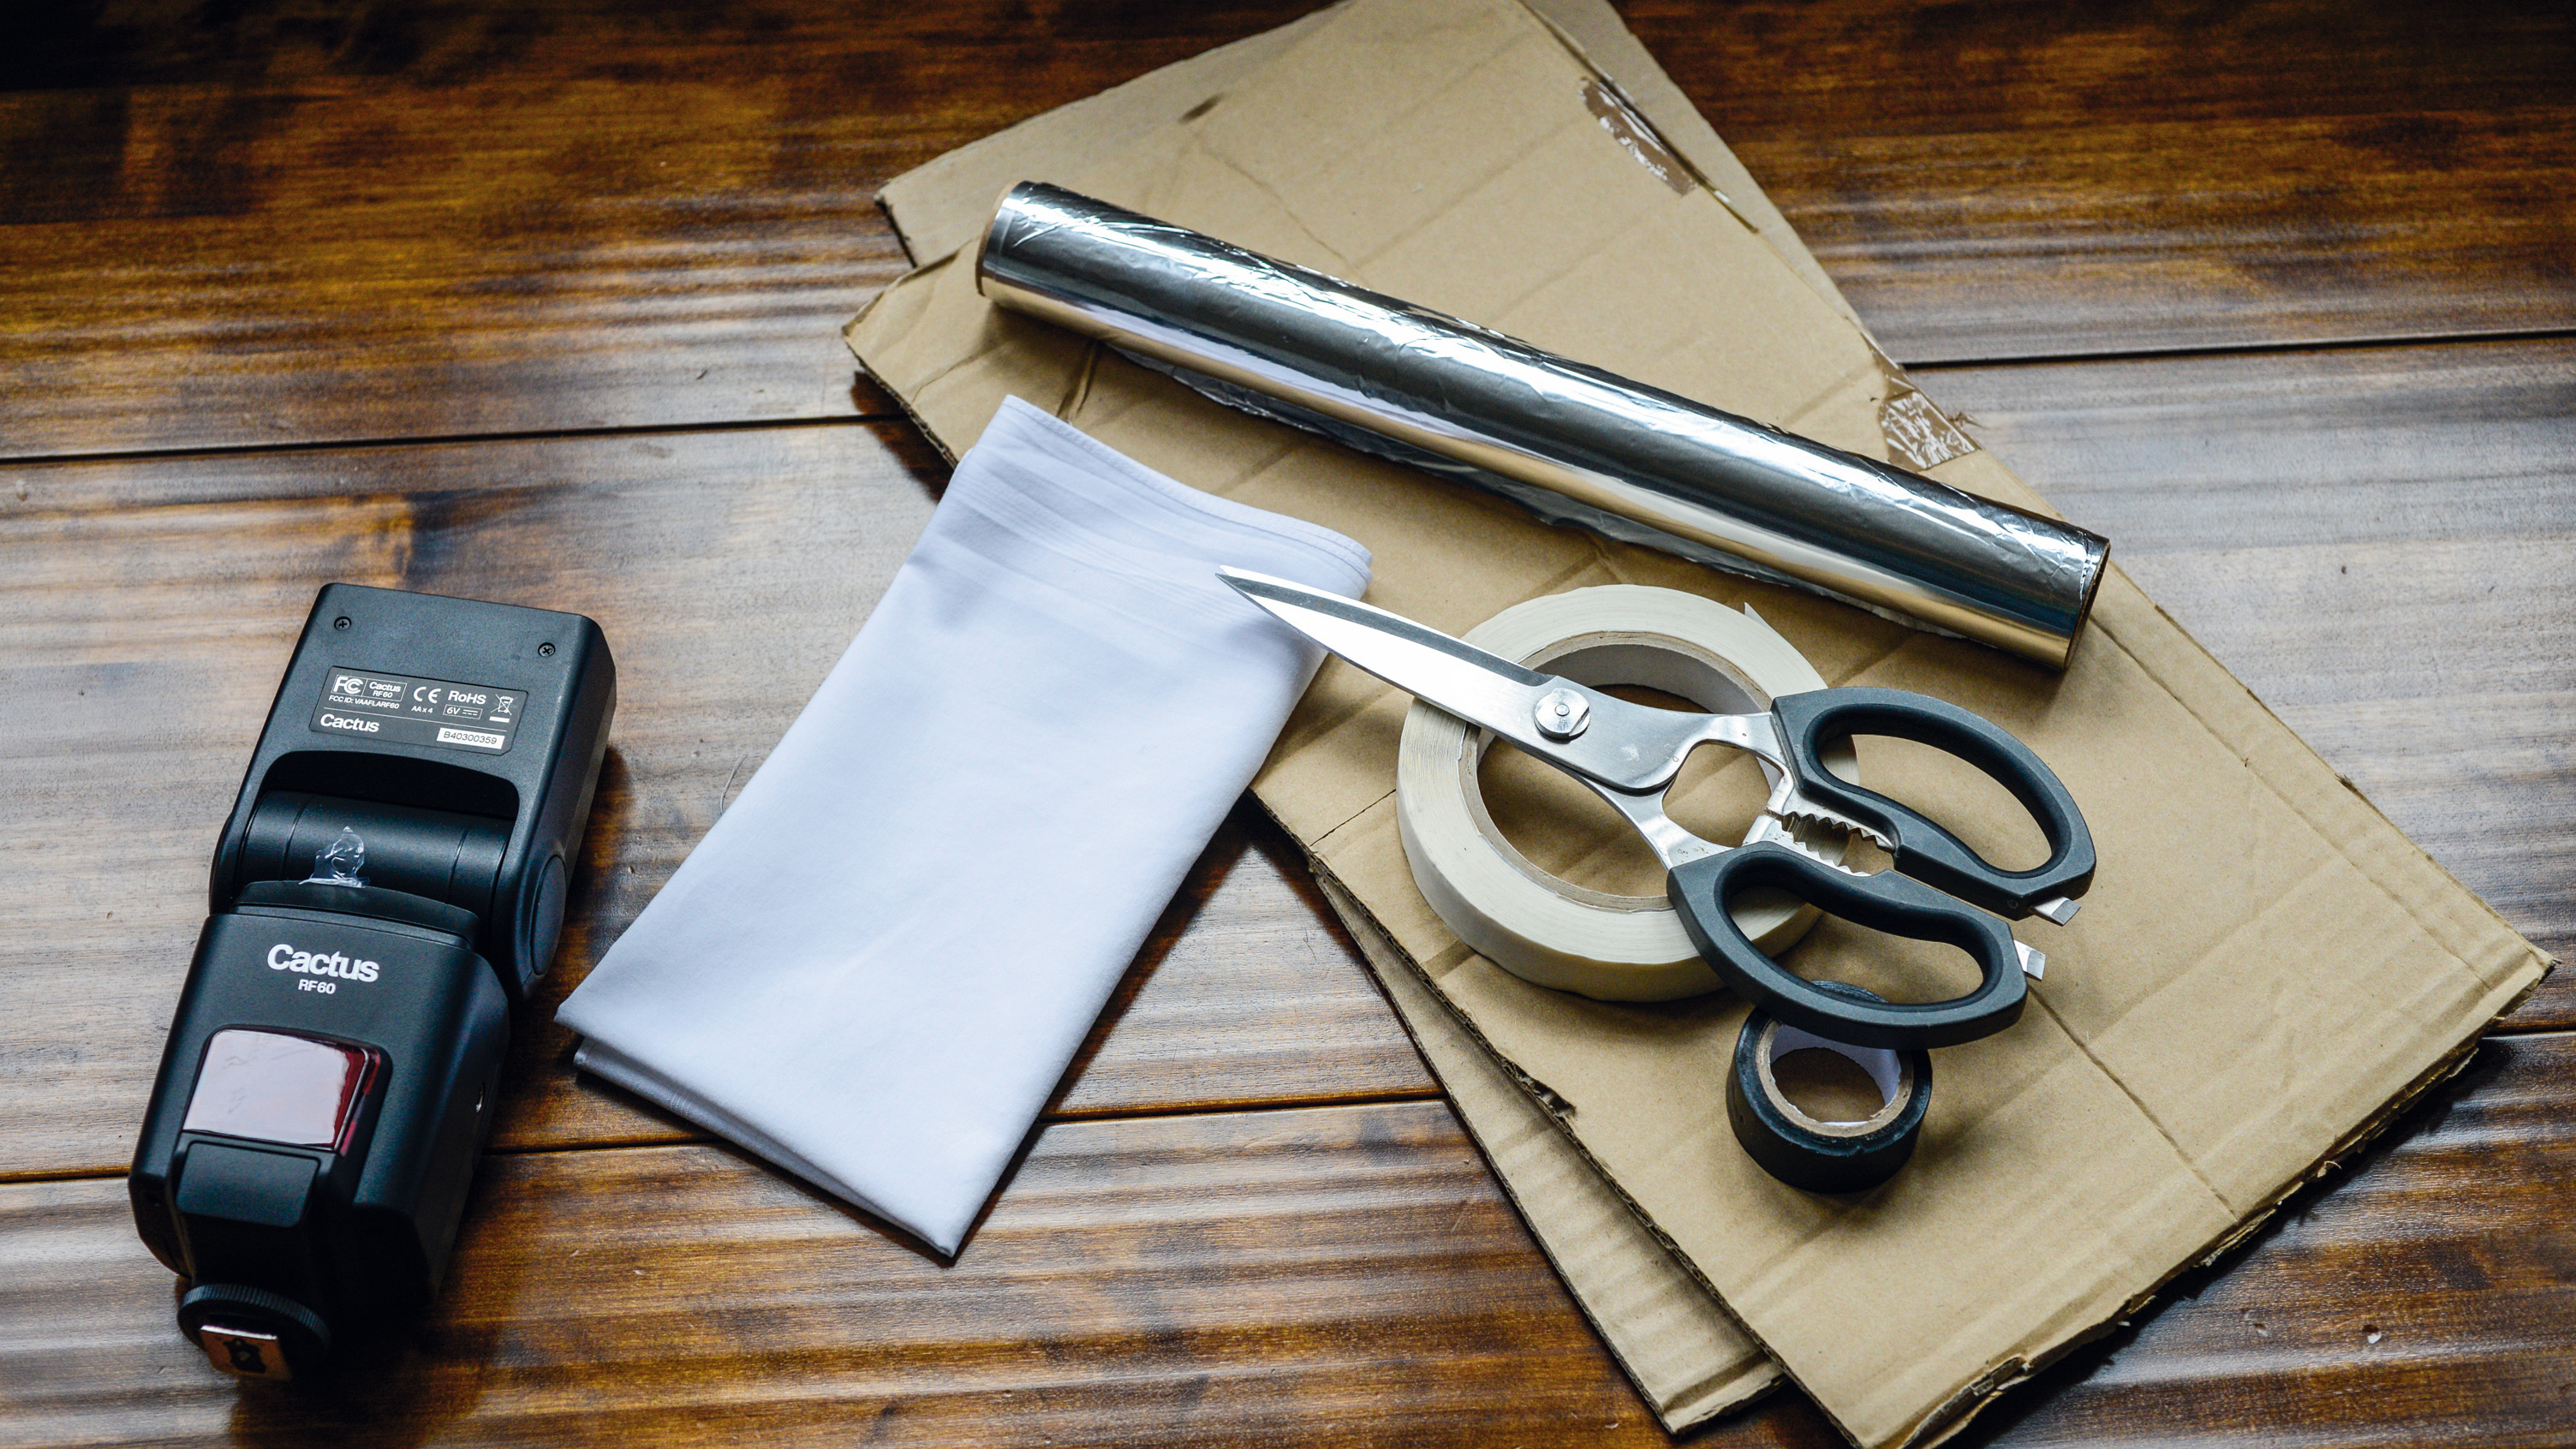
Photo hack: make a lightbox for shooting backlit photographs of food
Short of pictures for your kitchen wall? Find inspiration inside your fridge…
There are lots of great home photography ideas, to keep you and your camera busy during the ongoing coronavirus crisis... but photographing food is always a great wayt of keeping your camera clicking when confined indoors. In this hack, we are going to show you how to make your own lightbox, so that you can take backlit shots of translucent shots of fruit...
You have an old slide lightbox at home, which you could use for this trick. If you don’t own one, just do what we’ve done here and backlight a piece of glass – we simply used a shelf from the refrigerator!
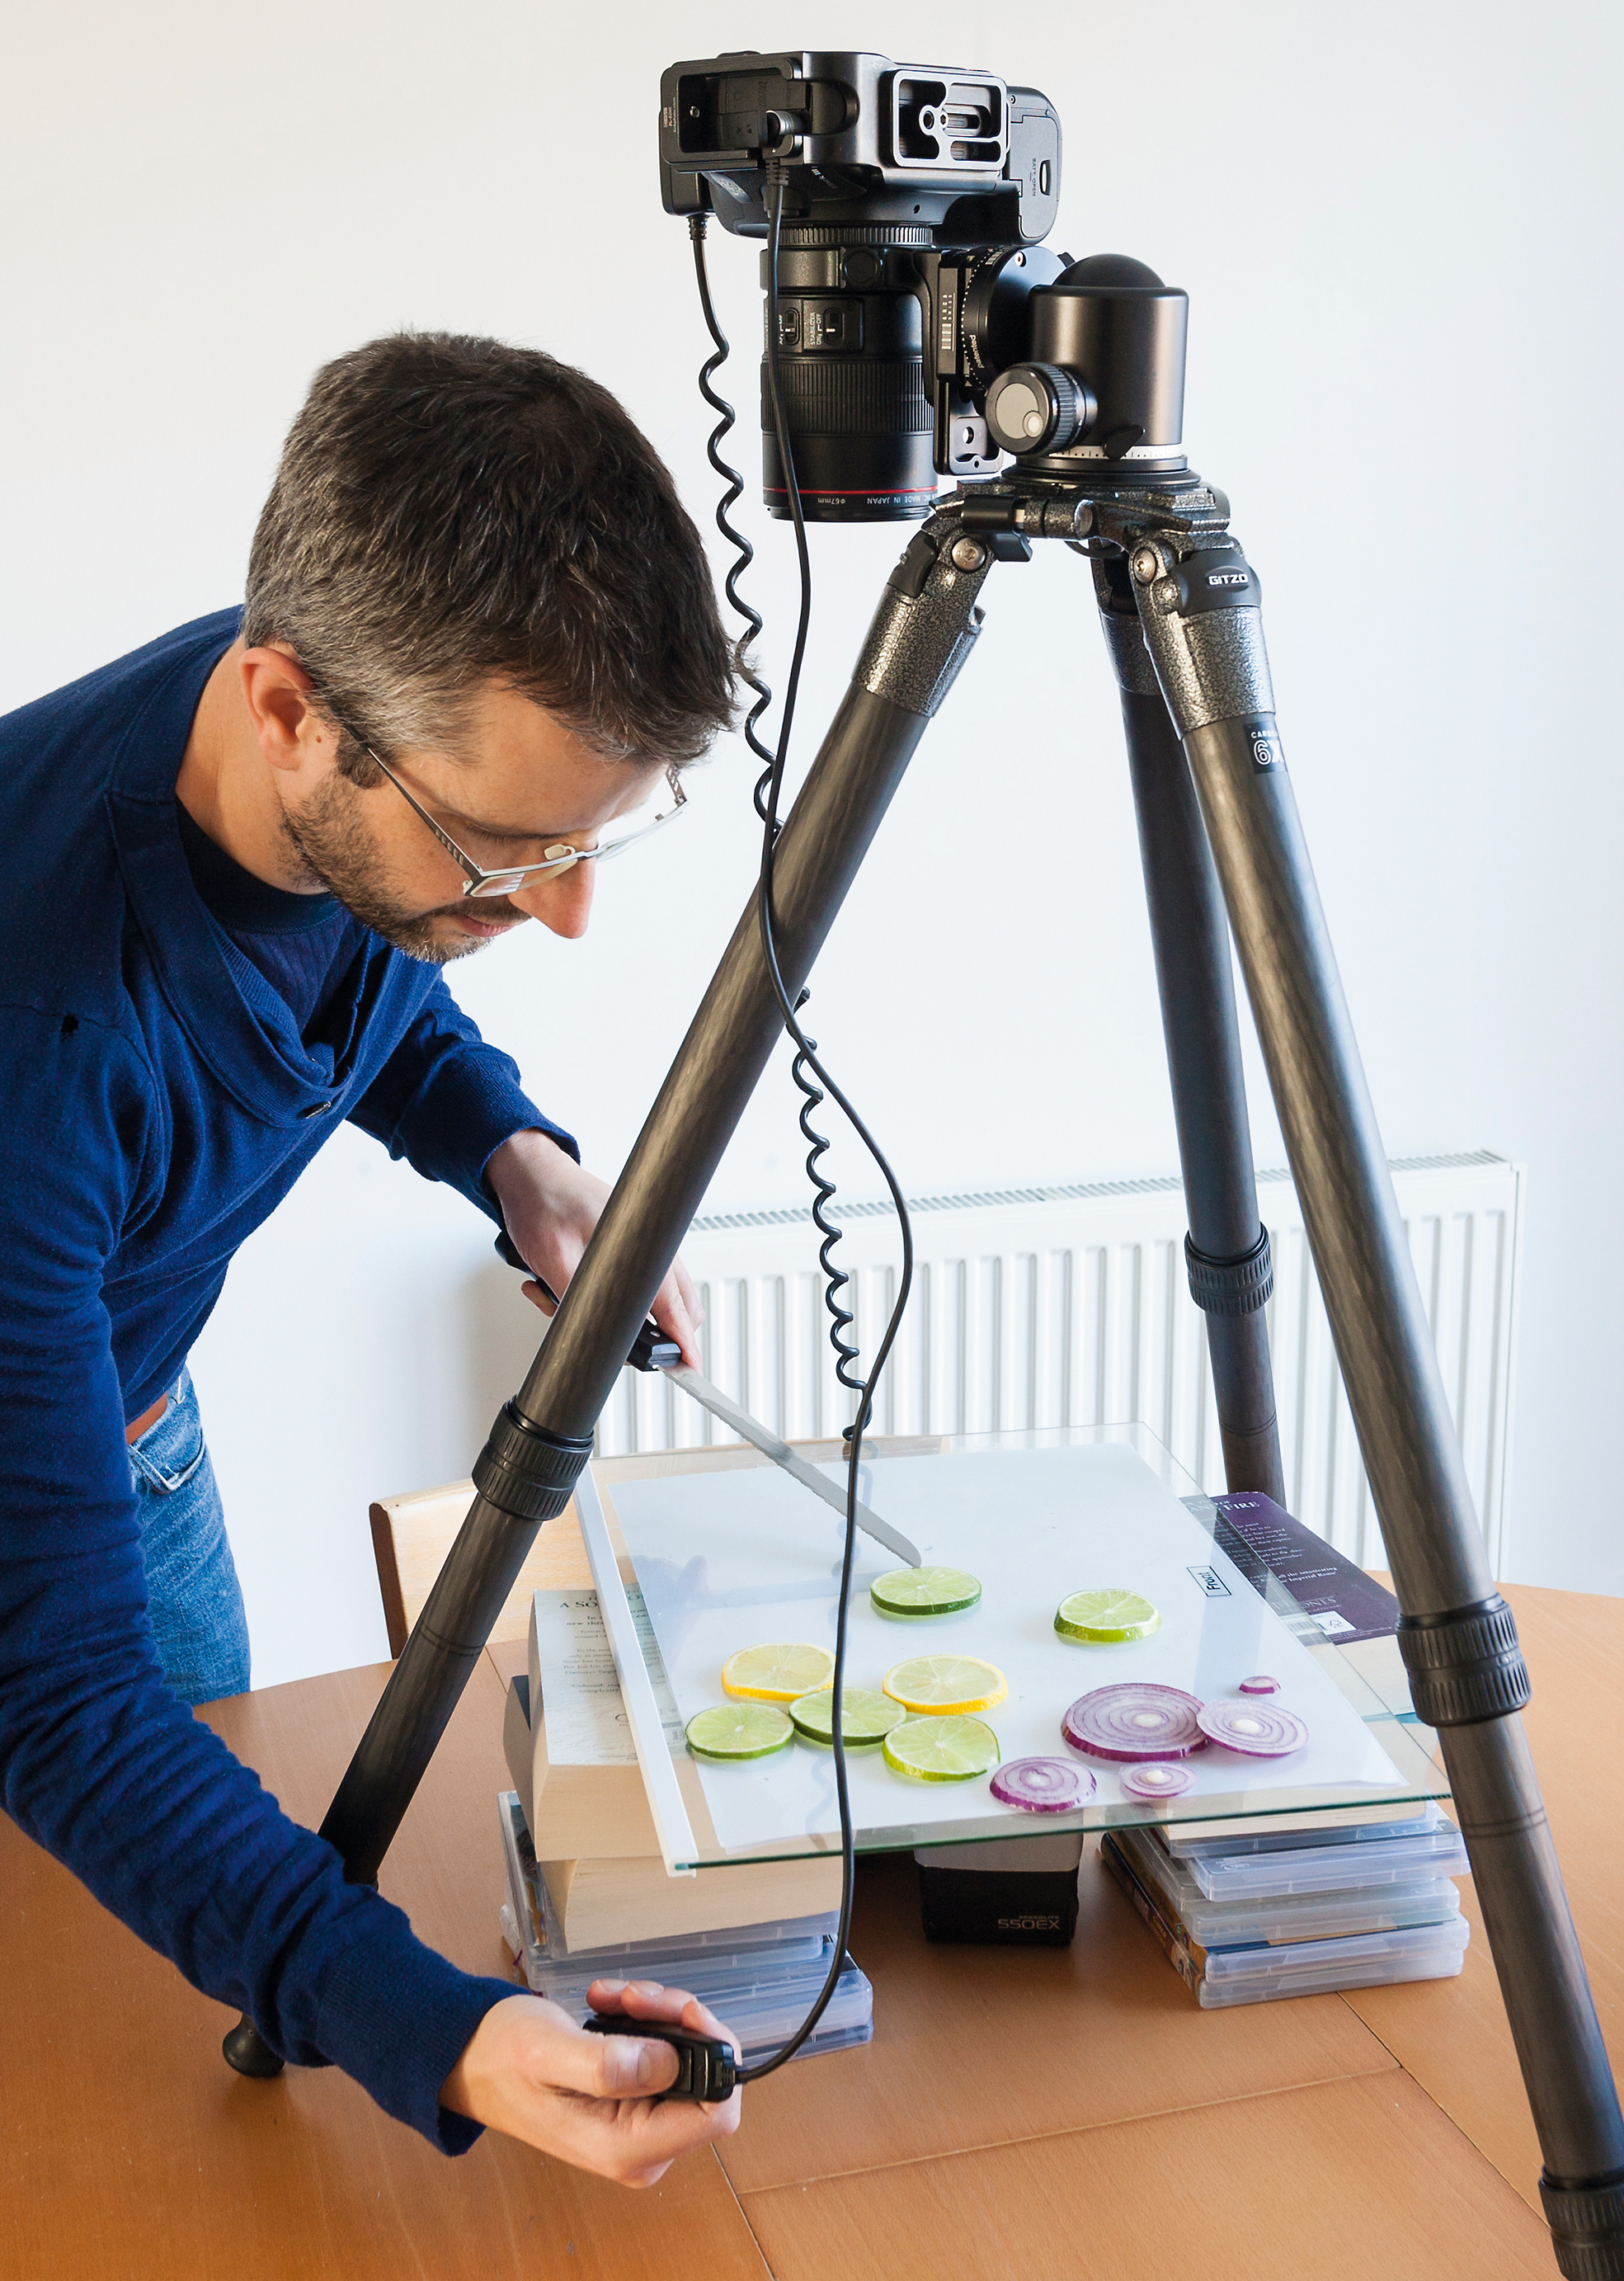
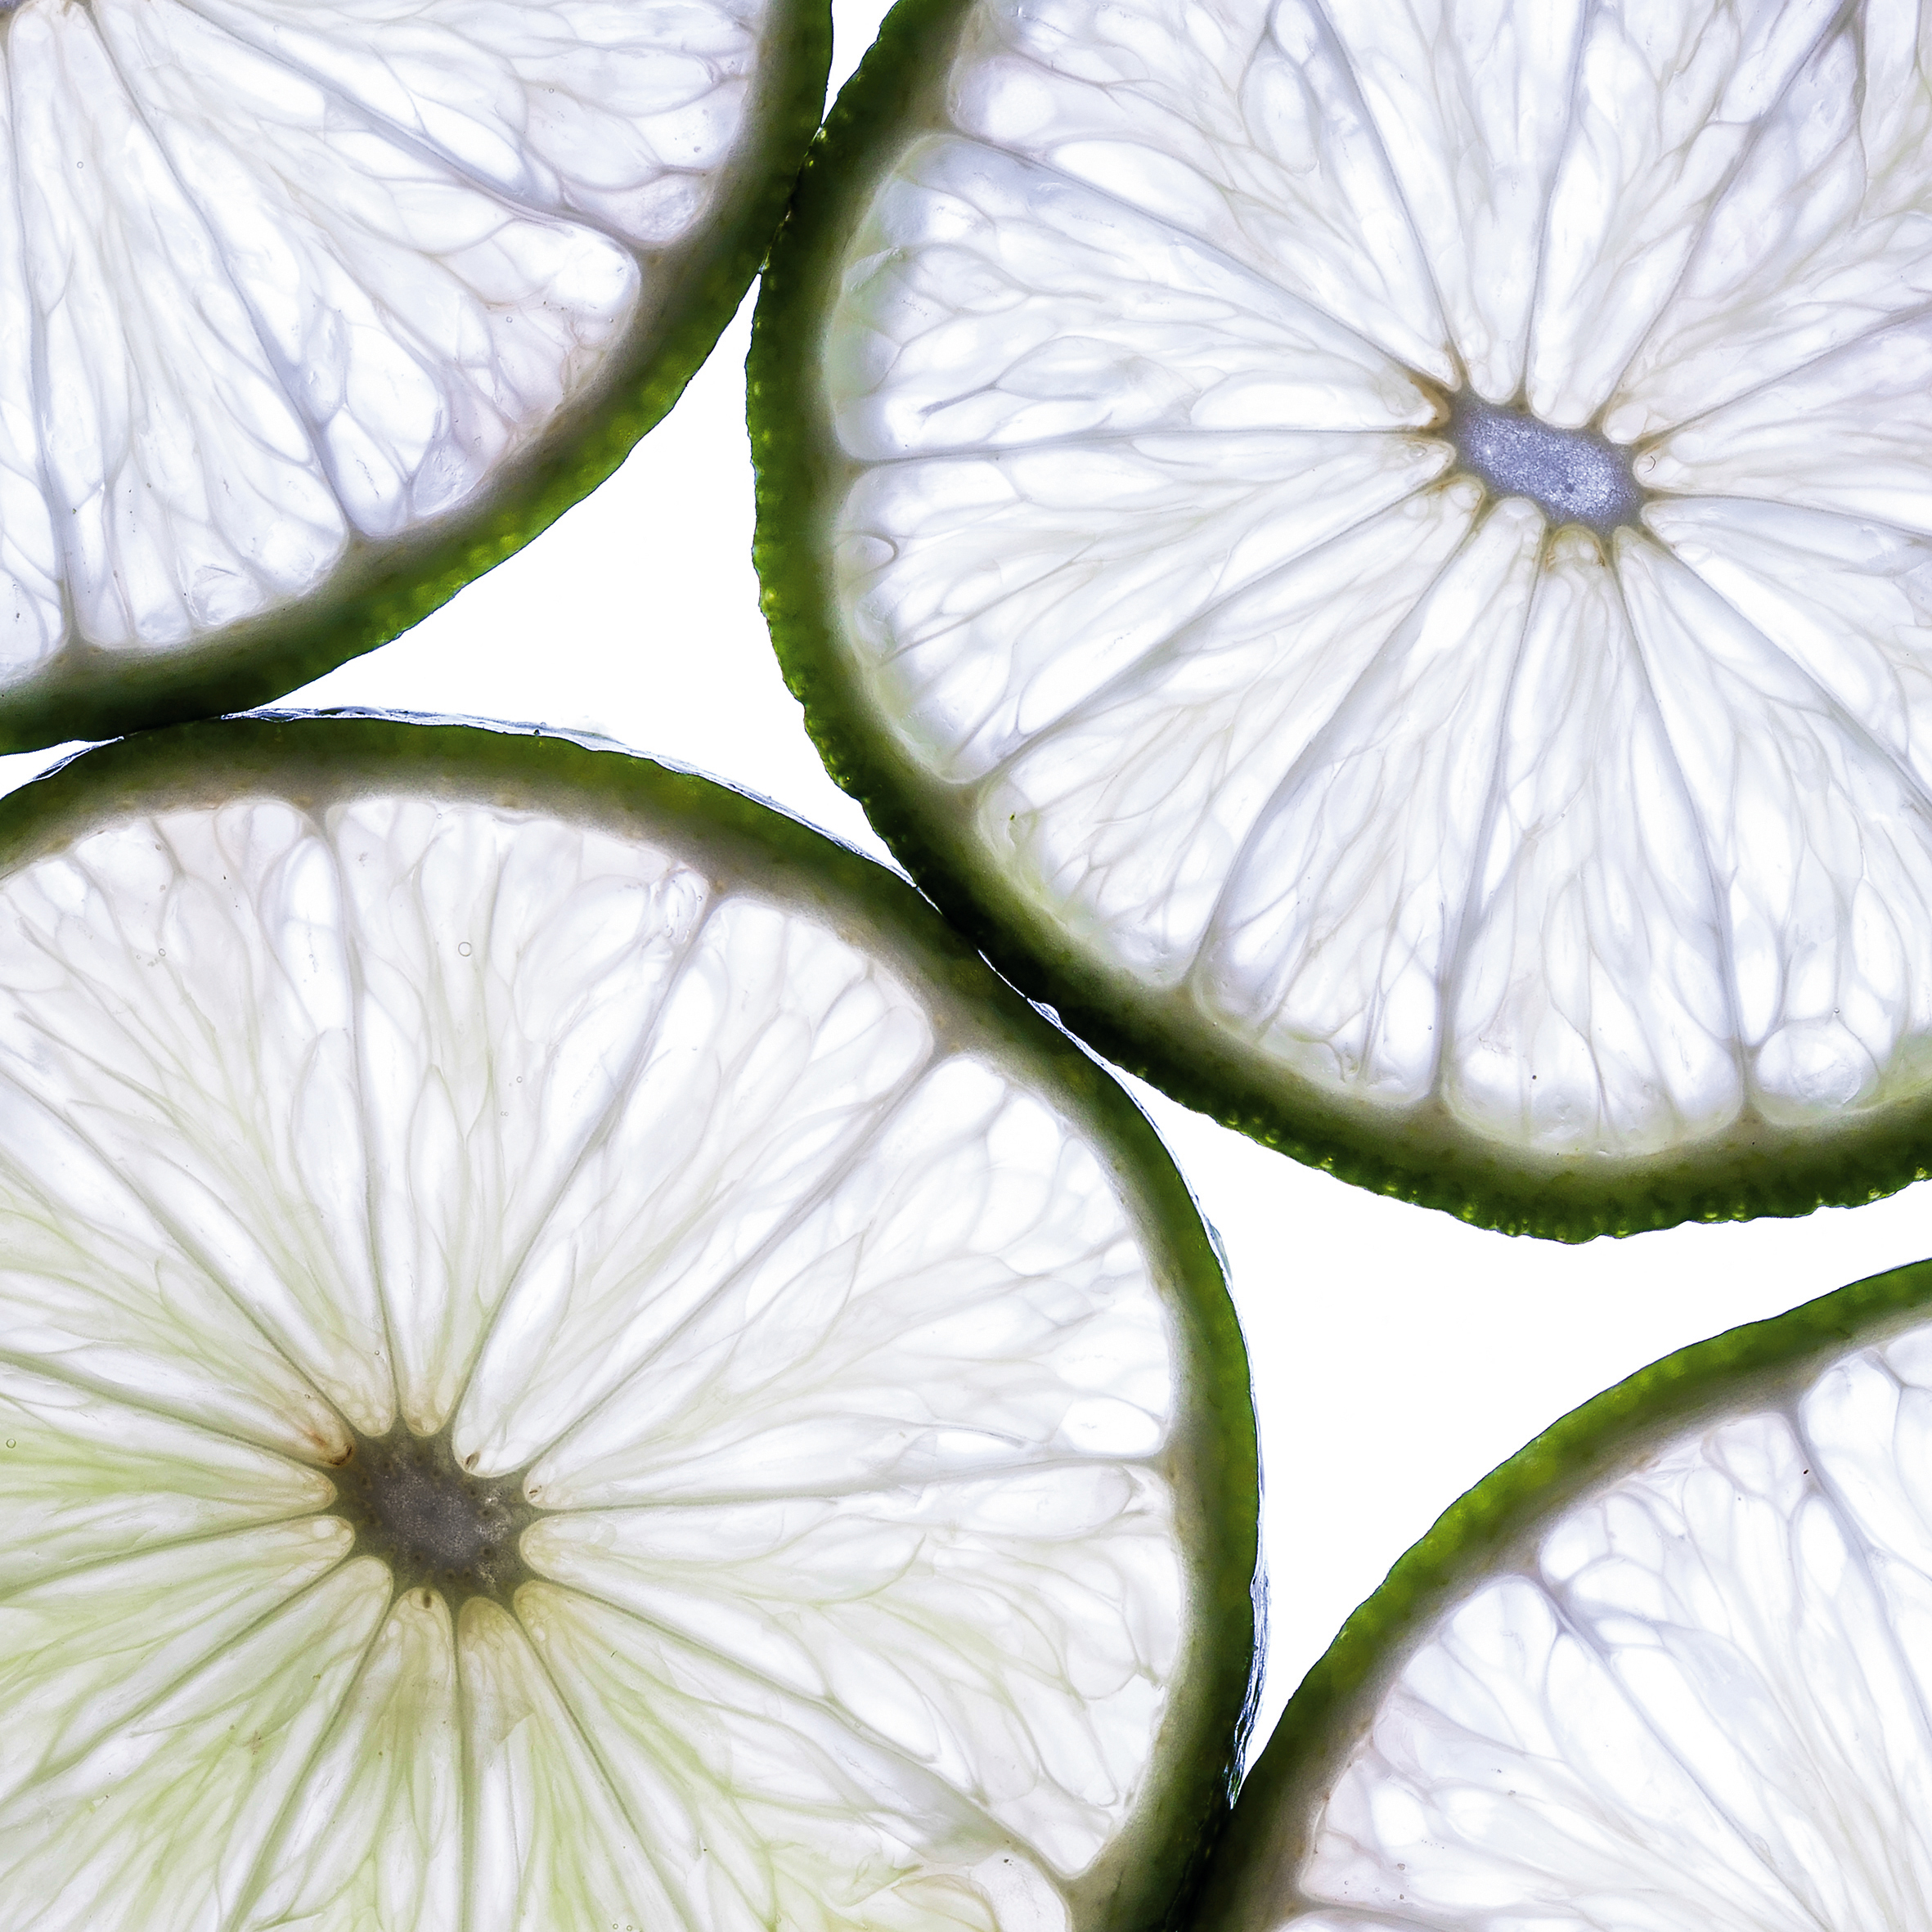
The best subjects for this simple project are ones that you can cut very thinly and which are translucent – onions, citrus fruit and cucumbers are good examples. You’ll need to position the camera at a fairly low level to get frame-filling shots of these small subjects with a close-focusing macro lens. If your tripod has a center column, reverse it and attach your camera so that it’s hanging between the legs, pointing downwards, then position this directly over your lightbox. Use a remote camera release to fire the camera or activate the self-timer instead.
For precise focusing, switch to Live View and manual focus. You
can always switch back to viewfinder shooting to extend the battery life, but activate the Mirror Lockup function if you do, as this will give sharper results. Alternatively, use your camera tethered to a computer.
1. Makeshift lightbox
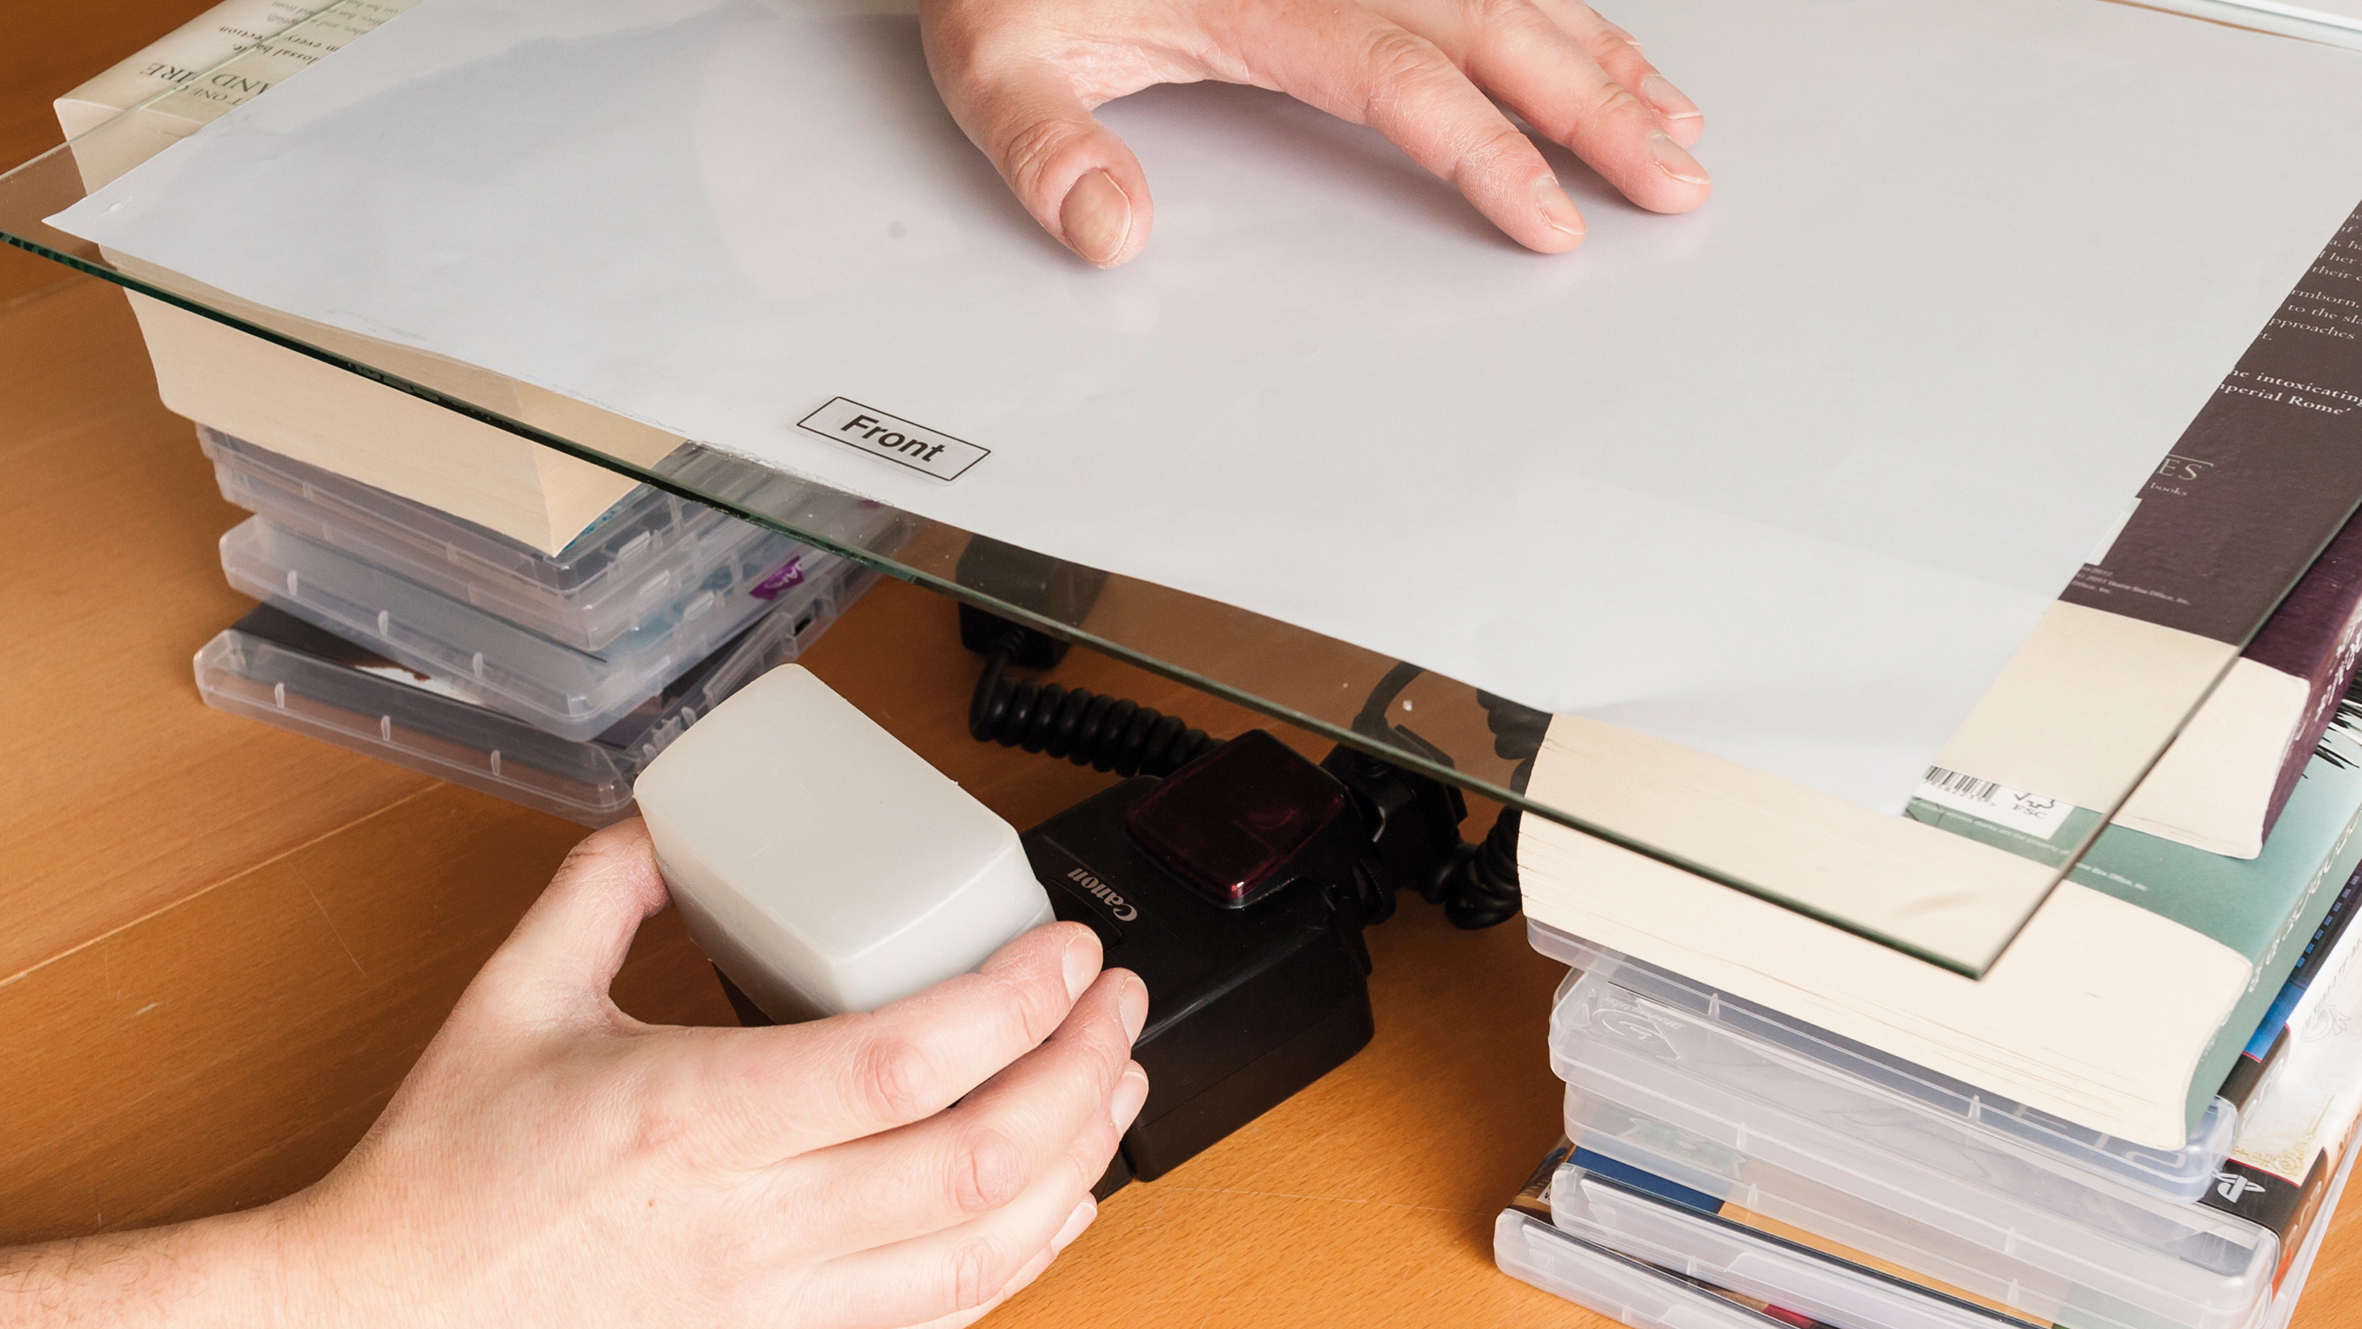
For a bright, even backlight, we supported the glass refrigerator shelf on stacks of books and DVD cases. We taped white paper to the back of the glass to diffuse the light from a flashgun placed underneath it, which was in turn attached to the camera using a coiled remote cord. We held our strobe in place with a beanbag (learn how to make your own beanbag).
2. Camera settings
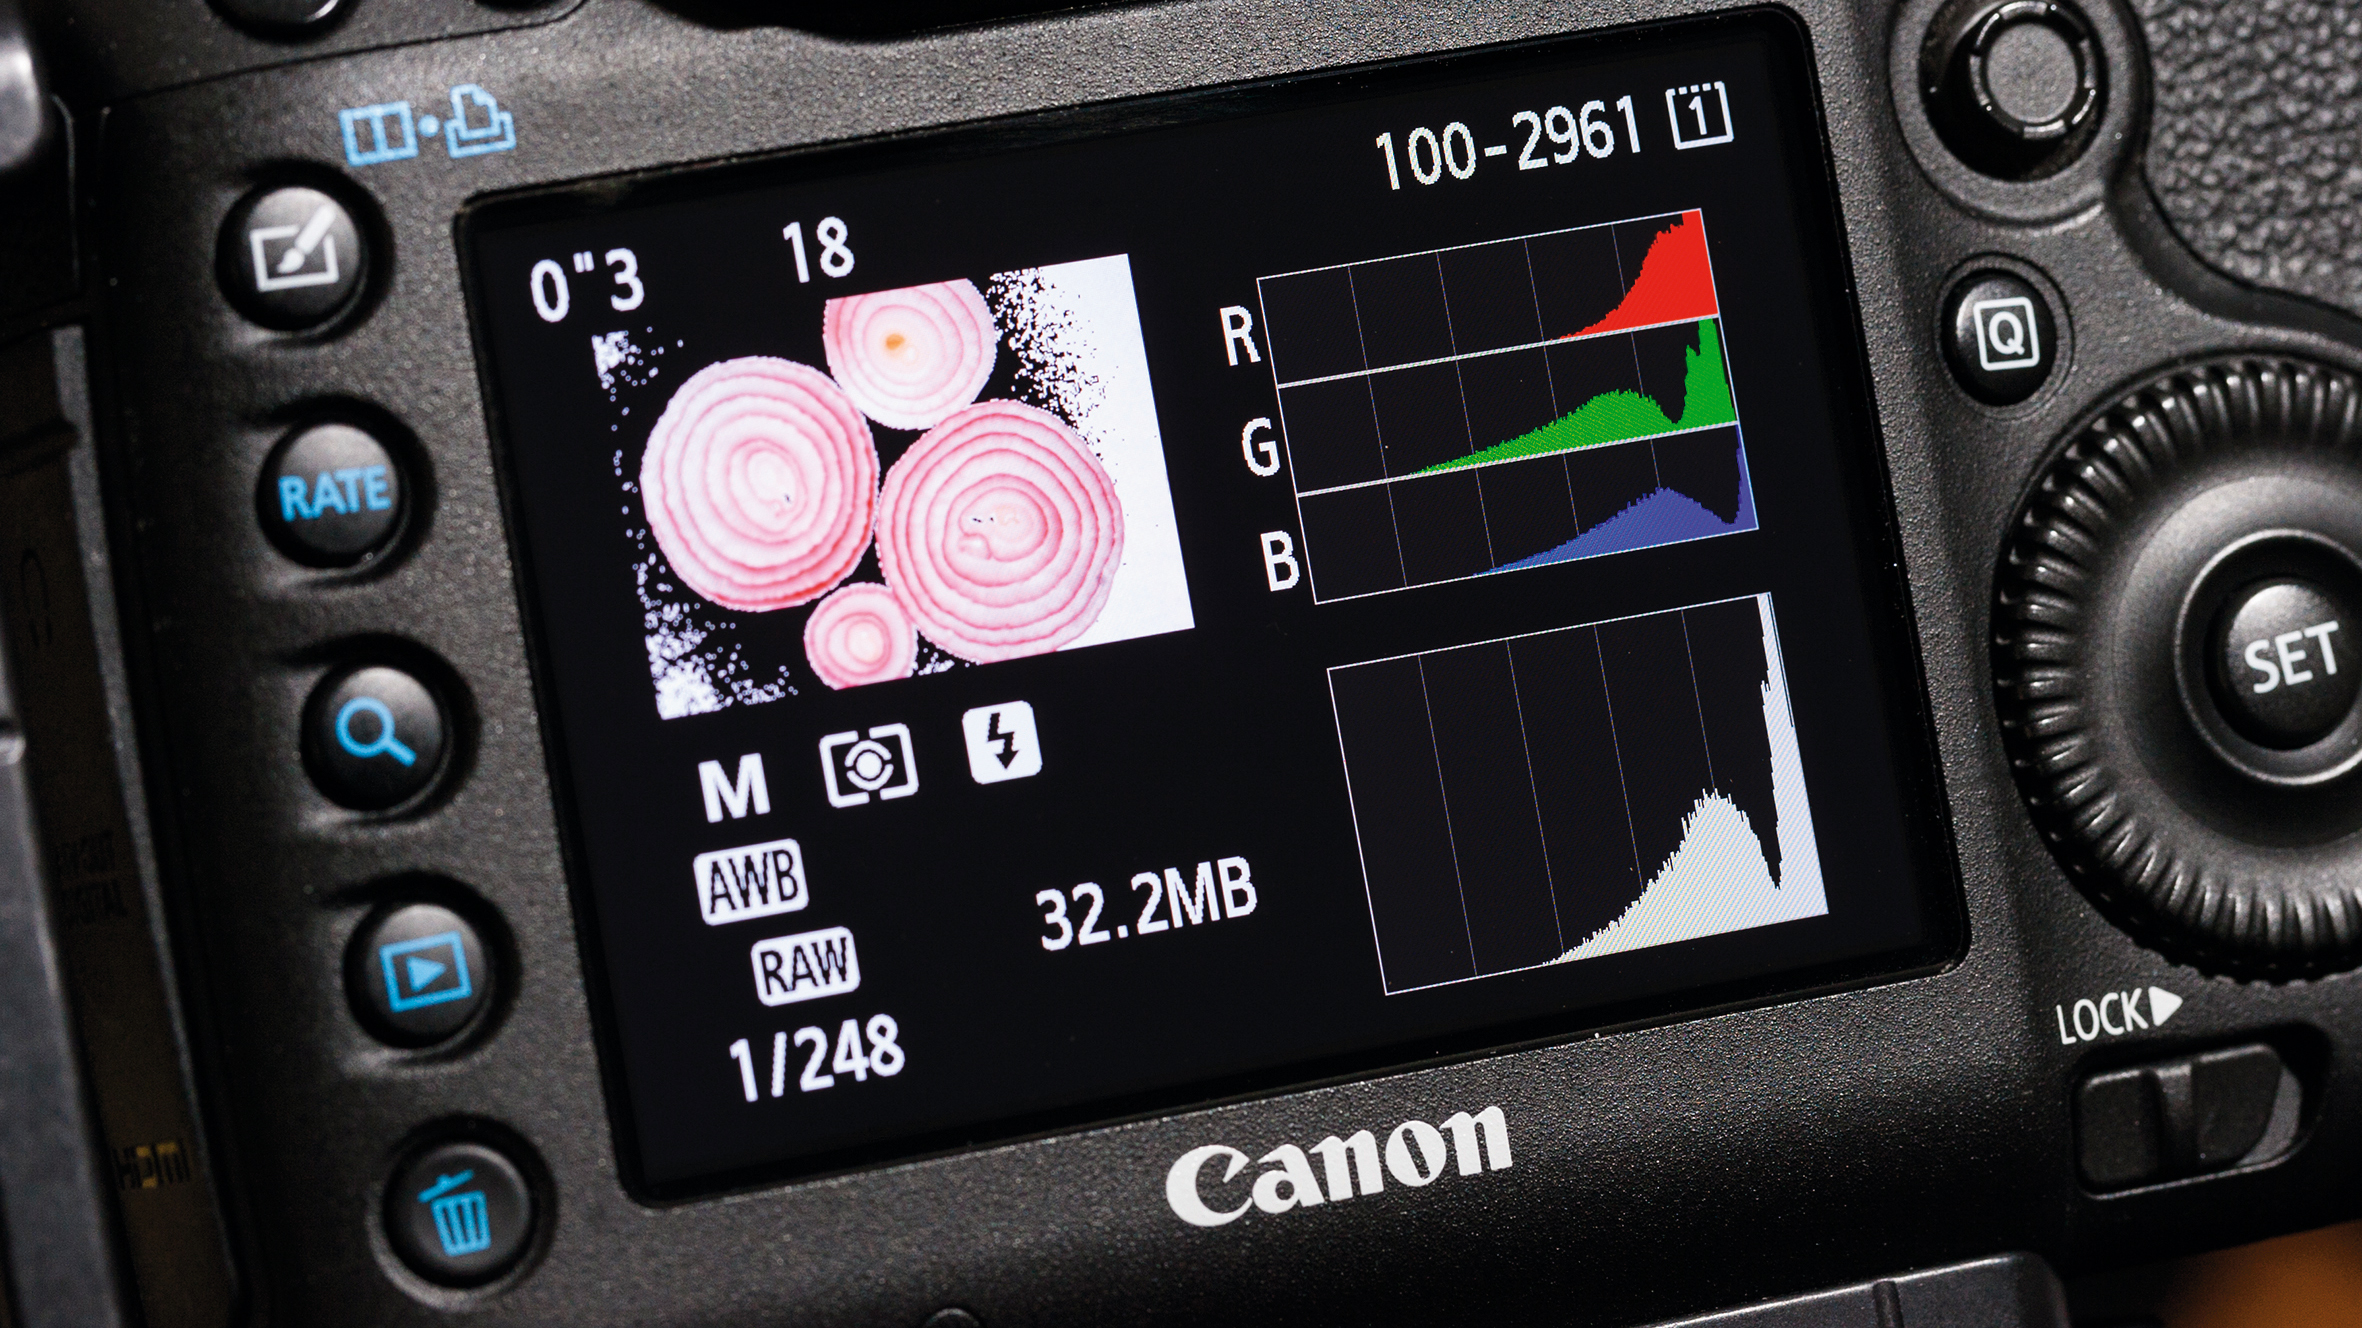
We used a macro lens and shot in Manual mode, with a narrow aperture (f/18), low ISO (100), and slow shutter speed (0.3 sec) so the ambient light added a little front illumination. We used flash exposure compensation to increase the flash exposure by 2-3 stops. This meant that the background became bleached-out white, but this ensured that no texture in the paper was visible.
• The best macro lenses in 2020
3. Final touches
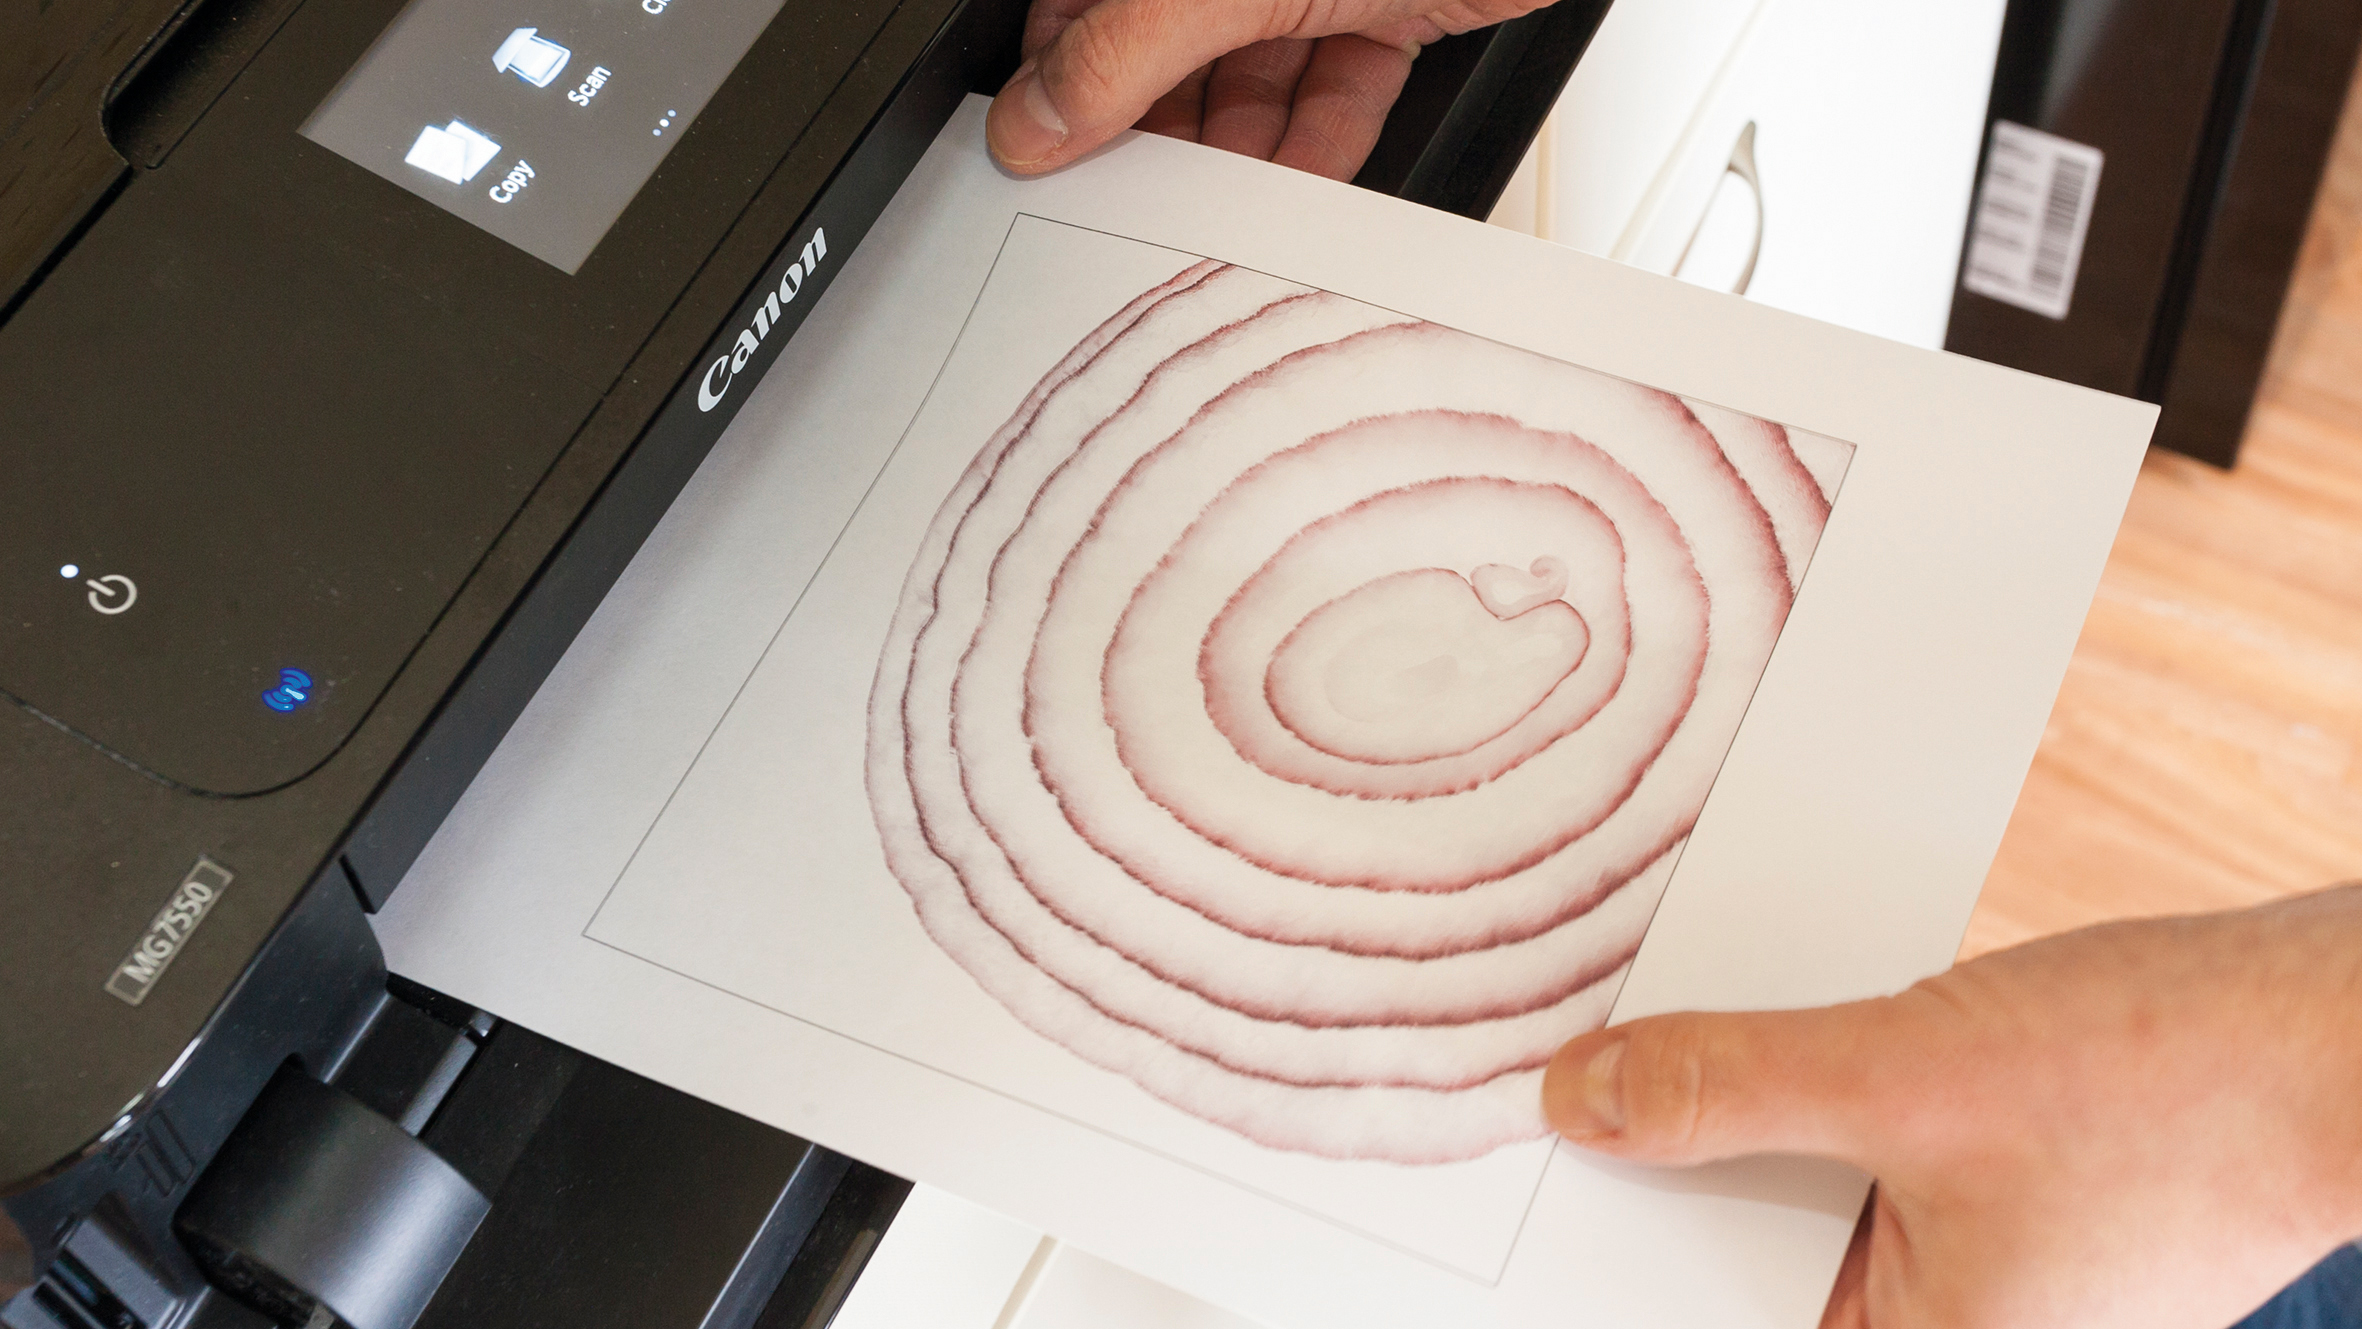
To give an artier finish to this picture of a bog-standard red onion, we processed it in Photoshop, reducing the saturation, brightening the whites and increasing the clarity option, which subtly increases the contrast. We also viewed the image at 100% and cloned out any small fibers and dust spots. A square crop suited the circular subject, before adding a thin black border, ready for printing out.
• The best photo printers in 2020
Read more
The best books on food photography
The best reflectors for photography
The best softboxes, diffusers and modifiers for your flashgun
Get the Digital Camera World Newsletter
The best camera deals, reviews, product advice, and unmissable photography news, direct to your inbox!

Marcus has been passionate about photography for more than 25 years. A former editor of our sister publication Digital Camera magazine, he has written about photography and cameras for a wide range of clients, including Canon and Jessops. Last time we checked, Marcus was using a Canon EOD 5D Mark IV.
