10 tips on getting the best out of your Nikon camera
Use these 10 tips to make your Nikon camera work better for your shooting
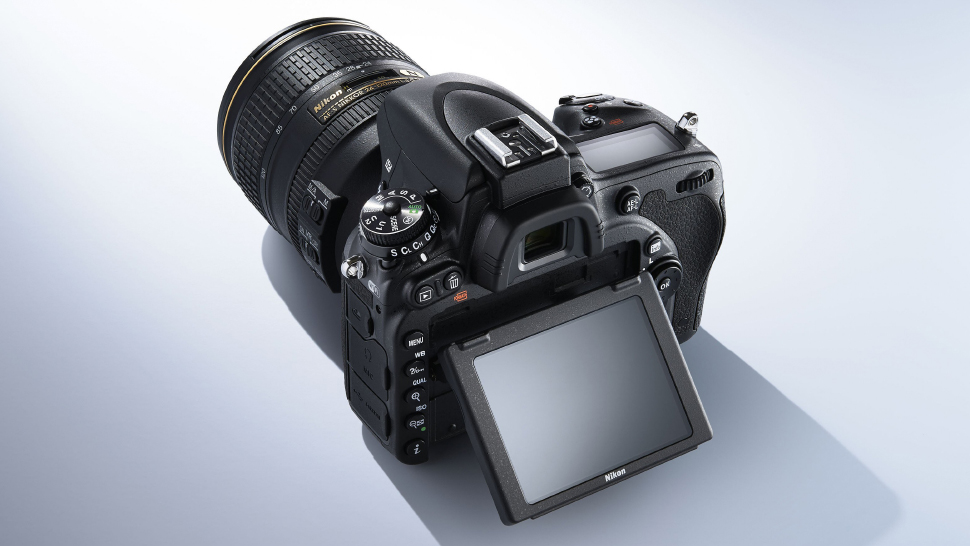
Own a Nikon camera? Straight out of the box you may find it works just fine, but there's lots you can do to make it work better for you.
Whether it's to improve your burst depth, get your focus a little more accurate, or help you to get a more natural-looking result, there's often something in the menus that you can tweak to make a difference.
Here are 10 tips to help you get the most out of your Nikon camera.
1. Turn off your beep
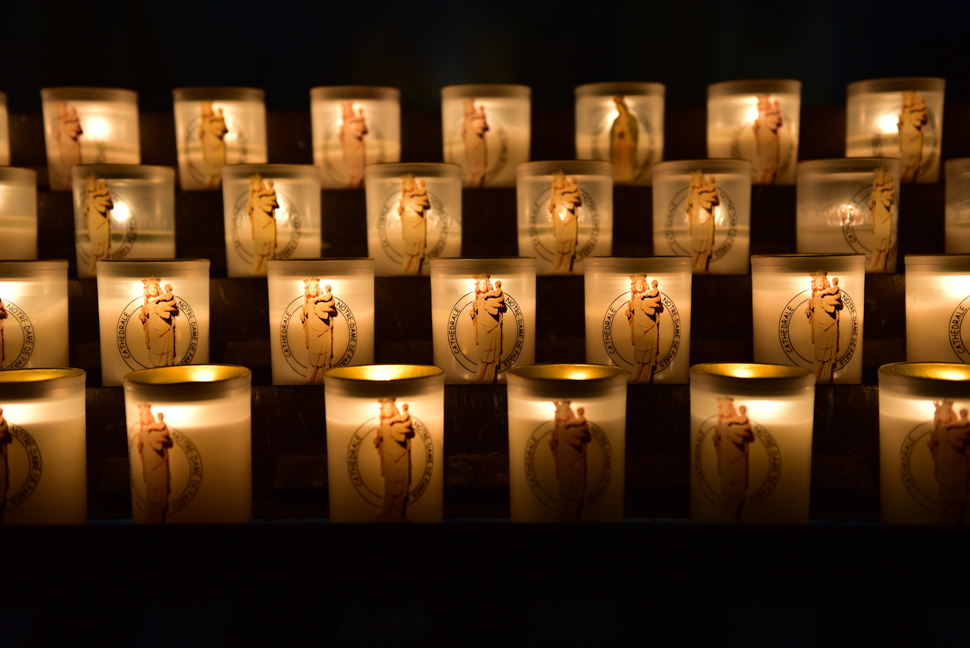
There are many reasons why you might need to be discreet when you're out shooting, such as when you're photographing inside a church or at an event.
Turning off the beep that sounds when autofocus is confirmed is one of the easiest ways to make your camera less distracting.
For the same reason you may want to use your camera's quiet shutter option, if it has one.
2. Rename your files
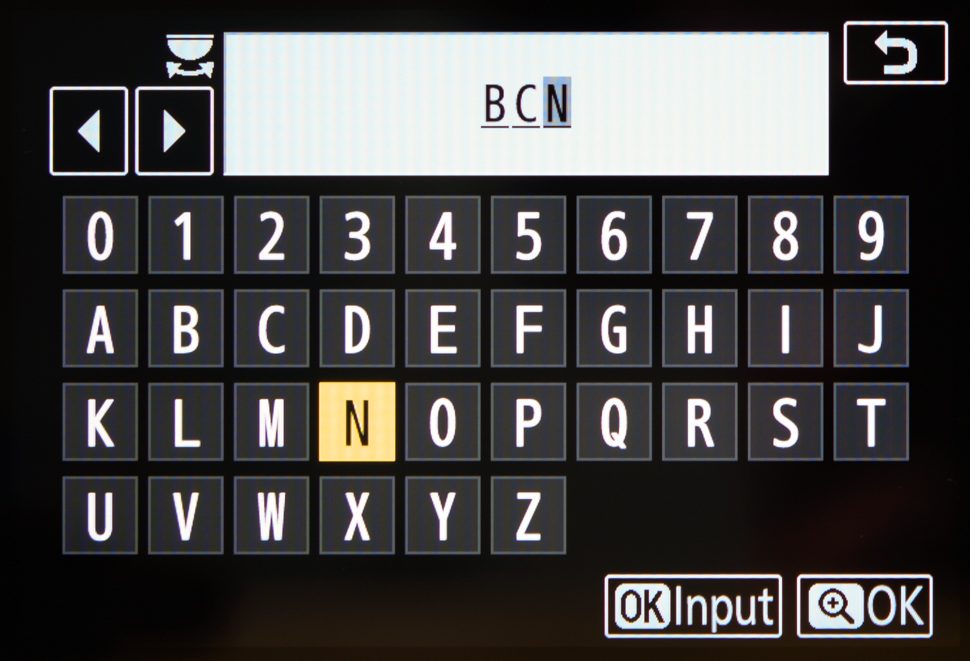
Nikon uses the letters DSC in the first part of its file names, but this can easily be changed if required. Just head to File Naming in the Shooting Menu option and select whichever three letters you want.
There are many reasons why you may want to do this. Perhaps you're travelling and want to change the file name to reflect the location you're in. Or you could be capturing multiple images of different sets of subjects, and need to keep track of which is which. Whatever you use it for, this will help you to keep everything organised and labelled correctly.
Read more: Nikon D7500 review
3. Fine tune your AF

Not all camera body and lens combinations get it quite right when it comes to autofocus. You may sometimes find focus to be a little behind or in front of the subject on which you focus, particularly when using wide apertures, where depth of field can be very shallow.
Fortunately, Nikon's Fine-tune AF option can help. This is a feature that has been present on many recent enthusiast and professional bodies, and it works by applying a small bias of your choosing to a particular camera and lens combination in order to combat any inaccuracies.
The good thing about this feature is that it doesn't physically change anything inside the lens itself, so it's useful if you only find this to be an issue with one particular camera you use.
Once you've stored any adjustments for a particularly optic, your camera will also automatically recognise the lens whenever you mount it and will apply the correction without any further intervention. Of course, you may well not need to use this, but it's useful to know it's there if you do.
4. Change bit depth when shooting continuously
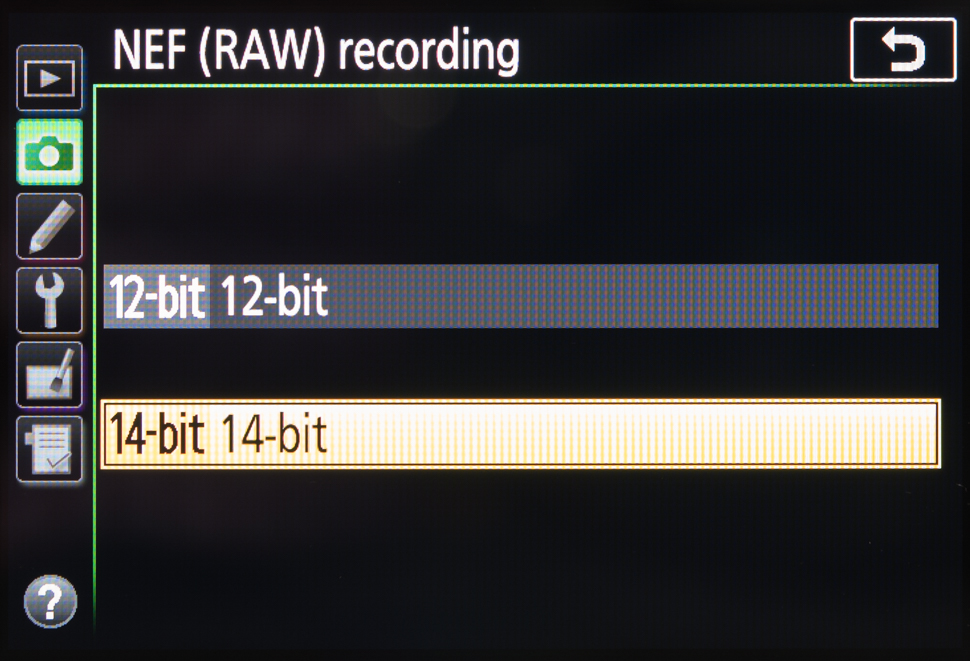
Nikon cameras are typically capable of capturing Raw files in 14bit and 12bit options. Most photographers will opt for the 14bit option when shooting scenes destined for post-processing, particularly scenes with a wide dynamic range at lower sensitivities, but it's a good idea to knock this down to 12bit when shooting sports or other action.
The reason? Given that the 14bit option is handling more information, it should come as no surprise that files sizes are larger, and both burst rate and burst depth are often compromised. You may want to test this yourself to see what kind of difference the two options make.
Read more: Nikon D850 review
5. Add a key missing control to an Fn button
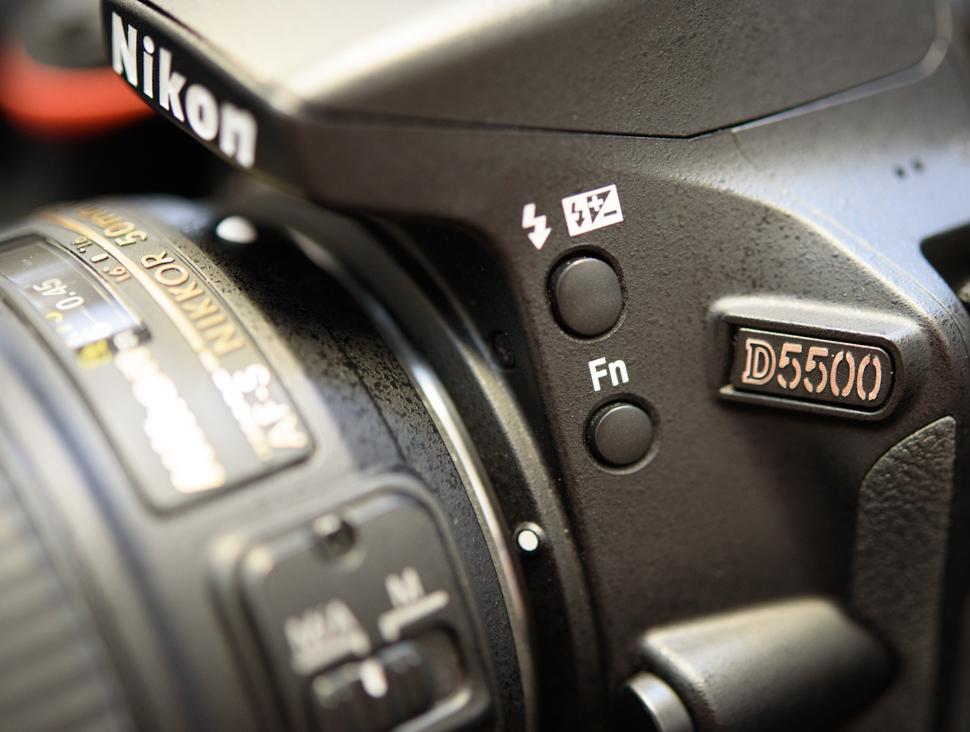
It's annoying when a camera doesn't provide a physical control for a feature you commonly need to access, particularly if you've become used to it on another body. Nikon's entry-level models, for example, typically do not have a dedicated button for ISO or Wi-Fi, which means that you have to access these through the GUI.
The Fn button, however, which is included on even cheaper bodies, allows you to call upon a frequently used option of your choosing that isn't otherwise directly accessible. This could be main feature such as ISO or White Balance, or something like HDR shooting or Wi-Fi. Just head over to the Controls section of the Custom Settings menu to define this.
More advanced bodies may also have other controls that you can also customise, although you won't normally have the same breadth of options as you do with the Fn button.
Read more: Nikon D850 review
6. Manually focusing? Consider the rangefinder
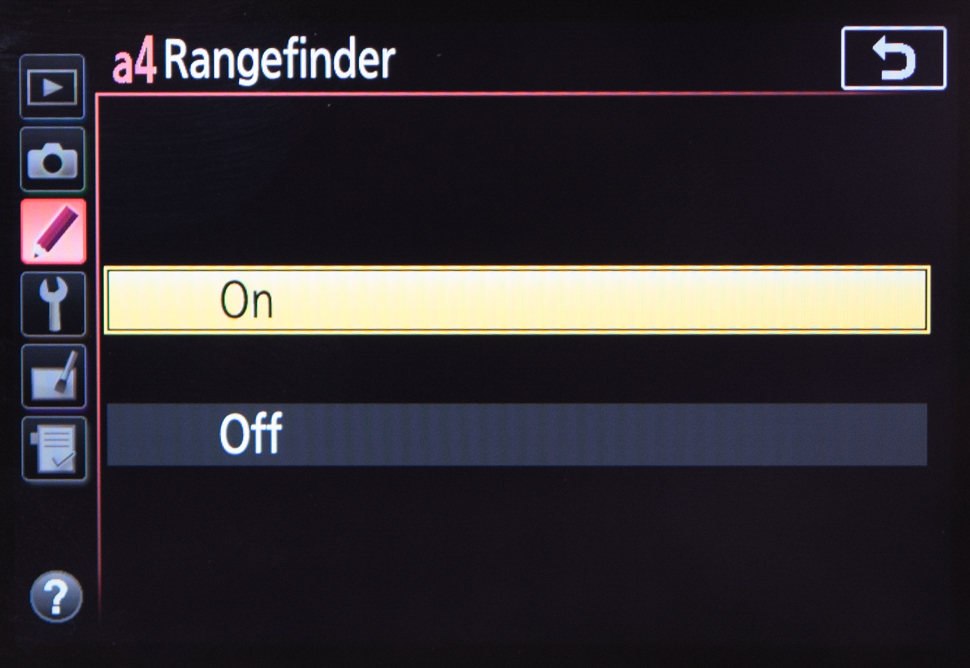
The Rangefinder feature is another of those longstanding, but overlooked, options that can easily help you out if you ever use manual focusing with the viewfinder. This is particularly useful on Nikon bodies as the vast majority do not offer the useful focus peaking feature that is common on compact system cameras and enthusiast compacts.
What this option does is provide you with a more accurate way to check whether something is in focus when focusing manually, using the indicators in the exposure scale that lines the bottom of your viewfinder.
You just line up a focusing point over your subject and turn the manual focusing ring. The scale at the bottom of the viewfinder will show whether you need to turn your focusing ring one way or the other, before the green dot in the bottom-left-hand corner of the viewfinder – the same one that comes into play when using autofocus – confirms that correct focus has been found.
Read more: The best full-frame DSLRs you can buy right now
7. Get to know your AE-L AF-L button

Despite its prominent position on the back plate of most Nikon bodies – even cheaper ones – the AEL/AF-L button is one that many photographers never use.
It's a handy control that's made all the more useful by the fact that you can usually set this up in many different ways, depending on how you want to use it.
You can set this to lock both auto-exposure and autofocus, which is useful when using the focus-and-recompose technique and when shooting against backlighting, or you can use it to simply lock one of these options.
Alternatively, you can set it up to act like an AF-On control, which just initiates autofocus. This is useful when you need to pre-focus on something that may suddenly move, or when shooting with potential obstructions that may force your camera to refocus at a critical moment.
8. Crop, straighten and adjust perspective in camera
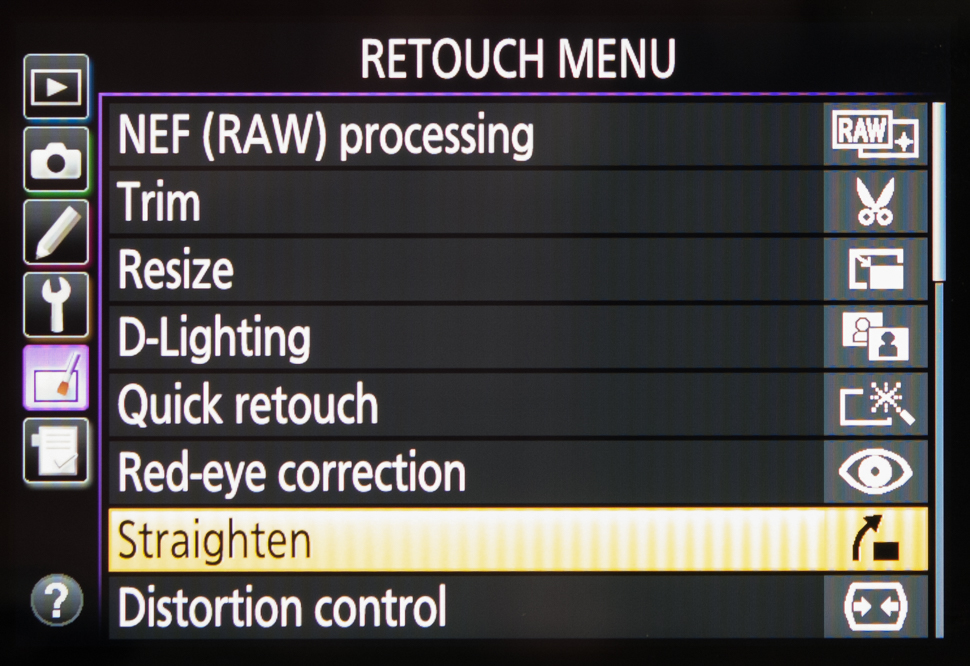
Nikon has long been generous with the post-capture processing options within its Retouch menu, even before in-camera Raw processing became commonplace. Even if we take a relatively entry-level camera such as the D5600, we see many options that can shave off time in post processing.
These include the Straighten option, which helps you to balance out any wonky horizons, as well as the Crop option, which you may find useful if you spot something unwanted in the peripheries of the frame.
The Perspective control option is handy when you want to fix the converging verticals effect you often get when photographing buildings, while Distortion control is perfect for any shots where the subject appears distorted, such as when using wide-angle lenses close to the subject.
9. Retain ambience while using AWB

As is fast becoming the case on cameras from all brands, Auto White Balance (AWB) now typically comes in two flavours on Nikon cameras that are targeted at enthusiasts and professional users.
In addition to the standard Normal option, many cameras also have a 'Keep warm lighting colours' setting. This latter option aims to preserve more of the ambience of a scene lit with warmer light sources, such as tungsten or candlelight, something that can be lost when using the regular AWB option.
More professional bodies such as the D5 have three options: Keep white, Normal and Keep warm lighting colours.
10. Customise your self timer
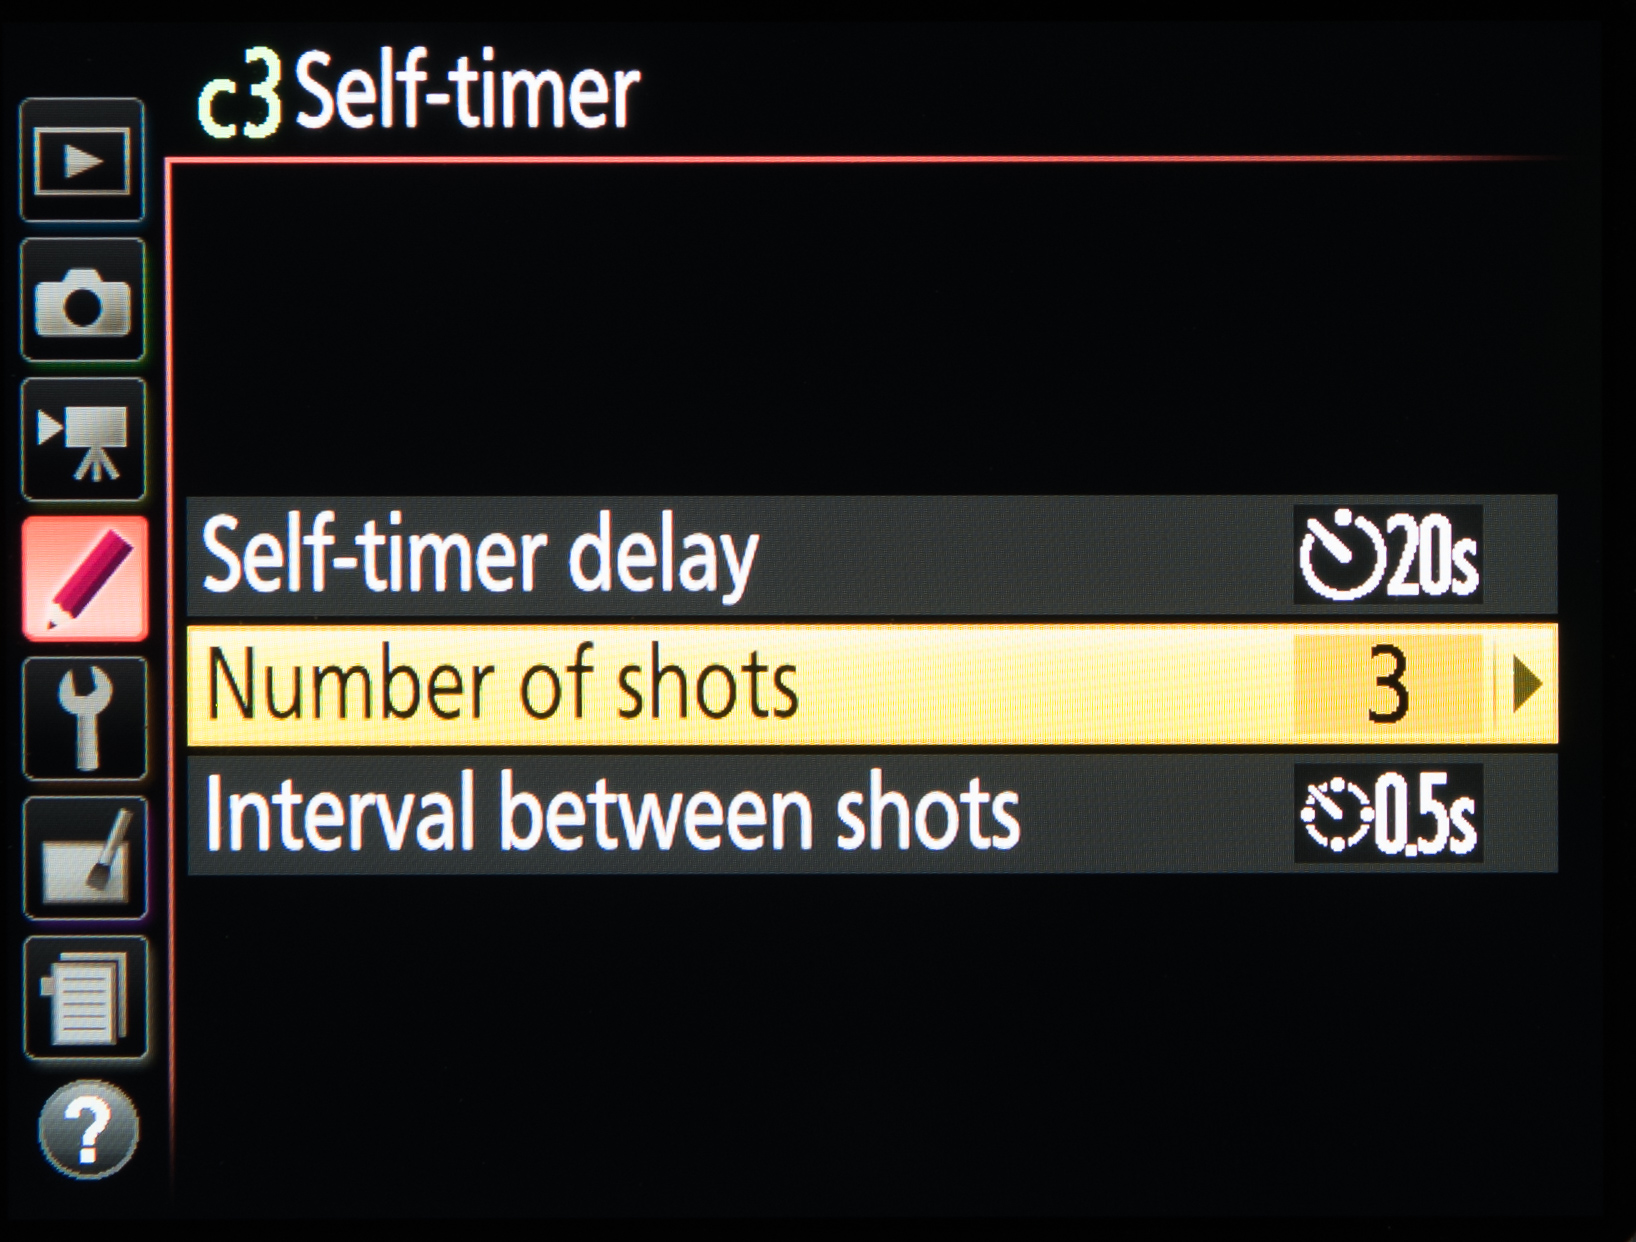
Something many people overlook, or potentially don't even know about, is the fact that you can customise your camera's self timer option. This option is useful as you may be using your self timer for a variety of reasons, from taking group shots with yourself included to any kind of images where you would otherwise use a remote release.
On most bodies you can adjust both the duration of the timer, choosing between 2, 5 10 or 20 seconds, and the number of images that you capture in one go, from 1-9. On more advanced camera, you may even be able to set the interval between exposures.
Read more: Nikon D850 vs Nikon D810: Features compared
Get the Digital Camera World Newsletter
The best camera deals, reviews, product advice, and unmissable photography news, direct to your inbox!
The former editor of Digital Camera World, "Matt G" has spent the bulk of his career working in or reporting on the photographic industry. For two and a half years he worked in the trade side of the business with Jessops and Wex, serving as content marketing manager for the latter.
Switching streams he also spent five years as a journalist, where he served as technical writer and technical editor for What Digital Camera before joining DCW, taking on assignments as a freelance writer and photographer in his own right. He currently works for SmartFrame, a specialist in image-streaming technology and protection.

