Photo hack: make your own reflector with tin foil & cardboard!
A reflector is one of the most useful accessories you can own for portraiture and still life – and it is easy to make your own
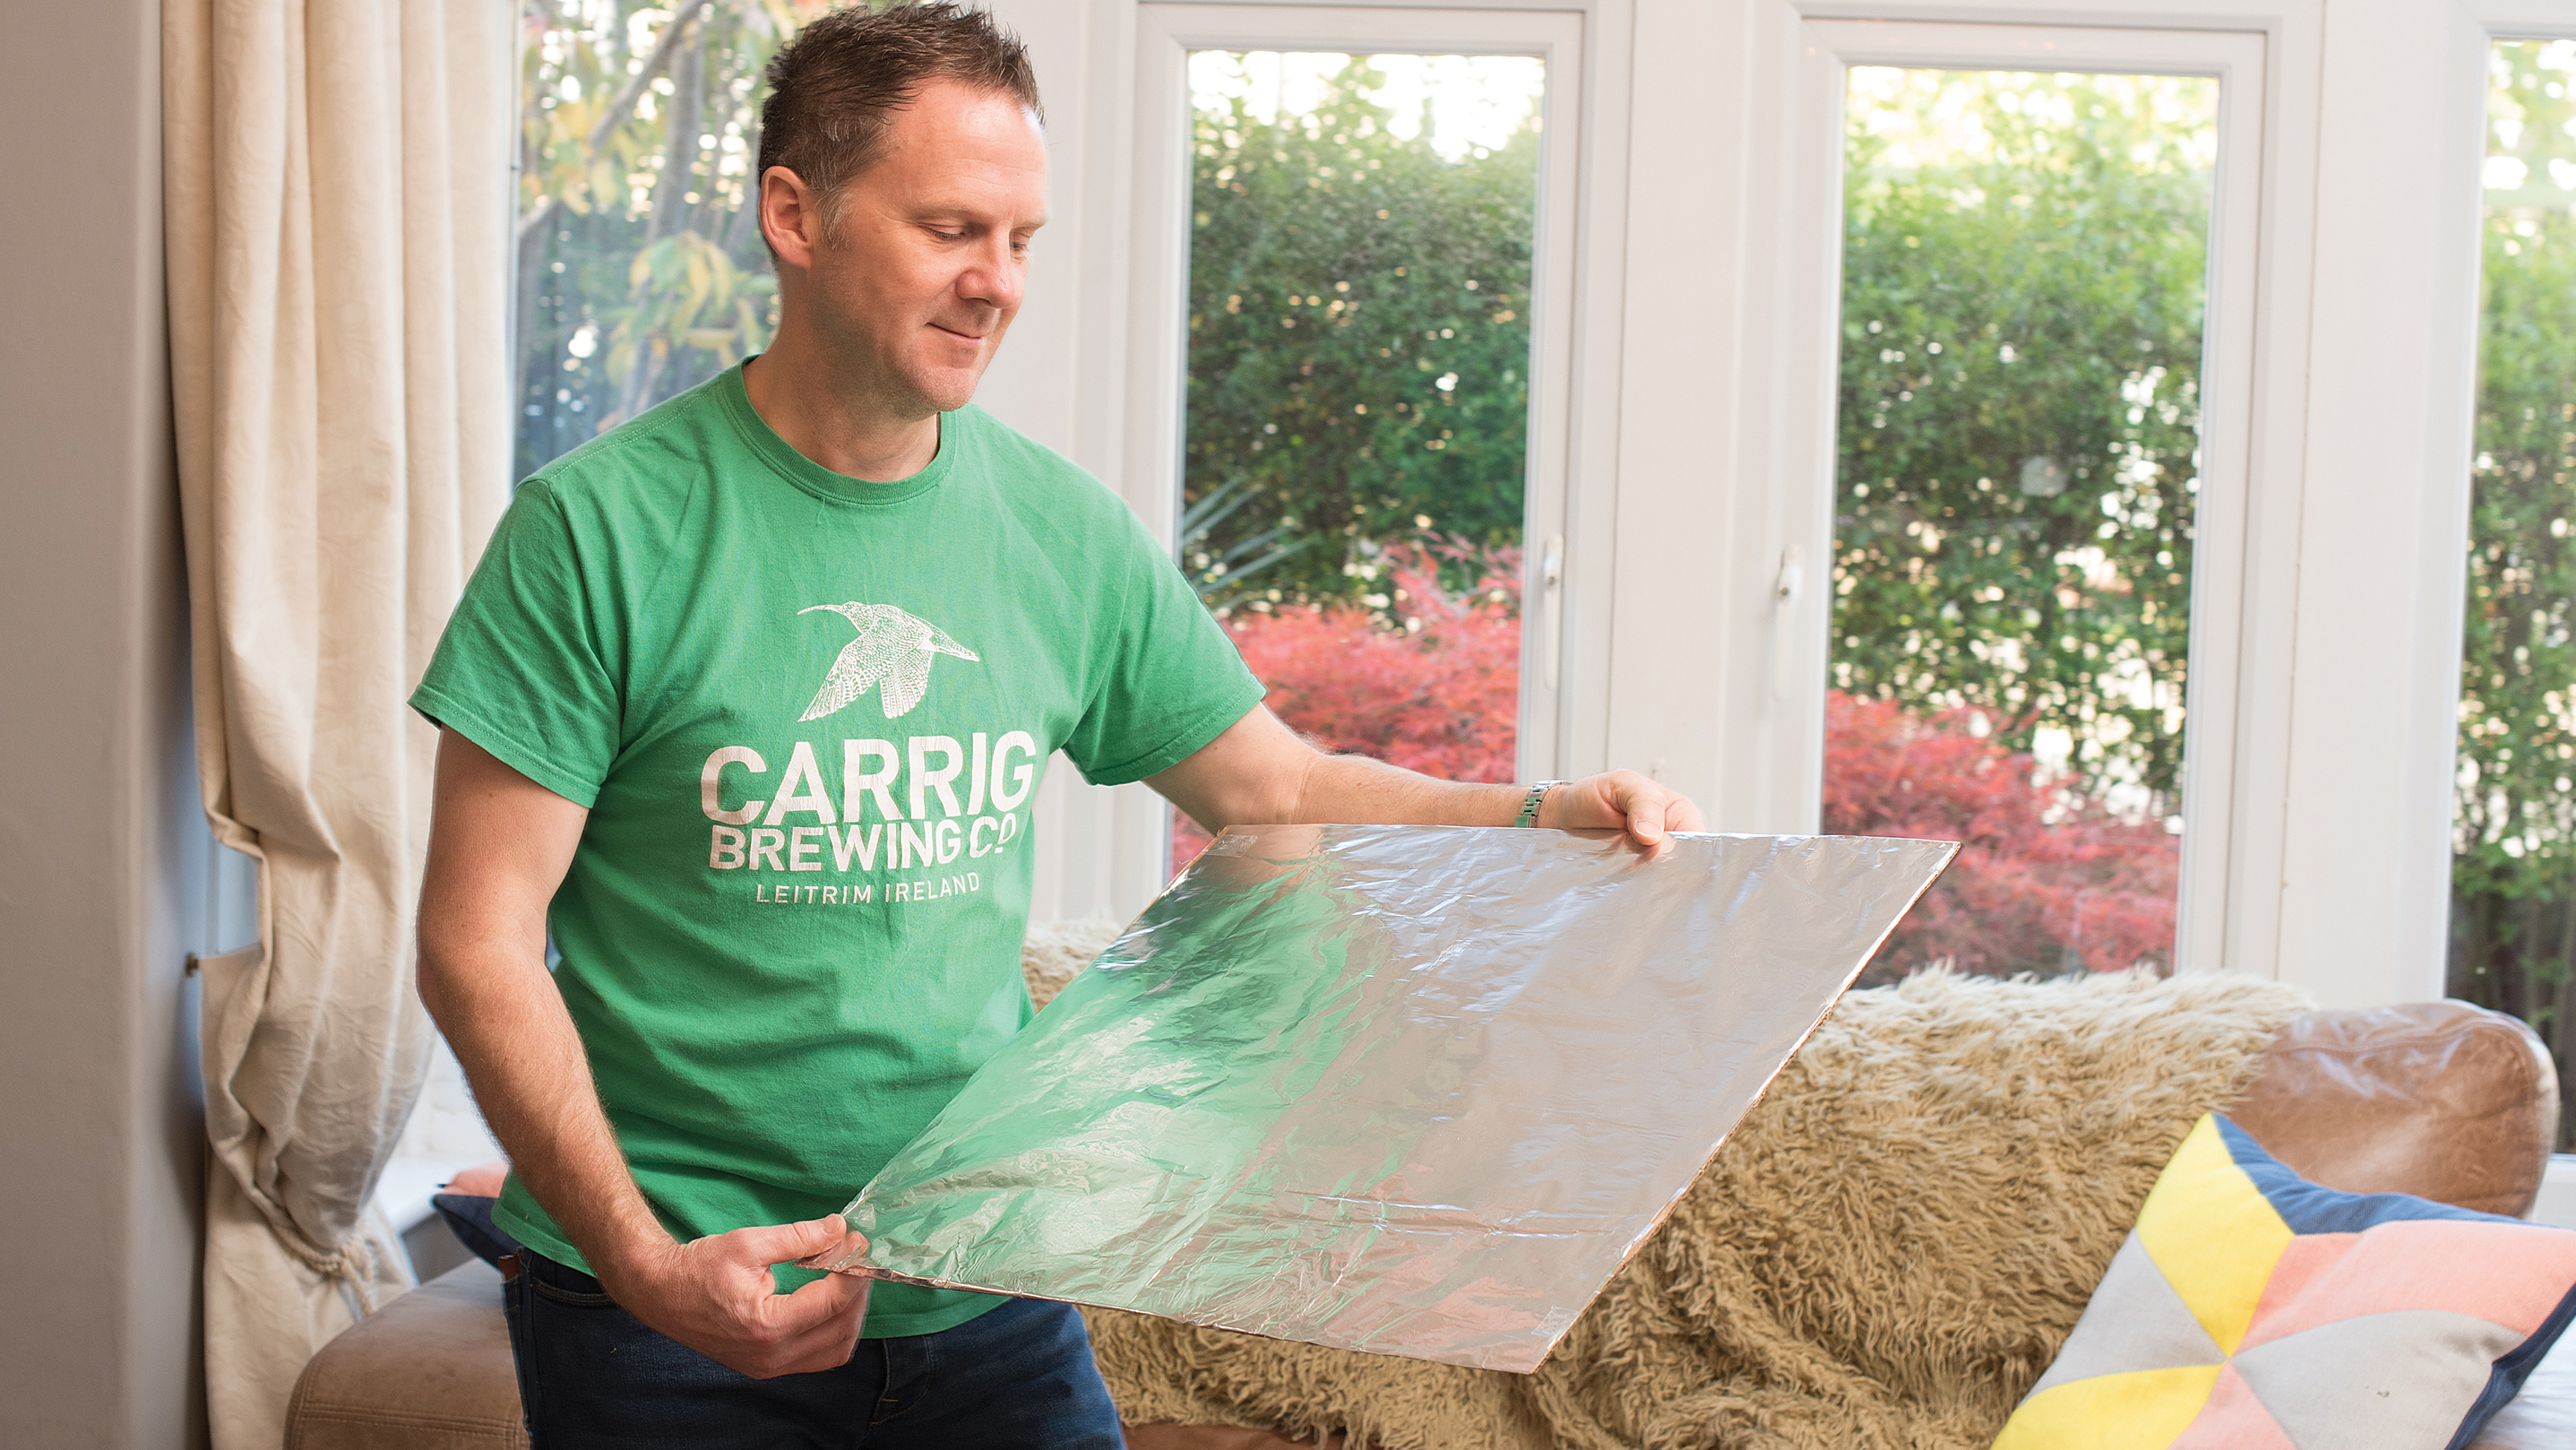
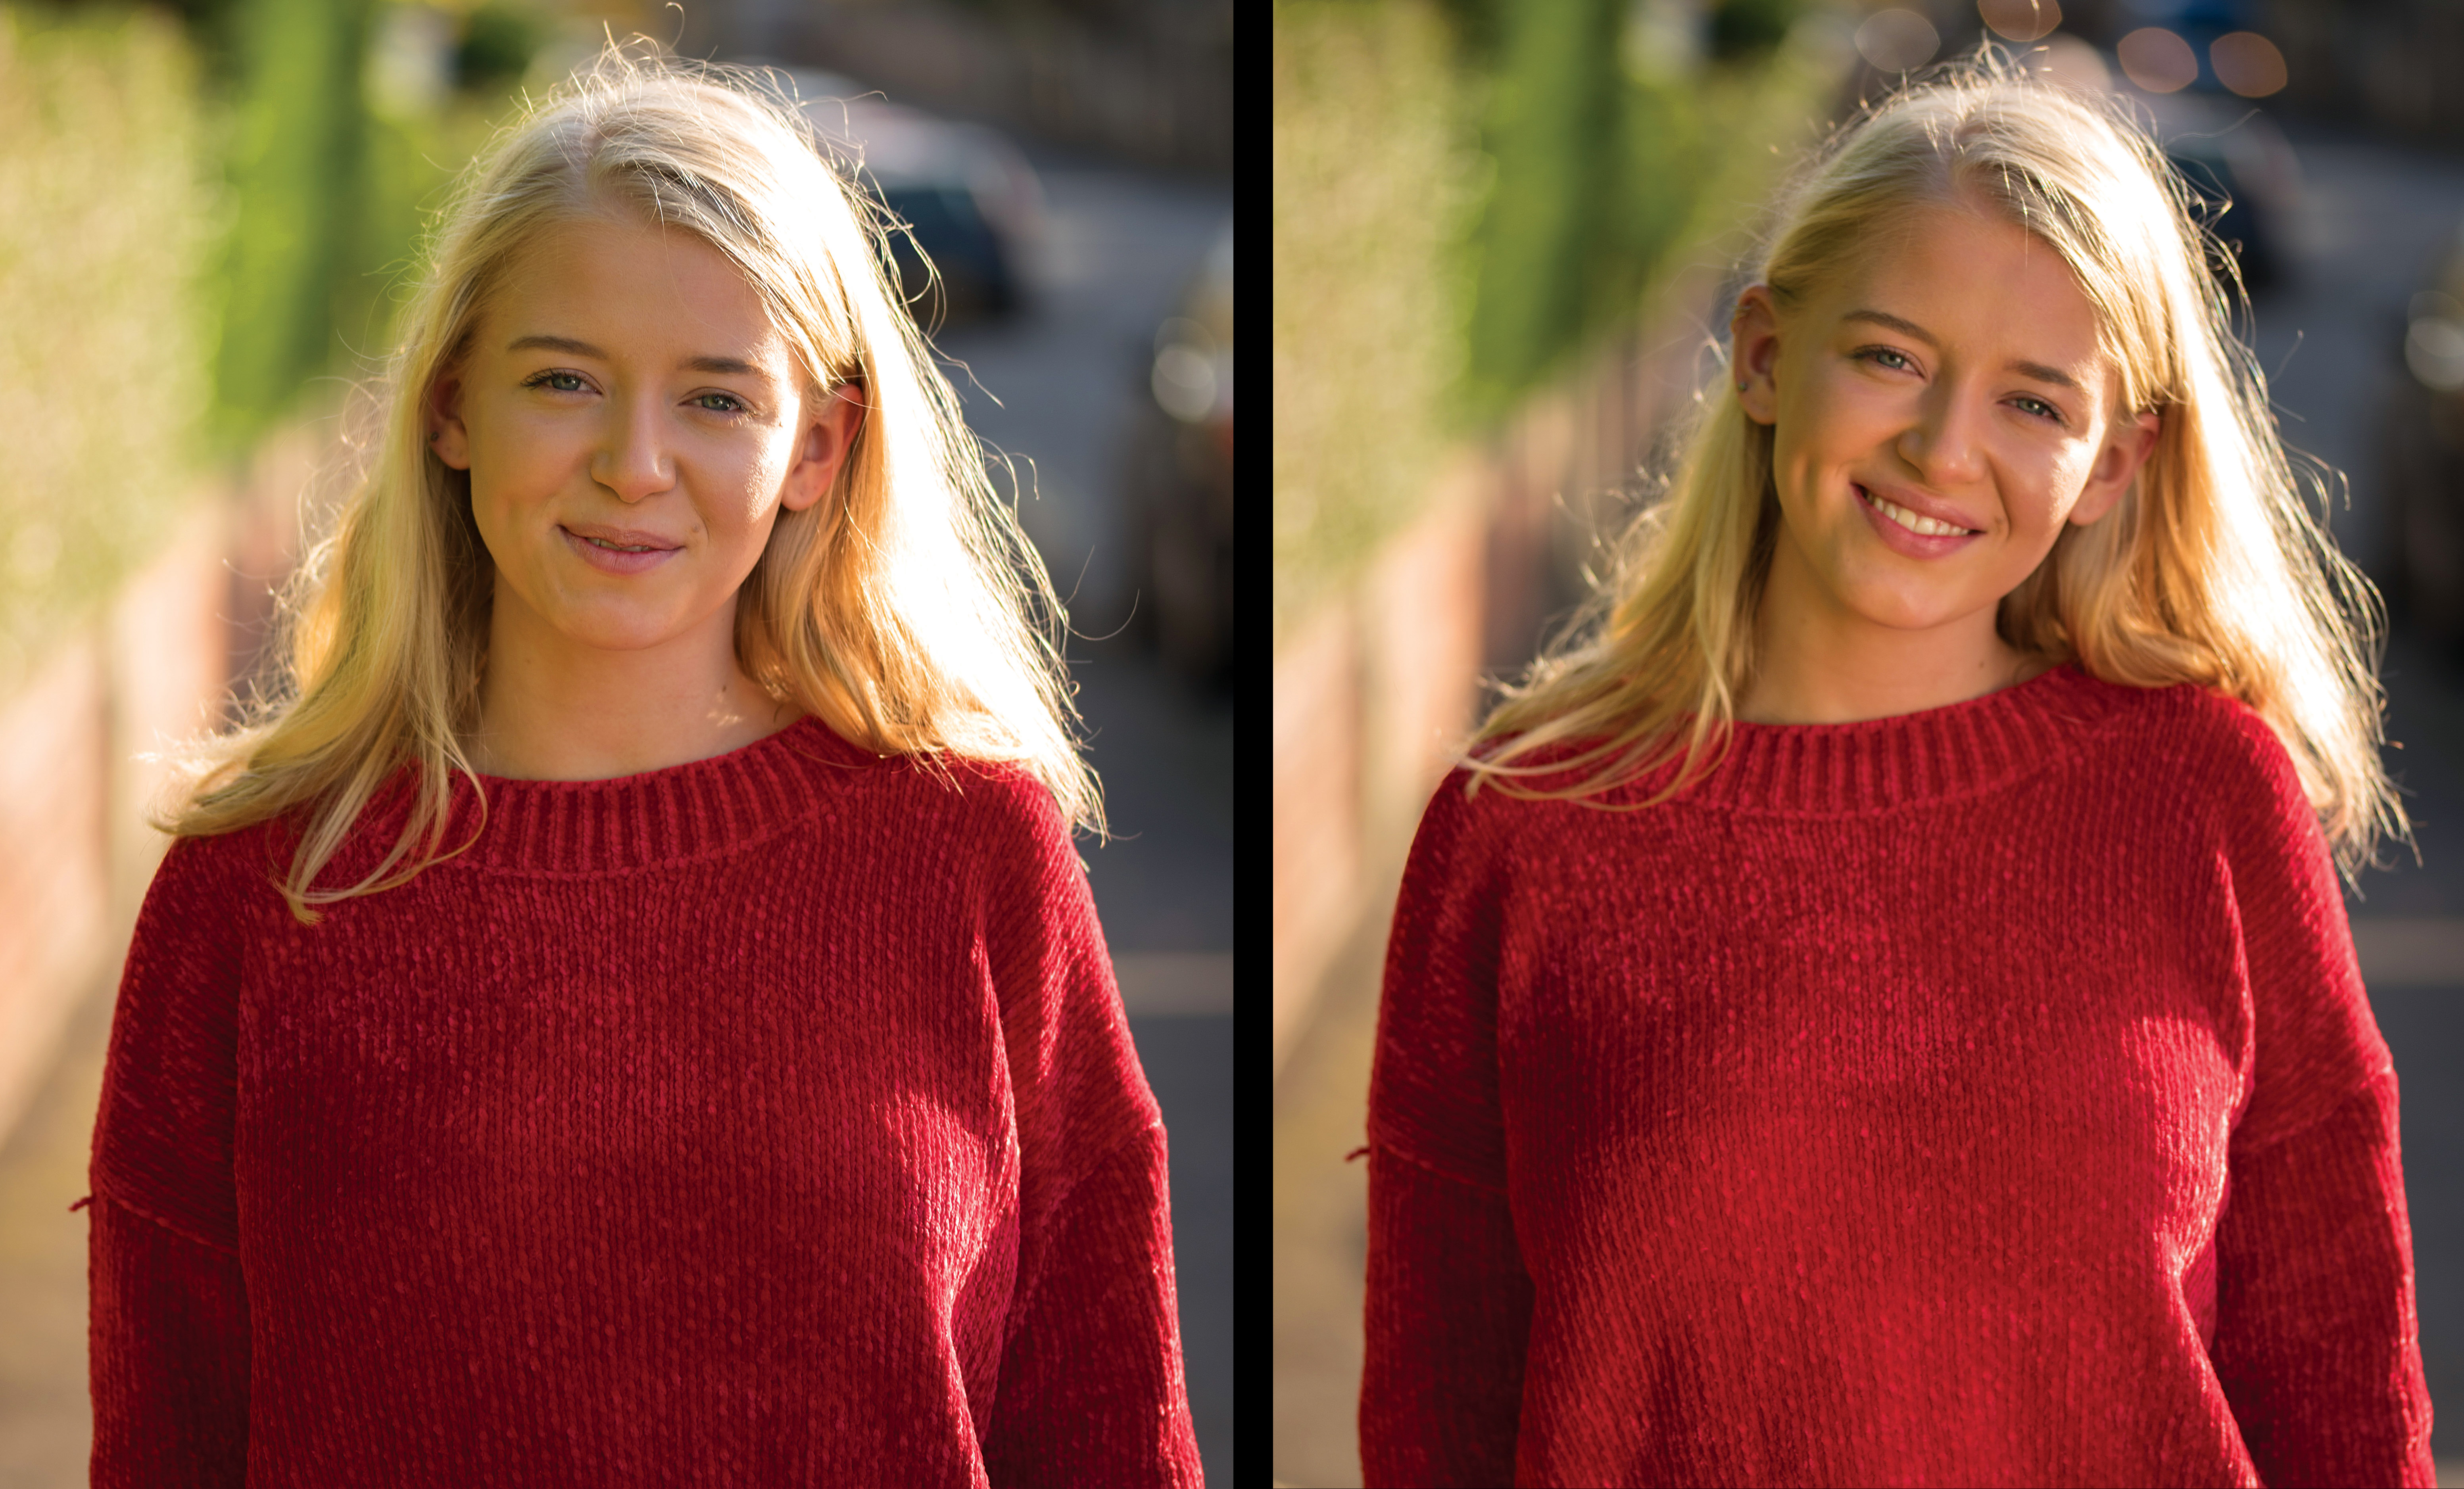
Reflectors are used by photographers to bounce light back into a subject to lift dark shadows or accentuate shape and tone. They’re great for shooting in bright sunlight to bounce light back into faces, and are equally useful in the studio, placed opposite your ‘key’ light to lighten up shadows while still giving subjects a three-dimensional look. With a window and a reflector, in fact, you have a great home studio set-up for photographing members of your household.
Store-bought reflectors for photography come in a variety of shapes and sizes, from white, gold, silver and even striped (gold and silver). But simply put, all they do is reflect light, so anything that is shiny enough can be used as a reflector. So it is really easy to make your own.
We made our reflector by taping aluminum foil onto a large sheet of cardboard, for a powerful reflection with a silvery light, but an even simpler option is a piece of blank, white card.
Hold it at the opposite side to the light source in relation to your subject, and the light will bounce back in to illuminate it. You will see the effect as you gently reposition the reflector, but take care not to blind your model if the sun is shining!
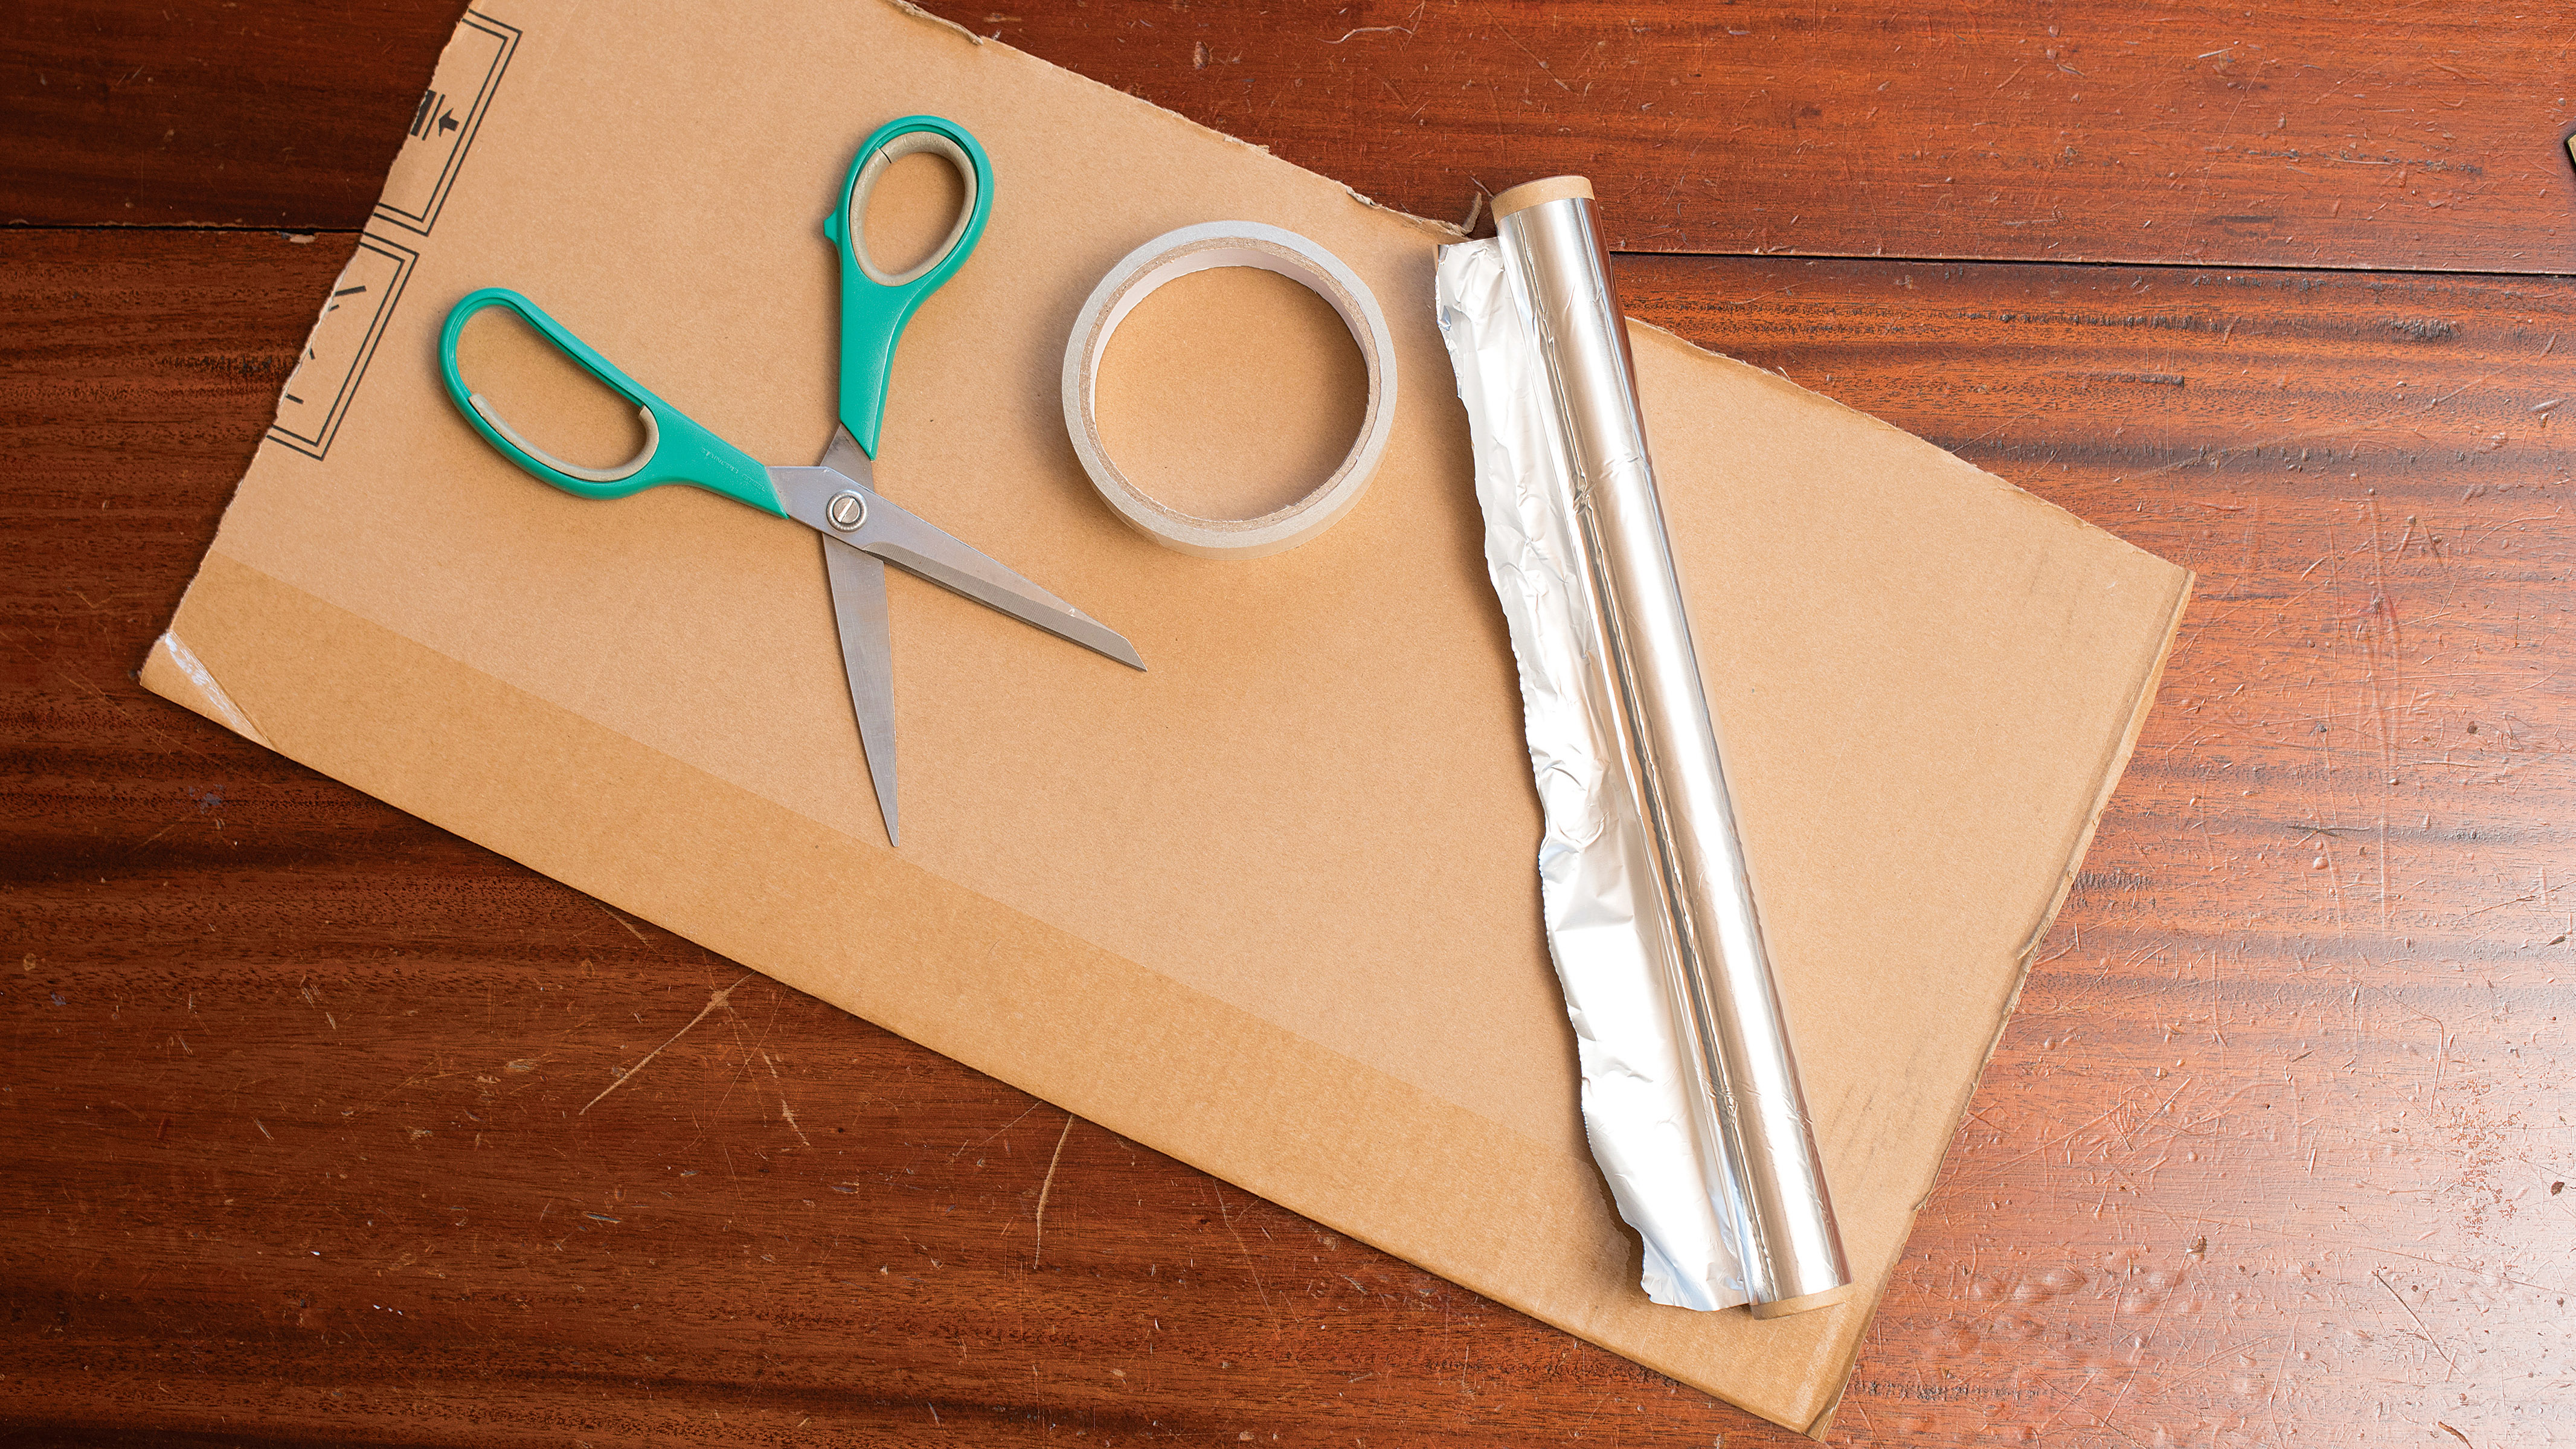
1. What you need
You don’t need much to make a cheap, fully-functional light reflector. You need a piece of cardboard, ideally the same sort of size (or bigger) than the subject you are shooting. So for a head-and-shoulders portrait a piece three foot (one metre) piece of cardboard is ideal.
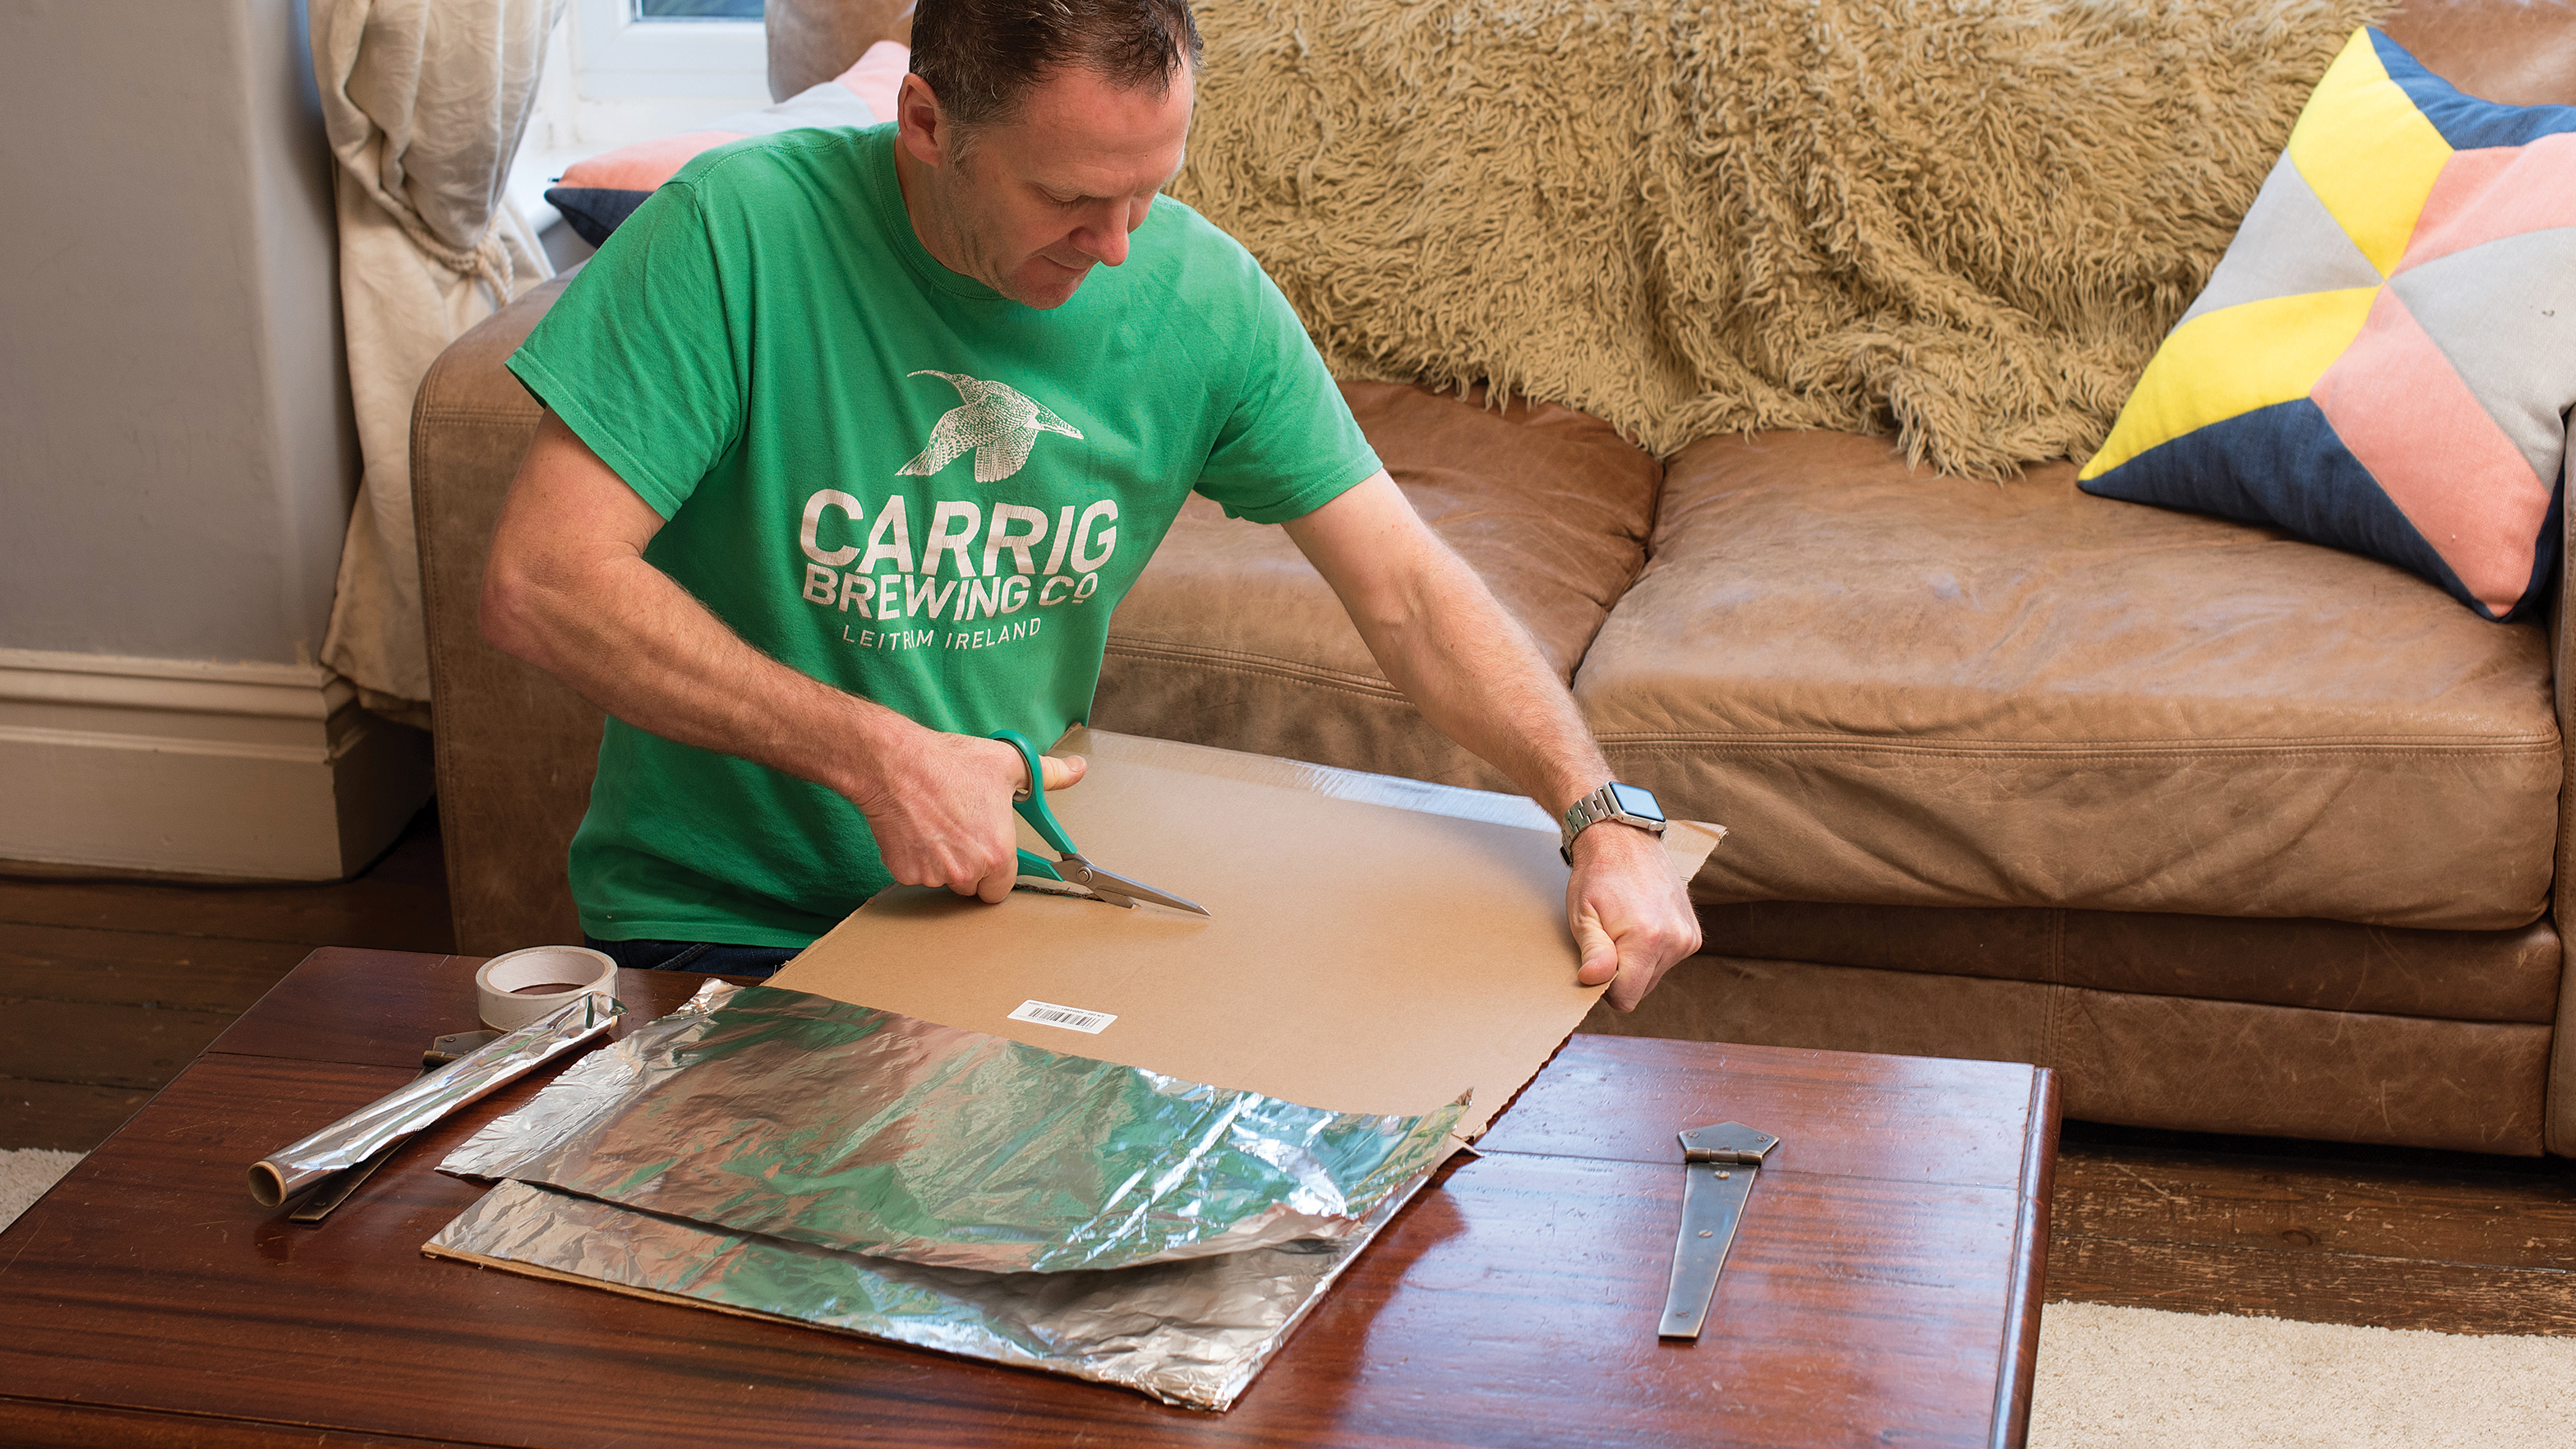
2. Making your DIY reflector
You now need aluminum foil and tape. Run the foil over the edge of the cardboard and tape. Take care not to wrinkle the foil as you tape it on or you’ll end up with ‘hot spots’ of brighter areas on your reflector.
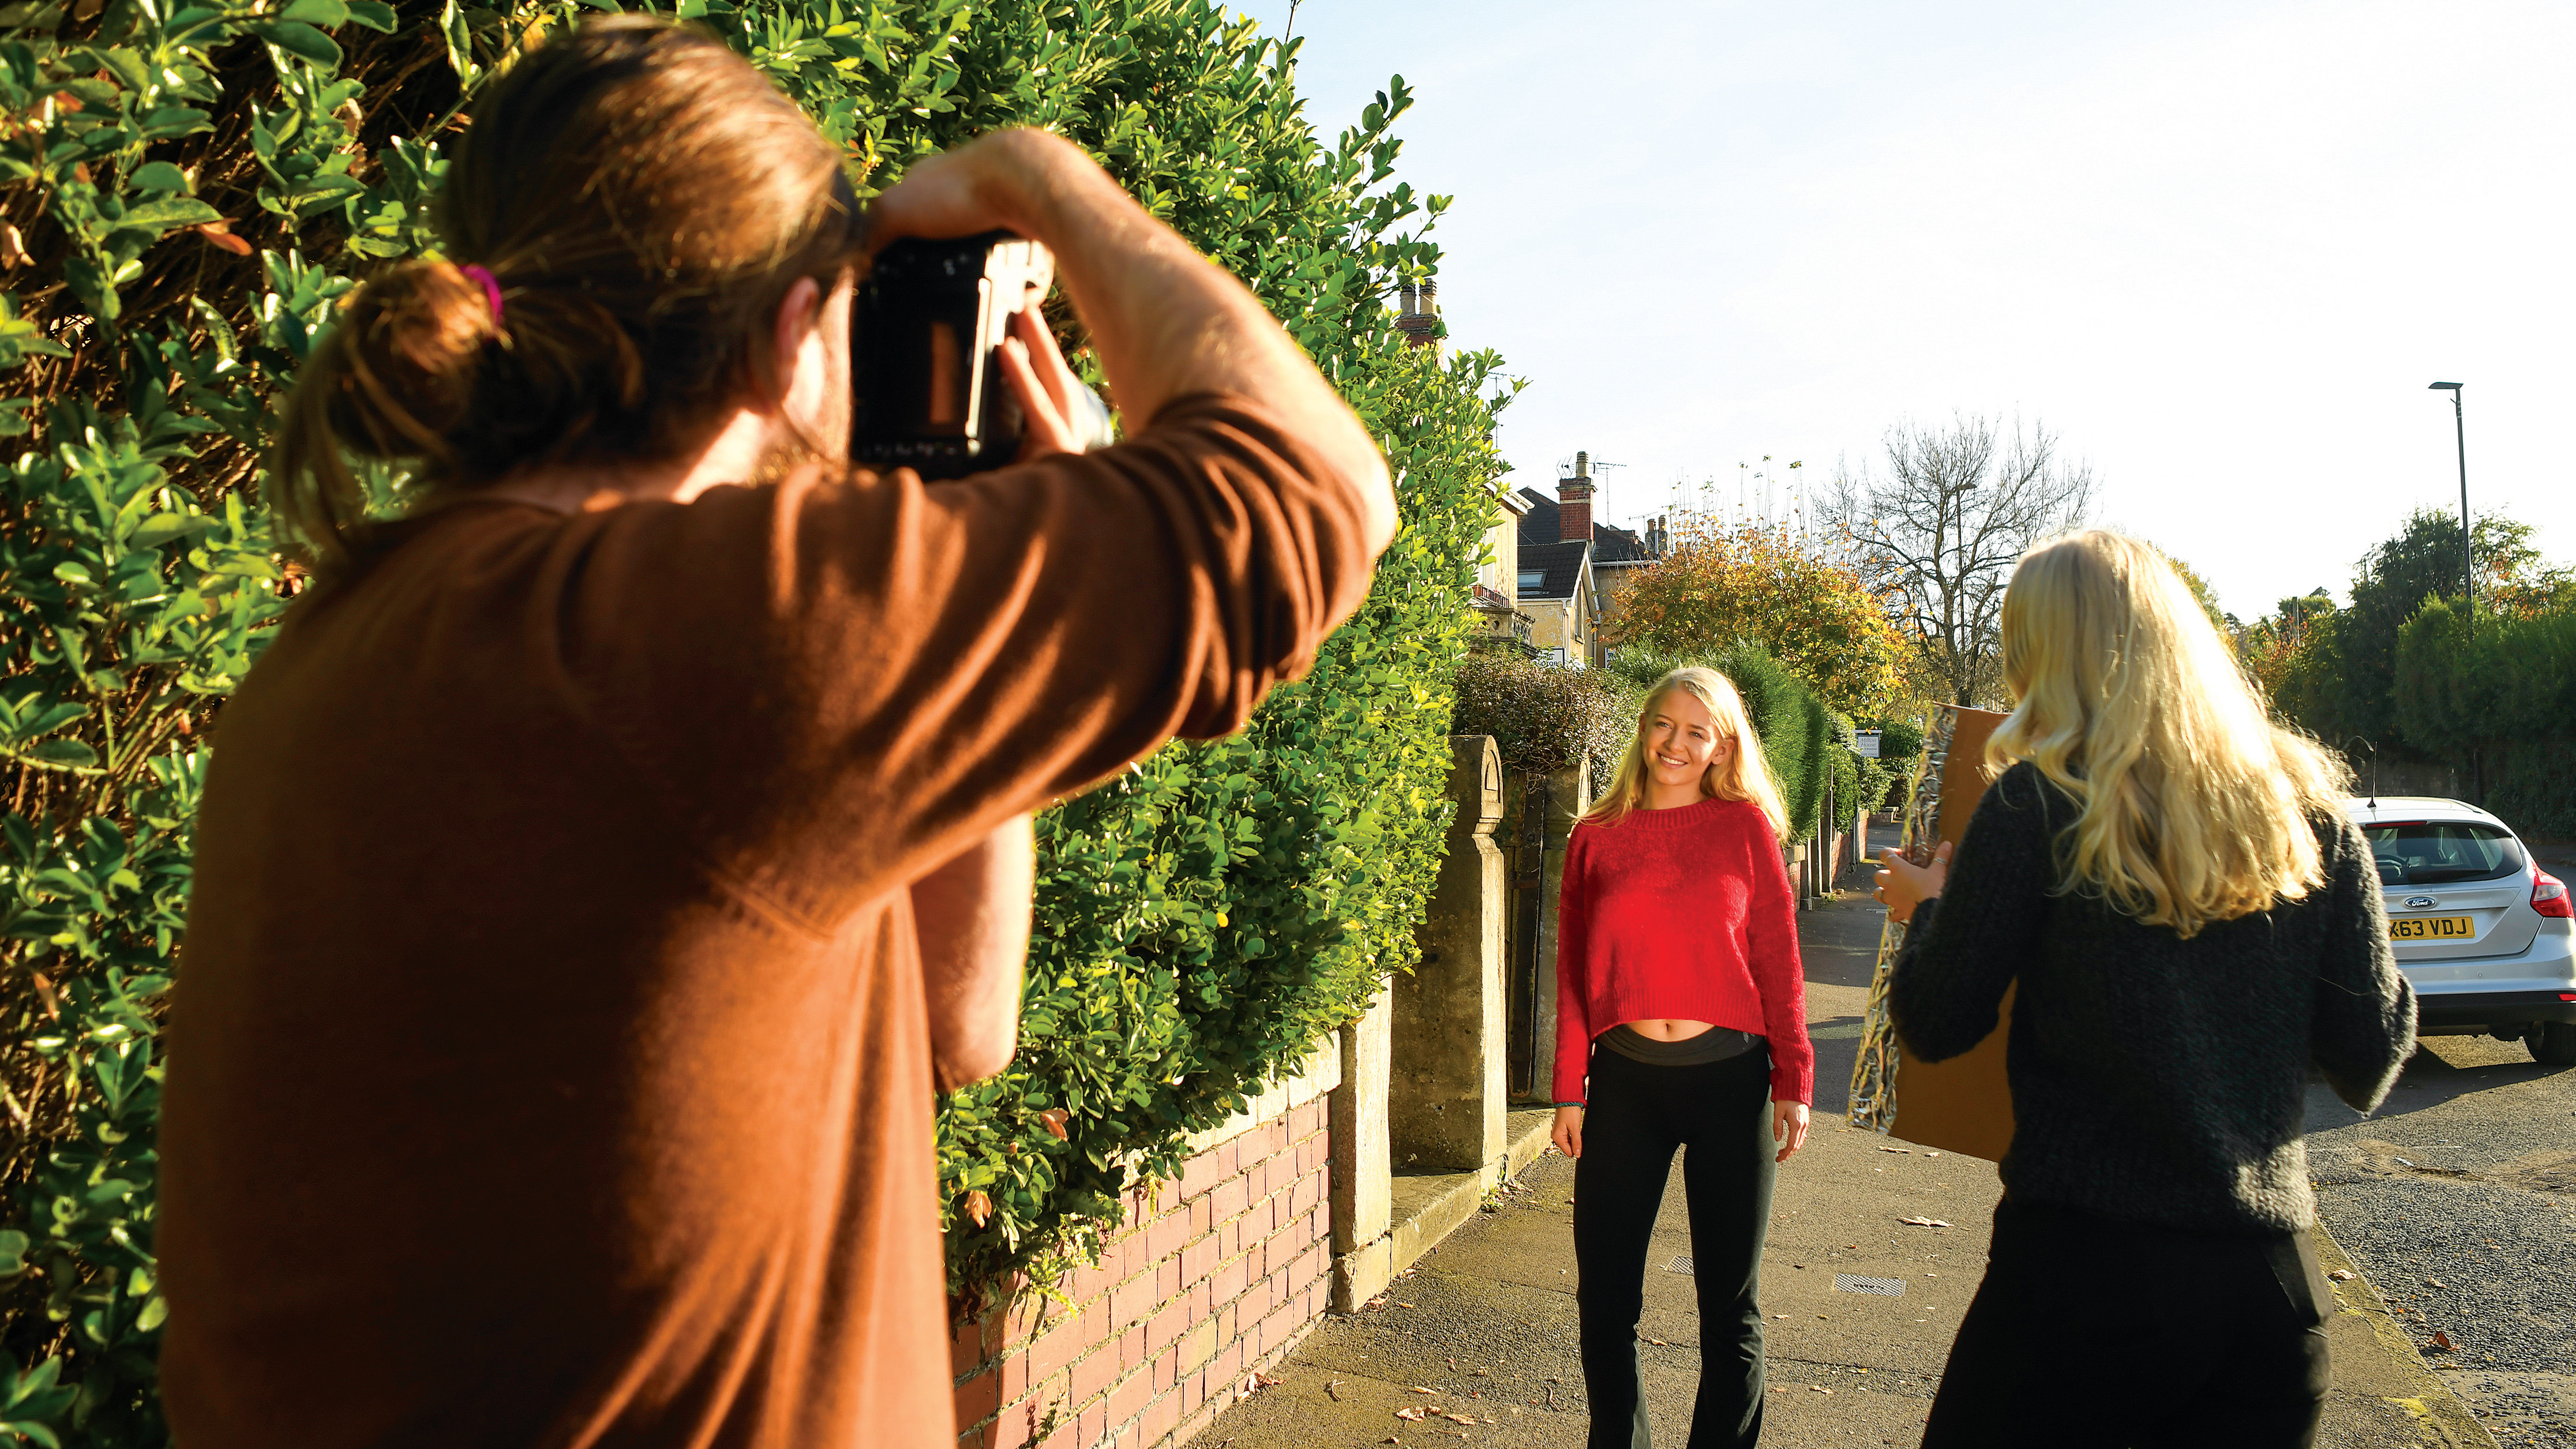
3. Using your DIY reflector
Position the model with the sun behind them and bounce in the sunlight with your DIY reflector. On bright days subtly feather in the edge of the reflected light to avoid blinding your model.
Read more
Portrait photography tips: take perfect people pictures
The best reflectors for photography you can buy
Get the Digital Camera World Newsletter
The best camera deals, reviews, product advice, and unmissable photography news, direct to your inbox!

Prior to joining digitalcameraworld.com as Guides Editor, Adam was the editor of N-Photo: The Nikon Magazine for seven years, and as such is one of Digital Camera World's leading experts when it comes to all things Nikon-related.
Whether it’s reviews and hands-on tests of the latest Nikon cameras and lenses, sharing his skills using filters, tripods, lighting, L brackets and other photography equipment, or trading tips and techniques on shooting landscapes, wildlife and almost any genre of photography, Adam is always on hand to provide his insights.
Prior to his tenure on N-Photo, Adam was also a veteran of publications such as PhotoPlus: The Canon Magazine, so his wealth of photographic knowledge isn’t solely limited to the Big N.
