12 mobile photography tips… how to take better pictures with your smartphone
Want to improve the pictures you take with your smartphone? These essential mobile photography tips will help
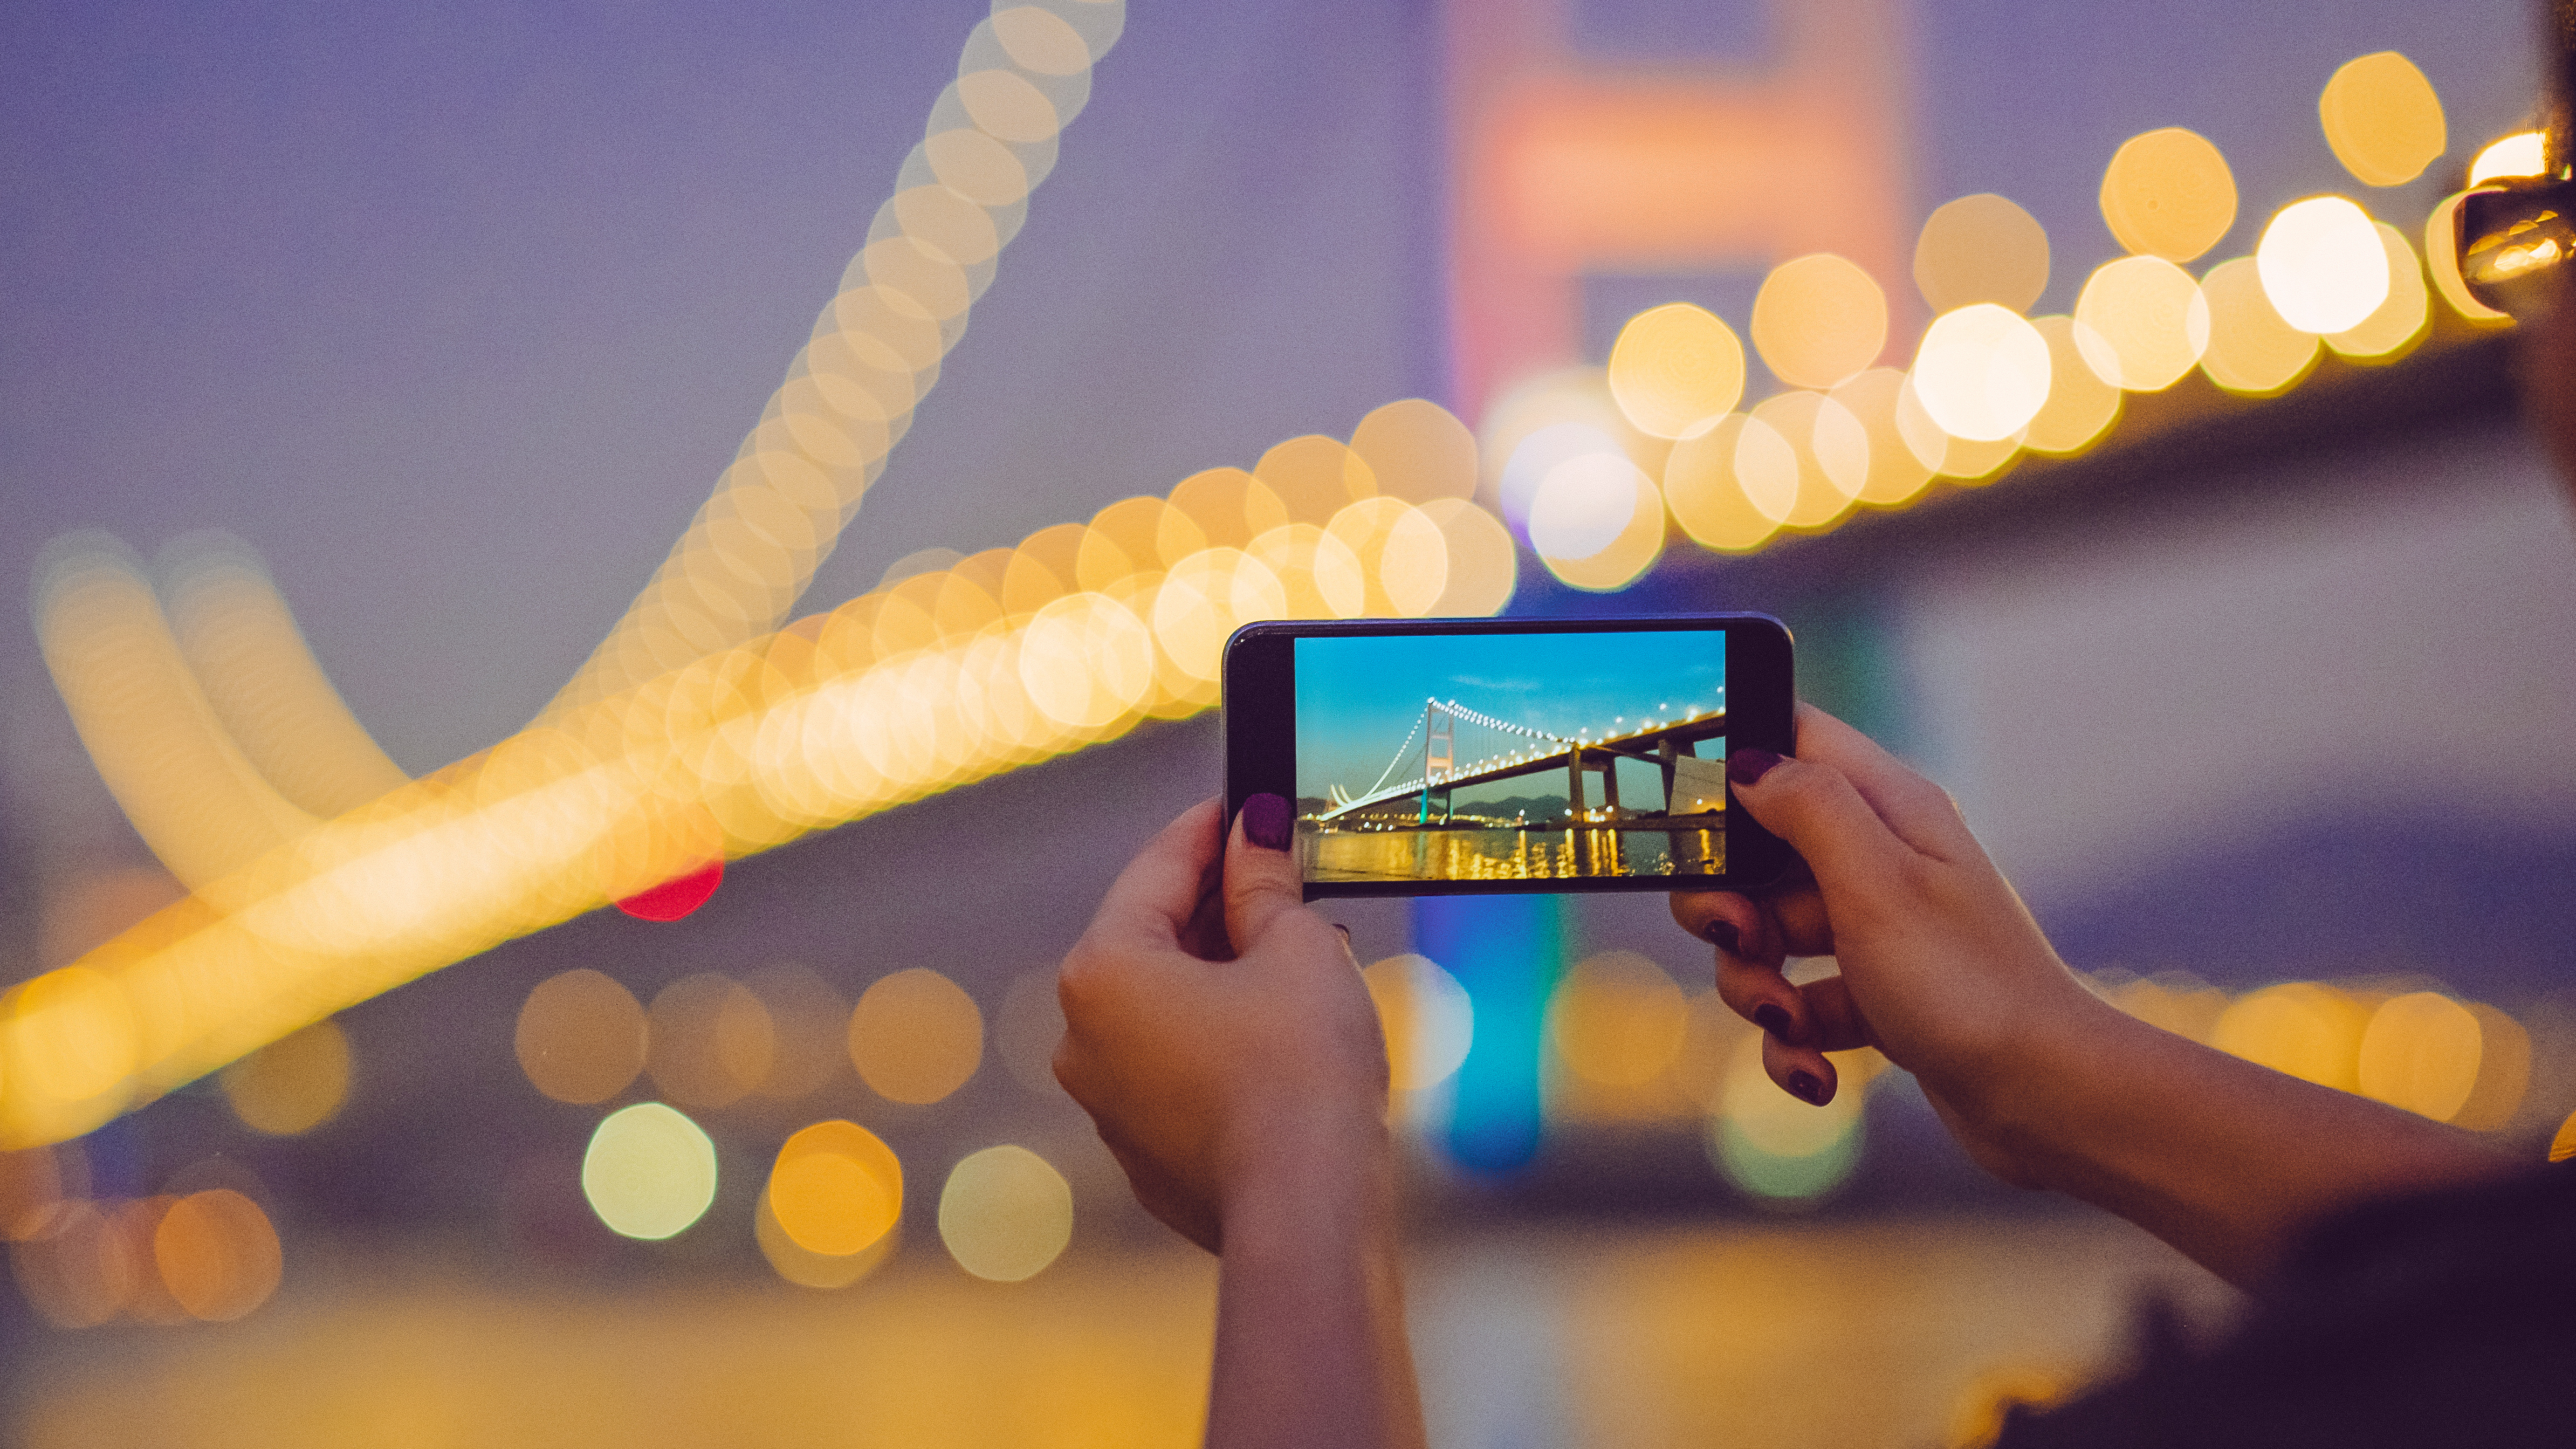
Smartphones are more popular than ever, and many people are switching to them to take their holiday snaps and fill their family photo albums. The best camera phones are small, convenient and always with us – but some moan their image quality isn’t all it’s cracked up to be.
We say the power is in the hands of the photographer. In the right hands, beautiful images can be captured with whatever smart device you have in your pocket. All it takes to improve your phone shots is to learn a few tips and tricks to get better with your smartphone photography. So here are ten mobile photography tips to get yourself smarter results.
1. Get the right exposure

Usually, all it takes to expose your photo correctly is a click of the shutter button. But occasionally, you’ll find that what you’re photographing (ie your subject) is either too dark or too bright. This is particularly a problem if some parts of your image are much brighter (or darker) than others
To adjust for this on the majority of smartphones, simply tap on the area of your screen where the subject lies, and your camera will automatically adjust the exposure to balance it out. Be aware of bright surrounding areas which will be so bright that their details will be lost; sometimes this effect enhances an image, but you may want to recompose to remove anything too distracting.
2. Get close – but not too close

Most smartphones can focus close to the subject, but all lenses have a minimum focusing distance – that is, a point in front of the lens at which it doesn’t focus any closer.
If you’re very close and your subject is still blurry, back away until it becomes sharp. It won’t take much, perhaps a couple of centimetres or so. This way you’ll have a sharp image of your subject and be able to crop in on it later to increase its apparent size.
3. Use the grid

On most smartphone cameras there’s a built-in grid that shows the screen sliced into three sections, and this stems from probably the most well-known rule in photography: the rule of thirds.
Here, the idea is that if you place your subject along one of these lines, or at one of the intersections, you’ll end up with a stronger composition. With landscapes, for instance, try to place the horizon so that is either a third of the way down from the top of the picture, or a third of the way up from the bottom. And if you are taking a picture of a person standing in a picturesque spot, don't have them standing right in the middle of the frame – have them slightly to the side.
4. Use window light
The flash on your smartphone is harsh and unflattering. Typically situated right next to the lens, the light comes head-on in relation to your subject and provides you with no dimensionality.
The cheapest and quickest way to get beautiful images is to use the light from your window. If you can, avoid direct sunlight spilling through and opt for the shaded window. Soft, diffuse and wrapping light will complement your subject much better than anything harsh and direct. The simplest way to get great portraits indoors, therefore is to ask your subject to step into a better lit part of the room.
5. Get down level

Most of us are used to whipping out the phone, taking a snap and walking off. Yet, when it comes to photographing children or pets, this is rarely the best approach.
By looking down on the child or pet we’re repeating the same angle in which most of us see these subjects all the time. Crouching down to be at the same level as them, however, gives a viewpoint similar to that of your subject.
Get your lens level with your cat, for example, and you’re instantly transported to their world, with towering doors, high-up picture frame, or enormous trees. Getting down on your knees, or even lying down on the ground, will often give you a more dynamic looking pictures.
6. Block out lens flare

There’s no telling when a good photo opportunity might present itself, and with the smartphone being the camera you’re almost guaranteed to always have on you, it’s likely you’ll snap a picture in less than favorable lighting conditions.
For example, a setting sun might provide you with a lot of lens flare. The solution? Simply block this light with your hand placed alongside the lens – just be careful not to get your fingers in the shot. Similarly, street lights after dark will play havoc with your city scenes, unless you recompose the image to minimize the problem,.
A little recomposing might be necessary to allow your hand to block the light without getting in the frame, but this is a sure-fire way to eliminate flare and glare at a moment’s notice.
7. Put your selfie technique to better use

Don’t just rely on that front-facing lens to make your new profile picture – it’s extremely handy for shooting a variety of hard-to-reach places too.
Trying to capture an image of a ceiling or something else from ground level, for example, can be awkward when using the standard rear-facing camera, as it can often require you to crouch down to an uncomfortable position. With the front-facing camera, however, you can view such a composition clearly and make whatever adjustments are necessary, with all controls easily accessible.
8. Shoot through windows

It’s probably not a good idea to start snapping images through the neighbor’s windows, but shooting through your own can reveal an otherwise-hidden opportunity for some fantastic photos.
Use reflections from outside to frame a portrait or provide a mirror-like reflection for a distorted view on the world. If you happen to come across some stained glass, or windows that are bevelled, even better. Use this distortion to your advantage – just try to keep it minimal around your subject so that it’s still clear what you’re photographing.
9. Give it a wipe
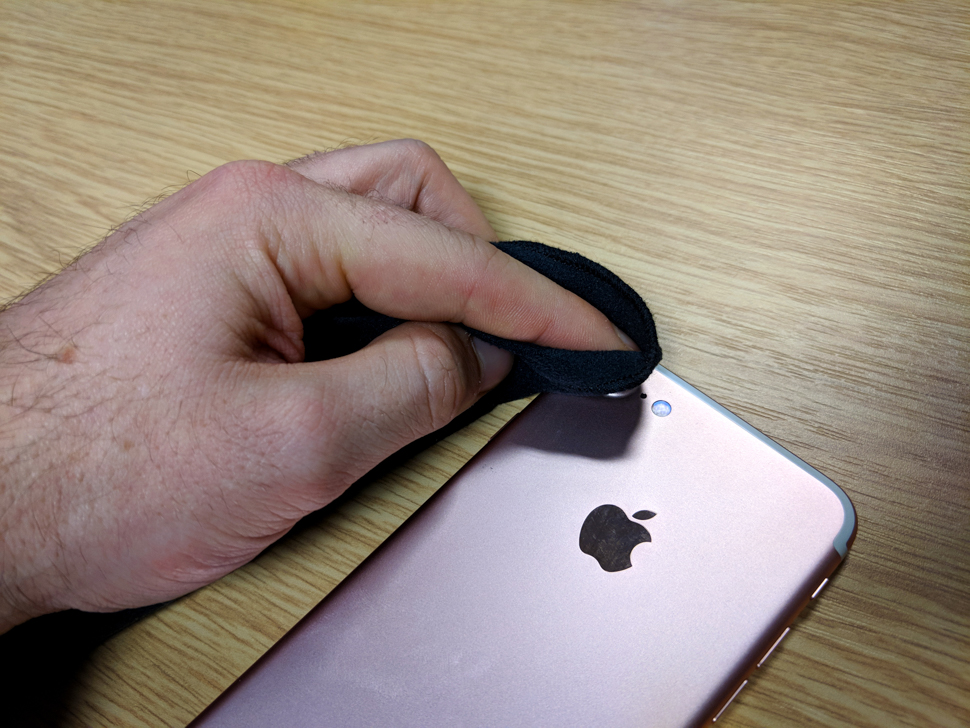
Smartphone manufacturers design their products to be scratch-resistant and fairly hardy over their lifetime, and this is especially true of the camera lens. One small scratch will ruin any and all photos, so it’s no wonder that this is particularly hard wearing.
However, although scratch-resistant, you will need to occasionally clean these. A quick blast of hot breath and a wipe with the shirt usually does the trick, but glass cleaner and a microfiber cloth will do a better job of cleaning the dirt off of the lens. Oh, and don’t forget to do both front- and rear-facing lenses.
• The best camera lens cleaners
10. Search for emptiness

With wide-angle lenses it’s easy to capture everything in the scene, which is precisely why you should seek out areas with large negative space – that is, simple, frame-filling backgrounds. For example: by making a big expanse of blue sky the priority, you’re making your subject more apparent when framed at the bottom of the image.
11. Keep it steady

Unwanted blurred pictures can be a particular problem when shooting in lowlight conditions. But you need to watch your shooting technique in any situation. Don't take a picture while the phone is moving – hold it steady, and gently press the trigger button. That way you will ensure you are not to blame for any camera shake.
Moving subjects (such as shots of friends and family) can bring their own blur problems... And one of the best tricks here is simply to take multiple pictures. One will almost certainly be sharper and less blurred than others. You can weed out the duff ones before you show everyone your winning shot.
And in some situations, such as for cityscapes after dark, the best pictures will almost always be taken by using a smartphone tripod. And if you haven't got one of these, rest the phone on a surface (or wedge yourself against a wall) to keep the phone as steady as possible.
12. Explore the angles

Older or more basic mobile phones will just have the one rear lens for you to play with. But the best camera phones available today will usually also give you a wide-angle and a telephoto lens for you to switch over to. This choice of focal length gives you a chance to shoot a wider range of subjects well, and to add variety to your photo album.
However, there is no pressing need to upgrade your handset. There are plenty of add-on lenses for smartphones that will allow you to zoom in that bit closer, or to fit more of the building into the frame. These are a great investment for those wanting to get more creative with their picture taking.
Read more:
• 10 tips for Instagram success with your photography
• The best add-on lenses for iPhone and Android phones
• Best selfie sticks for your smartphone
• The best iPhone tripods
• The best gimbals for your iPhone, GoPro and camera
• The best phone cases to protect your camera phone
Get the Digital Camera World Newsletter
The best camera deals, reviews, product advice, and unmissable photography news, direct to your inbox!
Jase Parnell-Brookes is an award-winning photographer, educator and writer based in the UK. They won the Gold Prize award in the Nikon Photo Contest 2018/19 and was named Digital Photographer of the Year in 2014. After completing their Masters Jase has spent a good chunk of two decades studying and working in photography and optics shooting and writing all over the world for big-name brands and media outlets. Now the Channel Editor for Cameras and Skywatching at Space.com their speciality is in low light optics and camera systems.

