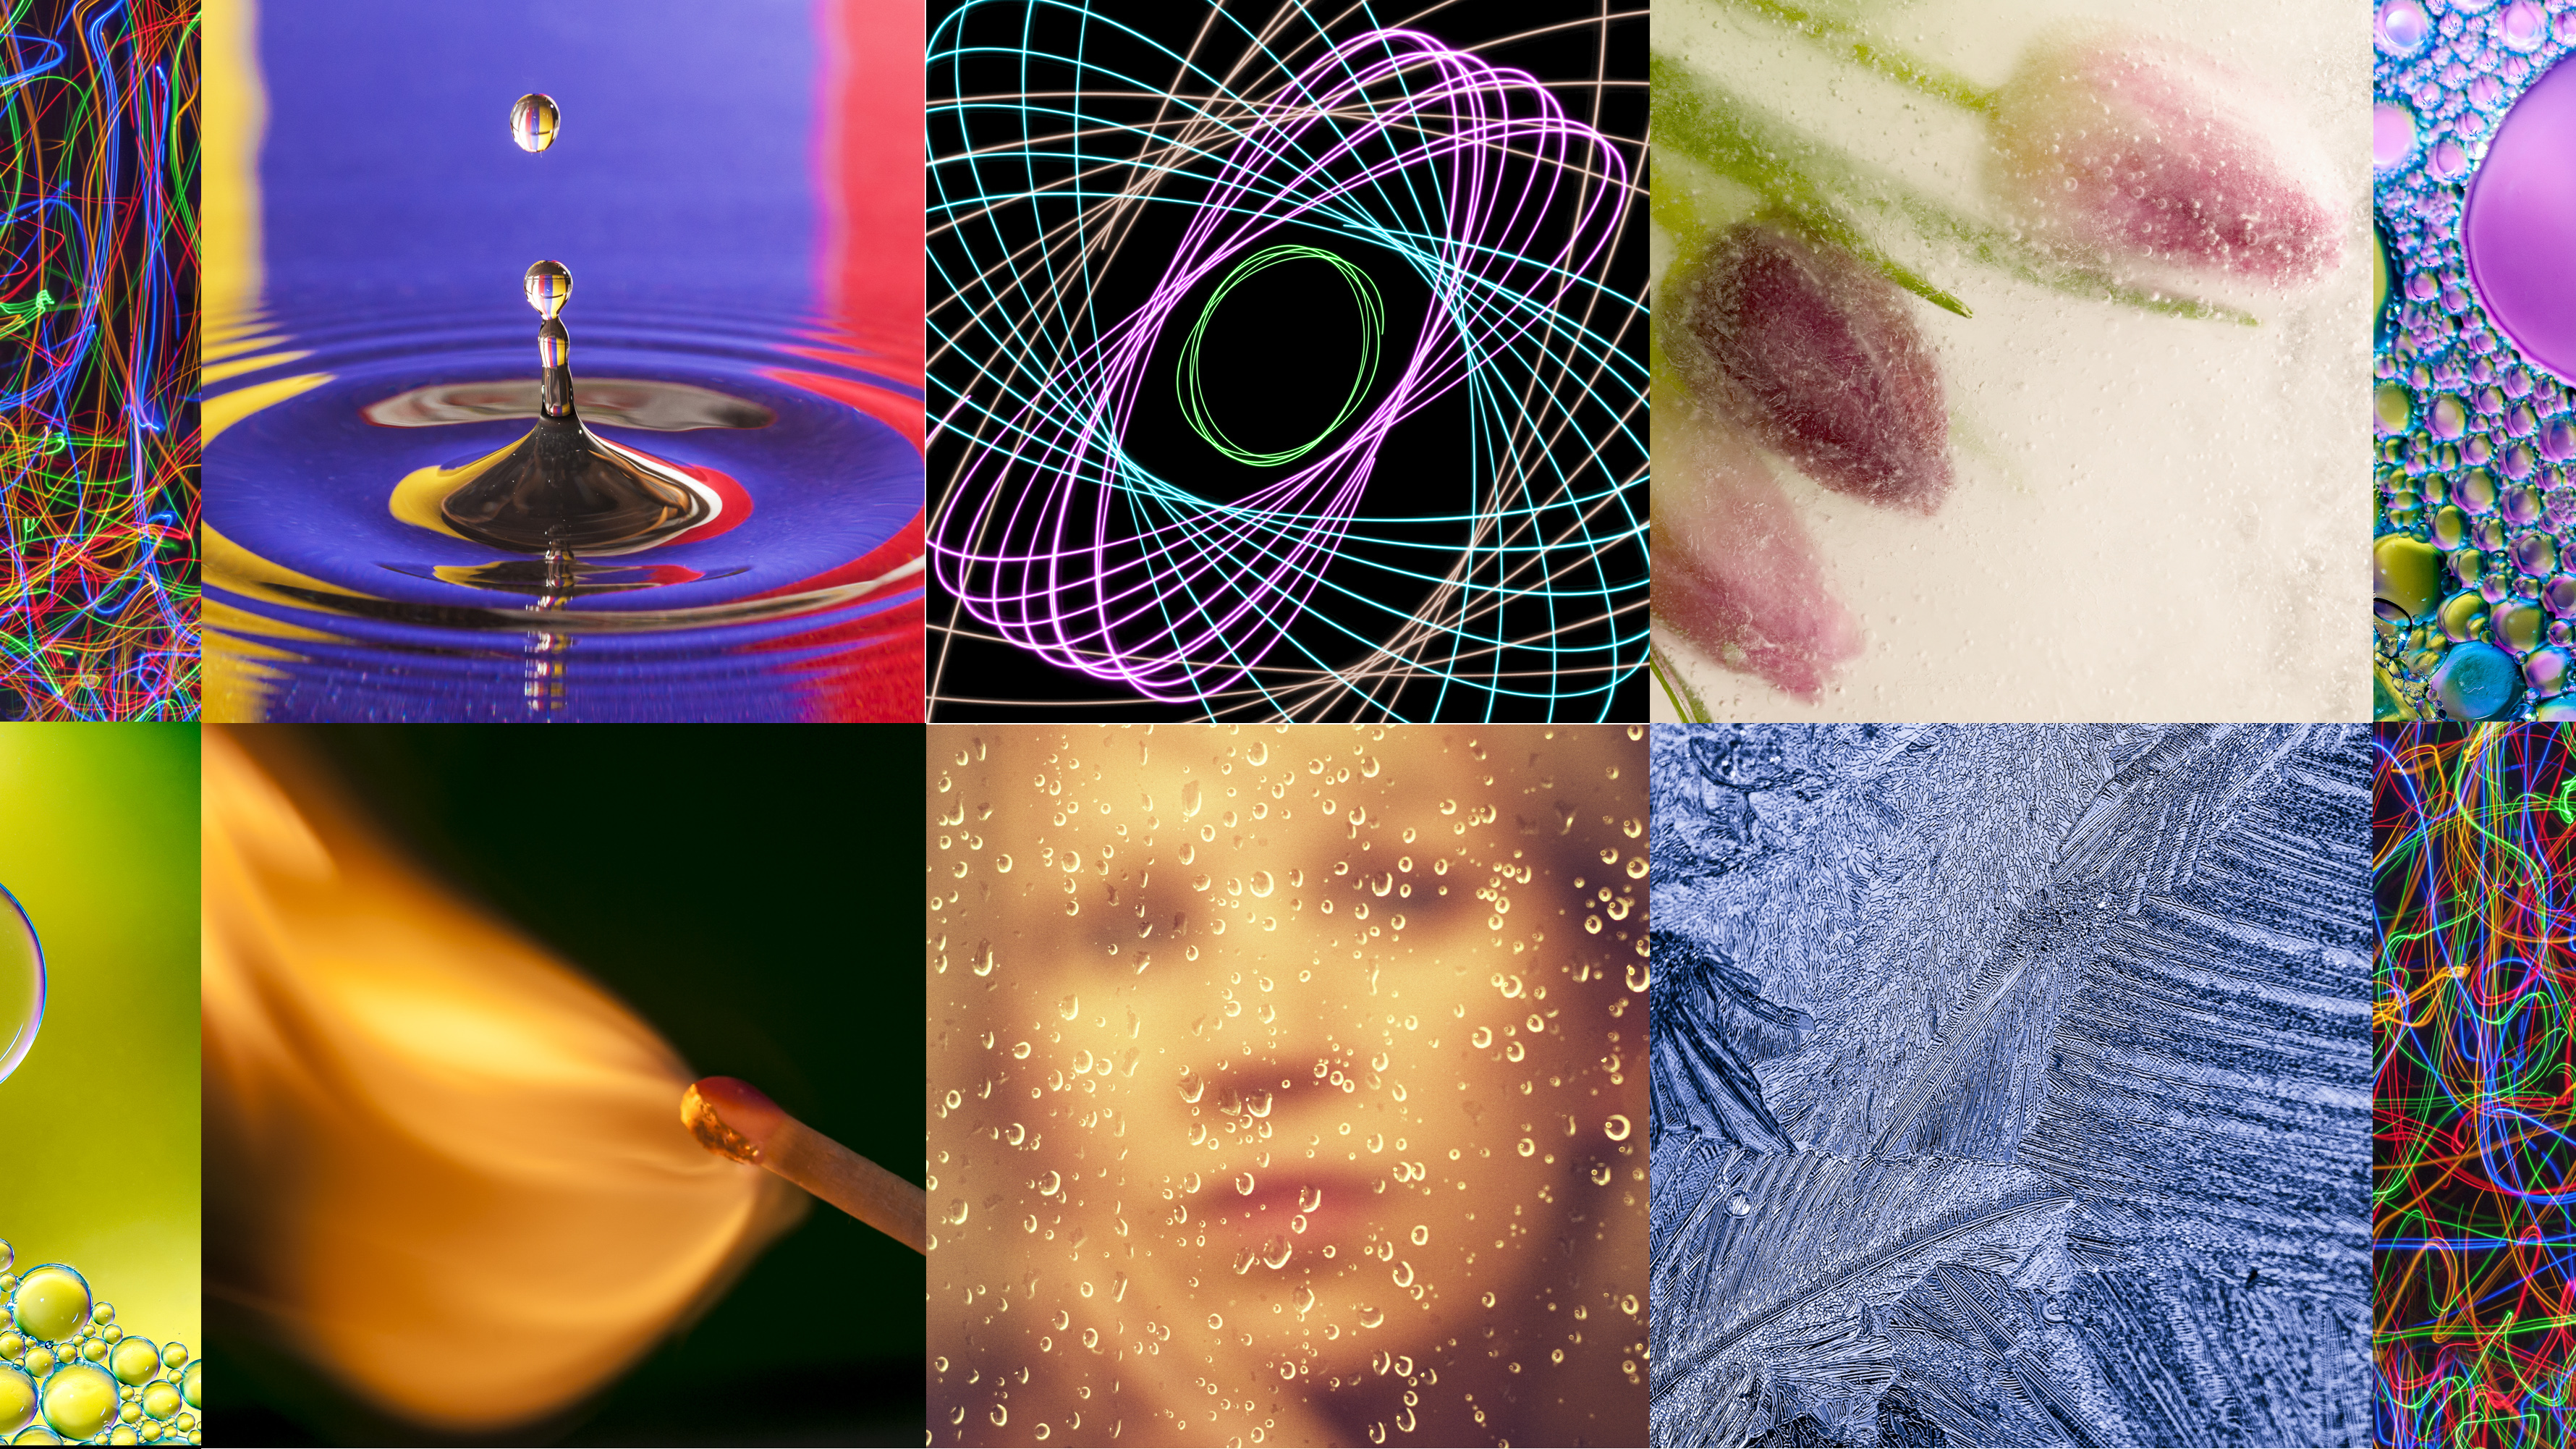
With most of us now spending more time indoors as we head into the holiday season, we're all looking for some home photography ideas to keep our photographic urges satisfied! Here are some great ideas for photography projects at home to keep you busy.
You might feel that creative inspiration is hard to come by if you're confined to your home; whether you're social distancing or self-isolating, staring at the same four walls might leave you struggling for inspiration. Thankfully, with a bit of creative thought, you can take some fun photographs without going outside!
We've put together this list of home photo projects that you can shoot indoors, in your own home – and many of them can be done on your kitchen table using things (and people!) that you have available already…
1. Make a splash
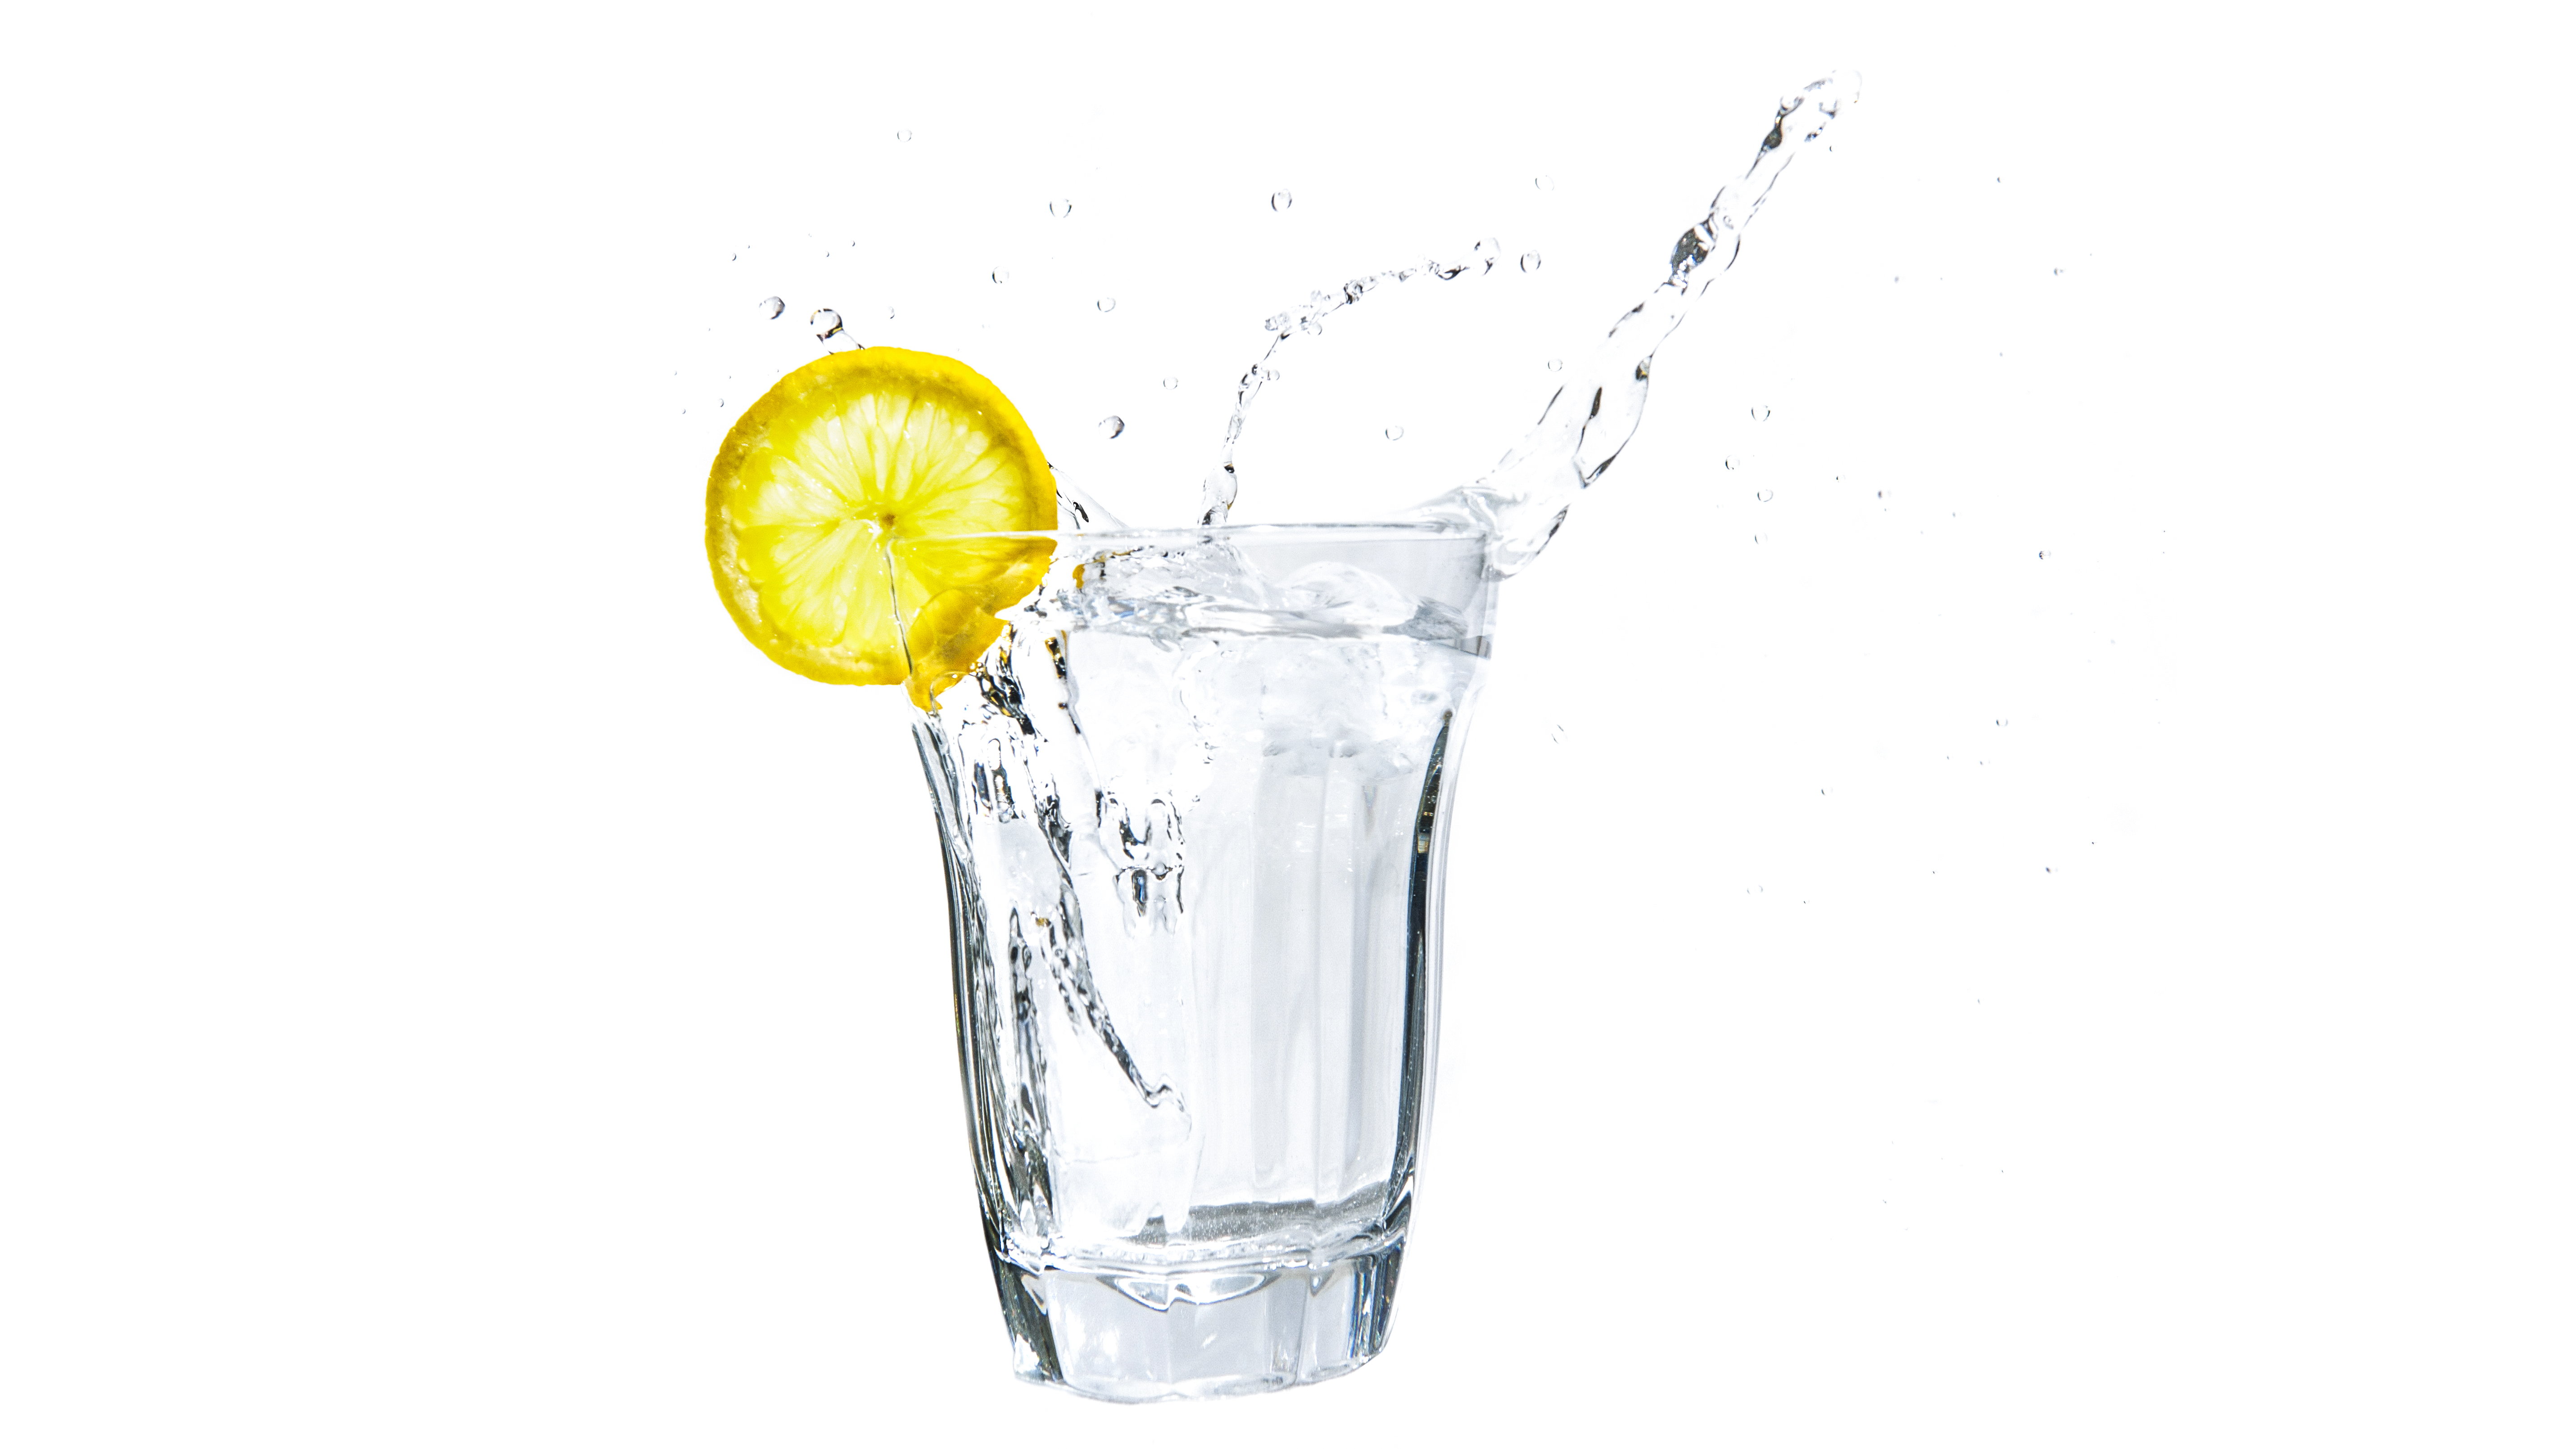
To get a classic studio still-life without a studio, tape a white pillowcase to a wall and kitchen worktop so it forms a scoop. With your camera on a tripod, frame up on a tumbler of water with a lemon slice. Stay level with the glass, but leave some headroom for the splash. Place an off-camera flash to one side – but point it at the background, not the glass.
2. Shoot by candlelight
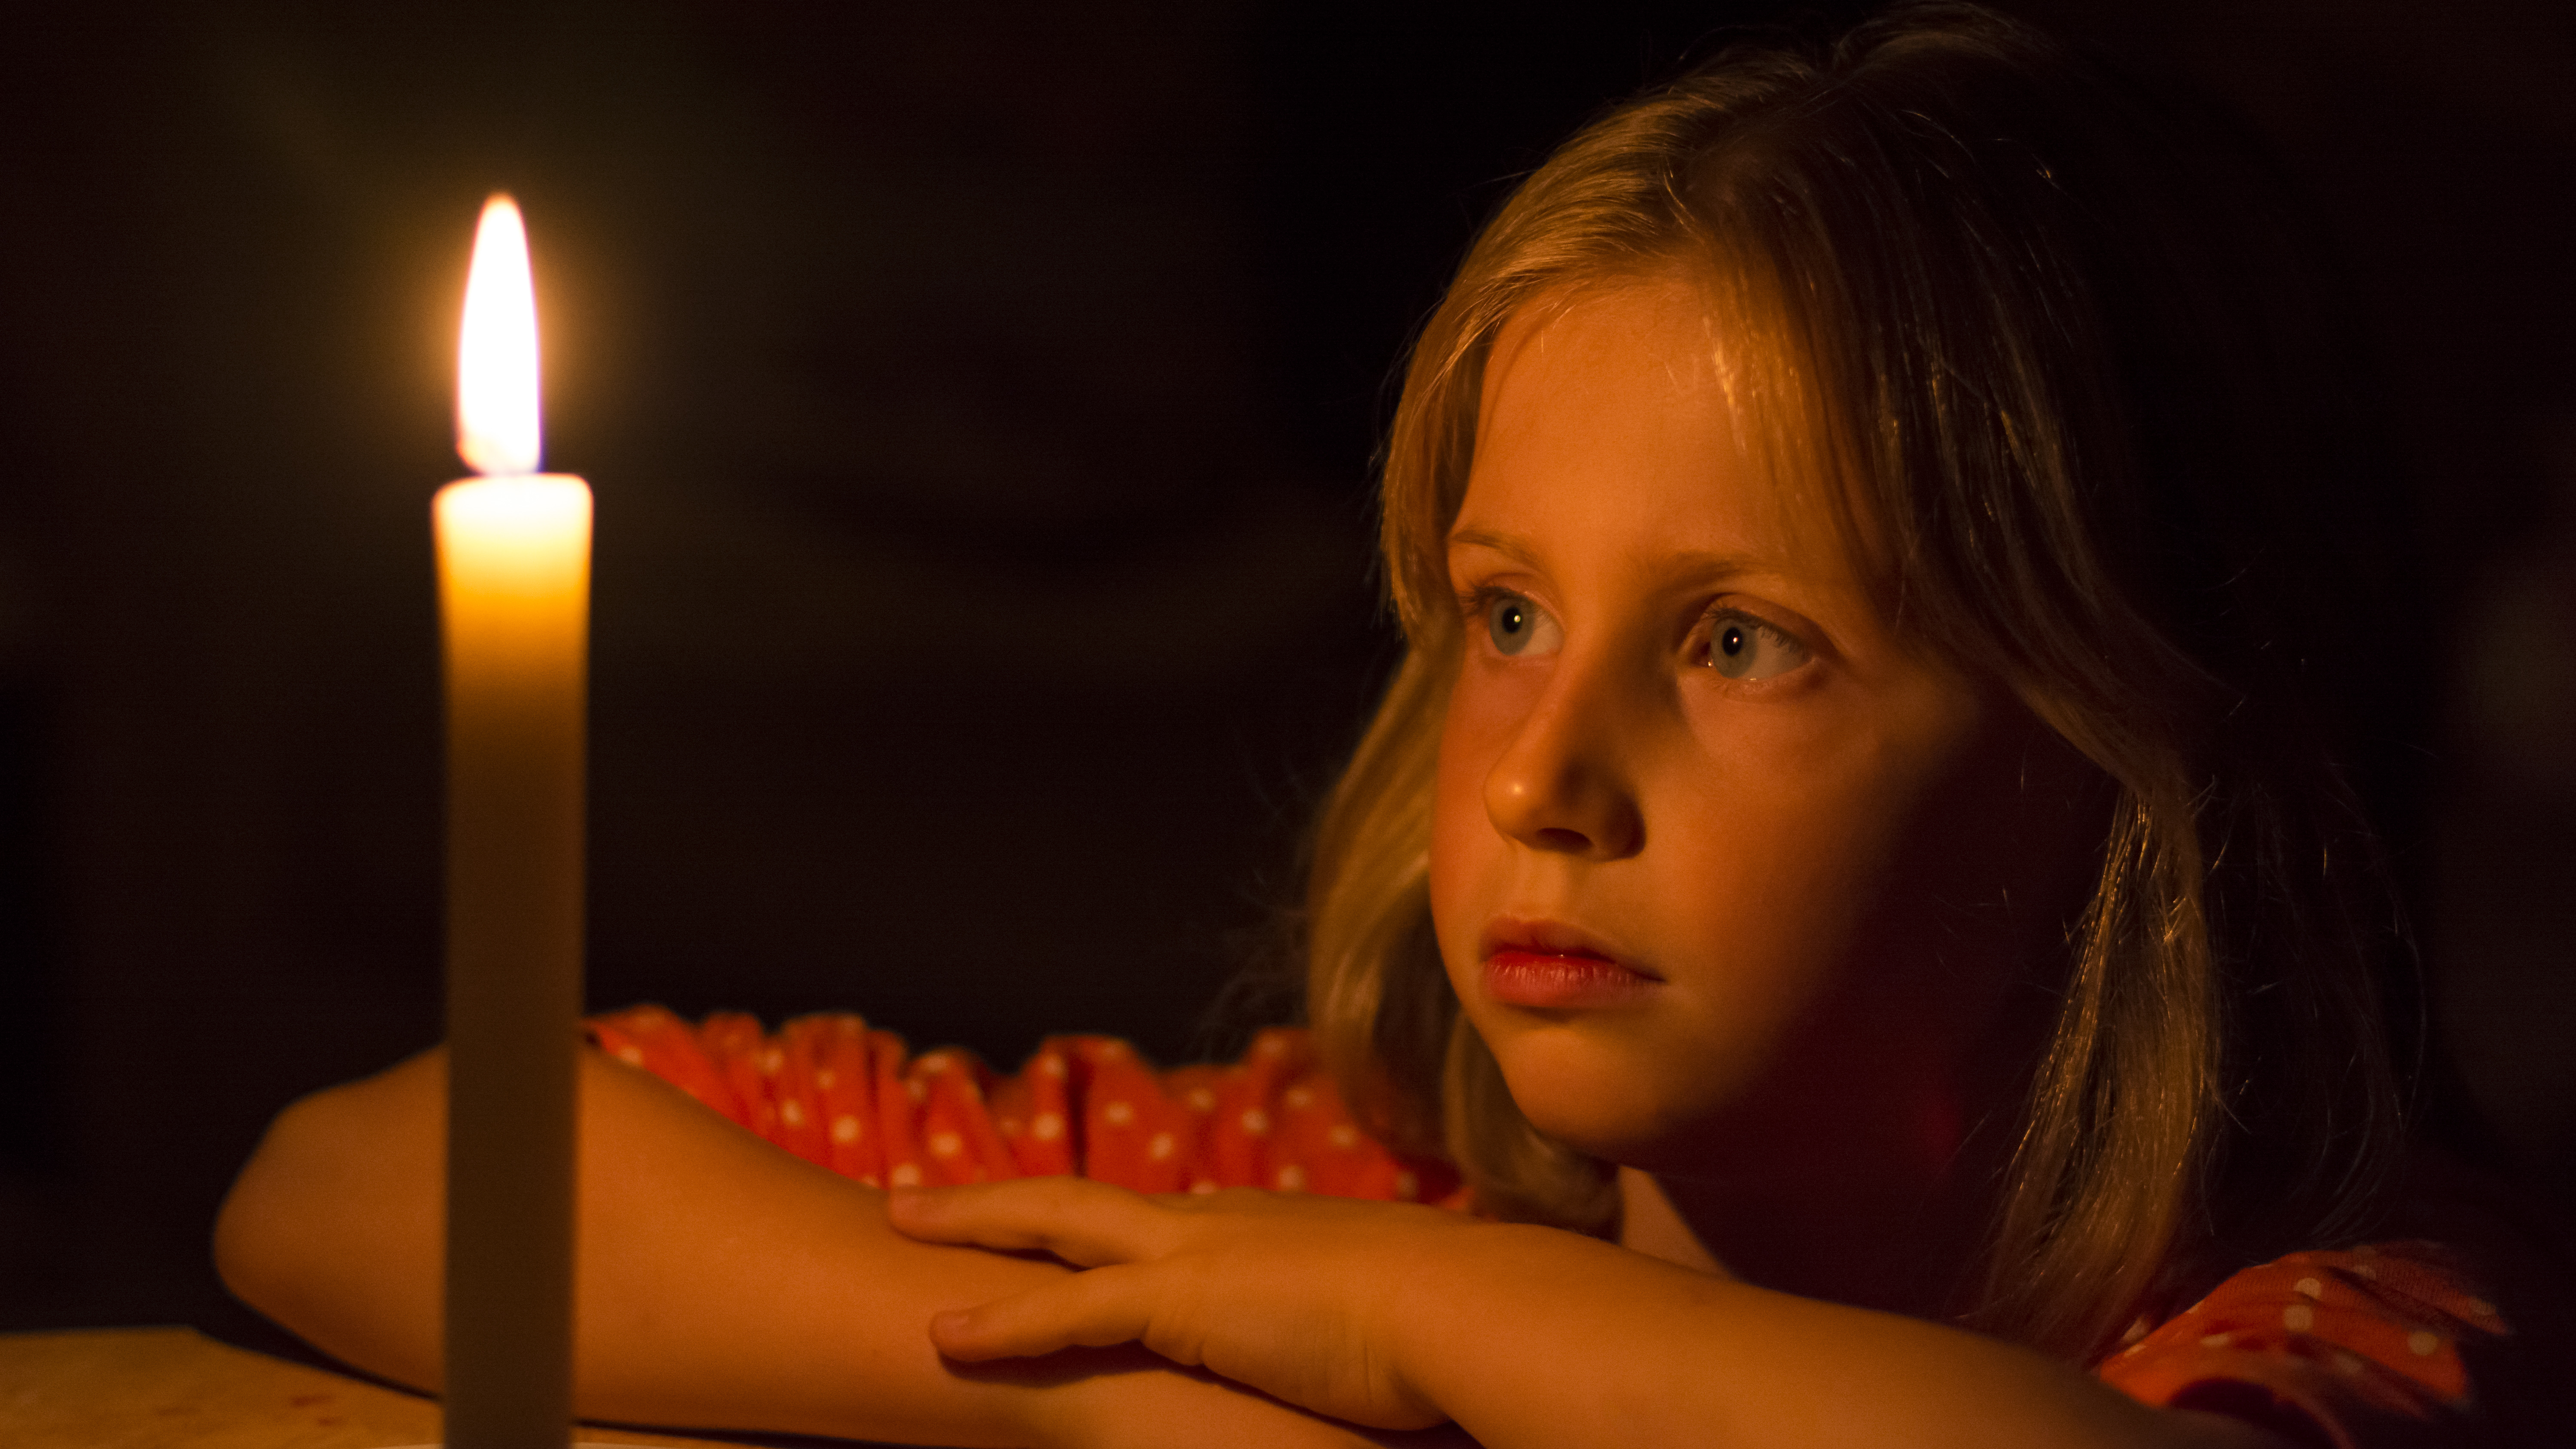
It may be feeble in illuminating power, but candle light punches way above its luminosity in terms of atmosphere. To shoot a candlelit portrait, use Manual (M) mode and raw format. Include the candle in the shot, as the light is so warm that the light source is needed to help the viewer understand the image. Use an ISO of 1,600 and a fast lens like a 50mm f/1.8 at an aperture of f/2. Set a shutter speed of 1/100 sec, and focus on the nearer eye of your subject.
3. Mix oil and water

With a macro lens and a few everyday items, you can take incredible shots of oil drops floating on water. Like most macro shots, setting up carefully is essential, but the process forces you to focus on minute details. The discipline that comes from trying out this project will extend through your other styles of photography, so shooting delicate abstracts is of great overall benefit.
To prepare, fill a tumbler with water and add a drop of washing-up liquid to it. After a gentle stir, leave it to settle for 5-10 minutes, then add a few drops of cooking oil.
4. Shoot a rainy day portrait
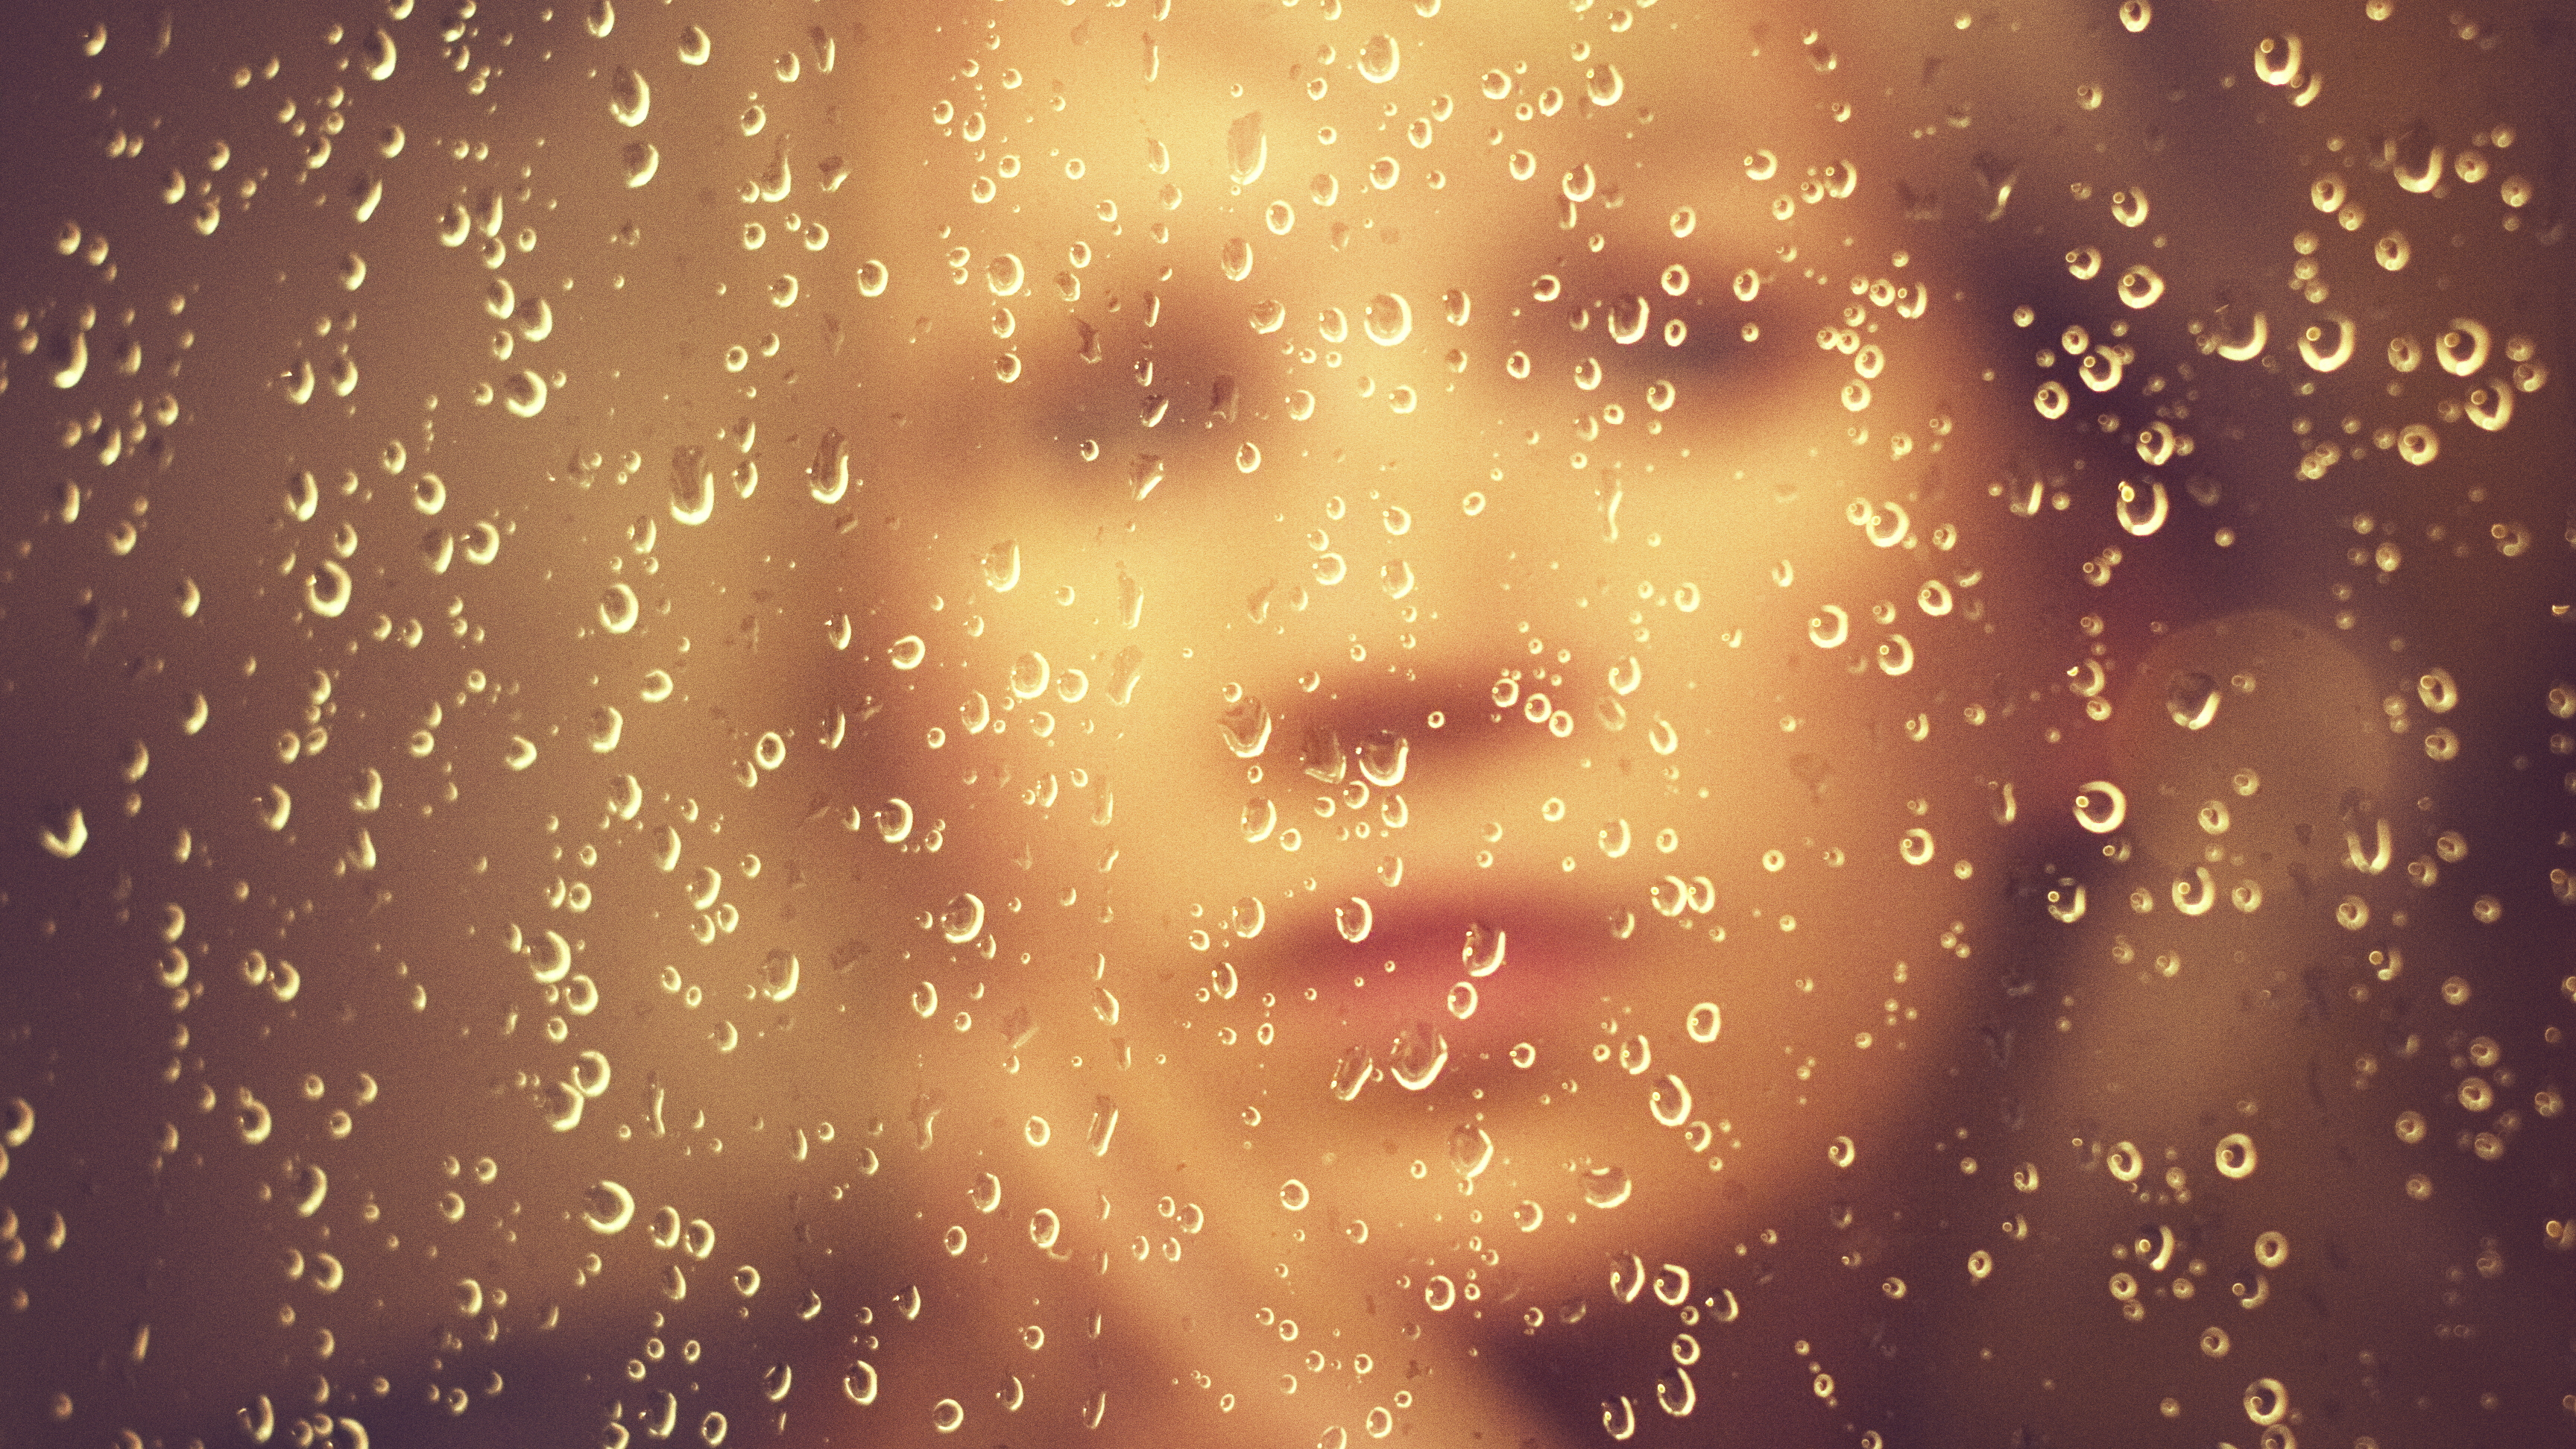
When you shoot a portrait, the golden rule is to focus on the eyes. But rules are made to be broken, and you can shoot evocative portraits without any of the face in focus.
Pick a window on a rainy day, and you’ll notice beads of water on the glass. With your subject positioned on the other side of the pane, you can use these beads as your focal point, and shoot a sombre, reflective portrait that’s just as effective as a regular headshot.
Shoot inside-out to convey the idea that the subject is out in the cold, or shoot outside-in to give the sense of someone longing for a break in the weather. To make the shot really effective, you need a very shallow depth of field, so only the beads of water are held in sharp focus. To do this, use a lens with a fast maximum aperture like a 50mm f/1.8 prime. In Aperture Priority mode, dial in the lowest f/number, and frame up on the subject. Focus on the drops, and take the shot.
5. Get in the swing

It’s easy to make a fascinating image that captures the laws of physics! In a dark room, attach a meter of string to a light fitting and tie on the torch, and set up your camera on a tripod beneath it. Focus manually on the torch, and set the camera to Manual mode (M) with an ISO of 100, an aperture of f/11 and a shutter speed of 30 sec. Switch off the room lights, then swing the torch in a circular motion so it starts orbiting in an ever-decreasing ellipse. Fire the camera shutter, and stand back until it closes.
To get multiple ellipses in one frame, use the Bulb setting and cover the lens with black card between torch swings. To change the torch color, place clear sweet wrappers over the bulb.
6. Split second sculptures
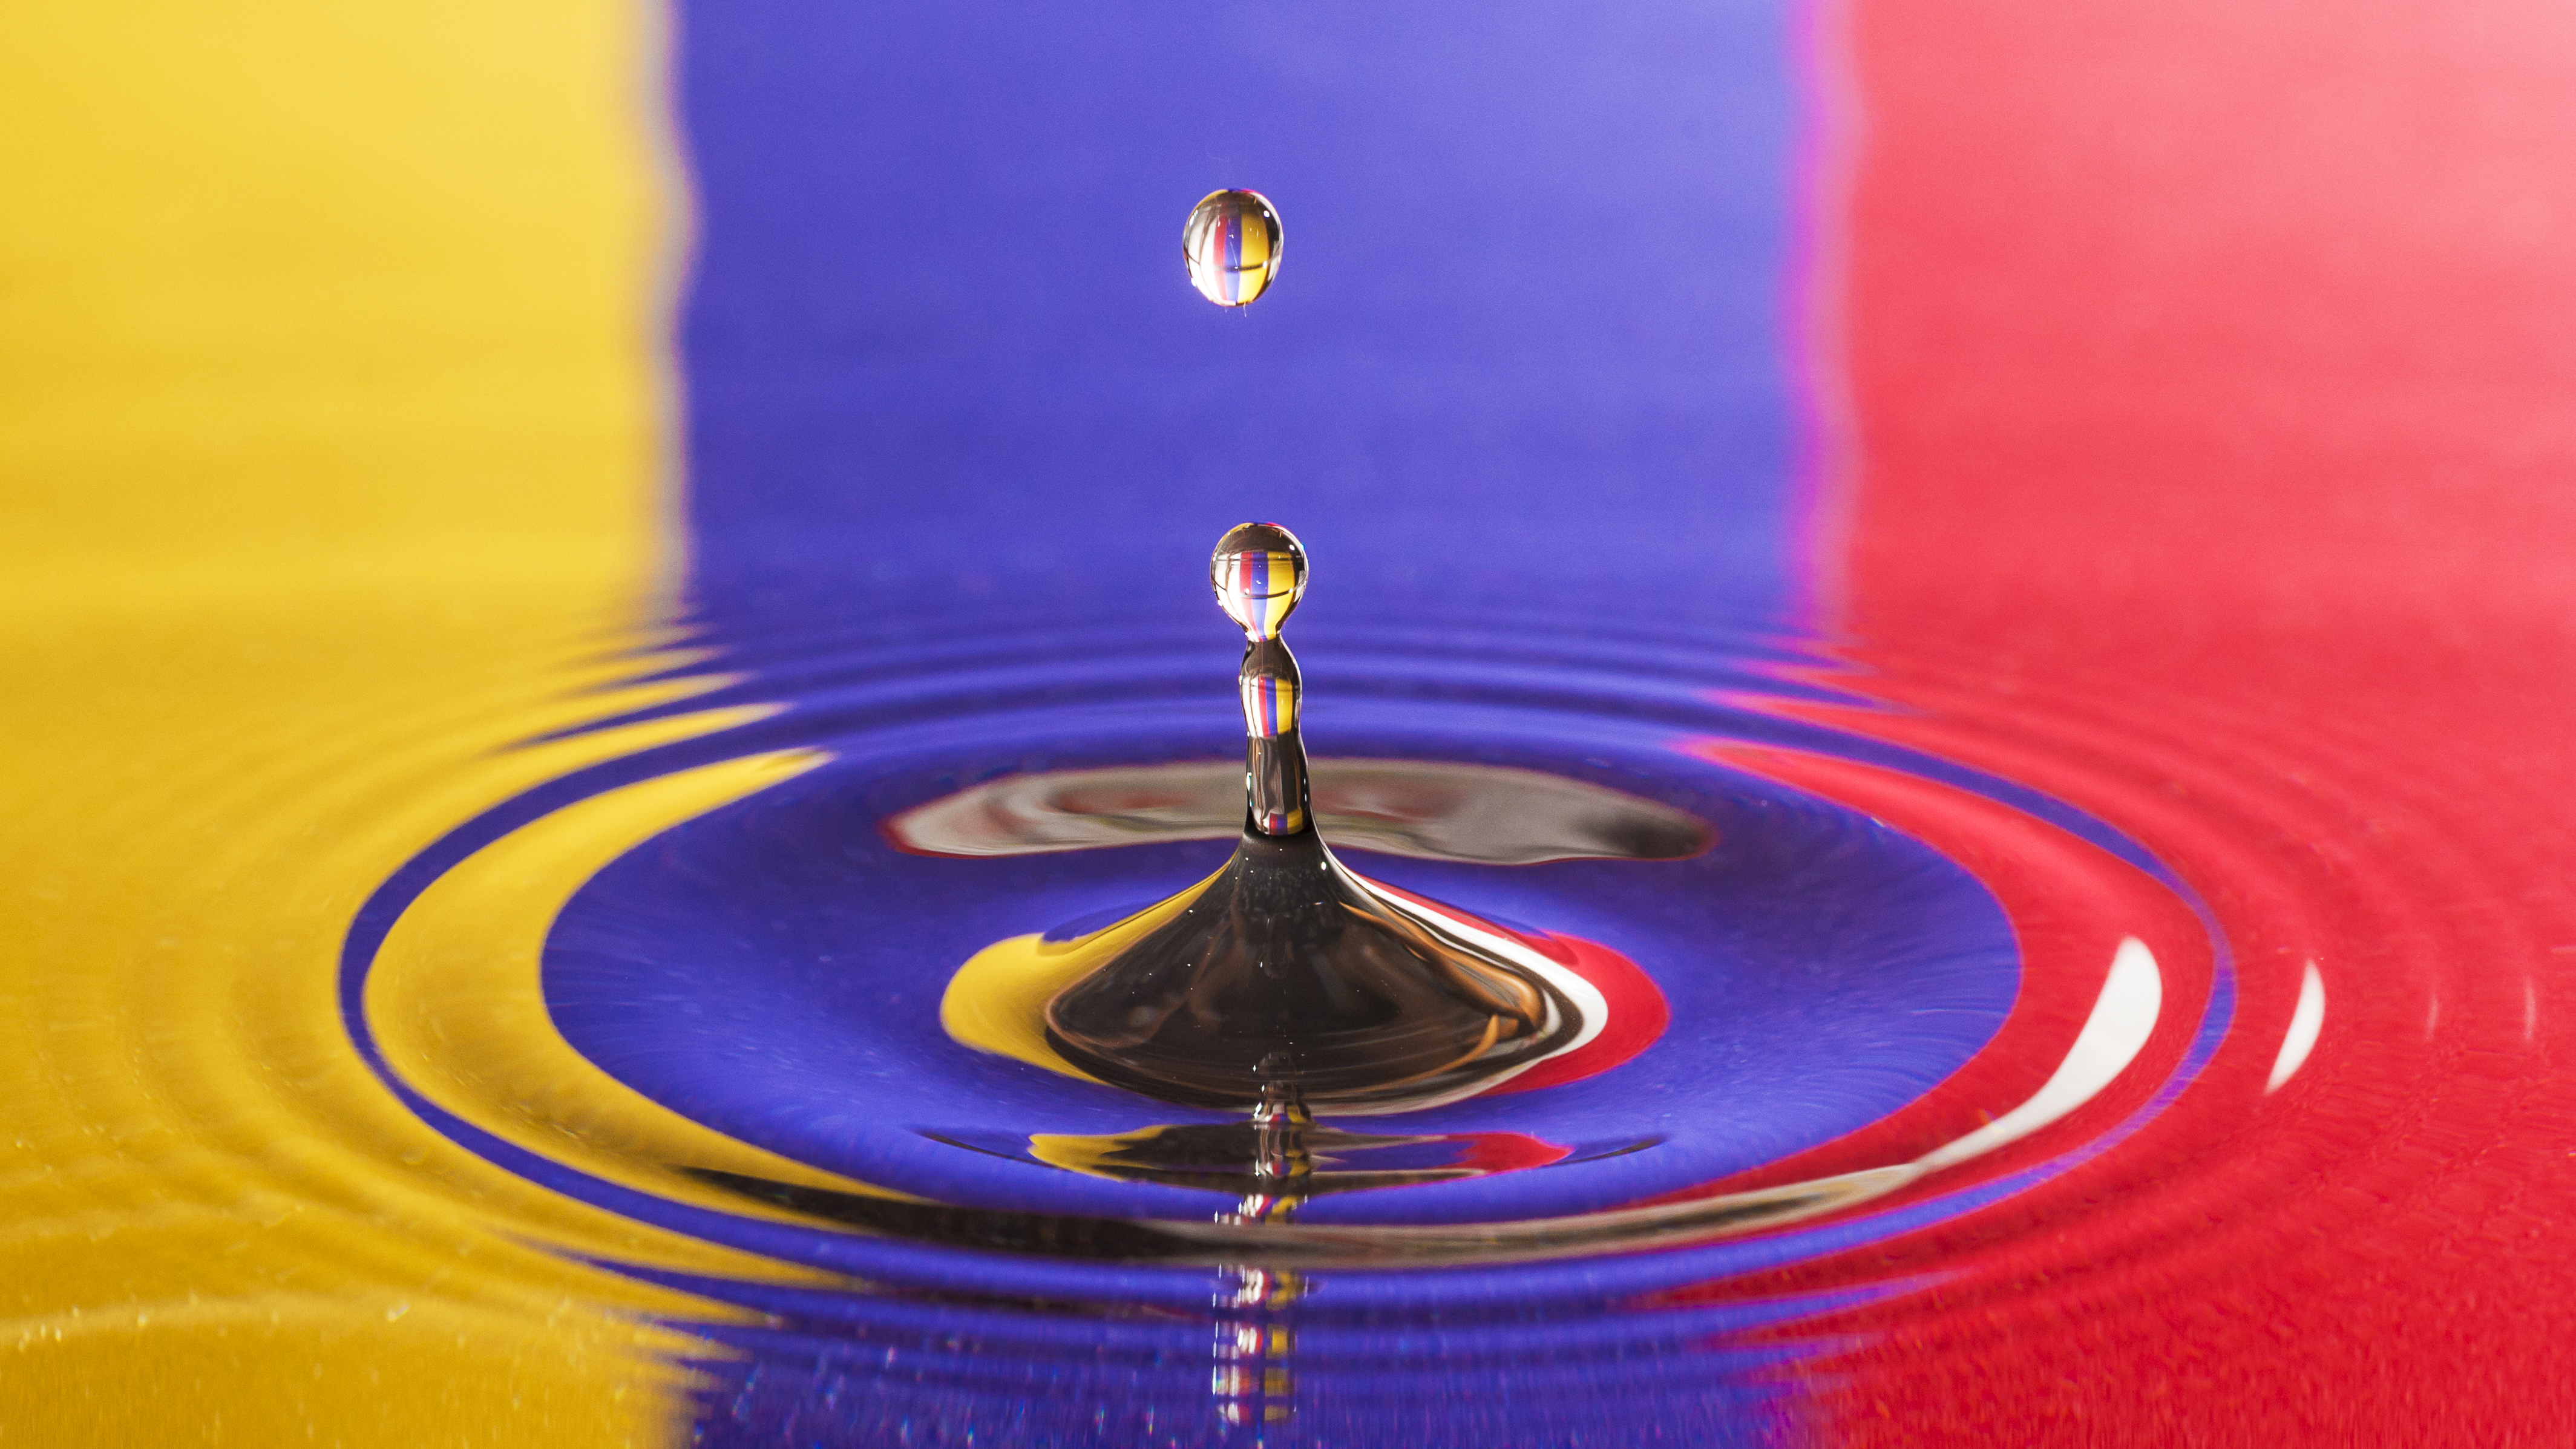
The reason we know how water drops behave is thanks to high-speed photography. But you don’t need high-tech gear to create water art. The set-up for this project is simple, but you’ll need accurate focusing and good timing.
Fill a baking tray with water and place it on a worktop. Place a chair over it, so you have somewhere to attach a freezer bag half-filled with water. Punch a hole in the corner of the bag with a safety pin, and you’ll get a regular flow of drips into the tray.
Put your camera on a tripod and fill the frame with the drip tray water and the drip itself. A macro lens can be useful but isn’t essential. Whatever you place behind the drip tray will be reflected in the water, so experiment with paper sheets of different colors and textures. With your set built, place a flashgun to one side, propped up on some books, and point it at the background.
Accurate focusing is essential, so switch to Manual Focus mode and place the tip of a pencil at the splash site, and focus on this. Now you just have to concentrate on getting your timing right.
7. Painting with light
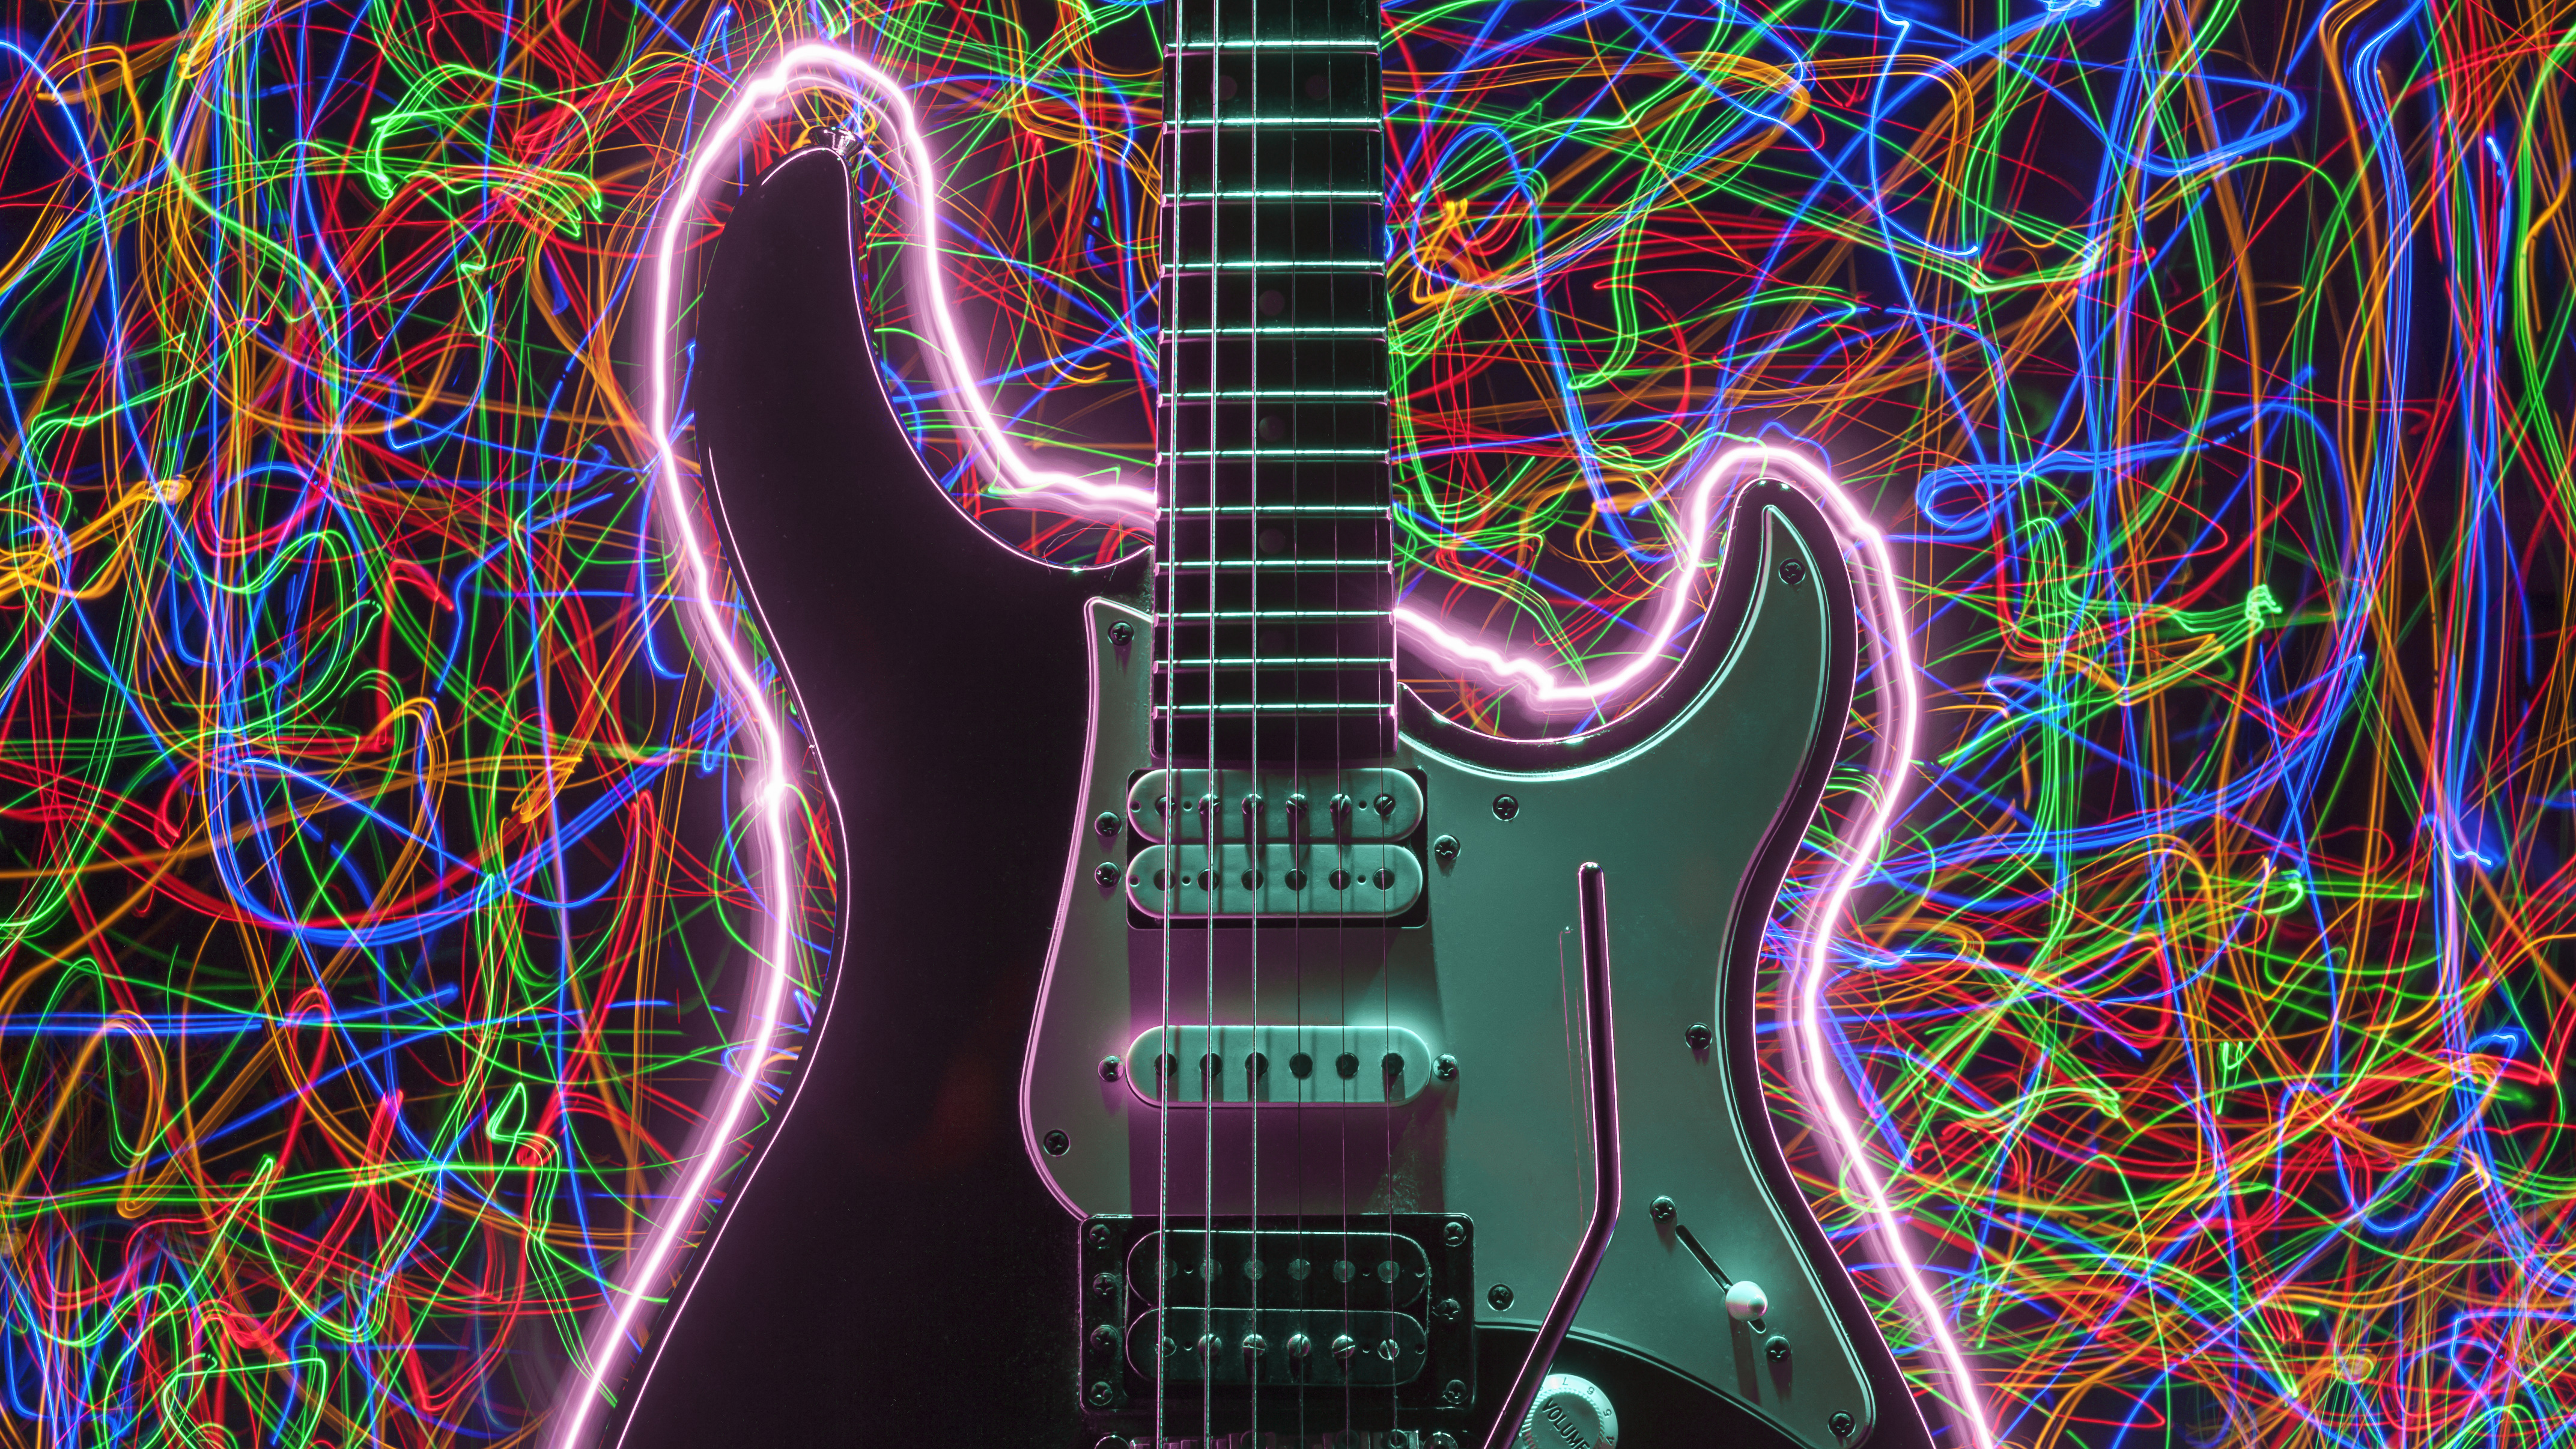
Move a small light source within the frame during a long exposure, and you will record ethereal streaks of light. You can trace around a subject with a torch to outline it, light it from different angles with the torch beam, or even move colored string lights behind it for an amazing background.
Place your camera on a tripod, then frame up and focus on your subject. Now switch to Manual Focus to lock off the focusing distance, and set the mode to Manual (M). Dial in an ISO of 200, a shutter speed of 8 sec, and an aperture of f/16. Set the Self Timer to 5 sec. You can now switch off the lights.
Fire the camera, get into position, and when the shutter opens you have the duration of the shutter speed to make your light painting. You can dial in a longer exposure if needed – just keep the torch moving all the time to avoid hotspots. You can paint a whole subject in one long take, or can split the work into separate shots and blend them together in Photoshop.
8. Strike a match
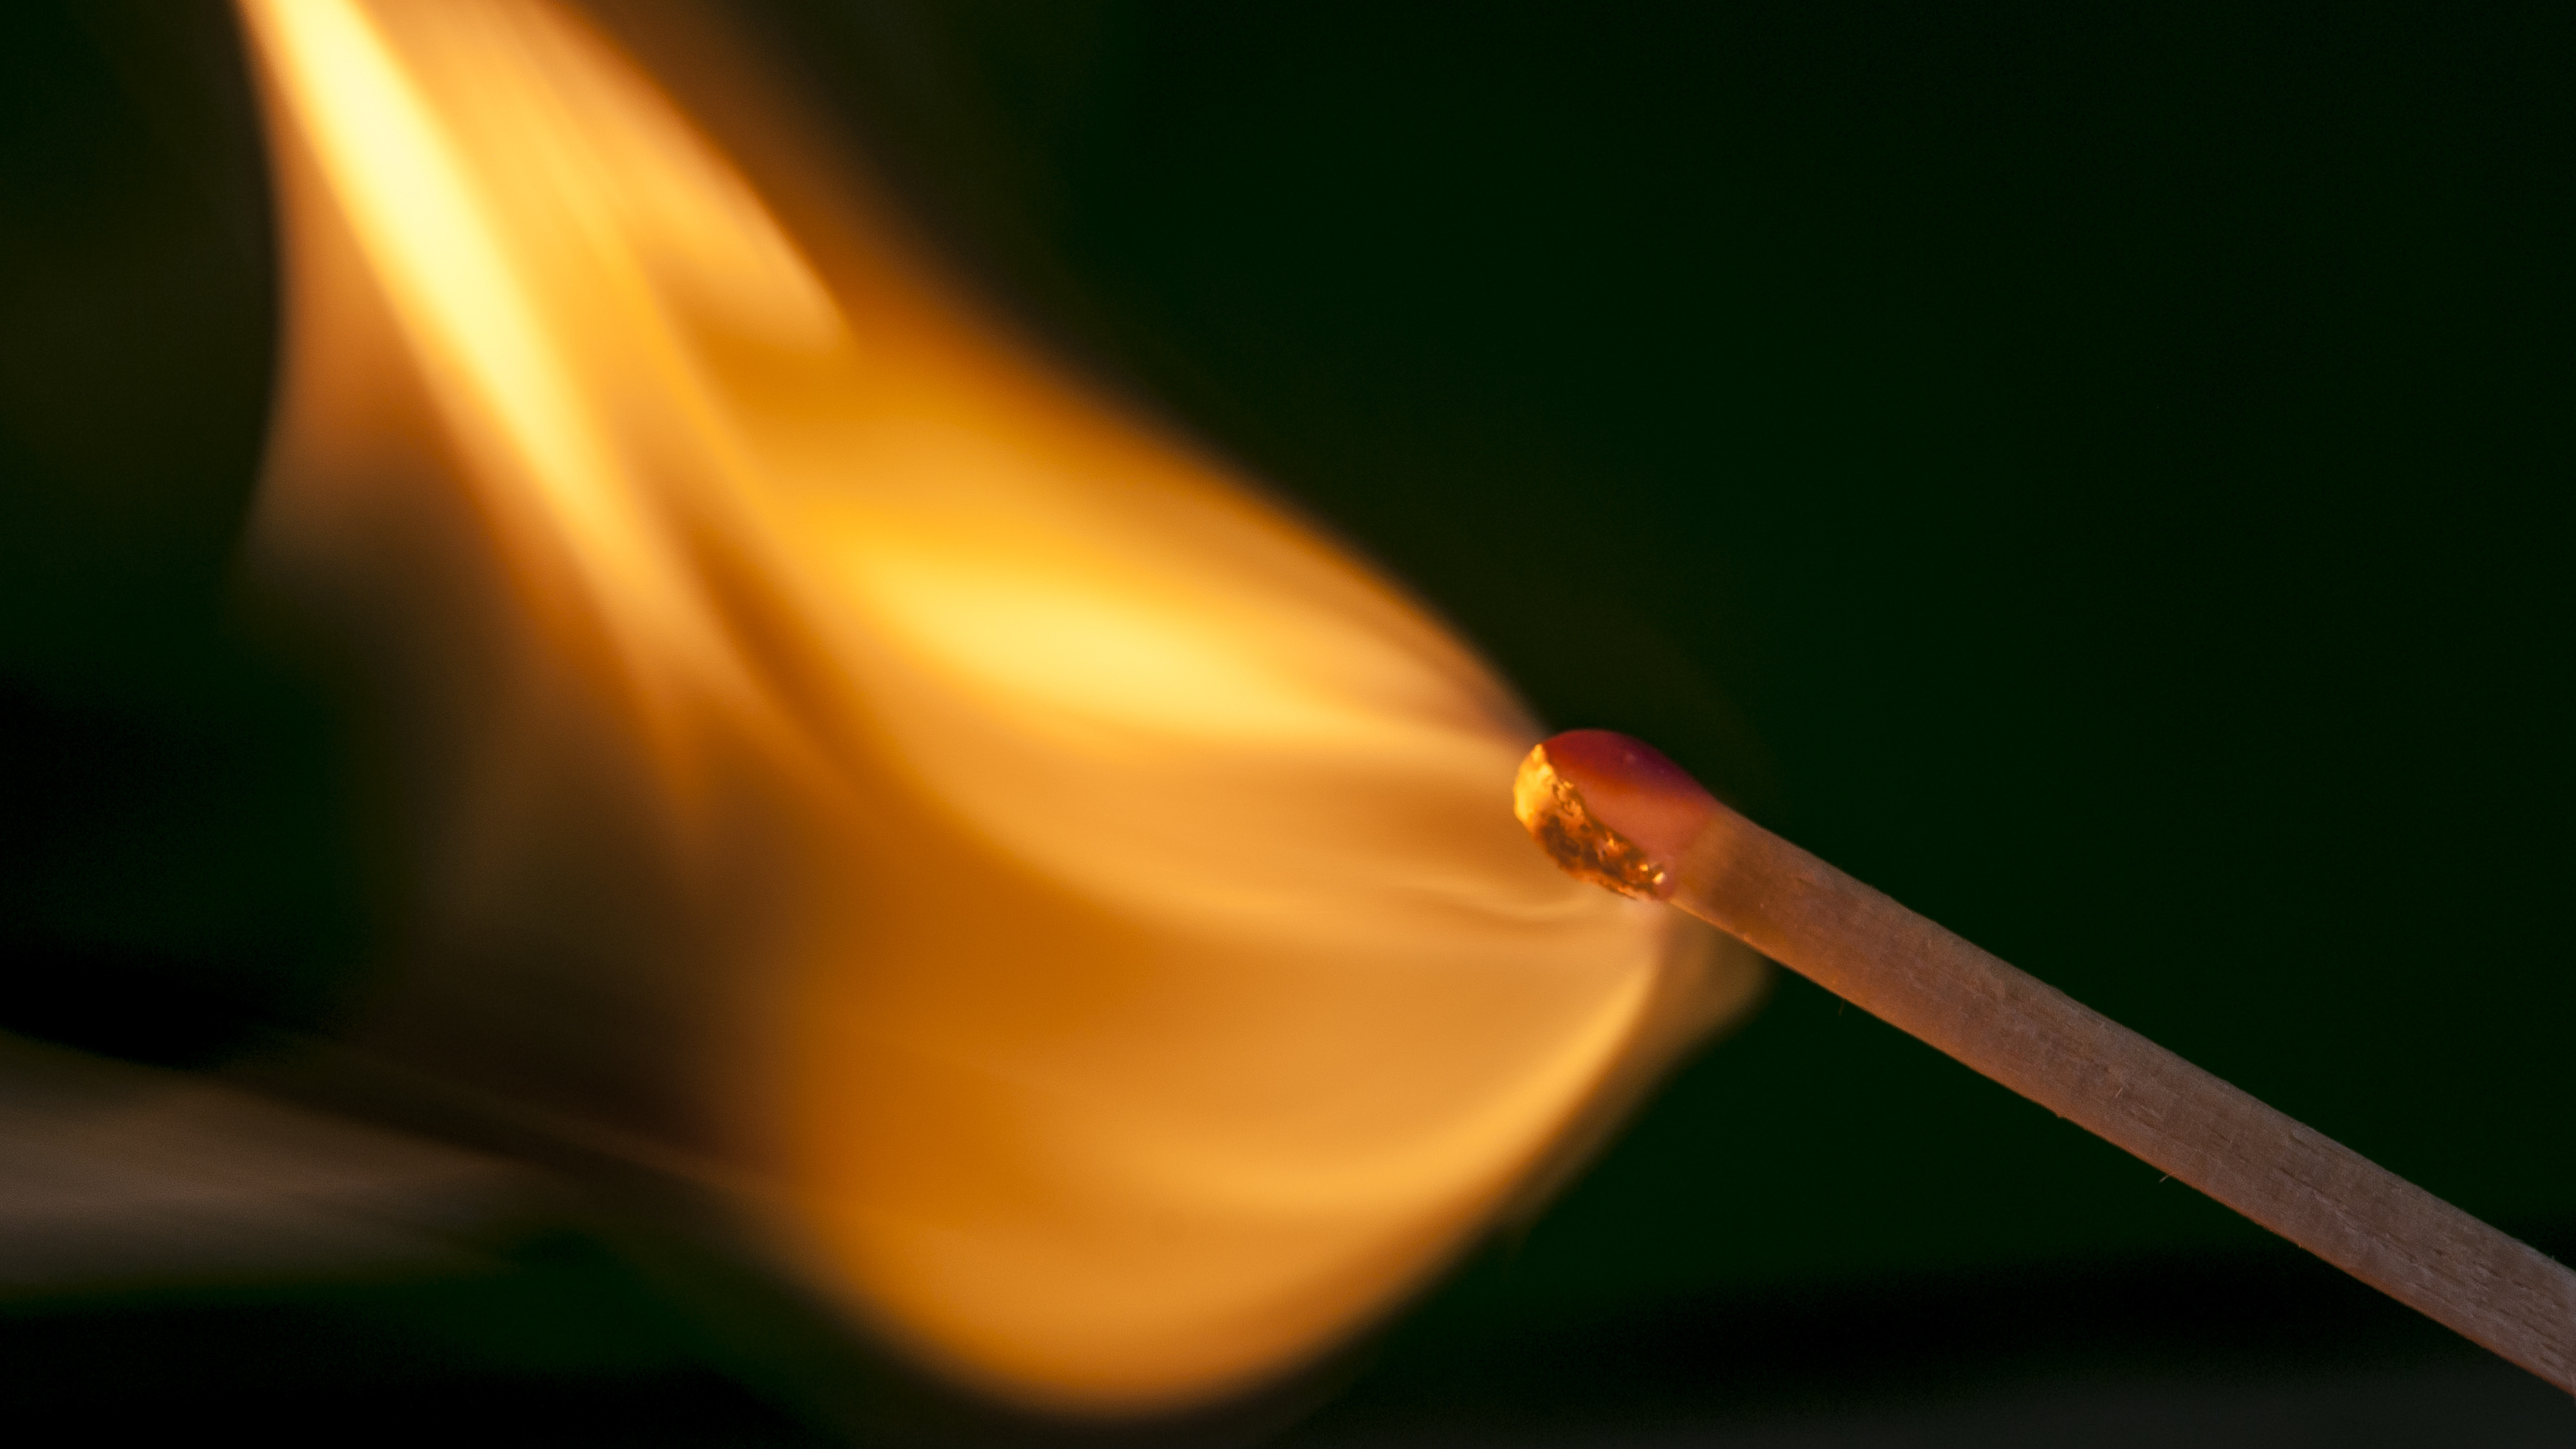
When a match is struck, it flares into life so quickly that we can’t actually observe what happens at the precise moment of ignition. But by shooting a rapid burst of shots at high frame rate, we can record this amazing moment and get a shot that straddles the divide between art and science. You need a macro lens to record it, but leave plenty of room around the match head when you compose, as the fiery flare is bigger than you’d think!
9. Smoke signals
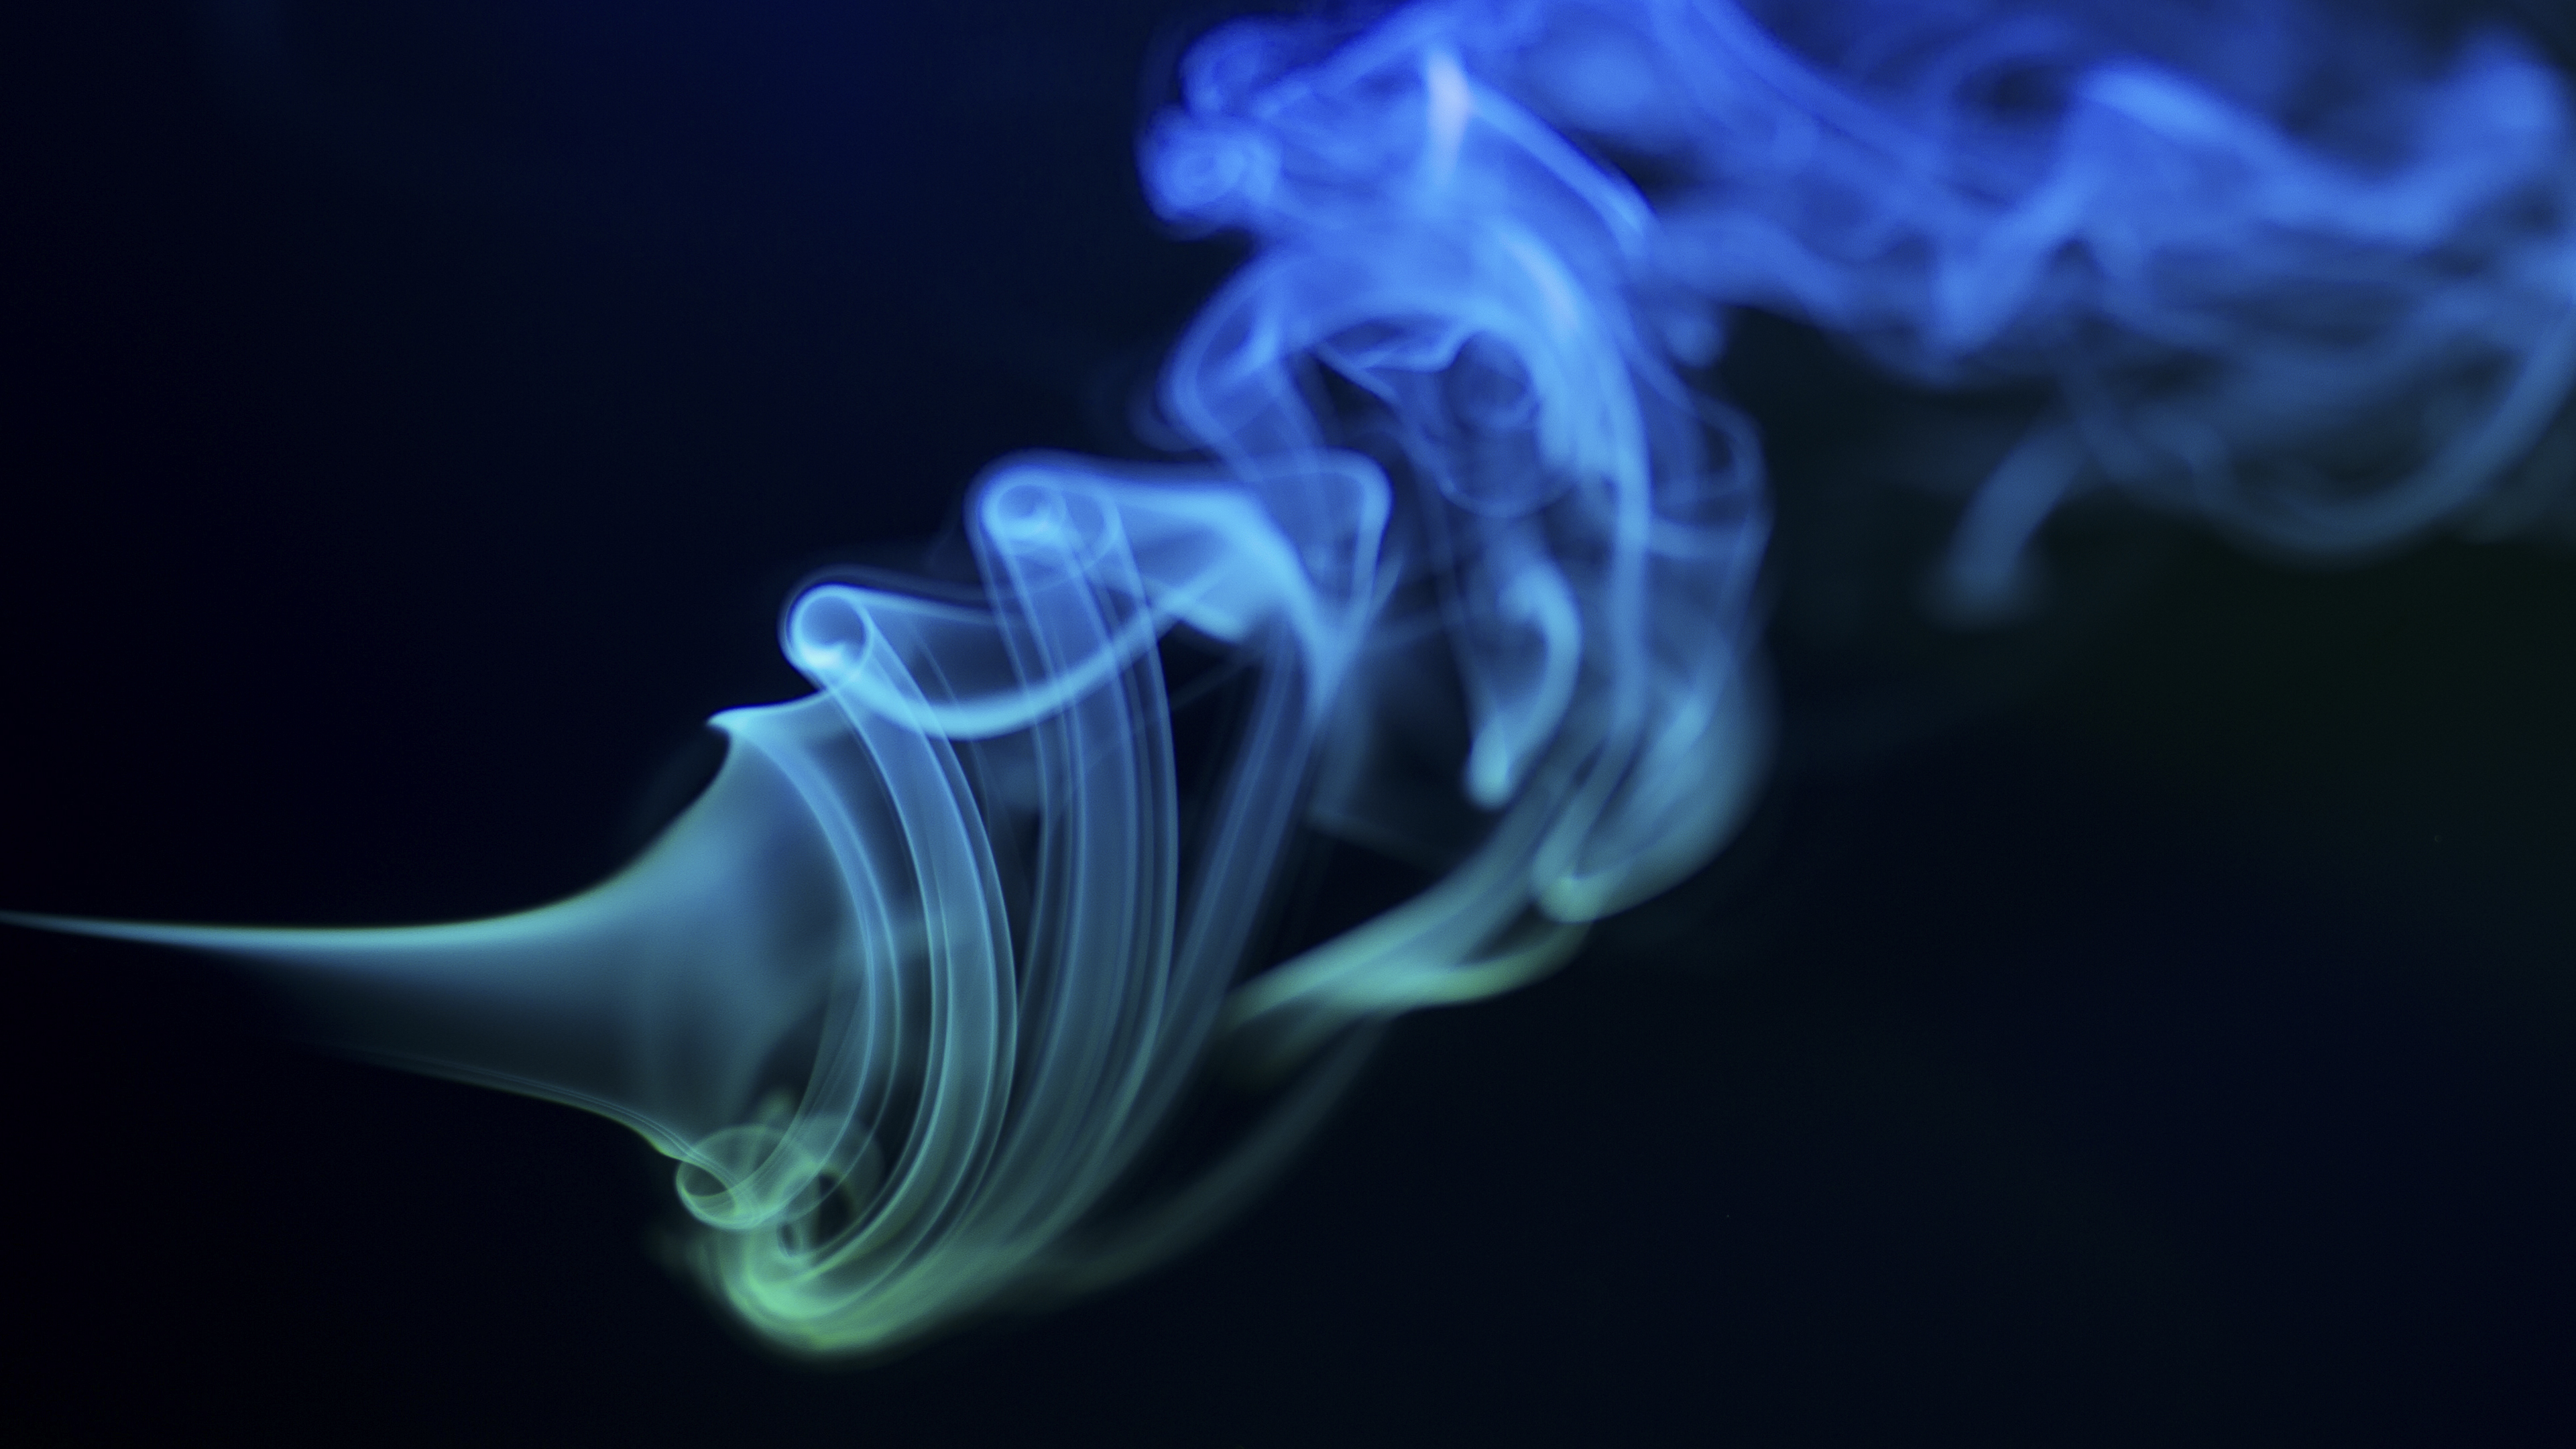
Capturing wisps of smoke is easy to achieve if you can get the lighting right. To get the shot, light an incense stick and place it in front of a dark background. Use an off-camera flashgun in its Manual mode to light it from one side, making sure that the light doesn’t spill onto the backdrop or the lens. Focus on the tip of the stick, then switch to manual focus to lock the focus distance.
Use Manual mode, and set an aperture of f/8 and a shutter speed of 1/200 sec. Now take some test shots, and adjust the flash power to make the smoke brighter or darker, until you have the perfect exposure.
10. Freezing flowers
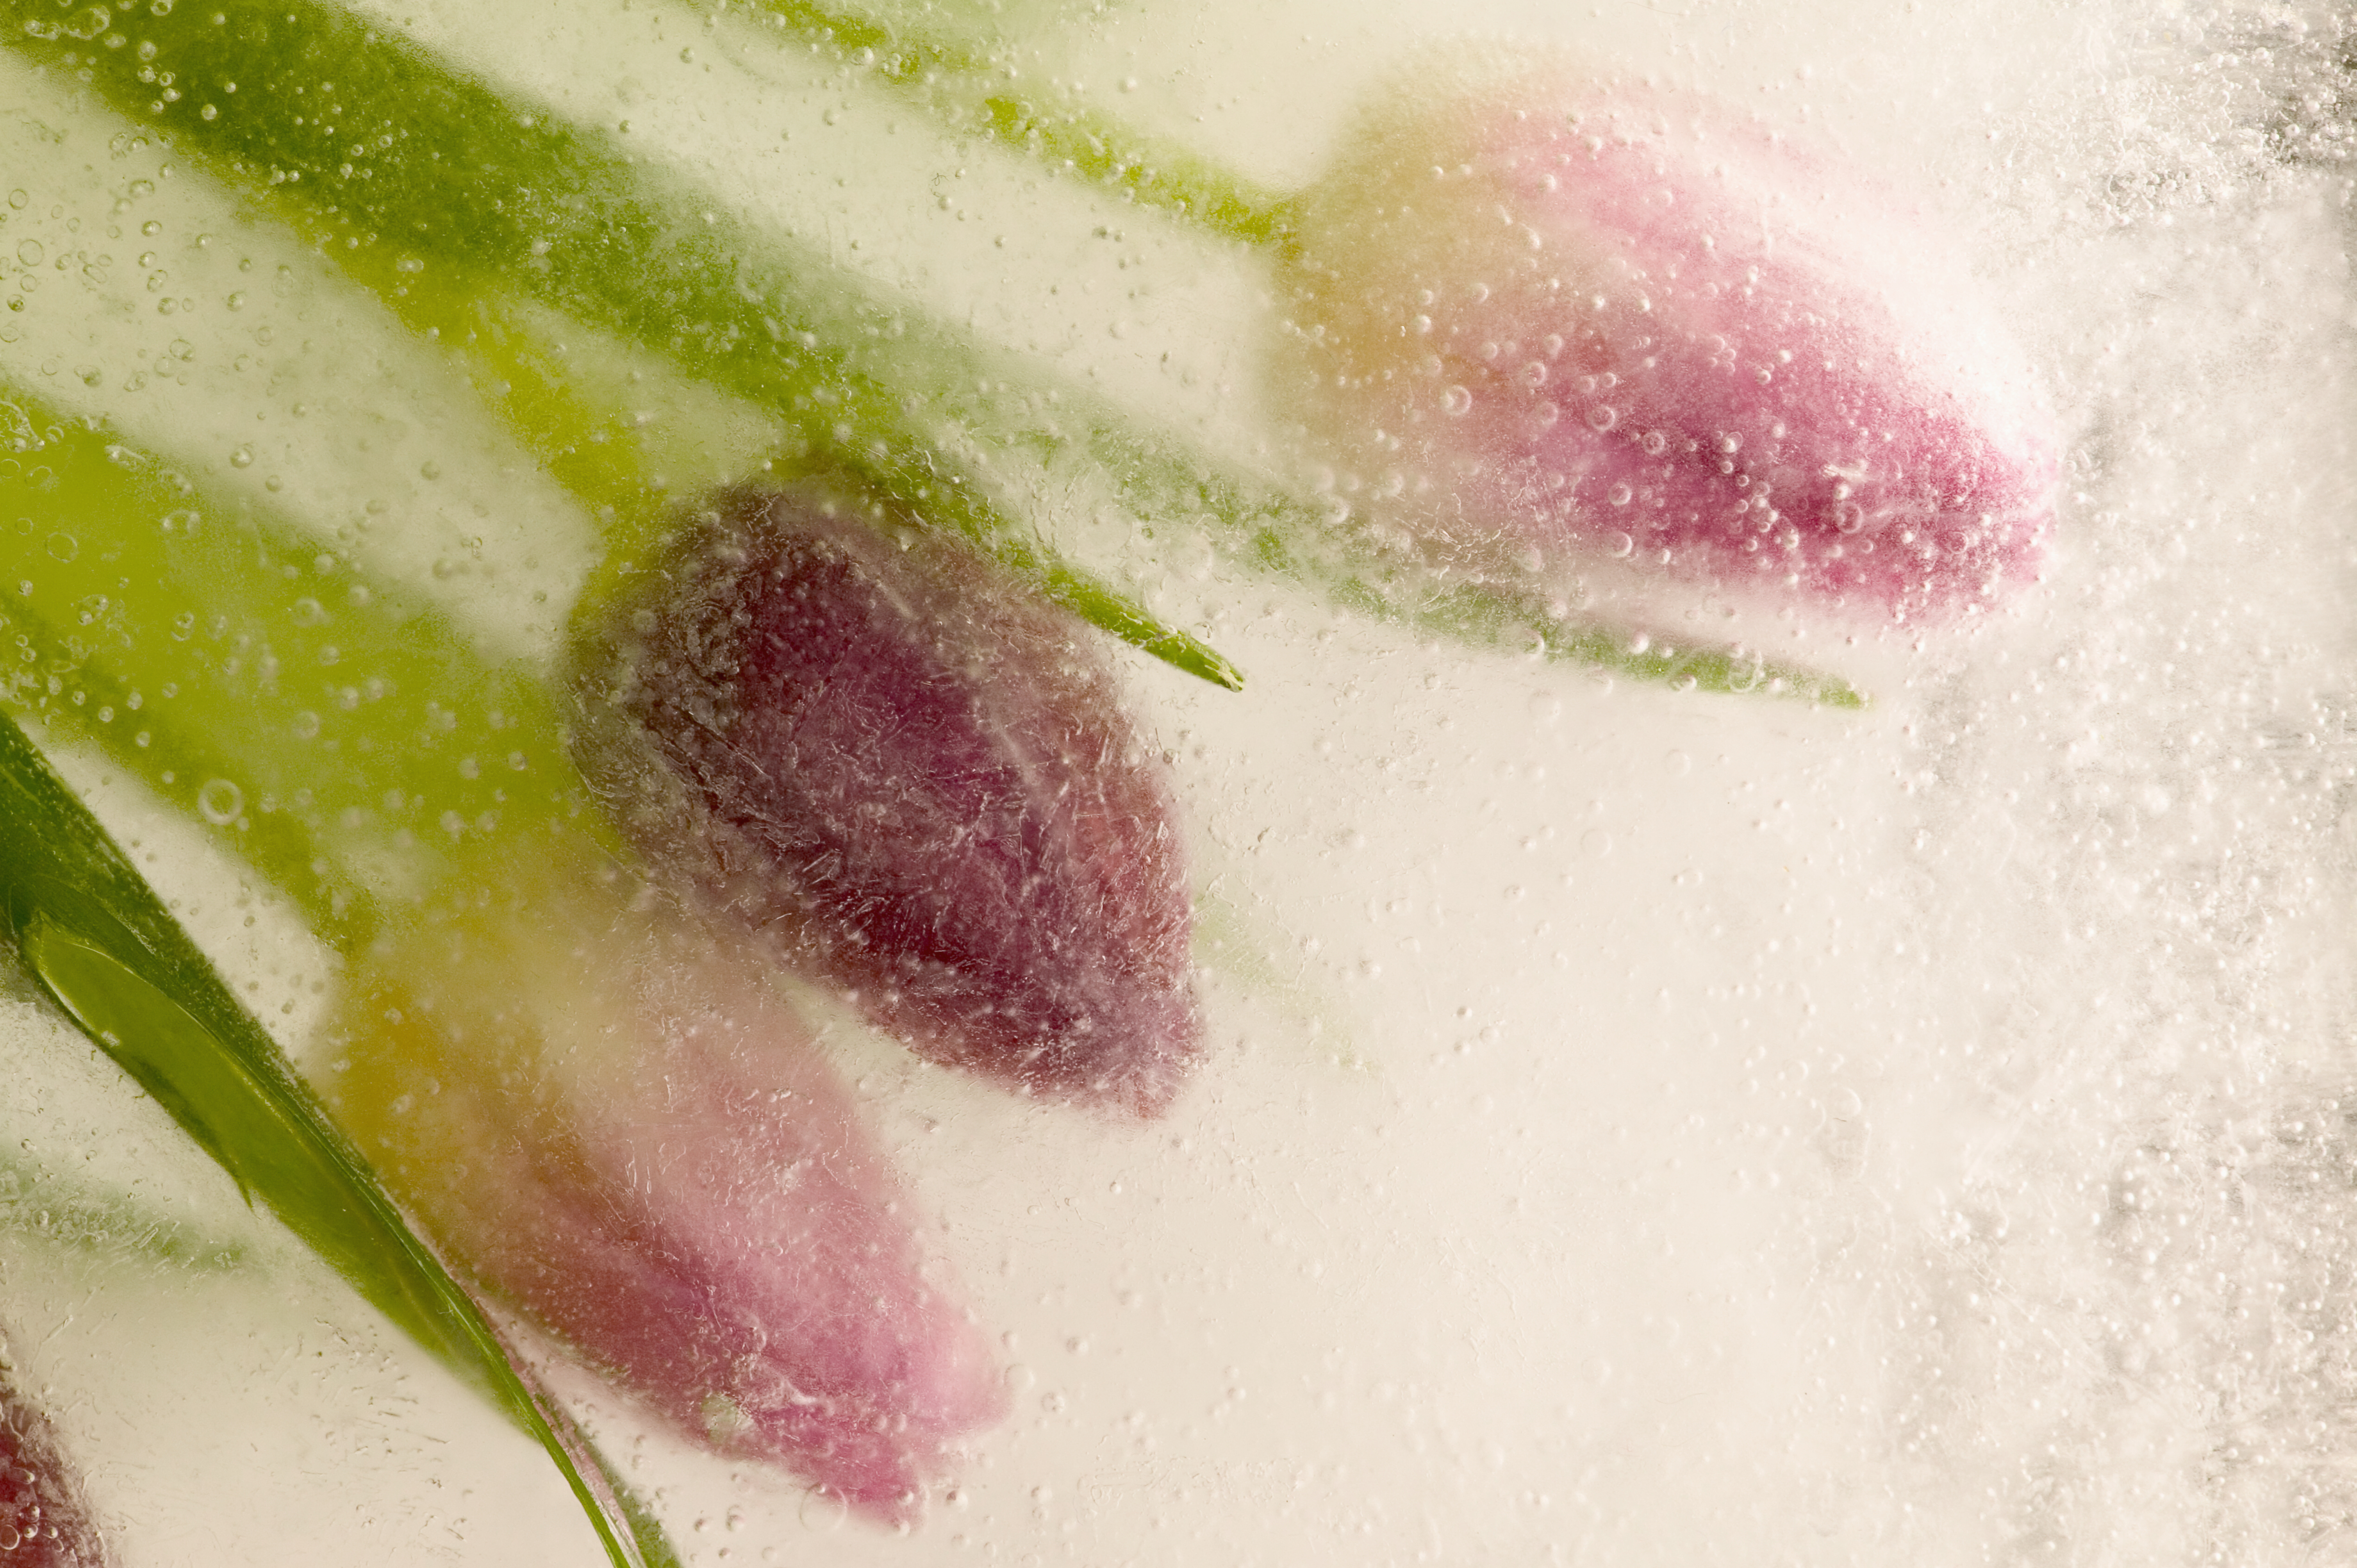
Cover the base of an ice-cream container with about 2cm of water and pop it in the freezer. Once it’s solid, place a colorful flower on the ice, and add enough water to cover it. Freeze it again, and the end result will be a flower encased in a block of ice.
Remove the frozen block from the carton, place it on a draining board, and set up your camera on a tripod. Use a torch to light the ice from different angles, and you’ll quickly find a number of highly textured, colorful compositions.
11. Smart art with a smartphone
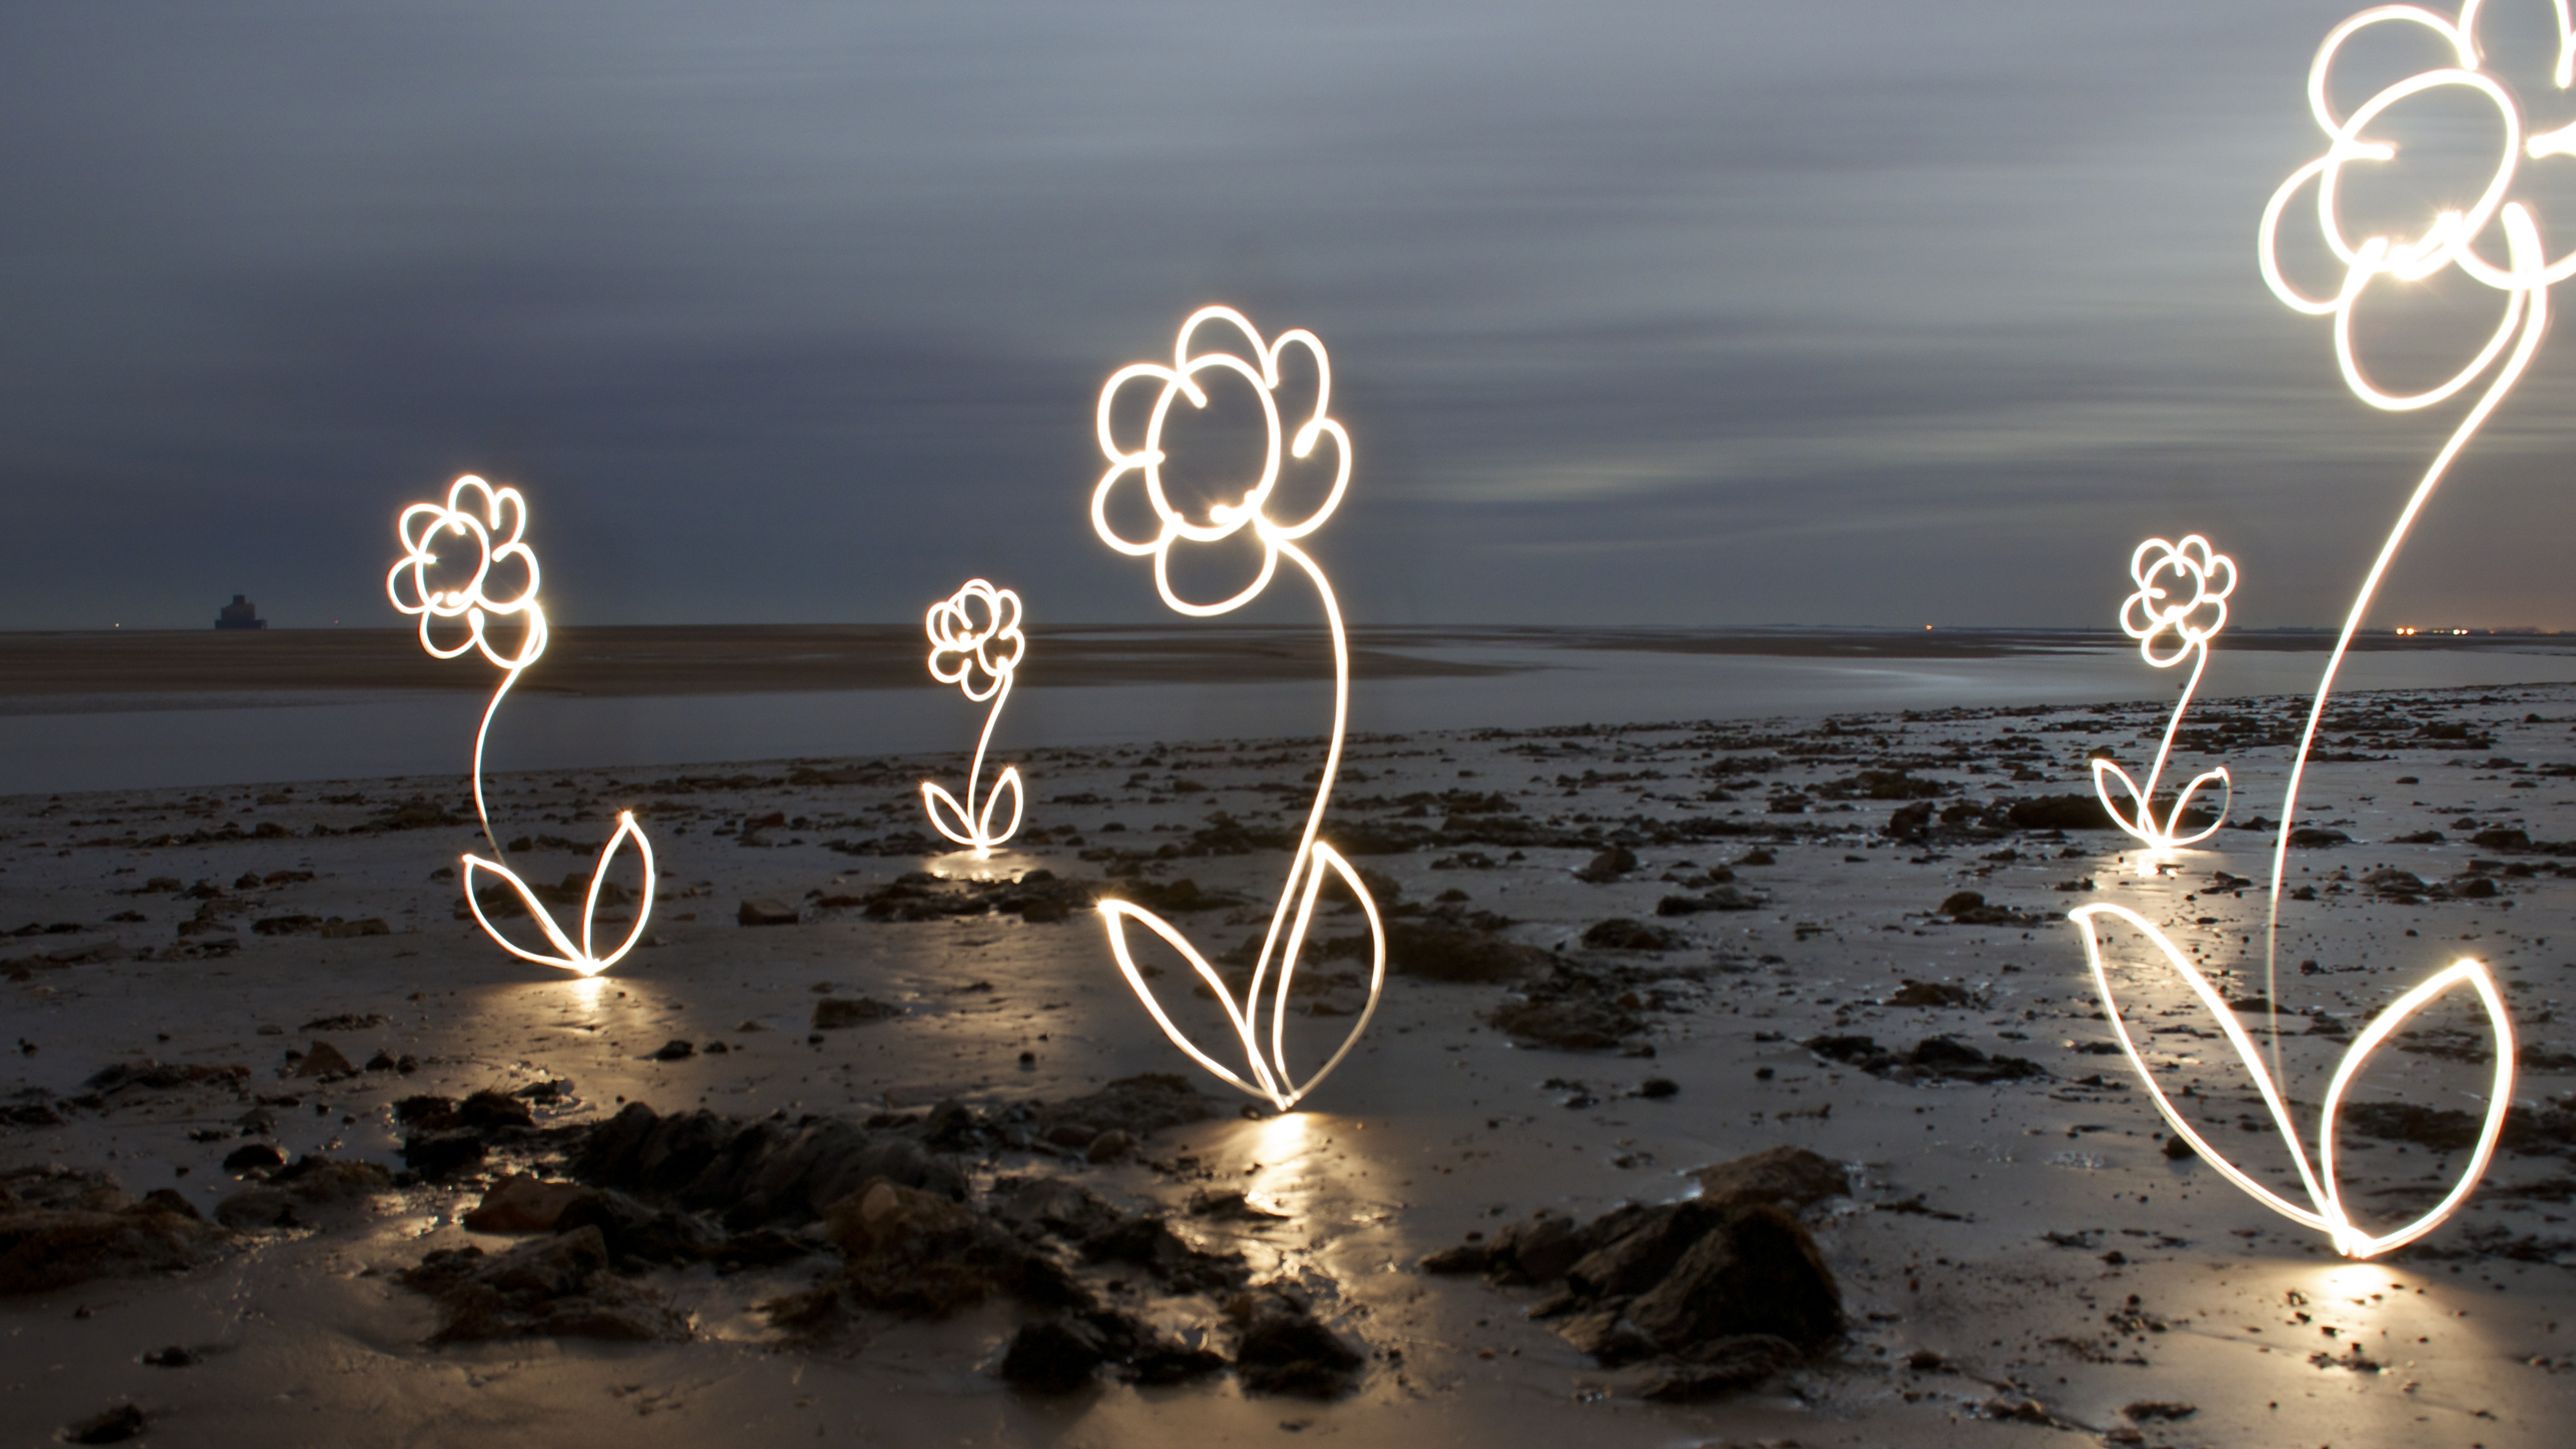
The small LED light on a smartphone is perfect for creating light traces. With a little practice, you can draw any shape in the air by shooting a long exposure. Wear dark clothing and keep moving, and you won’t appear in the shot.
To set up the camera, use Manual mode and pre-focus manually on the area where you’re going to do your painting. A good starting point is ISO 100, f/16 and a shutter speed of 30 seconds.
More techniques to try at home:
iPad photography hacks: Creative lighting ideas for cheap photography projects
Close-up filters: shoot macro photography without a macro lens
How to use polarizing filters for colorful cross-polarization effects
Digitizing slides and prints using a DSLR or mirrorless camera
The best light tents for photography
Get the Digital Camera World Newsletter
The best camera deals, reviews, product advice, and unmissable photography news, direct to your inbox!
Digital Camera World is one of the leading authorities on camera and photography news, reviews, techniques, tutorials, comparisons, deals and industry analysis. The site doesn't just specialize in cameras, but all aspects of photography, videography and imaging – including camera phones, gimbals, lenses, lighting, editing software, filters, tripods, laptops, printers, photo books, desks, binoculars and more.
Whether you're using, looking to buy or trying to get the most out of a compact camera, action camera, camera drone, cinema camera, beginner camera or professional camera, Digital Camera World has a roster of experts with combined experience of over 100 years when it comes to cameras, photography and imaging.

