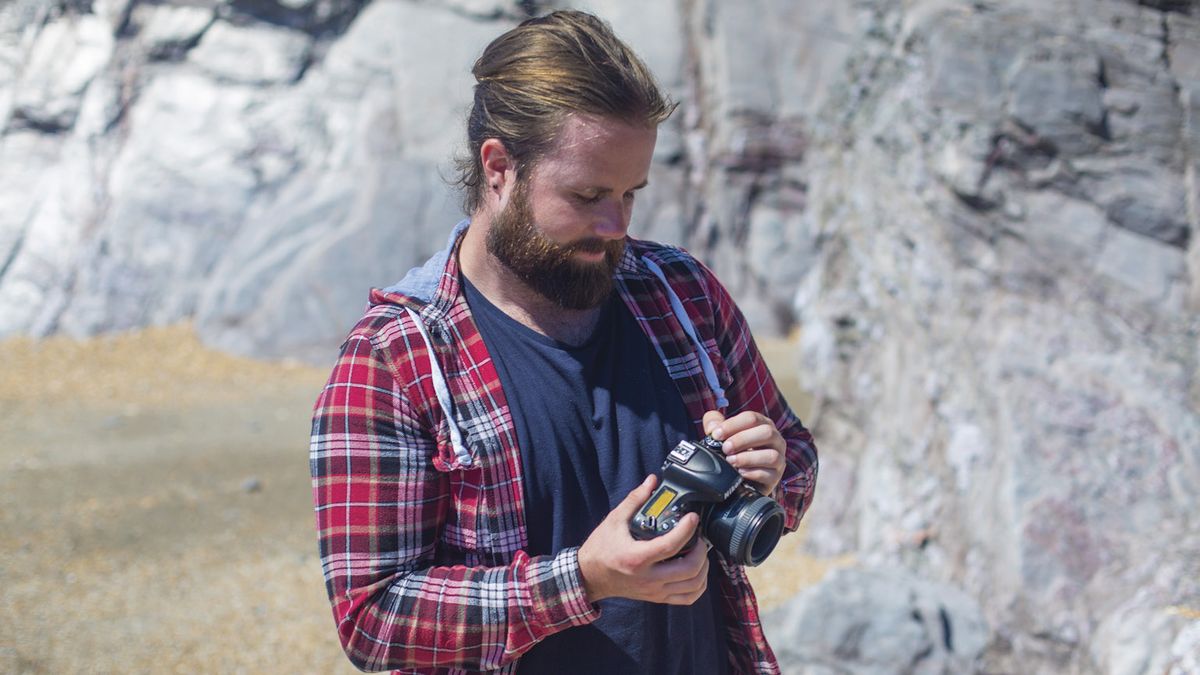
We’re going to show you how to move out of the comfort of Auto mode and get stuck in to one of your camera's other exposure modes. In order to do that we’re shooting static subjects, like these natural rock formations, but if there are none to hand then look for anything stationary, such as a woodland, some urban architecture, or even a statue.
The mission: Take the first steps away from Auto mode
Time: One hour
Skill level: Intermediate
Kit needed: DSLR
The advantage of shooting rock formations is that you can capture some unbelievable shapes and colours, so they’re a great place to start your photographic journey while you learn more about your camera.
Aperture Priority is a semi-automatic mode that allows you to test uncharted waters while still having a safety net. In this mode you get to decide on which aperture value (the size of the opening in your lens) and ISO sensitivity you want, while the camera automatically selects an appropriate shutter speed to give a well-balanced exposure.
Typically this will work as follows: widening your aperture to f/2.8 or f/3.5 will let more light into the camera, so the camera will make the shutter speed faster to counteract this flood of light.
Conversely, narrowing your aperture to f/8 or f/16 will let less light pass through into the camera, so the result is a longer shutter speed. This then enables the image sensor to receive the correct amount of light to create a balanced exposure. However, there’s more to it than that, as your aperture also affects the depth of field, opening up your creative options, as we’ll see…
Take creative control with Aperture Priority
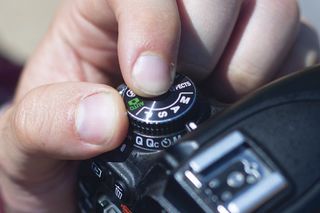
1. Spin the dial
Head to your Mode dial and turn it to Aperture Priority, this is denoted by an A on the top of the dial. Now move your Command dial and you’ll see the aperture value change. This will also indirectly change your shutter speed as the camera works to correct the exposure.

2. Depth of field
Aperture directly affects depth of field. If you want a small slice of your frame in focus (a shallow depth of field) choose a wide aperture like f/2.8. But if you wish to have lots of your scene in focus (a long depth of field) choose a narrow aperture like f/16.

3. Find the right position
Now you want to find the right position to take your shot from. Your first shot might have extraneous and unsightly objects in it, try and reposition so that they are obscured or completely framed out, one trick is to put the subject between you and the object.

4. Filling the frame
By framing unwanted objects out you’re creatively refining your photo. Take this one step further and get really near to your subject and fill your frame. Here we got in close and focused on the rock until there was nothing else visible through the viewfinder.
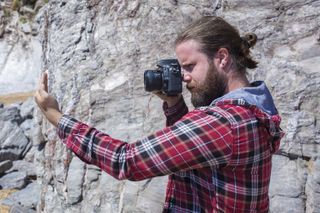
5. Minimum focusing distance
All lenses have a minimum focusing distance. This is a distance away from the lens at which it can’t focus any closer. On our 50mm lens that was about 45cm, which we checked by placing our hand in front and seeing how close we could focus until it stopped working.

6. What settings and why?
Our final settings were f/8, ISO100 and because it was a bright day the camera chose a shutter speed of 1/500 sec to balance the exposure. We chose f/8 because the scene in front of us was undulating and we wanted a reasonable depth of field to keep it sharp front to back.
Quick tip
Your metering mode can affect the shutter speed your camera chooses. For example, if you have Matrix metering activated it takes a light reading across the whole frame to determine shutter speed. However, Spot-metering will take a light reading of one particular point (usually the AF point) to decide on the shutter speed. We recommend sticking with Matrix metering to start with.
Read more: Cheat sheet: Wide vs narrow aperture
Get the Digital Camera World Newsletter
The best camera deals, reviews, product advice, and unmissable photography news, direct to your inbox!
N-Photo: The Nikon Magazine is a monthly publication that's entirely dedicated to Nikon users. As a 100% independent magazine, you can be assured of unbiased opinion from a trustworthy team of devoted photography experts including editor Adam Waring and Deputy Editor Mike Harris.
Aimed at all users, from camera newcomers to working pros, every issue is packed with practical, Nikon-specific advice for taking better photos, in-depth reviews of Nikon-compatible gear, and inspiring projects and exciting video lessons for mastering camera, lens and Photoshop techniques.
Written by Nikon users for Nikon users, N-Photo is your one-stop shop for everything to do with cameras, lenses, tripods, bags, tips, tricks and techniques to get the most out of your photography.
