Ready in a flash: how to capture editorial-style location portraits
Ben Bentley explains off-camera lighting for shooting group portraits on location
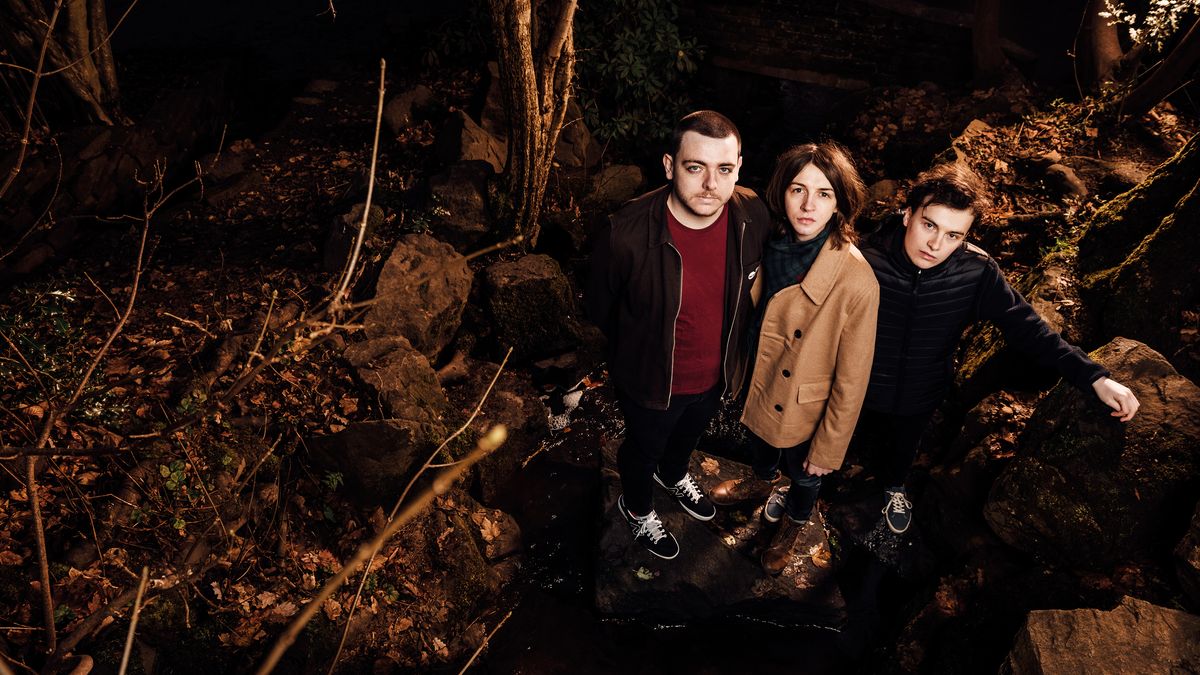
Shooting portraits featuring multiple subjects has been always been a crucial skill set for me, whether it is for a magazine feature or campaign imagery for a record label. In my experience, time with my subject is a luxury, not a given, so my ability to deliver a brief in any location and in an efficient manner is crucial.
Using strobes on location opens up a whole world of possibilities that simply relying upon ambient light does not offer. The ‘hurry up and wait’ nature of being on assignment means I have to be constantly adaptable, and able to offer consistently solid results – regardless of whether we lose the break in the cloud or that great afternoon light coming through a window.
Here I’ll show you how I shot this editorial-style location portrait of the band Nervous Pills. Lighting on location can be used to many different ends, whether that is mimicking natural light while being able to control it or, in this instance, using strobes to create something bigger than the sum of its parts. Strobes on location allow me to elevate my portraits to something beyond what the naked eye perceives.
Read more: See more of Ben's work at www.benbentleyphoto.com.
Capturing a successful group portrait
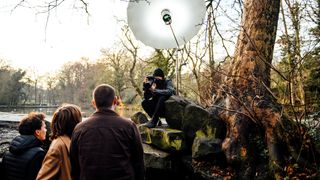
01. Find your exposure
My first step is to set an initial ambient exposure. The decision to either use or to overpower the available light on location often goes a long way to defining the overall look and feel of your portrait. You can create a darker backdrop with a more powerful flash setting as the light falls off. Here I settle on f/7.1 at 1/100 sec, ISO 160.
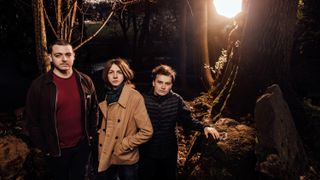
02. Soft and even light
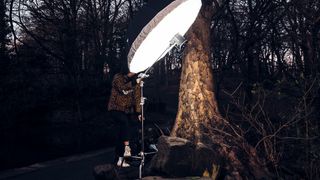
The key light for this setup is one of my Interfit S1 500W monolights fired into my 51in silver parabolic umbrella, with an added white elasticated diffuser. I use this combination regularly: it offers me an overall soft quality of light, while the silver interior of the umbrella ensures a degree of contrast that I really like, and creates a soft and even spread of light.
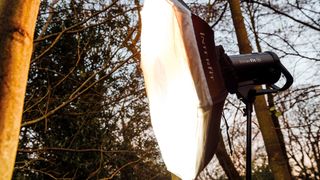
03. Background separation
Once the key light exposure is dialled in to my liking, it’s time to add the rim light in order to create some dimension and separate the subjects from the underexposed background. I’m using another of my 500W S1 heads, this time gelled to CTO (color temperature orange) and fired through my Interfit pop-up beauty dish.
What do you need for a group portrait shoot?
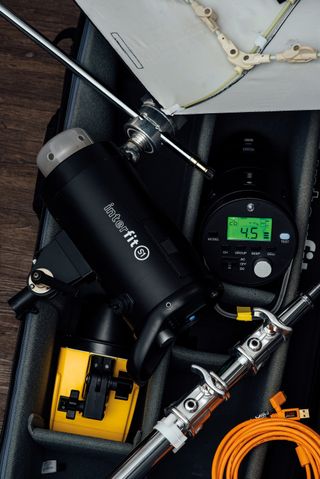
What's in my bag...
The 500W Interfit S1 and 250W Badger Unleashed monolights are the heart and soul of my lighting kit, whether I’m working on location or in the studio. I flew out to Germany to shoot a job the day after receiving my S1 heads, and I was genuinely over the moon with the HSS functionality and rugged metal construction.
For location work (especially when time is of the essence), I lean heavily on my 51in and 65in Interfit Parabolic umbrellas, as well as Interfit’s pop-up Octabox range. The versatility and the quality of light these modifiers offer me, combined with the appealing two‑second setup time, continue to secure them a place in my Think Tank Production Manager 50 rolling case.
Top Tip: Trial and error
One of the most crucial insights I can offer to someone starting out with strobe lighting is this: shutter speed will always dictate the constant/ambient light, and your aperture will always dictate your strobe exposure. There really is no better way to learn how to light on location than simply getting out there and getting your hands dirty.
Read more:
Best studio lighting kits
Best 85mm lenses for portraits
Portrait photographers to follow this year
Home photography ideas
Get the Digital Camera World Newsletter
The best camera deals, reviews, product advice, and unmissable photography news, direct to your inbox!
