Shoot amazing flower portraits in your garden
Get stunning results when shooting flowers in a small home garden, with minimal space to work and light your subjects
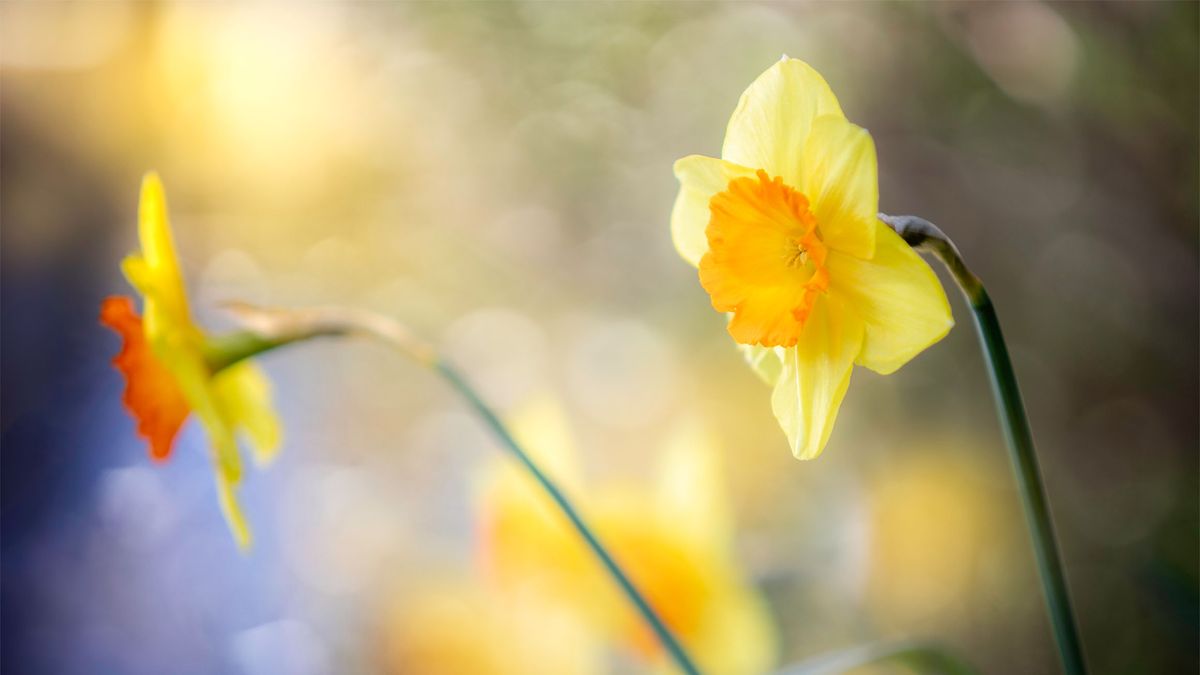
Few of us are lucky enough to have extensive grounds attached to our houses. If we have a garden at all, most will be comparatively small. This creates several challenges when trying to shoot professional flower portraits. Firstly there is the question of space - most gardens are box shaped, with little distance between the subject and surrounding wall or fence.
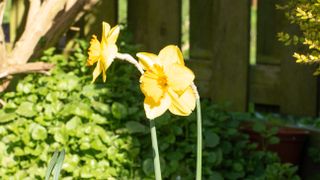
This makes it difficult to introduce separation using background blur, which is the hallmark of professional photography. This is less of a problem with true macro subjects, due to the ultra shallow depth-of-field, but for large flowers too much distracting detail can remain. Secondly there is a limited choice of lighting angle. At noon in particular there can be almost no shade, resulting in high contrast, low colour saturation and unsightly blown highlights on the flowers.
The solution is to take control of the light by overpowering the sunlight with flash, and by carefully choosing a shooting angle and focal length to squeeze as much bokeh from your lens as possible. With a single speedlight it is possible to redistribute shadows and add sparkle to the scene, in conjunction with clever background arrangement. Let’s explore the process for quick and easy pro images in any garden setting, regardless of space or sunlight.
1- Find shooting angle
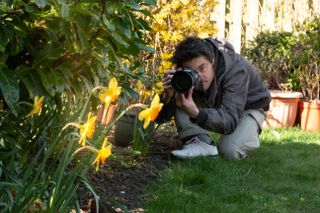
We need to align the subject with details that are as far from the camera as possible. Shooting parallel to this garden’s longest dimension put more distant detail beyond the flowers, allowing blur.
2- Place your flash
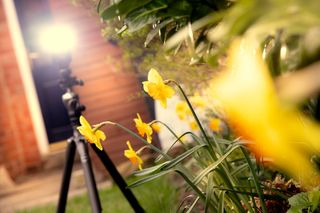
Aim the speedlight toward the lens, slightly above the subject, to suggest the sun backlighting the flower. Diffuse the flash to avoid bright hotspots - here a shoot-through handheld diffuser was used.
3- Create shade
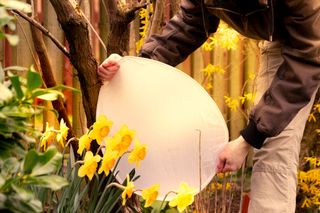
With another diffuser soften any direct sunlight falling on the subject, to create the impression of a shaded spot. This uses the sun as a fill light, not the main light source, allowing control with flash.
4- Balance flash output
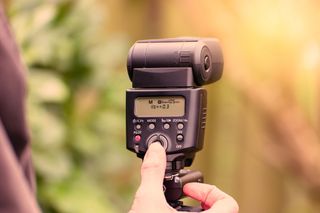
The sun was bright on the day we shot this, so a higher power was needed to dominate the scene. We used 1/16th power and moved the unit close to the subject for wrap-around lighting. Keep shutter speed below 1/200sec.
5- Create background interest

We sprayed some of the background foliage with water to create glints when the flash caught the droplets. This produced attractive highlights which added depth, suggesting a larger, wilder environment.
Rack out

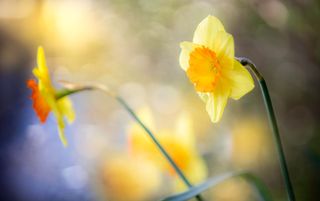
Move as far from the subject as possible and zoom in using a telephoto lens. This enhances background diffusion and makes coloured areas spread across the frame, limiting the context of a small garden.
Read more:
LEAKED: This is the Canon RF 100mm f/2.8L Macro (Canon's first true EOS R macro lens)
Get the Digital Camera World Newsletter
The best camera deals, reviews, product advice, and unmissable photography news, direct to your inbox!
Digital Photographer is the ultimate monthly photography magazine for enthusiasts and pros in today’s digital marketplace.
Every issue readers are treated to interviews with leading expert photographers, cutting-edge imagery, practical shooting advice and the very latest high-end digital news and equipment reviews. The team includes seasoned journalists and passionate photographers such as the Editor Peter Fenech, who are well positioned to bring you authoritative reviews and tutorials on cameras, lenses, lighting, gimbals and more.
Whether you’re a part-time amateur or a full-time pro, Digital Photographer aims to challenge, motivate and inspire you to take your best shot and get the most out of your kit, whether you’re a hobbyist or a seasoned shooter.
