How to brighten dull images
Bring some light into your photos
Learn when to use the ALO feature in your EOS
Time needed: 10 minutes
Skill level: Beginner
Kit needed: Canon DSLR with the Auto Lighting Optimizer feature • Standard zoom
Auto Lighting Optimizer (ALO) is a neat little feature that goes unnoticed by many but is pretty handy to have and is worth experimenting with.
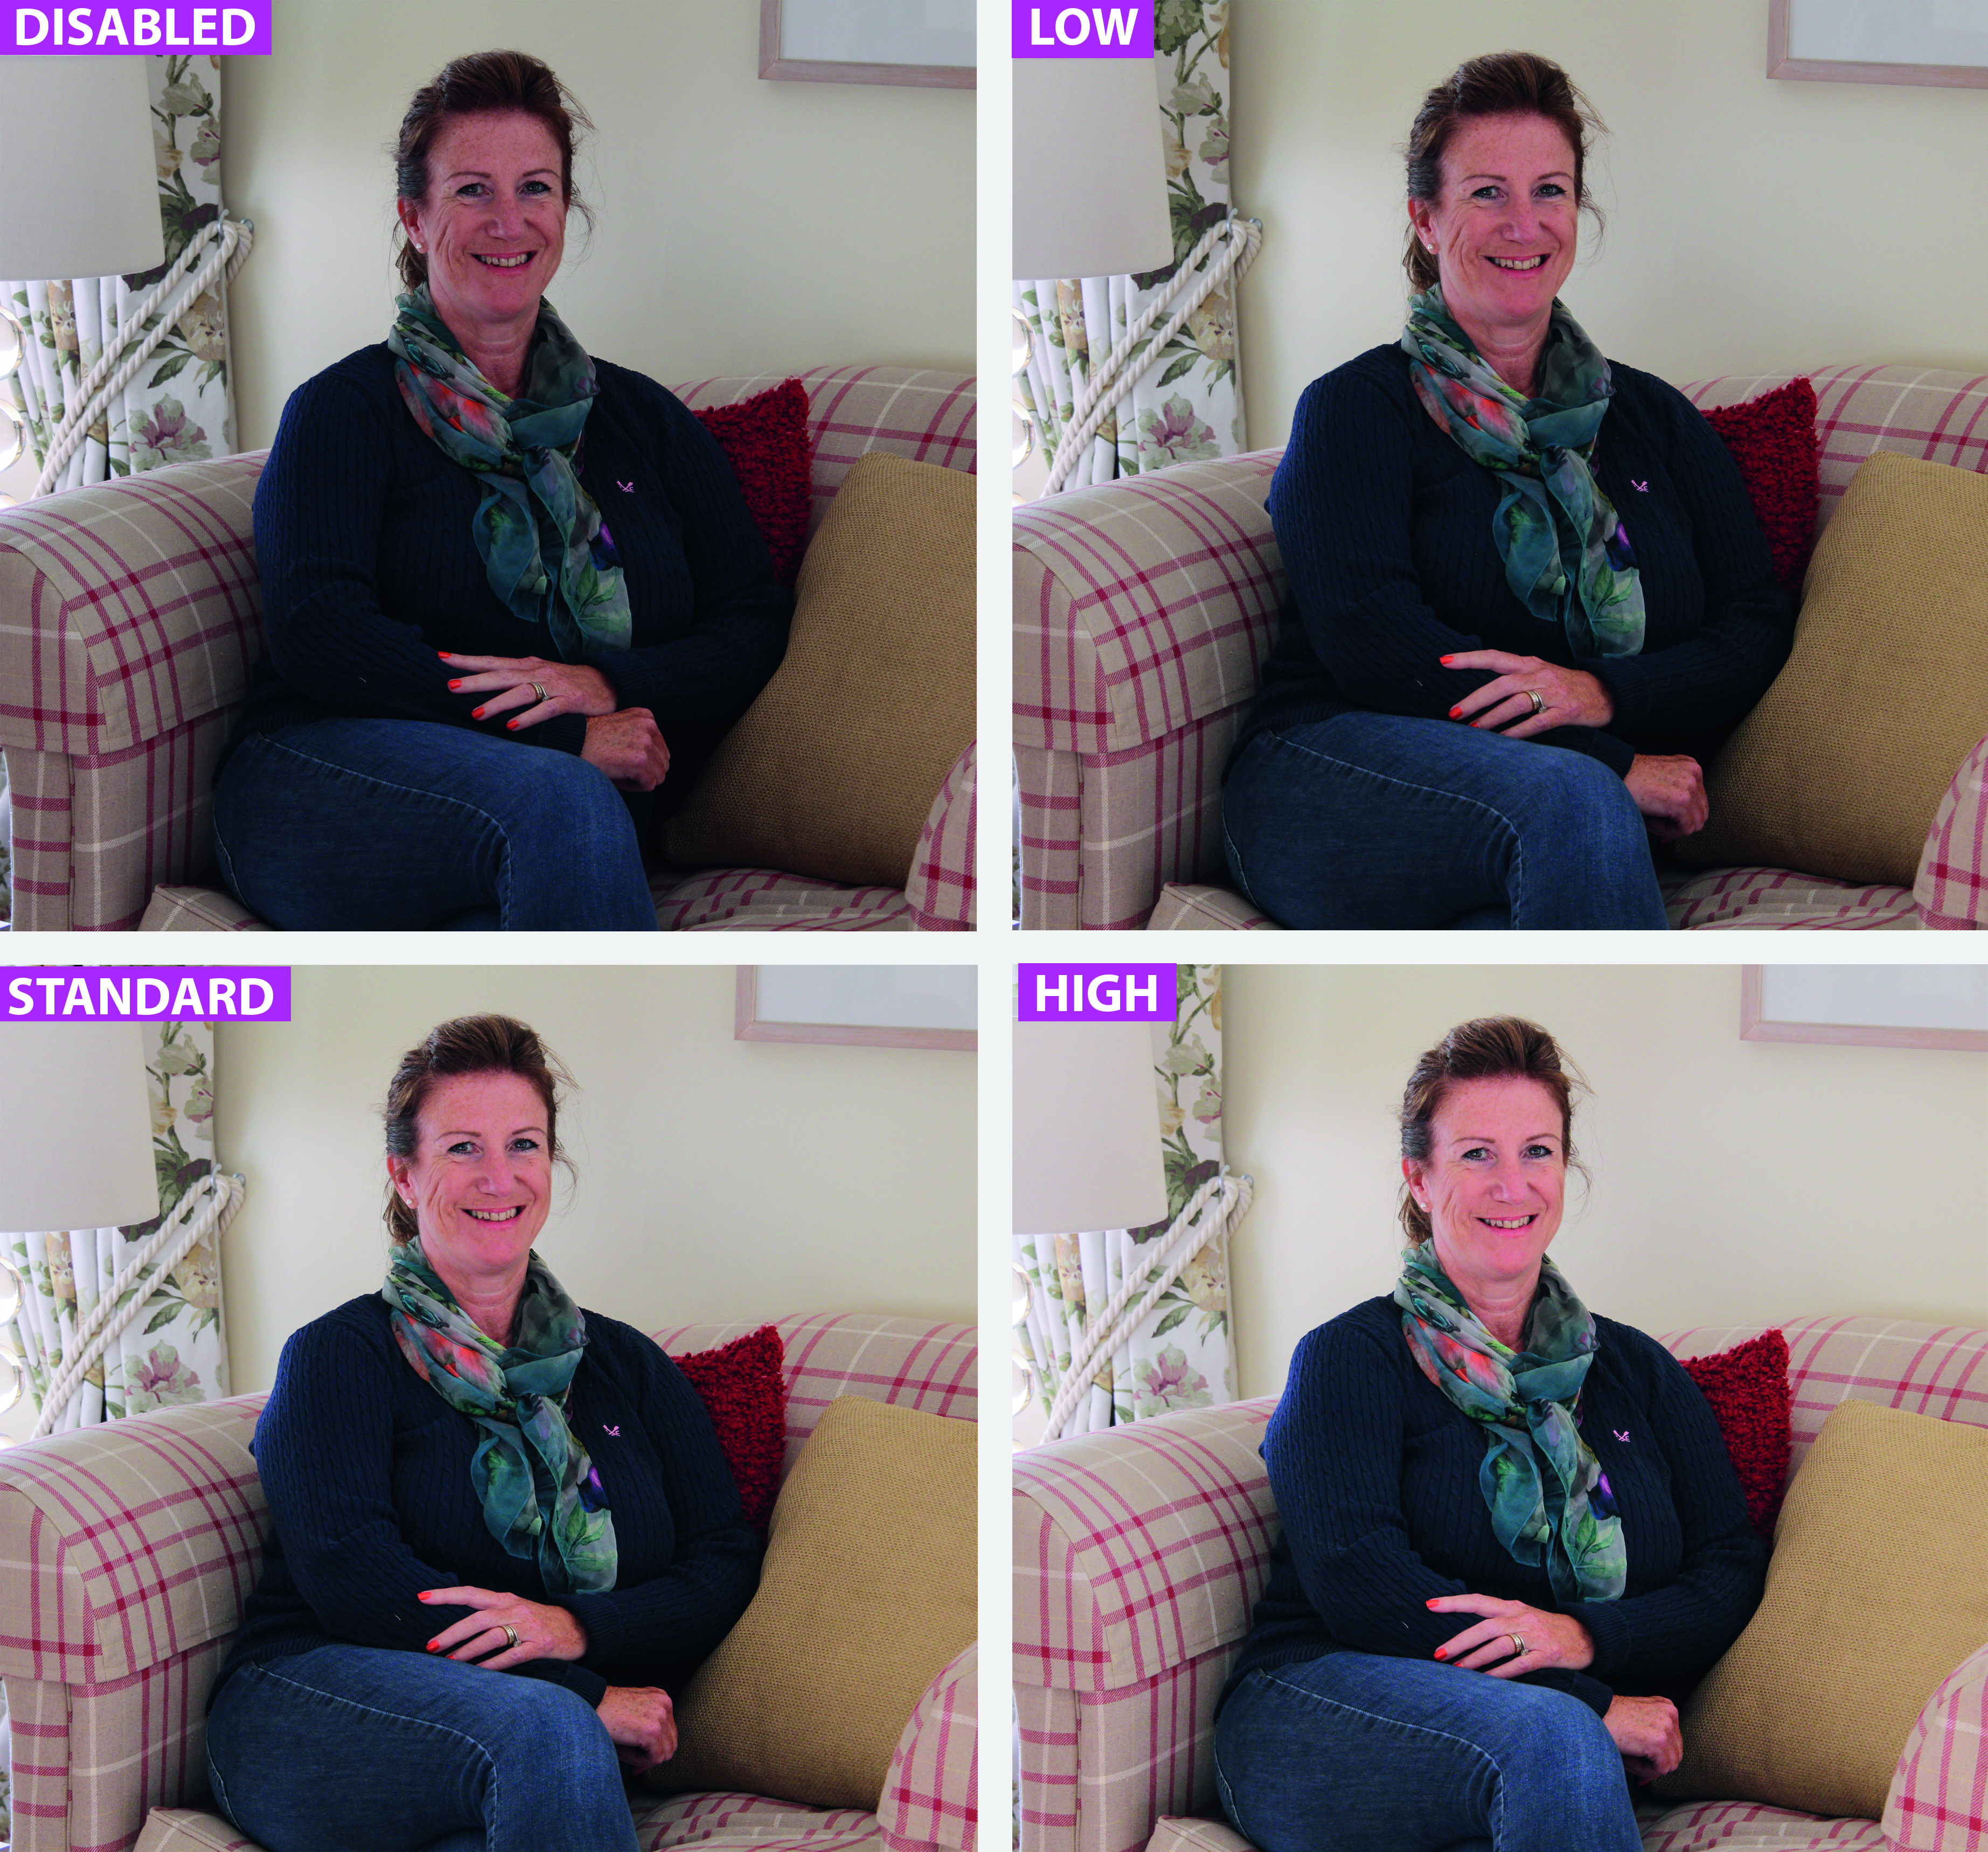
It enhances exposure and evens out contrast in images with less-than-ideal lighting conditions. It is automatically applied when you’re shooting in Full Auto, Creative Auto or any of the scene modes. To disable or adjust the strength of the tool in-camera you must be in P, Tv, Av or Manual mode. It is set to Standard by default in the semi-auto modes, but disabled in Manual mode.
ALO helps with underexposed or low-contrast scenes, and is useful when using flash or shooting backlit subjects. Once a shot has been taken, it analyses lighting and contrast, then modifies shadows and highlights to minimize loss of detail for a balanced exposure.
RAW CANON WORKFLOW
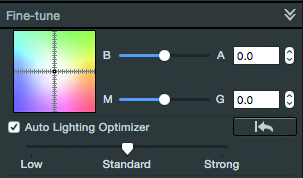
If you use Canon’s Digital Photo Professional (DPP) software to process your Raw files, you can change the ALO settings that are applied to your images in-camera as part of your usual Raw post-processing workflow.
STEP BY STEP: Working with Auto Lighting Optimizer
In P, Tv, Av, and M modes you can access the Auto Lighting Optimizer tool via your Canon’s main menu
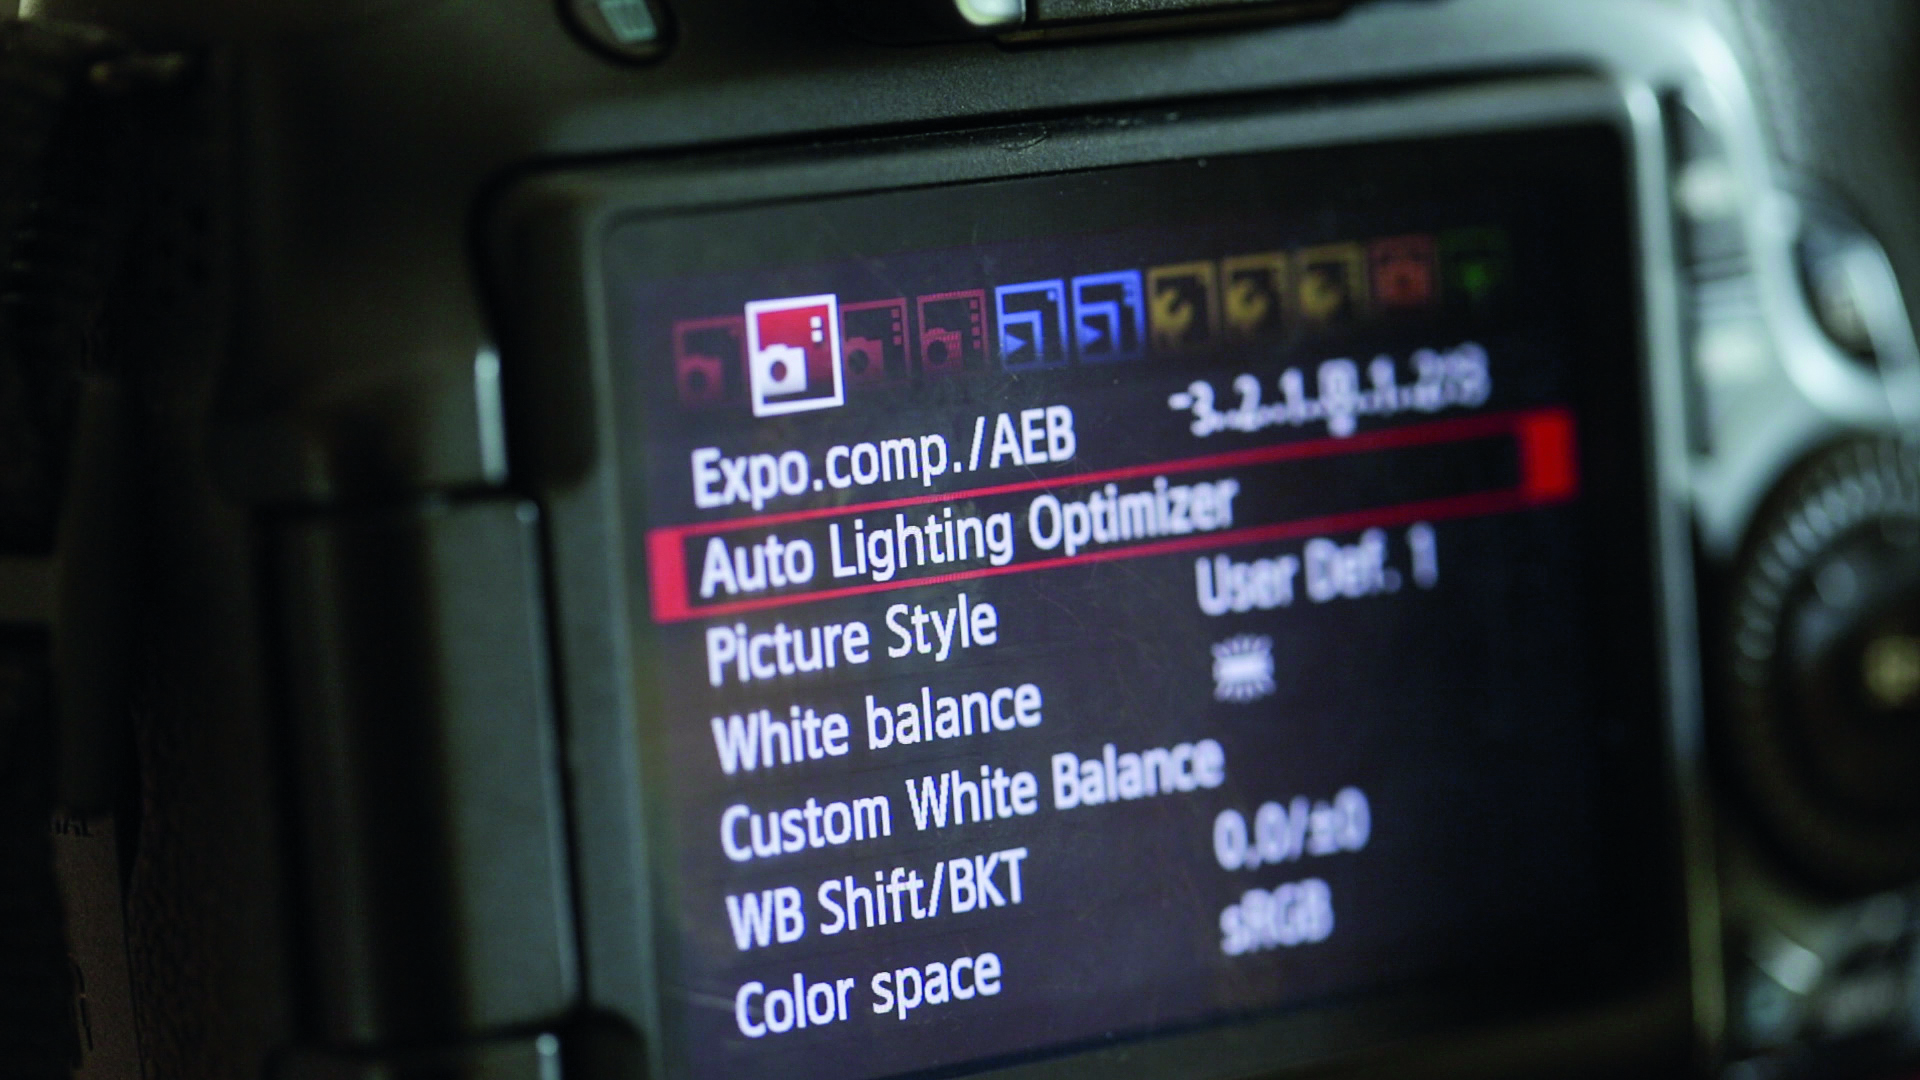
01 MENU SETTINGS
You’ll find the Auto Lighting Optimizer feature in one of your camera’s shooting tabs in the main menu when shooting in Manual or one of the semi-automatic modes (P, Tv, Av).
The best camera deals, reviews, product advice, and unmissable photography news, direct to your inbox!
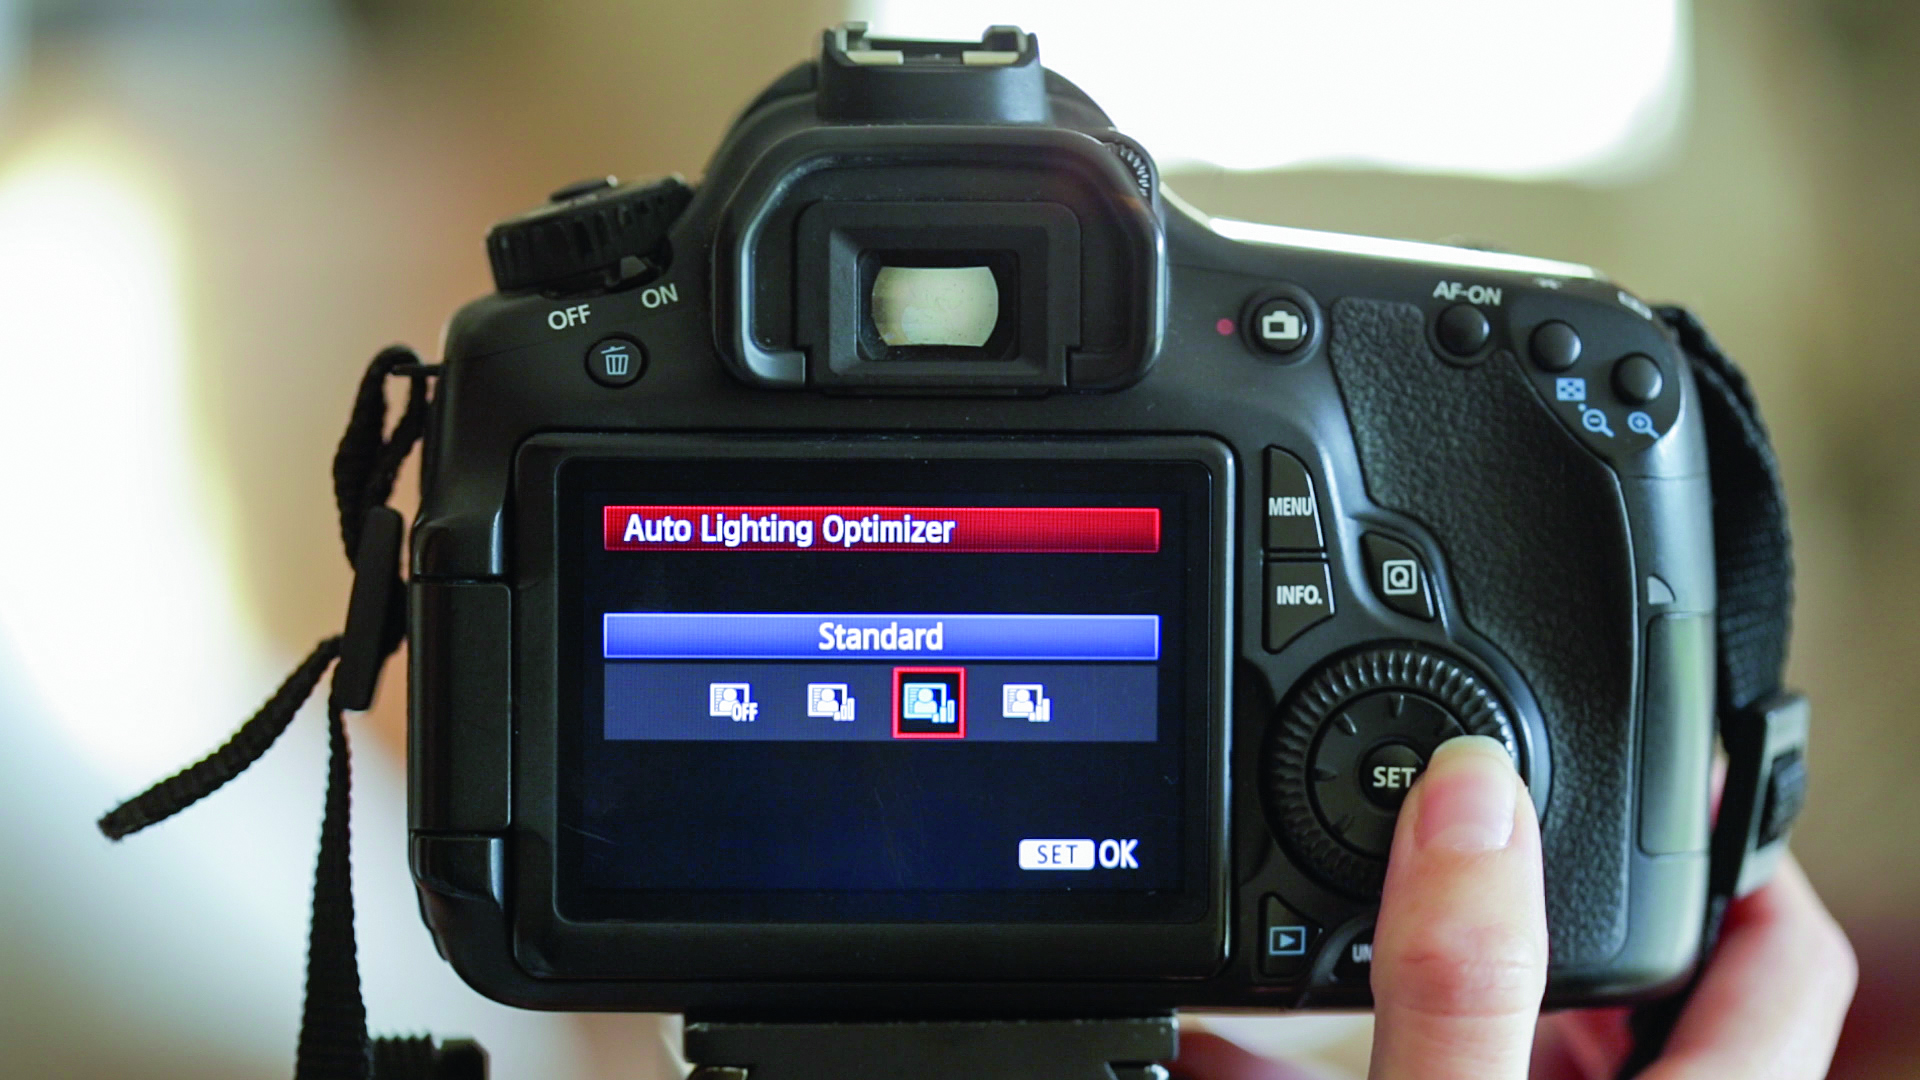
02 ADJUST THE STRENGTH
You can disable or adjust the strength of ALO to Low, Standard (default) and High by scrolling through and hitting Set. Experiment with all settings to achieve the desired effect.
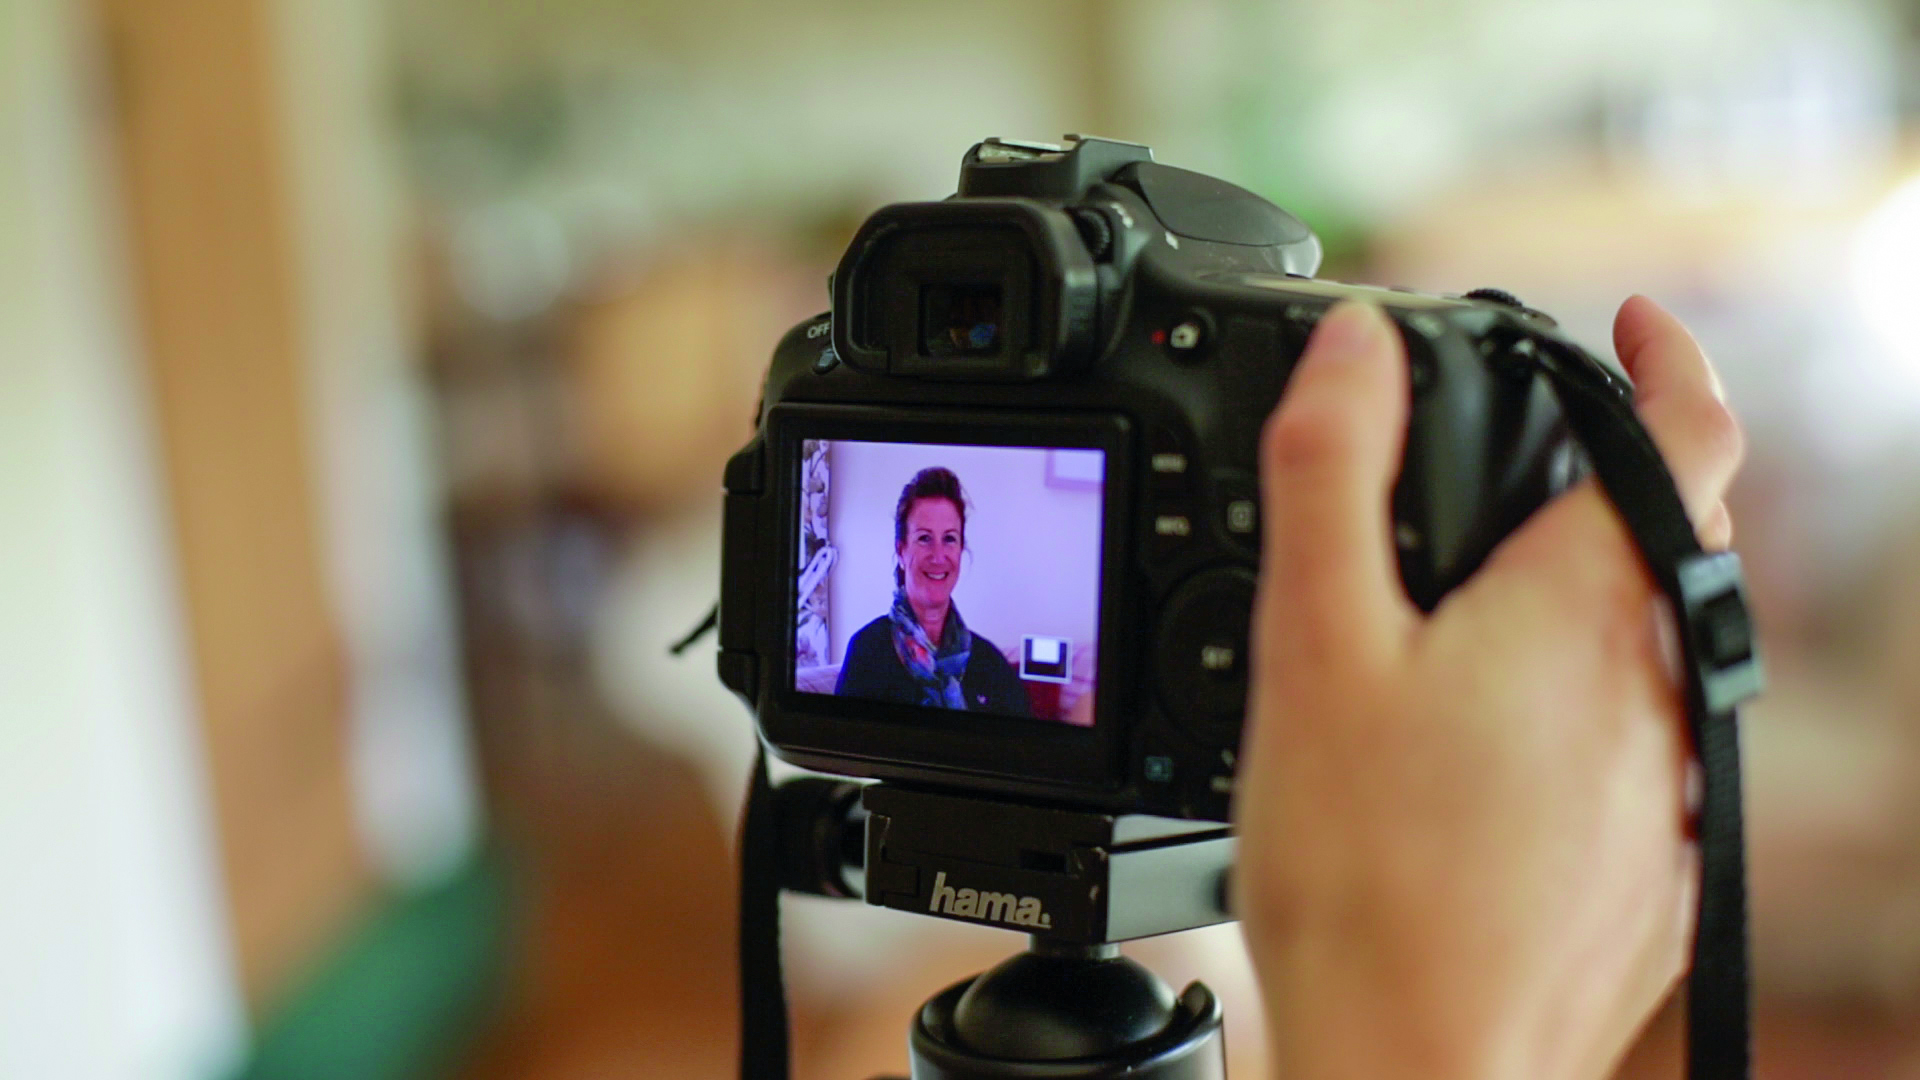
03 PREVIEW THE IMAGE
ALO is applied in-camera to JPEG images and to the LCD preview of Raw images. As Raw image previews are processed with settings including ALO applied, it will be reflected in the histogram.
Hollie Latham-Hucker is a former Technique Editor of PhotoPlus magazine. With a degree in Design Photography from the University of Plymouth, she is currently working as the Technique Editor of Amateur Photographer.

