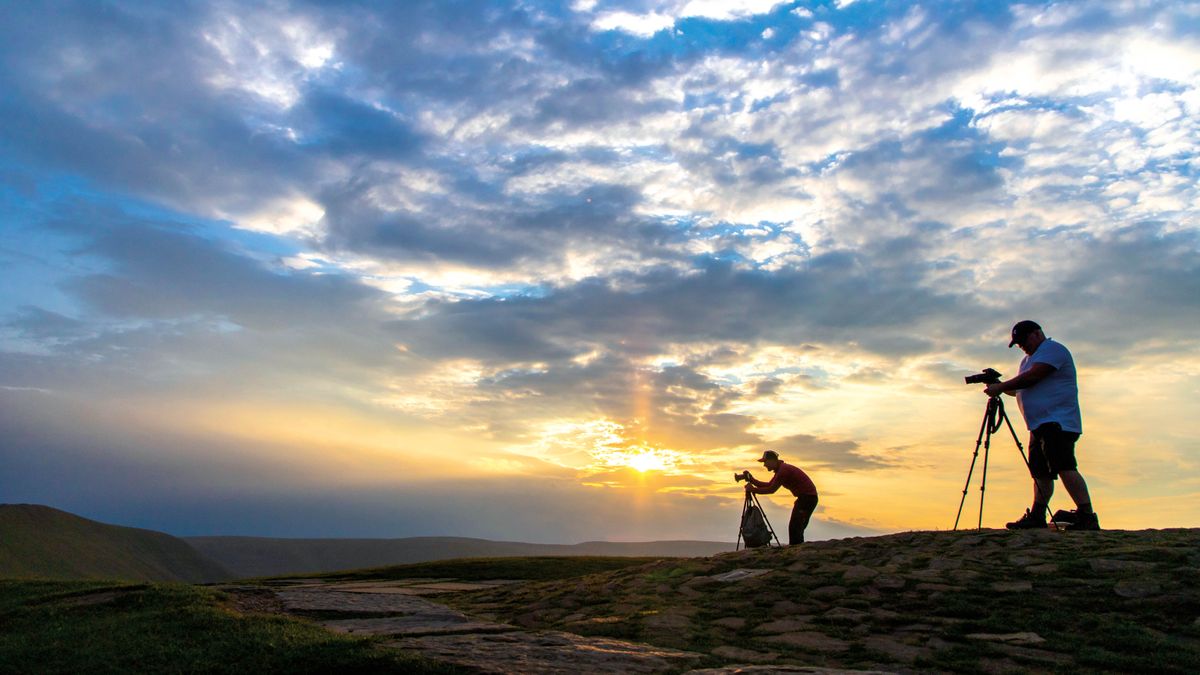
Watch video: 8 tips on how to use a tripod for the best photos
It would be easy to assume that a tripod is just a tripod, right? Well, you may be in for a surprise! As the years go on, pro-level photography tripods get ever more advanced, adding even more useful features. Cheap budget tripods are generally made for video, and you can tell this from the way that the legs are usually bound for extra stability. They also typically come with a pan / tilt head, for smoother tracking when recording, but they’re really not the best choice for photos.
As dedicated tools for shooting stills, the best tripods for photography are well worth investing in. Look for one that has unbound legs with adjustable leg angles and also that comes with a ball or three-way head, depending on your preference. You can then go up the range looking for other features you may desire, such as a reversible center column, a lightweight carbon fiber build, or a higher maximum payload.
• 7 ways video tripods are different to regular ones
Tripods are fantastic for landscapes, as they enable you to lock the camera off to remove camera shake caused by hand-holding. They also make it possible to shoot with a much slower shutter speed, so you can turn moving parts of your scene (like clouds and water) into a blur. Now you know what a pro photo tripod is, here’s how to get the best out of them!
01 Keep on top of maintenance
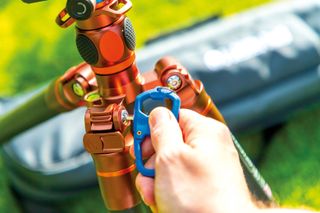
Pro-level tripods usually come with tools or hex keys. Don't throw these in a drawer and forget about them, as they can be used to tighten up any moving parts that may come loose over time. Keep them tight to make sure the legs don’t start slipping during long exposures, which will lead to blurry shots.
02 Try out new feet
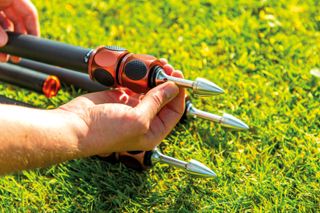
Some tripods have different feet options such as spikes, which dig into rocky coastal terrain. These can sometimes be revealed by twisting the rubber feet on some models, while others – like Stilletoz, from 3 Legged Thing – have to be screwed on.
03 Change the leg angles
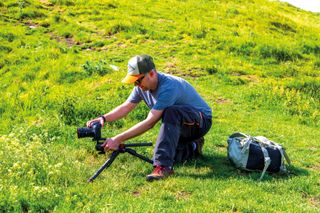
The legs of photographic tripods aren’t braced together like they are for video ones. You can usually adjust the leg angles individually, making it much easier to get low to the ground by spreading them out.
04 Always extend the thickest leg sections first

The thinnest leg sections and the center column are the most wobble-prone parts of any tripod, so extend the thickest leg sections at the top first and only use them as a last resort if you need the extra height. Since the center column is the least stable part, some top level models omit them altogether.
05 Add extra weight to stabilize it further
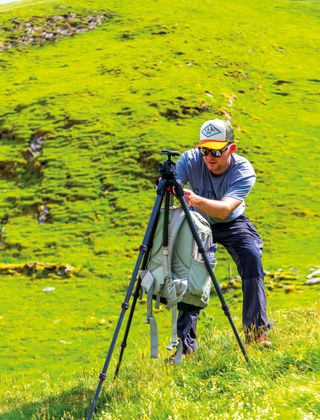
The wind can cause your tripod to wobble, which means blurry shots – especially if it’s a lightweight option like a carbon-fiber model. However, you can always try hanging your heavy backpack on the tripod to make it more stable and eliminate those shaky shots.
06 Always rinse off salt water
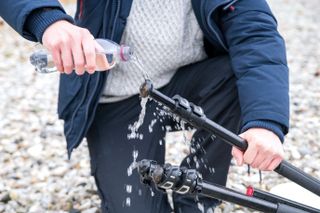
If you’ve been shooting at the coast, be very careful of salt water as it’s the enemy of many tripods. If left on your tripod it can really cake the legs up, causing rust and corrosion that leaves the tripod destined for the trash as you can’t extend the legs properly, so be sure to rinse with tap water afterwards.
07 Stop your sticks sinking in sand
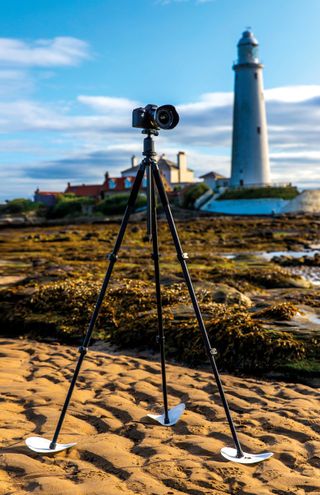
Setting up a tripod on sandy shores can be problematic, as the feet have a habit of being swallowed and sinking in them, which is no good for your long exposures! A good tip is to place paper plates underneath the feet to spread out the weight and stop them sinking. Just be sure to pick them up and keep them in your kit bag so you can use them on beaches again in the future.
08 Use a tripod bag
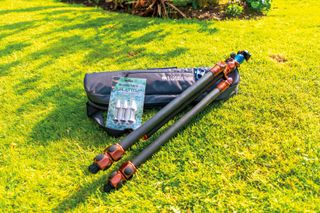
Tripods sometimes come with a soft bag in which to store them and all of your accessories, such as tools, hex keys and different feet options. They can be handy for transporting your tripod to a location, though if you don’t have one you could try lashing your tripod to the side of a rucksack instead.
PhotoPlus: The Canon Magazine is the world's only monthly newsstand title that's 100% devoted to Canon, so you can be sure the magazine is completely relevant to your system. Every issue comes with downloadable video tutorials too.
Read more:
The best tripods for photographers
The best pan and tilt heads for tripods
The best travel tripods
Get the Digital Camera World Newsletter
The best camera deals, reviews, product advice, and unmissable photography news, direct to your inbox!

Deputy Editor on PhotoPlus: The Canon Magazine, Dan also brings his technical wizardry and editing skills to Digital Camera World. He has been writing about all aspects of photography for over 10 years, having previously served as technical writer and technical editor for Practical Photography magazine, as well as Photoshop editor on Digital Photo.
Dan is an Adobe-certified Photoshop guru, making him officially a beast at post-processing – so he’s the perfect person to share tips and tricks both in-camera and in post. Able to shoot all genres, Dan provides news, techniques and tutorials on everything from portraits and landscapes to macro and wildlife, helping photographers get the most out of their cameras, lenses, filters, lighting, tripods, and, of course, editing software.
