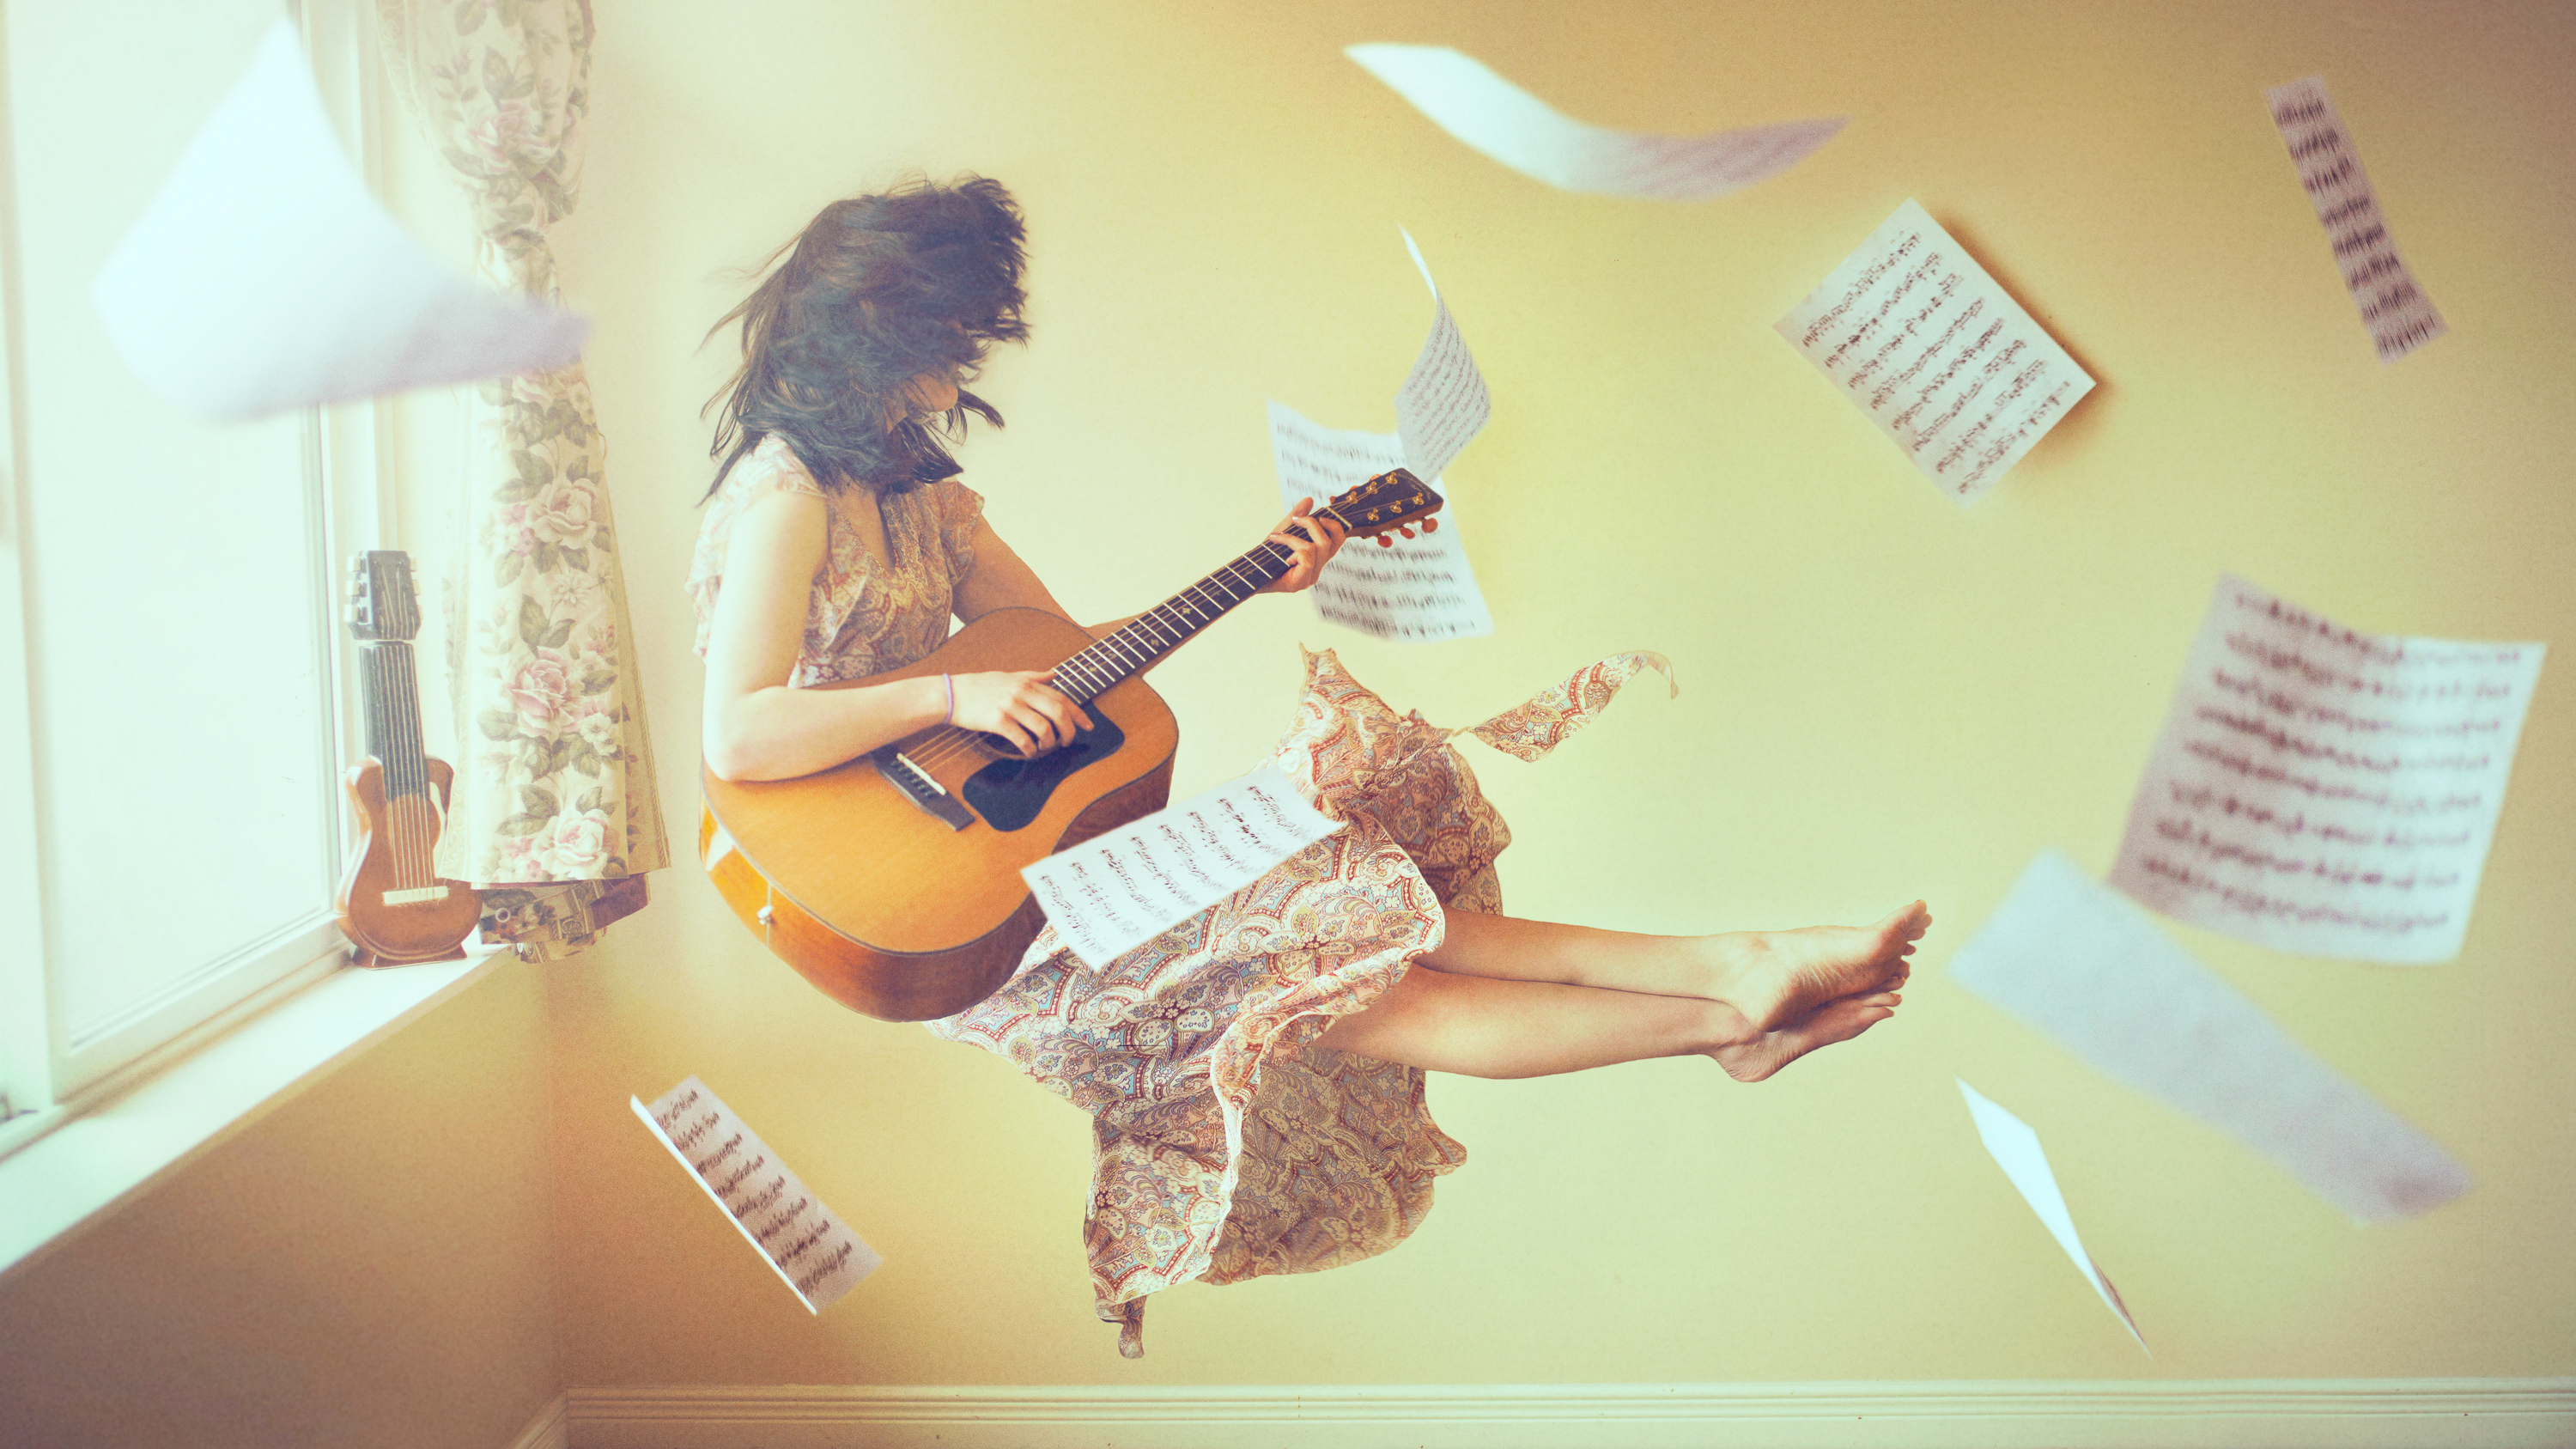
Specializing in fashion and portraits, my style consists of surreal, ethereal, and whimsical imagery. I’ve gained attention through my conceptual and surreal photography, which I find to be the most soul-fulfilling. Although I’ve been a photographer for more than ten years I still consider myself a newbie, as there is so much out there to learn.
Some of my favorite works are from experimental shoots, where I attempted to do something out of my comfort zone. Initially I’m often skeptical of it working, but if you don’t try something new then you will never learn. From compositing to crafting, and from wardrobe creation to set design, the possibilities are endless!
Once you’ve gained confidence, I suggest reaching out to local like-minded creatives; always look to learn from others, and your knowledge on each aspect of the creation process will broaden.
Shooting a creative composite
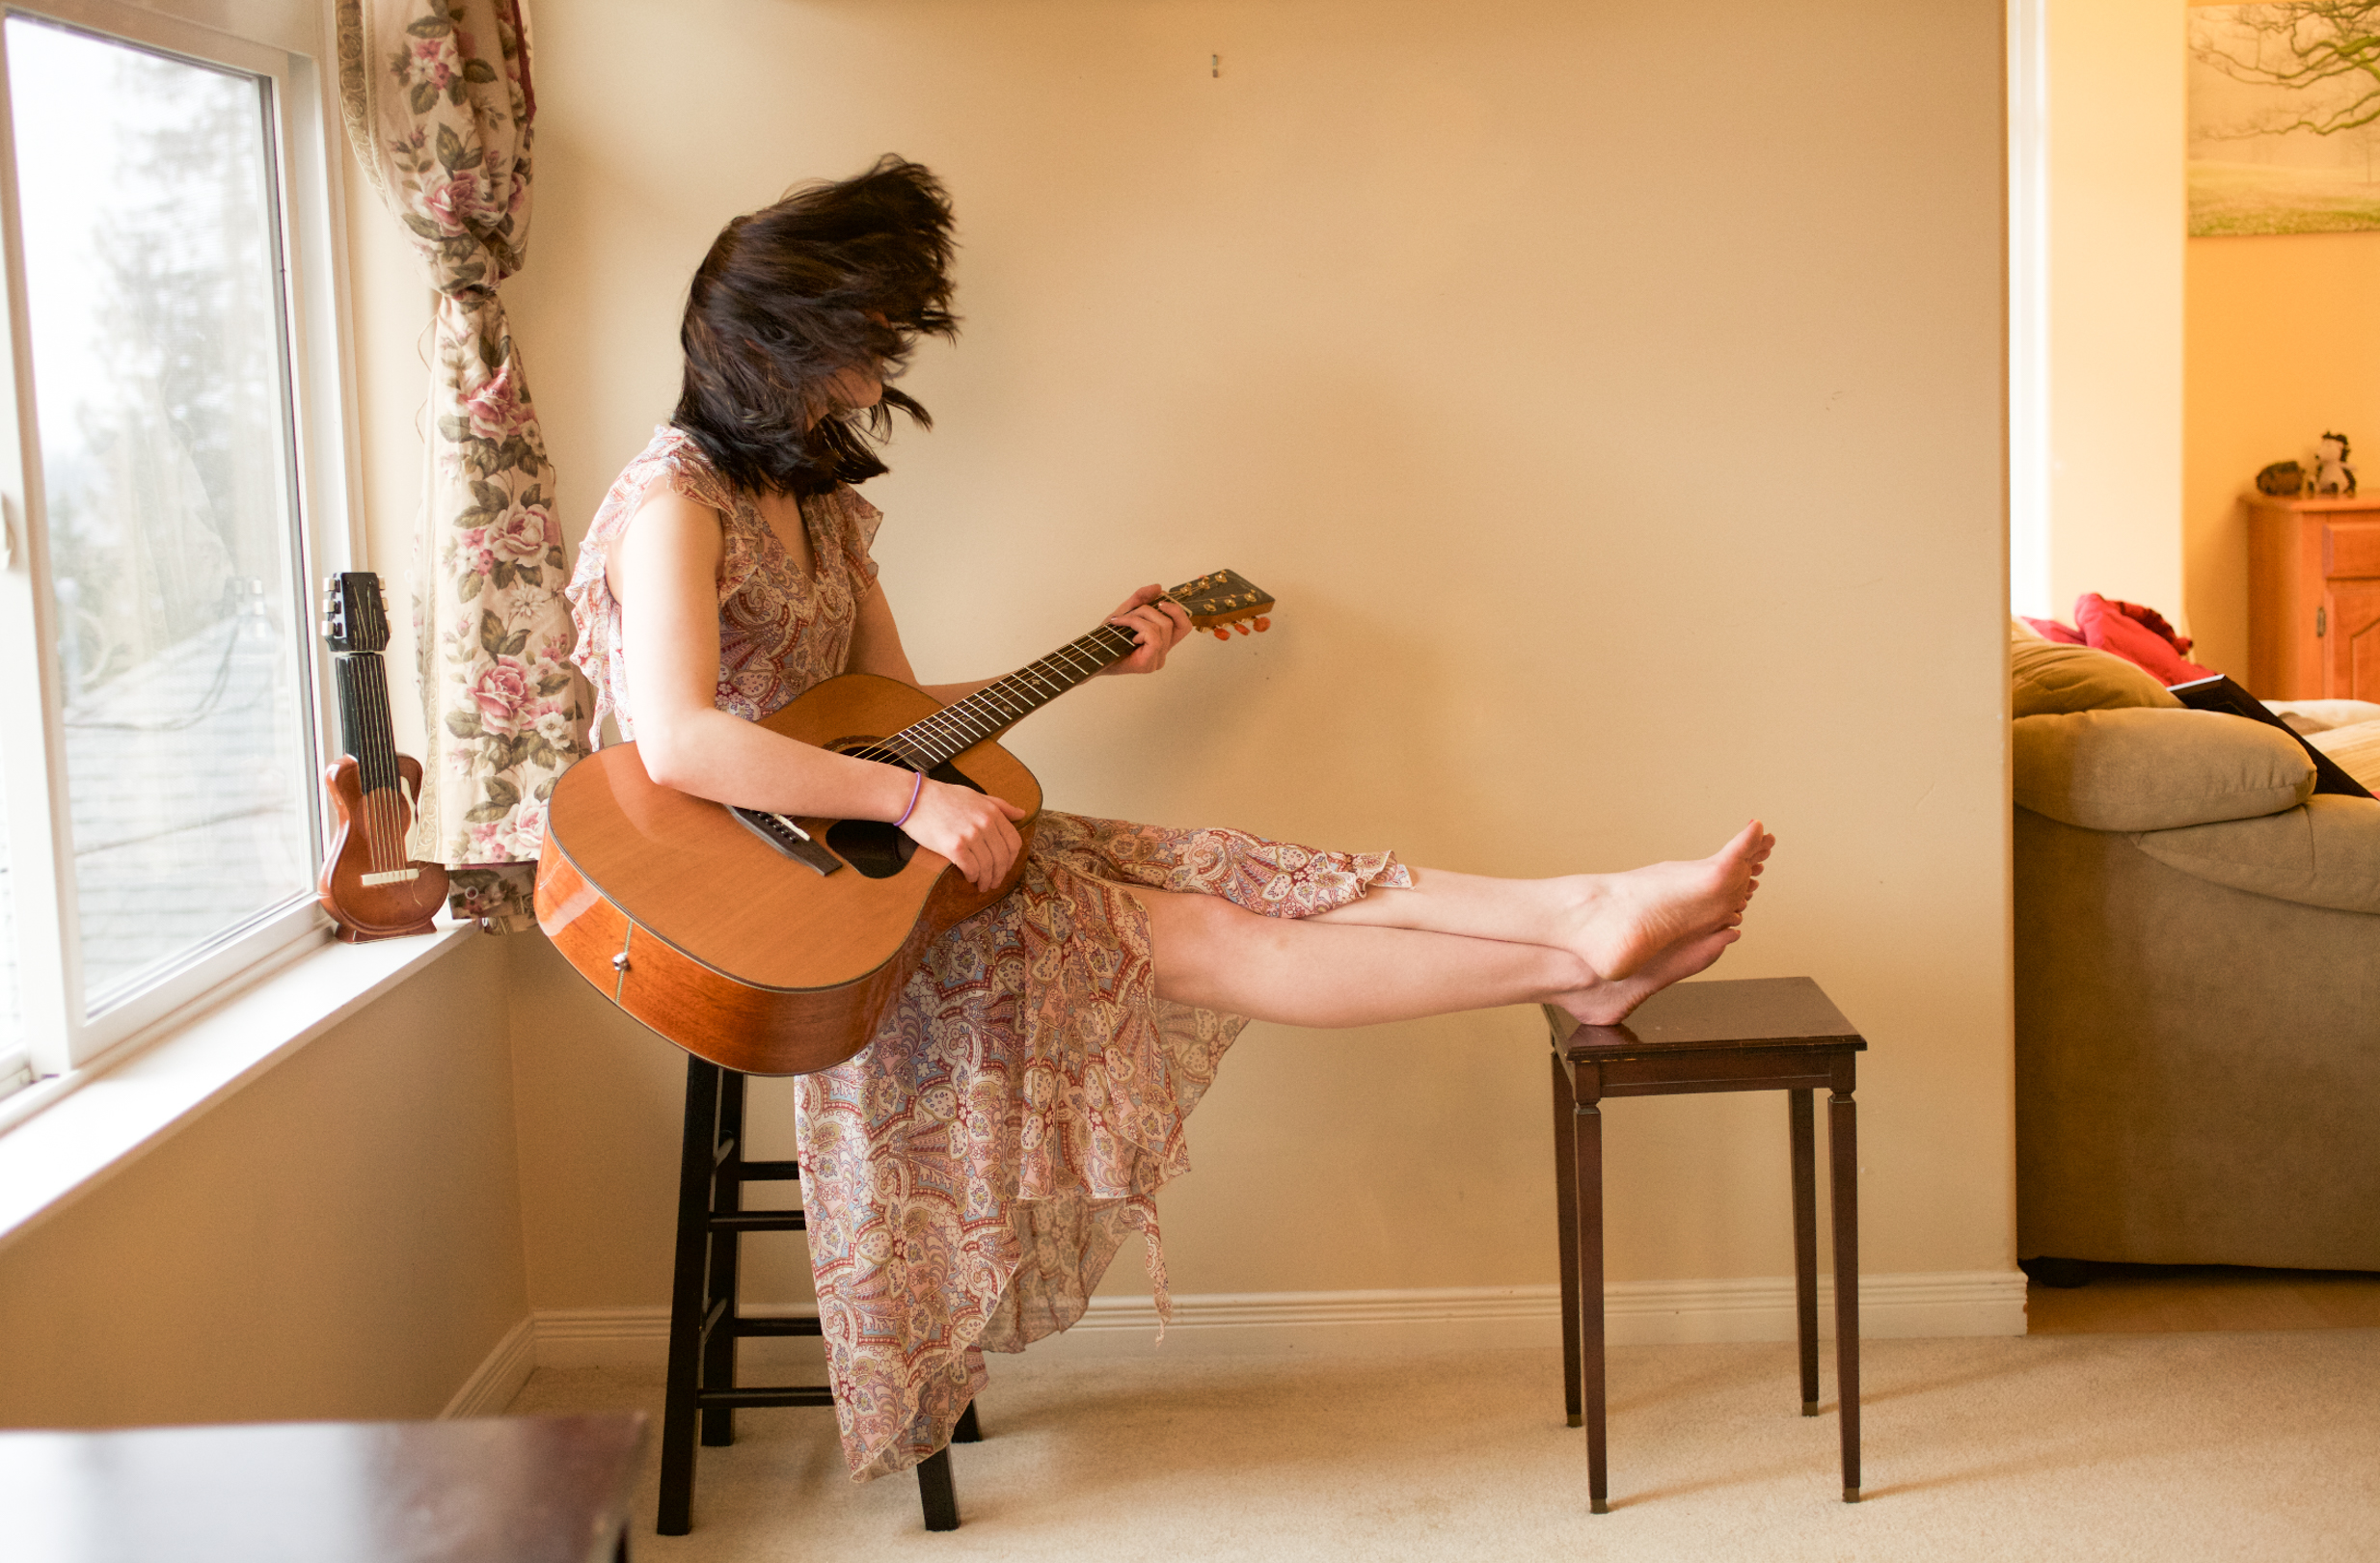
01. Start with the subject
When I’m shooting a look for compositing, I like to start with the shot that will contain the subject. For this image, I had my sister-in-law sit on a stool and place her legs on a table, since I planned on doing a levitation image. I also had her flip her hair forward, for a more mysterious, dreamy feel.
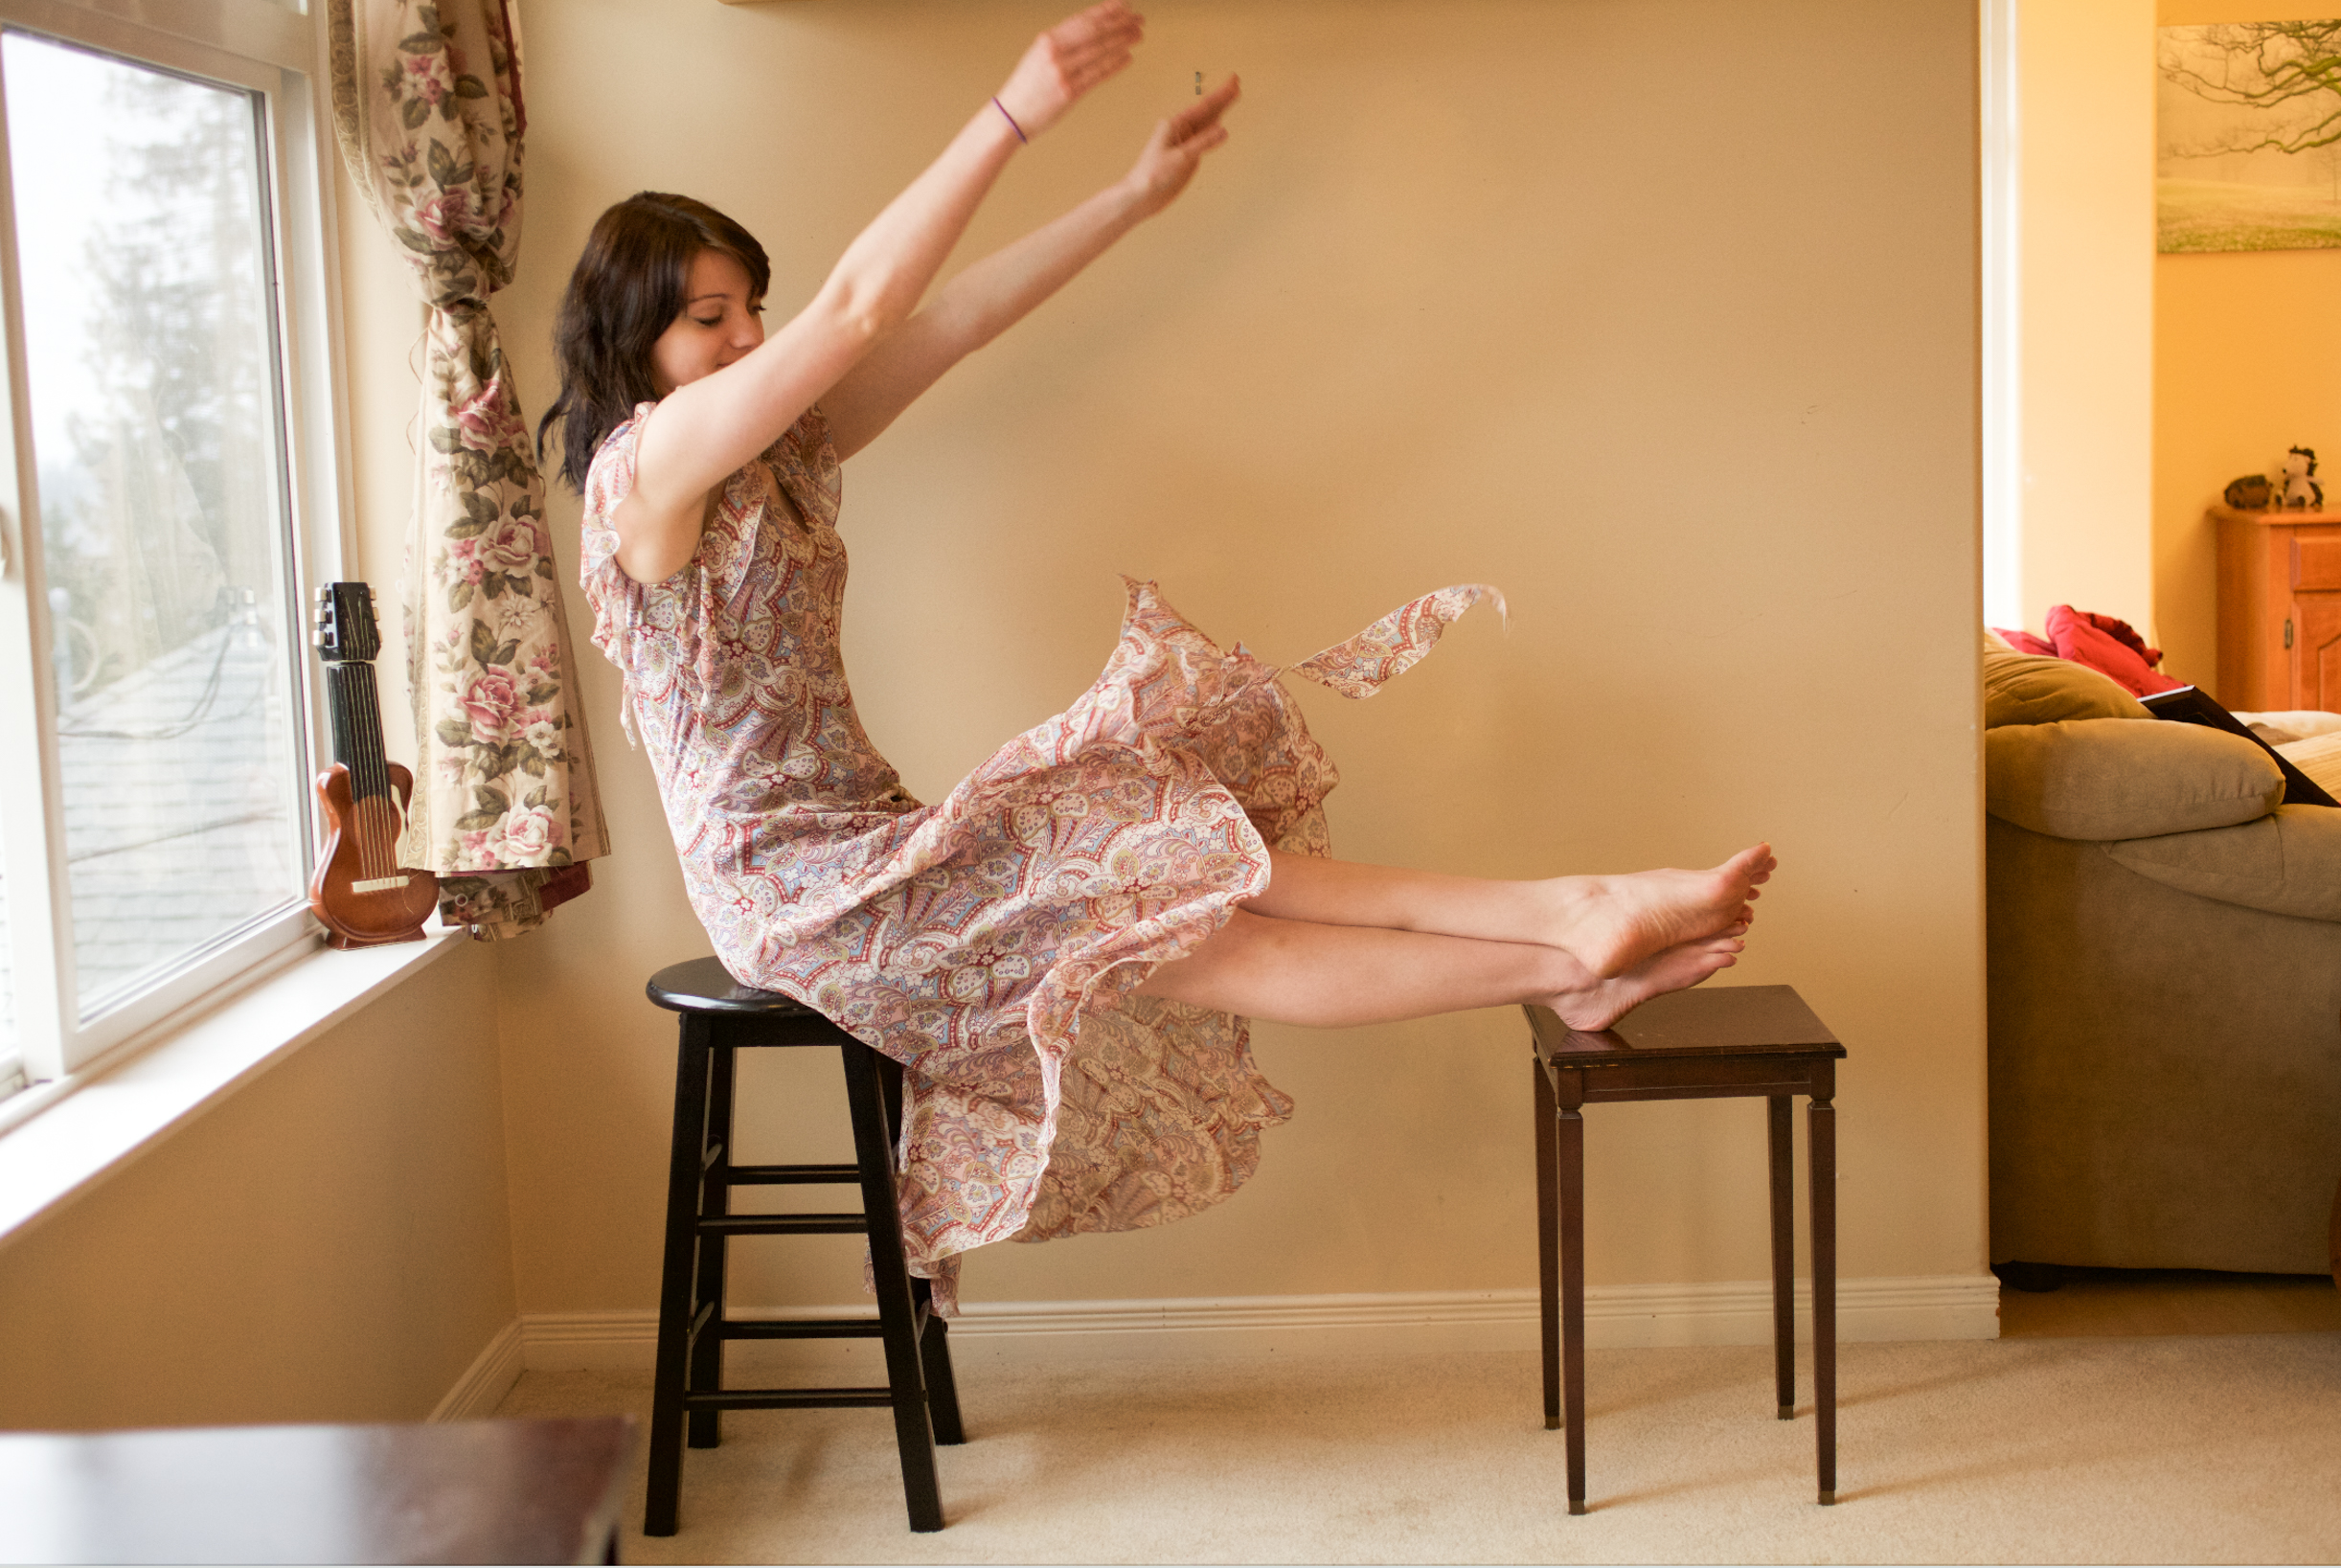
02. Capturing motion
Next, I had my model fling her dress so that I could capture it in motion. Using a fast shutter speed and continuous shooting mode will allow you to capture multiple sharp images. That being said, I sometimes don’t mind some motion blur, as it can look more natural.
03. Adding extra elements
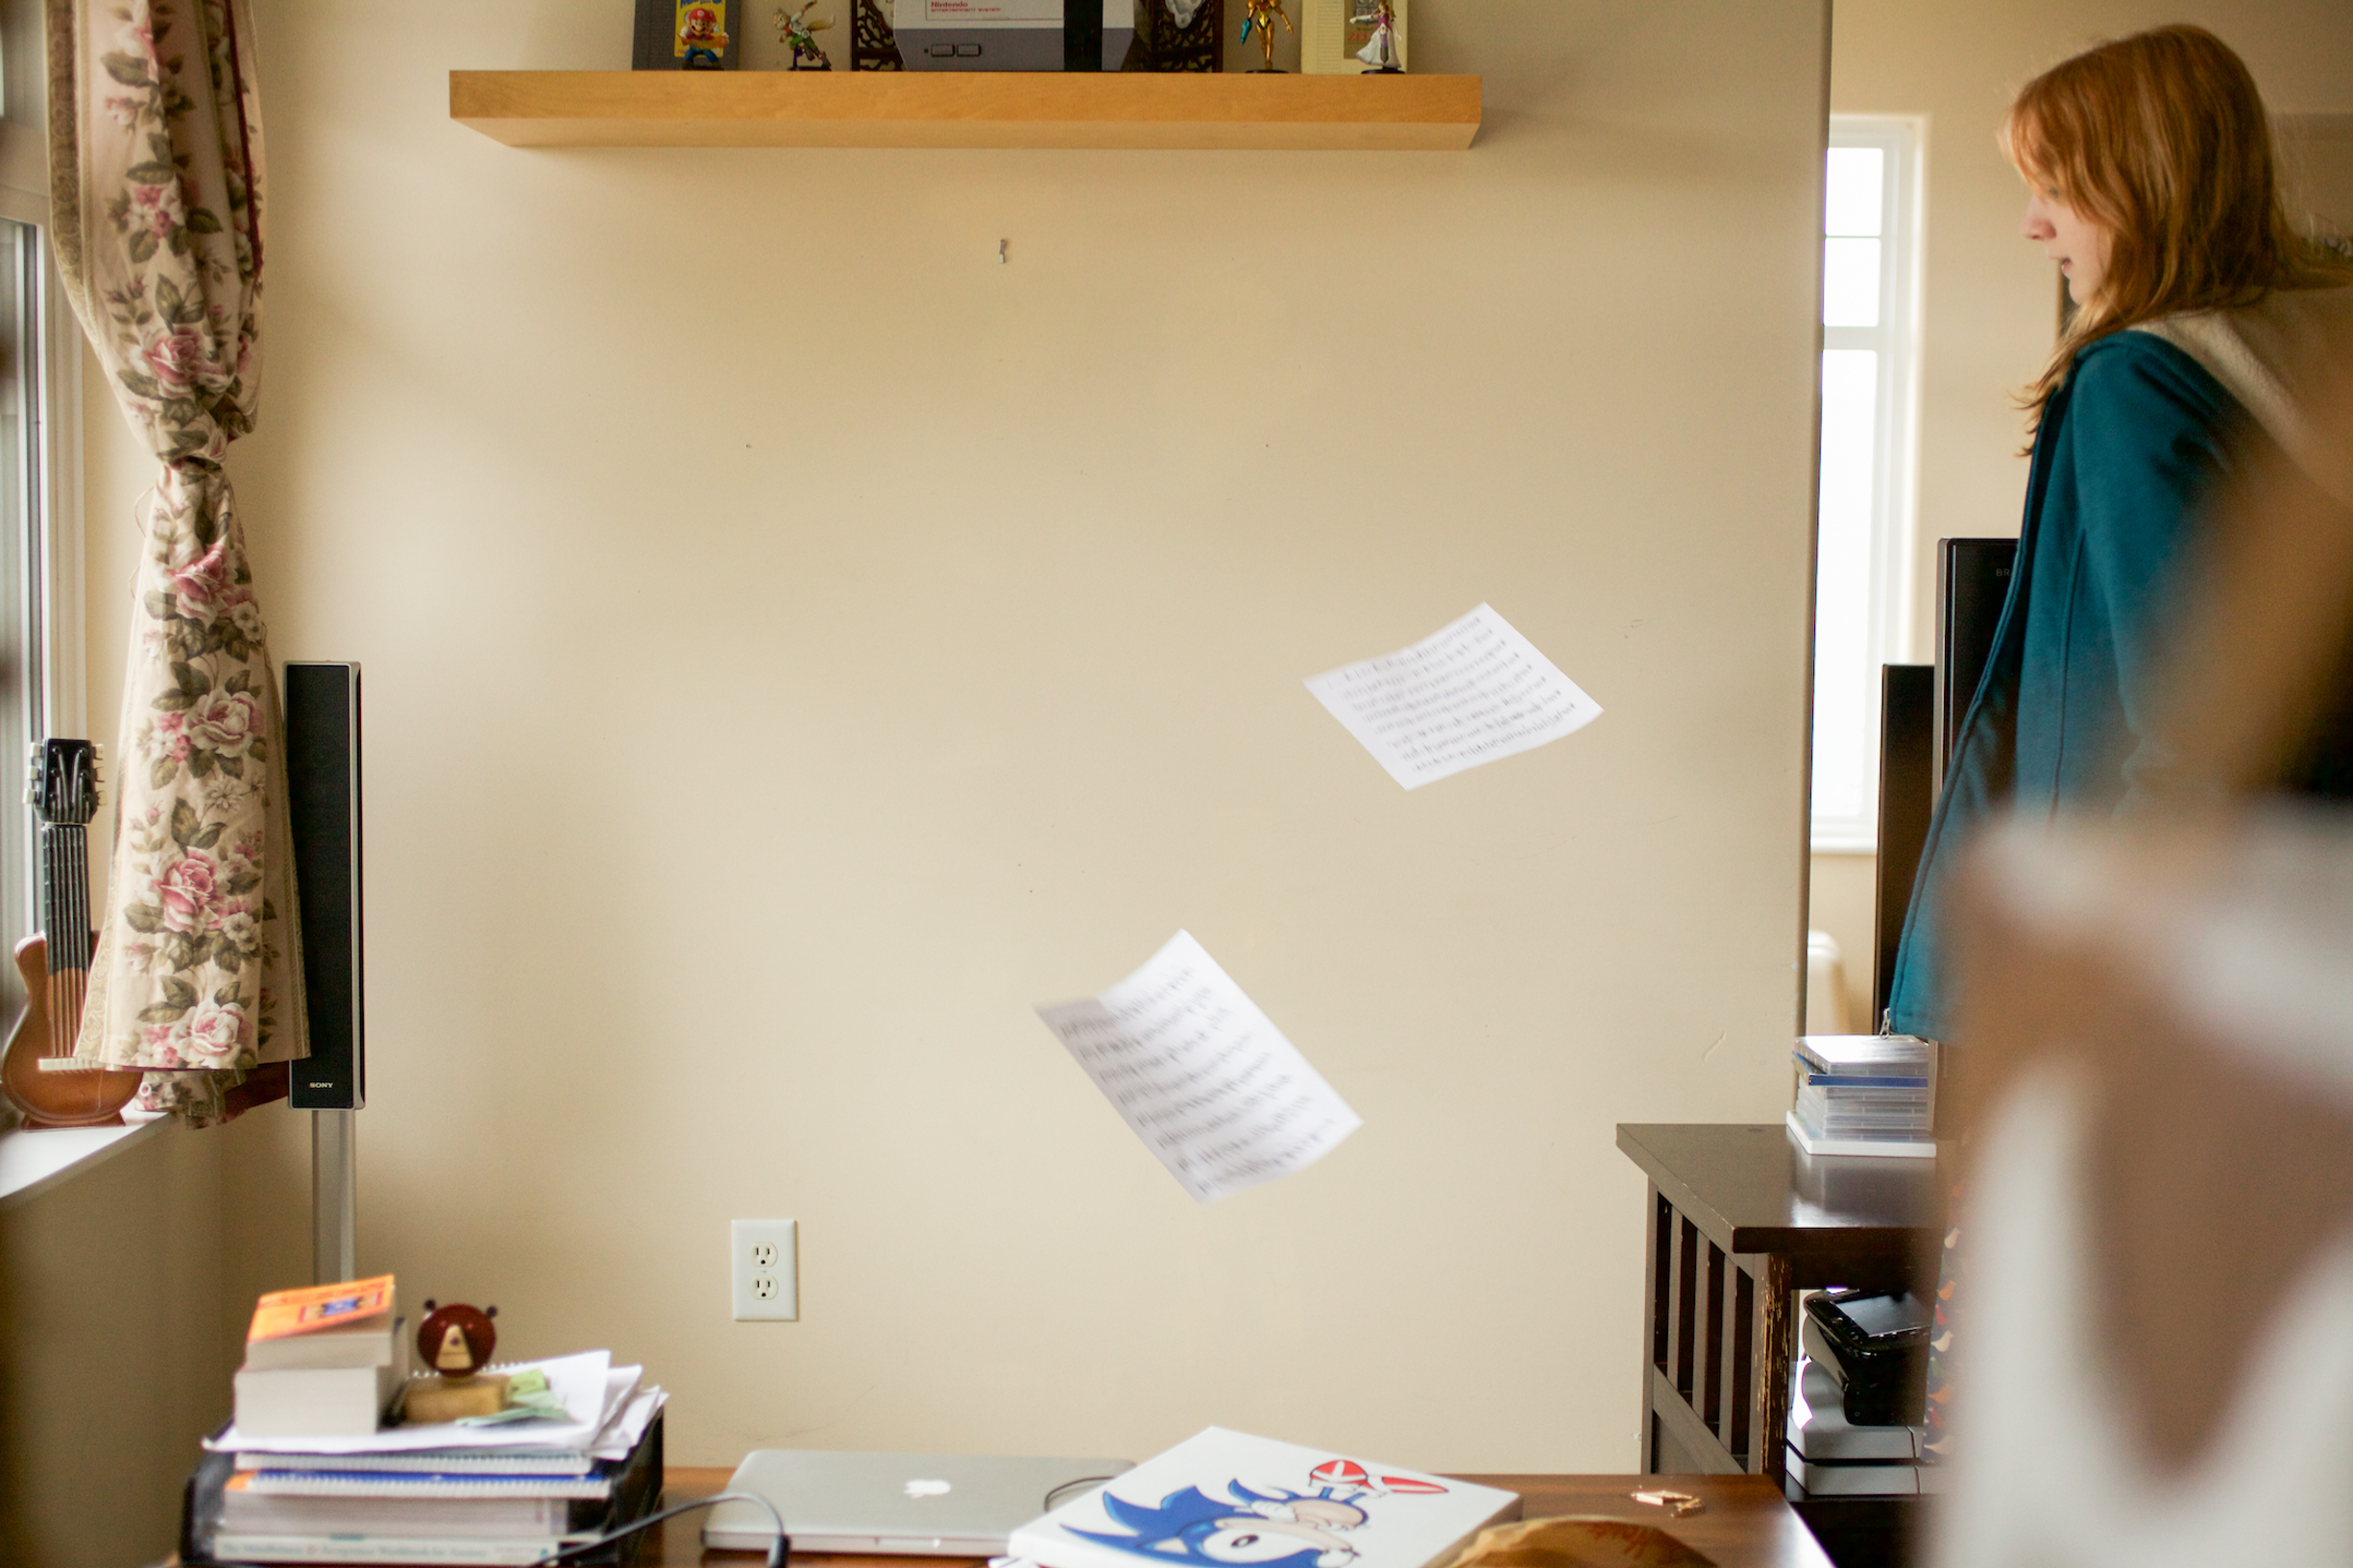
For the last shooting step, I used my camera remote to take shots of music sheets I threw into the air. To ensure that the compositing process will be easier, be sure to have your camera mounted on a tripod for these images.
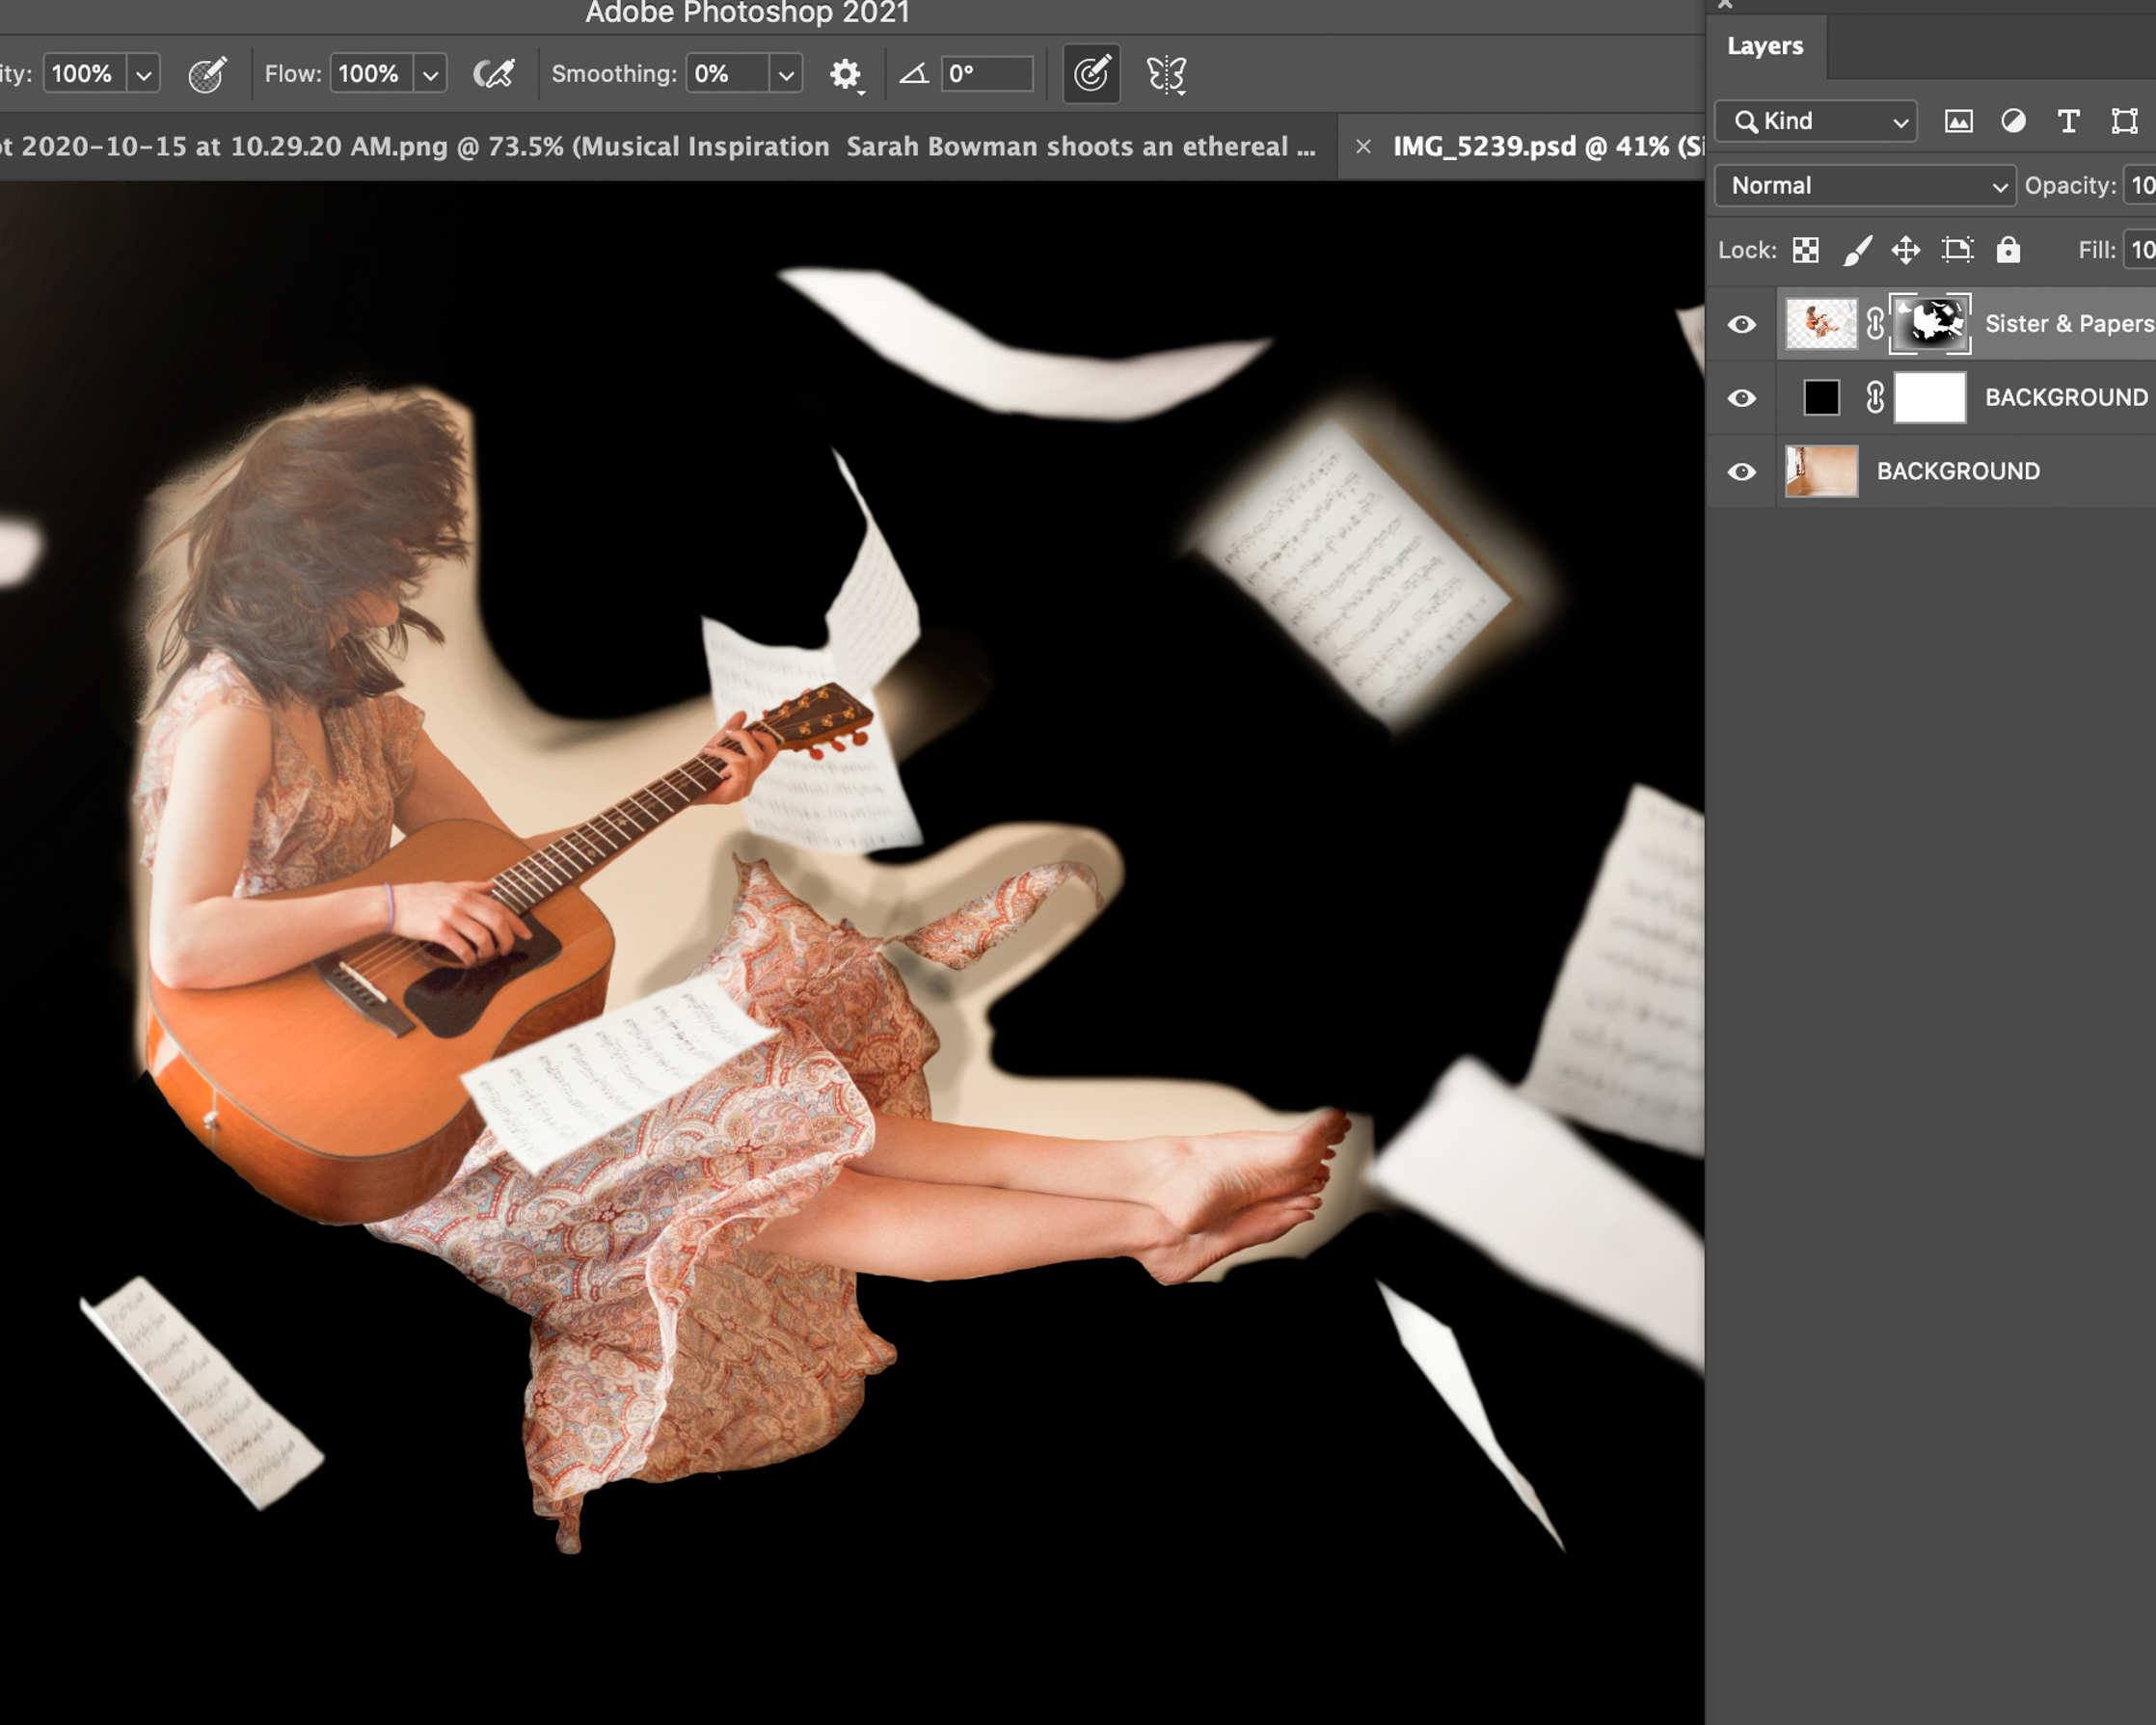
04. Blending the images
After importing your images into Photoshop as layers, you will want to use Layer Masks to blend everything. You can paint white or black on each Layer Mask to show and hide areas of each image. You can see above where I cut the pieces out.
The equipment
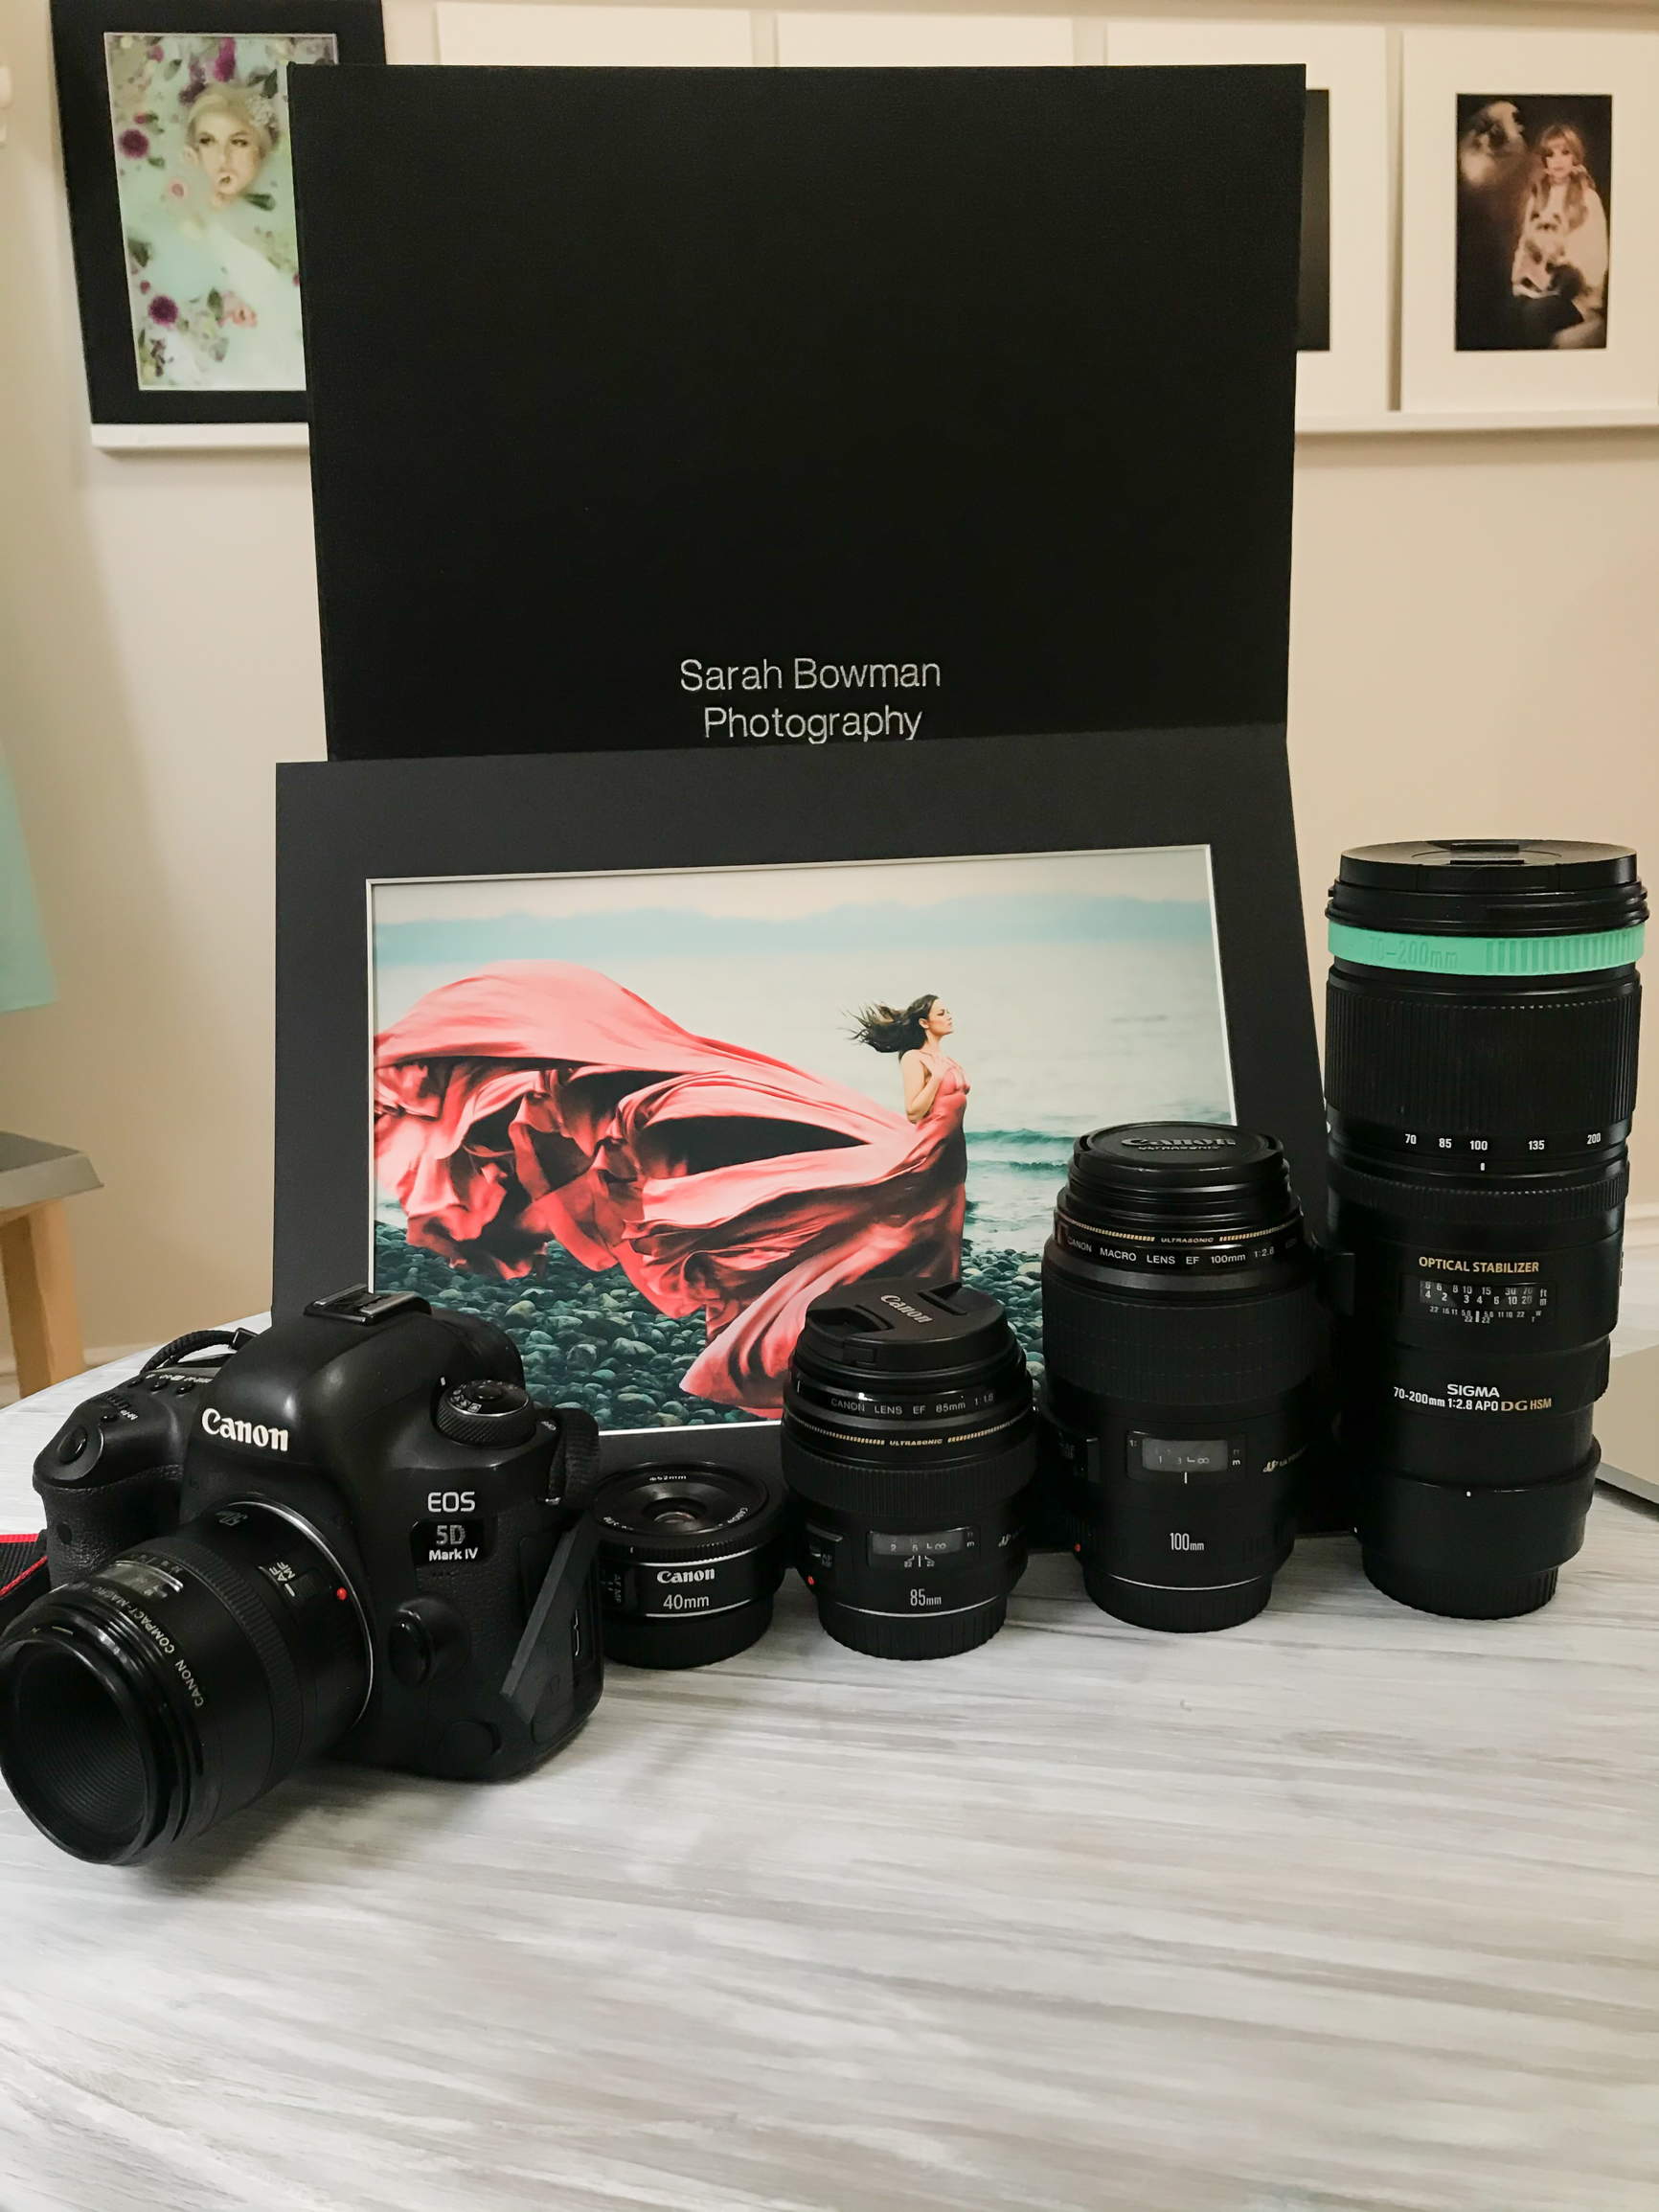
What's in my bag...
Generally, I like to keep my equipment to a minimum; I rarely even use a tripod. However, for more complicated images like this, where consistency is important, using a tripod is a must. My go-to lens is my 85mm f/1.8, but my favorite would be my 70-200 f/2.8, as I’m a sucker for the bokeh it produces.
Typically I tend to prefer shooting outdoors with beautiful natural light – all I may need is a diffuser or reflector, and I’m ready to go! In this image, I made use of all natural window light, a tripod and my Canon EOS 5D Mark IV with a 50mm lens.
See more of Sarah Bowman's work on her Instagram profile.
See Best portrait lenses • Best 50mm lenses • Best 70-200mm lenses
Read more:
Get the Digital Camera World Newsletter
The best camera deals, reviews, product advice, and unmissable photography news, direct to your inbox!
Digital Camera World is one of the leading authorities on camera and photography news, reviews, techniques, tutorials, comparisons, deals and industry analysis. The site doesn't just specialize in cameras, but all aspects of photography, videography and imaging – including camera phones, gimbals, lenses, lighting, editing software, filters, tripods, laptops, printers, photo books, desks, binoculars and more.
Whether you're using, looking to buy or trying to get the most out of a compact camera, action camera, camera drone, cinema camera, beginner camera or professional camera, Digital Camera World has a roster of experts with combined experience of over 100 years when it comes to cameras, photography and imaging.

