Photo hacks: turn a cardboard box into a speedlight softbox
Build your own DIY softbox to get better results from your flashgun for next to no cash
Watch the video: build your own DIY softbox
Looking for things to keep you busy at home? This DIY photo hack is a great way of creating a new photo accessory for next to nothing, with things that you hopefully already have to hand. Follow our guide to building a your own softbox, and watch the video above.
One of the biggest drawbacks of using flash is that it produces harsh, high-contrast light. Strong shadows and highlights aren’t ideal for subjects like portraits and some still lifes. You can soften the light from your flash by bouncing it off a wall or ceiling, but these aren’t always available (or convenient) to use. What you need is a way to soften the light that your flash produces.
There are loads of commercially available diffusers, bounce cards and softboxes (see our guide to the best flash modifiers). The latter have one end that fits over your flash, and then get wider, ending in a panel of translucent material that diffuses the flashlight as it passes through.
However, you can actually make a softbox at almost no cost from items you’ve got around your house. All you need is a suitably sized cardboard box (flattened, but with the top and base flaps intact as you will make use of the folds), some tin foil, some baking parchment (or greaseproof paper) and some tape.
Apart from saving you a fair bit of money, the other advantage of a do-it-yourself softbox is that you can make it as large or small as you like. The larger the softbox, the softer the light will be – but it will also reduce the light that reaches your subject from the flash, so bear this in mind when choosing the size of cardboard box.
Of course, there are some disadvantages to the DIY approach. The main one is that the homemade softbox isn’t as portable as commercially available versions – but if you are stuck at home, this is not really an issue!.
Planning your design and marking it out carefully before cutting will make your softbox easier to construct, and a much better fit for your flash, so take your time during that stage of the build. The design we’ve come up with is pretty simple to follow, and only takes around 30 minutes to make…

01 Measure it
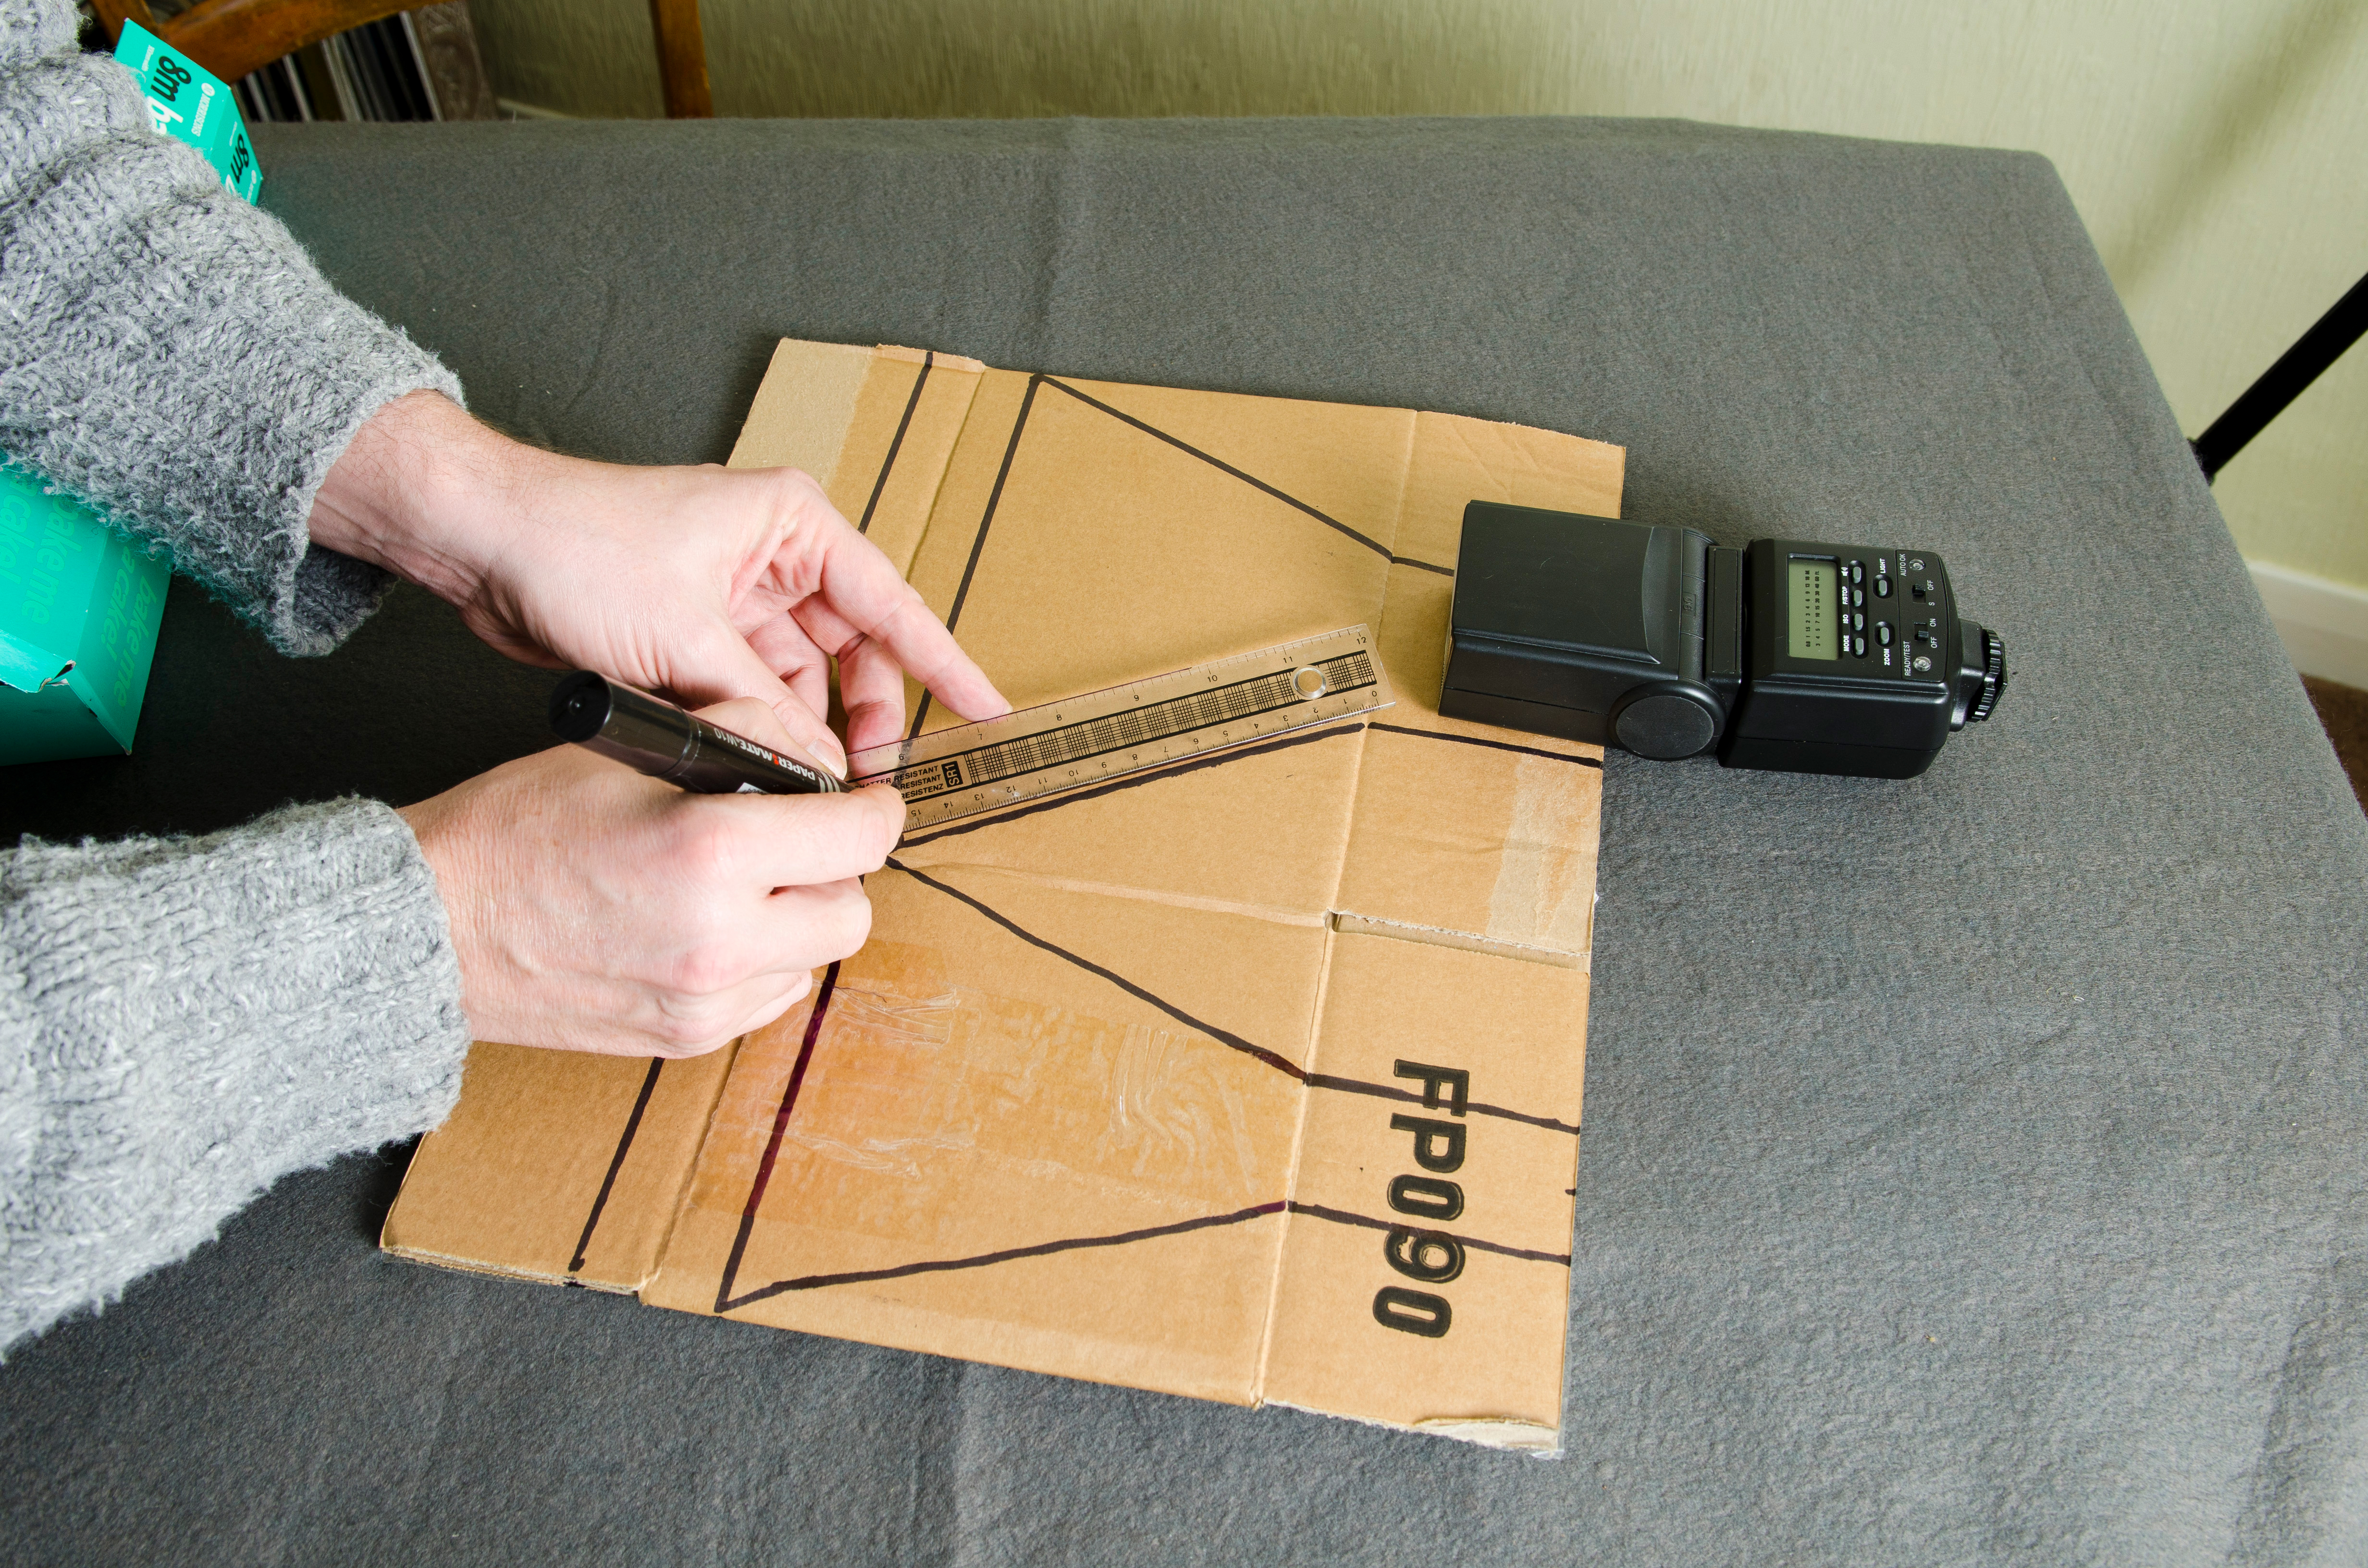
Measure the flashgun head. Mark its position on one end of the box – it needs to be in the center of the finished softbox – going right up to the flap fold. Leaving a 2-3cm / 0.79-1.18 inch gap from the fold at the opposite end, draw a diagonal line to meet the line marking the position of the flash.
02 Cut the cardboard

Once you are happy with the design, cut away the excess cardboard. Next, trim the flaps at the opposite end of the box to make an opening for the diffuser material. The sides should fit together to make a pyramid shape, with a rectangular opening for the head of the flashgun.
03 Add some foil
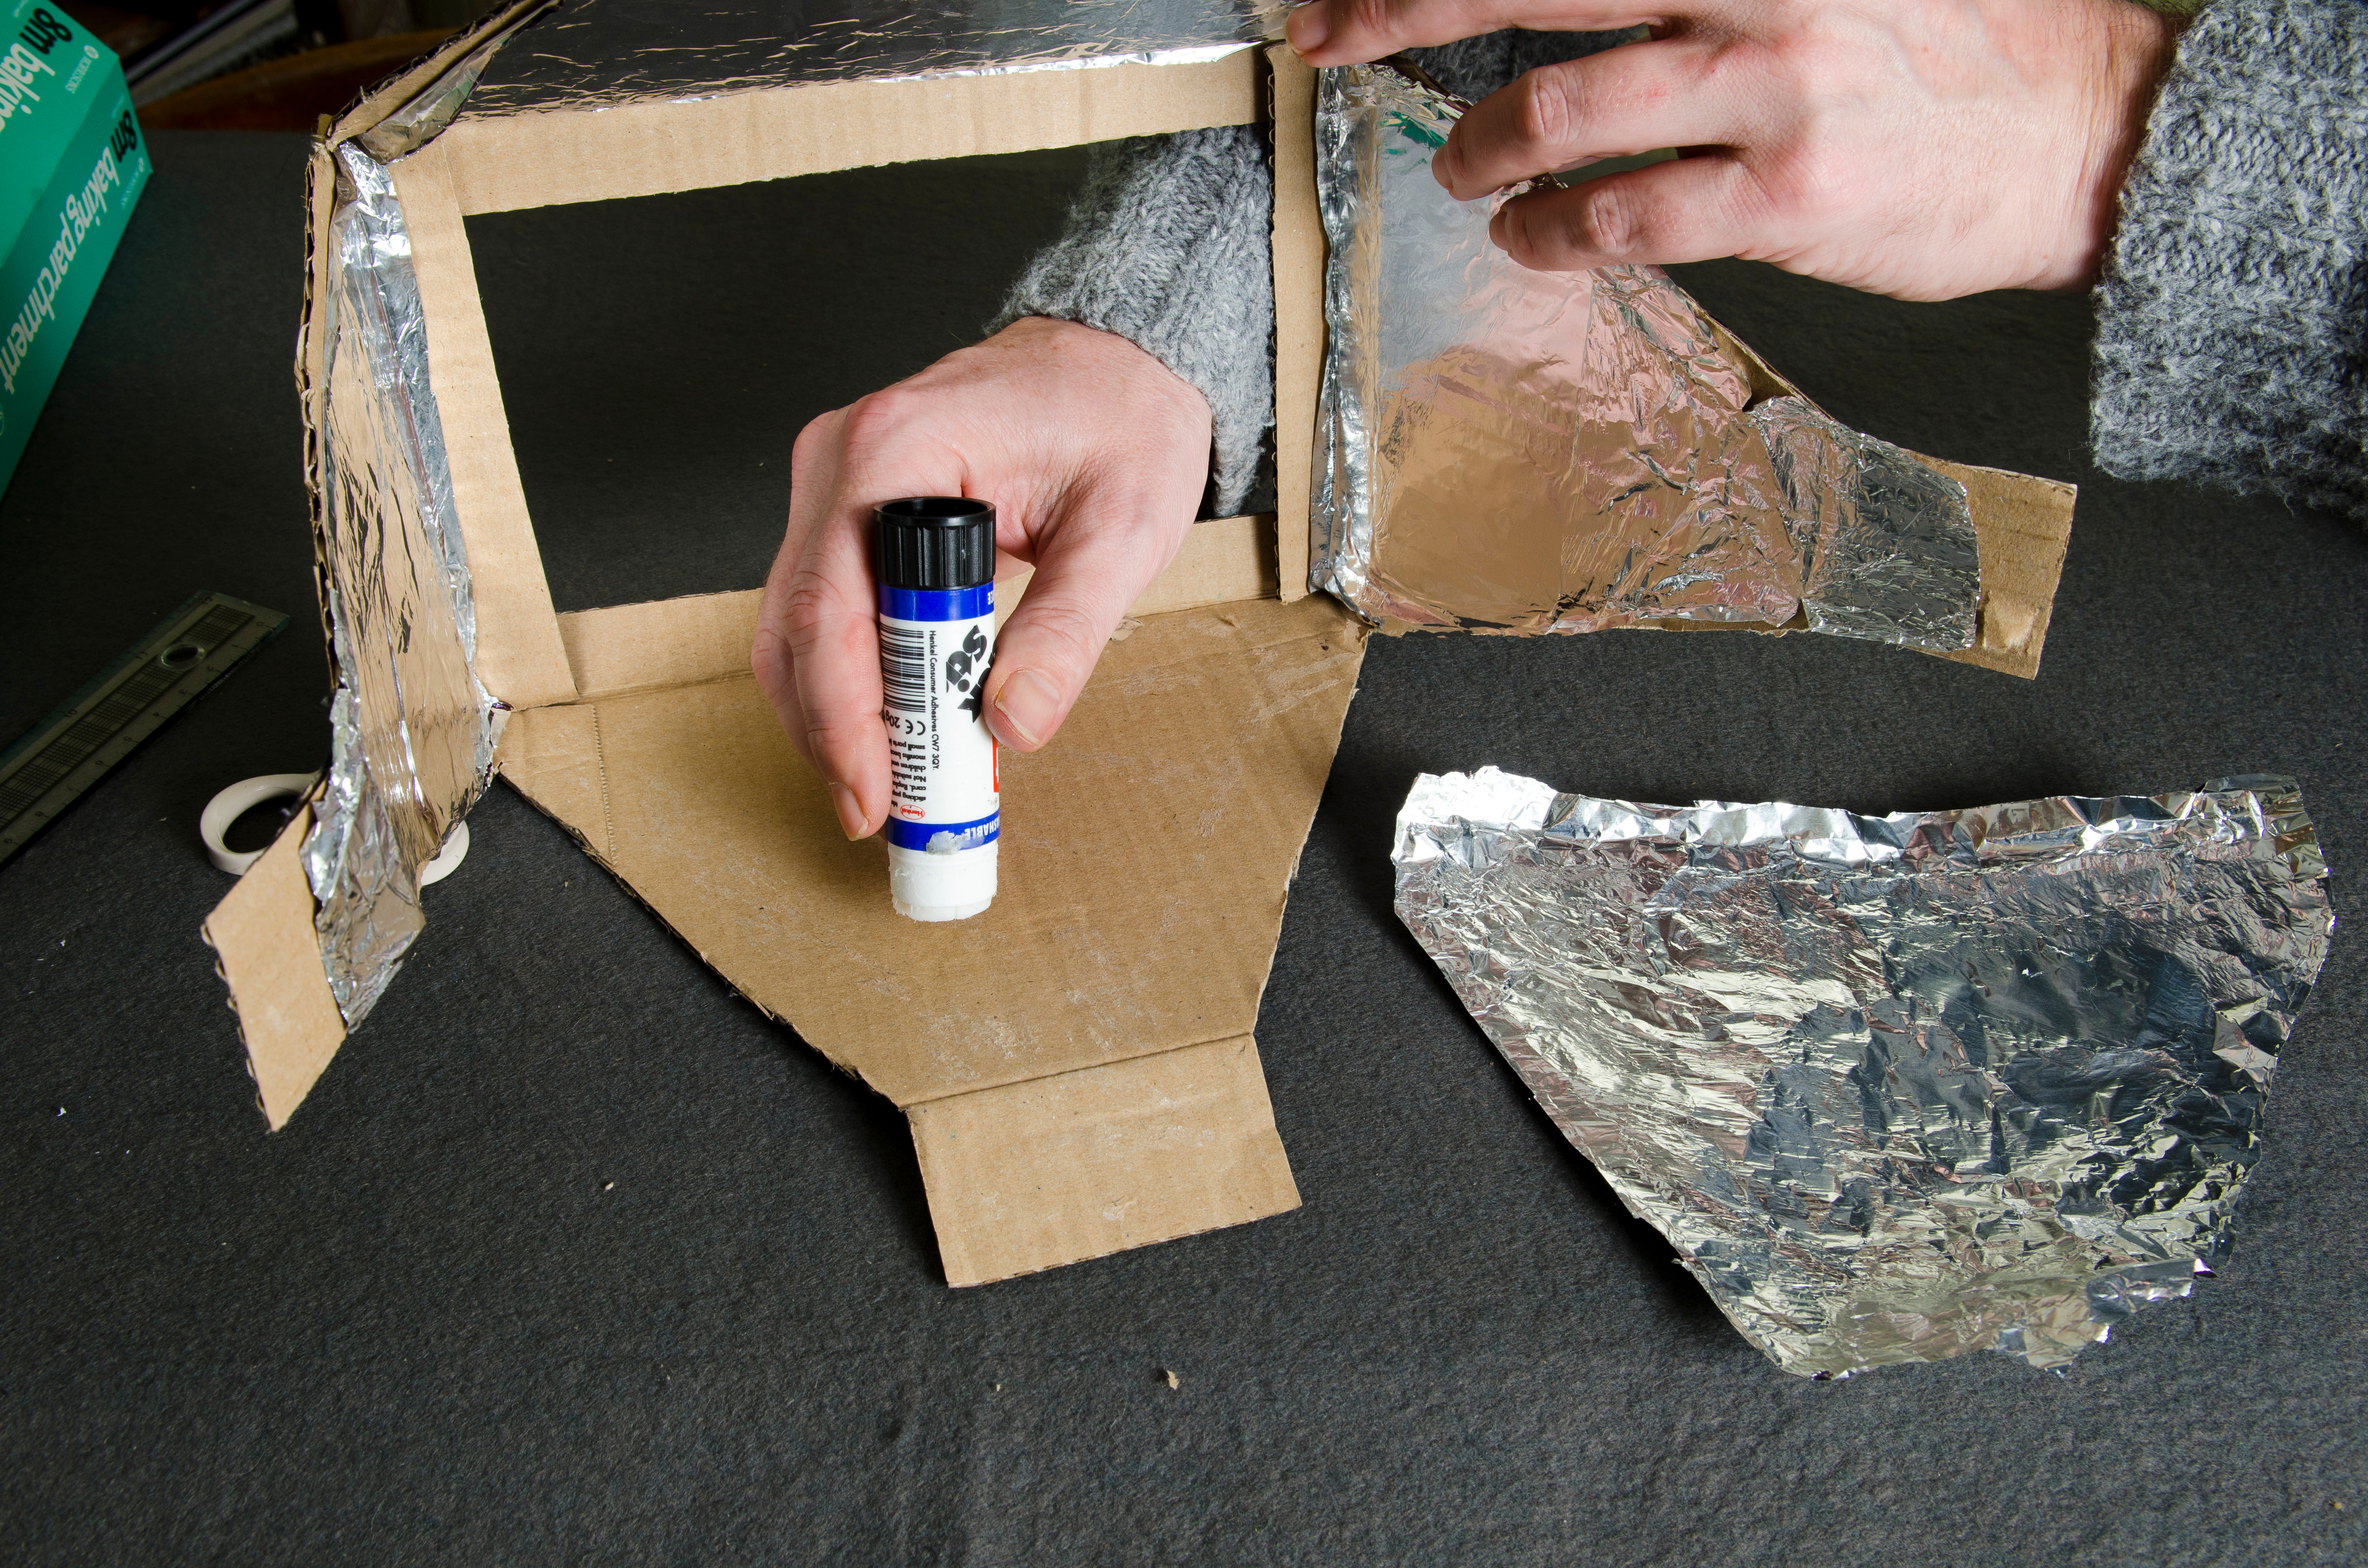
Before you finish the softbox you need to cut out some tinfoil to match the shape of the interior. Glue it in position using a glue stick-type adhesive. The foil will ensure that you don’t lose too much of the power of the flash by using the softbox.
04 Final assembly
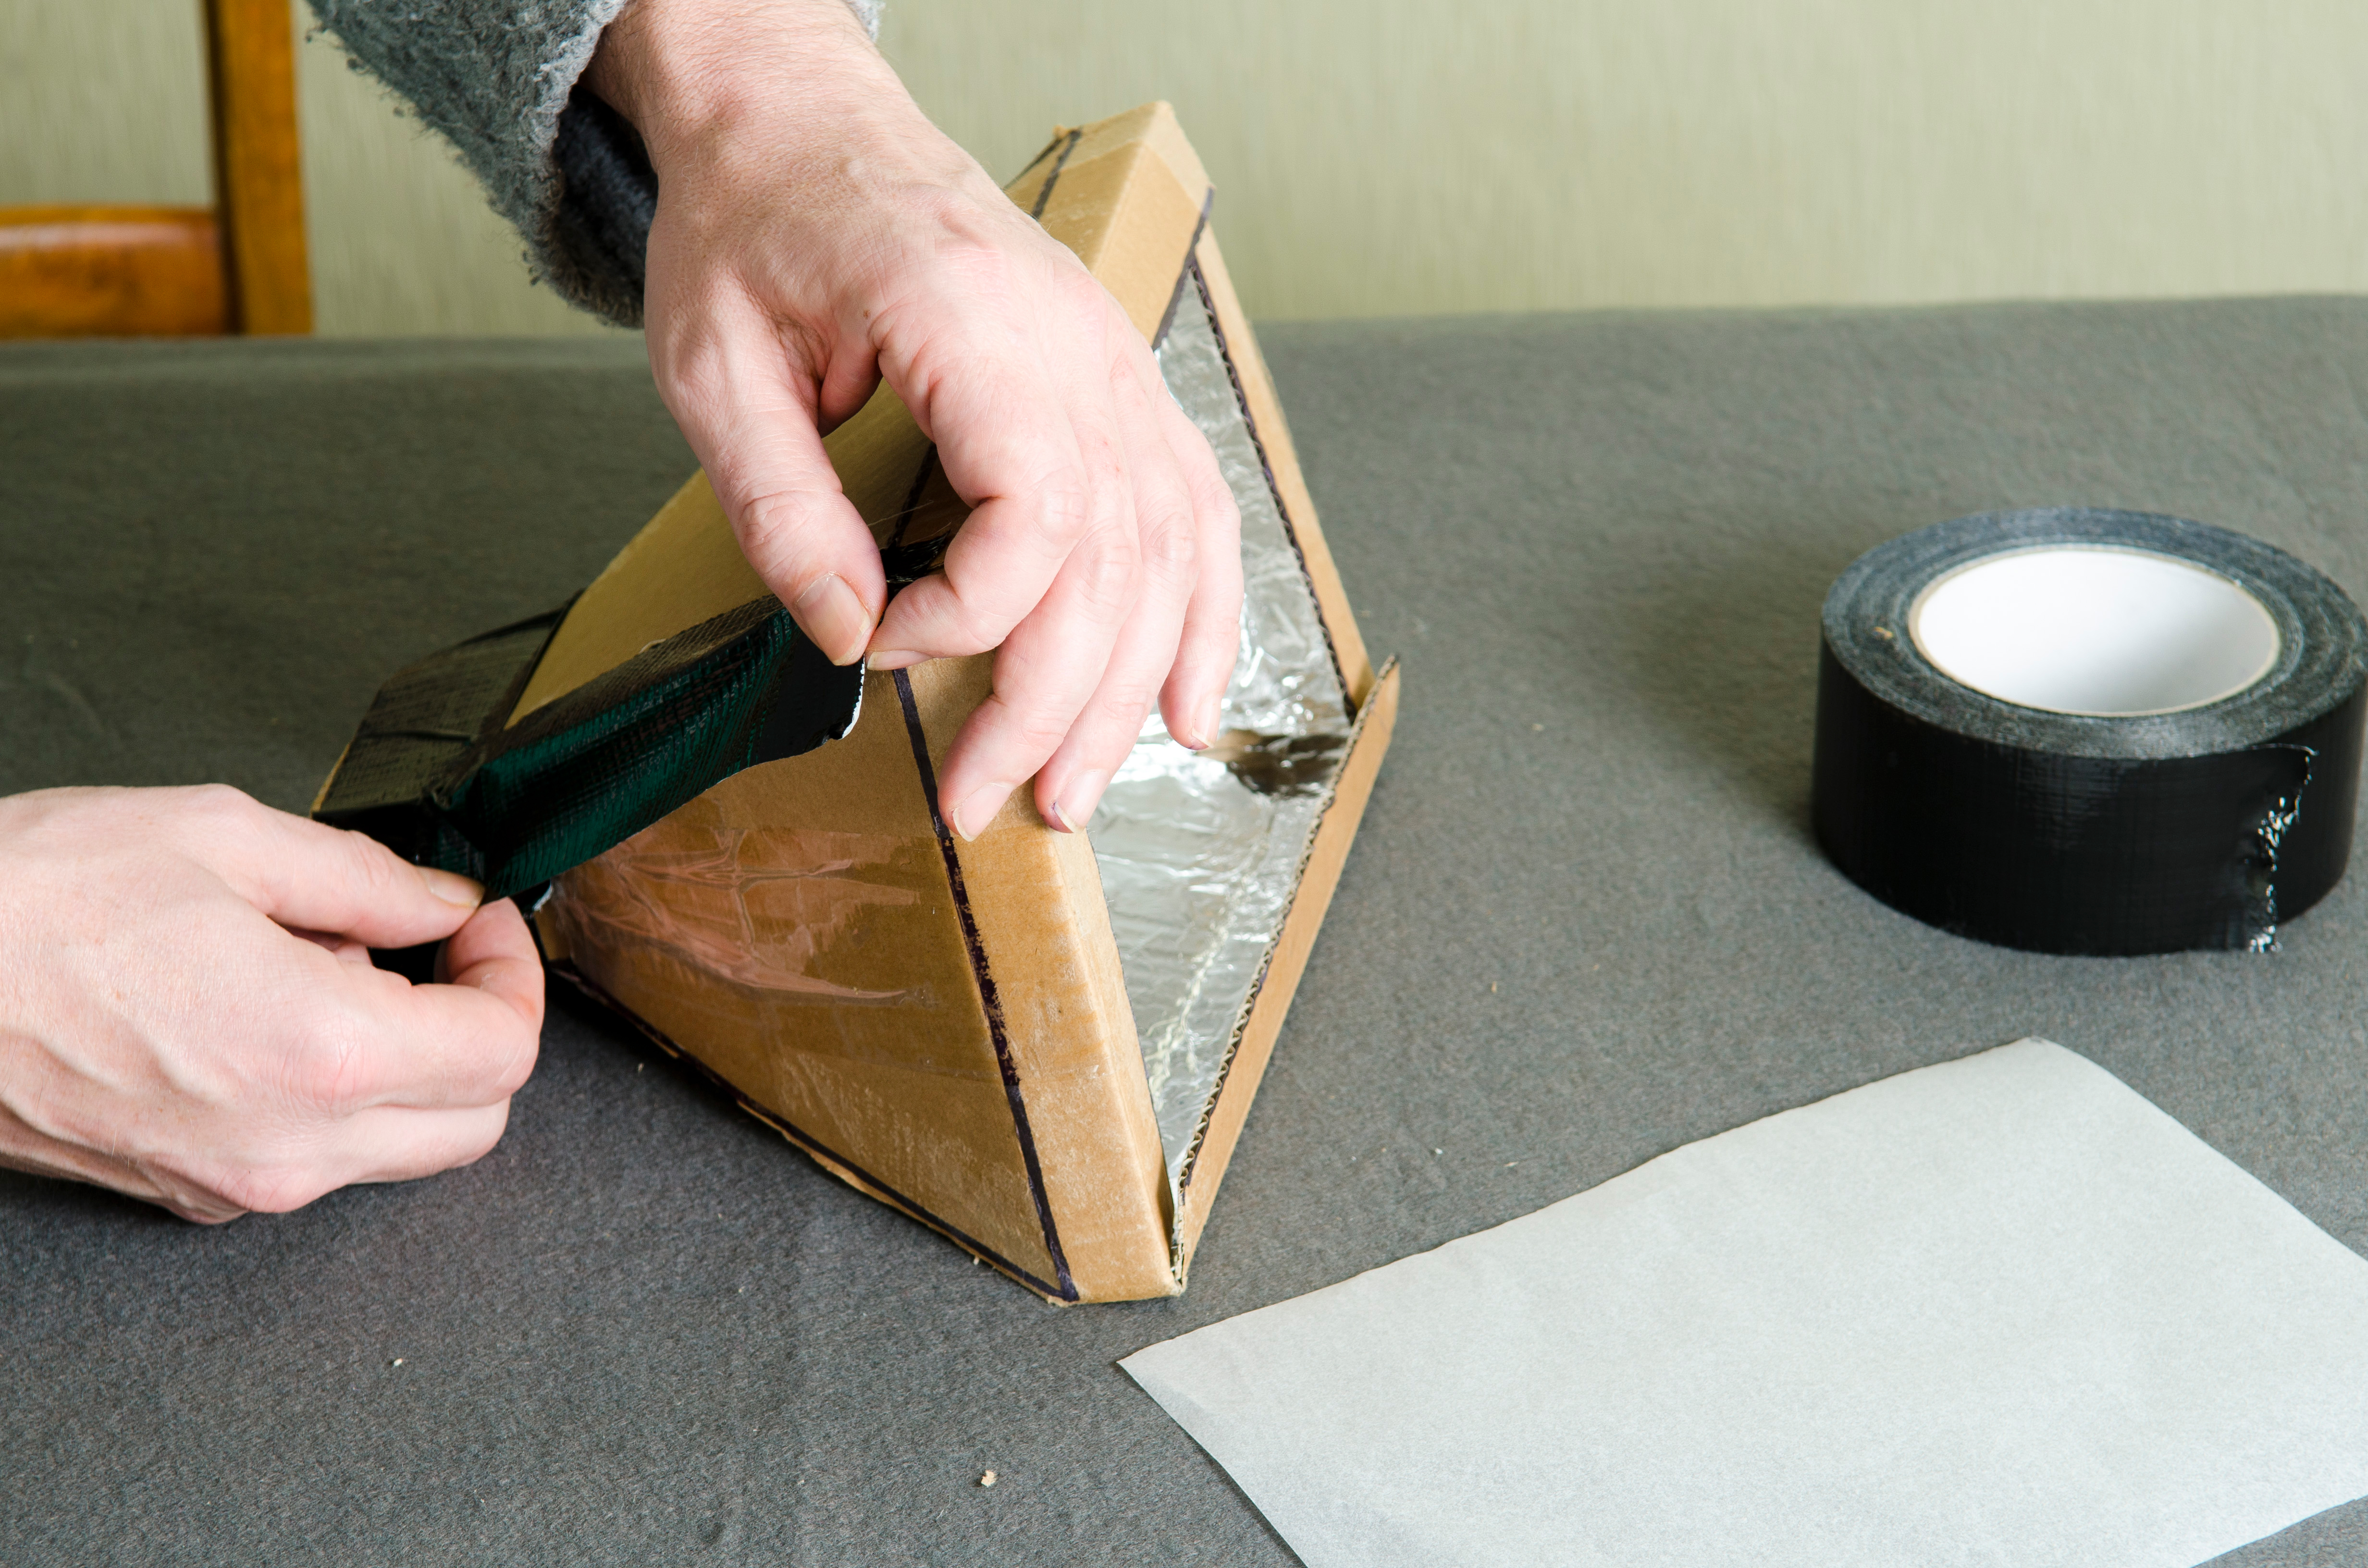
Now tape the softbox together using gaffer tape. Tape both inside and outside of the openings to make it as solid as possible. Finally, cut out a piece of baking or greaseproof paper the same size as the opening at the front of the softbox, and tape this in place.

Other options: soften your flash
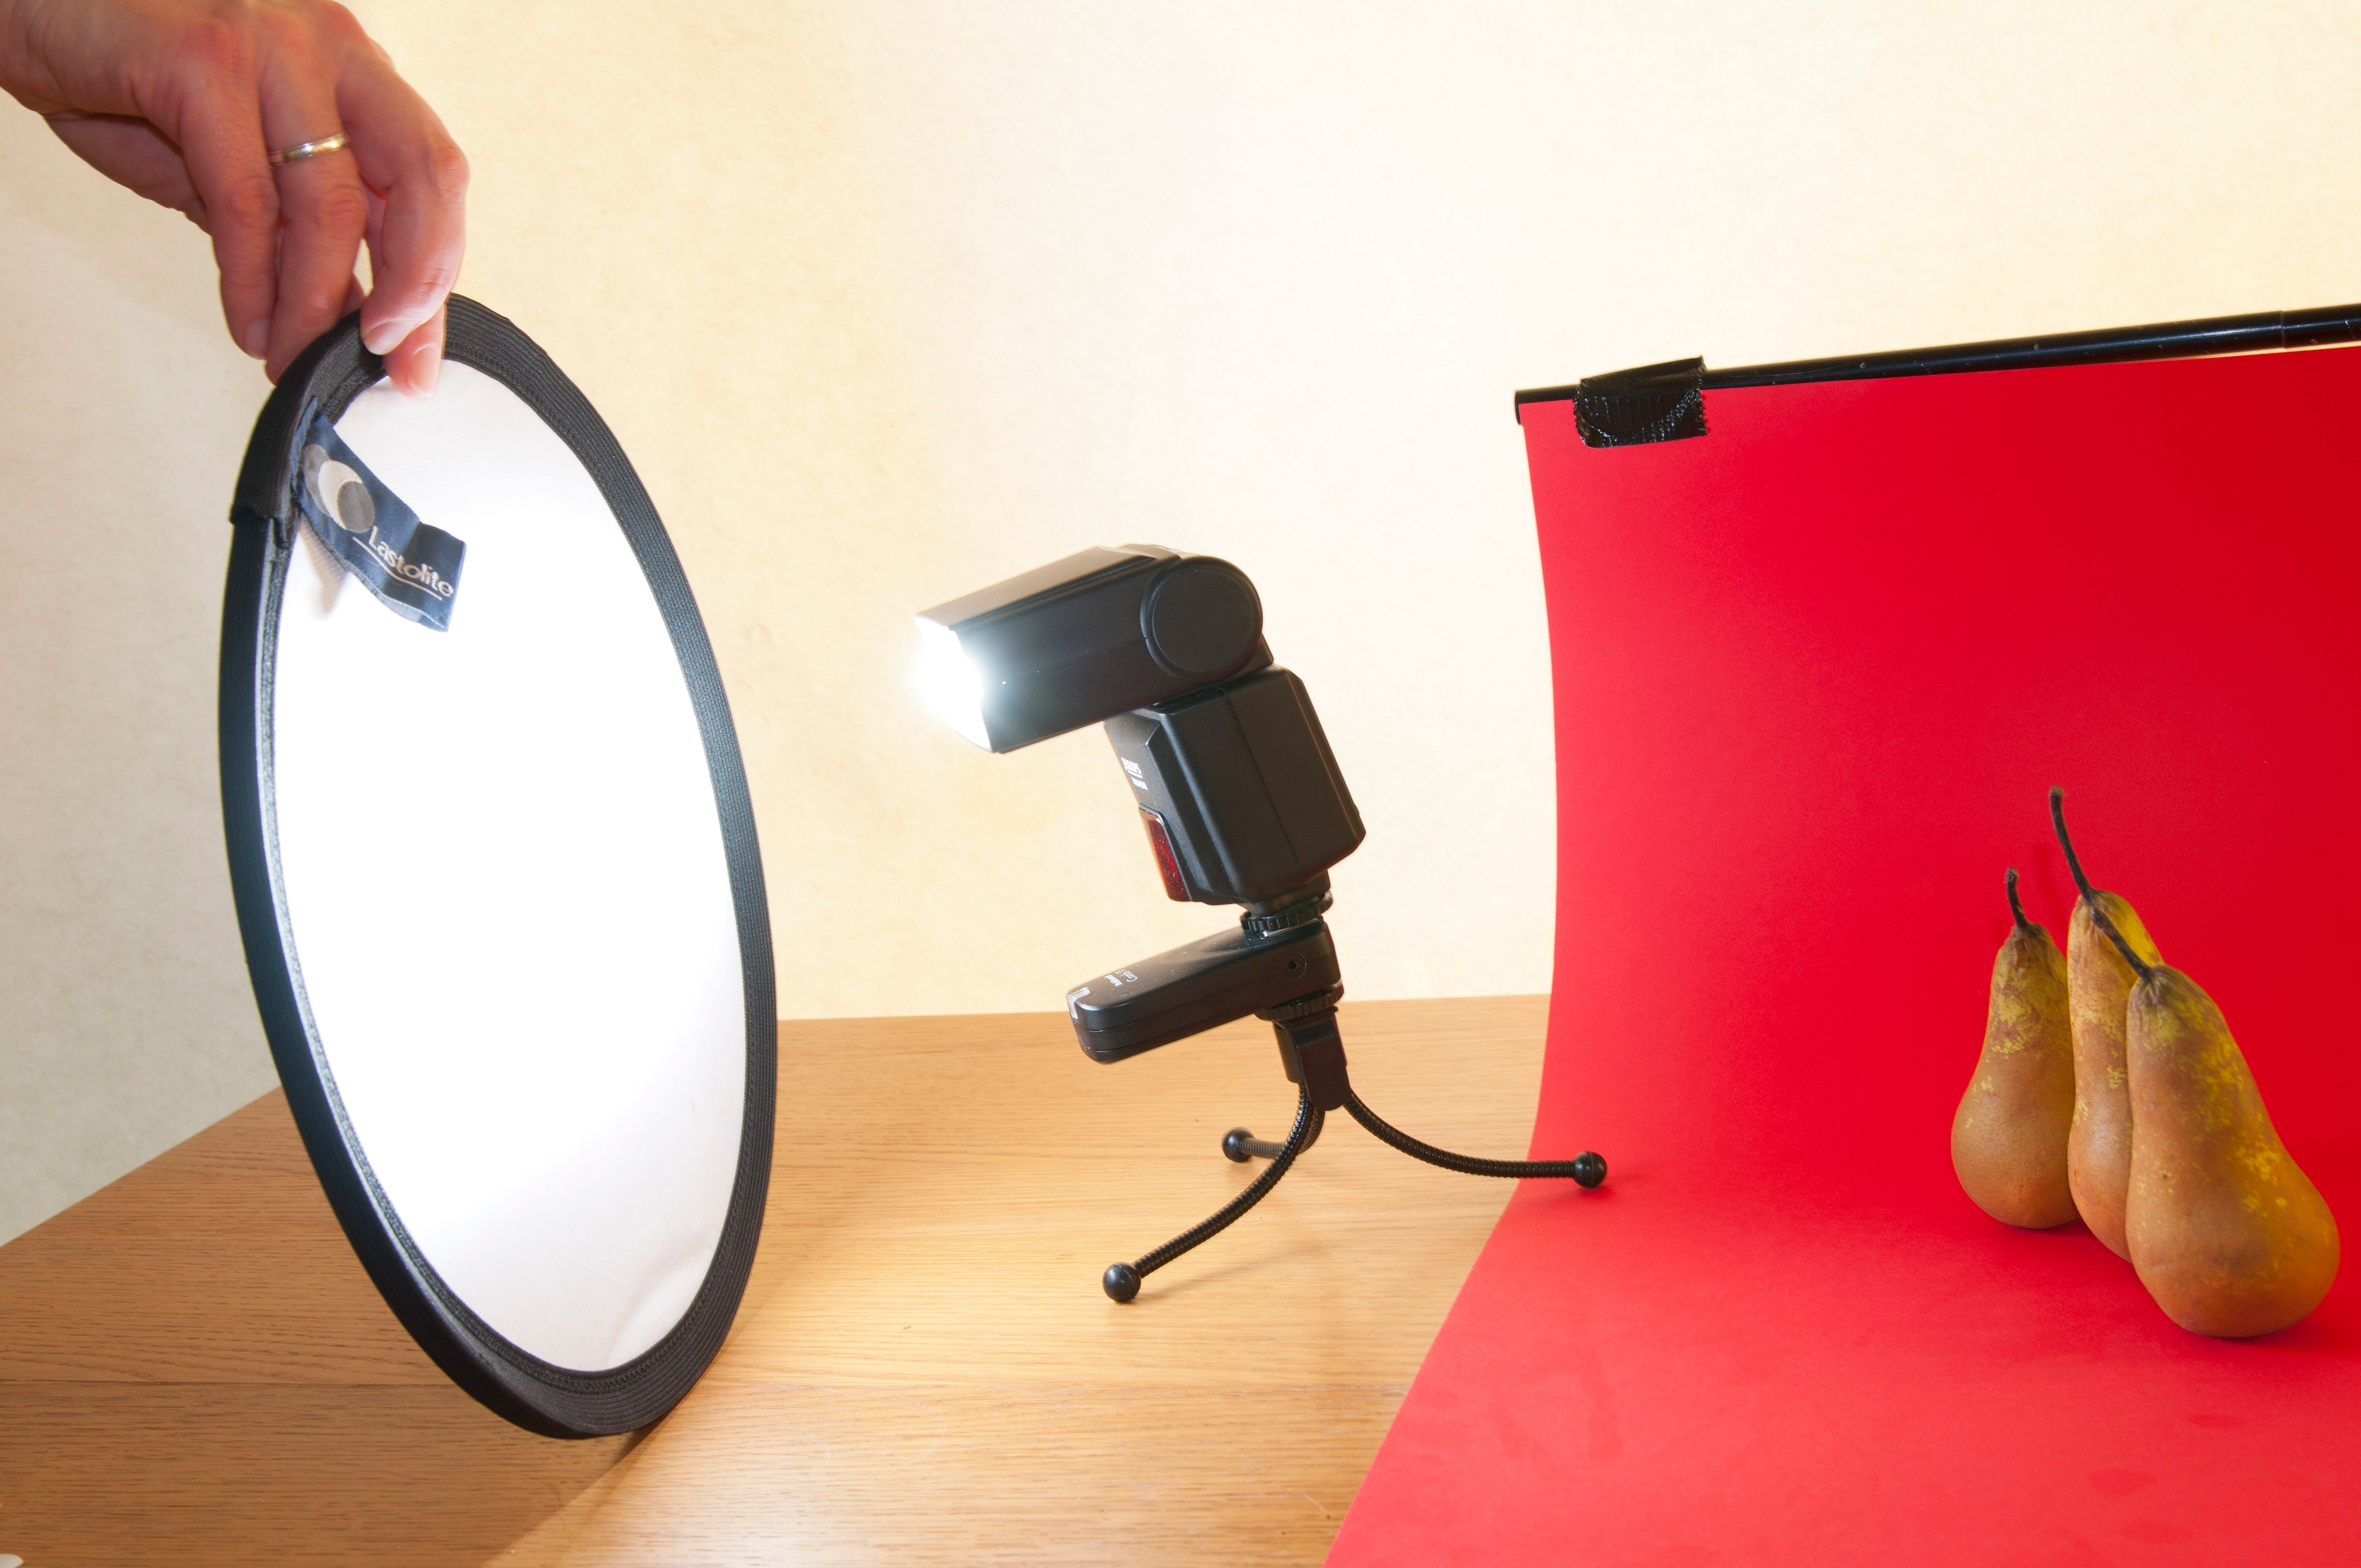
01 Bounce the flash
Point the flash away from the subject, and use a reflector to bounce light back, effectively increasing the size of the light source.
• Best reflectors for photography
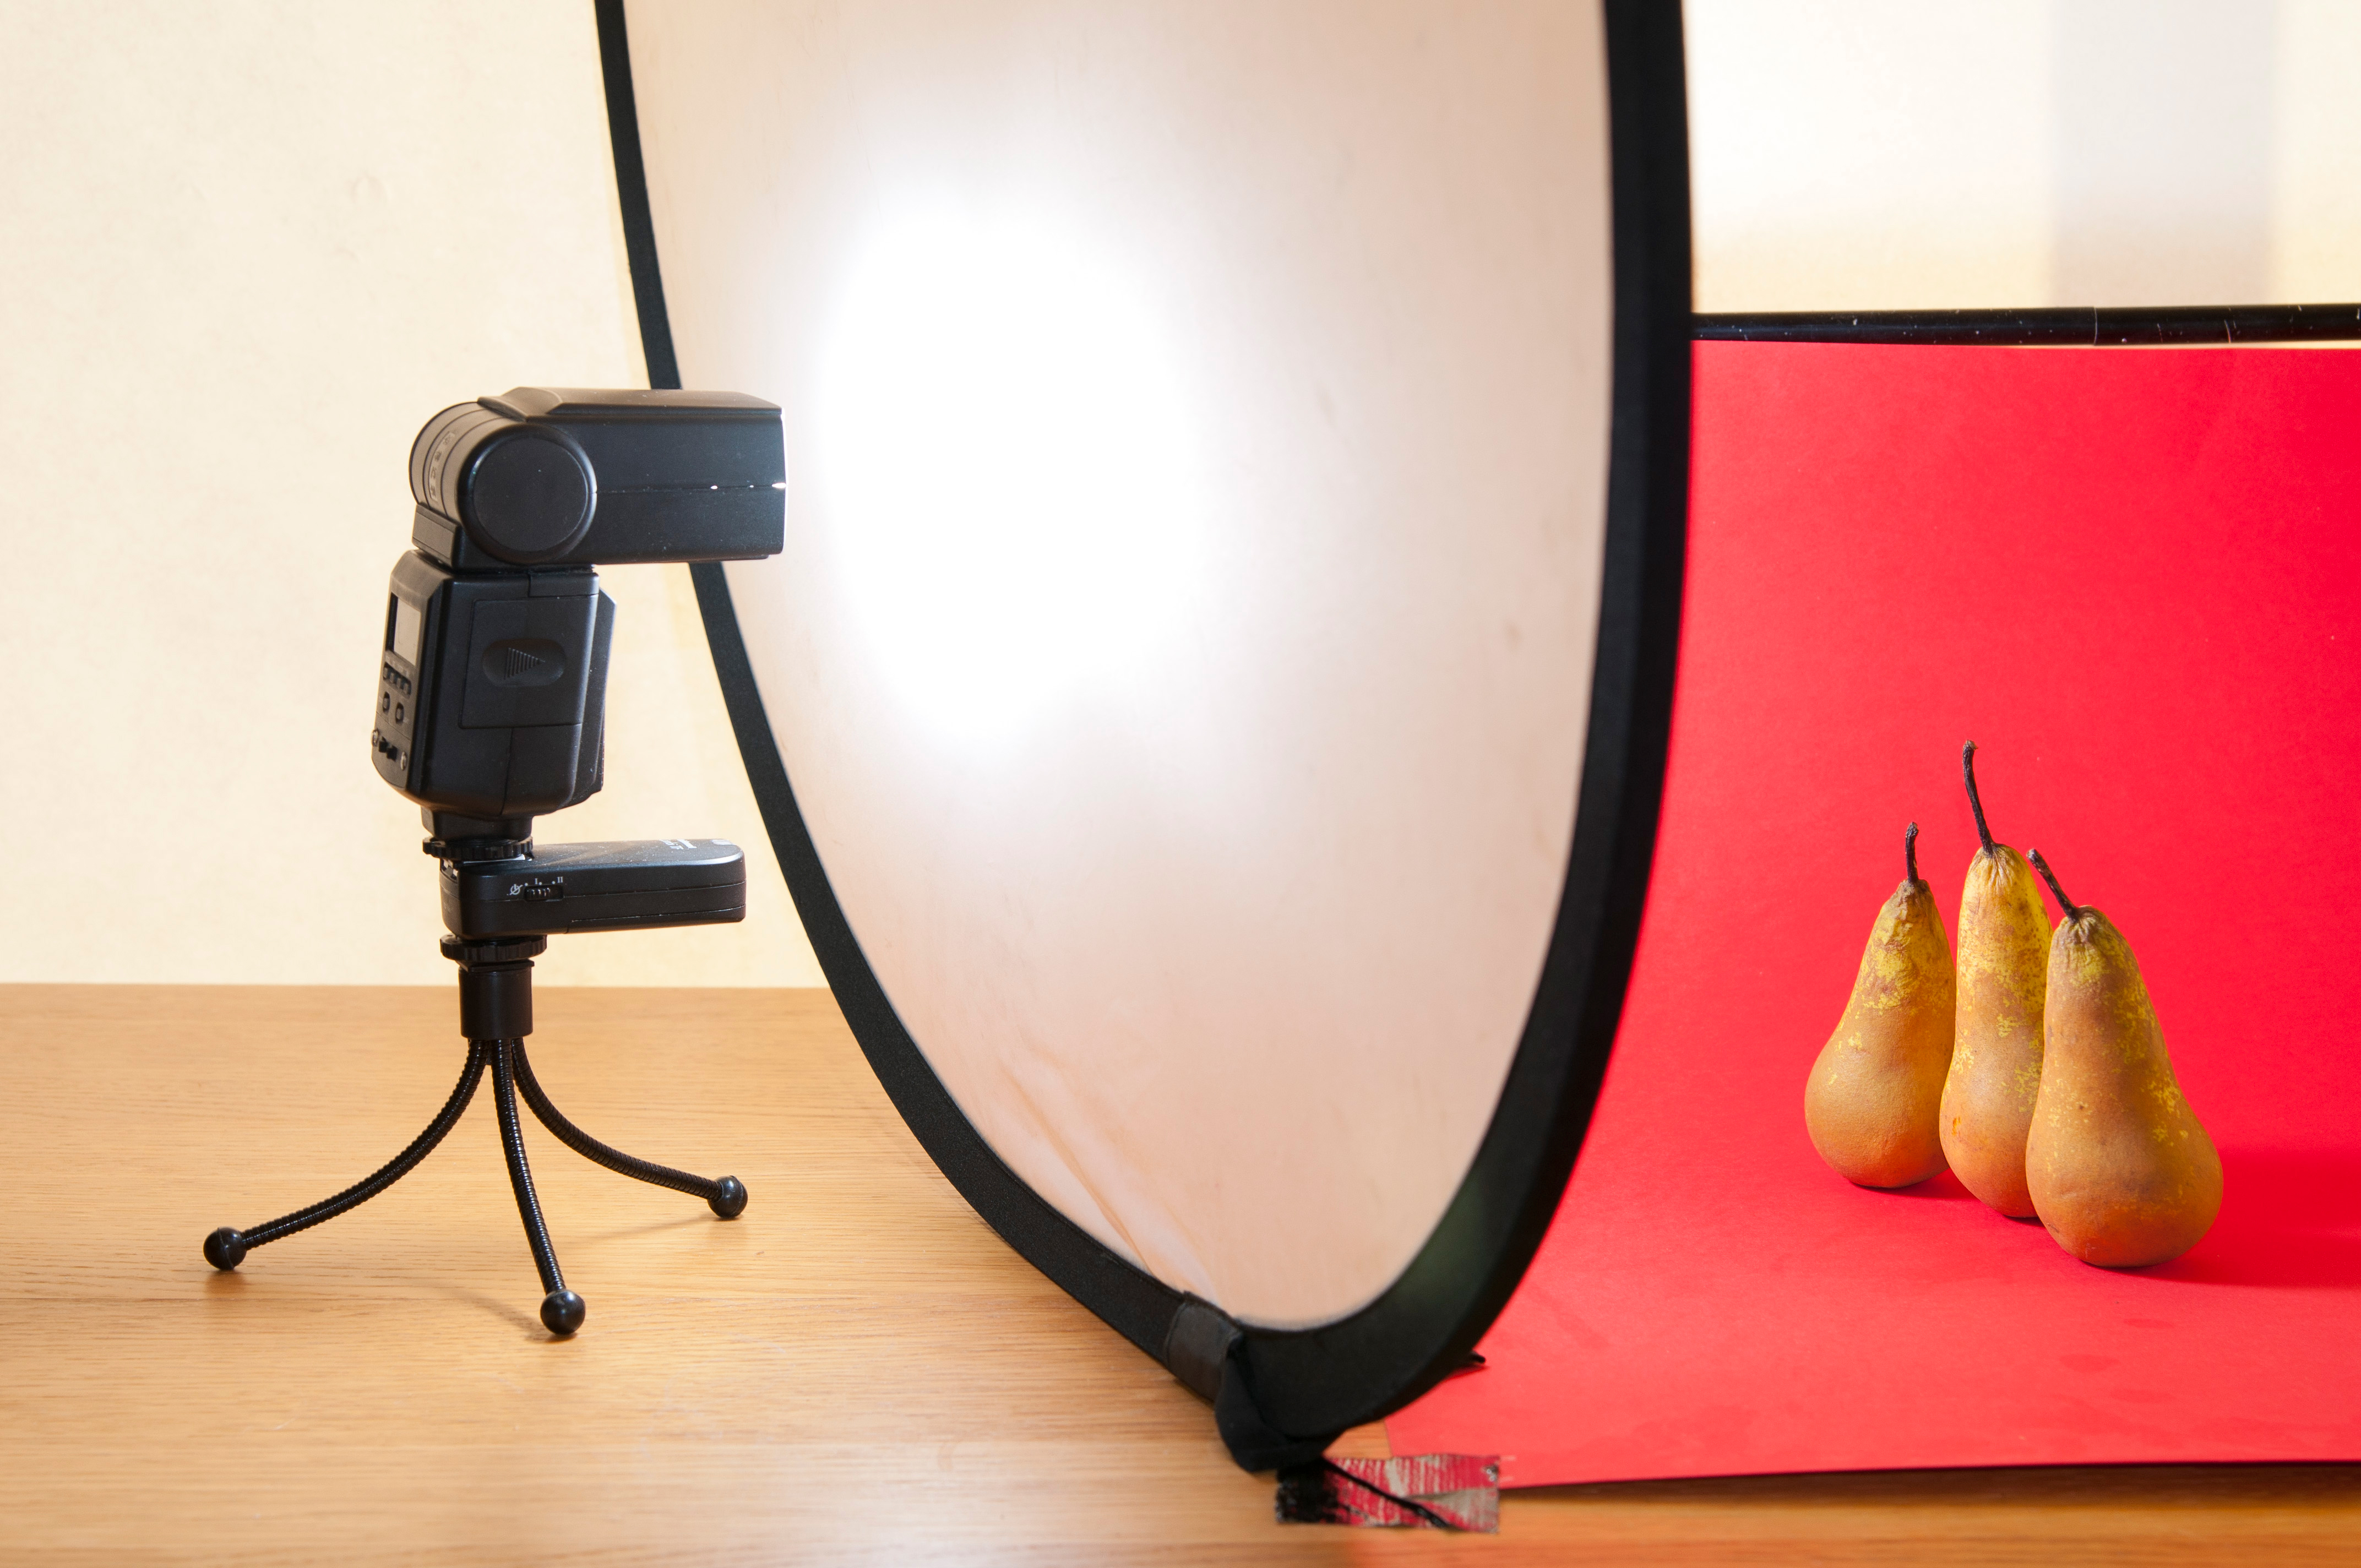
02 Hand-held diffuser
Holding diffuse material between the flash and the subject gives good results. You do need a free hand or clamp to hold the diffuser.
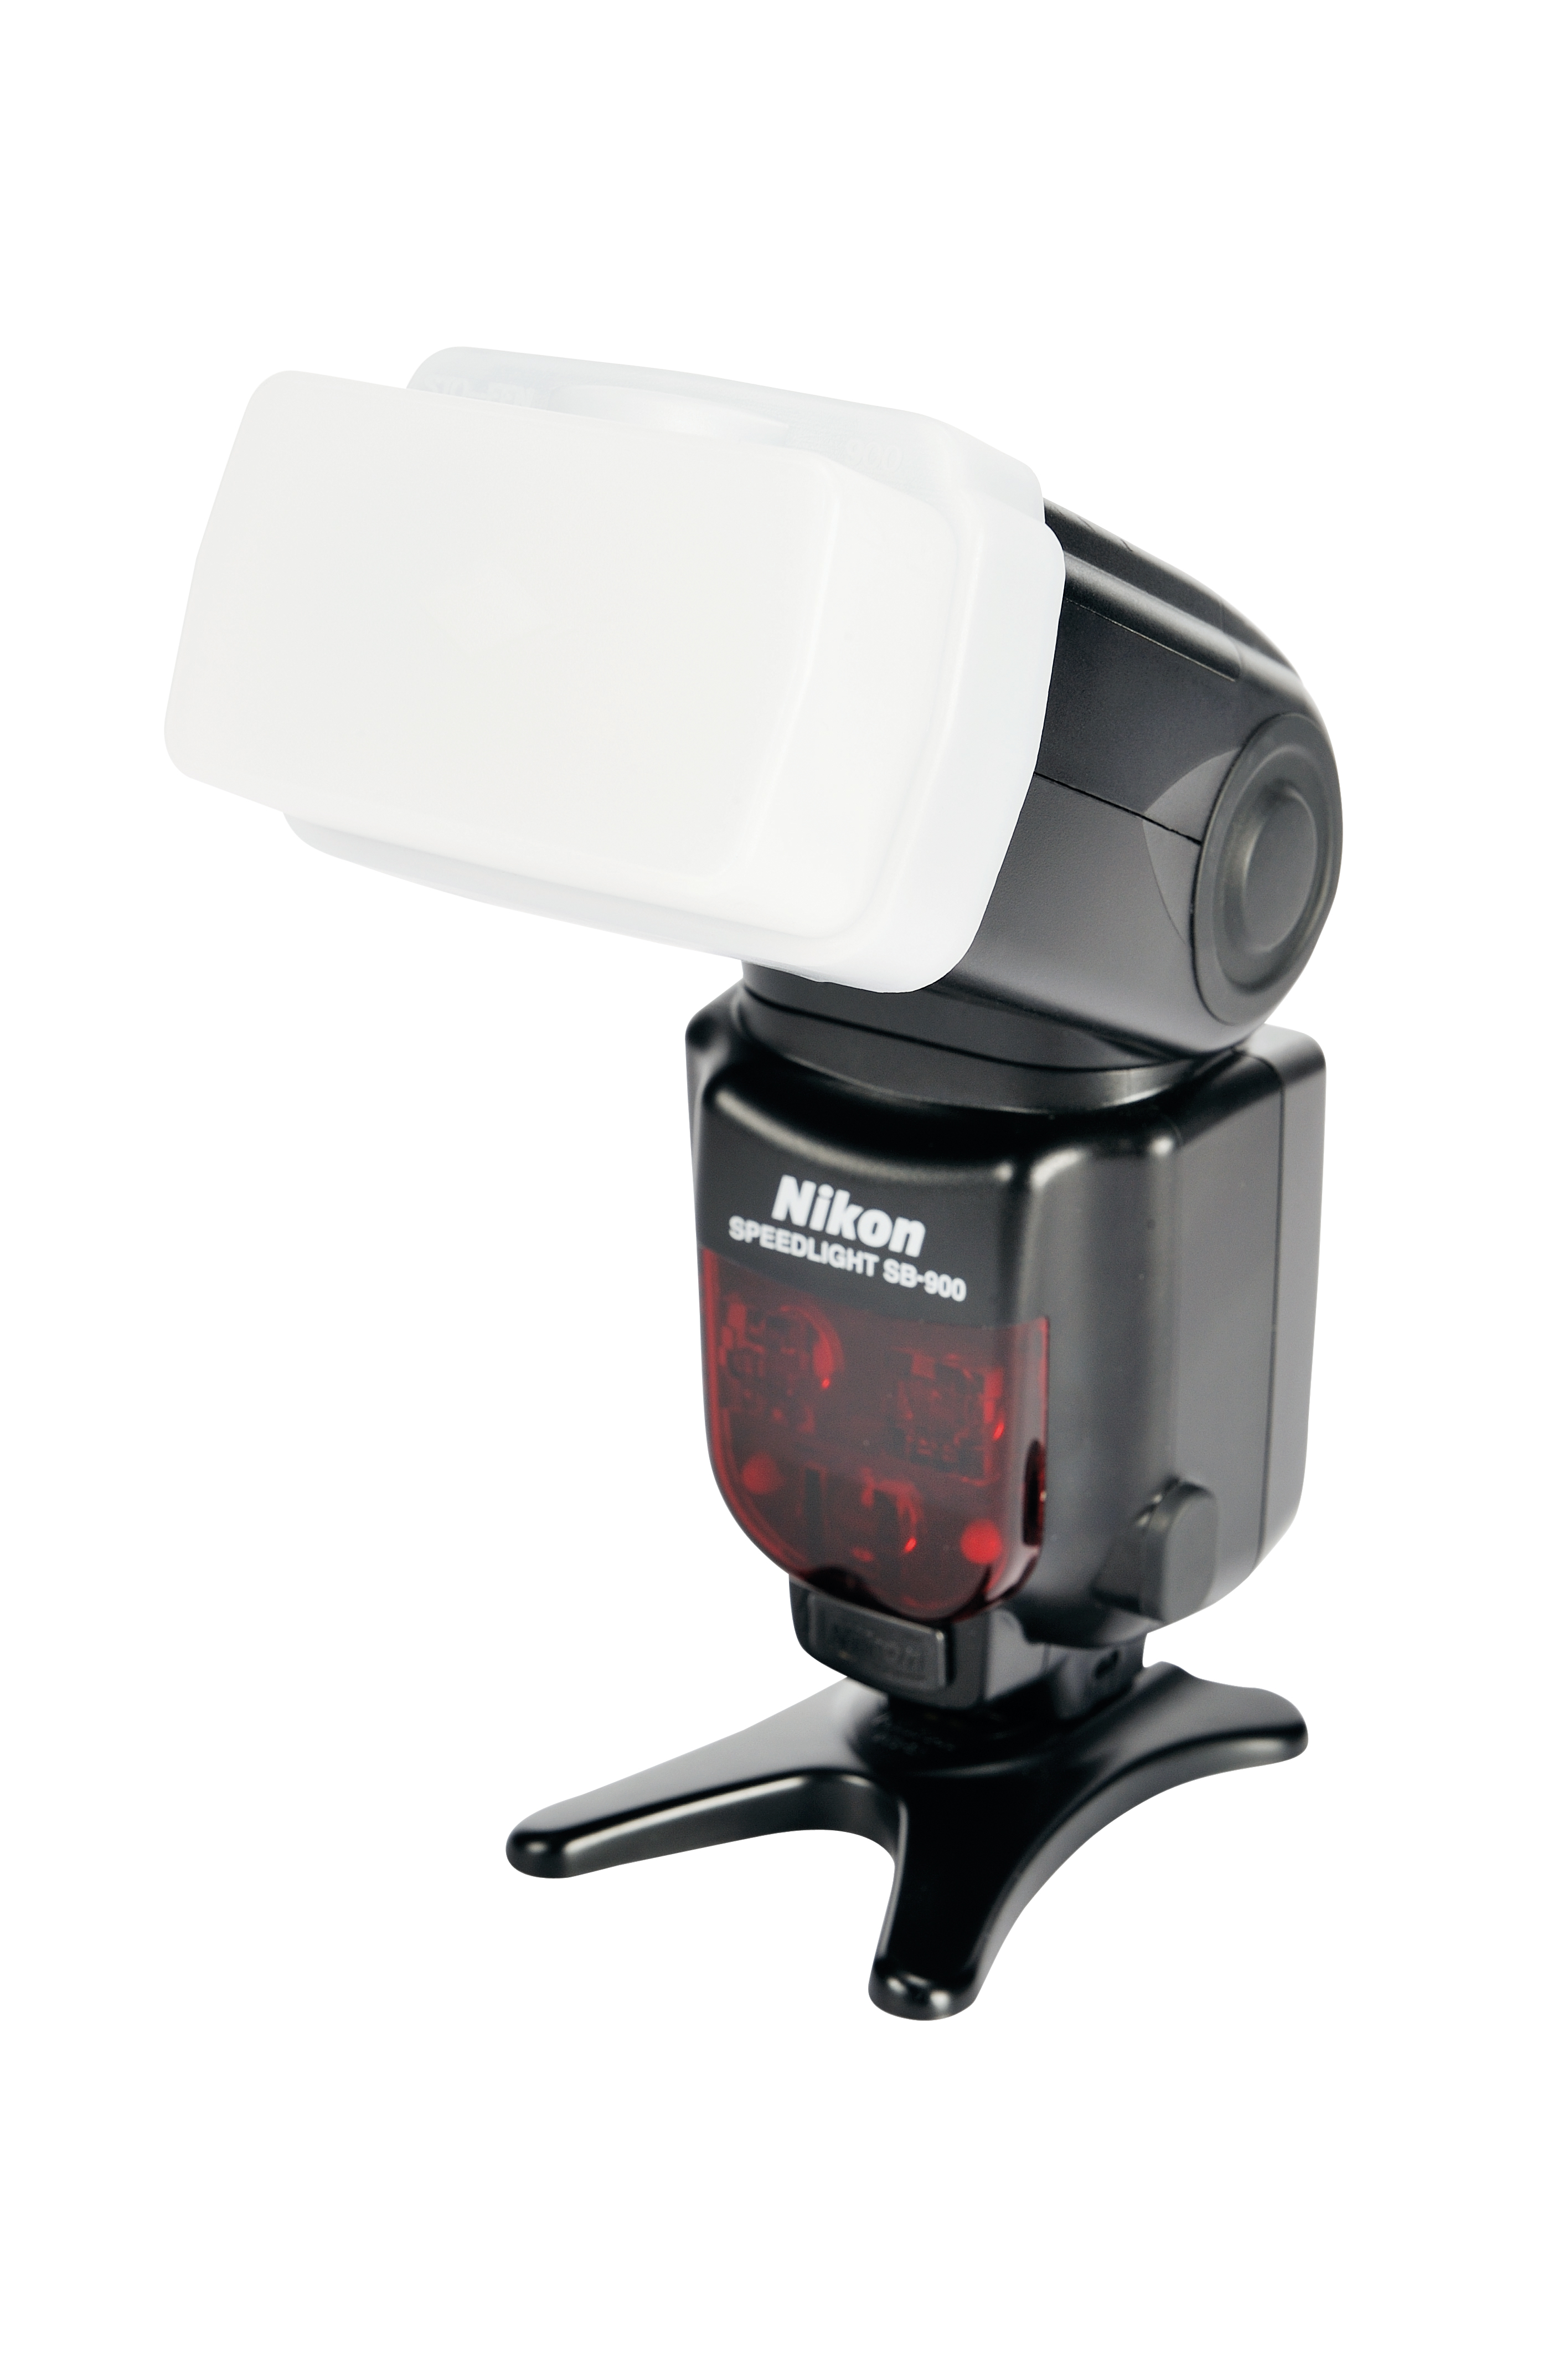
03 Sto-Fen Omni-Bounce
These clip onto the head of the flashgun. They are most effective when there are lots of plain surfaces to bounce light back into the shadows.
04 Buy a softbox
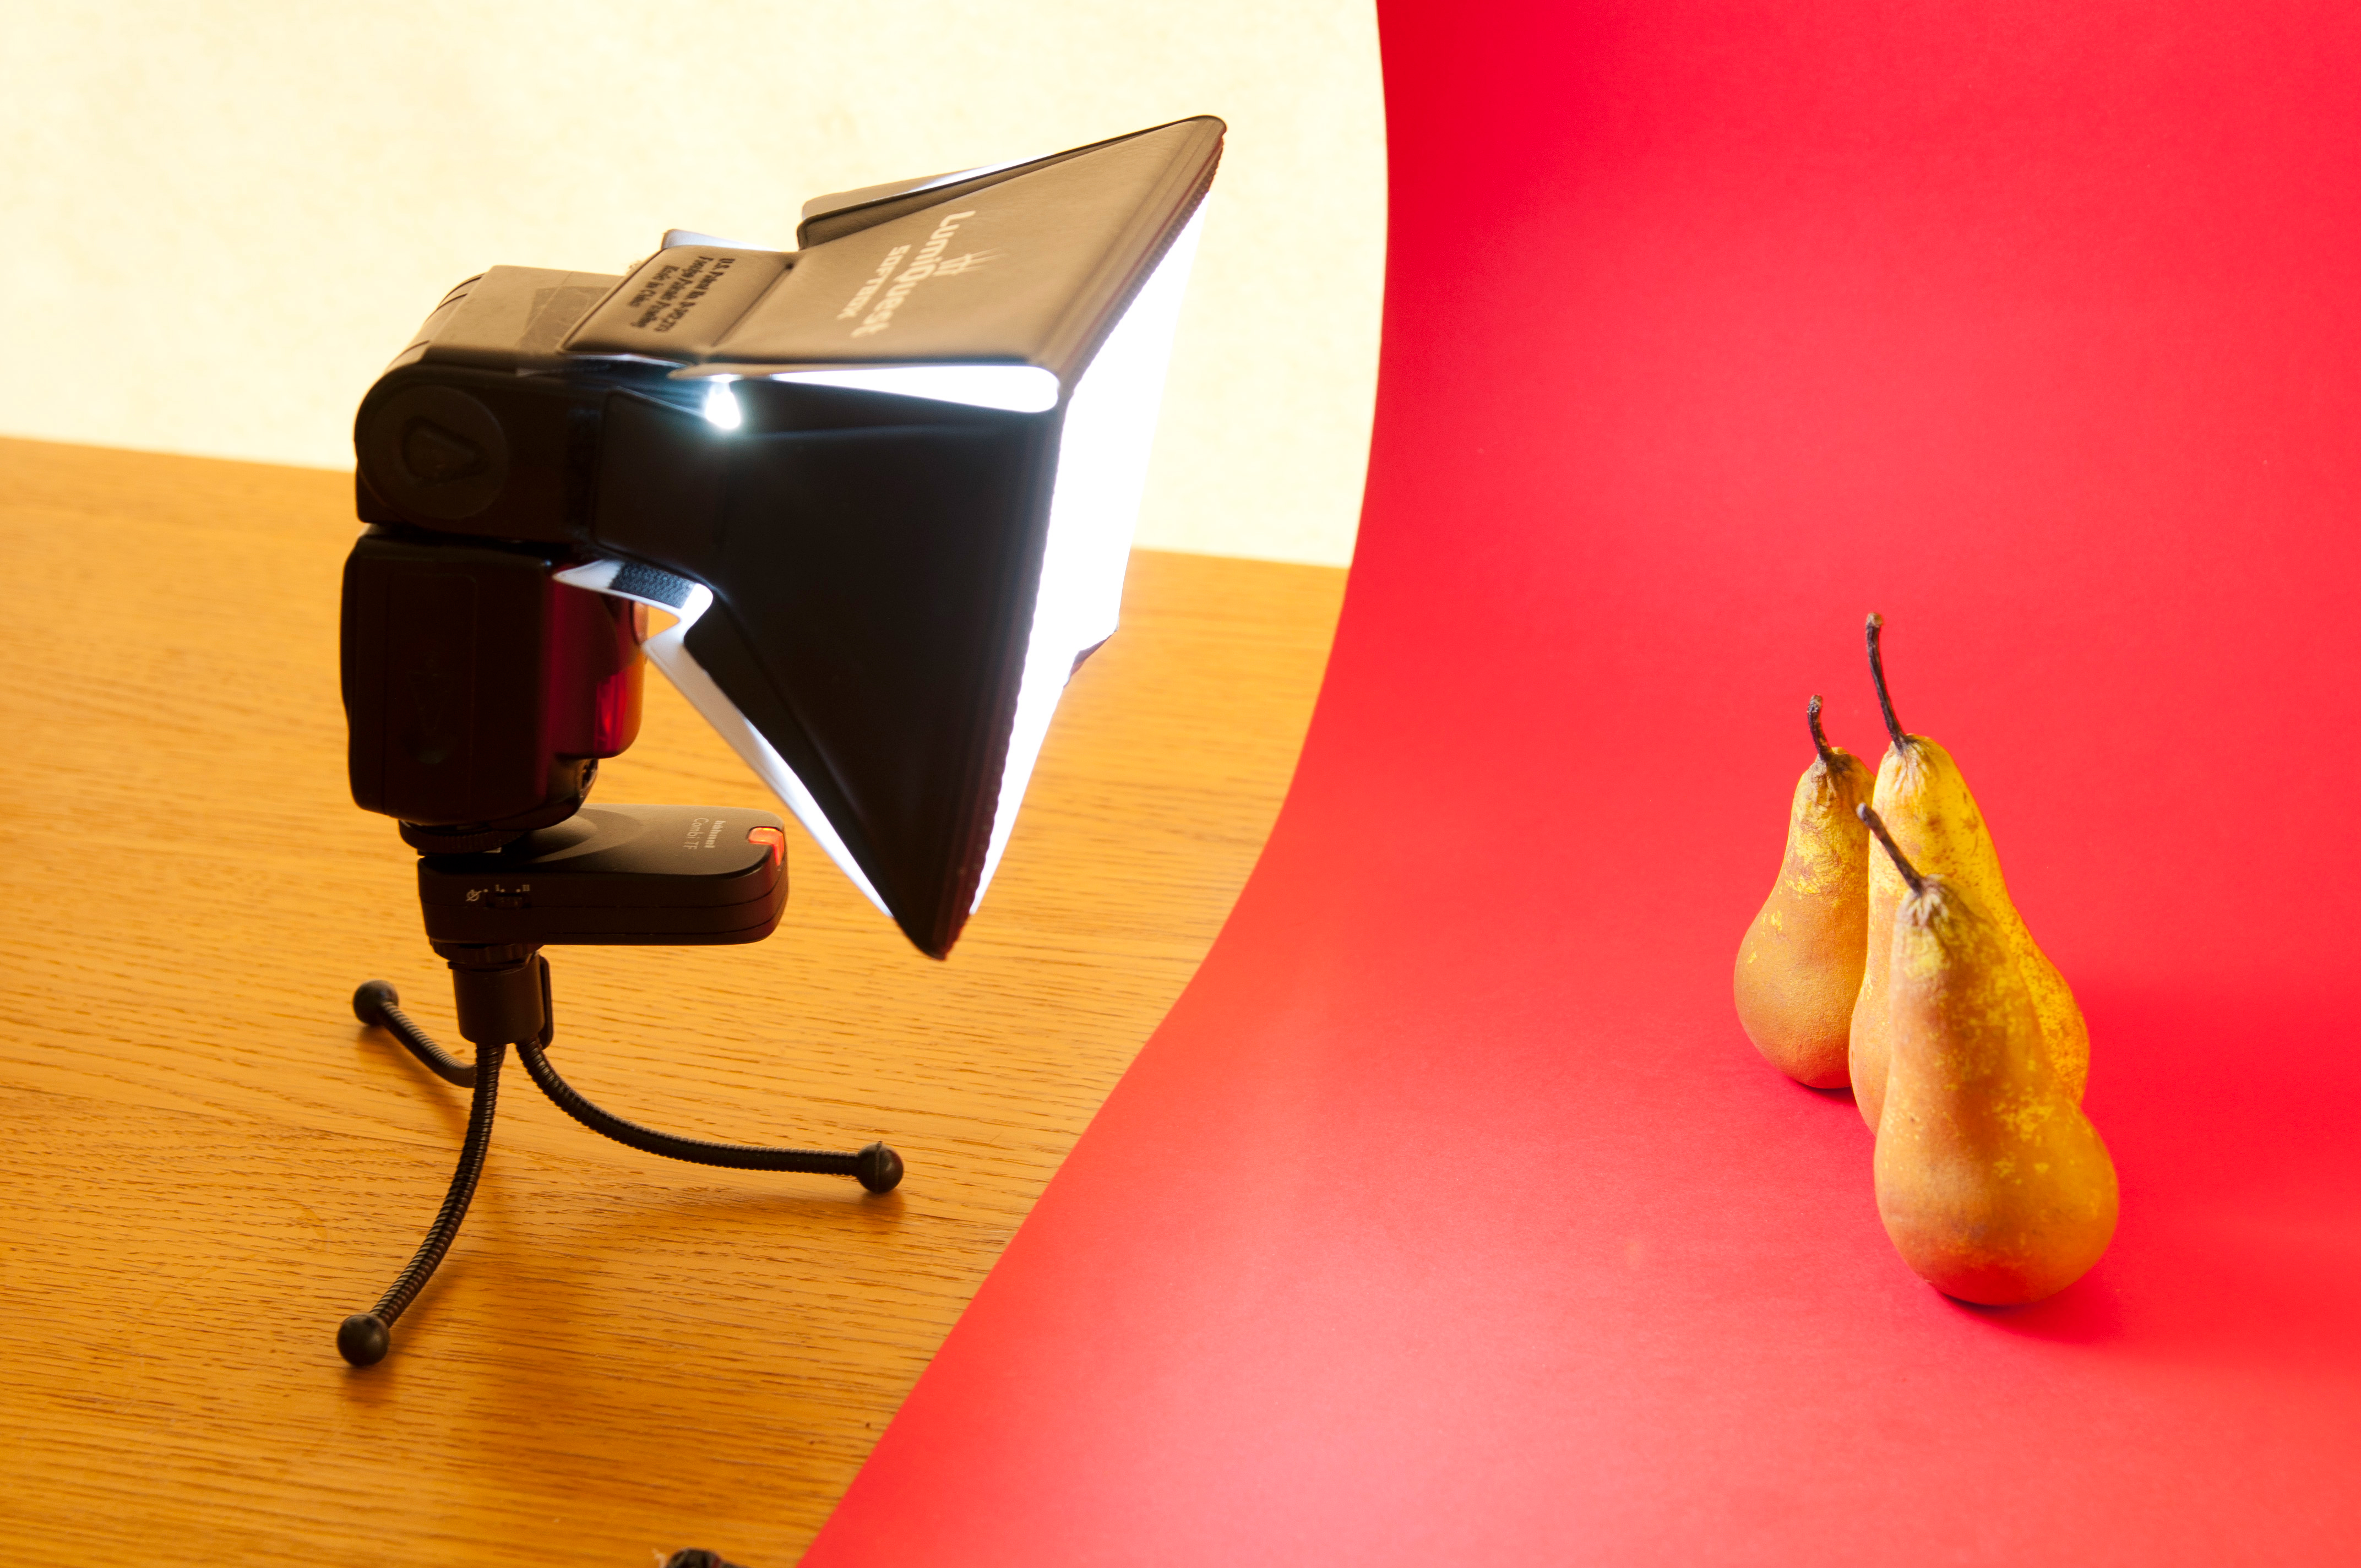
These work just like the homemade version, but look more ‘professional’ and fold up for easier storage and transportation.
05 Dome diffuser
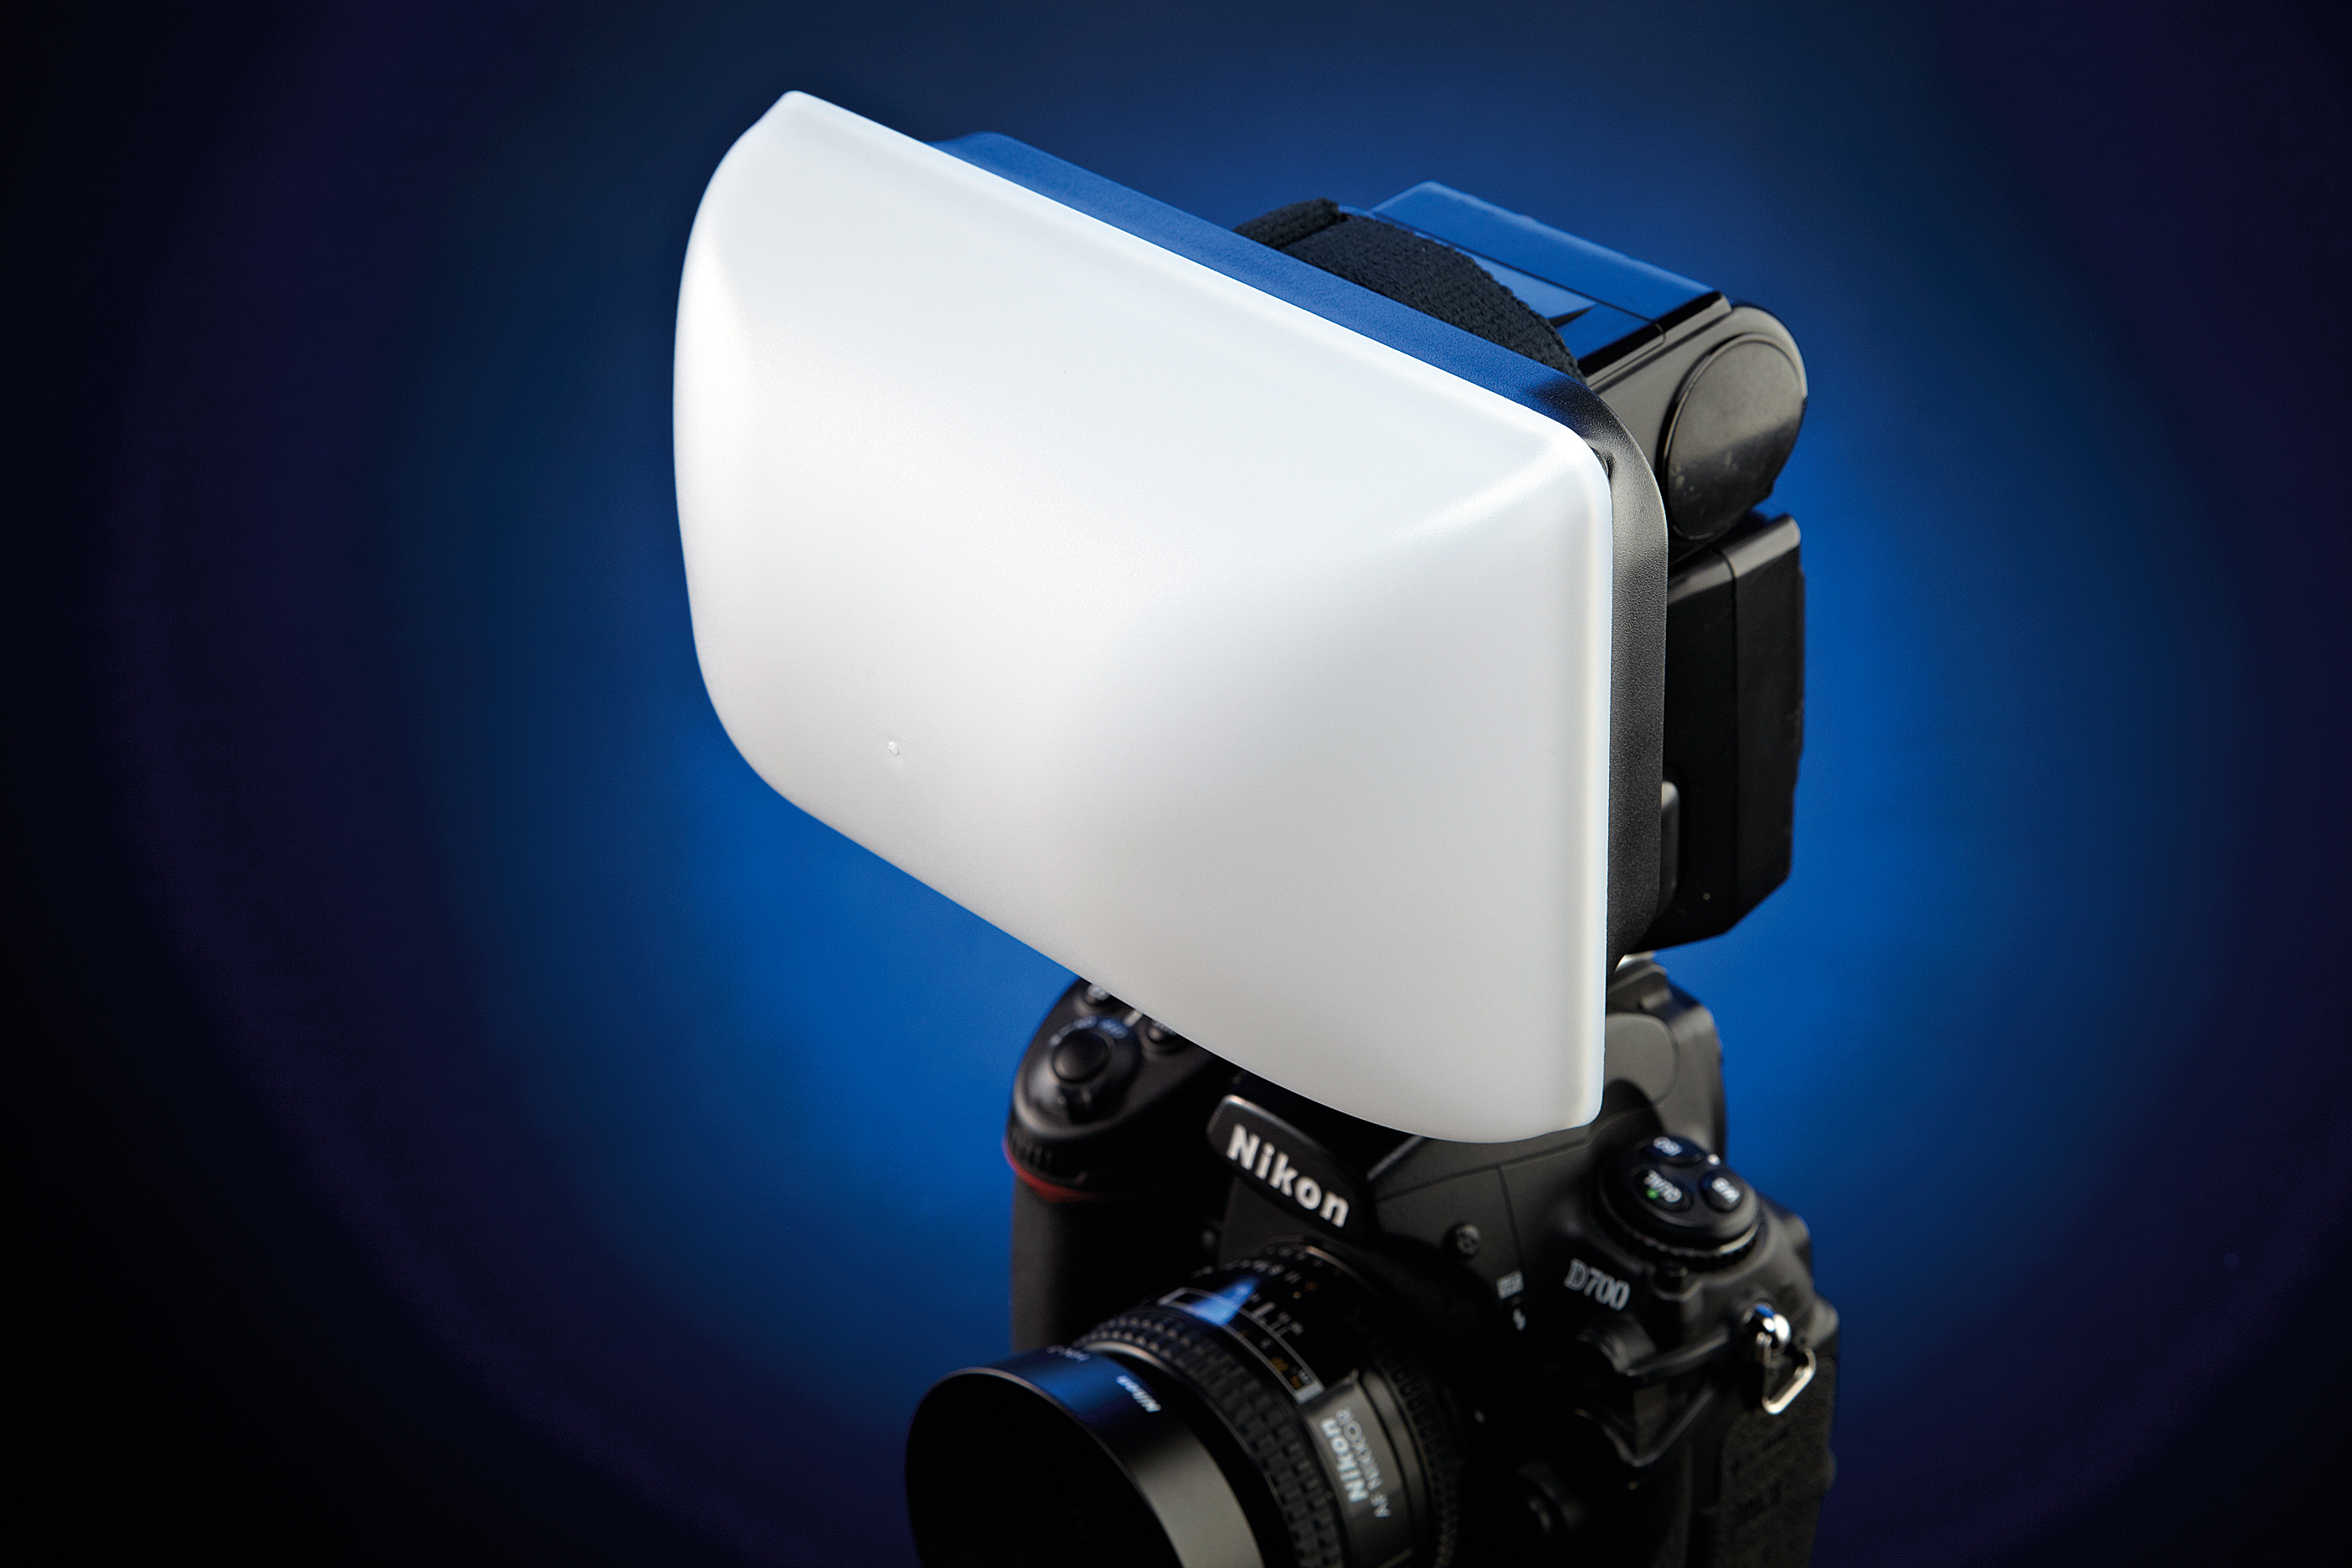
These spread the light in all directions, so will give the softest results when there are plain surfaces to reflect light back.
See The best flash diffusers, softboxes and modifiers

More videos:
More great home photography ideas
Photography tips and tutorial videos
The best flash diffusers, softboxes and modifiers
Studio portrait lighting: essential tips and setups explained
Pinhole photography: make your own pinhole camera using a body cap
Get the Digital Camera World Newsletter
The best camera deals, reviews, product advice, and unmissable photography news, direct to your inbox!
I’ve been interested in the art and craft of photography since I pestered my parents to buy me a ‘proper’ camera aged about 10. Armed with my new Zorki 4k camera, I set out on a photographic journey that continues to this day. I learned the ‘nuts and bolts’ of the craft by doing a photographic degree at the University of Westminster, and have been involved in the photographic industry since then. For the last 12 years I have combined taking photos with writing articles and features for some of the UKs best-selling photographic magazines, including Practical Photography, Digital Camera and N-Photo. During this time I have also had two photography books published by Rotovision, on color and composition, and spent three years as a professional car photographer, working for evo magazine. All of this means that I have experience of shooting almost every type of subject, but I always come back to my first love – landscapes (and particularly the British landscape. I know live in on the Isle of Skye in Scotland.
