How to make a stop-motion animation from the comfort of your home
George Fairbairn demonstrates how to use a stills camera to create fun, stop-frame motion animations
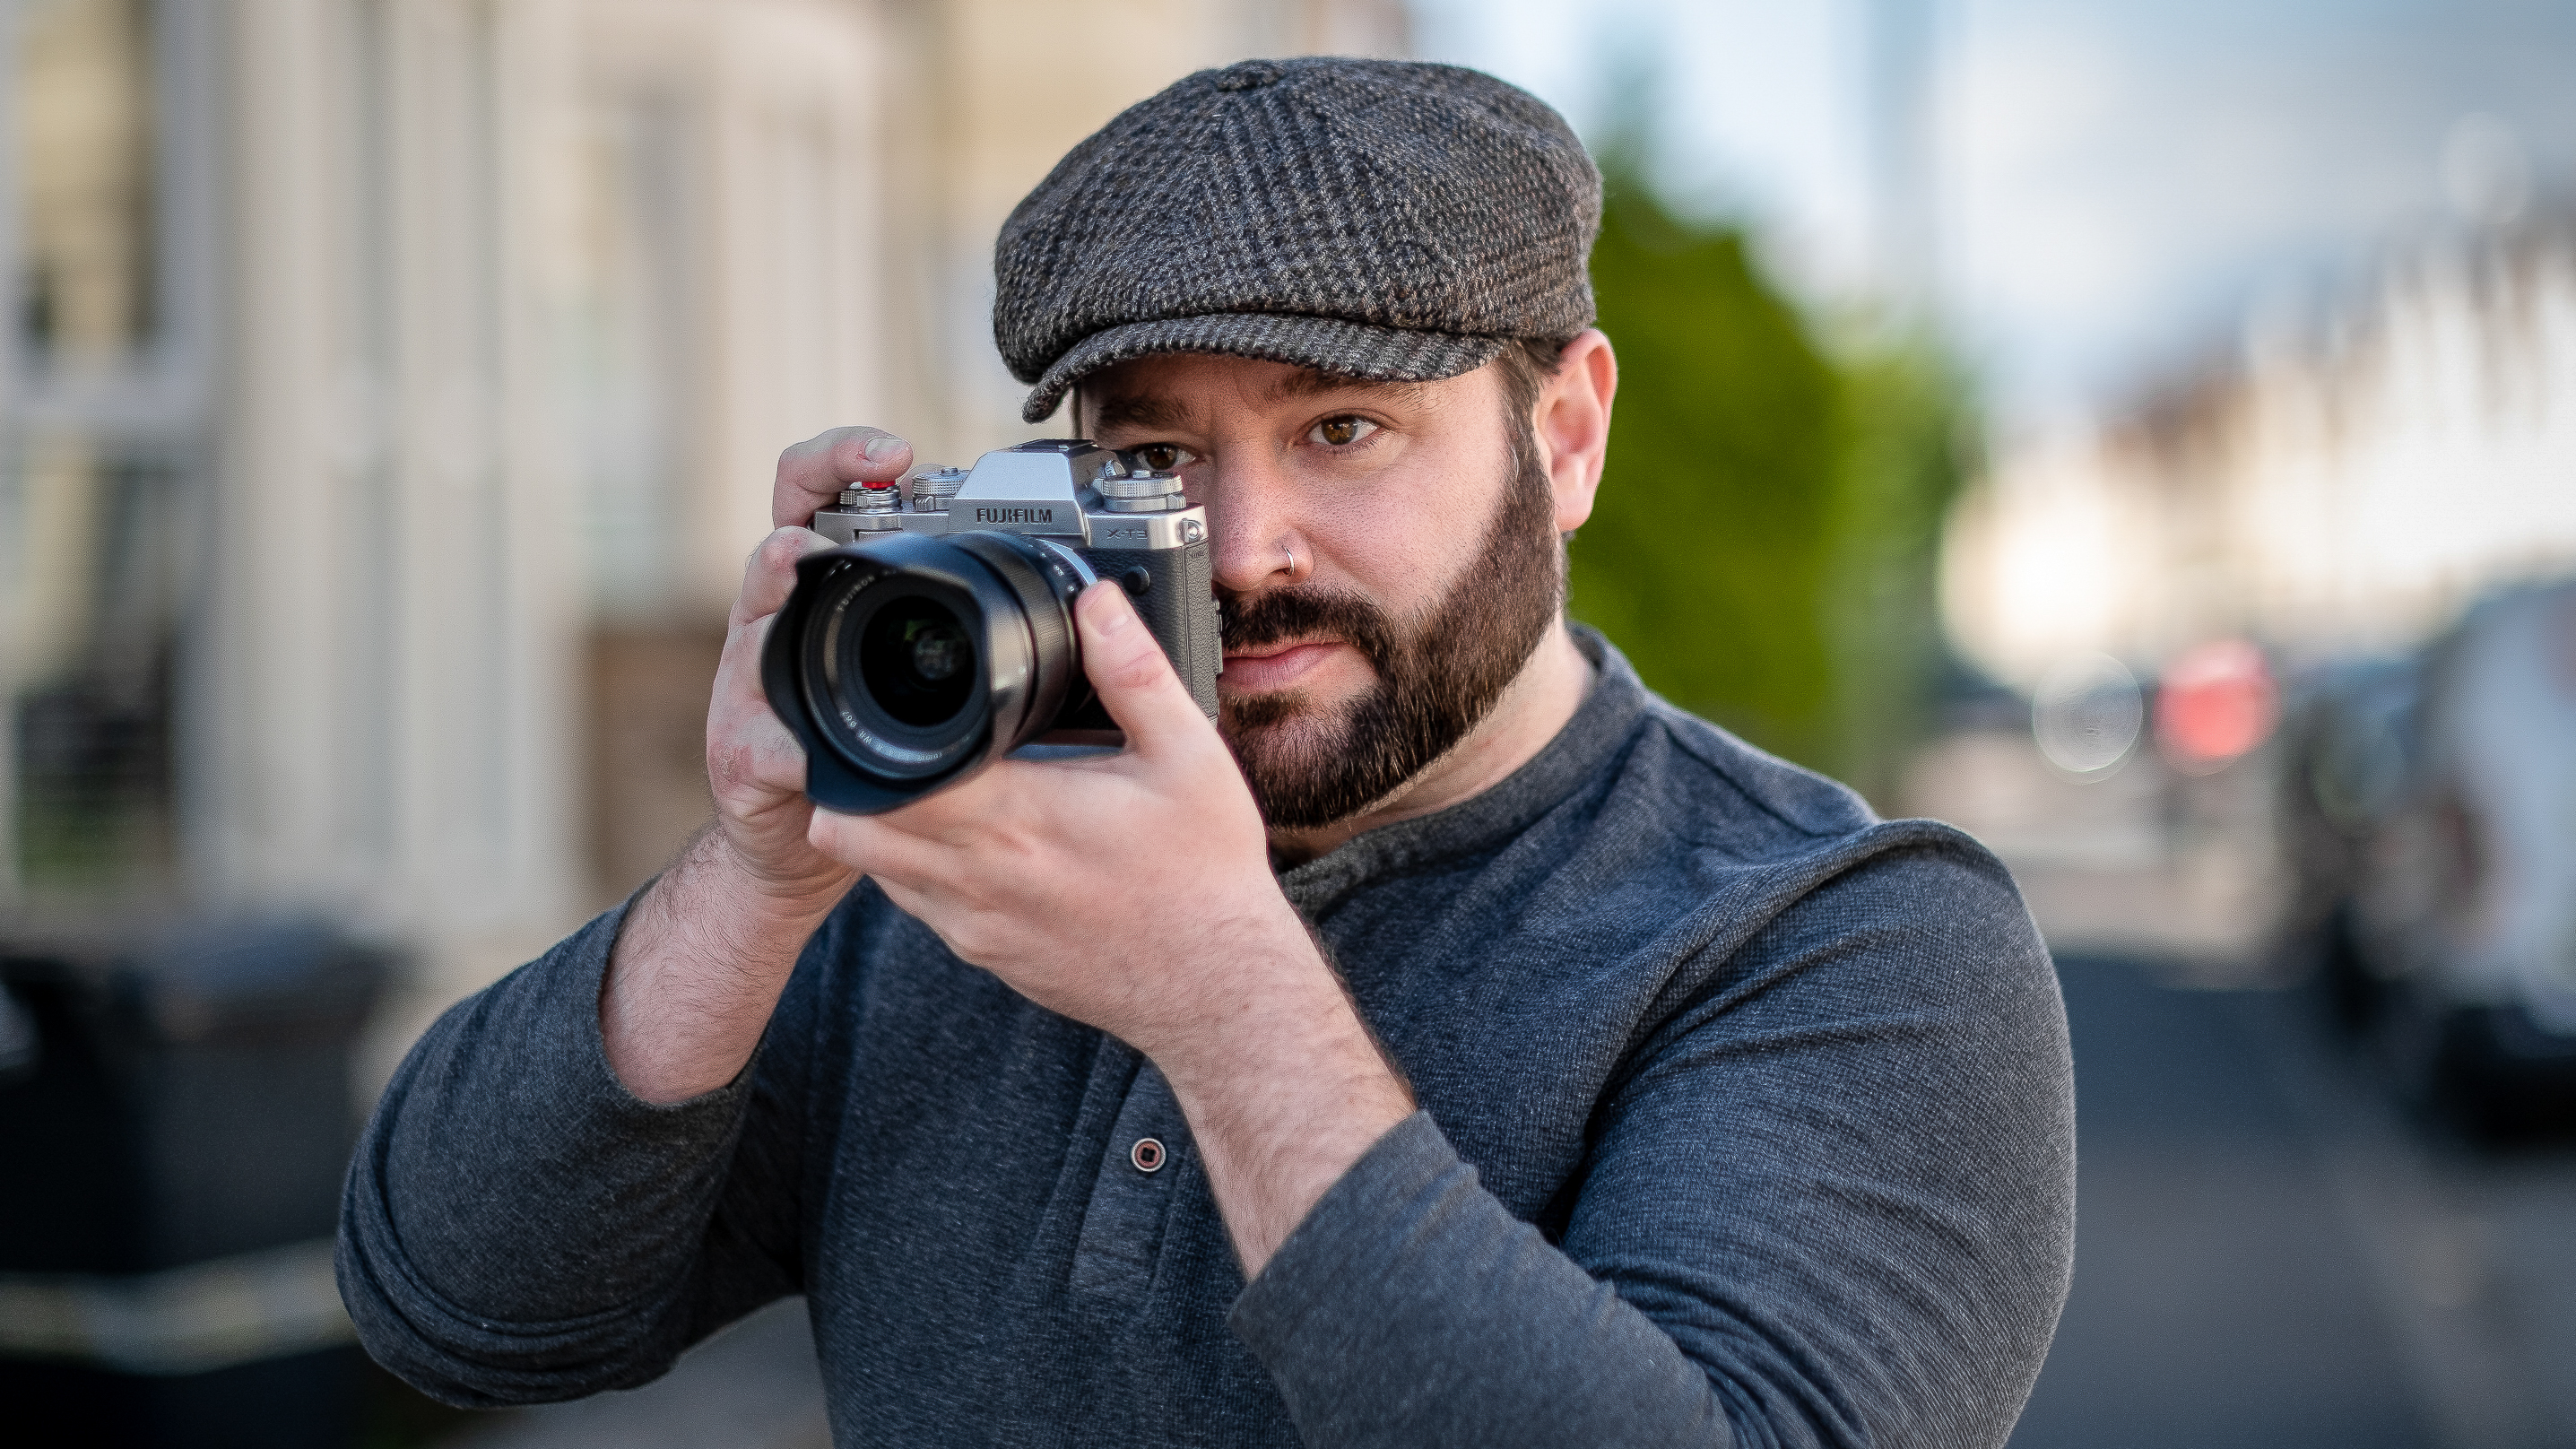
Photography was always something I wanted to do for a living. The only problem was when I was a teenager, everyone told me it was too much work, too insecure, or just too hard.
So instead I abandoned the idea and joined the US Air Force. I didn’t properly touch a camera again for 15 years. When I did, though, I instantly knew again that it was what I wanted to do for a living.
Having played in bands throughout my youth, I started photographing the music scene in Cambridge. I instantly set myself a goal of shooting for Kerrang… three years later I had achieved that goal, as well as shooting for magazines like Guitarist, Rhythm and Total Guitar.
I started experimenting with another interest of mine: stop-motion animation. I quickly discovered that I loved creating stop-motions: the planning, the maths, the tiny movements, and seeing it all come to life.
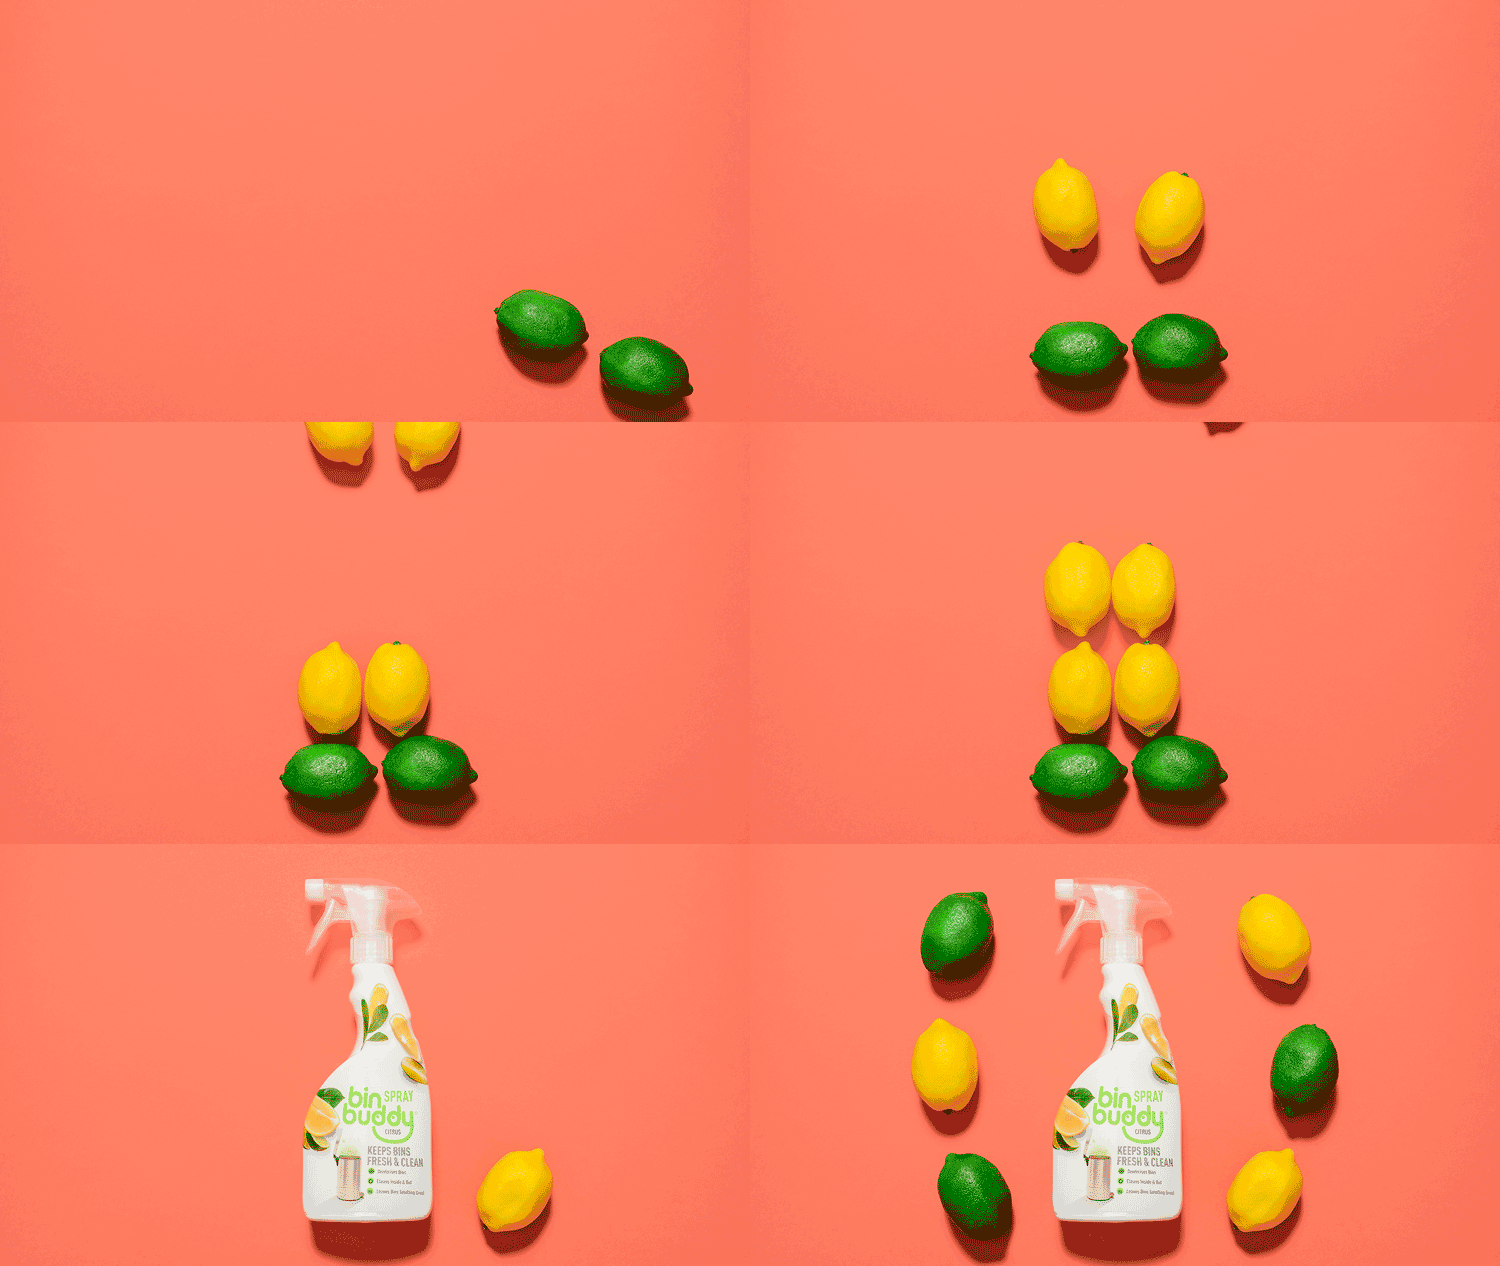
I had found my new passion. This has led to me shooting animations for companies like Disney and Zeiss, as well as the Bin Buddy shoot here.
You can see more of George’s work via Facebook.
How to make a stop-motion animation from stills
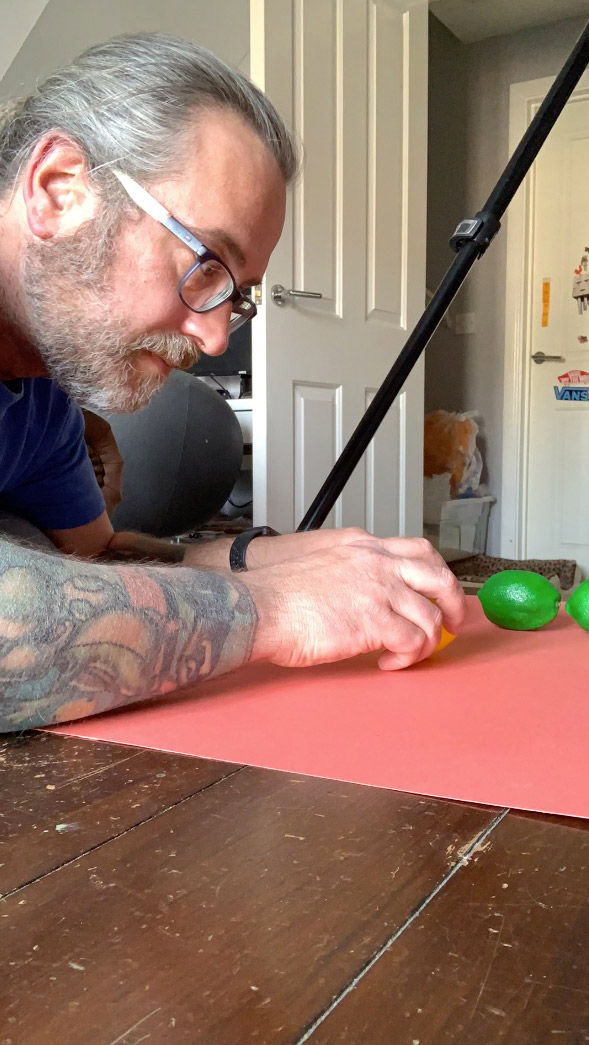
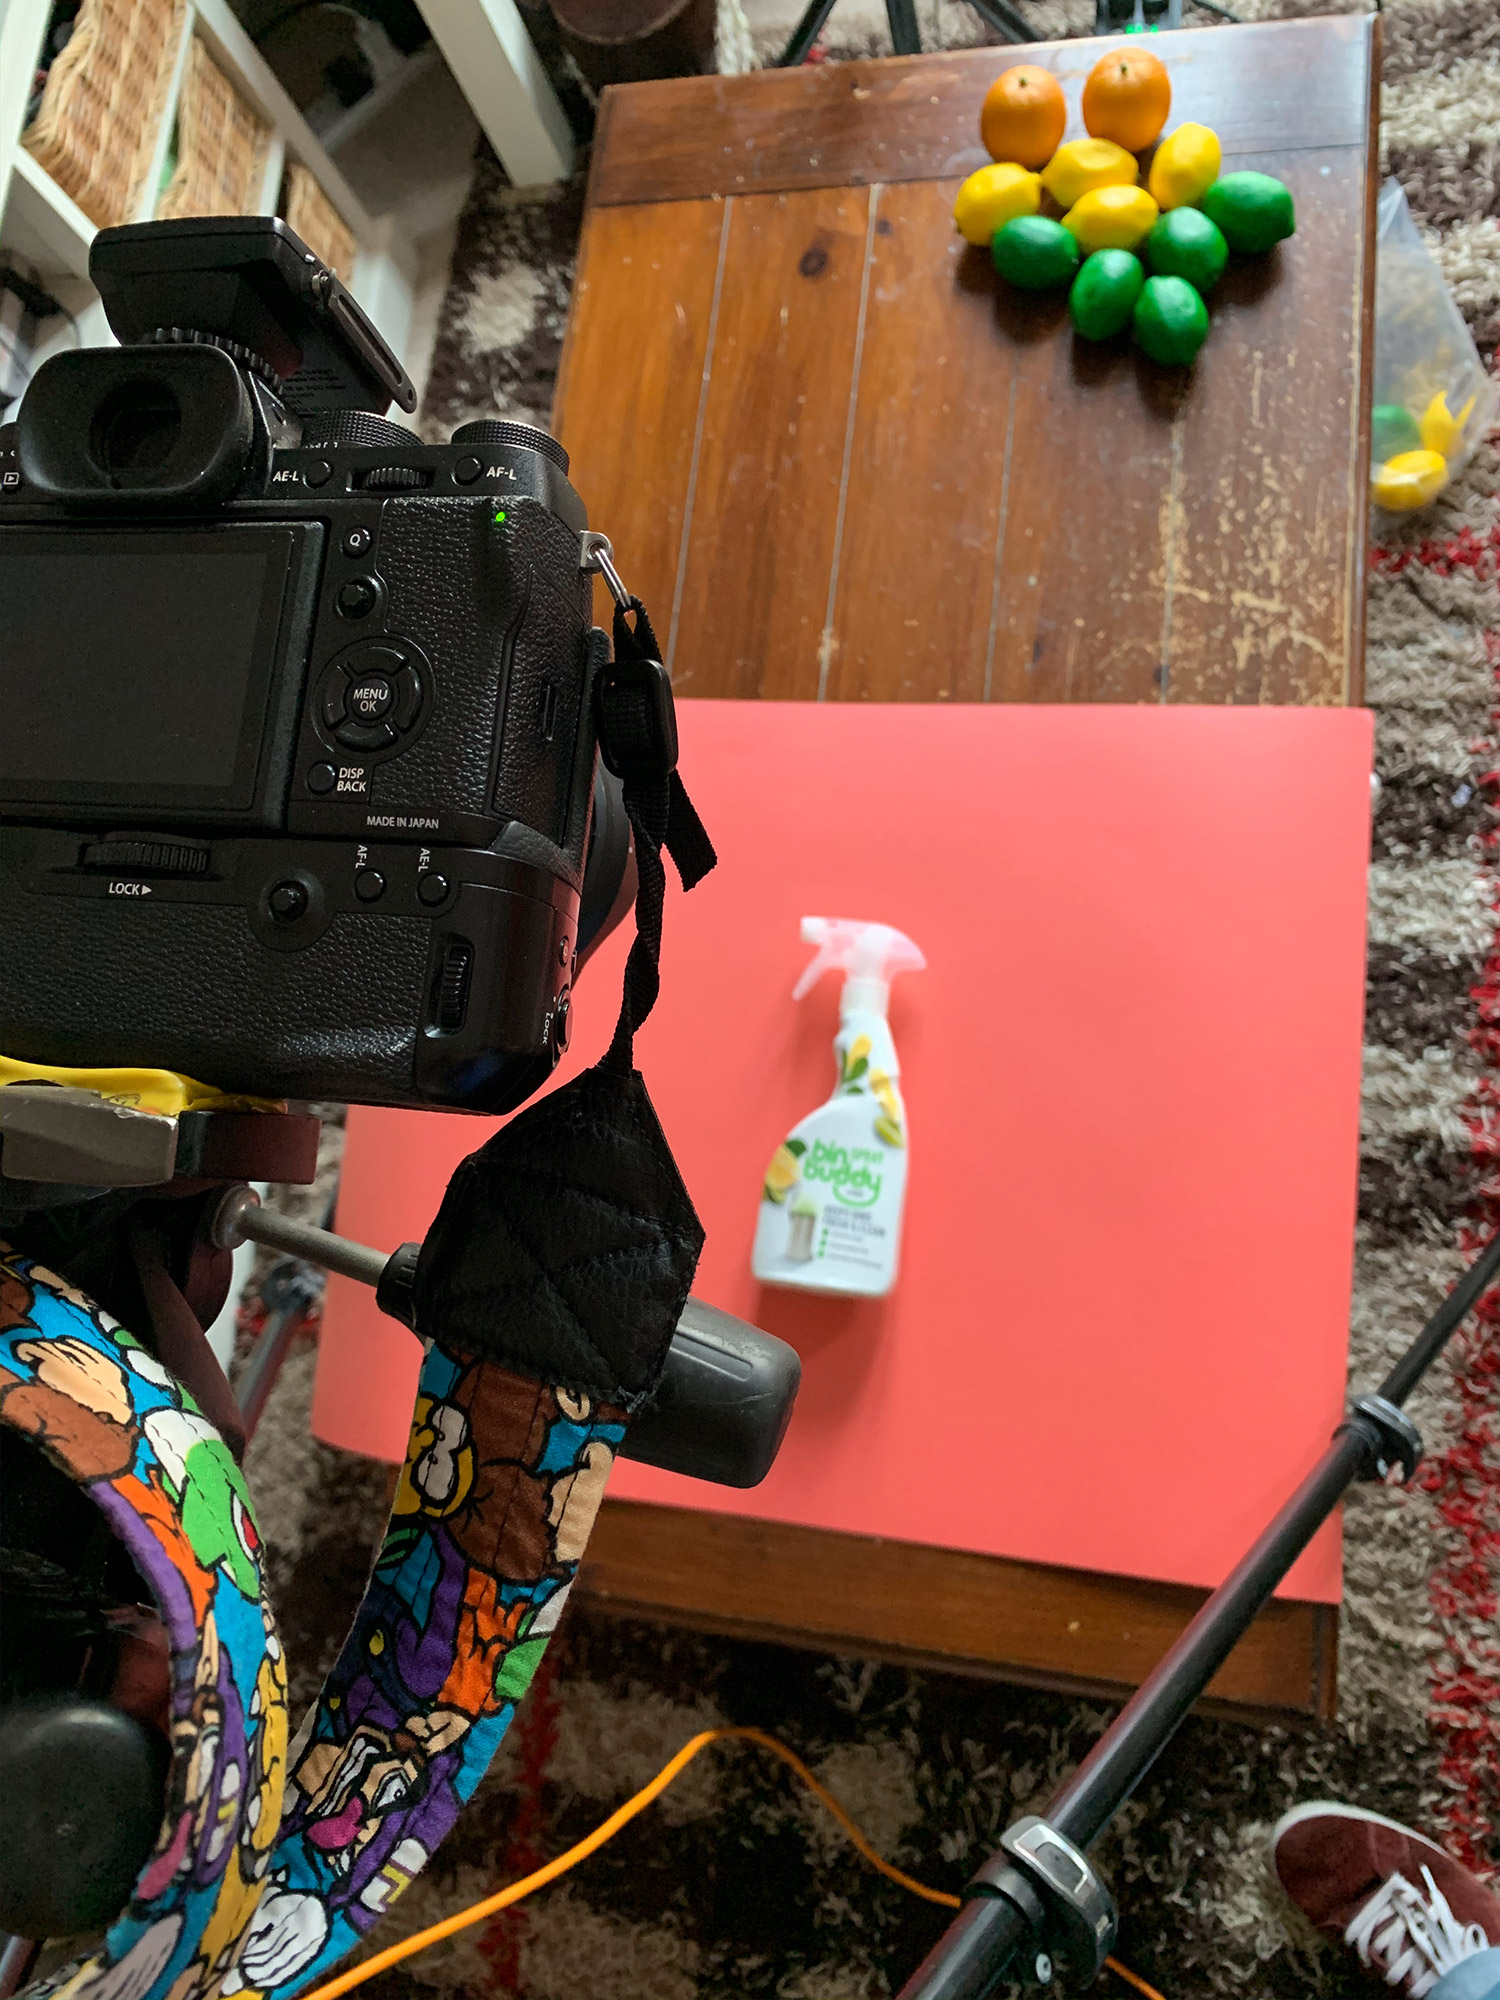
01. Set up your scene
The best camera deals, reviews, product advice, and unmissable photography news, direct to your inbox!
I have become known for the colors that I use in both my photography and my stop-motion work. Some have described it as a pop art style. I just like to complement or contrast colors. I use Adobe Color a lot for this: it’s a great, free online resource that will help you find colors that complement or contrast each other, and it is usually my go-to website when I first start planning an animation.
Once the background color is selected, I go through my storyboard. This is usually something collaborated on between the client and me, although sometimes I am given free reign. Within the storyboard will be any props that I’ll need to create or source for the shoot. I like to have everything that will appear in the animation laid out and within easy reach.
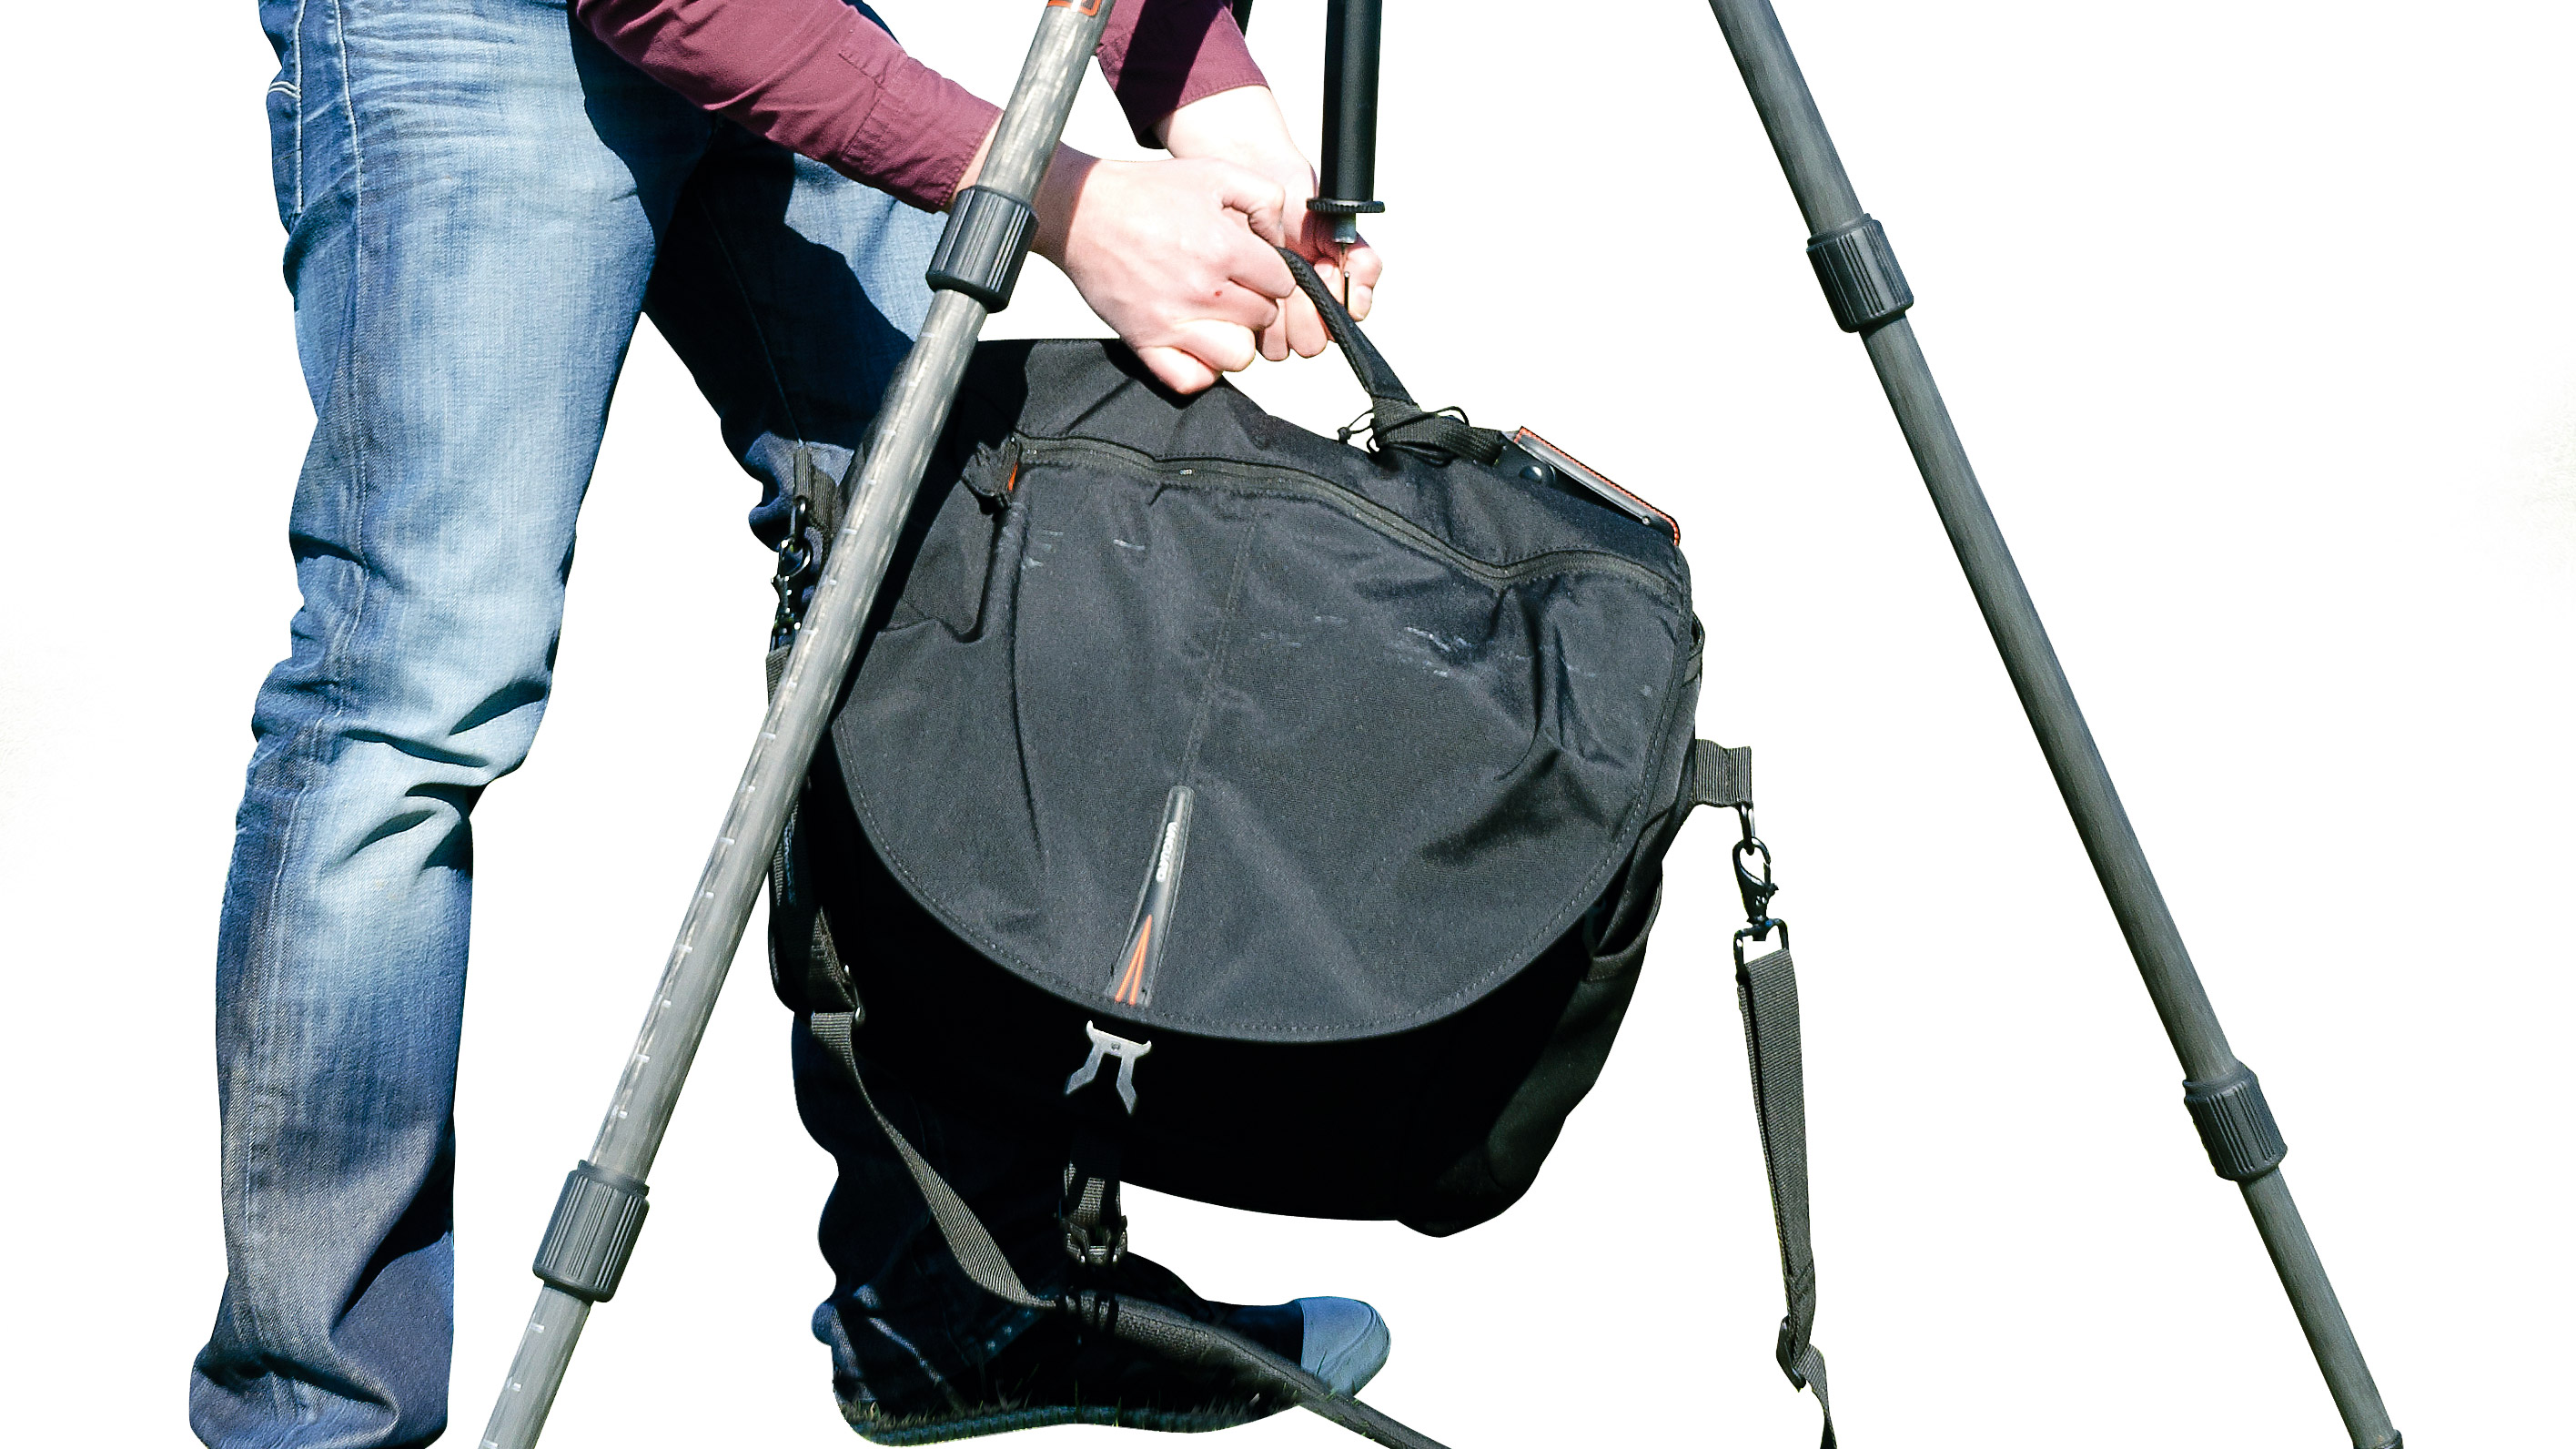
02. Setting up the tripod
A tripod is absolutely essential for creating a stop-motion. The last thing you want is for your camera to move between frames and make your animation jerk or move unintentionally. Make sure your tripod is weighed down firmly. Hang a heavy weight from the centre column to give it more stability.
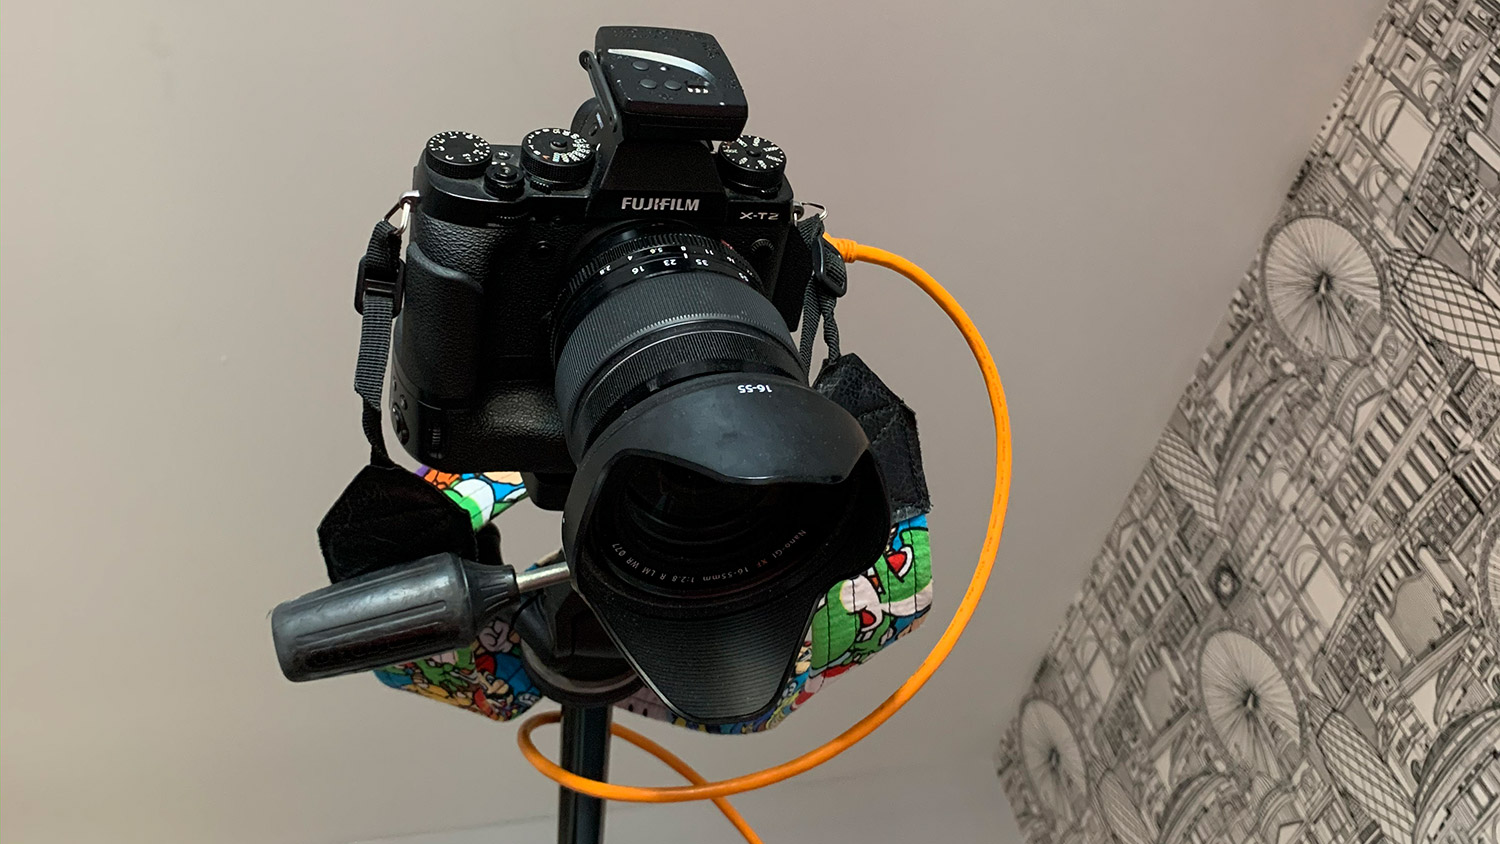
03. Setting up the camera
The position and lens that I use will be determined by the type of shot that I will be doing. Typically my small-product animations are shot from above, and therefore would use a fairly wide lens. For me, this is my 16-55mm. For animations that aren’t shot from above, I try to use my 55-140mm when I can. This is dictated by the size of the products that will be in the animation.
04. Choose your lighting
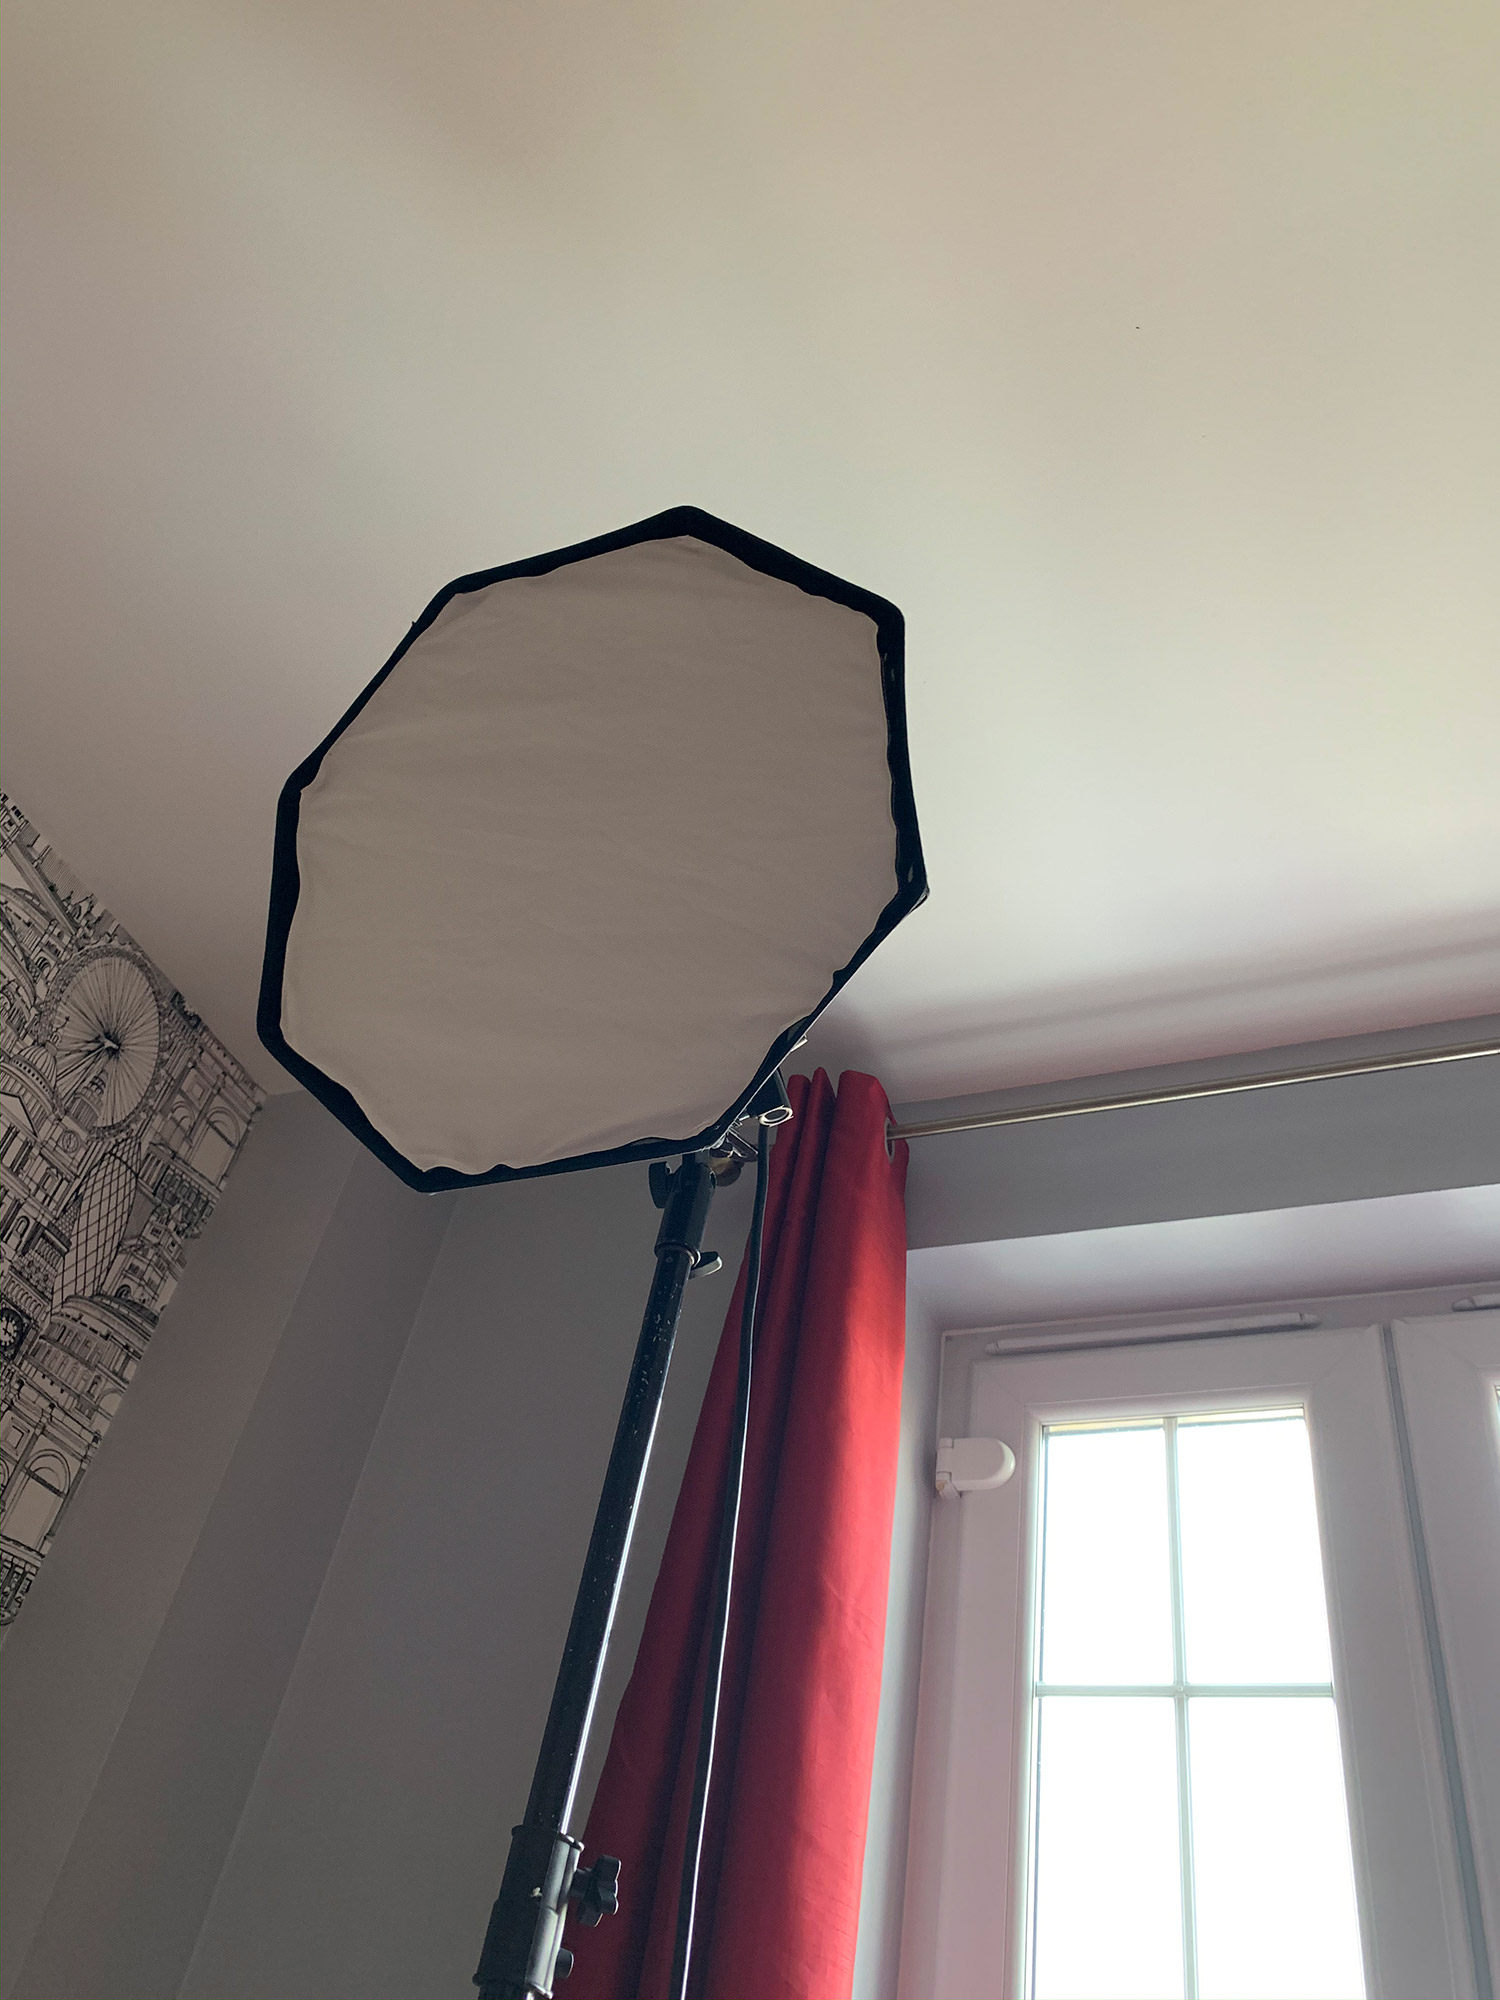
I am a little different to a lot of other animators in that I use flash instead of continuous lighting. It doesn’t really matter, but you absolutely cannot use natural light for stop-motion animation. This is purely down to nature. The sun moves throughout the day, and therefore your lighting will change. It will typically take me an hour or two to shoot a 20-second animation, and if I use natural light you will see it change throughout.
Why do I use flash instead of continuous? Firstly, I was a location photographer for years before I started doing this. I am very used to my lights and know them like the back of my hand. Secondly, I honestly haven’t found a continuous light that I like yet. I have been trying them out but haven’t found one that ticks all the boxes for me so far. Use what works for you, as long as it’s consistent your animation will be
successful.
05. Shooting the movement
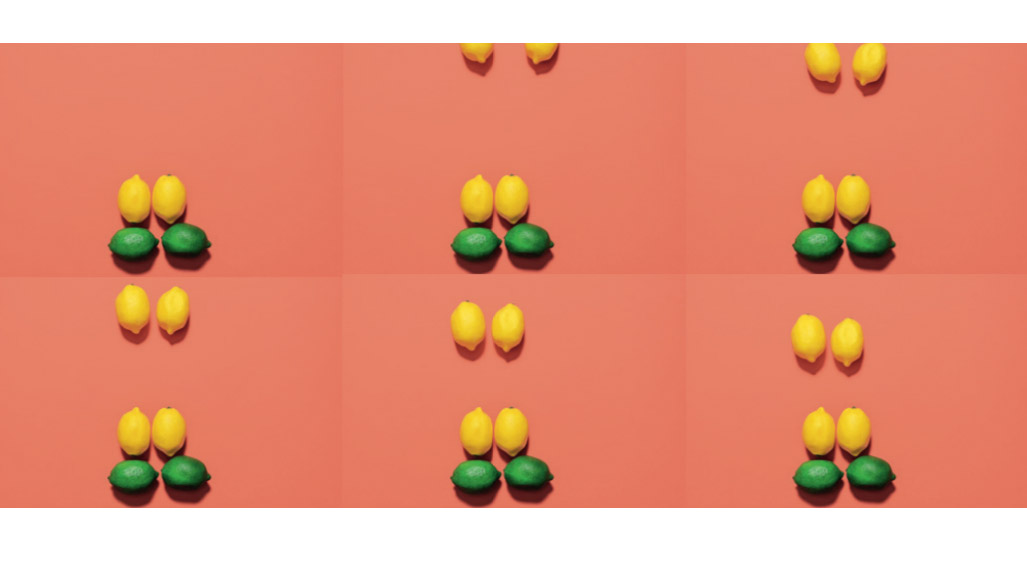
The key as you shoot the frames is to have a plan. This is where having a storyboard becomes incredibly important. You want to have everything planned out. If you make a mistake with a stop-motion, the odds are that you’ll have to start all over again. I sometimes measure distances that an object has to move and calculate how much I need to move it every time, to keep it consistent and in time. This isn’t always the case, but it does help.
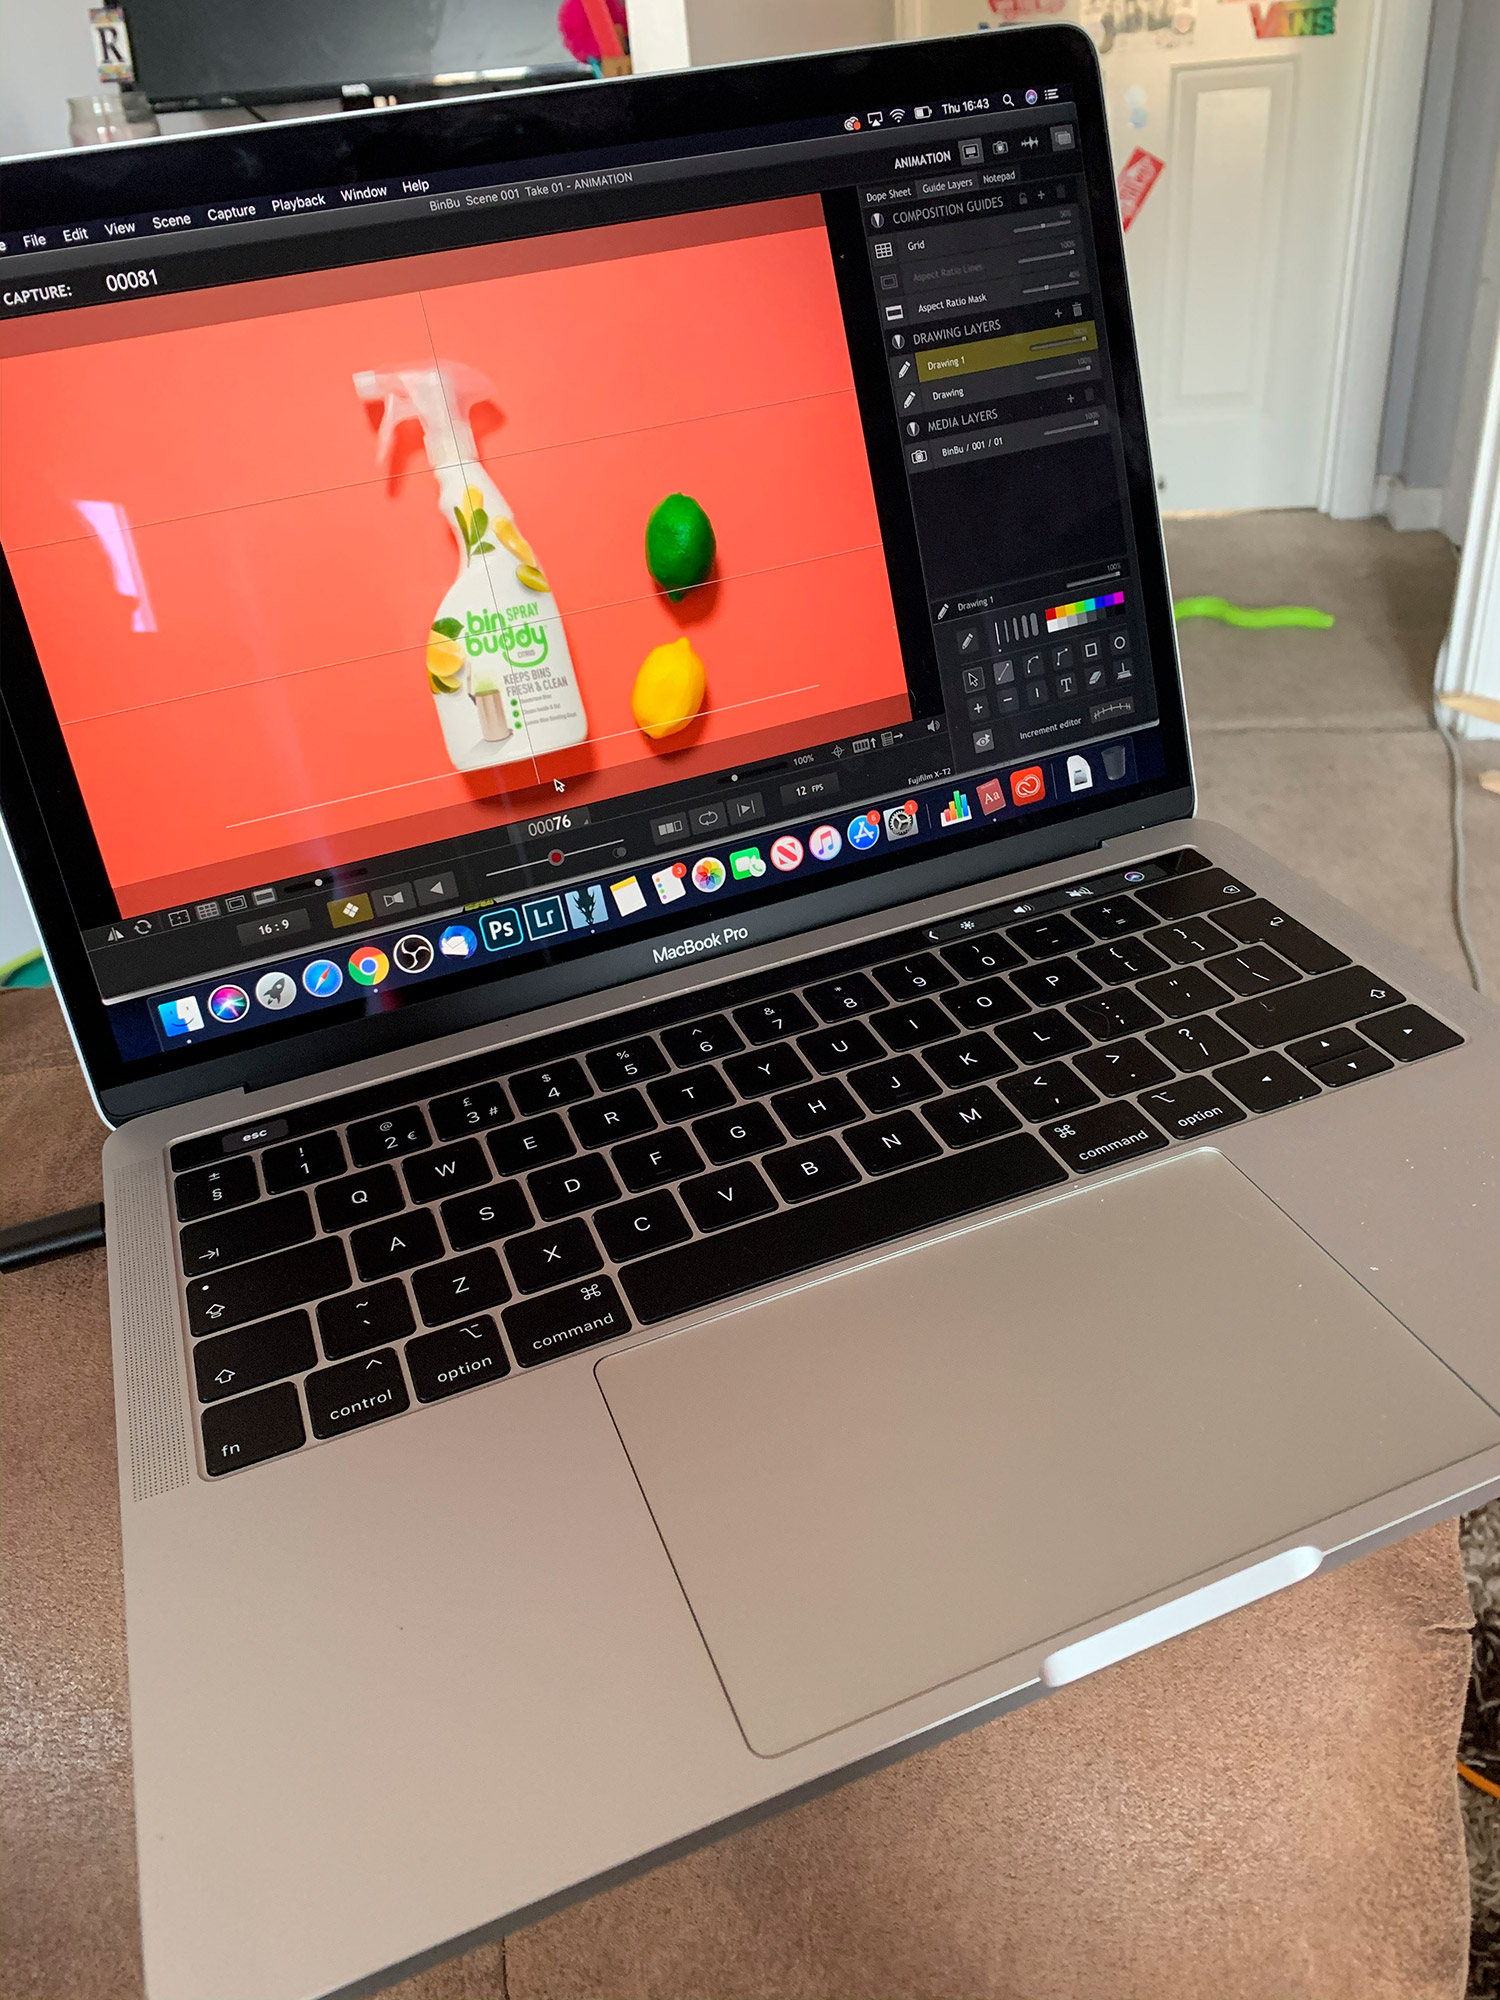
Once you start, don’t stop unless you are at a point where you can easily pick what you're doing back up again. Set your aperture and shutter speed and do not touch them. Shoot tethered, with your camera feeding its data into your laptop or computer. This is vital: it allows you to see a real-life view of what you are doing and where you are moving, and on a screen bigger than the back of your camera. Use a sturdy tripod, ideally weighted down. This is an absolute essential.
I shoot into a program called Dragonframe, which is made for stop-motion animation. Not only does it allow for playback of your animation at your frame rate, but you can also overlay your previous shots (‘onion skinning’) so you can move things with greater precision.
06. Choose your frame-rate
This is where maths come into play. A frame-rate is the number of separate images that will be played back in one second; 24 frames per second (fps) would be 24 images played in a sequence in one second.
The standard for movies and American television is 24fps (in the UK and Europe, it’s 25fps.) At that rate, a 10-second animation would need 240 images to be shot, which is why the typical frame-rates for stop-motion are 12fps and 6fps. There are others, but these are the two I use the most.
I like 12fps because it’s cartoon-like without going overboard. You get smooth movement, but a lot of movement; a 30-second animation shot at 12fps is 360 photos. I use 6fps either when I want a very cartoon-like look, or it’s just a very short animation that needs to be spread out – 6fps doesn’t give smooth movement, but it does give you a lot of flexibility and it’s generally quicker and easier to create. A 30-second animation shot at 6fps is only 180 photos.
06. Editing the animation
I have a very specific workflow with my editing. It’s something I have developed over time as I have done more and more animations, and I now have it very refined. Once the animation is shot, I take all of the raw files (yes, you always have to shoot raw) and develop them in Lightroom. I can easily develop one image, then apply that to the rest with only a couple of clicks. In Lightroom I aim for a rather flat image, as I like to control the contrast in Photoshop... and that is the next step.
After exporting all my raw files from Lightroom as DNGs, I open one up in Photoshop. Here I will edit it until I achieve the look that I want. This includes contrast and the background color correction. I will then create an Action of what I have done and test it on another image from the set. The reason that I do this is sometimes there are other objects in the frame and the way I tweak my background color can look off if there is something of a similar color later on.
Once I am happy that my Action will work, I run the Action on all of the DNGs and have them save as JPEGs. Once this is finished, I load all my images into the video editing program Final Cut and export it as a movie. Voilà! You have an awesome stop-motion.
When you’re starting out with stop-motion animation, it might seem daunting or too much to take on. Two years ago, it took me two weeks to plan, prep, shoot, and edit a 30-second stop-motion. Today I can start from scratch and have a finished product in two or three days. The more you do it, the better you get. So go on, give it a try!
Read more:
Best photo editing software
Best video editing software
Best online photography courses
Best slow motion camera
Alistair is the Features Editor of Digital Camera magazine, and has worked as a professional photographer and video producer.
