How to perfect your panning technique with your camera for sports photography
Master this popular shutter speed trick for creative, eye-catching sport and action images
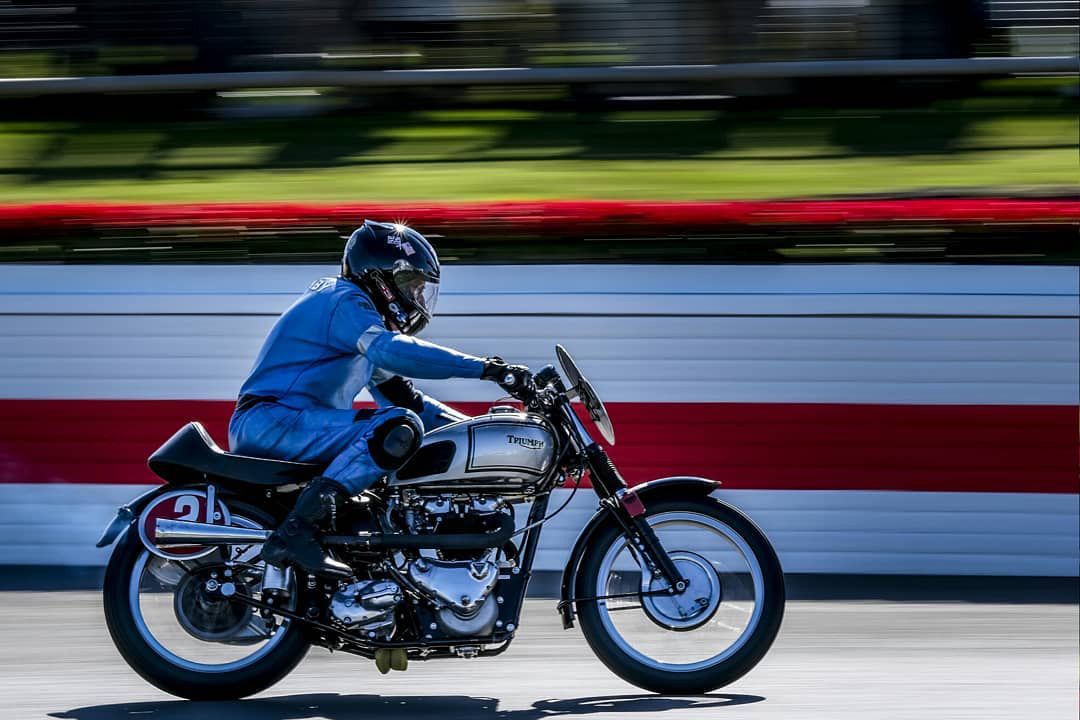
Beyond essential exposure calculation, shutter speeds are a critical consideration when attempting to portray motion creatively. Professional sports shooters often use slower exposures to convey speeds of subjects moving past a fixed point, to illustrate the exciting atmosphere of the event, such as the use of panning in athletics or motor sports.
When shooting cars or bikes, there is very little about the subject that suggests it is moving when using a very fast shutter speed. An exposure of 1/2000sec will freeze movement of the vehicle and the wheels, making it appear as if it is simply parked on the track.
When shooting cars or bikes, there is very little about the subject that suggests it is moving when using a very fast shutter speed
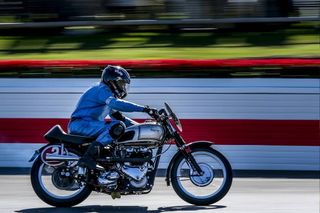
By lowering the exposure time to around 1/60sec and tracking the subject with the lens as the image is taken, the important areas of the shot remain sharp, whilst the background is reduced to a creative blur of motion.
When attempting this technique, practise is required to gain the correct balance of subject sharpness and creative blur. By firing a burst of images in continuous shooting mode as you pan the camera, you can increase your ‘hit’ rate, as you have more coverage of the scene as it unfolds. Variances on this theme include zooming during an extended exposure or moving ahead of the subject, to produce different blurring effects.
Step 1: Switch to Shutter Priority mode

Set your camera to Shutter Priority mode (S or TV on most mode dials) to control shutter speed independently. In this mode dial setting the camera will control f/stop to compensate for the shutter speed you manually input. If the aperture reading starts to blink, this means you are outside of the achievable exposure range, meaning images will be under or overexposed. If this happens adjust shutter speed accordingly.
Step 2: Select an ISO setting
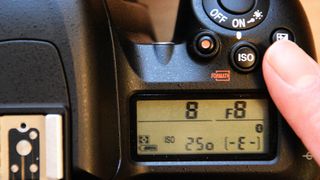
Set a sensitivity of around ISO100 - 400 to allow lengthened exposures. While sports photographer often use high ISO values, in brighter outdoor conditions, overexposure at slow shutter speeds is the common issue
Step 3: Set shutter speed
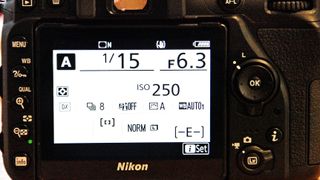
Start by lowering the shutter speed to between 1/60sec and 1/15sec to judge the amount of blur you want to introduce. With very fast moving subjects, exposures of up to 1/500 sec may be adequate, but the effect has to look strong enough to appear intentional.
Step 4: Switch to burst mode

Use continuous shooting to capture your subject in multiple positions as they speed past your field-of-view. The higher the frame rate, the more choice you will have when selecting the sharpest images later. As a beginner, choose a higher rate to maximise your success.
Step 5: Take a test shot
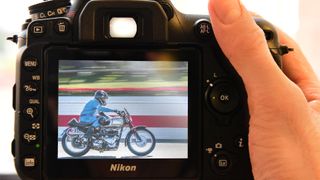
Gently pivot around your centre-of-gravity, tracking the subject as they pass your position, keeping them in the viewfinder. Try to keep your arms close to your sides and move your hips, rather than your arms. Attempt to move the camera at a constant rate and continue shooting until the subject is well past you.
Step 6: Adjust shutter speed and reshoot
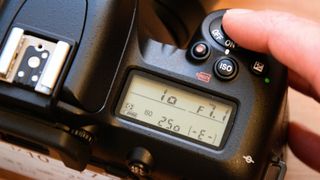
Lower to shutter speed further if you need more blur, adjusting the ISO if necessary. Reshoot until you capture the perfect sharpness/blur balance. Always zoom in to check critical sharpness and focus.
Final image
Read more
Video tutorial: panning photography
Get the Digital Camera World Newsletter
The best camera deals, reviews, product advice, and unmissable photography news, direct to your inbox!
Digital Photographer is the ultimate monthly photography magazine for enthusiasts and pros in today’s digital marketplace.
Every issue readers are treated to interviews with leading expert photographers, cutting-edge imagery, practical shooting advice and the very latest high-end digital news and equipment reviews. The team includes seasoned journalists and passionate photographers such as the Editor Peter Fenech, who are well positioned to bring you authoritative reviews and tutorials on cameras, lenses, lighting, gimbals and more.
Whether you’re a part-time amateur or a full-time pro, Digital Photographer aims to challenge, motivate and inspire you to take your best shot and get the most out of your kit, whether you’re a hobbyist or a seasoned shooter.
