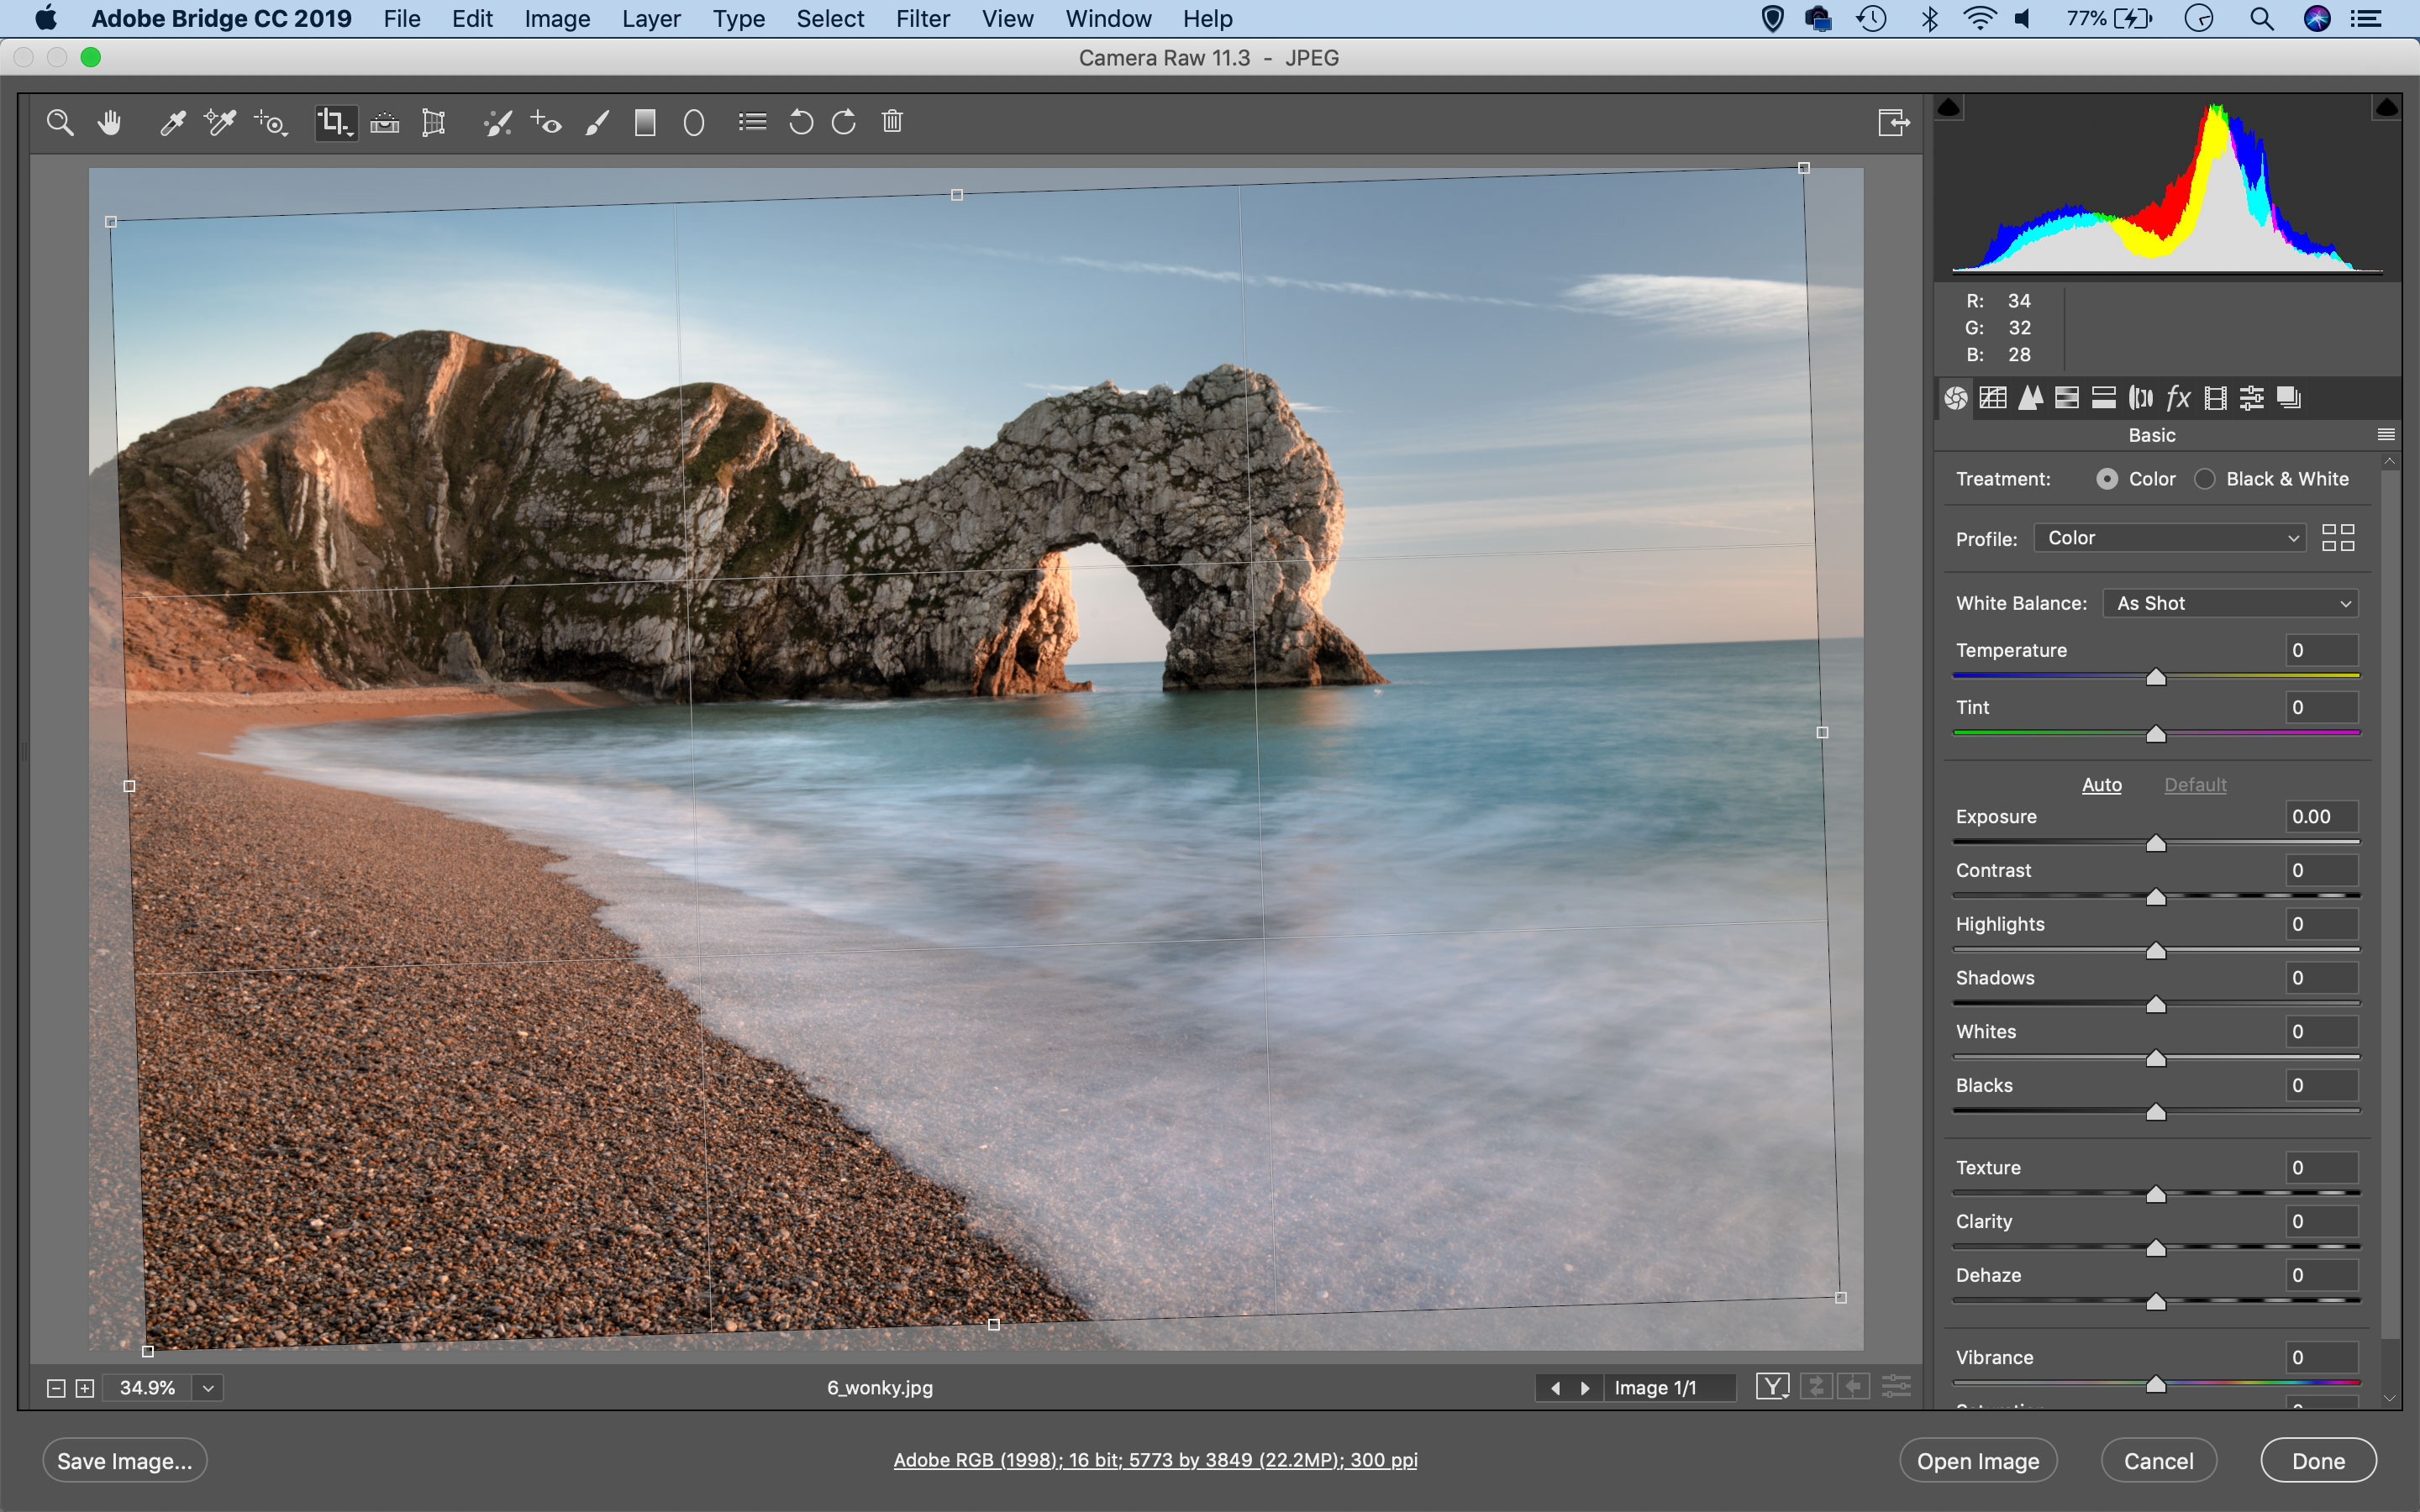
Common photo problems and how to fix them in Photoshop: #6 My horizon is wonky
Straightening a photo sounds like a simple fix with the Crop tool, but there are a couple of potentially better methods...

Tilted shots sound like they're a rookie error, but even seasoned professionals can end up with skewed horizons. This won't happen with the camera on a tripod, but we think the reason it happens with handheld shots is because we tilt the camera the the moment we press the shutter release – it's easily done!
See all 15 instalments
• 15 common photo fixes
Adobe trial downloads
• Download Photoshop
• Download Lightroom
• Download Premiere Pro
Computers and photo editing
• Best photo-editing software
• Best laptops for photographers
• Best desktop computers for photo editing
Photo tips and ideas
• 11 home photo projects
• 44 tips cards to cut out and keep
• Photography tips for beginners
Welcome to the sixth instalment in our 15-part series on how to fix common photo problems in Photoshop, Lightroom and Adobe Camera Raw.
Like it or not, many of us are likely stuck working at home during the current coronavirus crisis, so we thought we might as well find some useful things to do while this lasts. So we've drawn together a whole series of tips on fixing up failed photos – and let's face it, we might never get a better chance to resurrect some of those almost-there photos that are too good to delete but not good enough – yet – to share!
In this instalment we'll show you what you can do with skewed photos. It's not one of the most demanding jobs you can do in Photoshop, but there's more than one way to do it, and here are a couple that might fit neatly into your broader photo editing workflow.
Straighten Tool and Upright options

You can straighten any photo with Photoshop's Crop tool, of course, but it can be quicker and simpler to do it in the raw processing stage when you're already making other adjustments.
It's often easier to get pictures dead straight with the Align tool in Adobe Camera Raw – you simply drag out a line along the line of the horizon, for example. What Adobe Camera Raw does then is create an angled crop marquee that straightens the photo and doesn't leave blank wedges around the edges. It's the same result you would have got with the Crop tool, but with a lot more precision.
Or you can use the Upright tools, now displayed when you click the Transform tool on the top tools panel in Adobe Camera Raw. The Upright tools will automatically correct skew and perspective distortion – and if you click the Level button, this will find and straighten the horizon in your landscape shots.
The Upright options really come into their own if you have other perspective issues too, such as converging verticals, so you might find yourself in this tool panel anyway.
Jargon buster
Align tool: A tool for levelling horizons in landscape shots or straightening verticals. Simply find a horizon or a wall that should be level/vertical, and then drag the Align tool along it.
Upright tool: This is the name given to a group of perspective and alignment corrections in Adobe Camera Raw and Lightroom. You just click the button corresponding to the correction you need ('Upright' will fix skewed verticals, including converging verticals) and the software will automatically analyse and correct the image.
Transform tool: The general name for tools which can rotate or skew images or correct perspective distortion. You do this by dragging on the corners or the edges of the image to move them independently.
Next instalment: #7 There are color fringes in my highlights
If you don't use Photoshop or Lightroom, why not sign up for the trial version? You can use this free for a period of 7 days and then decide which of three Photography Plan subscriptions would suit you best.
Get the Digital Camera World Newsletter
The best camera deals, reviews, product advice, and unmissable photography news, direct to your inbox!
The lead technique writer on Digital Camera Magazine, PhotoPlus: The Canon Magazine and N-Photo: The Nikon Magazine, James is a fantastic general practice photographer with an enviable array of skills across every genre of photography.
Whether it's flash photography techniques like stroboscopic portraits, astrophotography projects like photographing the Northern Lights, or turning sound into art by making paint dance on a set of speakers, James' tutorials and projects are as creative as they are enjoyable.
He's also a wizard at the dark arts of Photoshop, Lightroom and Affinity Photo, and is capable of some genuine black magic in the digital darkroom, making him one of the leading authorities on photo editing software and techniques.

