Common photo problems and how to fix them in Photoshop: #5 My photo is ruined by camera shake
Camera shake is always a risk at slow shutter speeds, but can you correct it in Photoshop?

Camera shake happens when the camera moves during the exposure, causing your picture to be blurred. The faster your shutter speed, the shorter exposure and the less chance there is of camera shake – but sometimes you only find out when it's too late.
See all 15 instalments
• 15 common photo fixes
Adobe trial downloads
• Download Photoshop
• Download Lightroom
• Download Premiere Pro
Computers and photo editing
• Best photo-editing software
• Best laptops for photographers
• Best desktop computers for photo editing
Photo tips and ideas
• 11 home photo projects
• 44 tips cards to cut out and keep
• Photography tips for beginners
Welcome to the fifth instalment in our 15-part series on how to fix common photo problems in Photoshop, Lightroom and Adobe Camera Raw.
With the coronavirus sweeping the globe, we imagine that many of you, like us, are now working from home and looking for new ways to pass the time, so we thought this would be a good time to look at common photo fixes and how to bring past photographic failures back to life again!
In this instalment we'll show you what you can do with images that show signs of camera shake. As with focus errors, there are no magic cures, but as long as the shake isn't too bad you can often get a considerable improvement that makes the difference between a photo you can't use and one that you can.


Photoshop Shake Reduction command

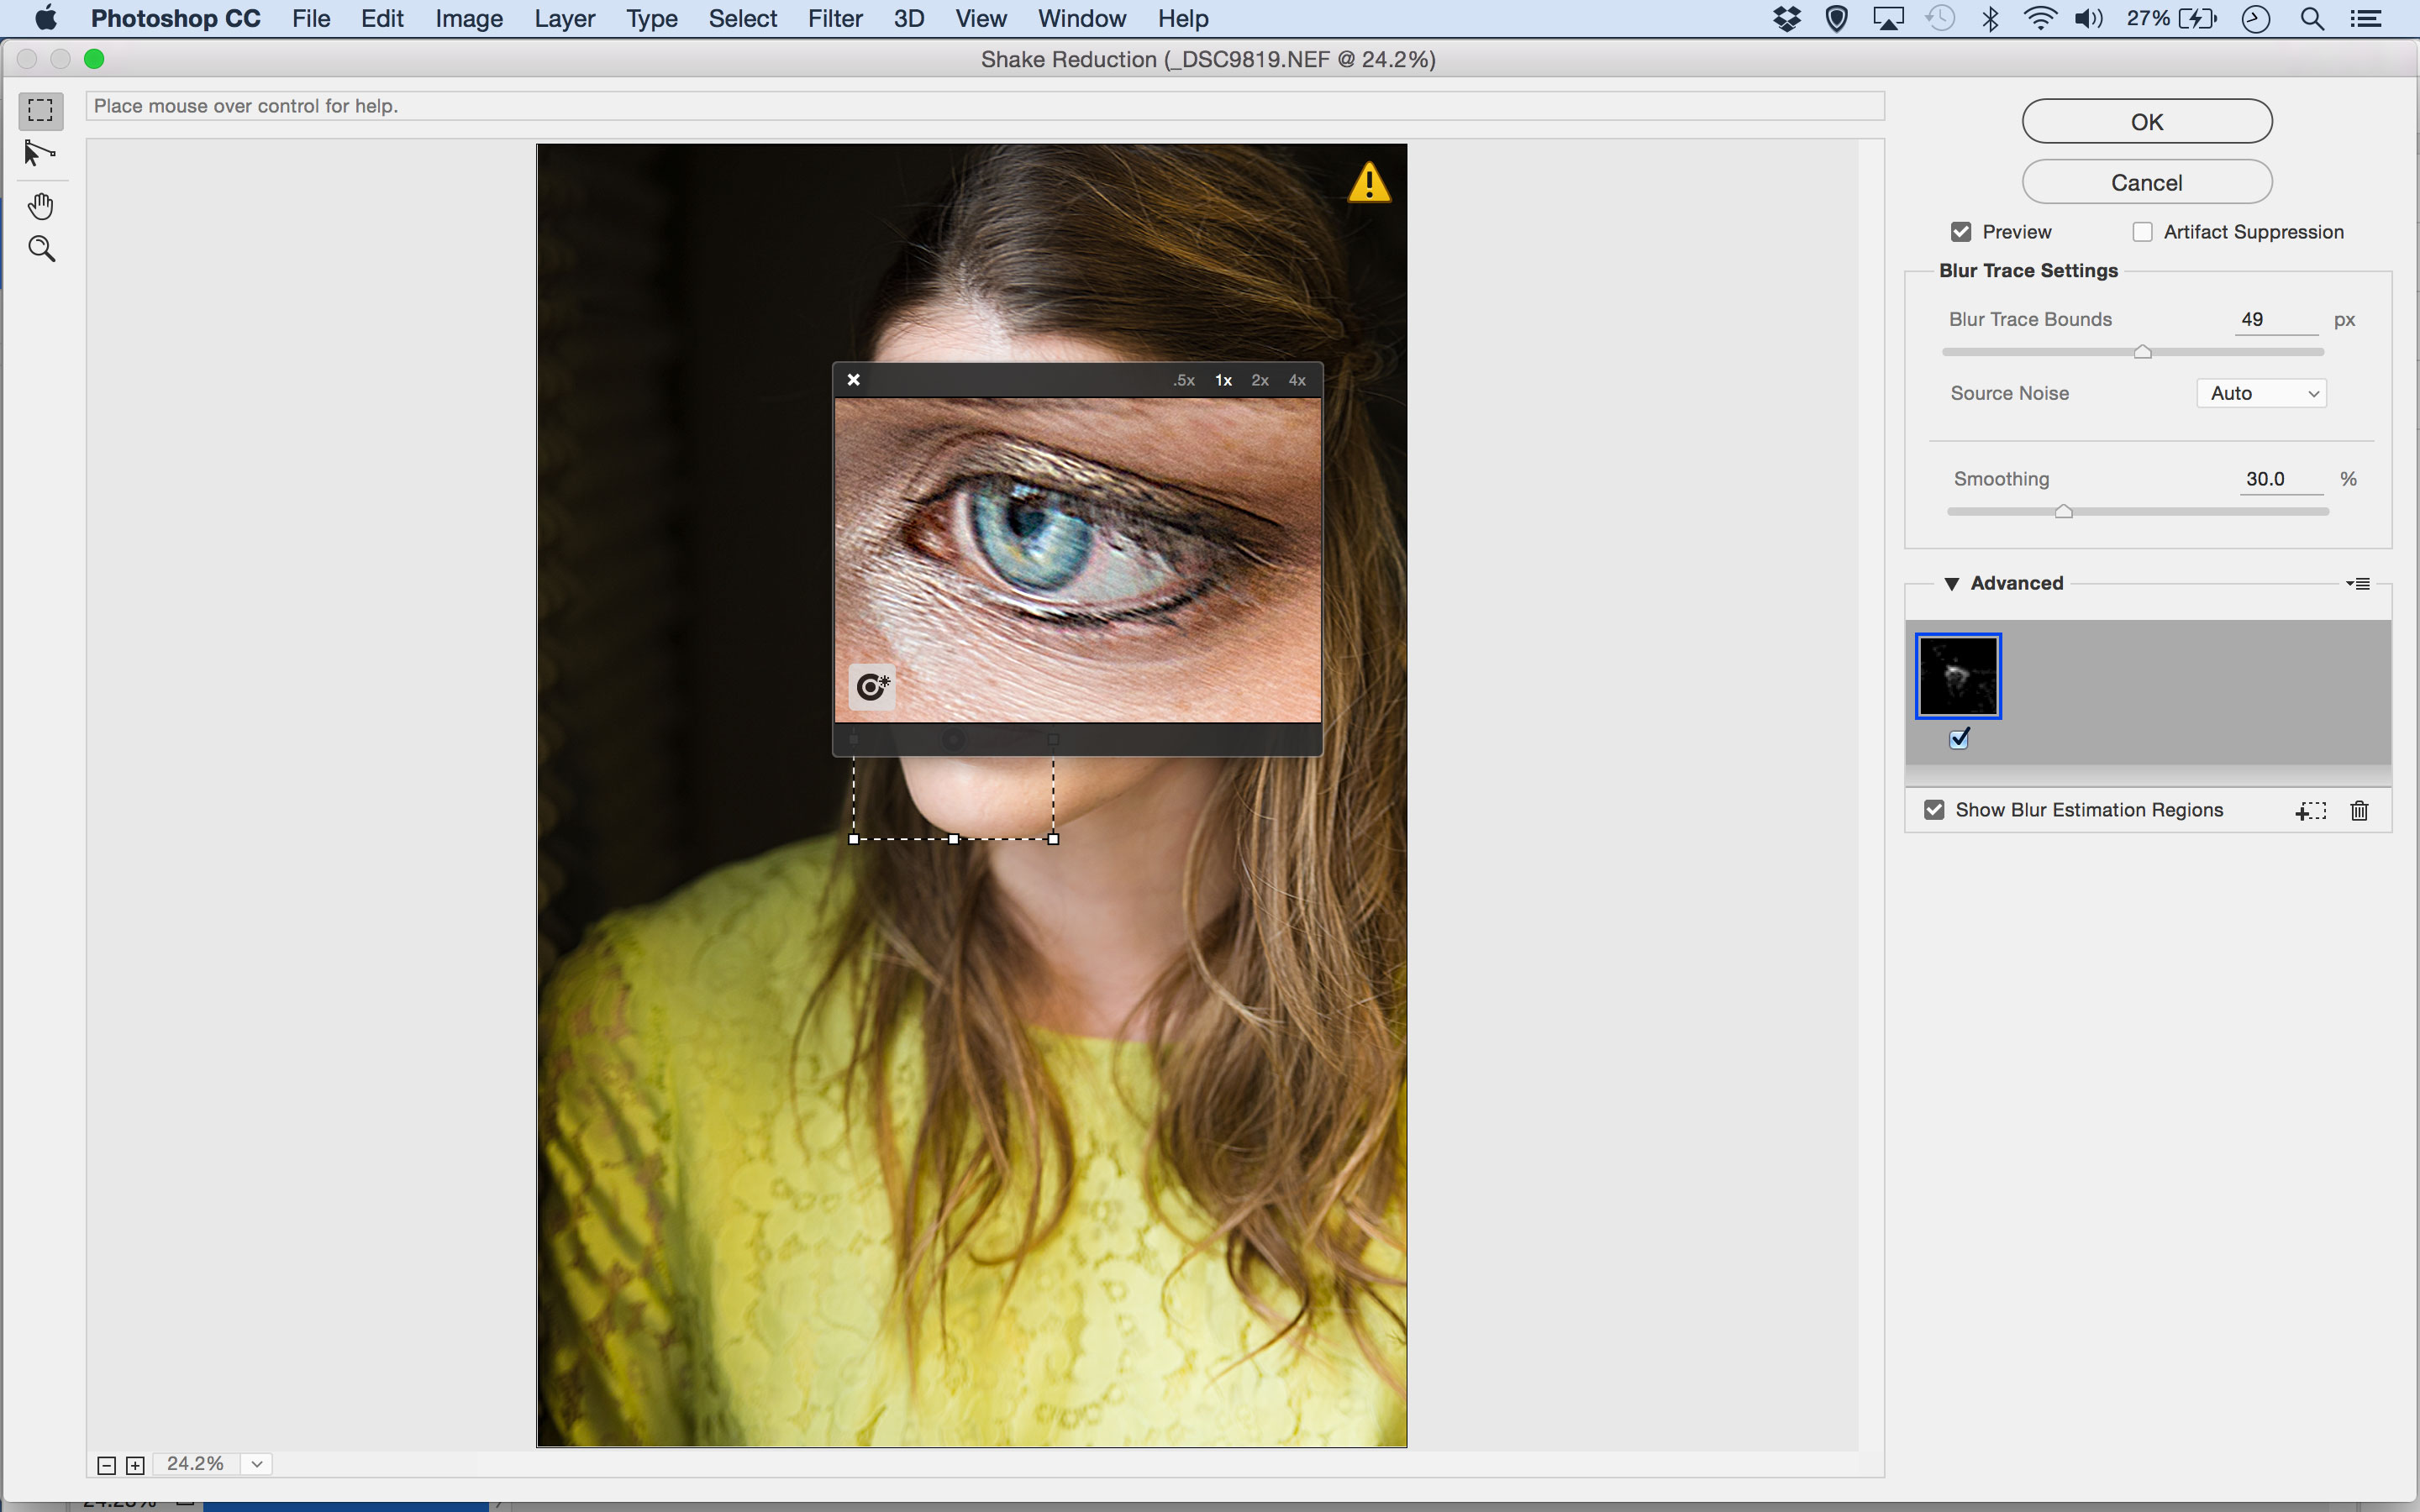
As with out-of-focus shots, there is only so much you can do with photos afflicted by camera shake. Photoshop offers a dedicated Shake Reduction command (Filter > Sharpen > Shake Reduction) that helps to combat slight shake by detecting the angle of blur and re-aligning shaky pixels.
You can leave this tool to do its work automatically, or you can use the Advanced options to select the area for shake analysis and adjust the angle of the blur movement if necessary.
The Shake Reduction filter will be applied to the whole image, which can add artefacts to areas which are naturally blurred, so to get round this you can duplicate the image layer first and then use a layer mask to remove the effect where it's not needed.
Jargon buster
Shake Reduction: A Photoshop tool which analyses images with camera shake to determine the direction of the blur, and then applies a specialised anti-blur process that's much more effective than regular sharpening.
Layer mask: This is like a selection that's saved permanently alongside an image layer as a greyscale image. Black areas on the layer mask hide those regions of the image layer, white areas show those areas and grey areas show the layer with partial transparency.
Next instalment: #6 My horizon is wonky!
If you don't use Photoshop or Lightroom, why not sign up for the trial version? You can use this free for a period of 7 days and then decide which of three Photography Plan subscriptions would suit you best.
Get the Digital Camera World Newsletter
The best camera deals, reviews, product advice, and unmissable photography news, direct to your inbox!
The lead technique writer on Digital Camera Magazine, PhotoPlus: The Canon Magazine and N-Photo: The Nikon Magazine, James is a fantastic general practice photographer with an enviable array of skills across every genre of photography.
Whether it's flash photography techniques like stroboscopic portraits, astrophotography projects like photographing the Northern Lights, or turning sound into art by making paint dance on a set of speakers, James' tutorials and projects are as creative as they are enjoyable.
He's also a wizard at the dark arts of Photoshop, Lightroom and Affinity Photo, and is capable of some genuine black magic in the digital darkroom, making him one of the leading authorities on photo editing software and techniques.

