25 common Photography problems and how to fix them
How to solve the most common problems every photographer comes up against
Whether you’re a complete beginner or a seasoned pro, chances are that you still encounter one of many common photography problems.
Fortunately, for every photography problem, there is a photographic solution – and with that in mind we’ve put together a selection of common faults and equally common fixes to solve any creative headaches.
Once you’ve undertaken our solutions for common photography problems, you’ll be armed with a mental ‘tool kit’ with which to find a speedy fix from herein on – simplifying your shoots and saving valuable time when it comes to your imaging workflow.
So, take a detailed read of our problem solving tips and tricks; after all, forewarned is forearmed!
1. My photos are all blurred
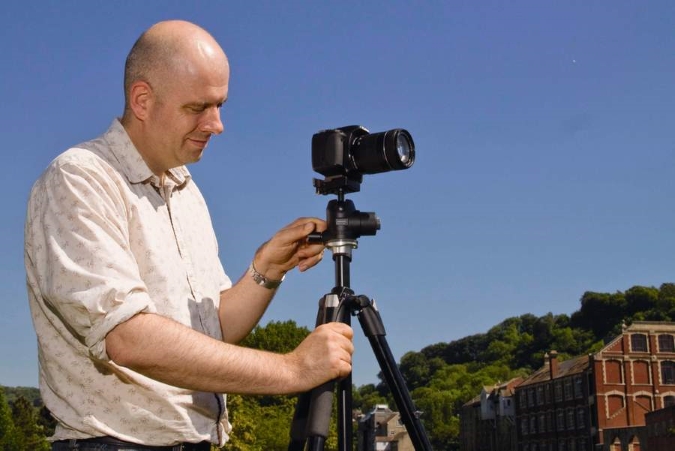
Your photos are blurred because your camera was unable to accurately focus on the subject. There can be several reasons for this – either there was insufficient light for the camera’s auto focus system, or the same low light situation amplified any camera shake resulting from you trying to take an image in insufficient light, without the steadying influence of a tripod.
Alternatively, if you’re shooting swift moving subjects, the shutter speed you’re using may be too slow and you need to switch to burst (continuous) mode, or, if lighting is really the issue, make use of artificial flash, or bump up the camera’s ISO light sensitivity settings to ISO1600 or above to attempt to resolve the issue.
If you were focusing manually through the viewfinder, perhaps the camera’s dioptric adjustment wheel needs adjusting to provide a clear image via which you can determine accurate focus in the first place. Most digital cameras now also provide an enlarged portion of the image on the rear LCD screen when you’re attempting to manual focus – further aiding accuracy and avoiding blur.
Get the Digital Camera World Newsletter
The best camera deals, reviews, product advice, and unmissable photography news, direct to your inbox!
If the problem is because you're shooting a subject very far away with a very long zoom lens, then make sure the camera’s and/or the lens’ built in image stabilisation option is activated to minimise any blur. And, again, use a tripod!
2. The colors in my photos look wrong
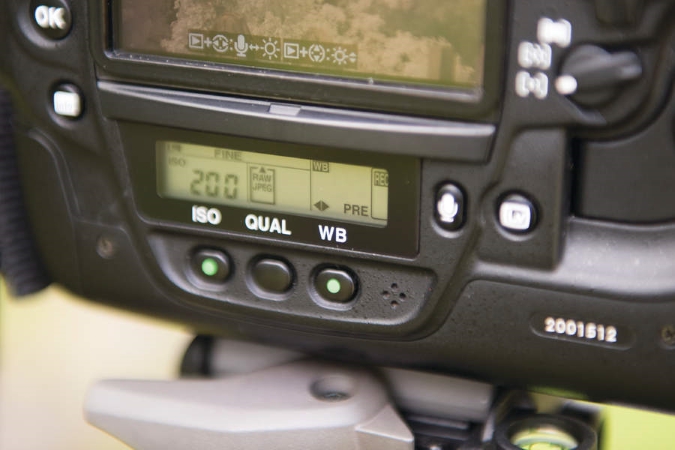
The most common solution to this very common photography problem comes down to finding the correct white balance setting for both camera and subject.
Most of us will be aware that tungsten/artificial lighting lends a warm orange glow to shots. So, if you’re shooting indoors without flash and bumping up the ISO settings to compensate and avoid blur, you’ll be left with orange-y images.
Fine, if that’s the look you’re going for, but if it’s a more natural look you’re after, simply drill into your camera’s menu of white balance settings and select the icon that most closely resembles a common light bulb and try the shot again with this compensatory mode selected.
You’ll also find settings on your camera for a variety of artificial and natural lighting conditions – including strip lighting, natural daylight (which can, conversely, lend photographs a cool blue color cast), cloudy days and so on. You’ll probably also find a few specific night-time settings.
Or alternatively there is often the chance to achieve a custom white balance – achieved simply by holding up a piece of white paper in front of the lens. Simply experiment with white balance settings until you find the look – and colors – you’re after.
3. Everyone in my photos has red eyes

Unless it’s the morning after a particularly heavy night, the most likely culprit is the camera’s built-in flash, especially when it’s located very close to the camera lens. The ‘red eye’ effect is therefore caused by the subjects’ eyes reflecting the artificial light from the flash back into the camera lens – giving that very unnatural look.
Fortunately, this age old problem is less common than it once was, due to most modern cameras offering a ‘red eye reduction’ setting amongst the user selectable flash settings that takes two flashes in quick succession. We can’t do anything about subjects with their eyes shut however – although software has been written for cameras to recognise when this has occurred and flag it up to the user.
Simply re-take the shot and hope for second (or third time lucky). Actually that’s one catch–all solution: take as many shots as you can and you’re bound to end up with one you're happy with.
4. My images look very grainy and noisy
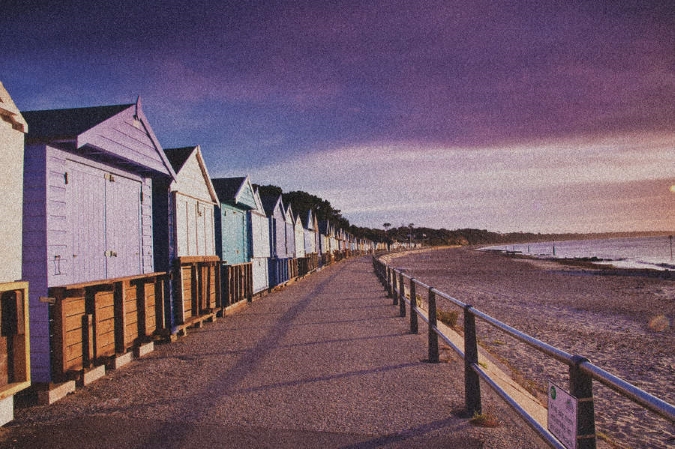
This will be due to the fact that the camera has automatically selected a high sensitivity setting to compensate for lack of light or lack of available flash, in an attempt to limit and hopefully avoid image blur/camera shake.
The trade off for reducing blur is that image grain – also referred to as ‘image noise’ – can visibly intrude into our images, particularly on those cameras with physically smaller sensors already burdened with a high pixel count / resolution.
To avoid the ugly, grainy look, manually select a lower ISO setting (less than ISO1600, say) and compensate by placing the camera on a flat steady surface instead of attempting to use it hand held. Best still, of course, employ the use of a tripod and put the camera on self-timer when shooting so you’re not having to physically press the shutter release button and thereby perhaps avoid introducing blur via the fact you’re ‘jogging’ the camera.
Grainy images are less of a problem for more sophisticated cameras with physically larger sensors and/or more modest resolutions, as there are less pixels crammed into a smaller space, so they’re less visible when the sensor is pushed to its performance limits.
5. My photos are either too dark or too bright
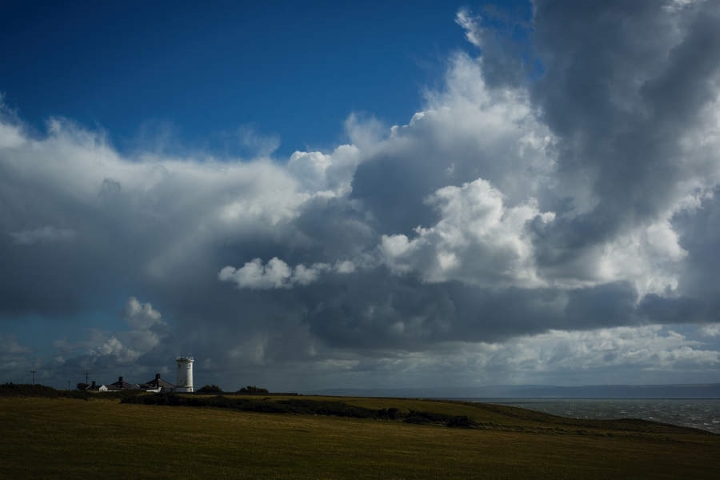
The easiest way to remedy this particular photography problem is to drill into your camera’s exposure compensation settings – usually given in increments of +/- 3 EV, though some can extend to +/- 5 EV.
Commonly, we get the most natural results when these settings are on the median of ‘0’, but on a very sunny day, and if you’re using a bright/ fast lens (say f/1.8, the lower the number, the more light the lens will let in) then it may work best to dial down these settings to minus 1 or lower – in other words aiming for a darker exposure than normal to compensate for the fact that lighting conditions are outwardly brighter than usual.
The same works in reverse if the lighting is darker than you’d like. In these circumstances you can go for a brighter setting of +1 or +2. Fortunately, a lot of modern digital cameras show the effects of such exposure compensation adjustments in real time on your camera’s rear LCD screen (or electronic viewfinder), so you can see the effects your adjustments may have before you even squeeze off a shot. This allows you to toggle back and forth between the incremental exposure comp settings offered until you find the ‘sweet spot’ for a correctly exposed image.
6. The sky is too bright in my shots, or the foreground is too dark

Here the camera’s own well-intentioned metering system is either causing the ‘problem’, or it's the direction and angle of your set up itself. Simply put, if you point the camera at a very bright sky, it will automatically adjust the exposure to compensate, throwing whatever is in the foreground into shadow.
Conversely, if you focus the camera on whatever is in the foreground on a very sunny day, the sky will appear burnt out, or much brighter than it already is. Either way, you will lose detail in the sky.
A way around this is to try taking the same shot from a different angle, with the light in front of your subject – so it shines directly on it – rather than behind it, where it is effect causing your subject to be silhouetted, or thrown into shed. Another ‘trick’ is to force the camera to fire its flash, even though, as it is a very sunny day, it wouldn’t normally. This will allow the camera to meter for the bright sky, but for the flash to also illuminate whatever’s in the immediate foreground, resulting in a more ‘balanced’ shot.
Another way to resolve the above conundrum, if your lens set up allows for it, is to invest in a graduated neutral density or ‘ND grad’ filter and attach it to your lens to compensate, or to shoot in Raw instead or JPEG and see how much extra detail you can eke from either sky or foreground in post production. Broadly speaking, underexposing the scene allows us to extract more detail, which is otherwise simply lost if the image is too bright.
7. Buildings in my photos are leaning or bowed, while people appear elongated or distorted

Shooting a subject up close with a wide angle lens setting can result in the above ‘problems’ – making the top, bottom and sides appear to bow out – but again, unless these are the creative choices you’re going for – to emphasize scale or add impact and presence, perhaps – then they’re easily remedied.
Simply take a couple of steps back so you’re not so close to the subject. If you’ve a zoom lens you can also trying zooming in a bit – and stepping back – to compensate, and see if those leaning or converging ‘verticals’ start to appear closer to how they look when viewed with our own eyes.
If you really want to get serious, and spend a lot of money into the bargain, then a compensatory tilt and shift lens, as used by the likes of architectural photographers, is another option. But try the stepping back, and/or zooming in option first and see how that changes the perspective of your shot.
Generally speaking, if you can arrive at a setting close to 35mm, or 50mm on a full frame camera, then this is near to what we perceive with our own eyes, so is good for street photography in particular, when we’re looking to photograph both people and buildings, and represent them in a natural and immediate visual manner.
8. Why doesn’t my camera properly capture the intense colors of a sunset I can see with my own eyes?
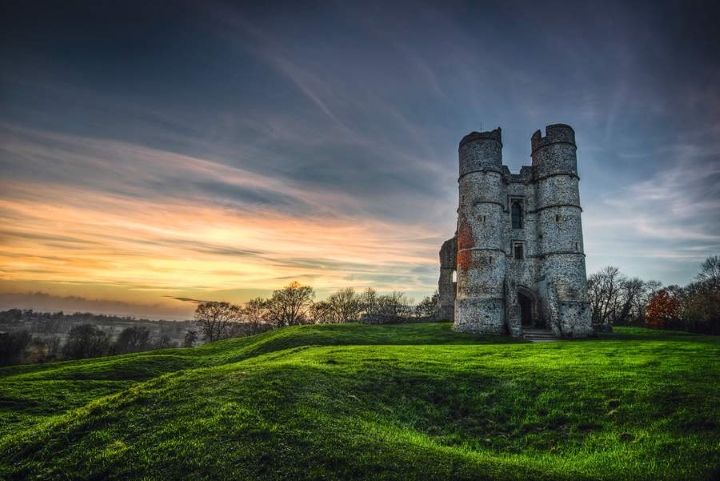
When you point the camera at anything bright, or with a high bias of one color in particular, the camera will attempt to automatically compensate and arrive at a result that is more neutral.
This can, frustratingly, result in a rather washed out, insipid representation of one of the natural world’s greatest displays: a sunset. Here, your camera’s automatic white balance setting is at least partly to blame, and, as it is a common ‘fault’ at that, a lot of cameras actually include pre-optimised sunset modes to deliver more pleasing results.
If you don’t have this option, however, or the colors still aren’t quite as you’d hoped, try switching to a user-selectable daylight or sunlight white balance setting instead. You can also try activating the camera’s Vivid color or picture effect option, if it has one, to boost the saturation for added drama, as well as pointing the camera at a brighter portion of the image – whereby it will try to compensate by darkening the overall image – before re-framing the shot. In this way you will preserve the more vivid and intense detail of the sunset that may otherwise merely appear washed out. The alternative is to dial down the exposure compensation settings manually.
9. My sporting and action images are all blurred. Why can’t my camera keep up?
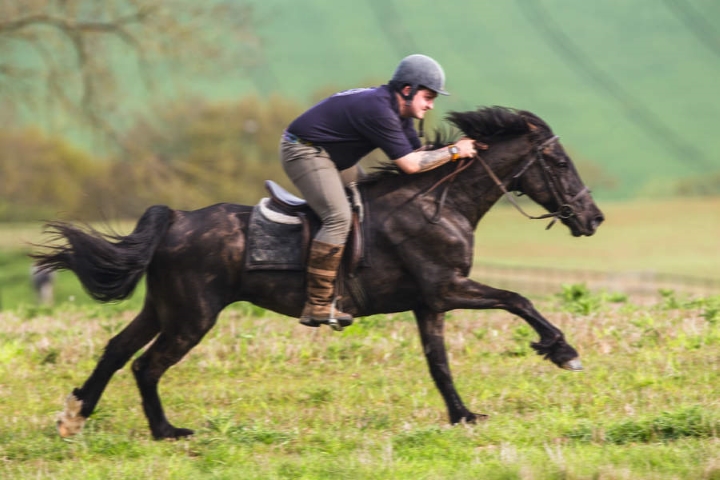
When it comes to auto focus options, the majority of digital cameras offer two modes: single and continuous. While single mode works best for general and static photography (whereby auto focus locks onto target with a half press of the shutter release button and maintains focus as you press the shutter release down fully to take the shot), continuous is best for moving subjects.
You can also trying using you camera’s burst mode – whereby the rapidity of the shots captured is increased, hopefully matching with the speed of the subject you’re attempting to photograph. This helps ensure that, while you may still get a few blurred frames, there is a higher chance of a selection of them eventually being ‘on the money’ in terms of a sharply focused shot.
Additionally, you can do all of the above while also panning with your camera and subject – in other words following the direction of its motion – to ensure that it stays within your frame, and in focus.
Allow for some trial and error and, as usual, take as many shots as you can to increase your chances of a photograph you’ll want to keep! Finally, another option if your camera allows an 8 megapixel still to be extracted from a 4K video sequence is to try that option. You’ll have even more chance of grabbing a winning still when you’re effectively shooting at up to 30fps.
10. I’m using manual focus for precise control over my images, but results are hit and miss
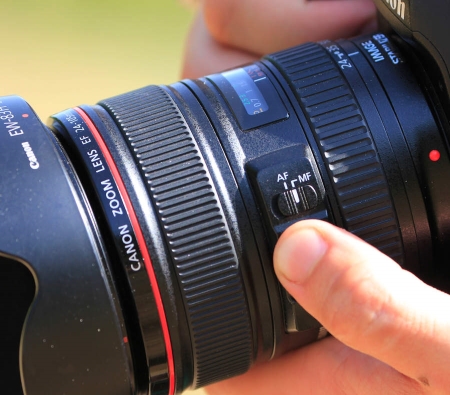
Practice makes perfect as the old adage runs, and anticipating what your subject is going to be doing and where in the frame they are is crucial, particularly when focusing manually.
Even if you want to ‘take back control’, here digital cameras can still help out, by automatically displaying an enlarged portion of the subject on screen as a further check that everything is as precisely and sharply focused as you would hope it to be.
More sophisticated cameras also offer up something called Focus Peaking, whereby the areas of the image that are sharp are highlighted on the LCD screen and/or electronic viewfinder if the camera has one. Again, it’s an aid to achieving more precise results.
Fortunately with a digital camera we can zoom in and check the accuracy of focus for the image we’ve just taken on screen, and make further adjustments if the focus is slightly off.
11. My horizons aren't straight

The issue here is 'two legs bad, three legs good'. In other words, our own two legs are rarely as effective as using a tripod with a spirit level to make sure everything is lined up nice and accurately – and moreover flat.
Luckily, an increasing number of cameras are now offering a built-in spirit level (or virtual horizon) that can be viewed on the rear LCD to ensure that horizons are straight and true – a horizontal green line typically flashing on screen.
Again, if you’re not sure whether you’ve got the horizon level or not without viewing on a screen larger than your camera’s own, simply take two or three shots of the same subject – while doing your level best.
12. I want to use shallow depth of field for more flattering portraiture, but find it hard to keep the crucial areas sharp

When attempting any shallow depth of field portraits – whereby you keep the central portion of the image dramatically pin sharp, while subtly (or not so subtly) blurring both the foreground and background – it’s crucially important that the eyes are the sharpest points in your image.
However, if you’re using a particularly fast prime lens (very low f number / bright aperture), the area that is in focus can be so narrow that even the act of pressing the camera’s shutter release can jog the focus area slightly, thereby changing the emphasis of the shot.
You can get around this by mounting the camera on a tripod and using a cable release, obviously, but a more practical solution is simply to take a higher number of images than usual, increasing the odds of getting the area that is sharply in focus exactly where you'd want it.
- These are the best photography tips around right now.
- 1
- 2
Current page: Part 1: 25 common photography problems
Next Page Part 2: 25 common photography problemsGavin has over 30 years’ experience of writing about photography and television. He is currently the editor of British Photographic Industry News, and previously served as editor of Which Digital Camera and deputy editor of Total Digital Photography.
He has also written for a wide range of publications including T3, BBC Focus, Empire, NME, Radio Times, MacWorld, Computer Active, What Digital Camera and the Rough Guide books.
With his wealth of knowledge, Gavin is well placed to recognize great camera deals and recommend the best products in Digital Camera World’s buying guides. He also writes on a number of specialist subjects including binoculars and monoculars, spotting scopes, microscopes, trail cameras, action cameras, body cameras, filters and cameras straps.

