Watch video: Photo ideas – Shoot dramatic rain portraits
Photography projects at home
• More home photography ideas
Useful home photography kit
• Best tripods
• Best lighting kits
• Best reflectors
• Best macro lenses
When it’s a lovely bright day outside, it’s tempting to lie down in the sun and read a book – or if you've got your heart set on photography, chasing those subjects that look best in bright light.
Either way, the last thing you would expect to be shooting on a sunny day is a rainy portrait – but with a hose and open space, you can have that romantic rainy look in a matter of minutes.
So what do you need to do? Gather your camera, a wide-angle lens, a speed light, wireless flash triggers and a light stand – then go outside with a couple of friends and a garden hose, and start shooting. It’s as simple as that! (Although you may want to bring your waterproof coat as well!)
• Get more photoshoot ideas
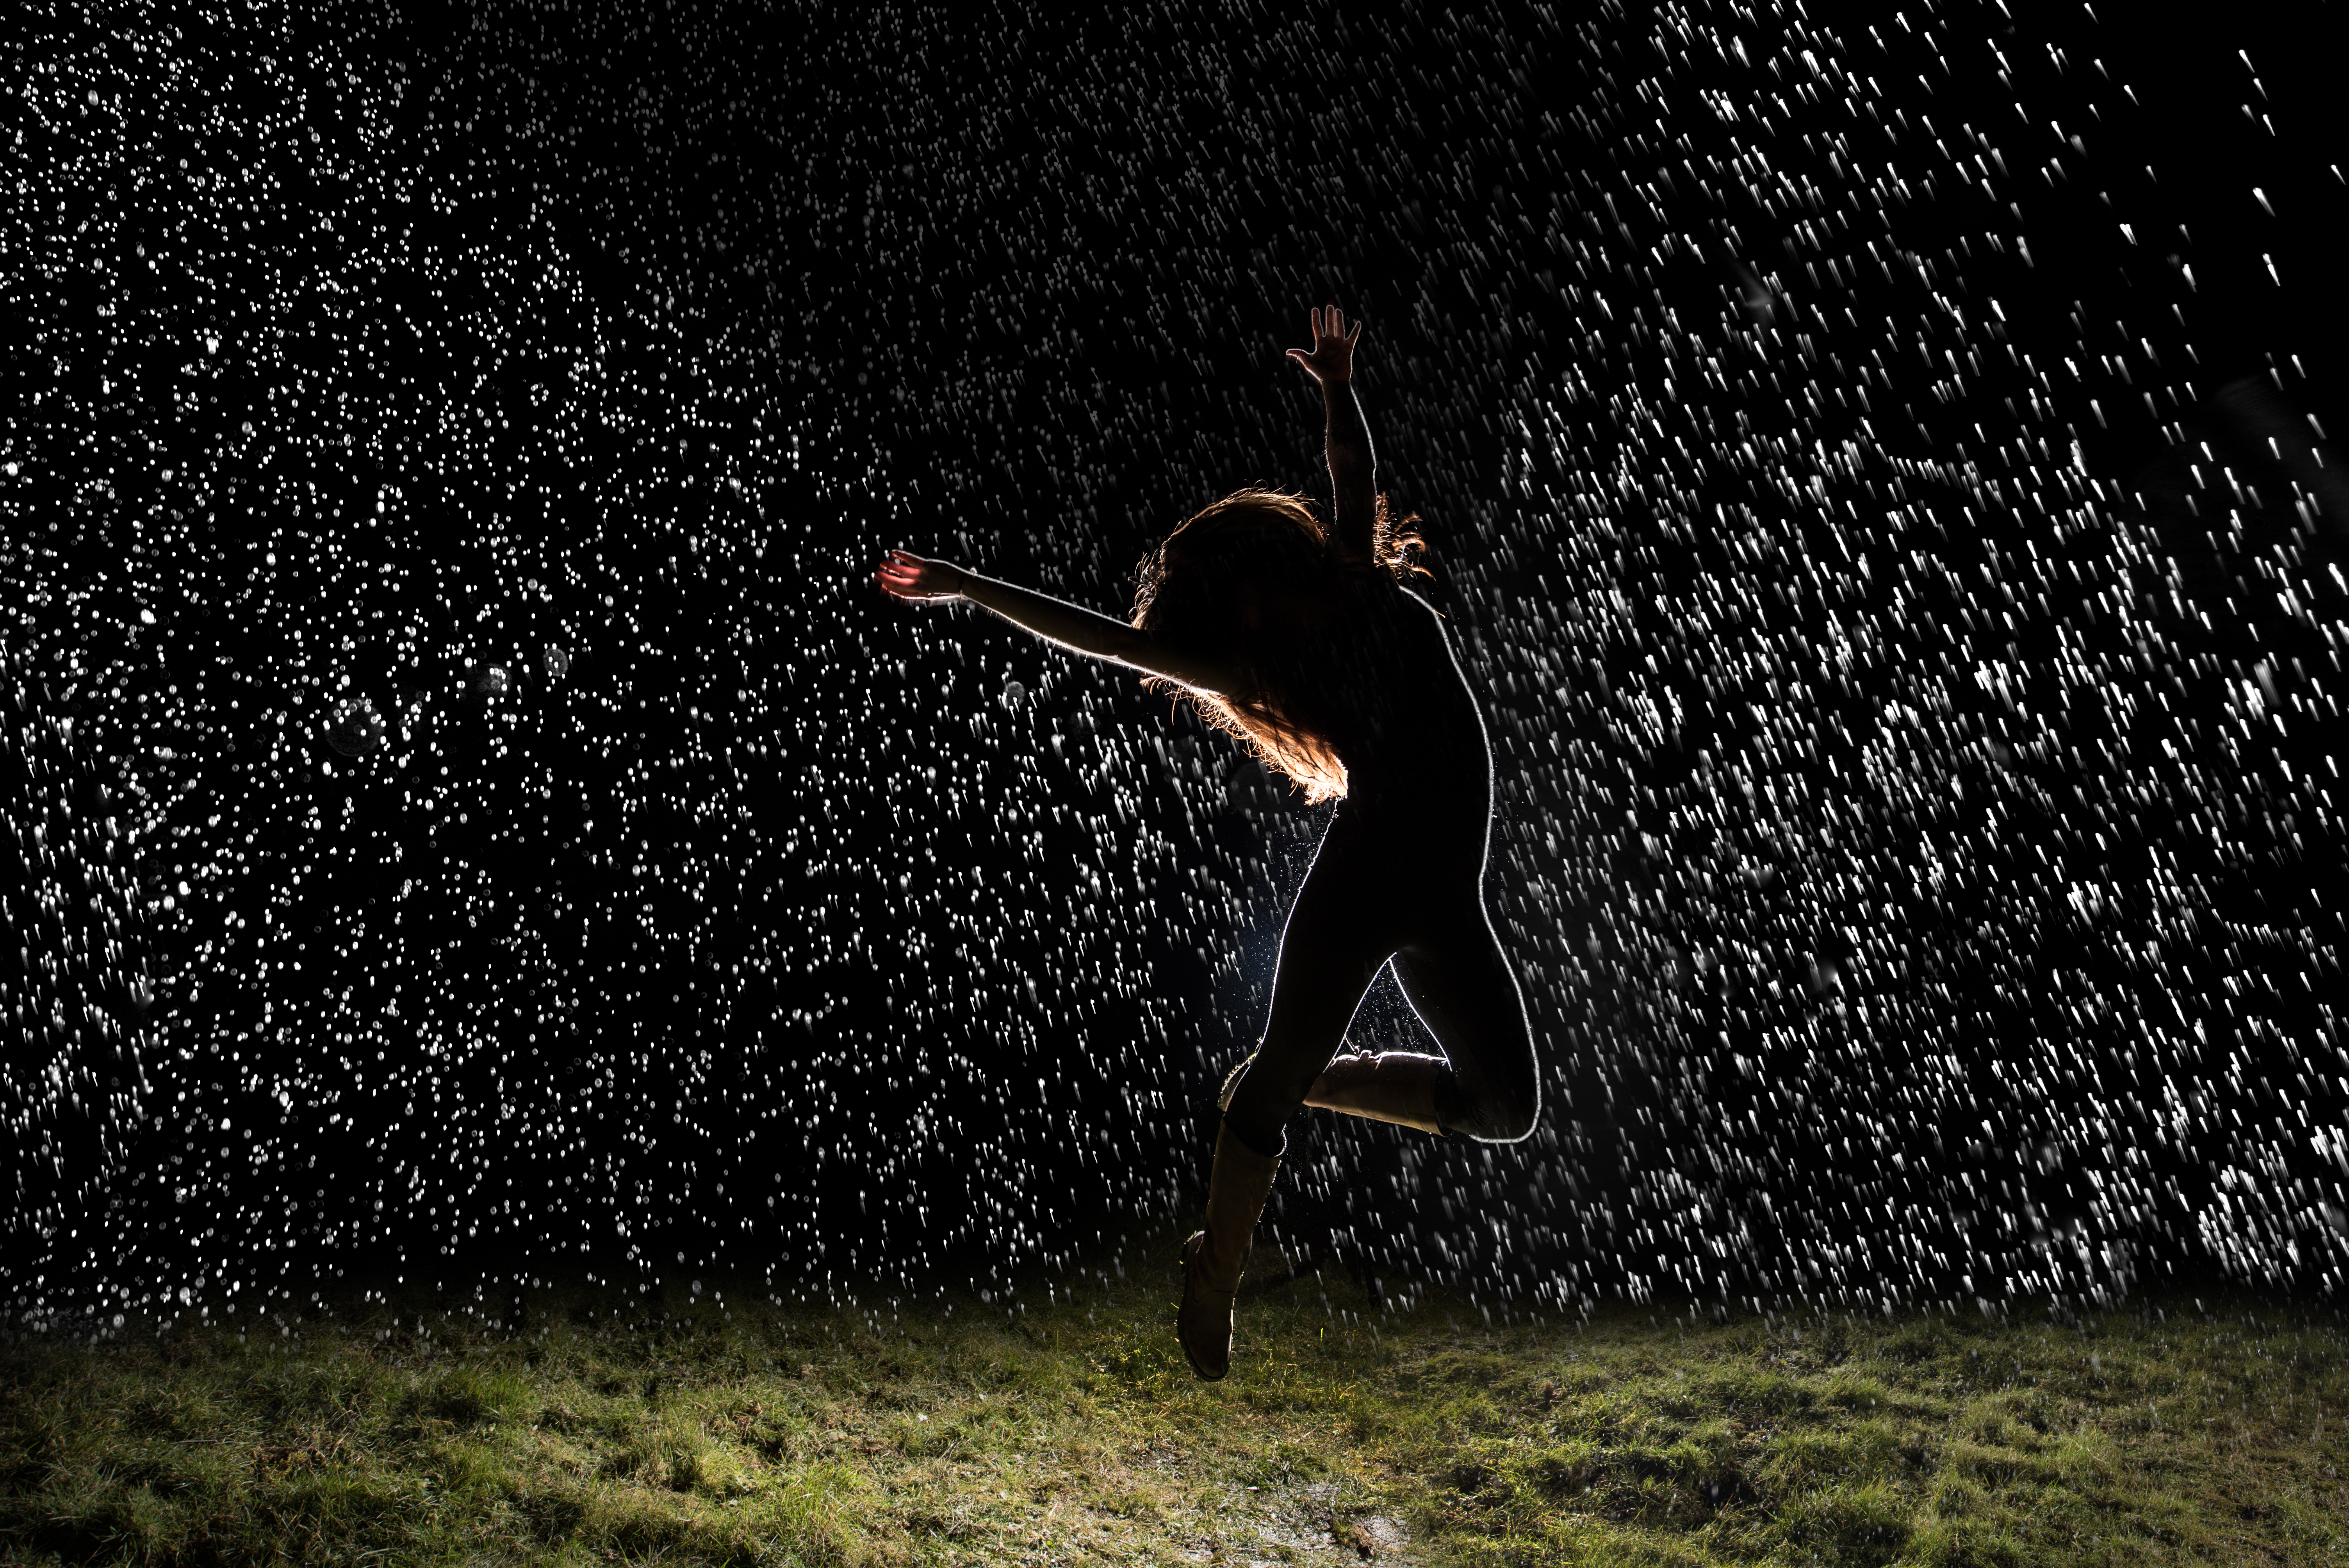
Find a clear space outside and get your model to stand a few feet in front of you. Place a speed light behind them, to be triggered remotely. Turn the hose on and get your assistant to put their thumb over the end of the nozzle, aiming it just in front of the model and towards the camera a little.
The speed light will shoot through the water drops and light them up; it will almost look like snow. There will be beautiful bokeh of rain drops throughout the image and a rim light kissing around your model. Let’s take a look at the steps involved…
• Best online photography courses
How to shoot a rain portrait
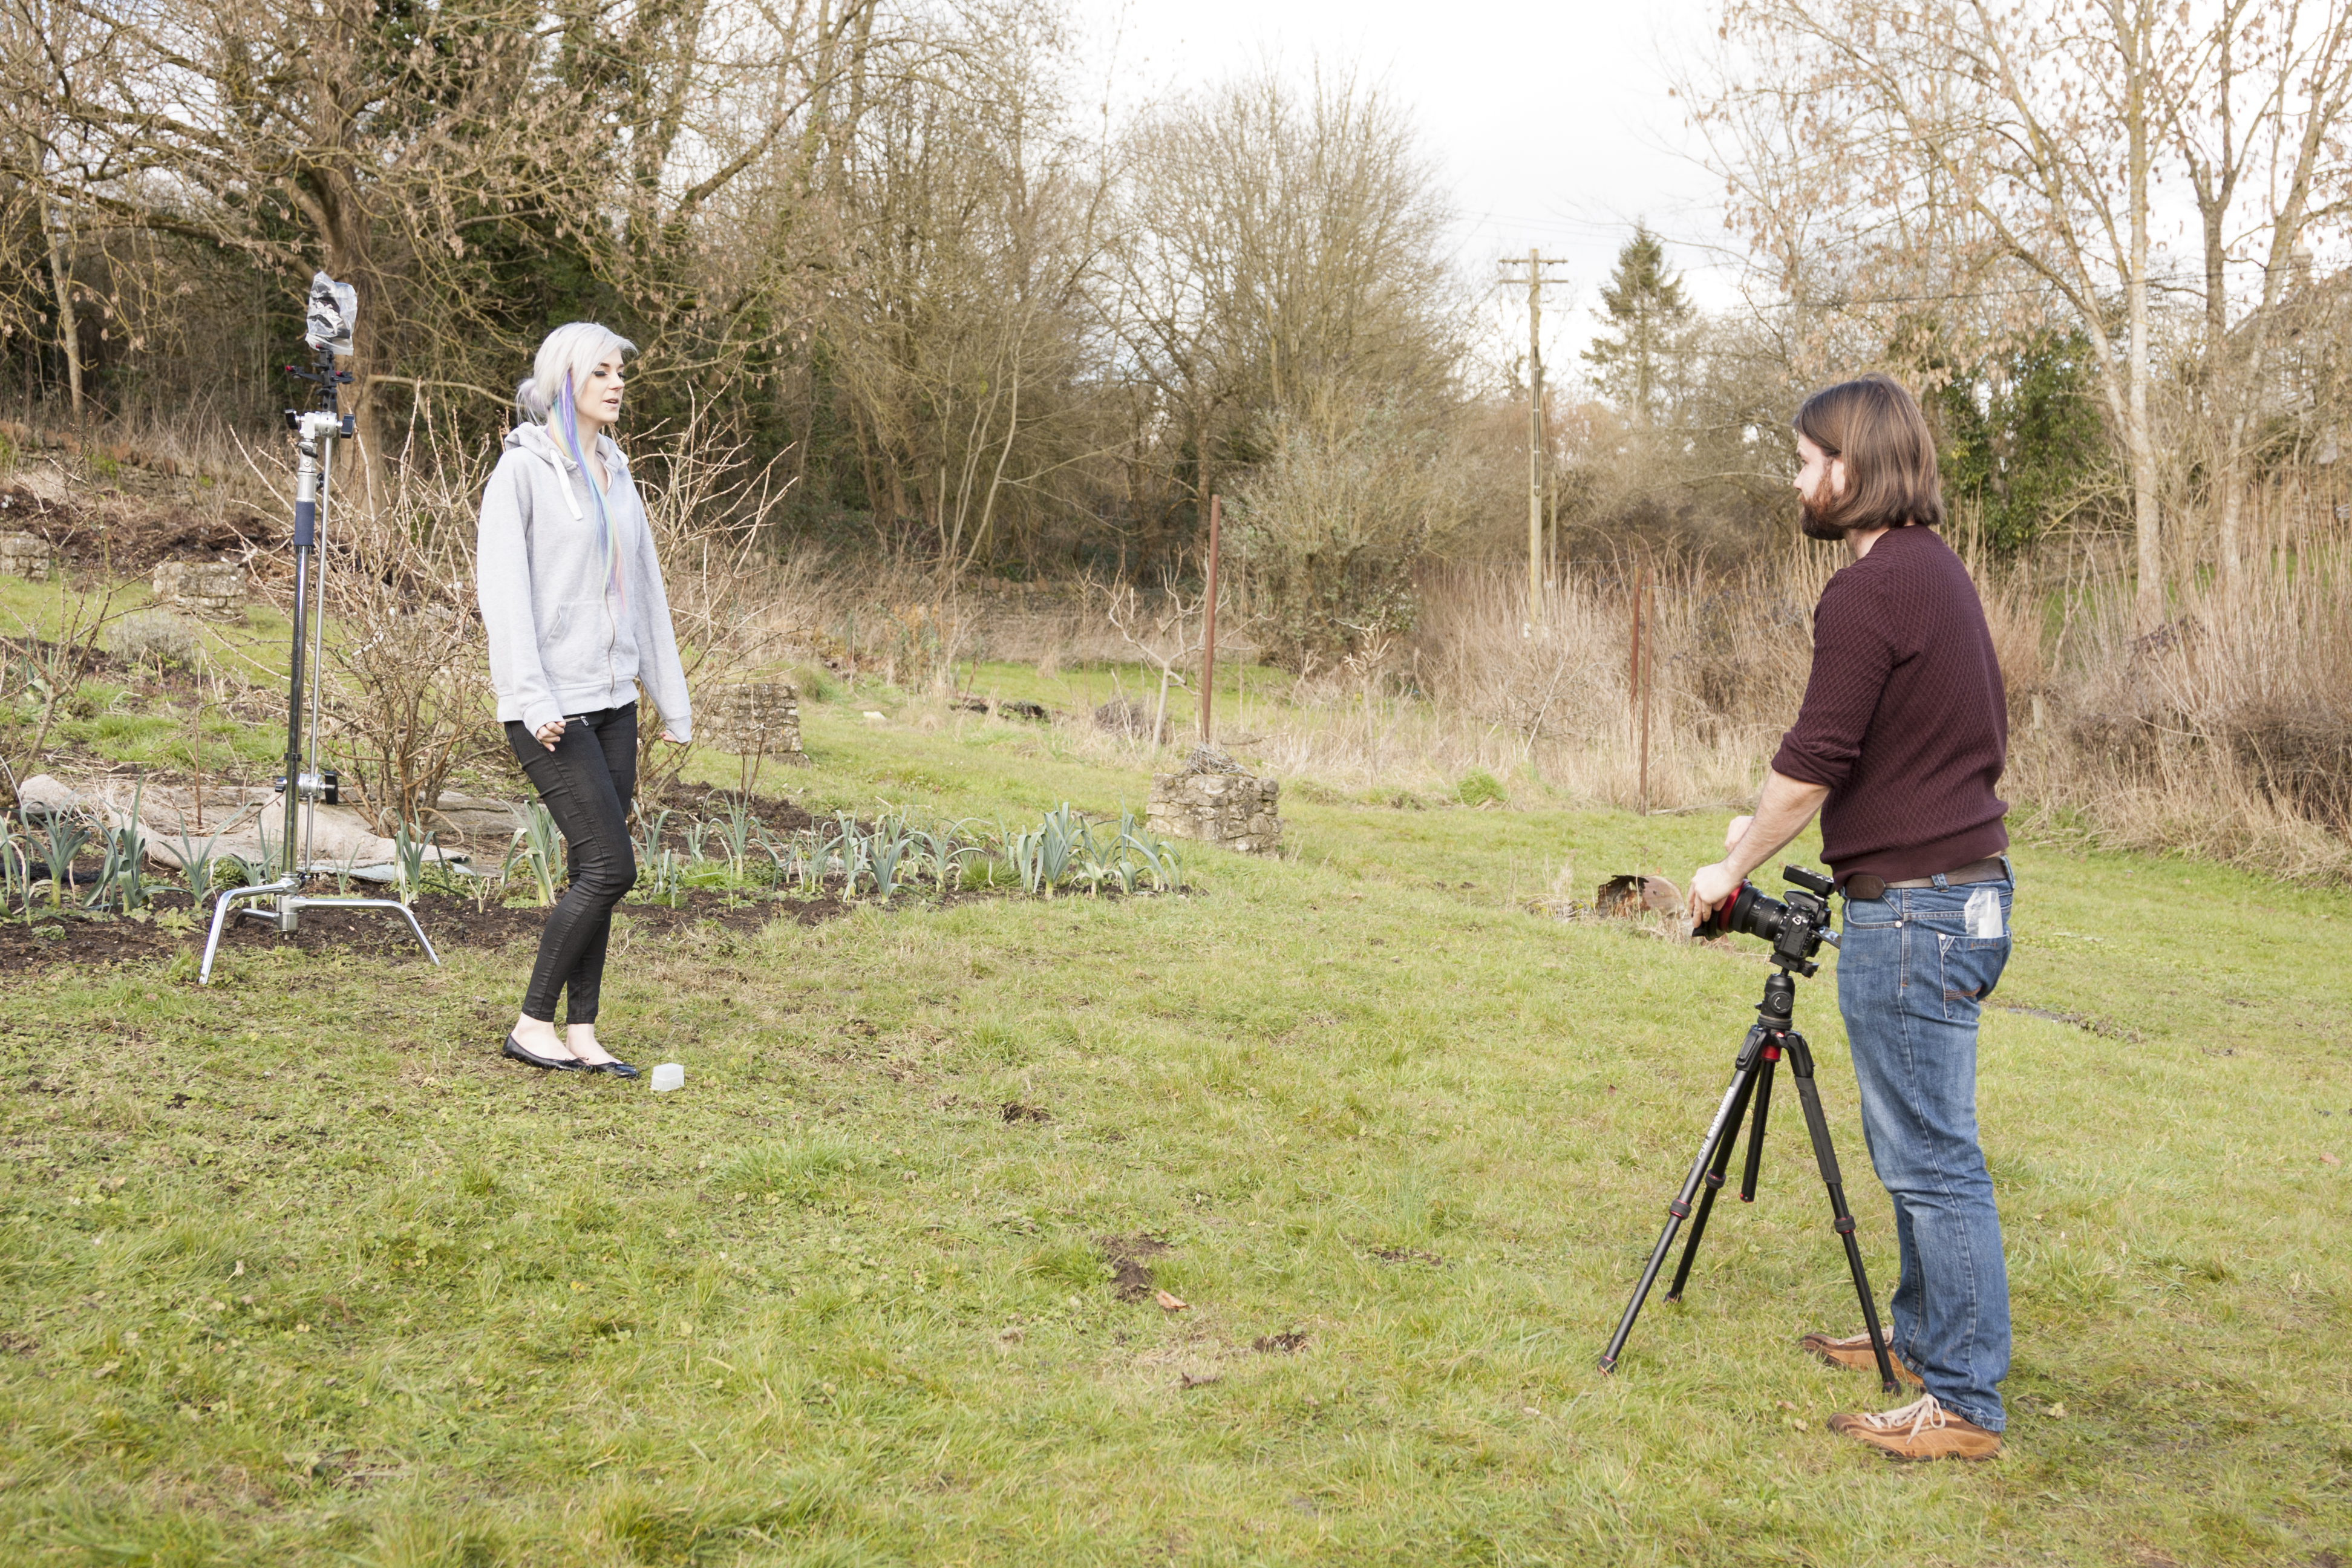
01 Clear, open space
All you really need is a clear space outside where it’s relatively quiet, and which has somewhere you can hook up your hose. For most people, the garden is perfect. You might be able to do this in a park, but you’d need permission to use a hose there.
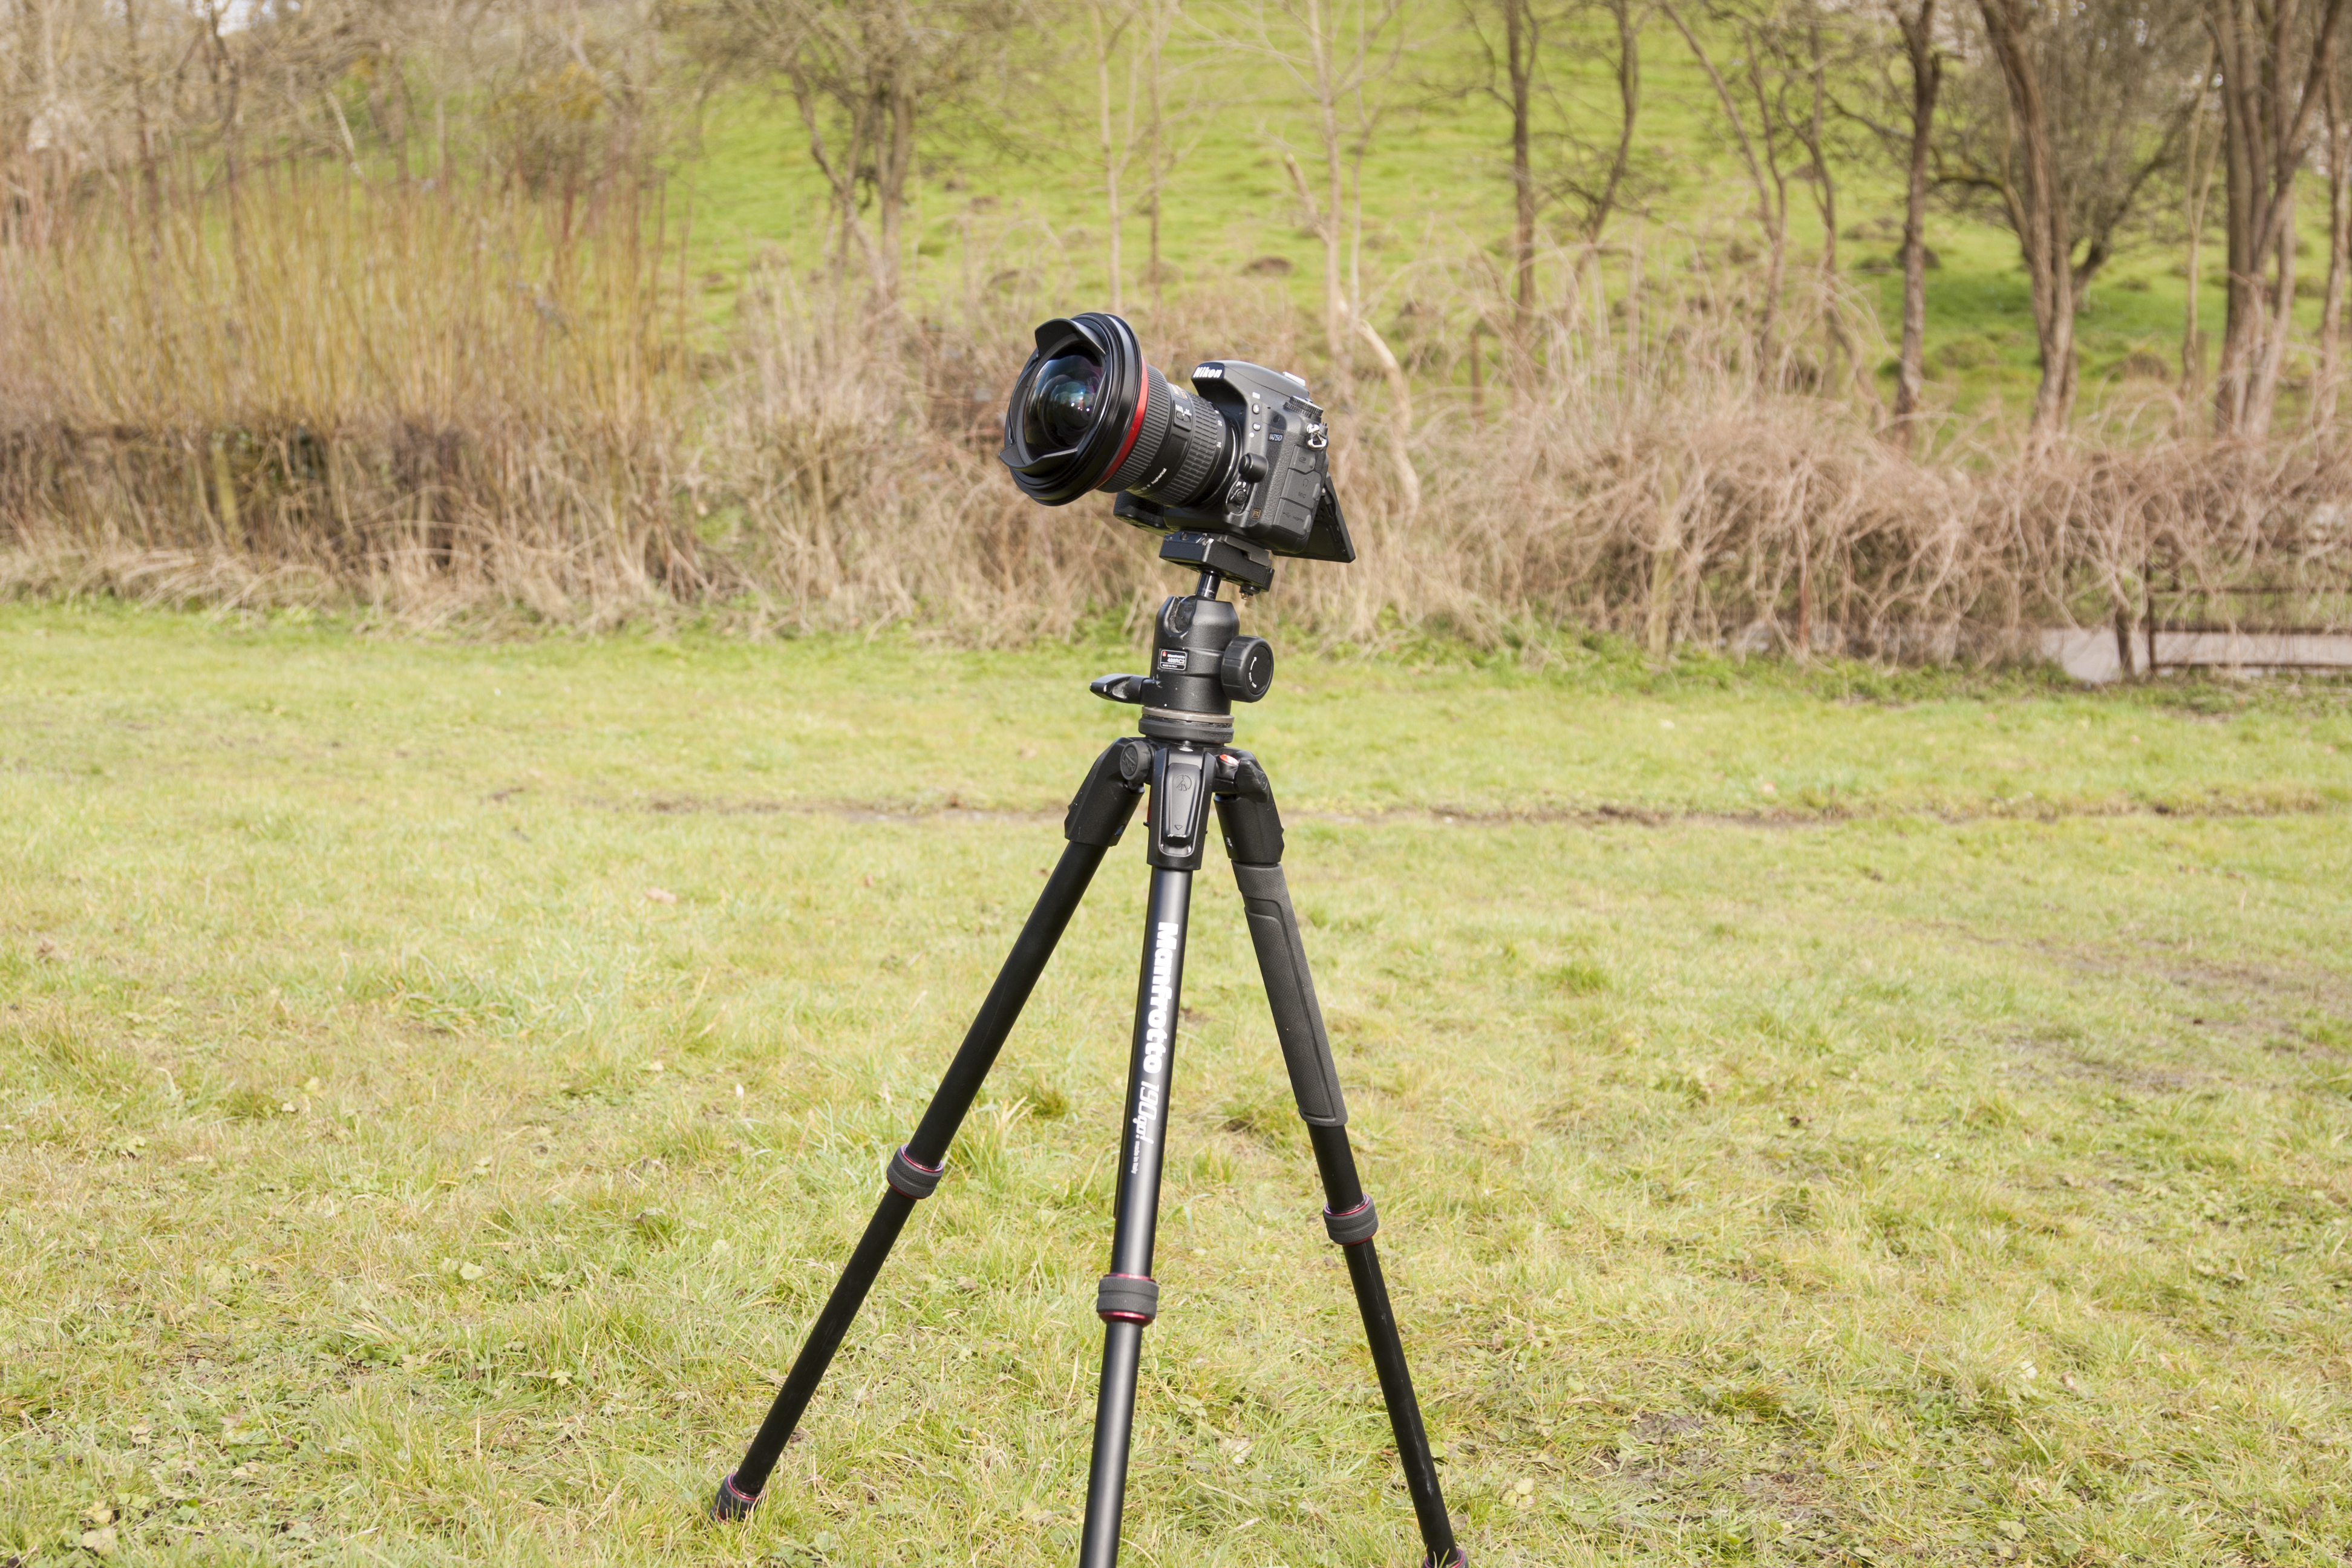
02 The low down
Mount the camera on a tripod and place it a few feet away from where you intend to shoot your model. Use a wide-angle lens to distort the perspective of the scene – we're using the Nikon AF-S 14-24mm f/2.8G ED, but any prime or zoom with a 24mm focal length will do. Accentuate this dramatic effect by getting down low to the ground, which will also make it easier to fit in more droplets above the model.
03 On your marks
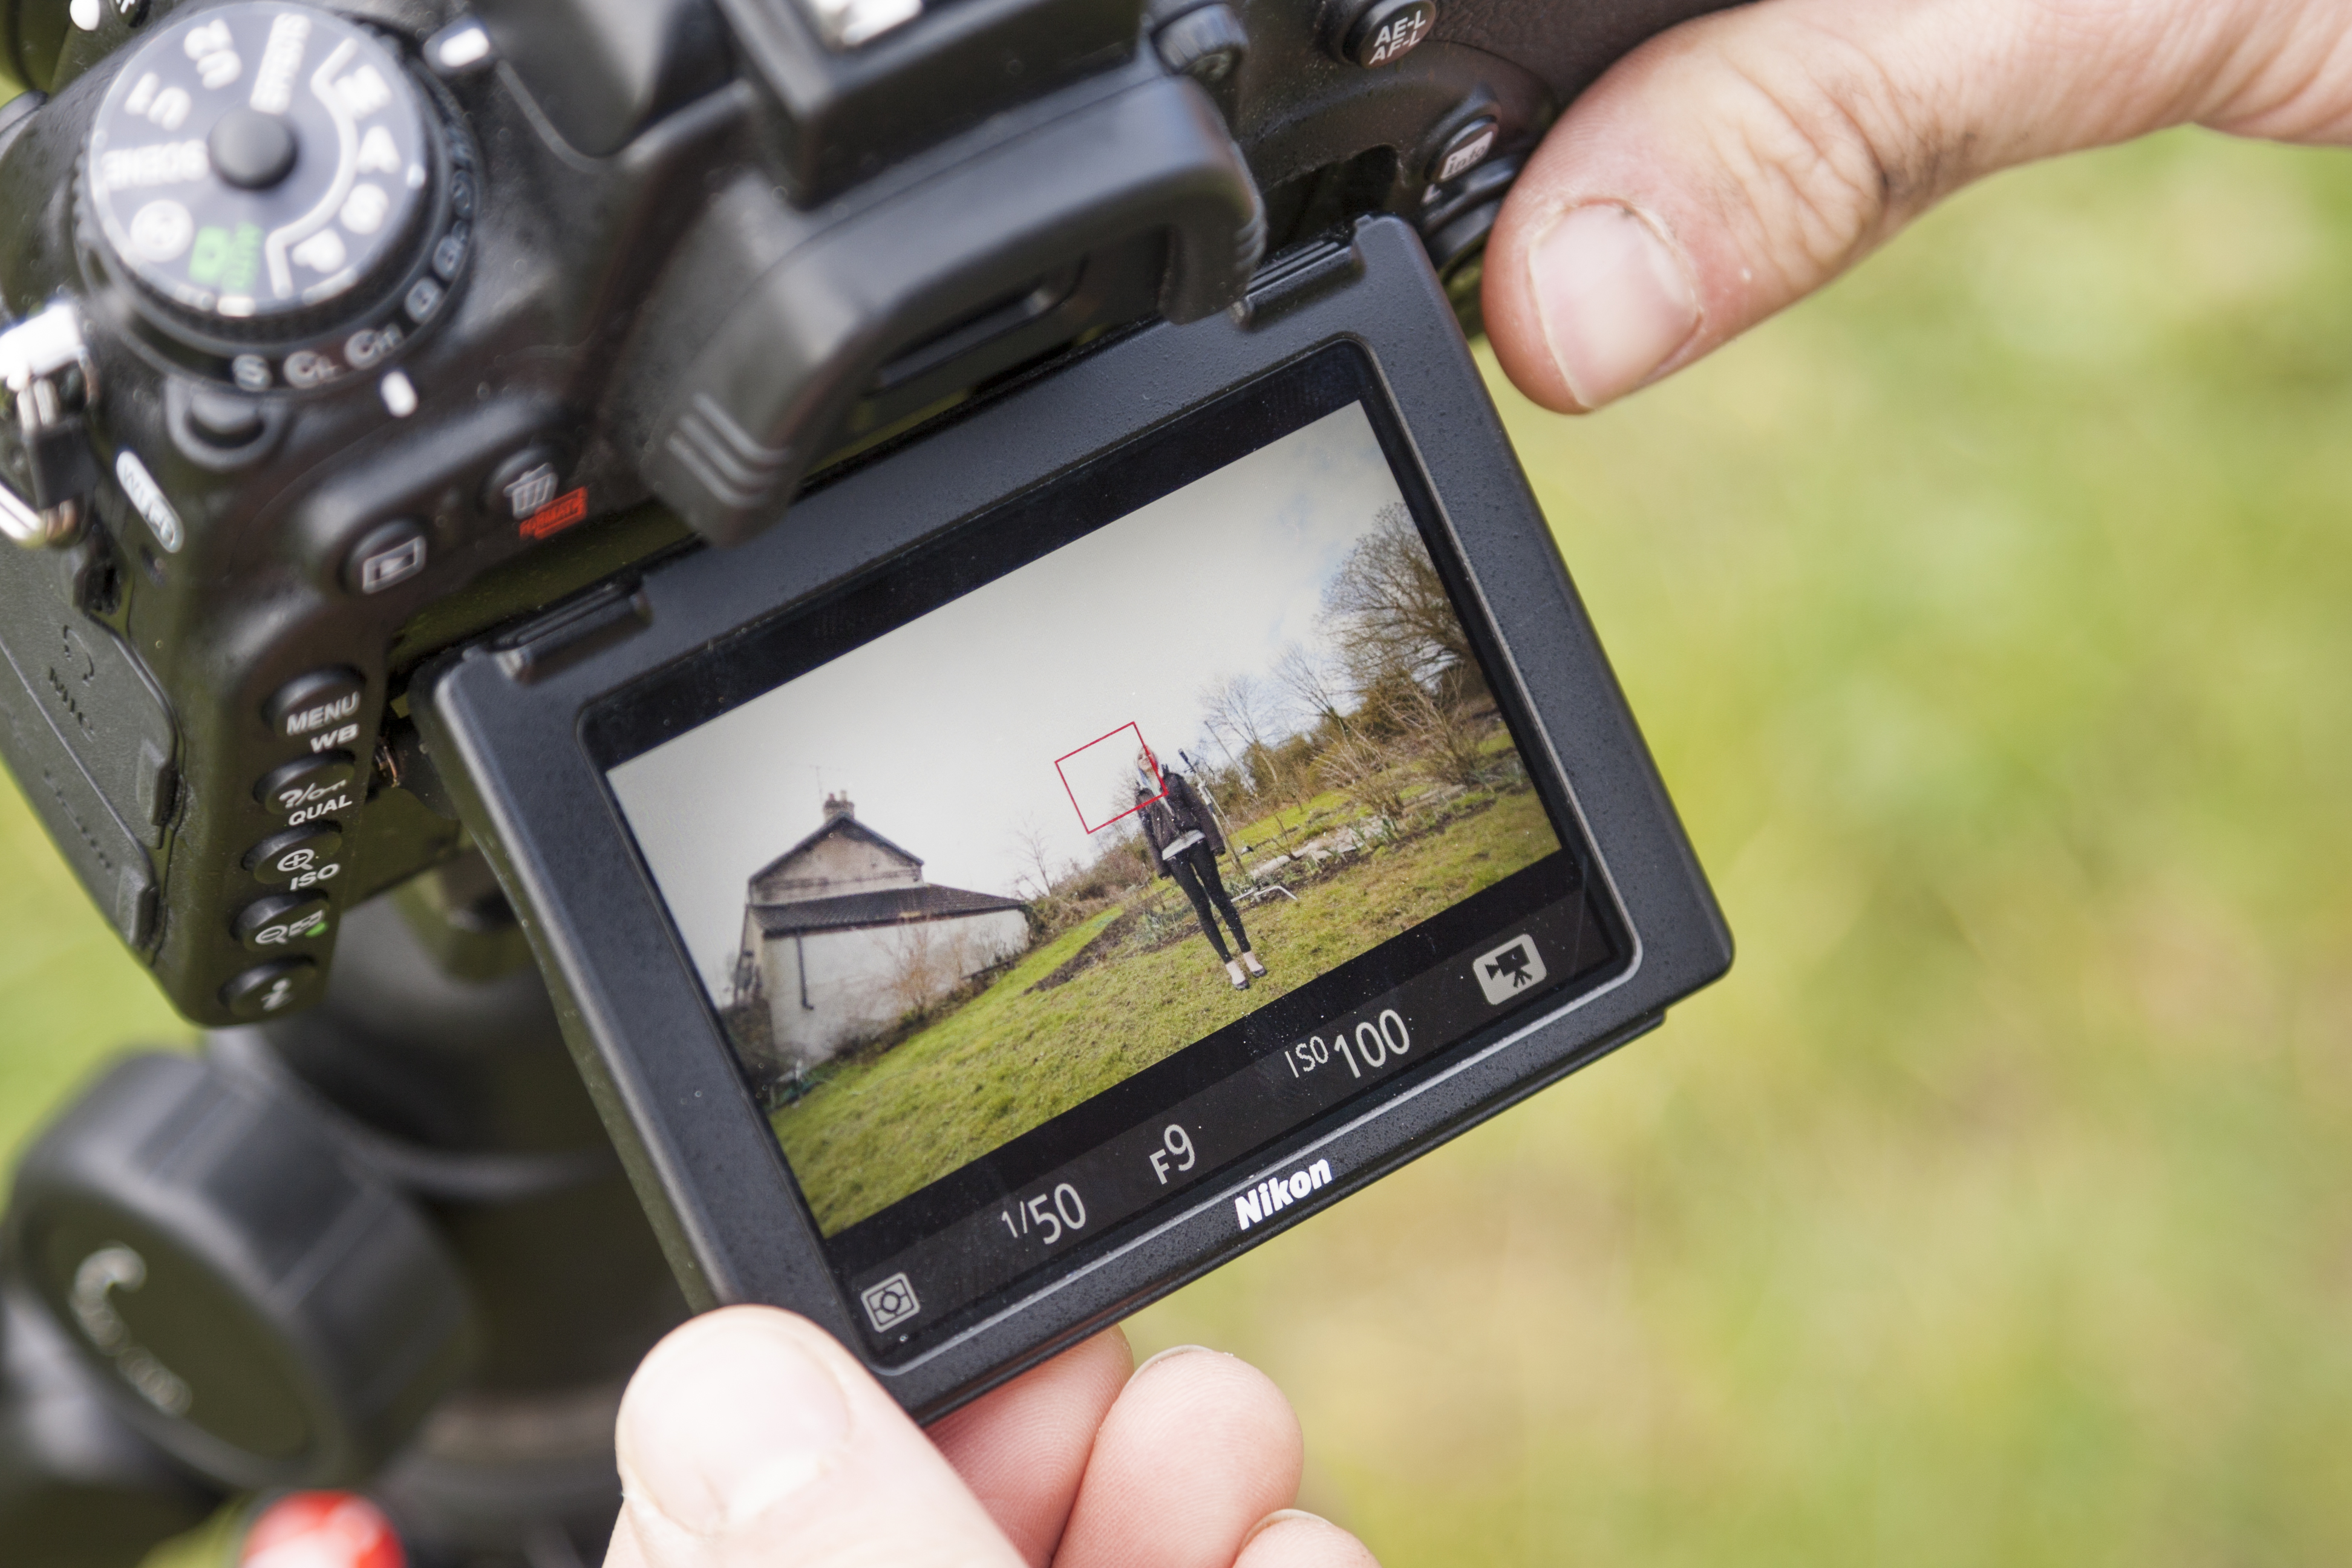
Engage Live View and direct your model to stand a few feet away, in the right third of the frame. Make sure that there’s plenty of room around them in the frame, to capture the droplets. Set manual focus, zoom in, and adjust your focus until the model is sharp, then place a mark on the ground beneath them.
04 Bare flash
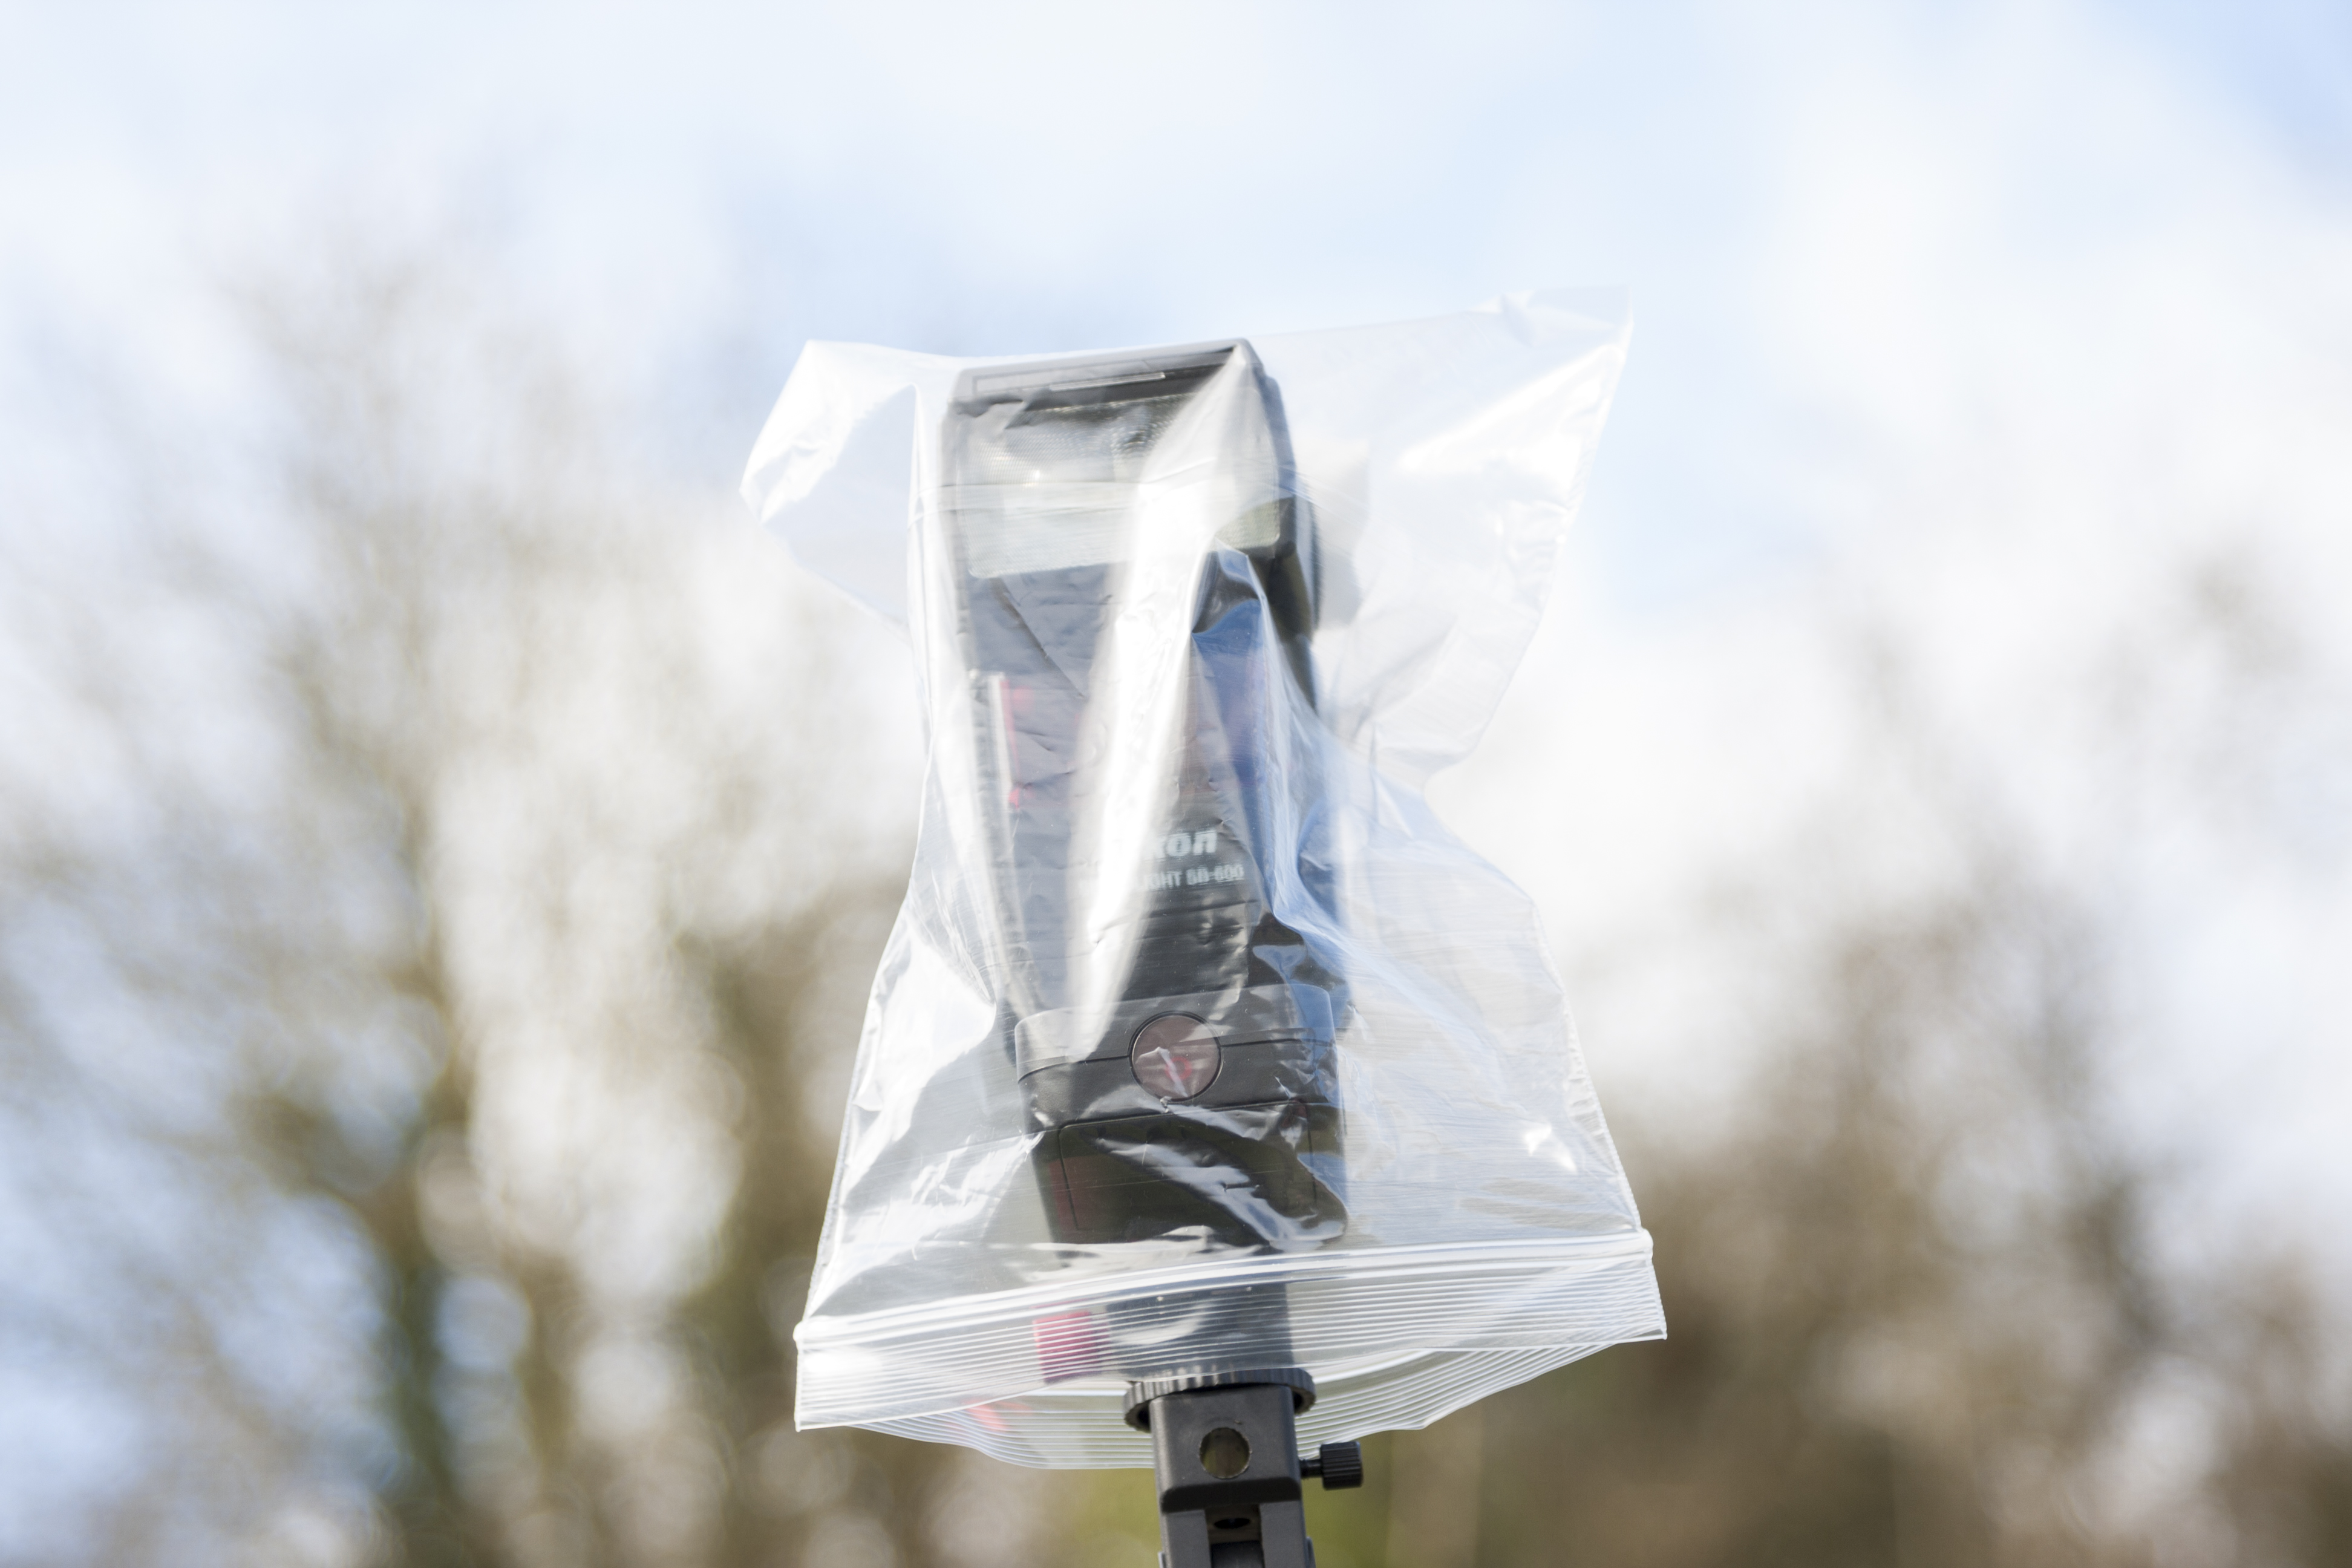
Your focus is locked in, and your model is just above the mark. Fix the wireless trigger to the bare speed light, mount it on a light stand and place it behind the model, pointing towards the camera. If it isn't weather resistant, place a freezer bag over the flashgun to stop it getting wet.
05 Feel the power
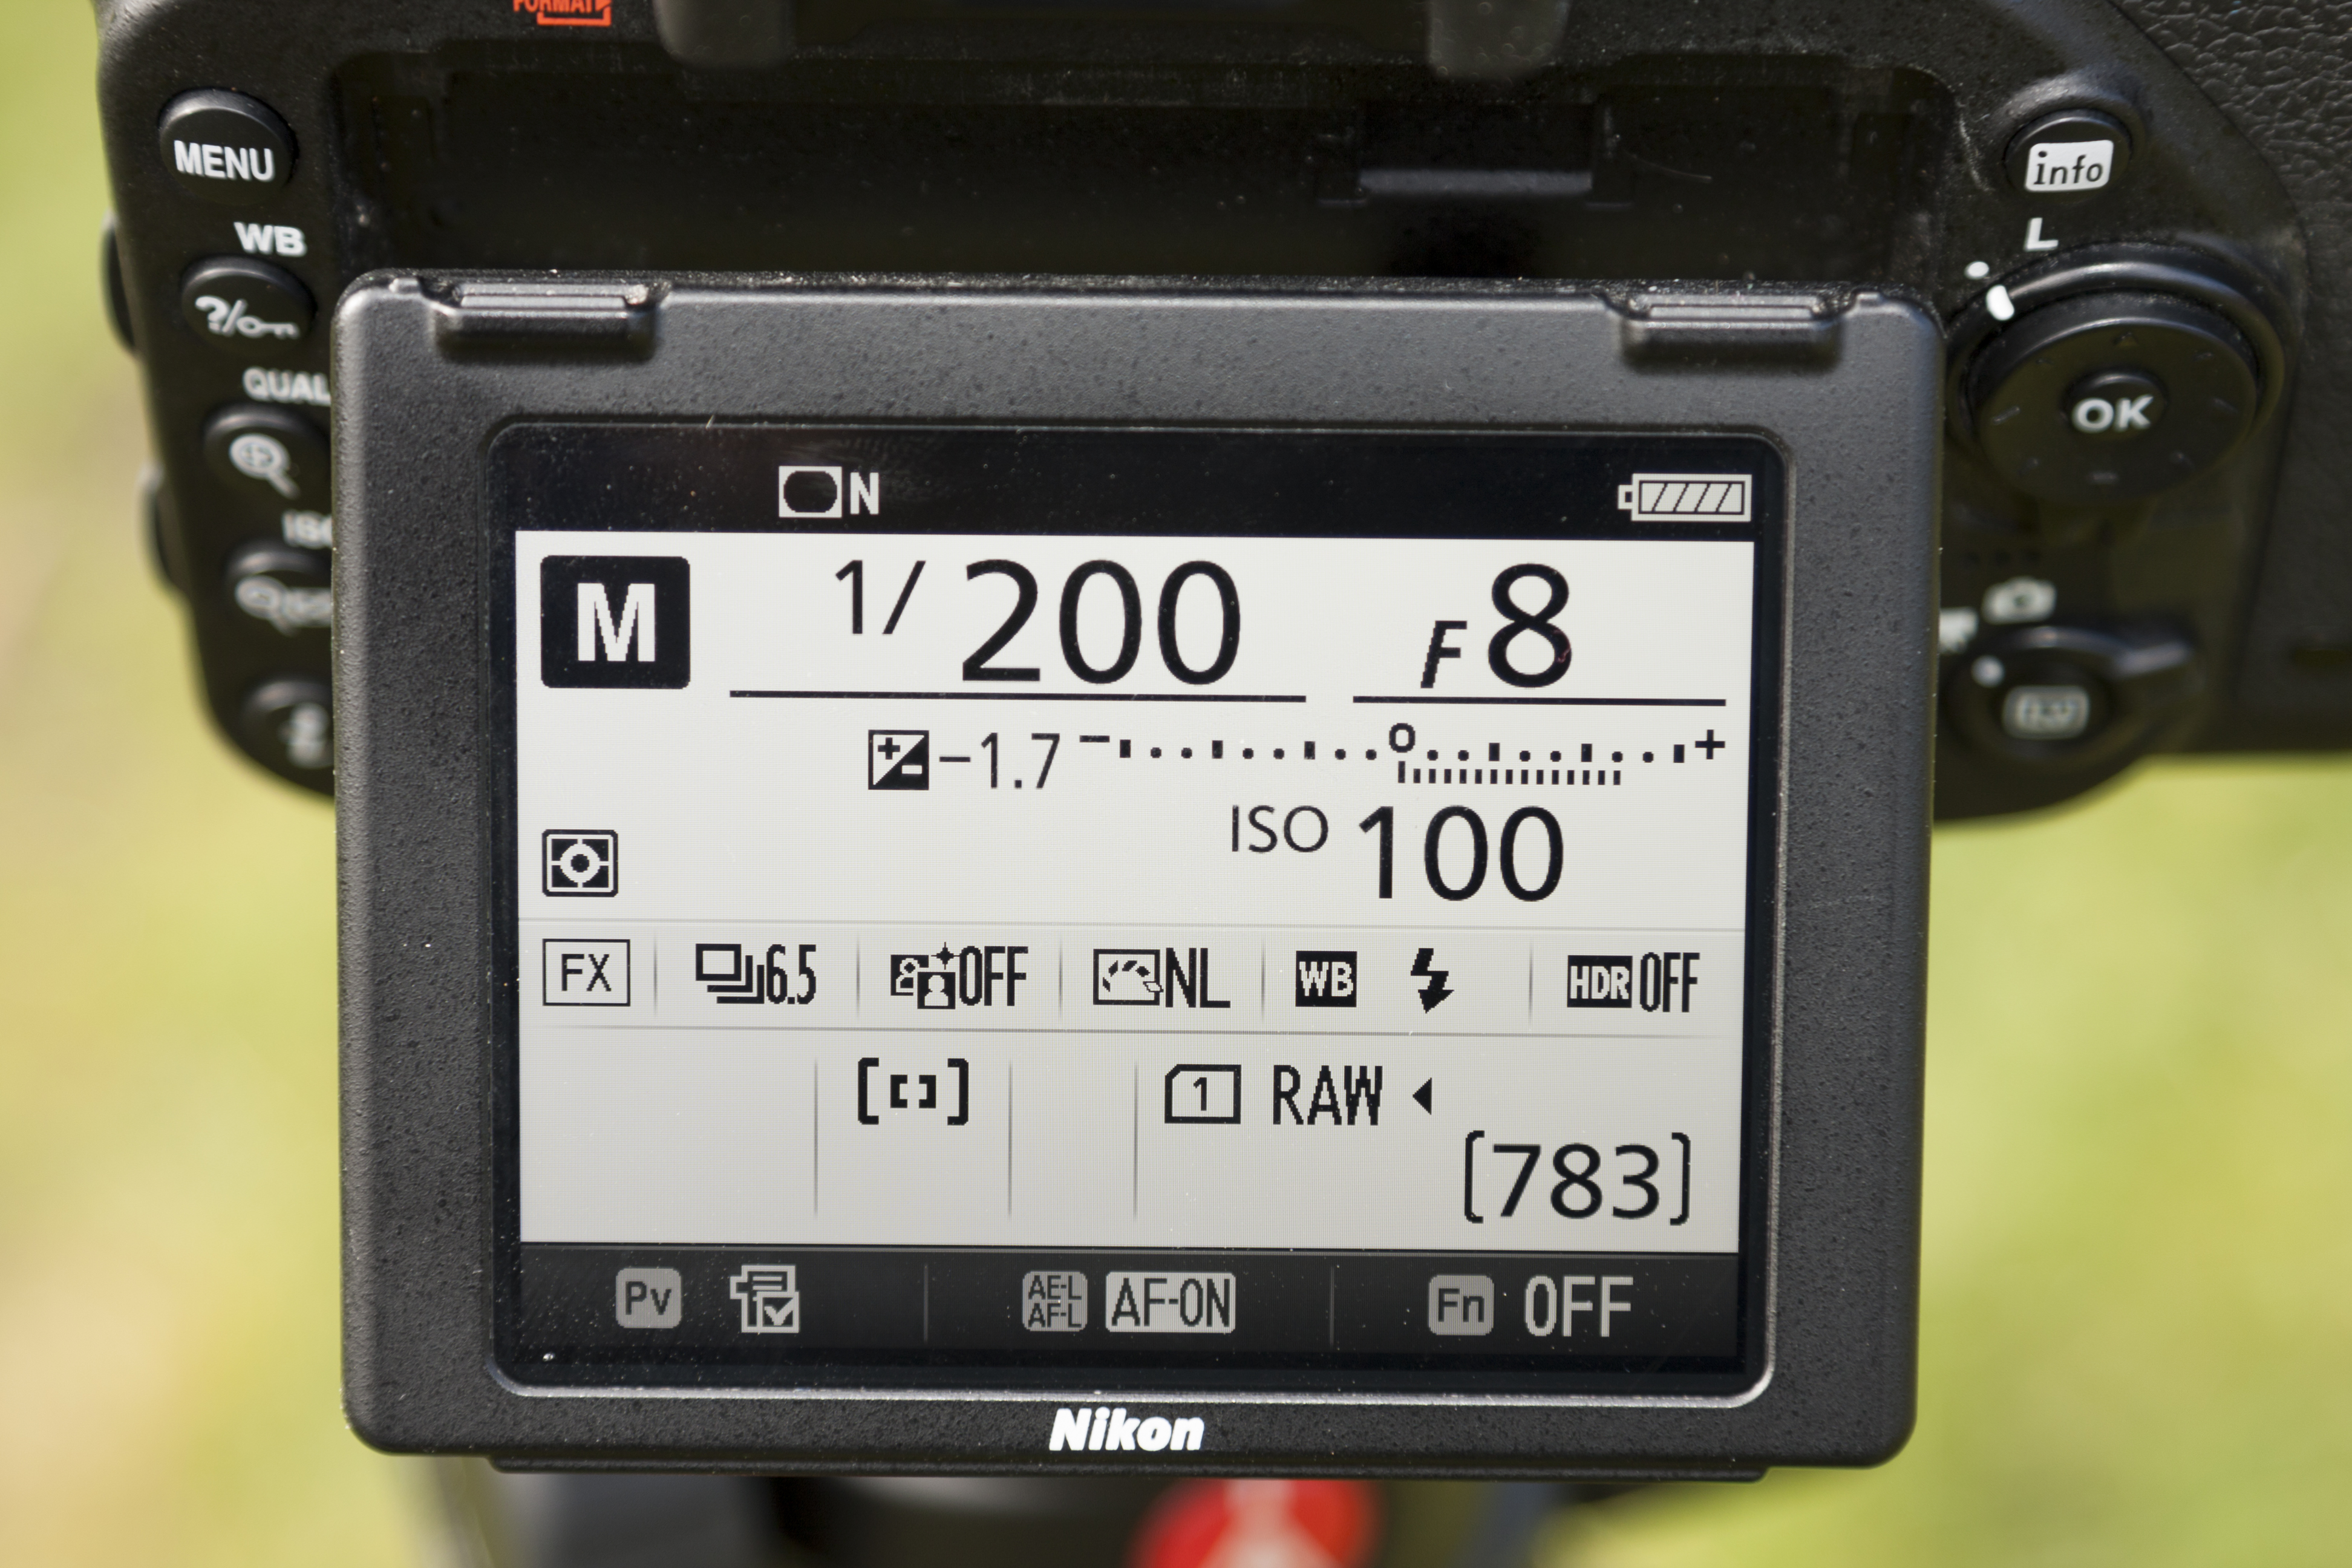
With the other wireless trigger on the camera hotshoe, turn your flash to full power. Get your assistant to start spraying, and you can start shooting – settings of 1/200 sec, f/8 and ISO100 are good to start with. That aperture will give you a long depth of field and the shutter speed is the flash’s maximum full sync speed. ISO100 is not very sensitive; this keeps the sky dark in the final shot.
06 Introduce props
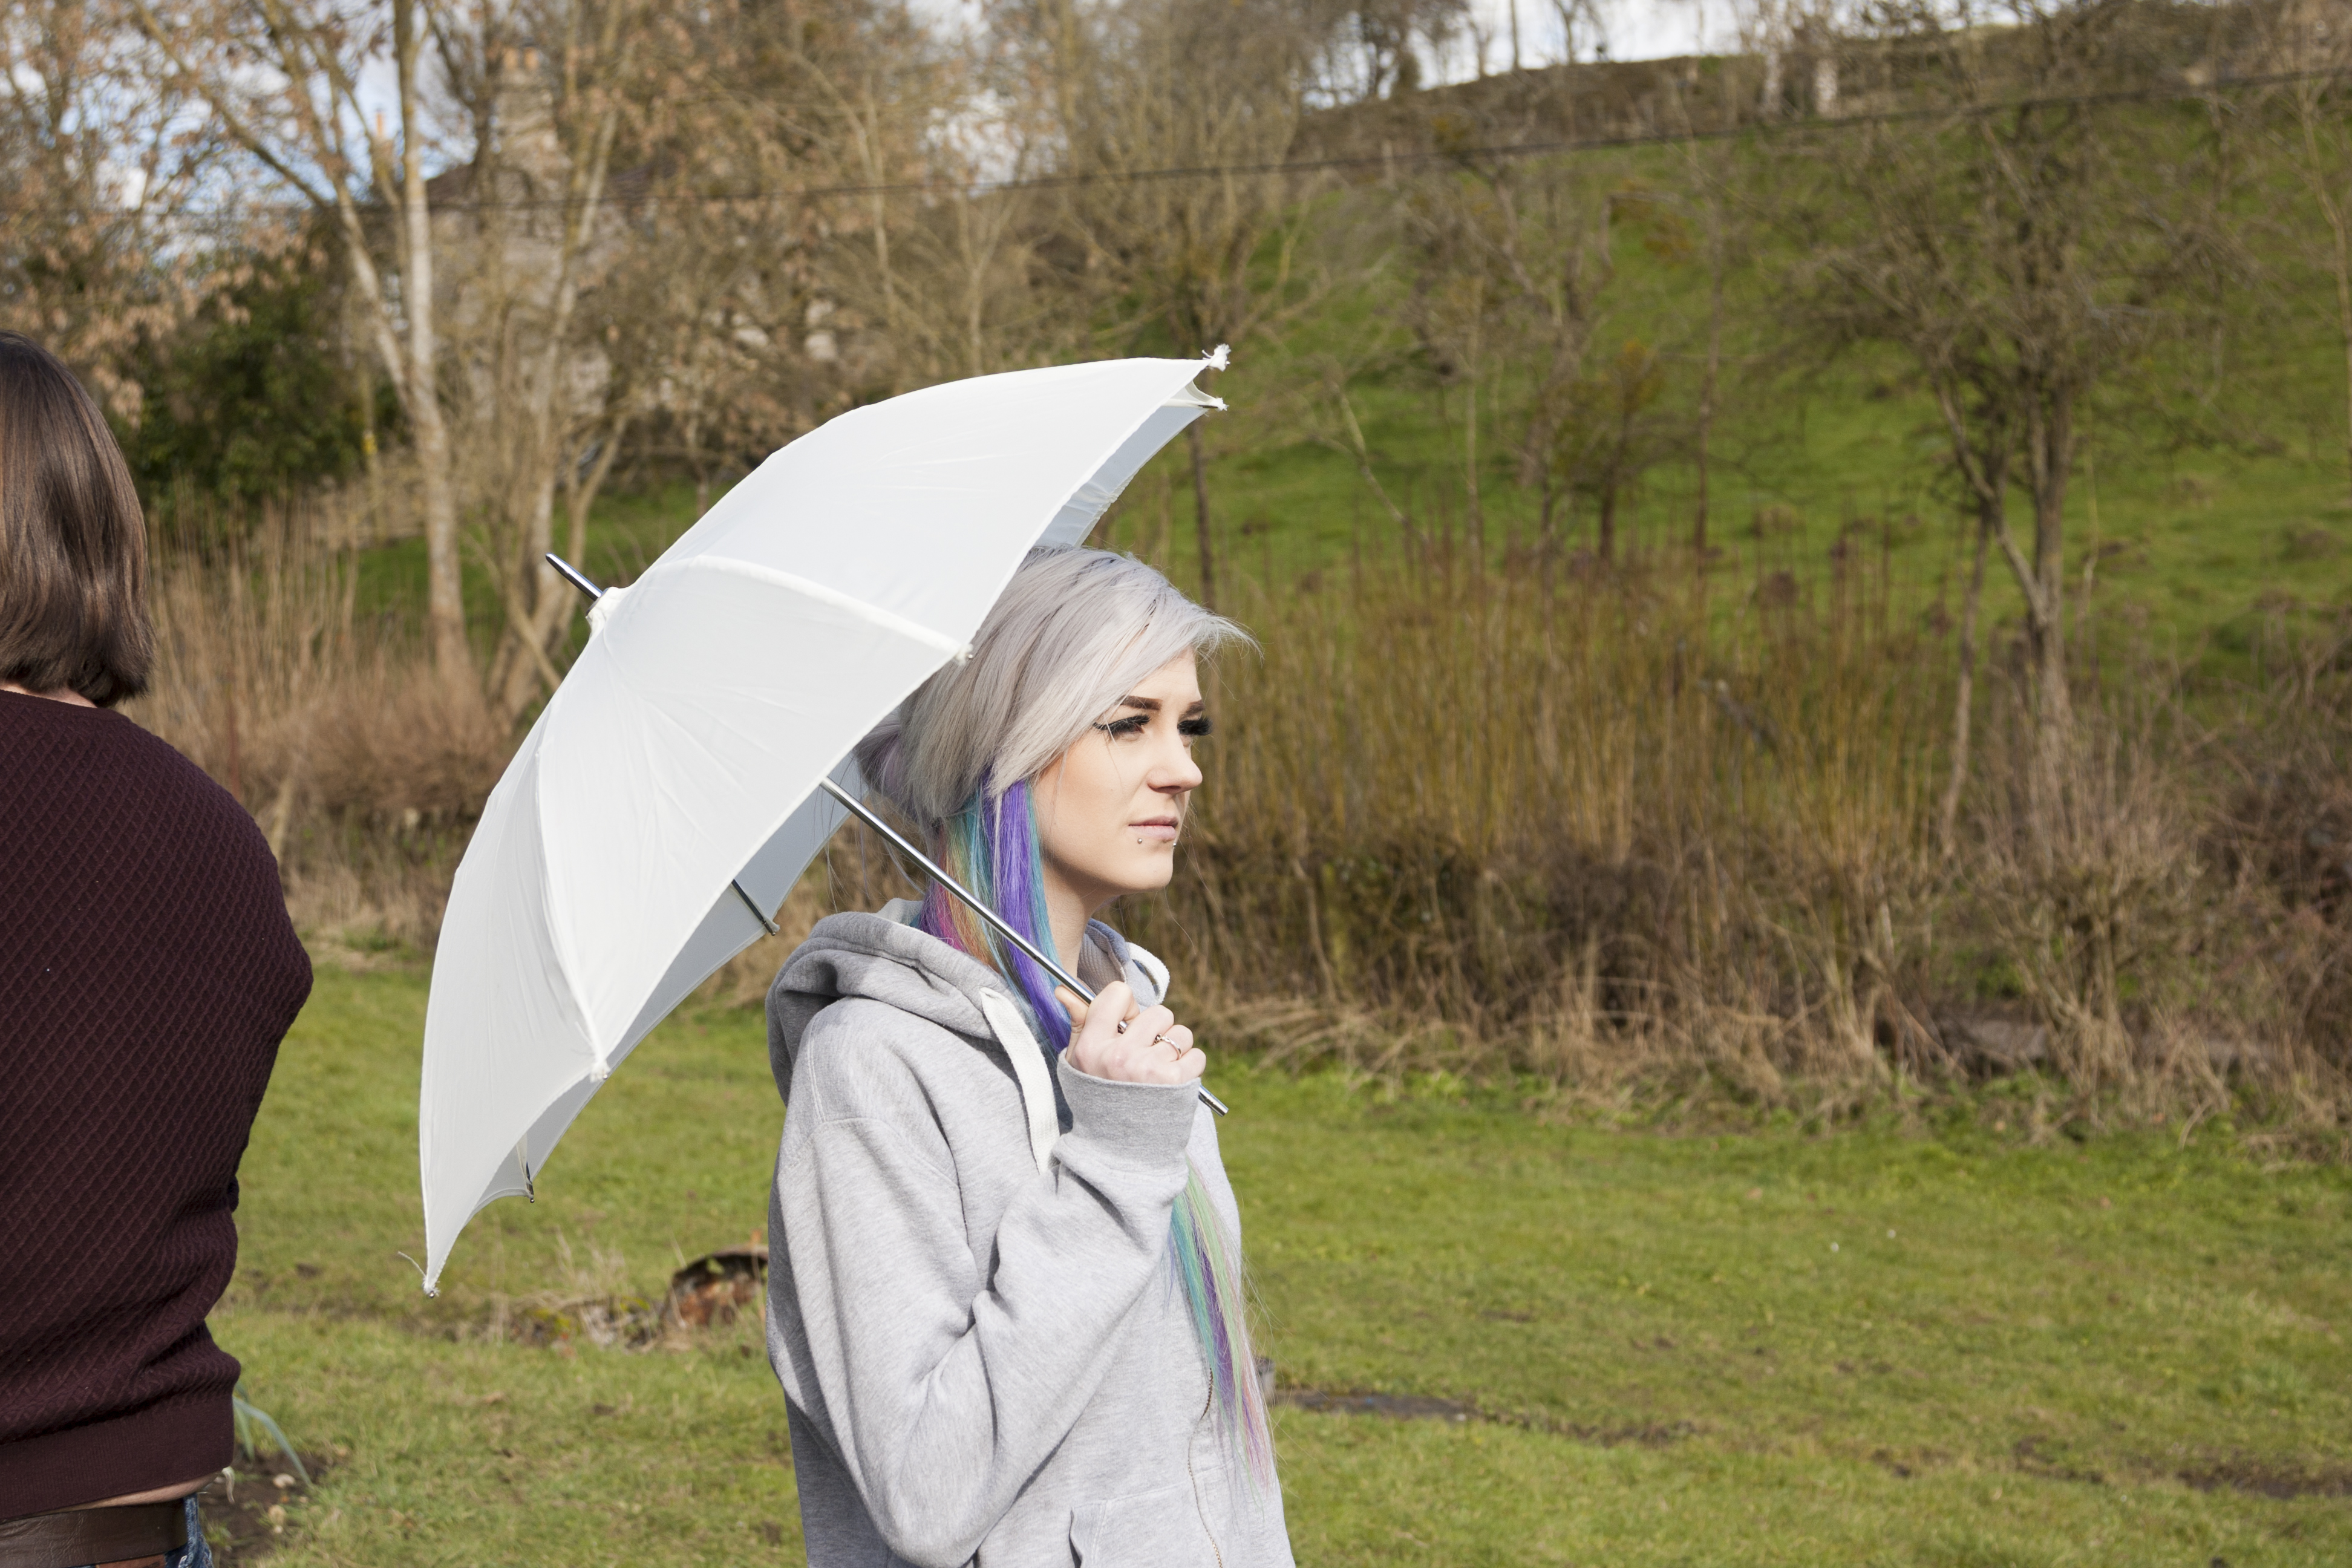
To overpower the sun you’ll need the flash on full power. If the daylight is still too bright, add another flash or rent out a studio strobe, which has more power. A day’s renting is relatively inexpensive compared to buying the strobe itself. Our model used an umbrella to keep dry, and it also works as a prop for the photo.
N-Photo: The Nikon Magazine is a monthly publication that's entirely dedicated to Nikon users. For the best news, reviews, projects and more, subscribe to N-Photo today!
Read more:
The best flashgun: the best strobe units for Canon cameras, Nikon and more
The best flash triggers: wireless control for off-camera flashguns
Portrait photography tips
Get the Digital Camera World Newsletter
The best camera deals, reviews, product advice, and unmissable photography news, direct to your inbox!
N-Photo: The Nikon Magazine is a monthly publication that's entirely dedicated to Nikon users. As a 100% independent magazine, you can be assured of unbiased opinion from a trustworthy team of devoted photography experts including editor Adam Waring and Deputy Editor Mike Harris.
Aimed at all users, from camera newcomers to working pros, every issue is packed with practical, Nikon-specific advice for taking better photos, in-depth reviews of Nikon-compatible gear, and inspiring projects and exciting video lessons for mastering camera, lens and Photoshop techniques.
Written by Nikon users for Nikon users, N-Photo is your one-stop shop for everything to do with cameras, lenses, tripods, bags, tips, tricks and techniques to get the most out of your photography.
