How to make a Shutterfly photo book
A Shutterfly photo book is a great gift – for yourself or others! Discover how to make it perfectly here
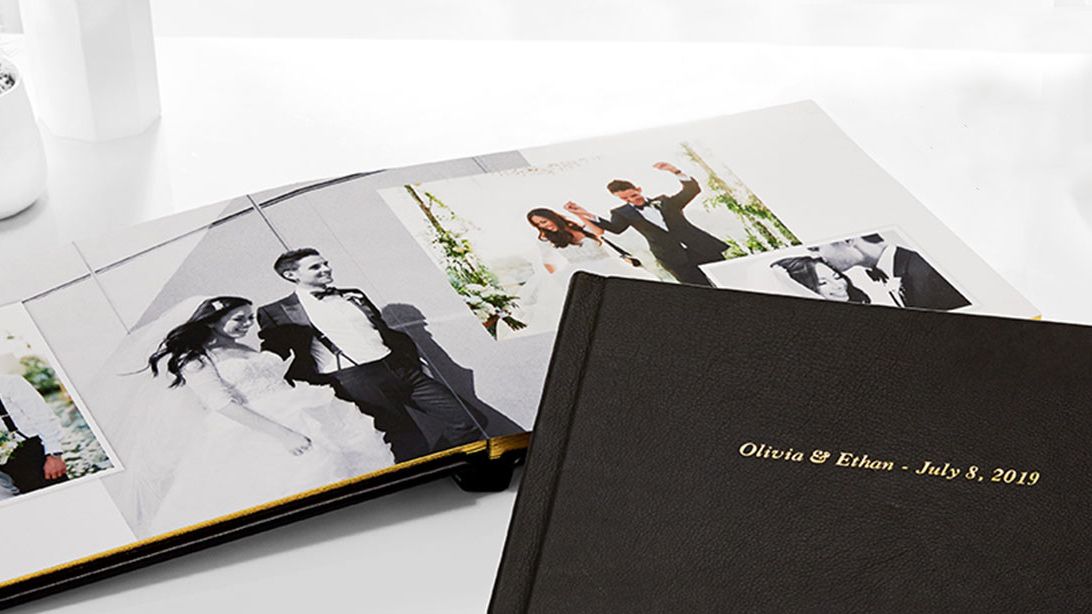
If you're searching for the perfect gift for someone you love (or even just looking to curate your own favorite memories in one place), a Shutterfly photo book is a fantastic option. As one of the best photo books around, a Shutterfly photo book is a great way to collate beautiful memories, whether you're celebrating a milestone birthday, a wedding, or a new arrival into the world.
A Shutterfly photo book, like many other photo books, are super easy to put together. However, we've created this simple tutorial to help you get the most out of your sentimental photo book.
Before we begin, there are a few things you can prepare to ensure that your Shutterfly photo book looks as good as possible. The first is rounding up all of the images that you want to use before you even click onto the website. Find all of the best photos and secure them in a specific folder where you can easily find them. Keep a sharp eye out for any that are blurry or not quite sharp, as a physical print can often be less forgiving than a digital screen.
Once you've collected all of your favorite shots, it's advisable to go through them a second time to ensure you're happy with your selection. Look out for images where people have their eyes closed or have strange expressions, as these can easily slip through the net if you're not careful.
1. Pick your style
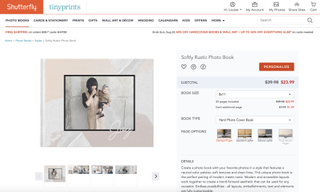
There are plenty of Shutterfly photo book designs to choose from, so simply scroll through the selection of styles until you find a design that speaks to you. Don't forget that you can also shop by occasion, such as Travel, Seasonal and Wedding.
Once you've selected your design, you can choose what size you want your Shutterfly photo book to be, whether you want a hard or soft cover and whether you want standard pages or a layflat option. Once you've selected the options you want, move onto the next step by clicking 'Personalize'.
2. Upload your images
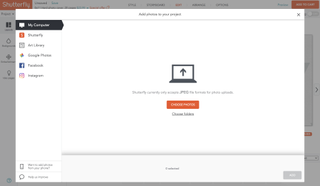
The next thing you'll need to do is upload your images. If you have a specific folder stored on your computer, then simply choose this option. However, you can also import your photos from Facebook, Instagram or Google Photos. You also have the option of adding miscellaneous images, such as photos of animals or locations, from Shutterfly's 'Art Library'. This can be a great way to enhance your Shutterfly photo book.
3. Auto or manual
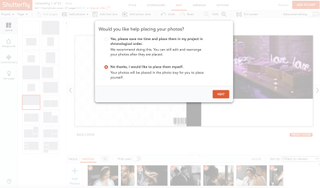
In terms of arranging your Shutterfly photo book, you can two options. The first is that Shutterfly will arrange the images for you and you can then customize the layout afterwards. The second is that you can arrange the photos yourself. There's no wrong answer here, it's just up to your preference. If you feel confident that you know exactly how you want the photos to be laid out, then we'd recommend arranging them yourself.
However, if you're not too sure, then you might want to select the option where Shutterfly automatically arranges your photos. Just be aware that this might mean that the photos aren't in a chronological order – and the aspect ratio might be changed as well. If you select this option, be sure to go through each page and inspect it to see whether you're happy.
4. Layout options
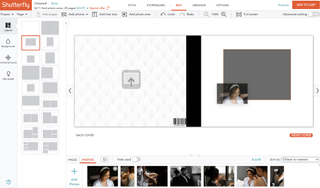
No matter which arrangement option you chose, you can still customize each page to your liking. To do this, select the page you want to work on by using the arrows placed either side of the book. Then, click on the individual page you want to work on and go to the Layout tab on the left. You can then scroll through the design choices for the page and choose the option that works best for your image.
Unless you're working on the cover of the book (where the design options will be slightly different), there will be a choice of how many photos you'll have in the layout at the top of the box, ranging from 1 to 5+.
Once you've chosen the desired layout for the page, all you need to do is scroll along your images at the bottom of the screen and drag your chosen photo into the grey box.
5. Making the crop
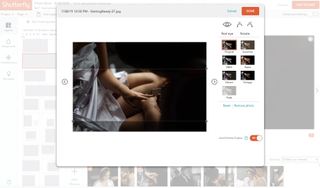
If you choose a layout option with a non-standard aspect ratio, then you might find your image doesn't quite work with the automatic crop. However, don't fear! Simply click on the photo once it's been dragged into the box to bring up this screen. You can then decide which part of the photo is displayed by using the arrows. Just be mindful of placing an important part of the photo (such as a face) in the gutter (the middle of the book).
6. Preview your photobook
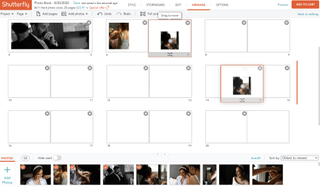
Once you've designed your Shutterfly photo book, it's best to take a bird's eye look and see whether the design flows nicely. Go to the 'Arrange' tab at the top of the window to bring up an overview of the book. You can now move entire pages around – which is a great way to quickly solve any problems without having to redesign the entire book.
Once you're totally happy with your photo book, go to the 'Options' tab at the top of the window to make your final decisions on the design. Here you can refine your cover choices, remove the Shutterfly logo from the book (this will be printed onto it automatically otherwise), add a memorabilia pocket and more. Just keep in mind that these extras will cost you more.
Finally, before you add your Shutterfly photo book to your cart and check out, click the 'Preview' link right next to the 'Add to cart' button to flick through the finished product and double-check for any mistakes.
Read more
Best picture frames: hang your images in style
Best digital photo frames
Best gifts for photographers
Best photo calendars: create your own 2020 calendar
The best photo printing online
Best photo albums
Get the Digital Camera World Newsletter
The best camera deals, reviews, product advice, and unmissable photography news, direct to your inbox!
With over a decade of photographic experience, Louise arms Digital Camera World with a wealth of knowledge on photographic technique and know-how – something at which she is so adept that she's delivered workshops for the likes of ITV and Sue Ryder. Louise also brings years of experience as both a web and print journalist, having served as features editor for Practical Photography magazine and contributing photography tutorials and camera analysis to titles including Digital Camera Magazine and Digital Photographer. Louise currently shoots with the Fujifilm X-T200 and the Nikon D800, capturing self-portraits and still life images, and is DCW's ecommerce editor, meaning that she knows good camera, lens and laptop deals when she sees them.
