Watch the video: how to use extension tubes for macro photography
Macro lenses are ideal for close-ups, but even the cheapest can cost you a couple of hundred notes. A good photography tip, and a less pricey solution, is to use an extension tubes – these fit between your camera and lens, enabling you to focus much closer with your current optic.
• More photography tips: how to take pictures of anything
There are two main types of extension tube. The cheapest sets cost about £20 ($32) but don’t have electronic contacts to retain communication between the lens and body. This means that they won’t enable metering on some lower spec cameras, and even on pricier bodies you’ll need to use a lens with a manual aperture ring.
Higher-end tubes come in at about £90-£150 ($145-$240), which contain the contacts and will work with almost all cameras and lenses.
Most tubes come in sets of three, with each tube a different length; the more you use at once, the nearer you’ll focus. With one tube you will get closer by using a lens with a longer focal length. With a standard zoom, set it to the longest focal length for the best results.
• Best camera for macro photography
1. Sort camera settings
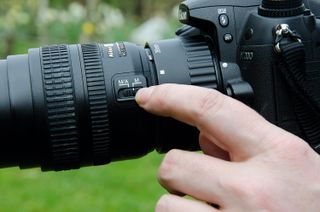
Before you attach a tube, it’s worth setting the camera to Aperture Priority mode. This will give you a say over depth of field, which is critical for close-ups. It’s also best to focus manually, as autofocus often won’t give the control or accuracy that you need for macro shots.
2. Attach a tube
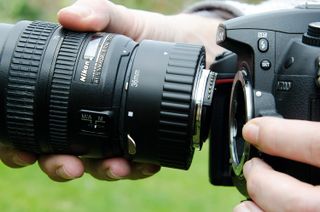
Once you’re familiar with using extension tubes, you’ll get a feel for which size you will need for particular subjects. However, when you first try them, you’ll need to experiment with different-length tubes. Fit the longest of the tubes provided in your set first.
• Best extension tubes for Canon, Nikon, Sony & other cameras
3. Check magnification
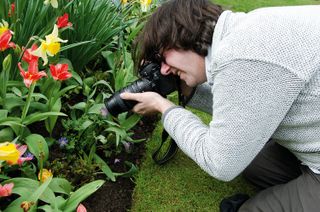
With a tube and lens on the camera, check whether the combination gives the magnification that you want for your subject. Roughly position the camera, and slowly move back and forth until the subject is in focus. Decide whether the magnification is right.
4. Mix and match
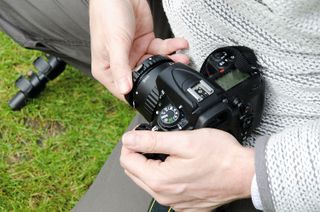
If you want to get closer to the subject, you’ll need add an extra tube. If the magnification was too high, though, you’ll need to swap the tube for one of the smaller ones in your set. Repeat the last step until you’re happy with the magnification and basic framing.
5. Fix the camera
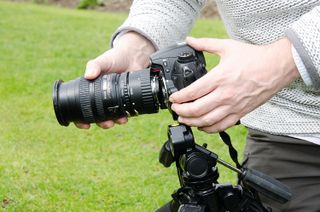
Although you can handhold the camera for this technique, most macro shots will be sharper if you use a tripod. Take your time to get the position and framing just right, and ideally use a remote shutter release to minimize any chance of camera shake ruining your image.
6. Fine-tune focus

With your camera in position you can use the manual focus ring to fine-tune things, although its effects will be limited to a very small range when you’re using extension tubes. Finally, you can set the aperture to suit the depth of field you want. Then take your shot!
More videos:
147 photography techniques, tips and tricks for taking pictures of anything
Focus stacking: how to get amazing depth of field in macro photography
Pet photography tips: how to get great pictures of dogs
Sunset photography: tips and settings for perfect pictures


