How to use key lighting and fill lighting in portrait photography
Get to grips with key lighting and fill lighting to achieve perfectly illuminated portraits
Watch video: Key lighting and fill lighting for perfect portraiture
Key and fill is one of the most fundamental concepts in lighting. It’s a reliable technique not just for portraits, but for lots of different subjects.
In essence a key and fill are two light sources – one slightly stronger than the other. The key light is the main light used to illuminate our subject, while the fill light provides a lift to the shadows. It’s such an effective technique for lighting because it gives depth and form to our subject; it provides a play of light and shade across them, and it’s this that creates a sense of depth and shape to the face of our model.
What’s more, by tweaking the ratio of our two light sources we can control the contrast over our subject. With a low-strength fill light the contrast will be strong, and with a higher fill light the contrast will be less severe.
• Read more Portrait photography tips
• Get more photoshoot ideas

Our two light sources for key and fill could be anything we like: studio flash, speed lights, LEDs, sunlight, reflectors… even your phone torch. Initially we’ve used two LEDs in the studio, and then we also explore using flash both indoors and out.
You can also get technical with it and measure the differences using a light meter. This level of precision is great practice, but it’s not essential. You can also take a few test shots and eyeball it, judging the strength of the fill.
Let's take a look at how this simple setup can lead to great portraits in the studio, and all kinds of other scenarios…

01 Position the lights
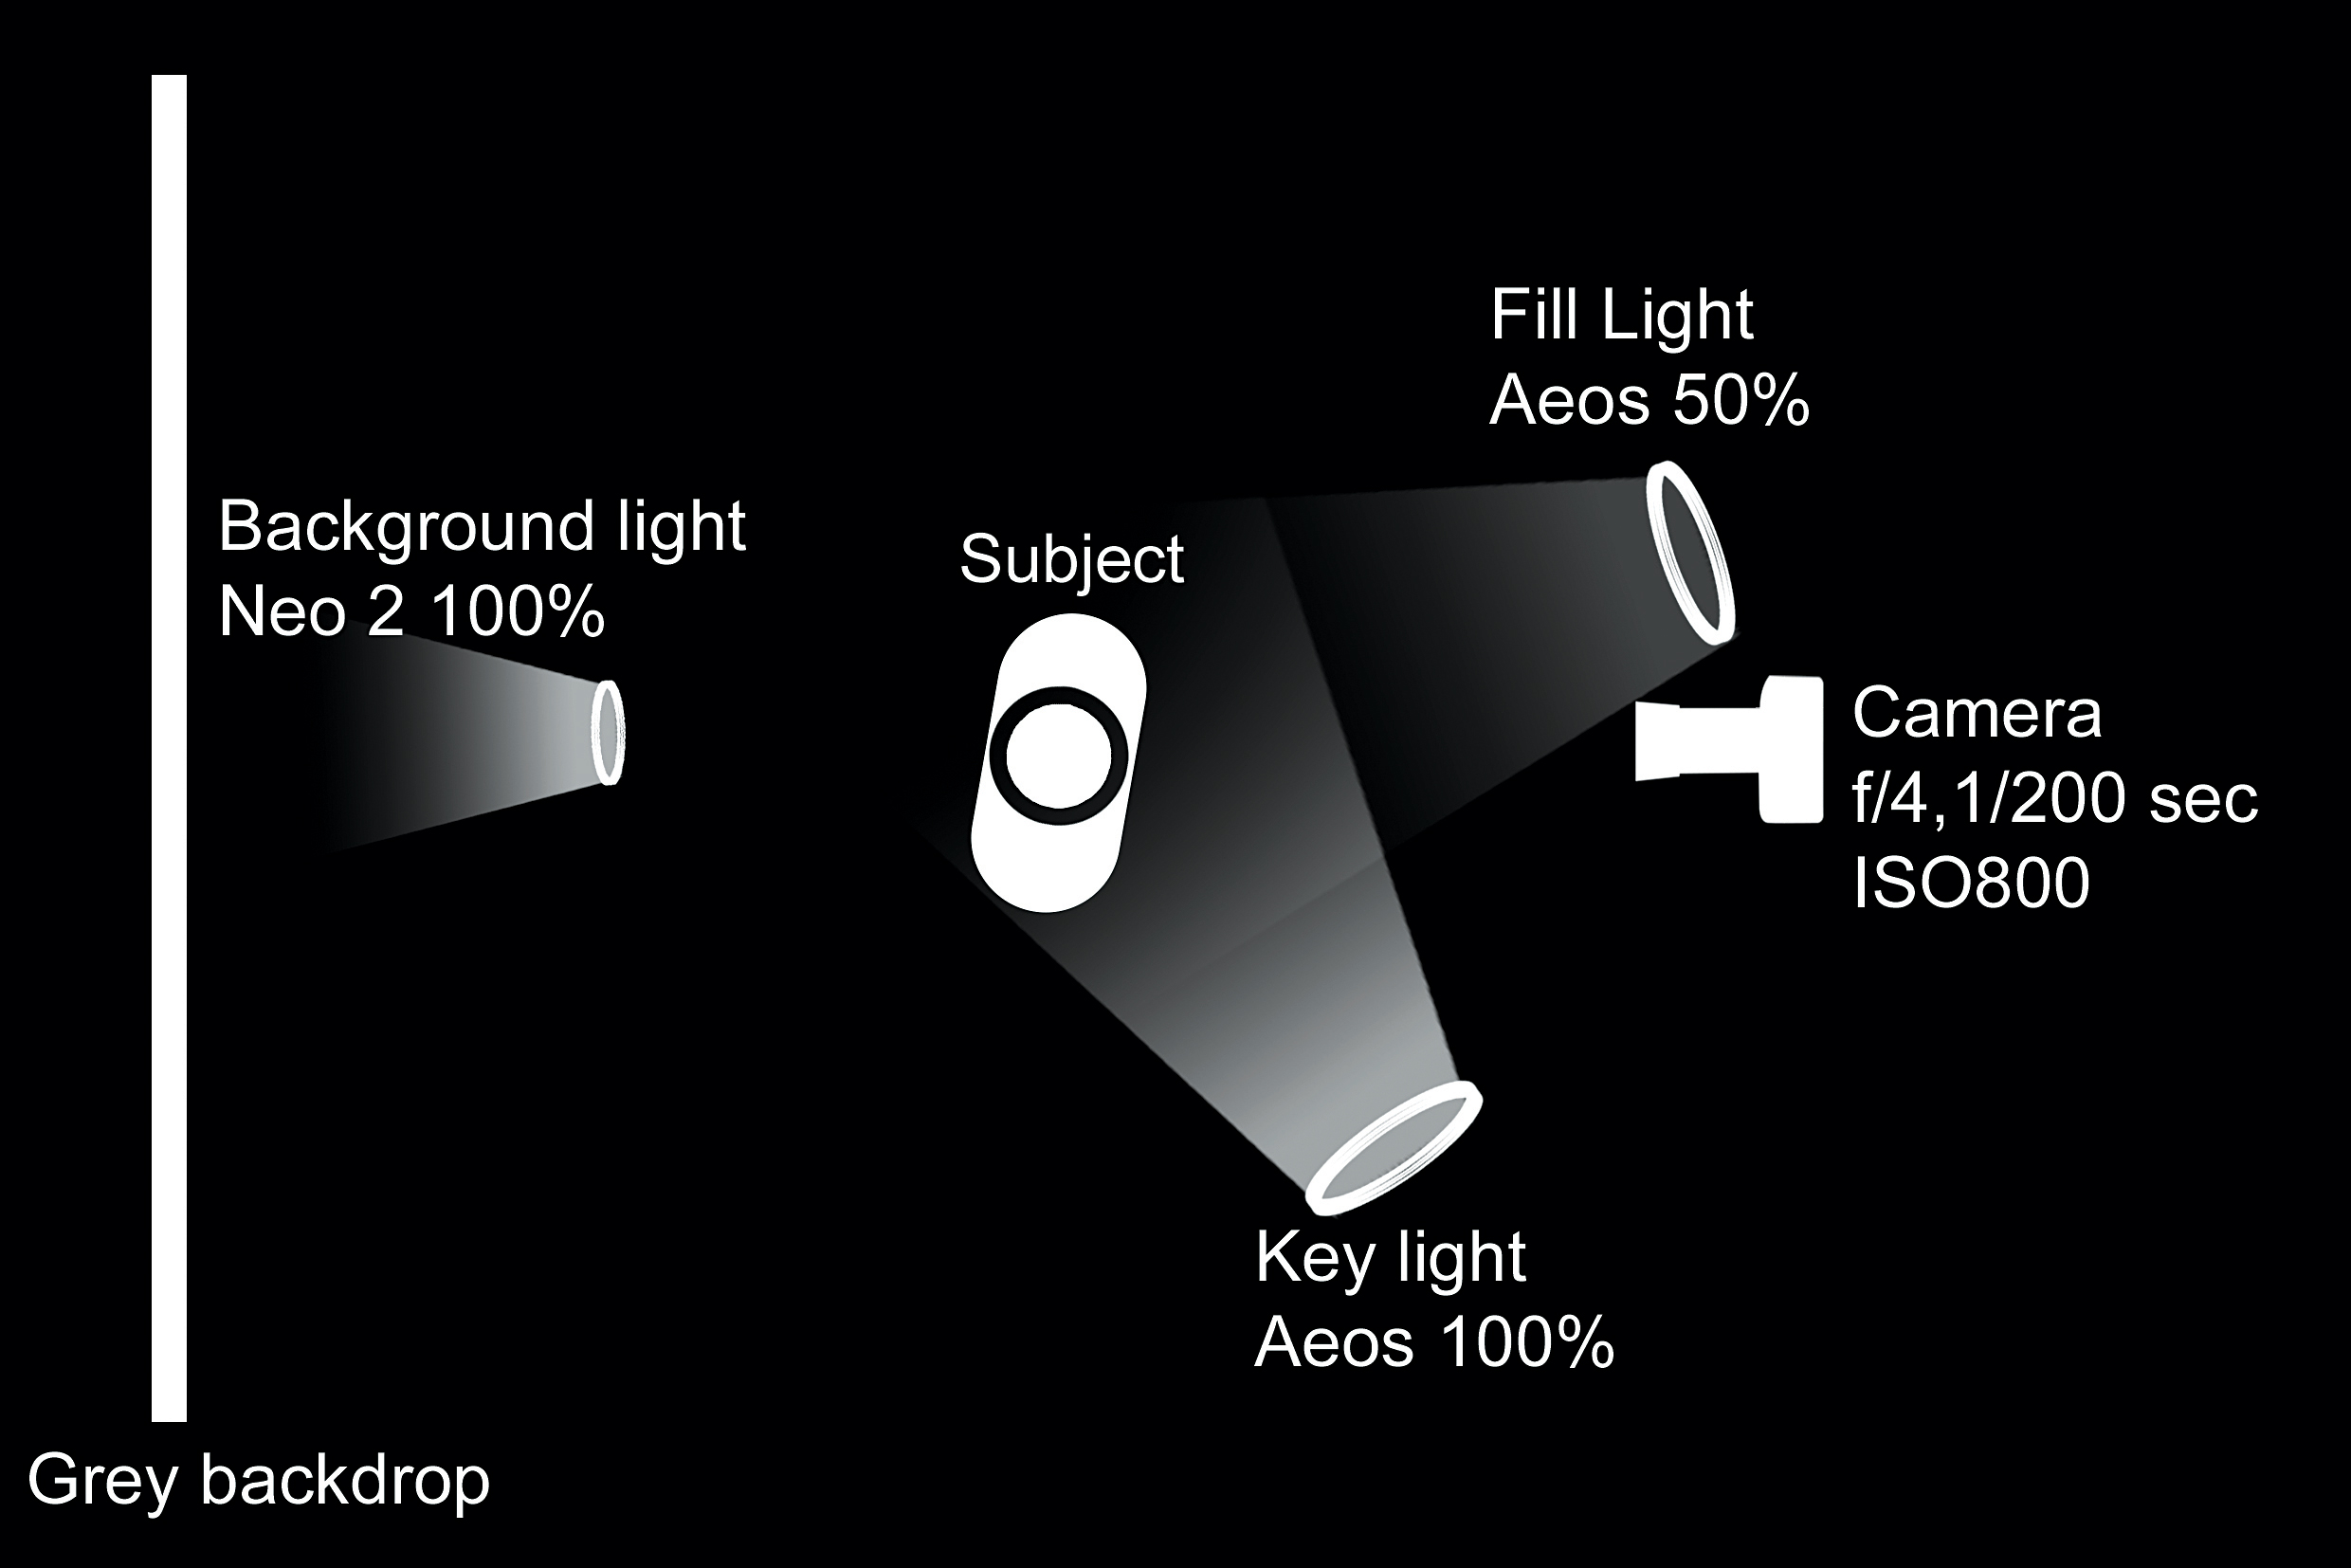
When setting up for key and fill it can be helpful to turn each light on in turn, and carefully perfect them one at a time. This takes some of the guesswork out of lighting when you begin to use two or more lights. Start by placing the lights in an 8 o’clock and 5 o’clock position.
02 Perfect the key
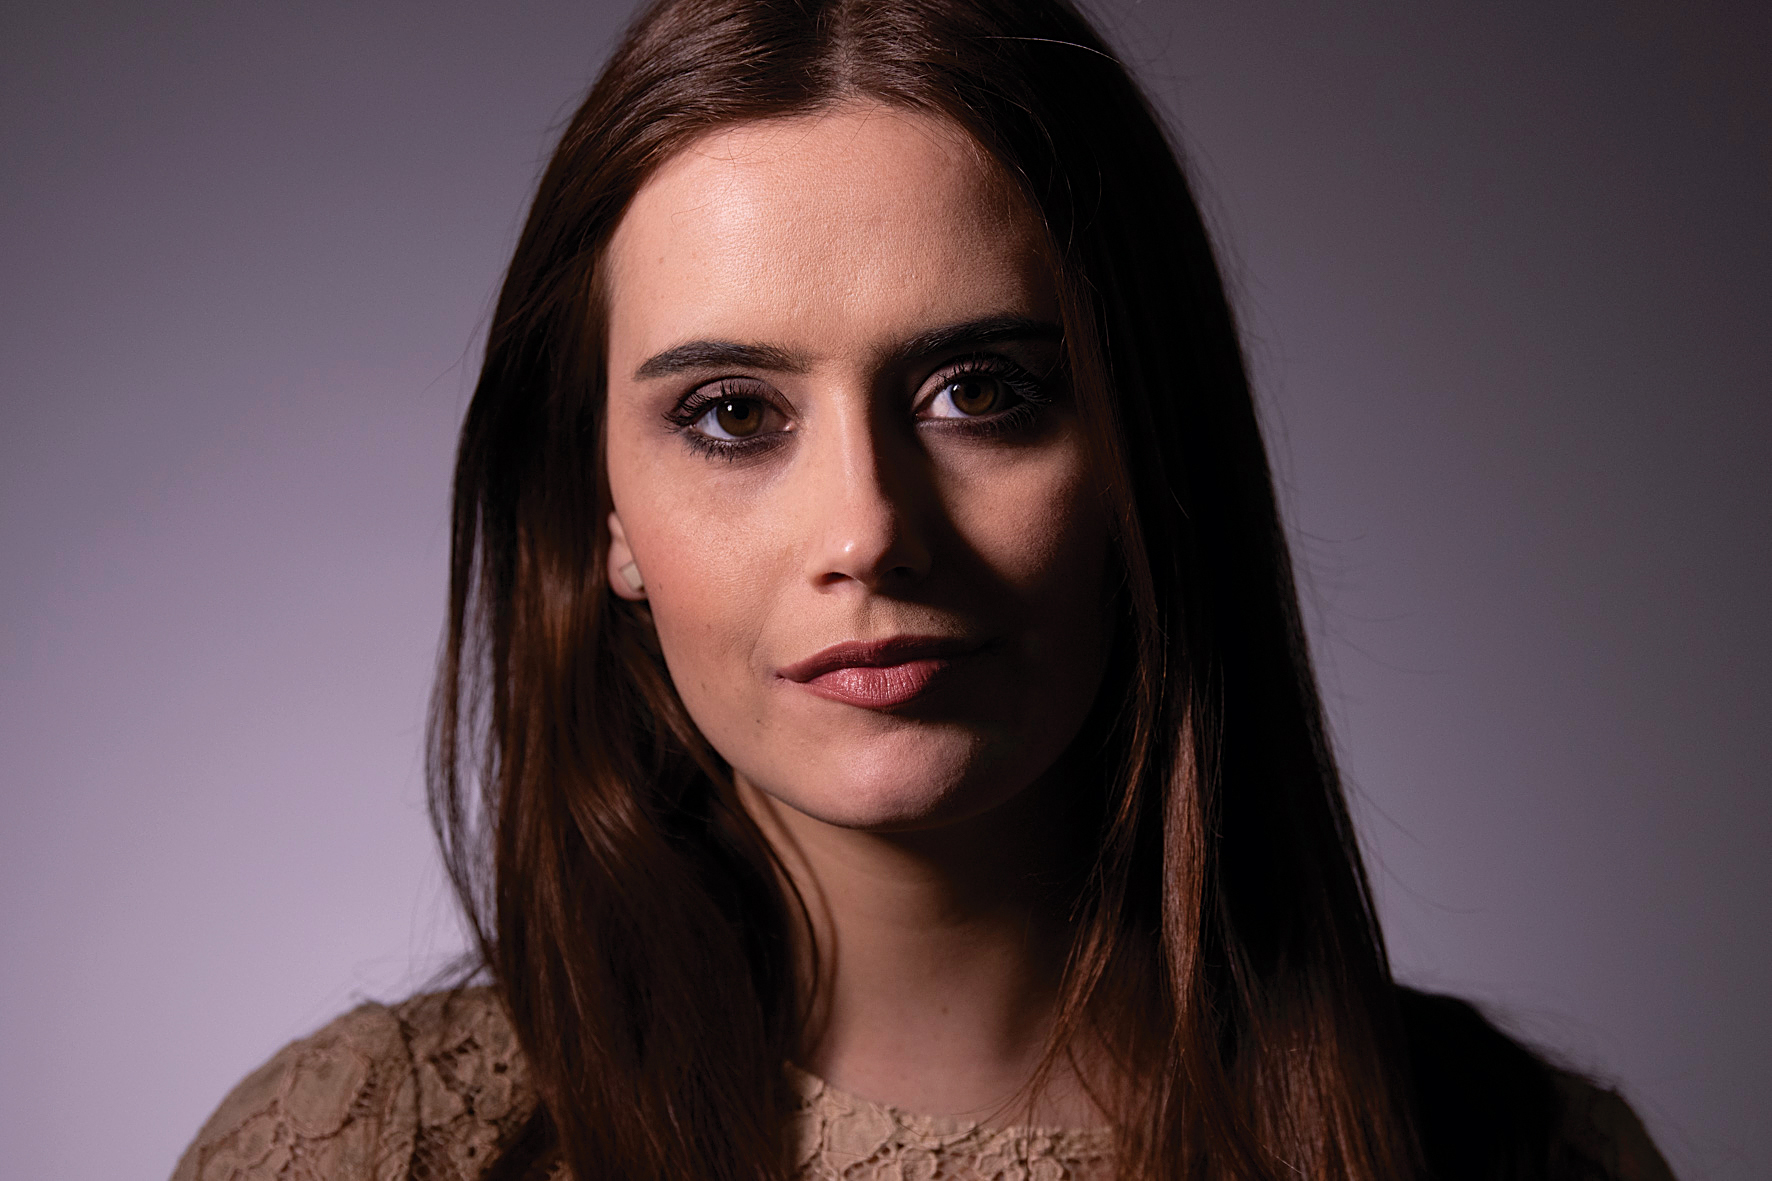
Turn on the key light and take a test shot, keeping the fill light turned off. Note how the directional light gives the face a three-dimensional quality, but at the moment the shadows on the other cheek are far too deep and the contrast is too much.
03 Control the fill
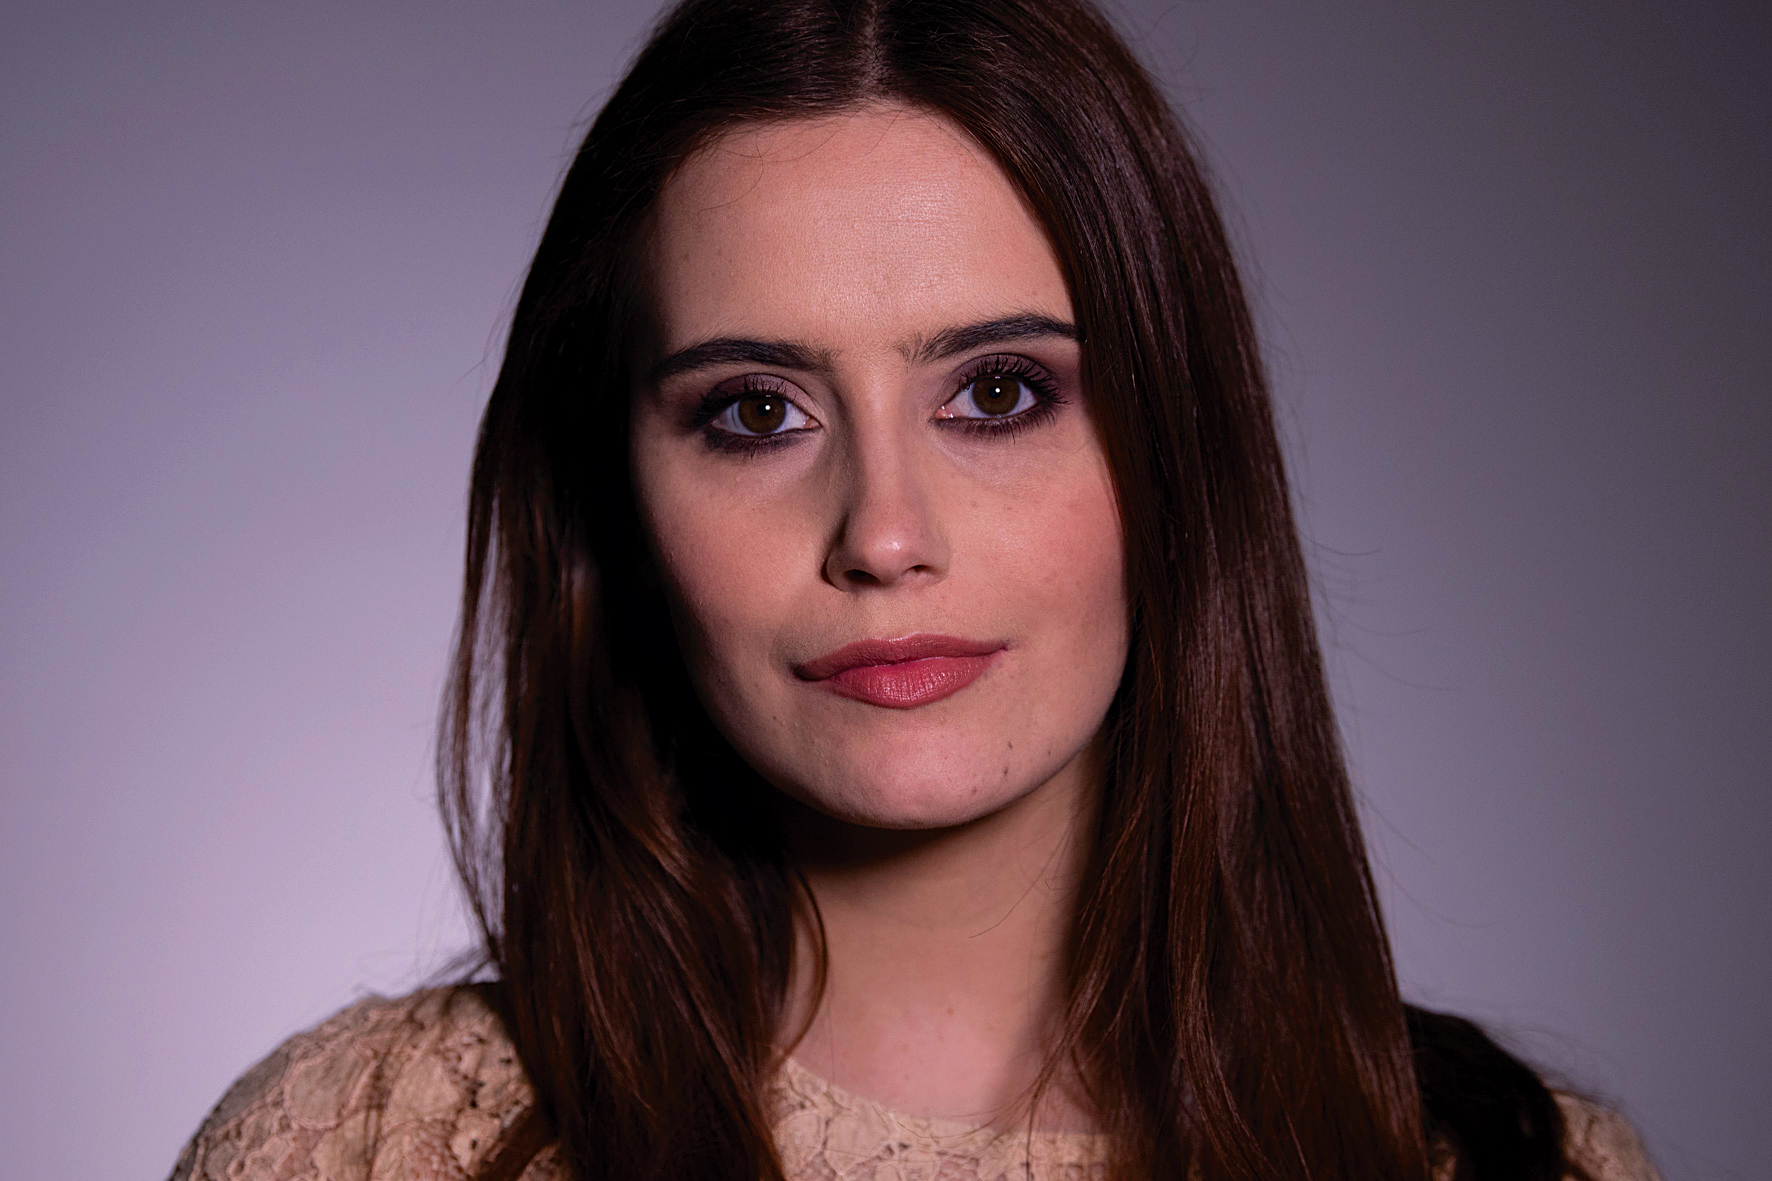
Now turn off the key, and turn on the fill. Make sure the exposure is locked, then take another test shot. The aim is an underexposed portrait, like so. You can see from the shadows cast by the nose that the fill light is straighter on than the key light, giving the lighting a flatter look.
04 Combine the two
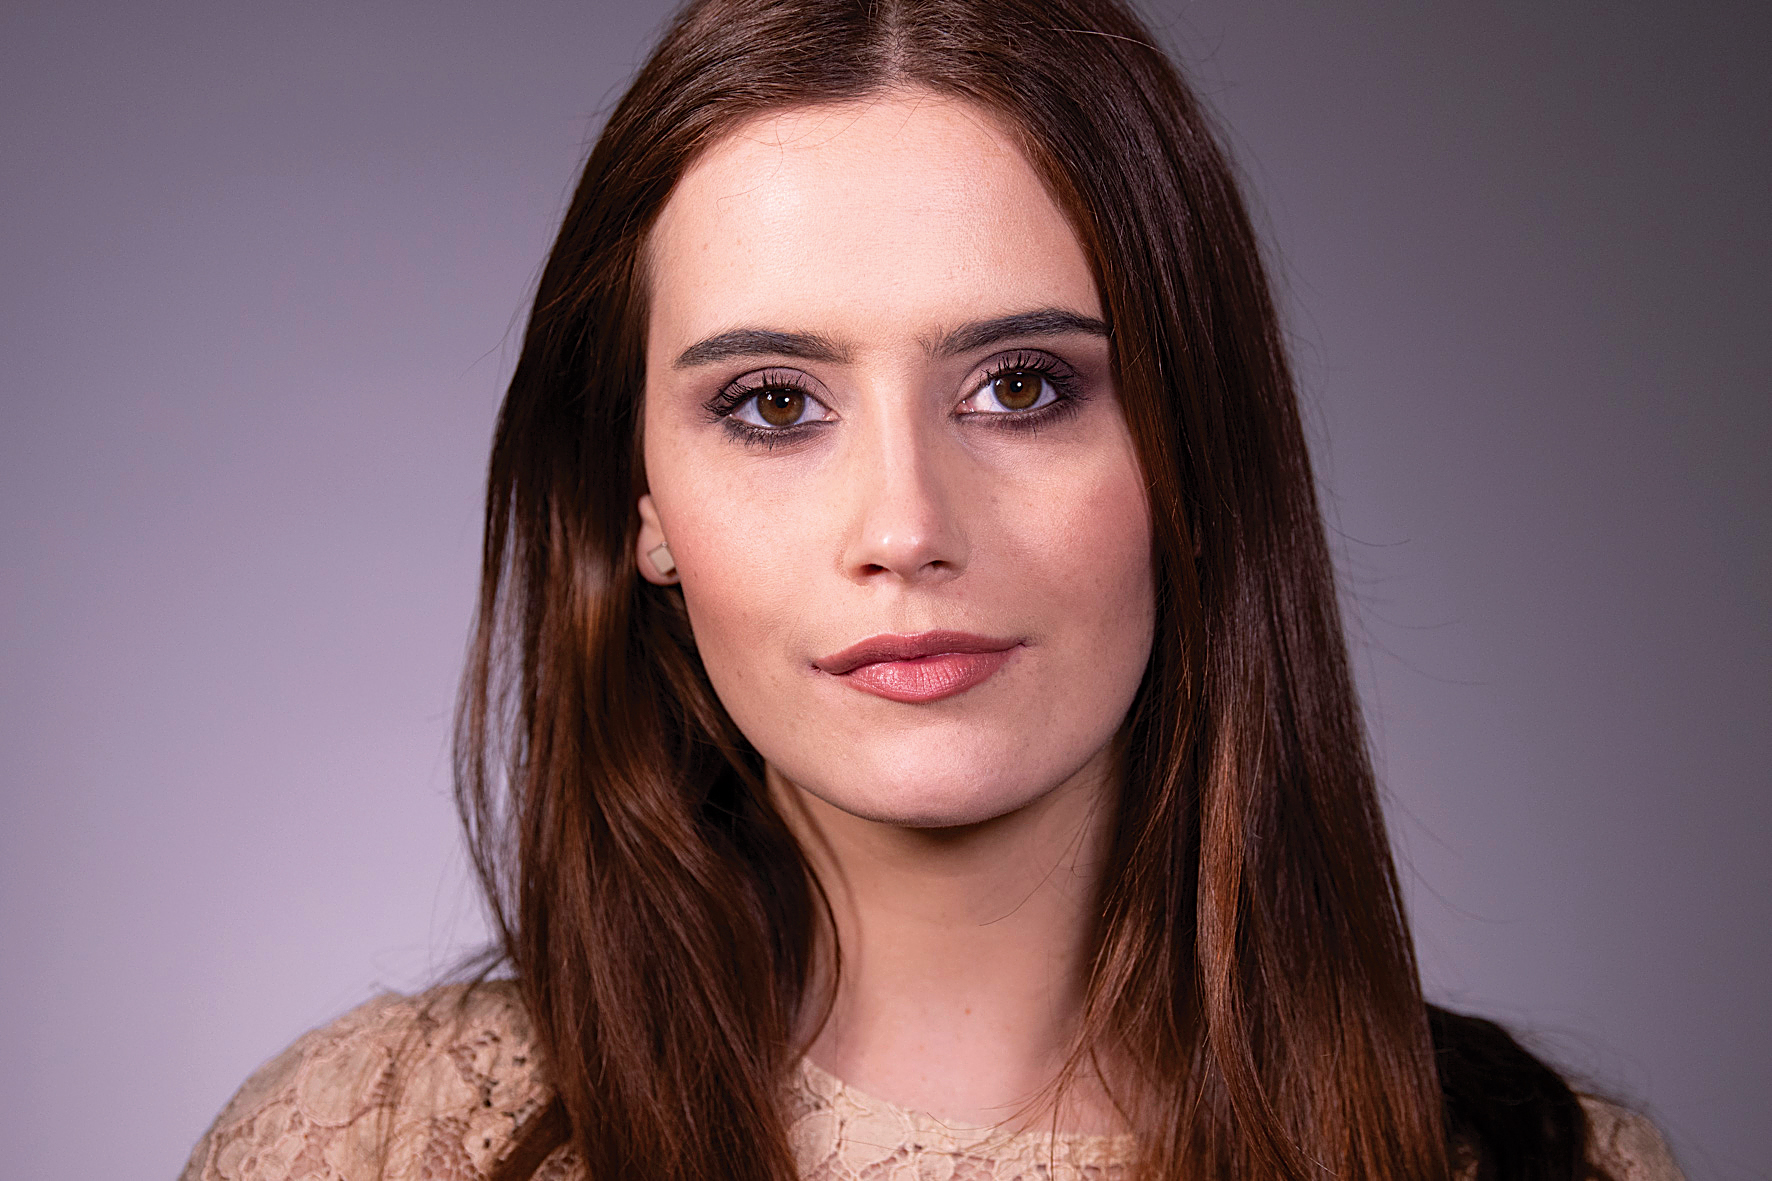
Now we turn on both key and fill lights, then meter the exposure again and take a shot. The fill light lifts the deep shadows and gives us balanced lighting. The ratio between key and fill is fairly even, so our contrast is subtle. We could power down the fill for more contrast.

Key lighting and fill lighting with flash
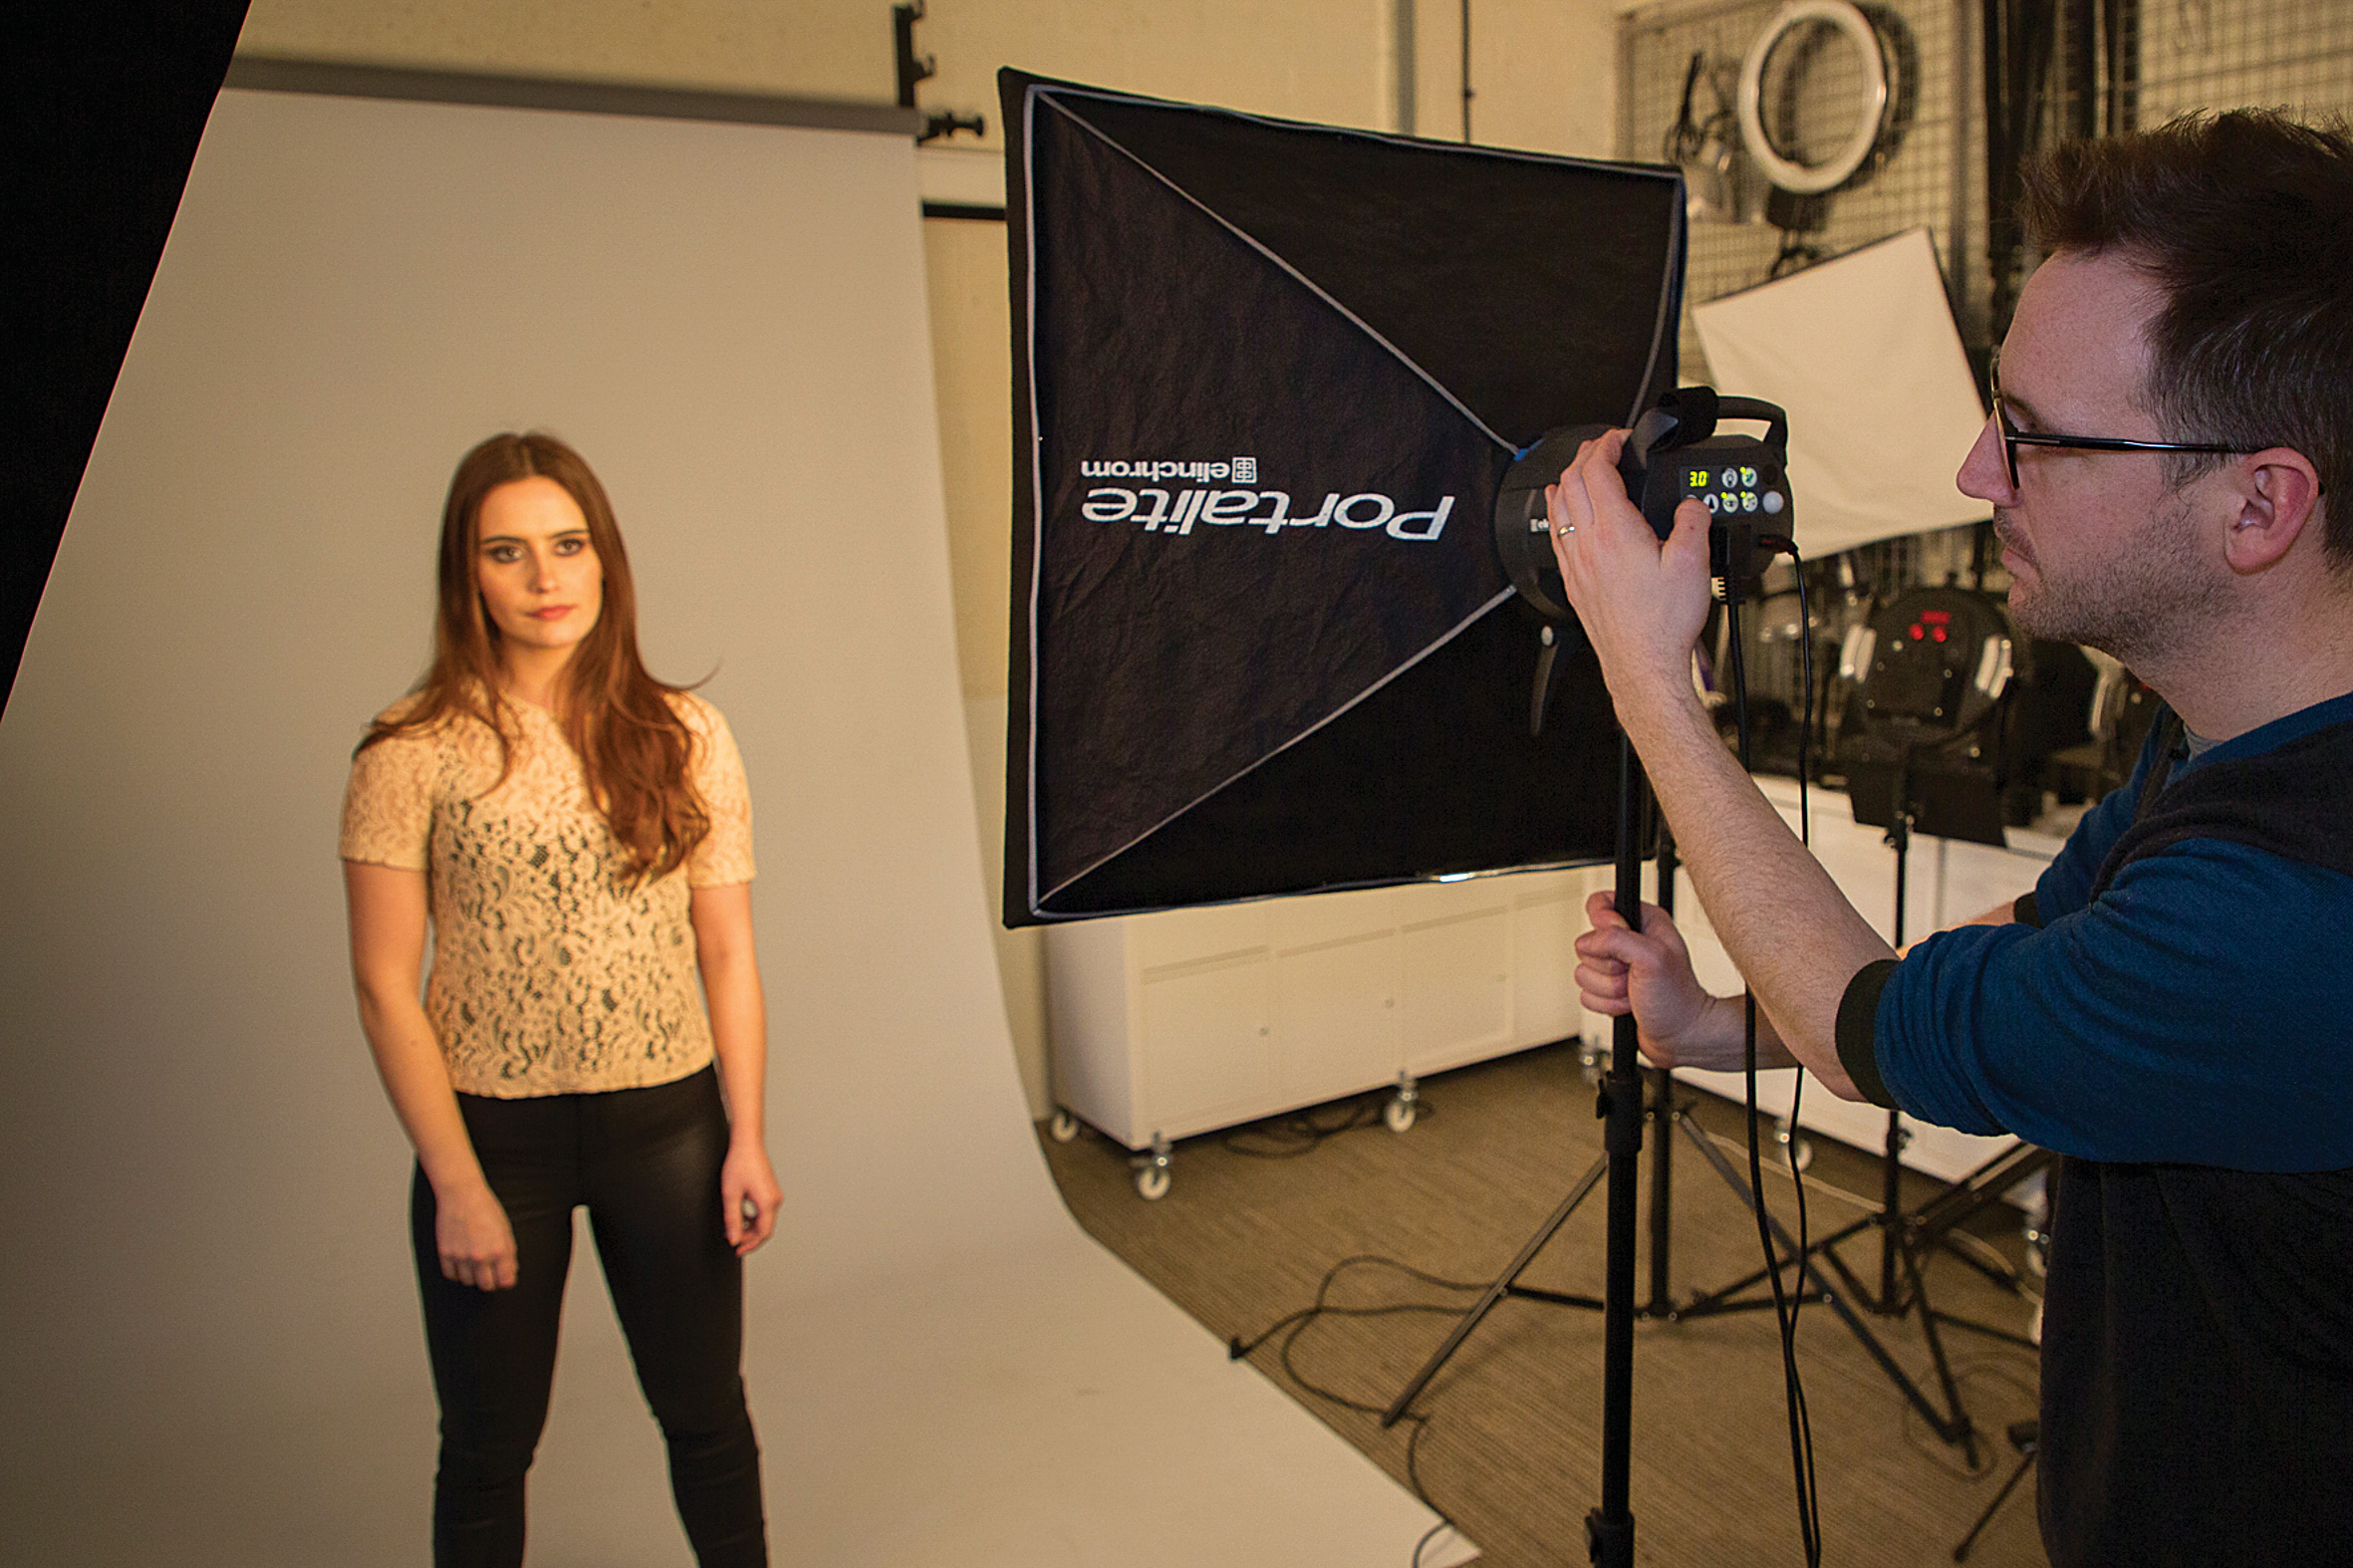
Here we’ve switched to studio flash for our key and fill, using one large softbox to the left of the camera for the key and a second small softbox to the right for fill. We’re shooting in manual at 1/200 sec, f/8 and ISO100.
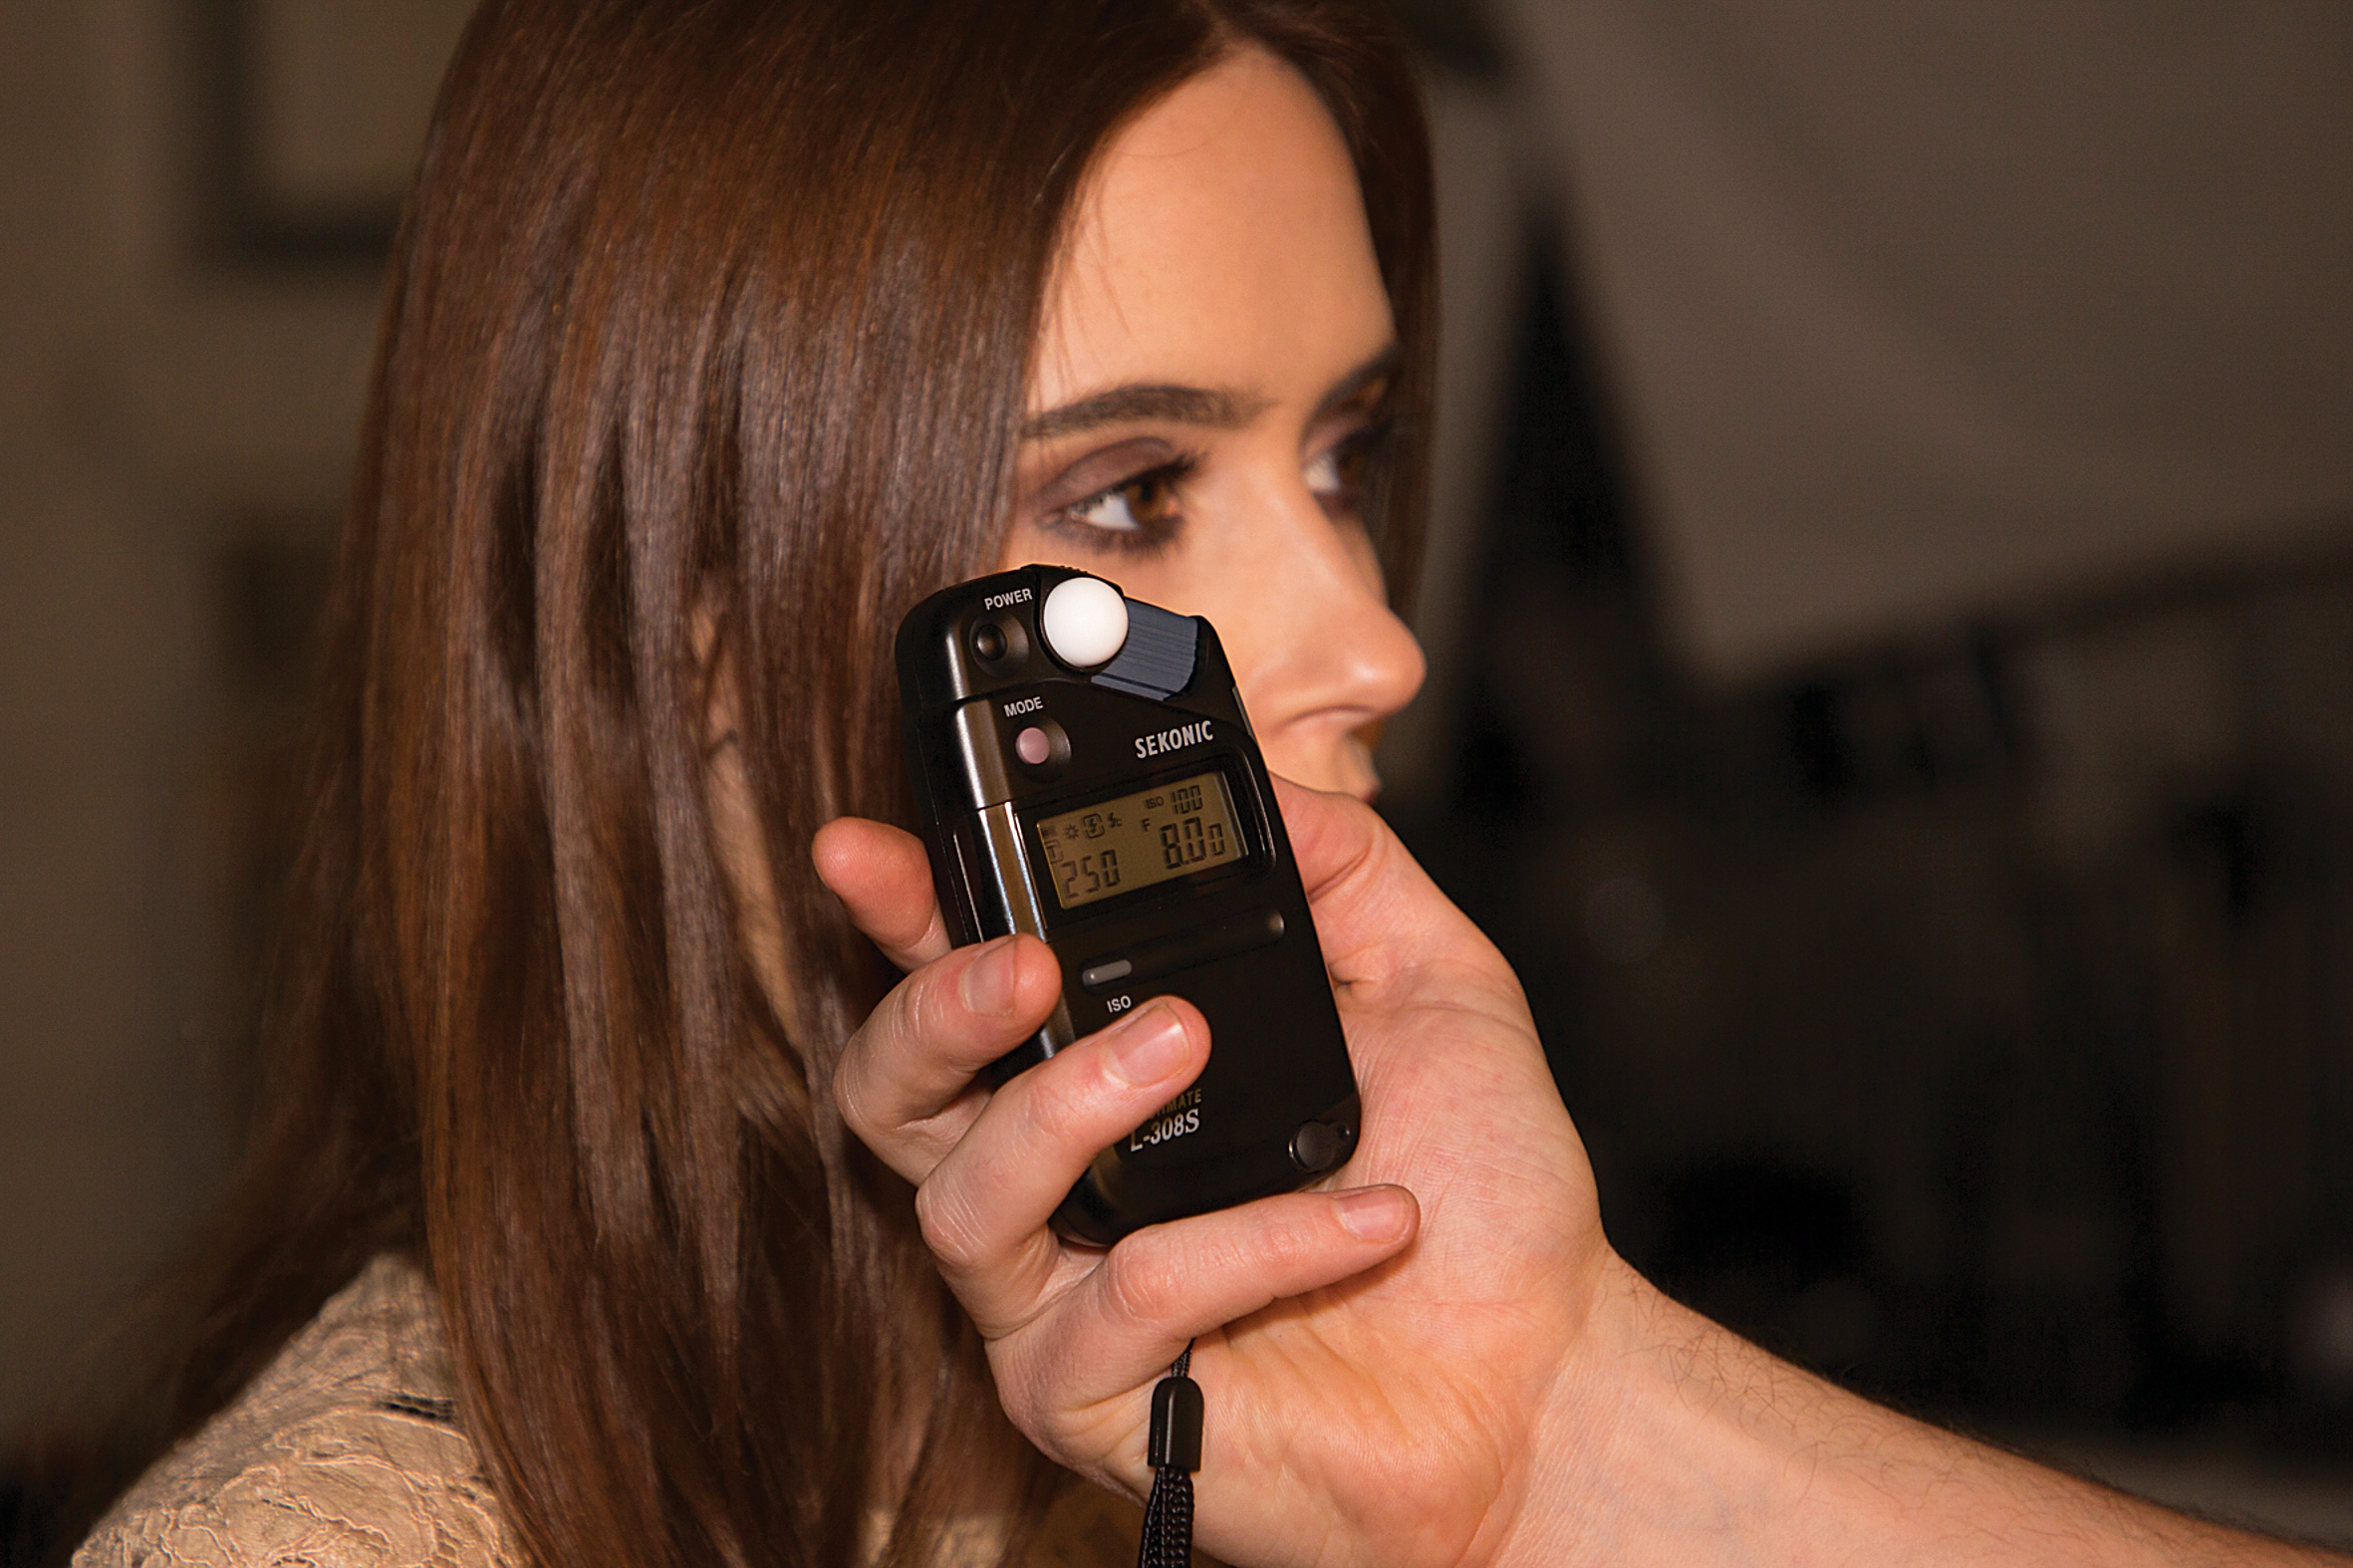
Meter the flash by holding an incident light meter up to the face, angled towards each light (with the other turned off). With our key at f/8, we can set the fill between f/8 and f/2 to control the shadows.

Fill lighting outdoors
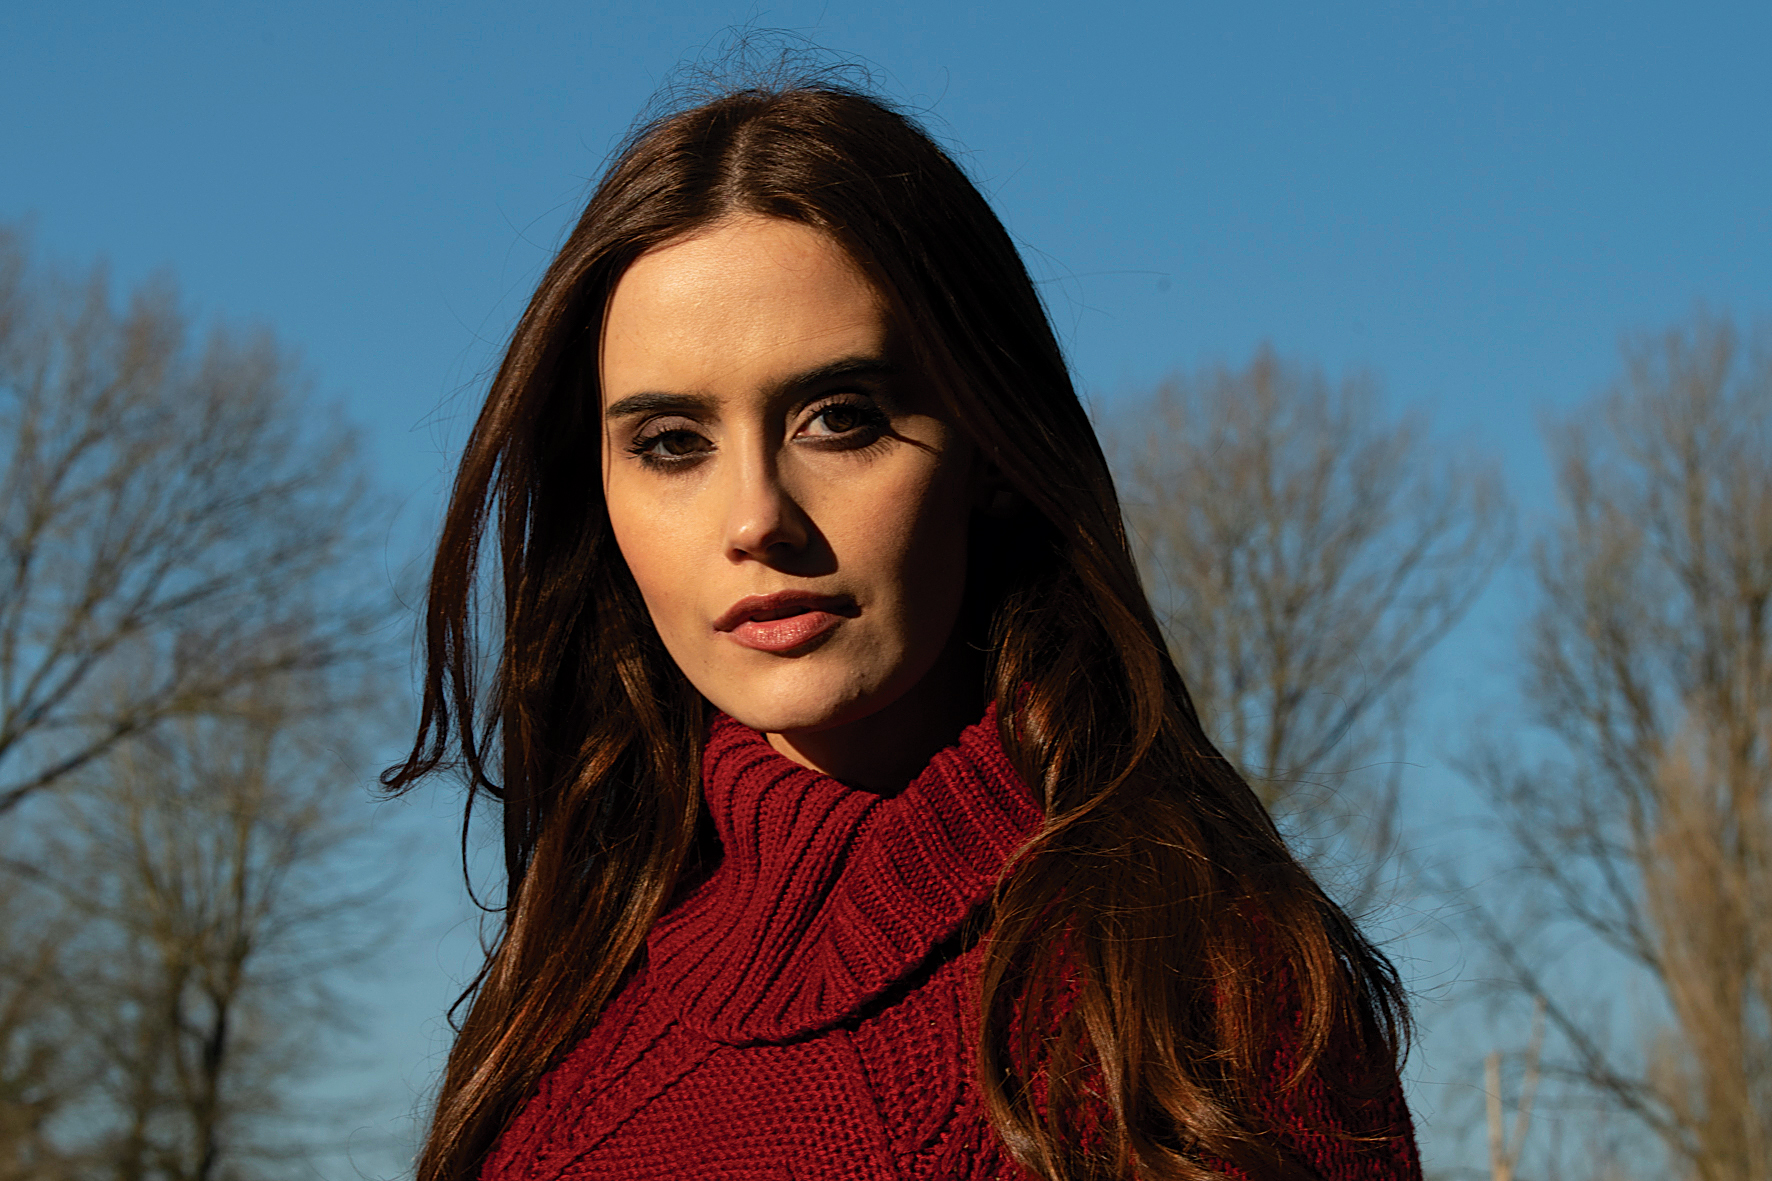
Expose for the sun
When shooting outdoors with a speed light we can use the sun as a key light and the flash as a fill, or vice-versa. Just like before, we begin by metering for the key light while leaving the fill lighting off, resulting in a high-contrast sunlit portrait.
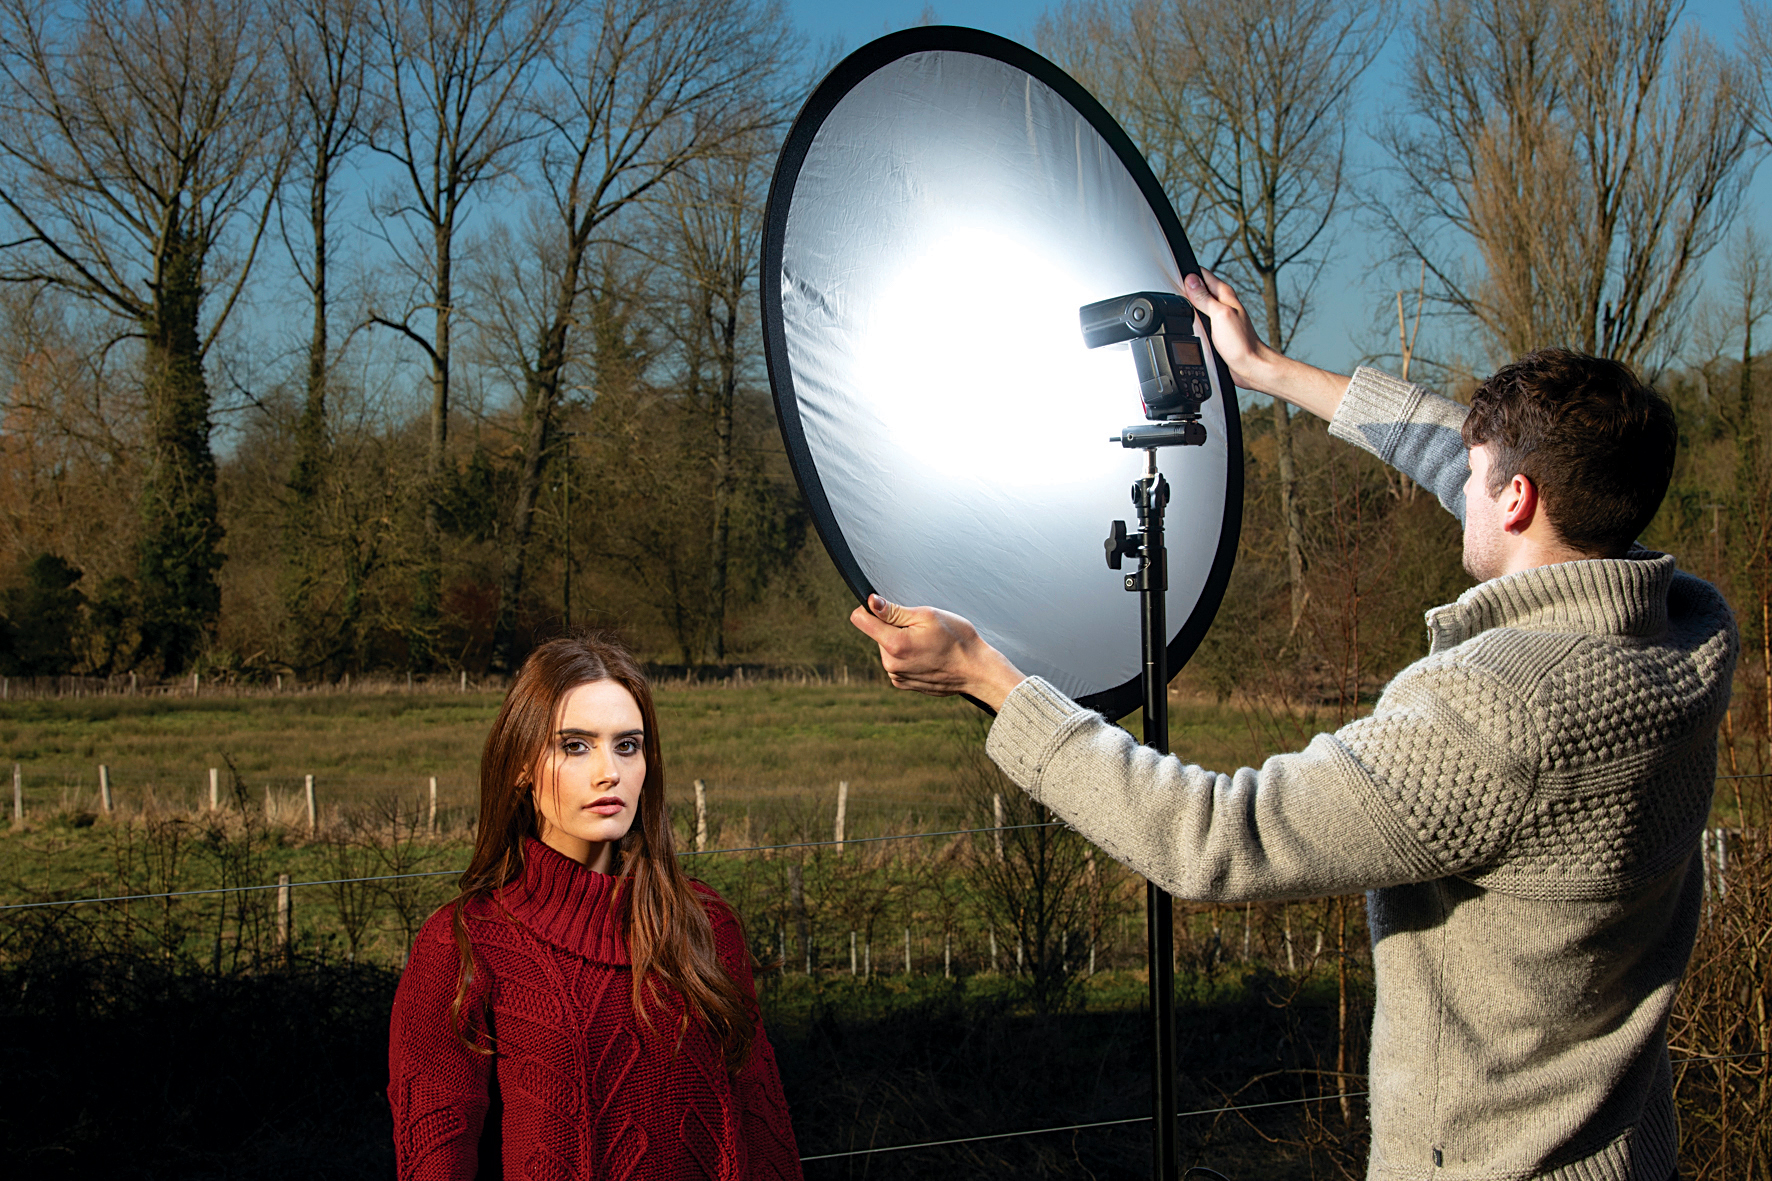
Position the speed light
Next, we turn on the speed light and position it opposite the angle of the sunlight to fill the shadows and reduce the contrast over the subject’s face. The flash is in manual at 1/2 power, and fired through a diffusion panel from a 5-in-1 reflector to soften the light.
• Best reflectors for photography
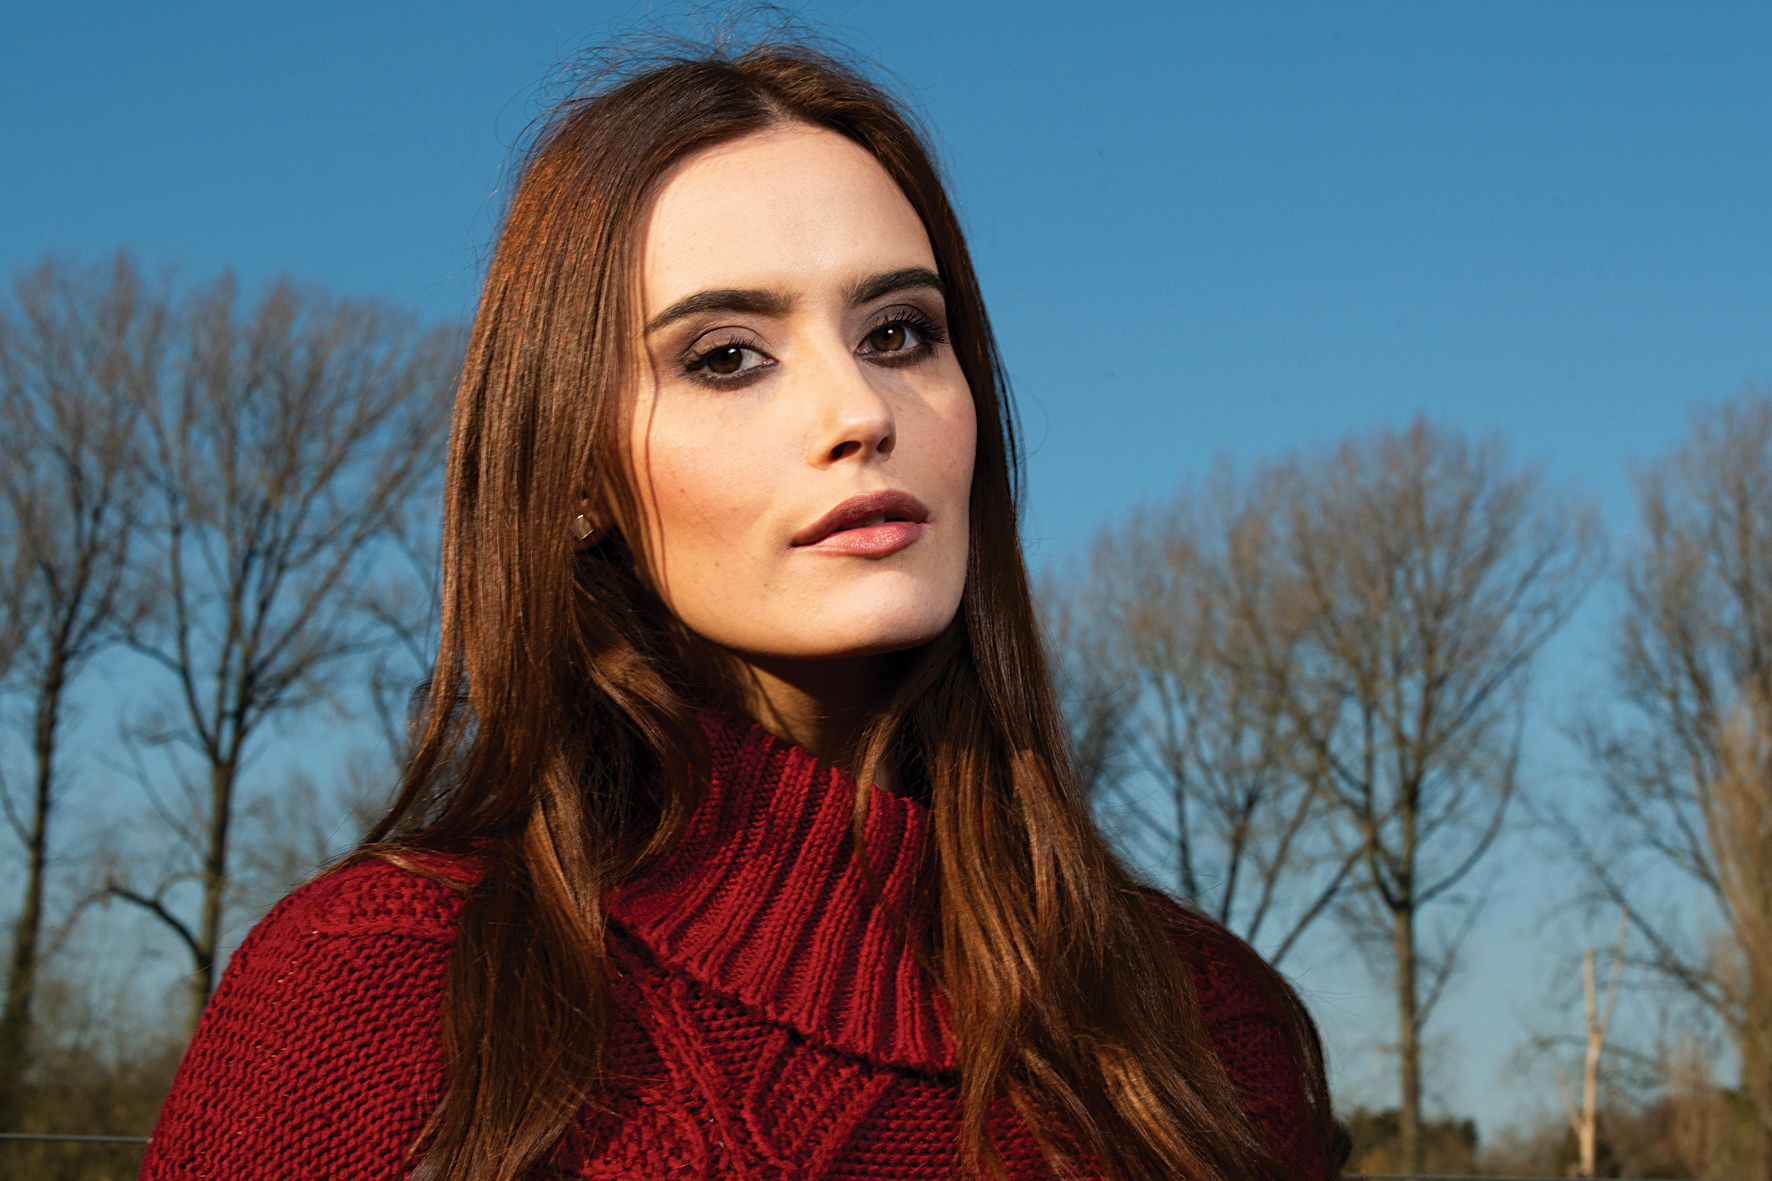
Lift the shadows
The speed light fills in the shadows and reduces contrast. The burst of flash also has another benefit: it provides a catchlight in the subject's eyes. Finally we could increase the power of the speed light so that it overpowers the sunlight, resulting in the sun being our fill instead.

More videos:
Studio portrait lighting: essential tips and setups explained
Fill-in flash: tips and tricks for using a flashgun in daylight
How to practise portrait lighting without a model
Portrait photography tips
Get the Digital Camera World Newsletter
The best camera deals, reviews, product advice, and unmissable photography news, direct to your inbox!
The lead technique writer on Digital Camera Magazine, PhotoPlus: The Canon Magazine and N-Photo: The Nikon Magazine, James is a fantastic general practice photographer with an enviable array of skills across every genre of photography.
Whether it's flash photography techniques like stroboscopic portraits, astrophotography projects like photographing the Northern Lights, or turning sound into art by making paint dance on a set of speakers, James' tutorials and projects are as creative as they are enjoyable.
He's also a wizard at the dark arts of Photoshop, Lightroom and Affinity Photo, and is capable of some genuine black magic in the digital darkroom, making him one of the leading authorities on photo editing software and techniques.

