Best lavalier microphone: tiny mics to clip to your clothes
Our pick of the best lavalier microphones for filmmakers and sound recorders – just clip them to a lapel and go!
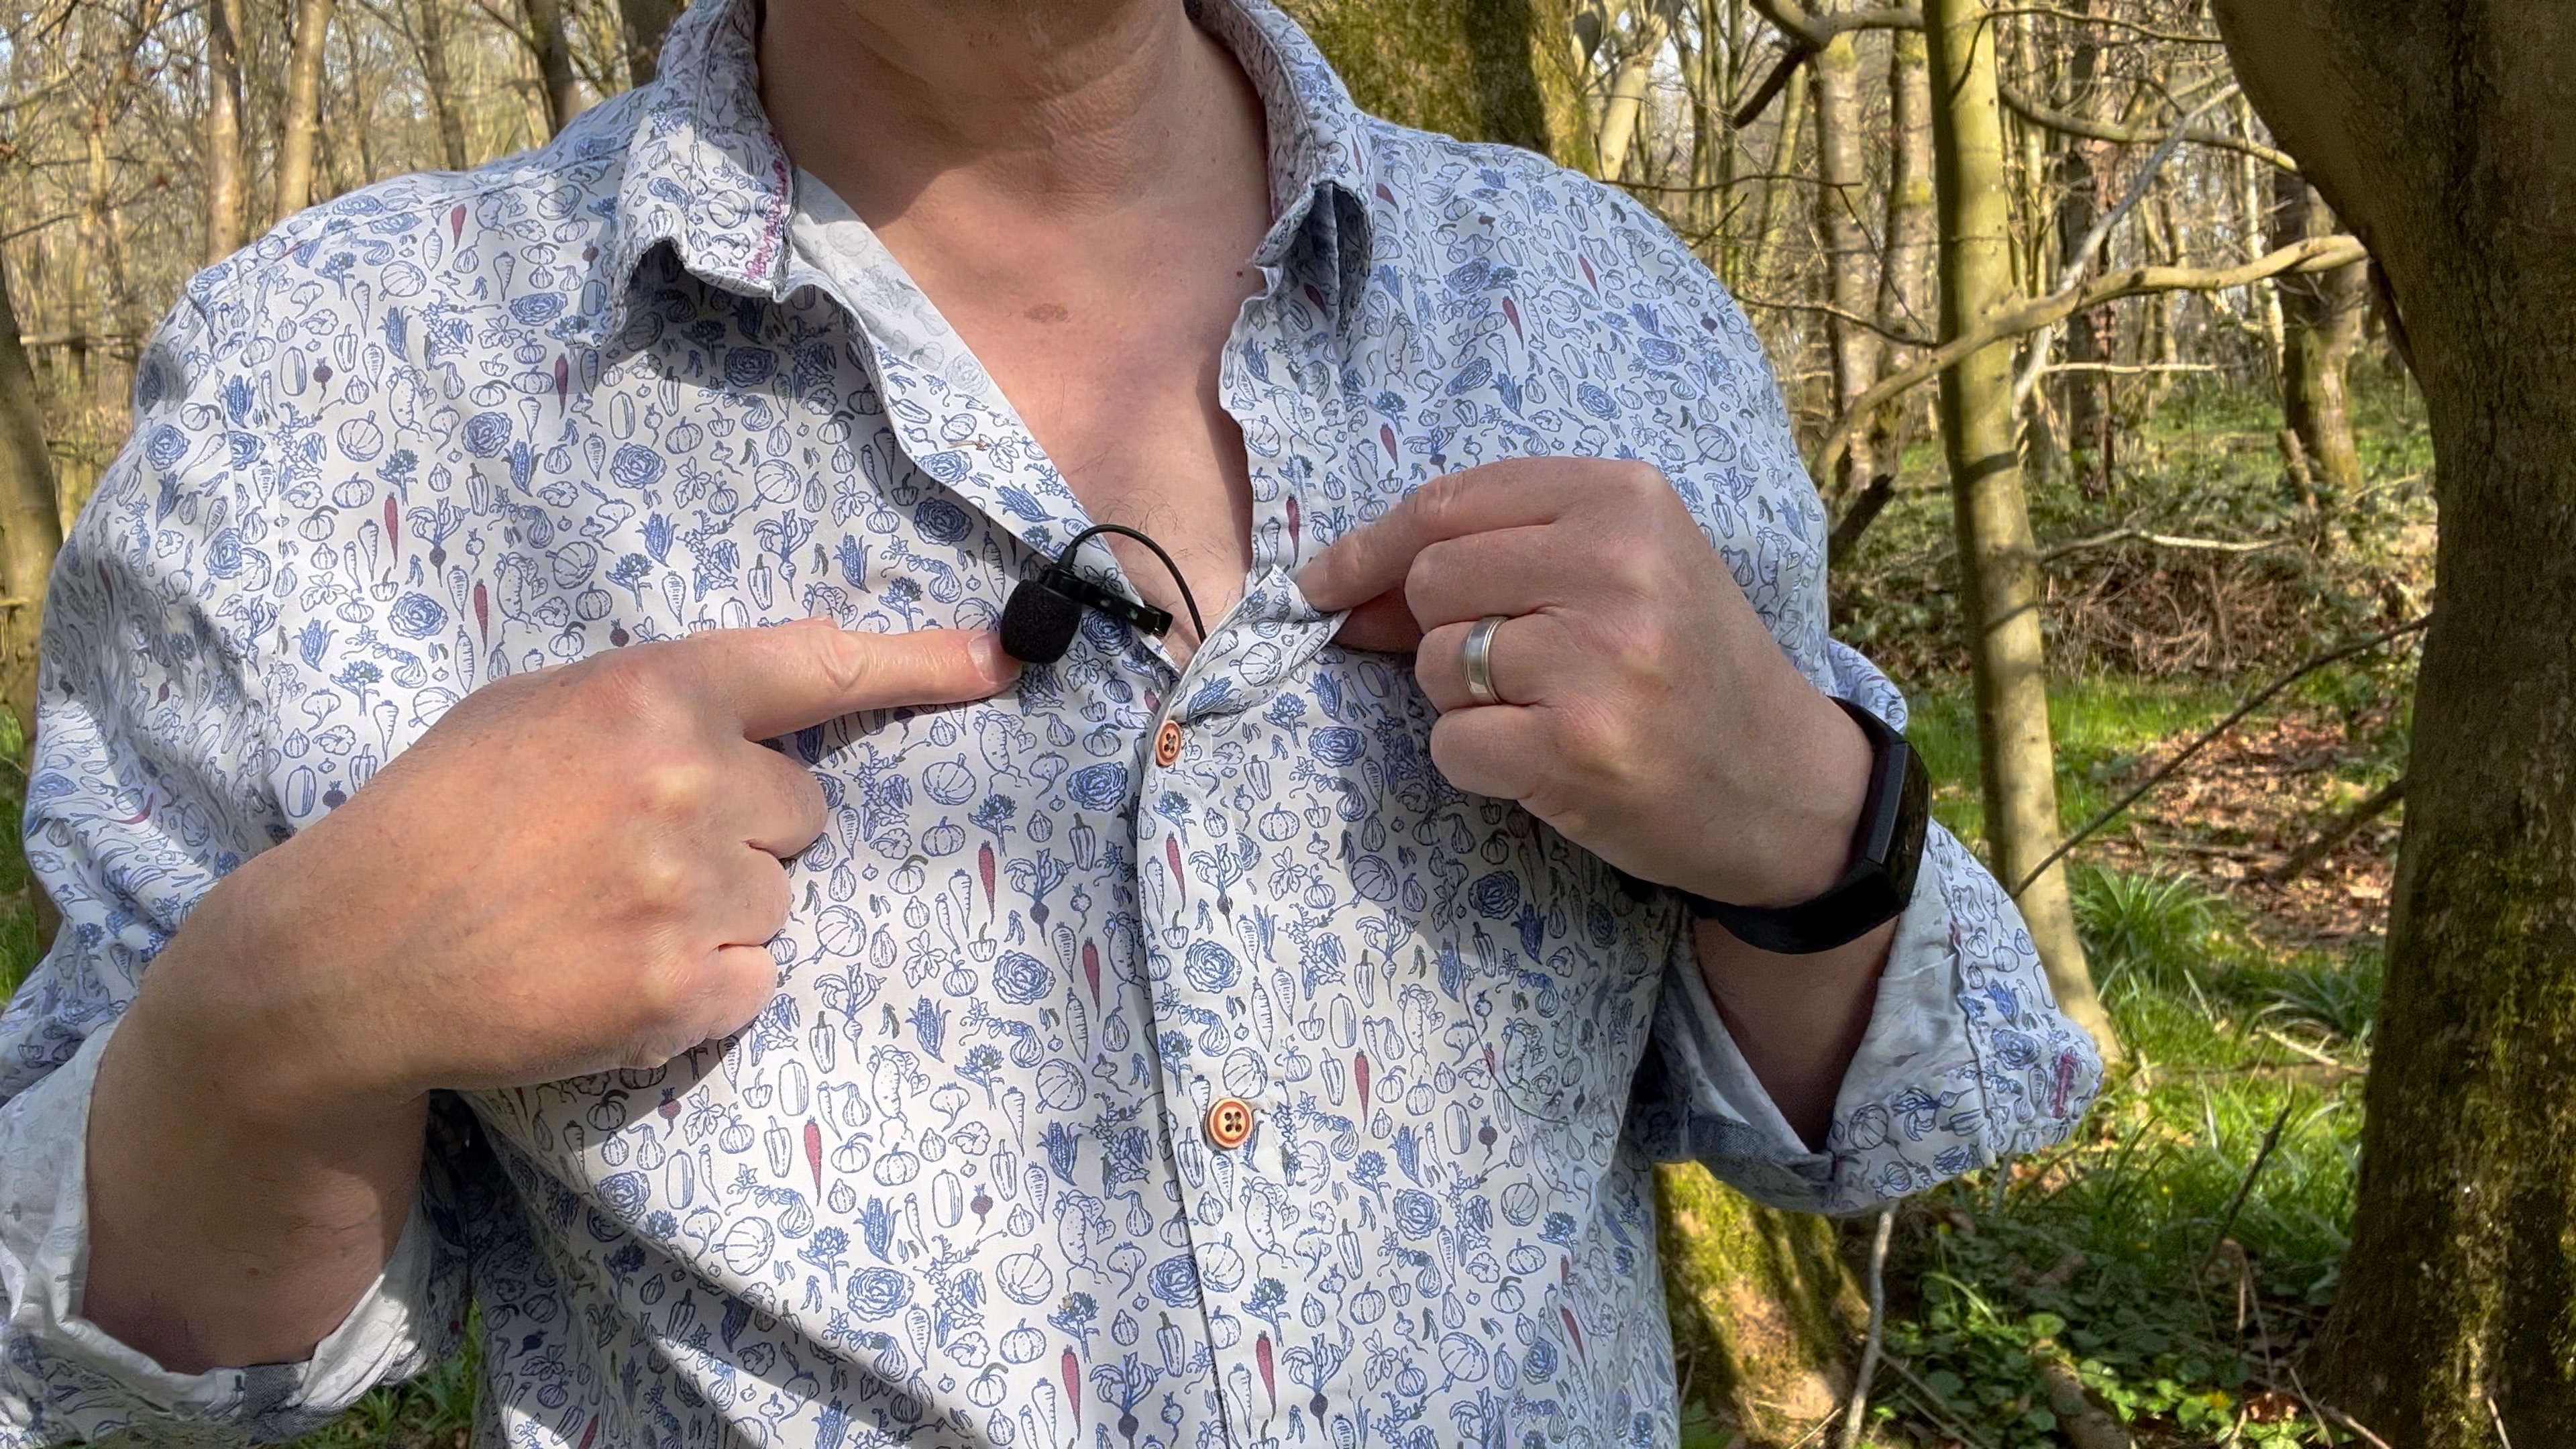
Our camera or smartphone’s built-in mic may capture good-quality sound when we're standing close to our device, but the quality will diminish when we move away from the camera. By clipping a lavalier (or lapel) mic to our clothing we can keep the mic closer to our mouth and ensure better quality sound. Lavalier mics clipped to our shirt consist of a small capsule that tends to record with an omnidirectional polar pattern. This means the mic will hear us if it’s clipped pointing up towards our mouth or downward (to minimize ‘popping’ caused by plosive words beginning with ‘p’ or ‘b’)
Some lavalier mics (such as the Joby Wavo PRO) can be plugged straight into your camera via their cable, though this physical mic-to-camera connection limits our ability to roam freely away from the camera. Other lavalier mics plug via their cable into a transmitter (usually attached to our belt). The transmitter then broadcasts our voice wirelessly to a receiver attached to the camera, giving us more freedom of movement.
Another option is to buy a Lavalier mic kit where the microphone is built directly into the transmitter. We can then clip (or magnetically attach) the transmitter directly onto our shirt or lapel. These clip-on transmitters are much quicker to deploy than trying to hide a traditional lav mic’s cable inside our shirt.
A classic cabled lav mic usually looks more subtle than having a larger transmitter box attached to our shirt, though new mics such as the Lark M2’s transmitters are as small as buttons, so they are just as discrete as a classic cabled lav mic. Whatever lav mic you buy from this guide it will enable you to capture better-quality sound!
The Quick List
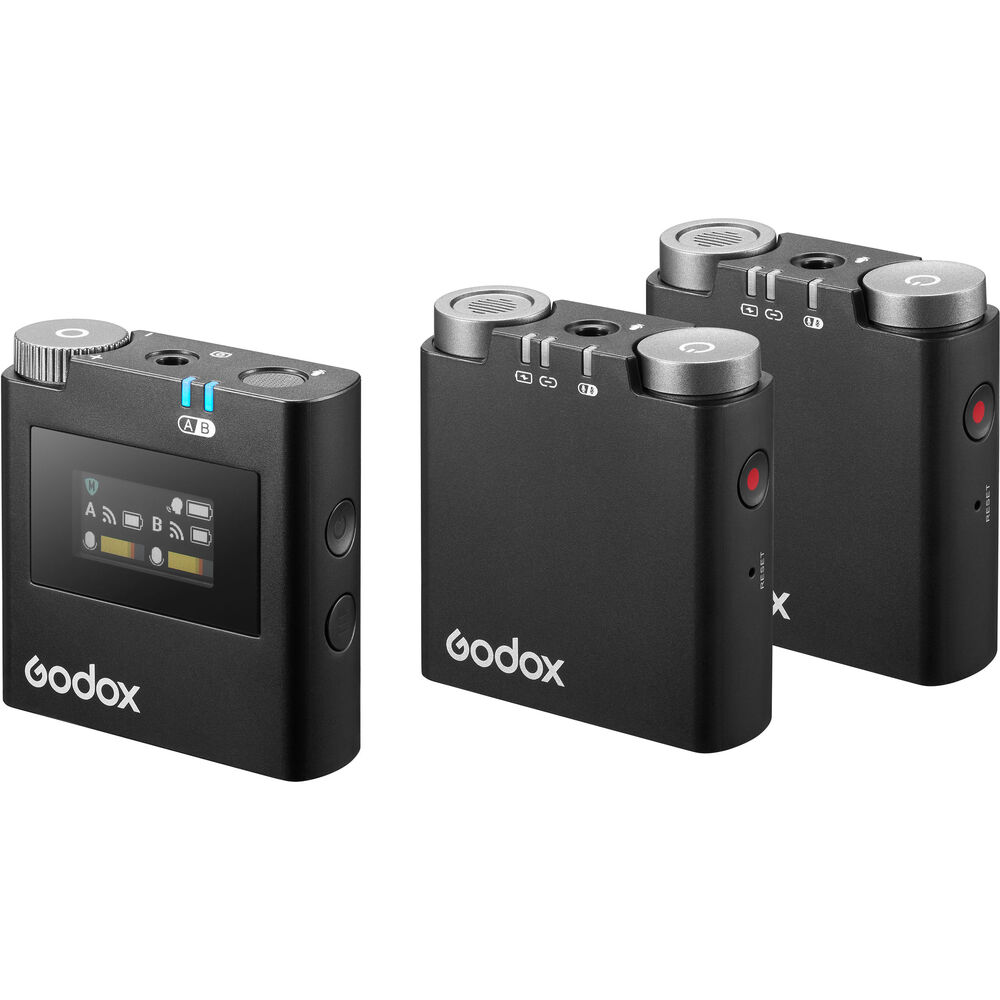
So if you want a reliable lav mic that lets you broadcast wind-free audio from a distance, then the Virso M2 will do the trick!
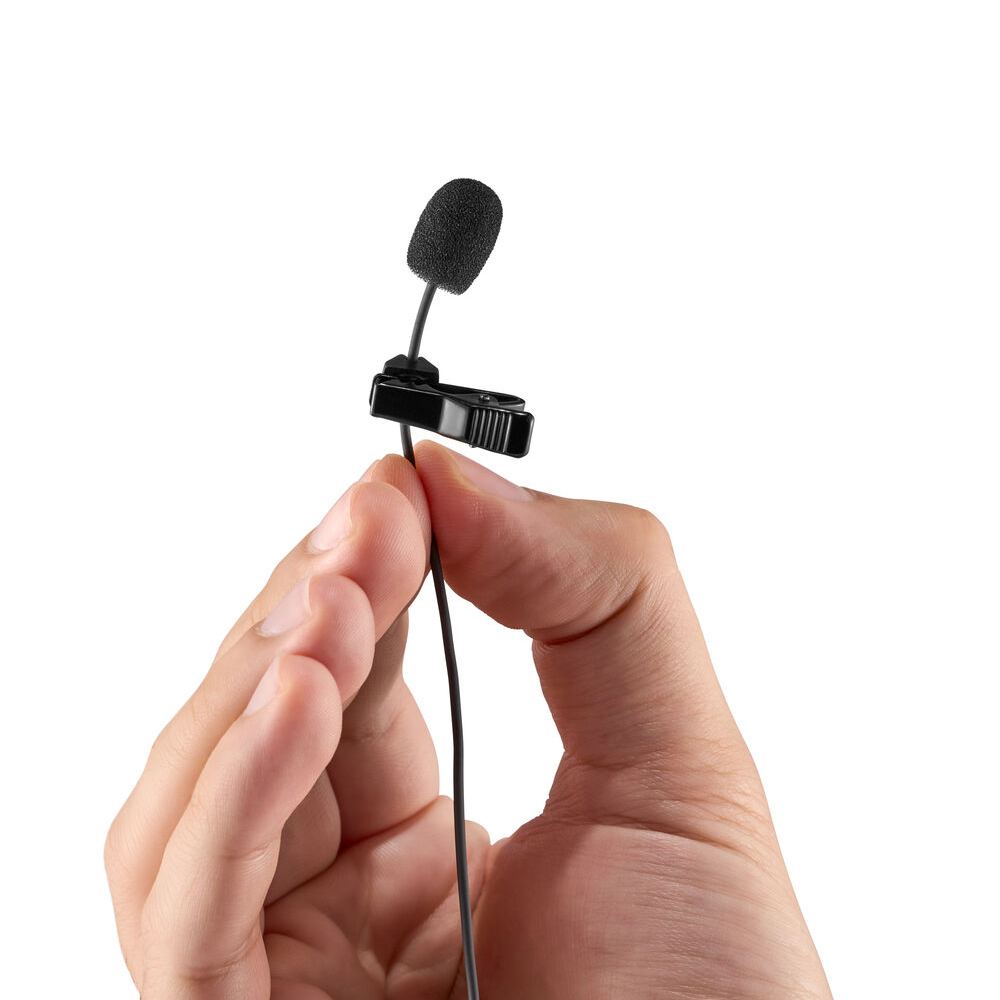
Get this if you need a discrete Lavalier mic for talking head interviews without the much bigger expense of a wireless lav set.
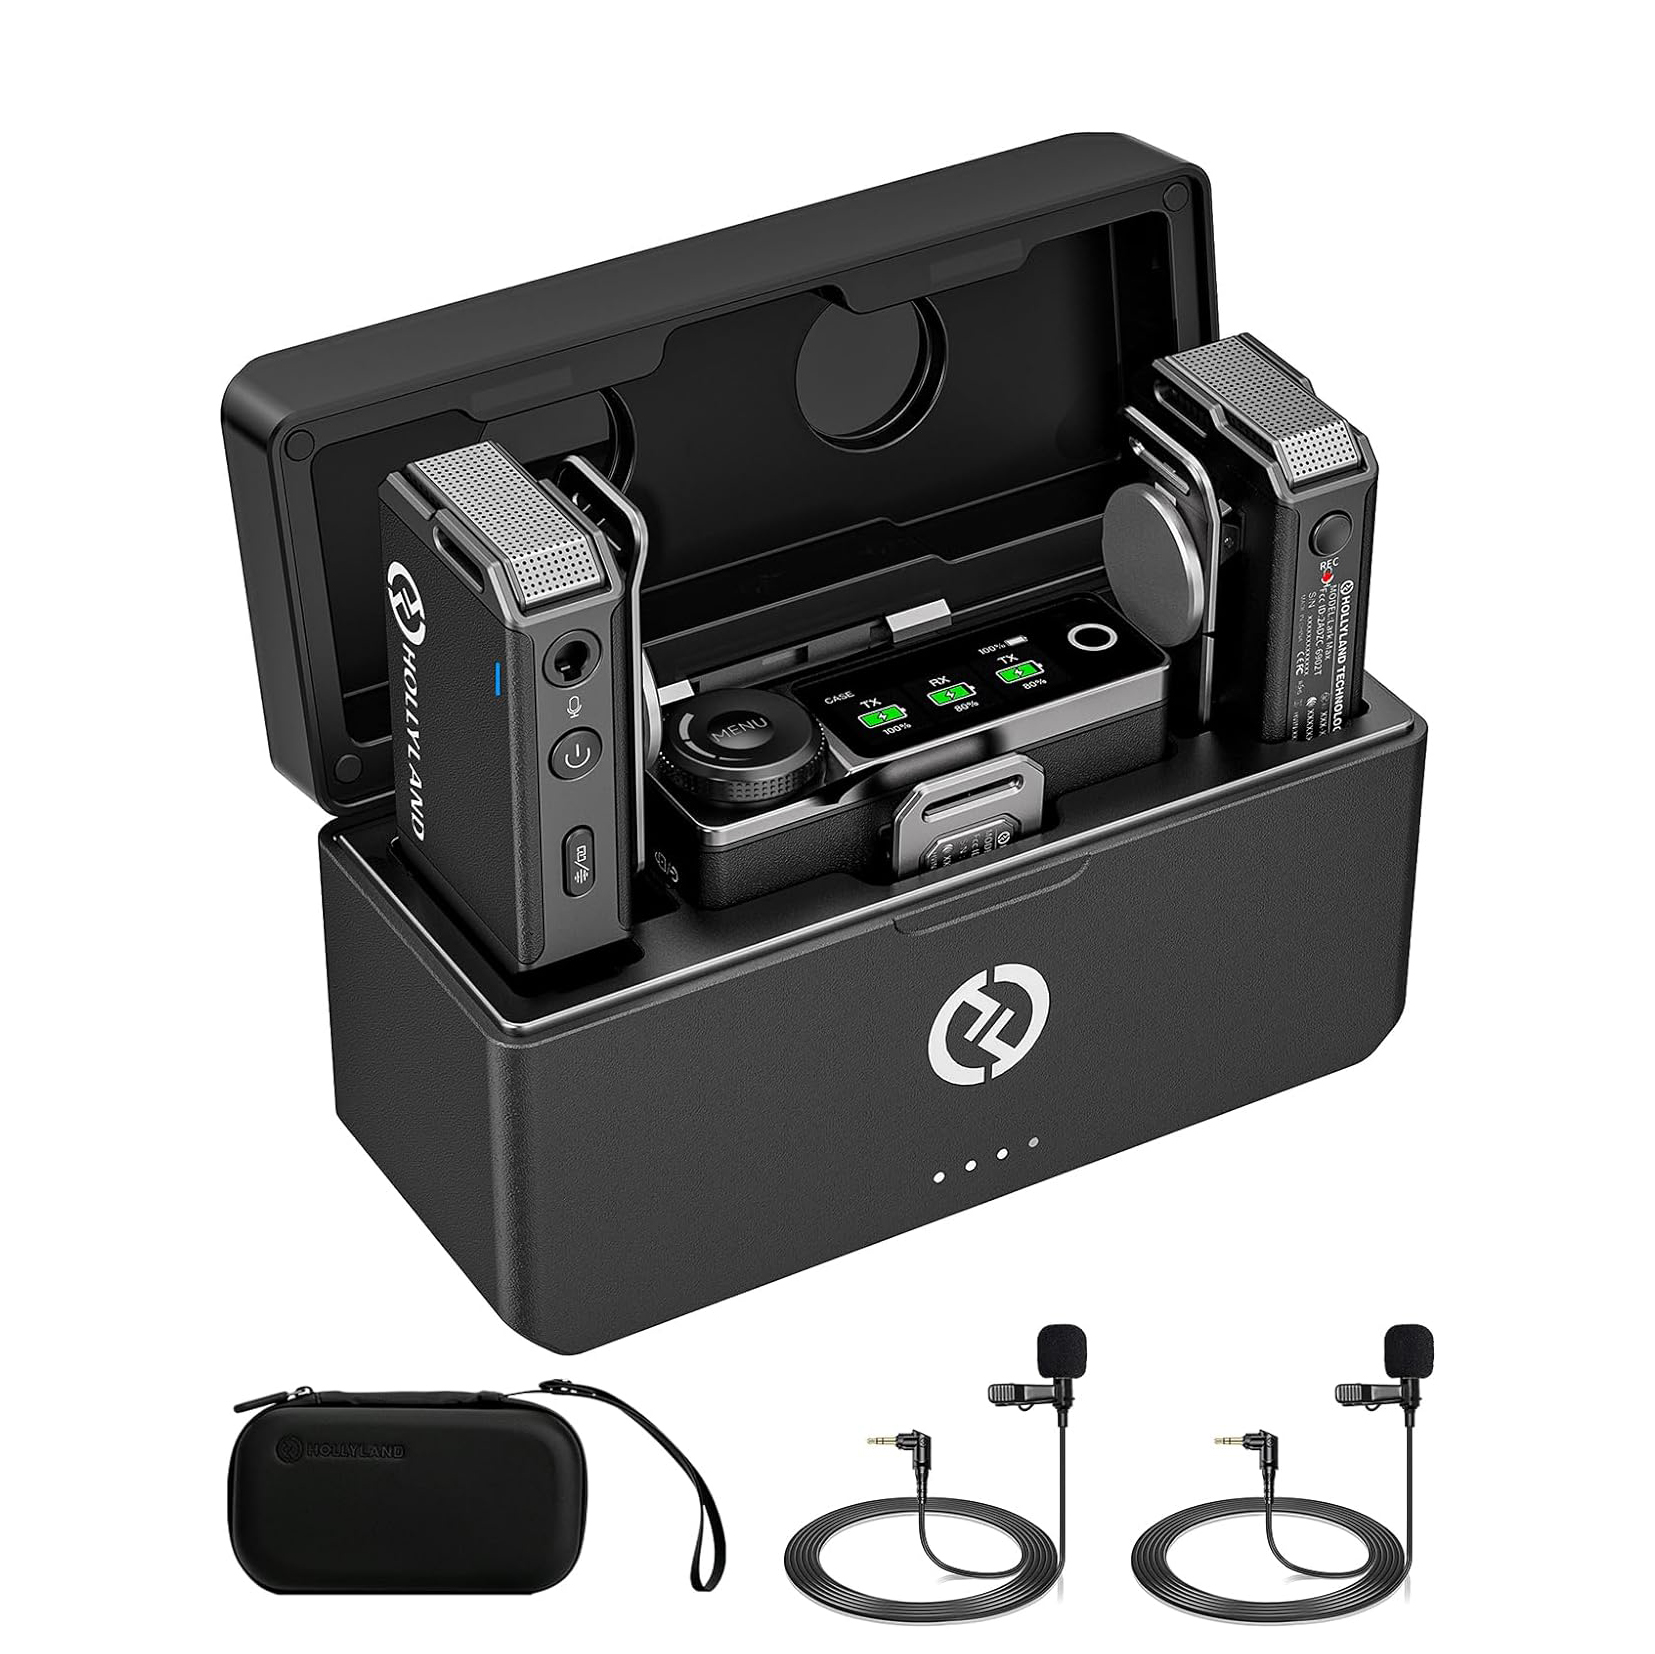
The Hollyland Lark Max enables you to walk and talk wirelessly, but for more discrete-looking transmitters consider the newer Hollyland Lark M2.
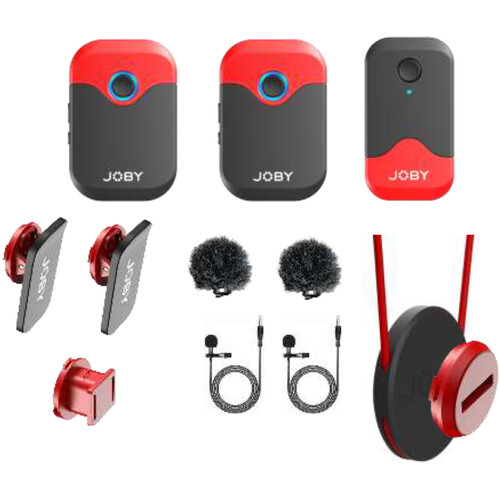
The Joby Wavo AIR is a decent entry level wireless lav mic that will improve your audio production values and let you walk and talk untethered to your camera.
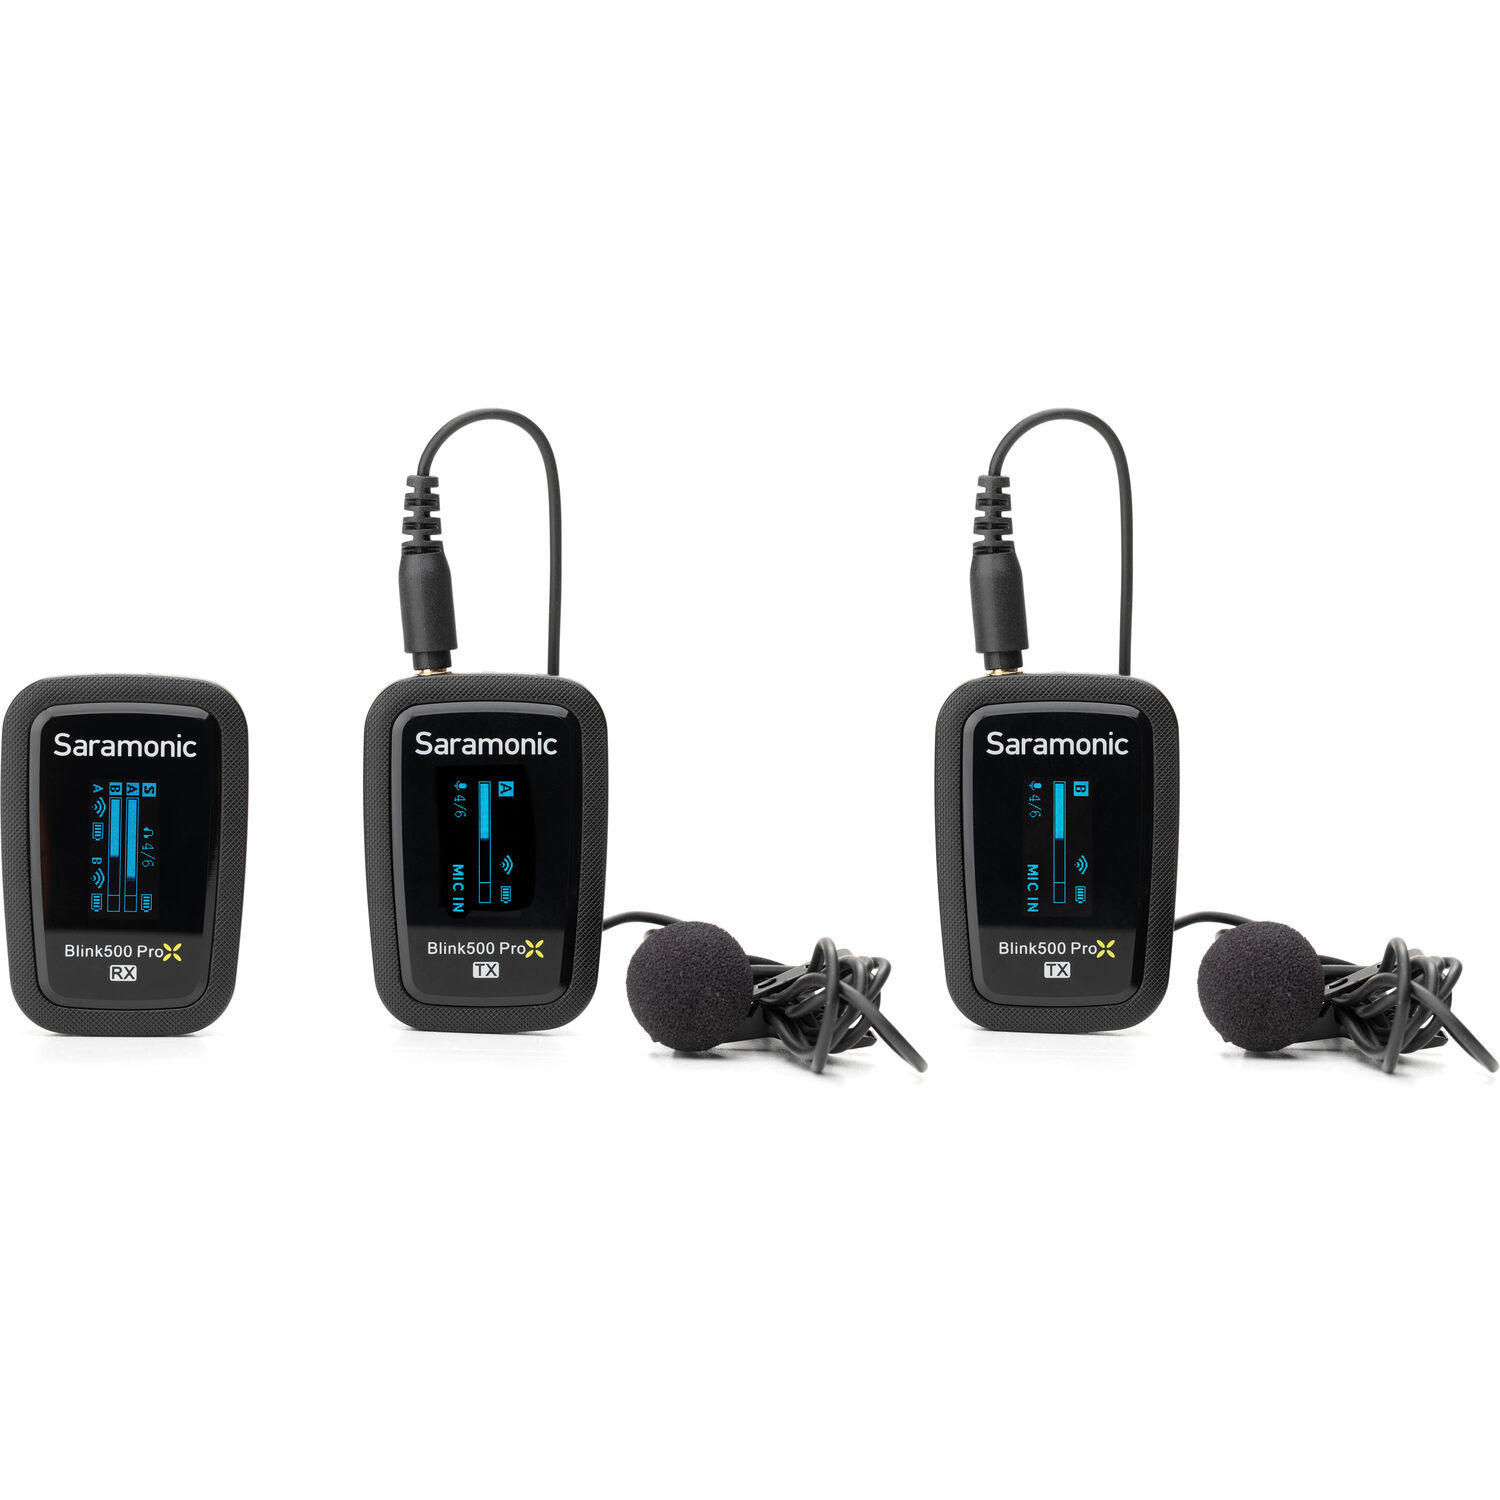
The Saramonic Blink500 Pro 2’s sound quality is excellent and suitable for capturing sound up to 100 meters as long as the subject remains facing the camera when at that distance.
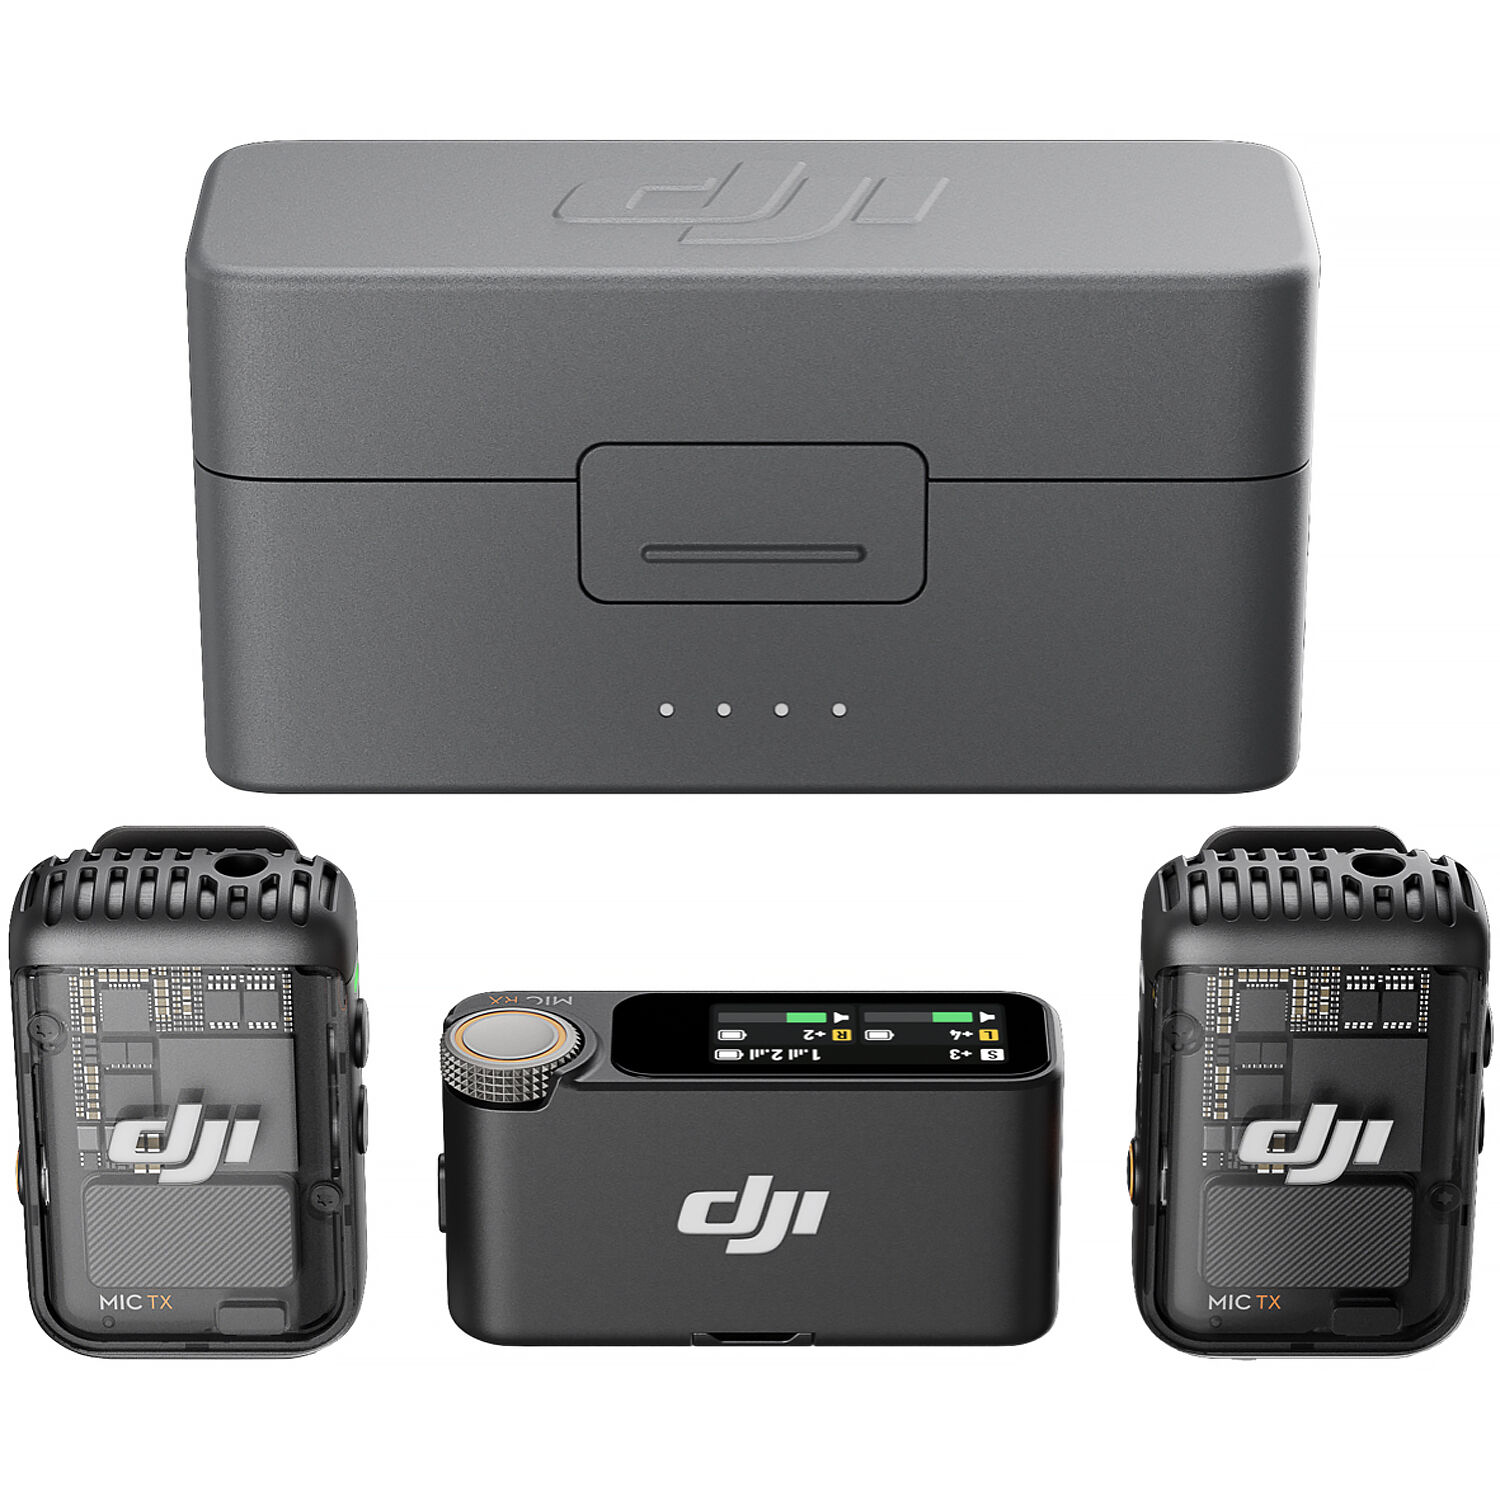
The DJI Mic 2 will appeal to pros who need to be certain that the sound they’ve recorded will be as good as the quality of their HD video footage.
Best lavalier microphones: the full guide
Why you can trust Digital Camera World
Best wireless mic kit for long distance
Specifications
Reasons to buy
Reasons to avoid
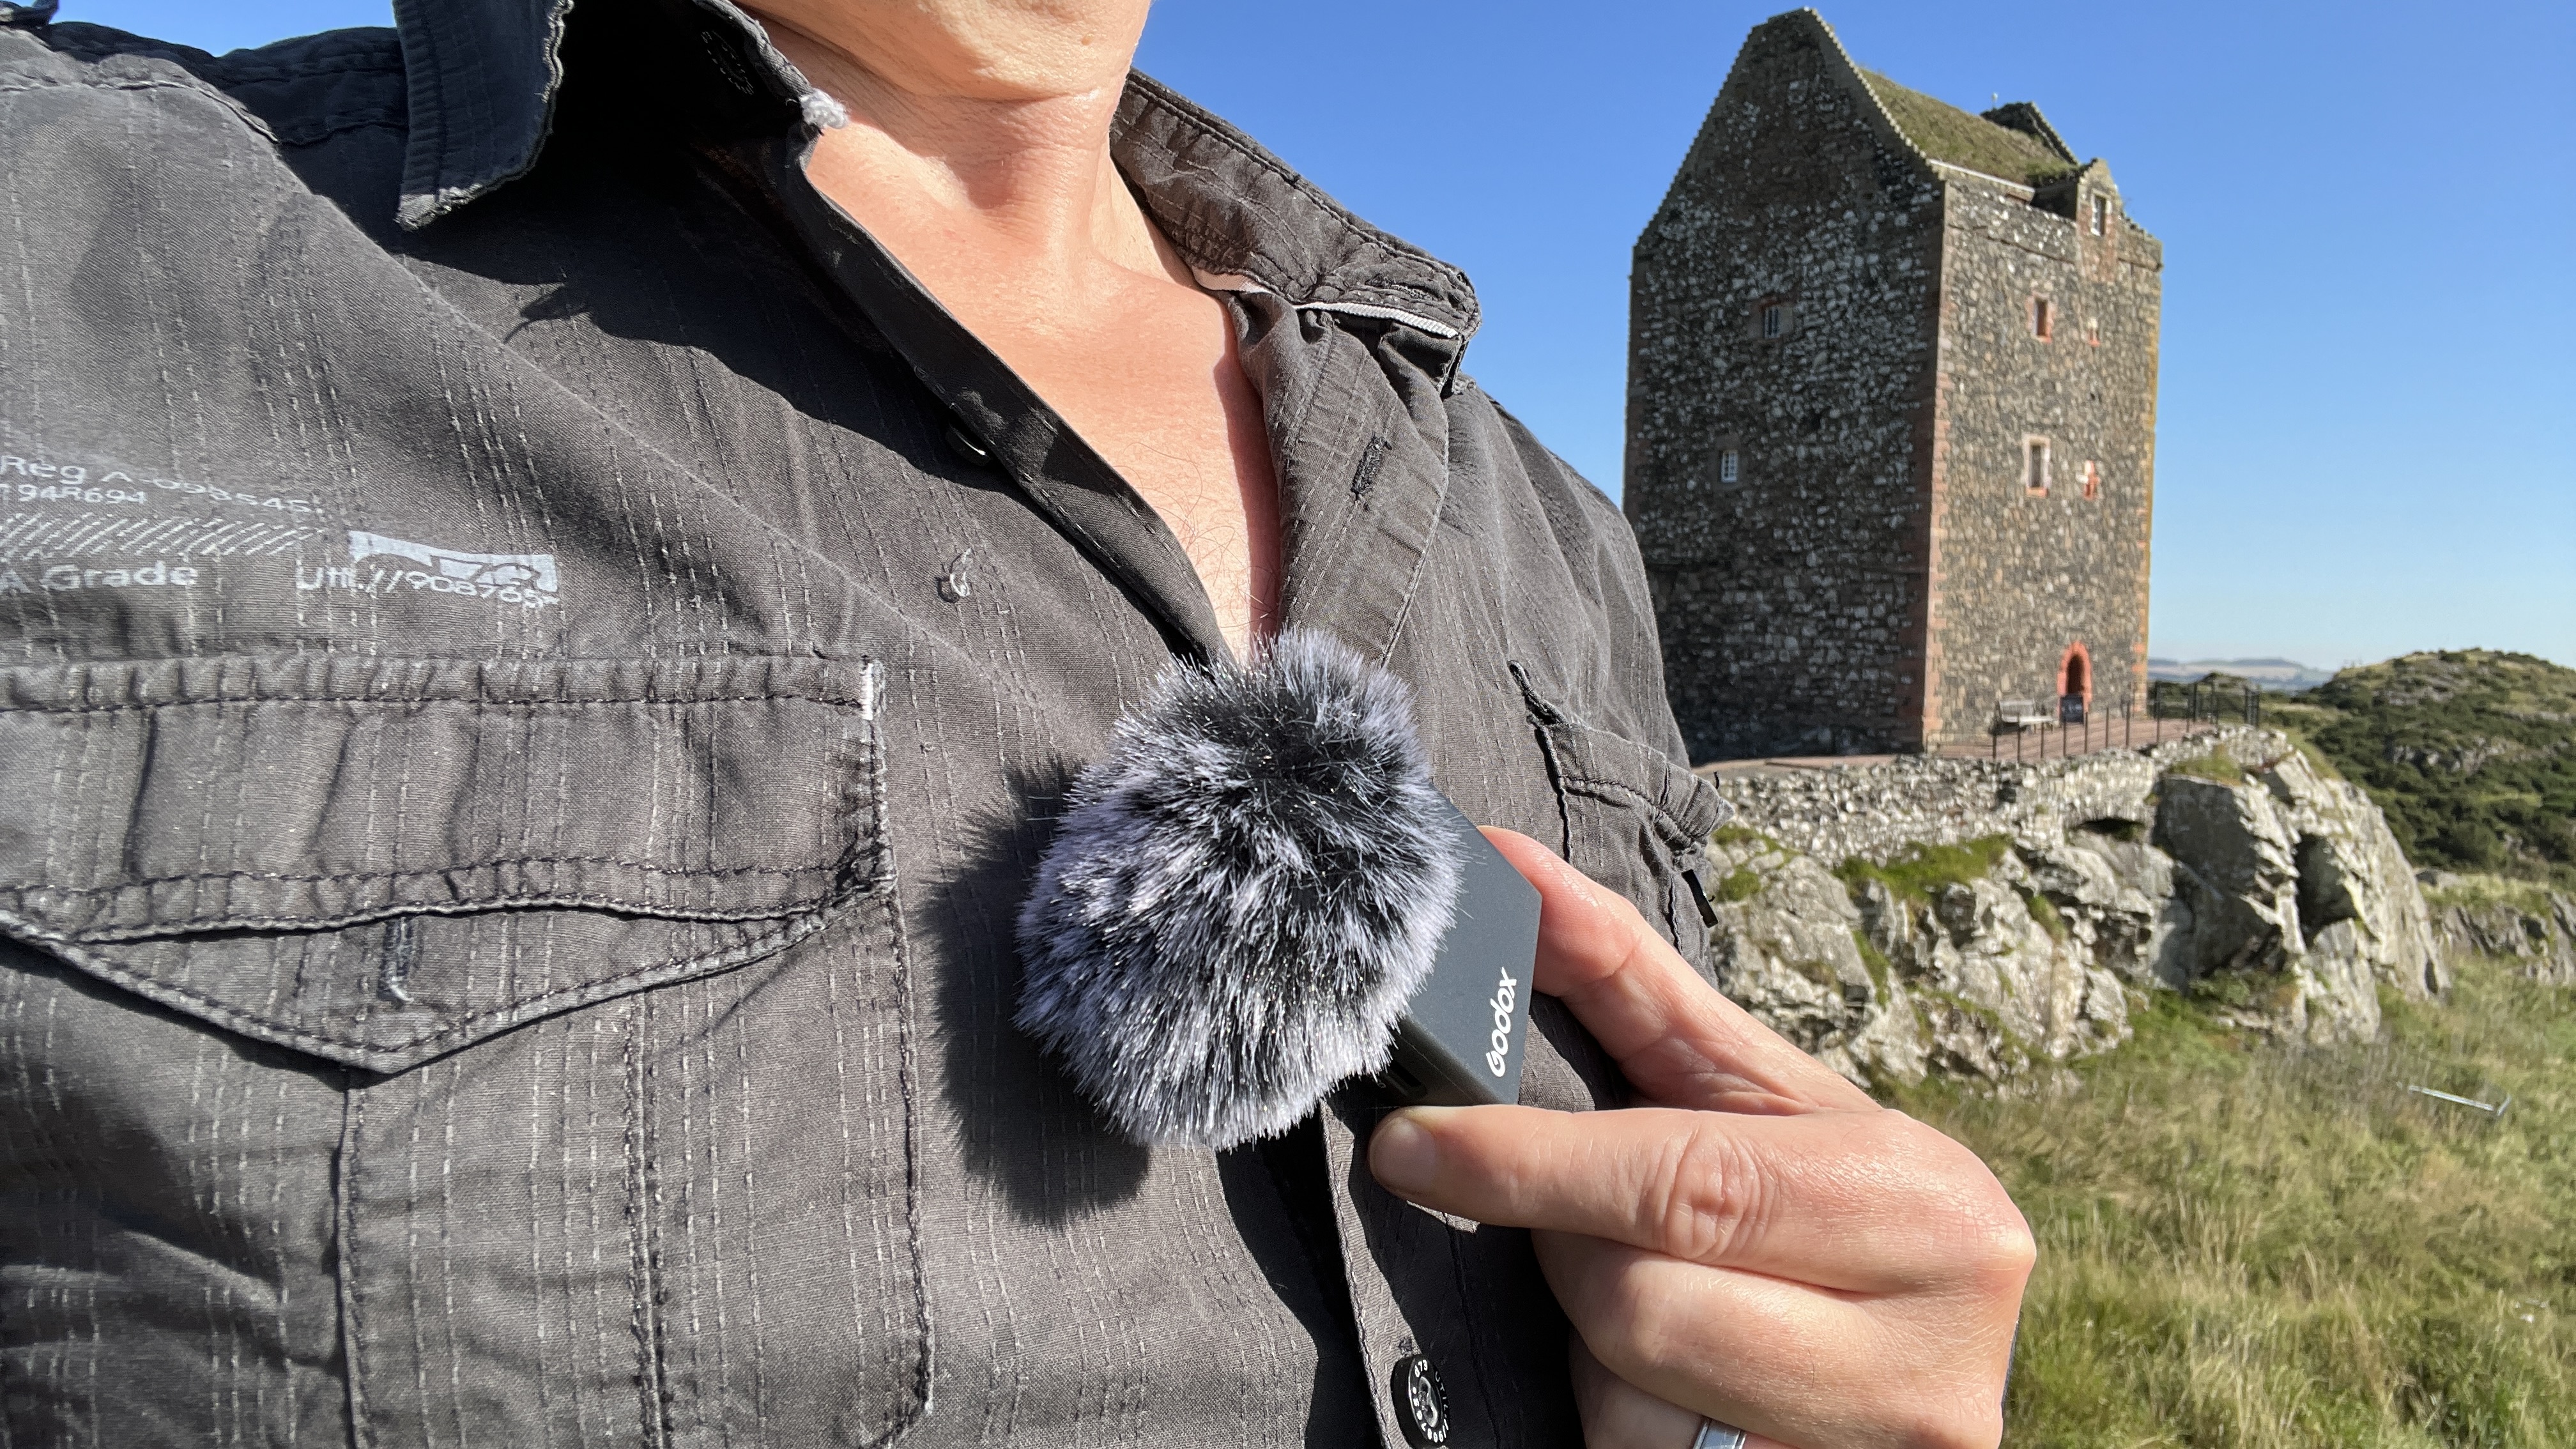
The Godox Virso M2 kit consists of two transmitters (with built-in mics) and a receiver that you can attach to a camera or smartphone via supplied cables. If you don’t need to record two people chatting then the M1 kit is cheaper with its single transmitter.
Wireless mics run the risk of the signal dropping out when the transmitter loses line of sight with the receiver (such as when you turn your back to the camera). When I tested the Virso M2 there was no signal drop out - even when I stood behind a thick brick wall at a distance. The transmitter also has a micro SD card slot so you can record your voice directly to a card and then later use the .wav file to replace and drop out in the edit.
Wind noise can be a problem with most mics so the transmitters can be equipped with an easy-to-attach windshield. The transmitter can also apply software noise reduction to reduce the bass rumble of wind. The Virso M2 kit also ships with a cabled lav mic that you can plug into a receiver and then attach the receiver to your belt. This enables you to talk to camera with a more discrete-looking mic. The supplied cabled lav mic’s foam windshield is also more discrete than the larger furry ‘dead cat’ that pops onto the transmitter.
Read our full Godox Virso M2 review
Best budget wireless mic
Specifications
Reasons to buy
Reasons to avoid
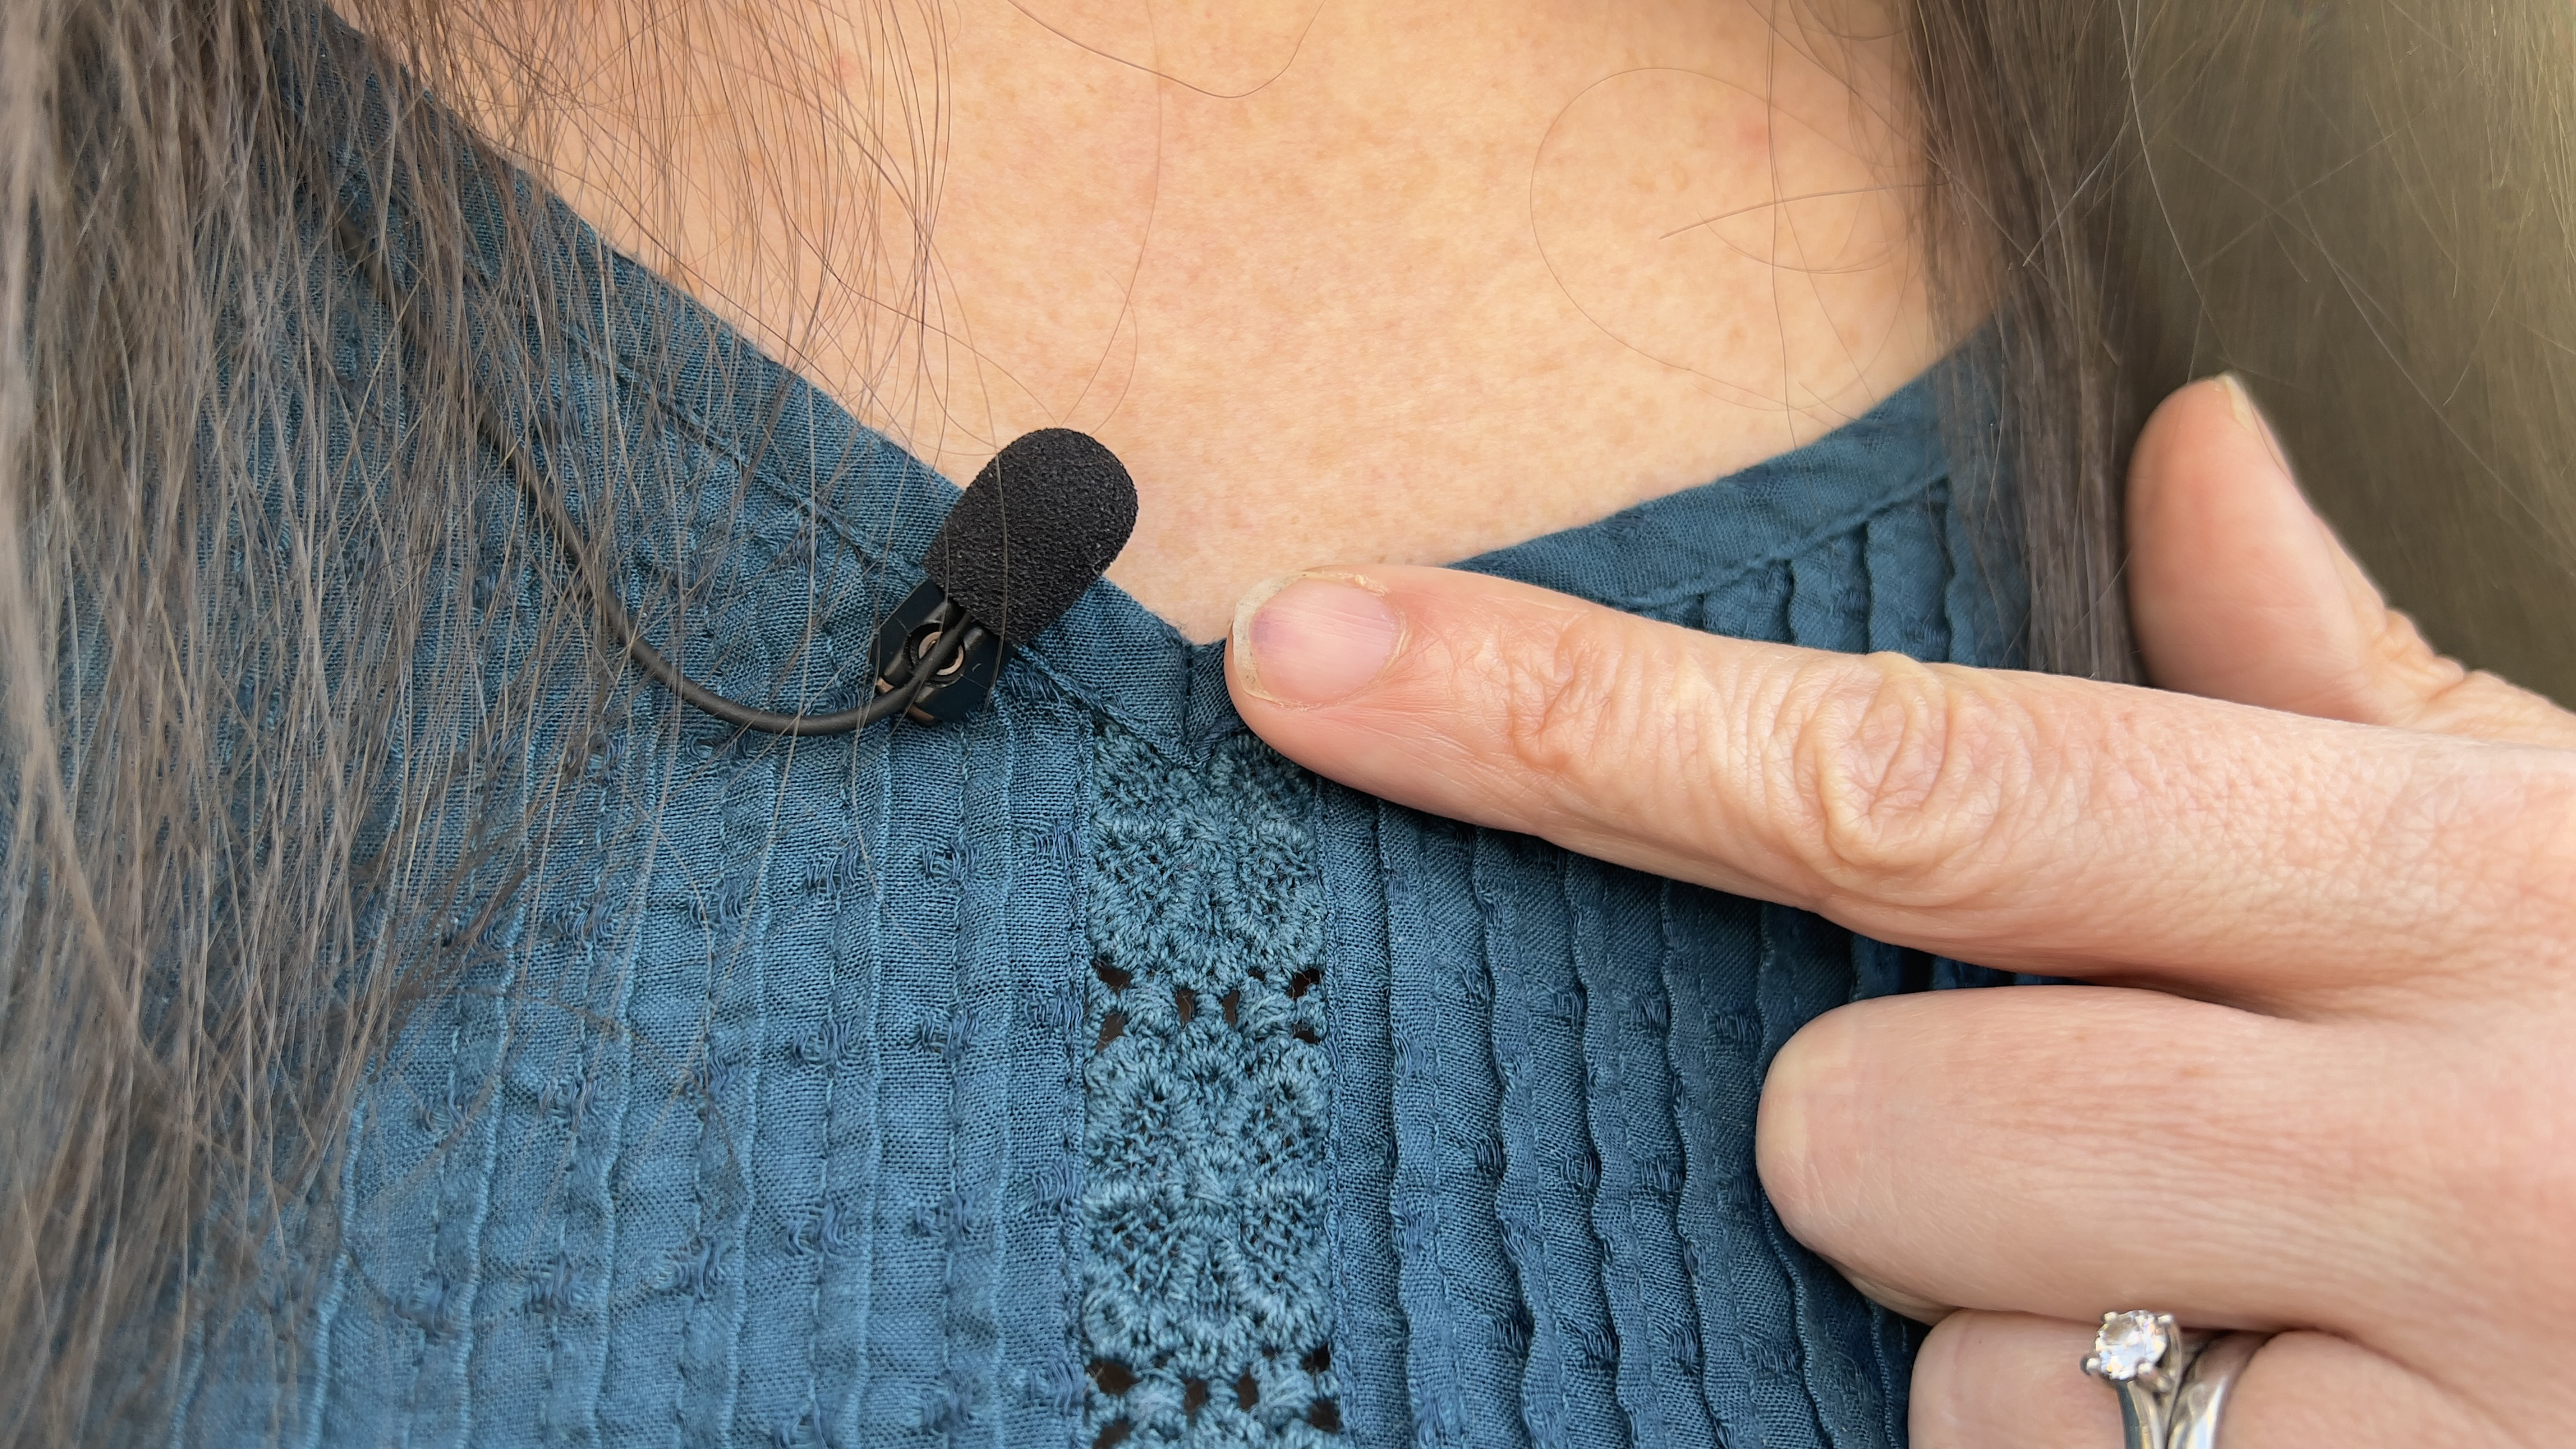
Unlike the rest of the kits in this guide, the JOBY Wavo Lav PRO doesn’t ship with wireless transmitters or receivers. It’s simply a traditional Lavalier mic that clips onto the lapel of your interviewee. It is then hard-wired via its cable into your camera via a 3.5mm jack plug. As the cable is only 2.5 meters long and is tethered to our subject, this restricts you from recording a classic ‘talking head’ interview that shows the subject from head to waist.
So why is the Wavo Lav PRO in this guide? Well for starters, although many of the wireless lav kits featured in this guide ship with additional cabled lav mics they all feature larger capsules that are more noticeable onscreen, especially when they are sporting a bulbous foam windshield. The Wavo Lav PRO’s capsule measures a discrete 5mm in diameter so it is more easy to conceal when clipped on your subject’s clothing. Its optional windshield is very small too. Wireless mic kits are much more expensive than plug-and-play lavalier mics such as the Wavo Lav PRO because they can be plugged straight into your camera without ending a wireless transmitter.
If you do want to use this discretely sized lav mic from a distance you can plug it into the transmitter of a wireless kit such as the JOBY Wavo AIR. The Wavo AIR supplies its own lavalier mics but they are more chunky (and noticeable) than the smaller-sized Wavo Lav PRO (though the difference in sound quality is negligible.)
Read our full JOBY Wavo Lav PRO review
Best wireless mic kit for no drop out
Specifications
Reasons to buy
Reasons to avoid
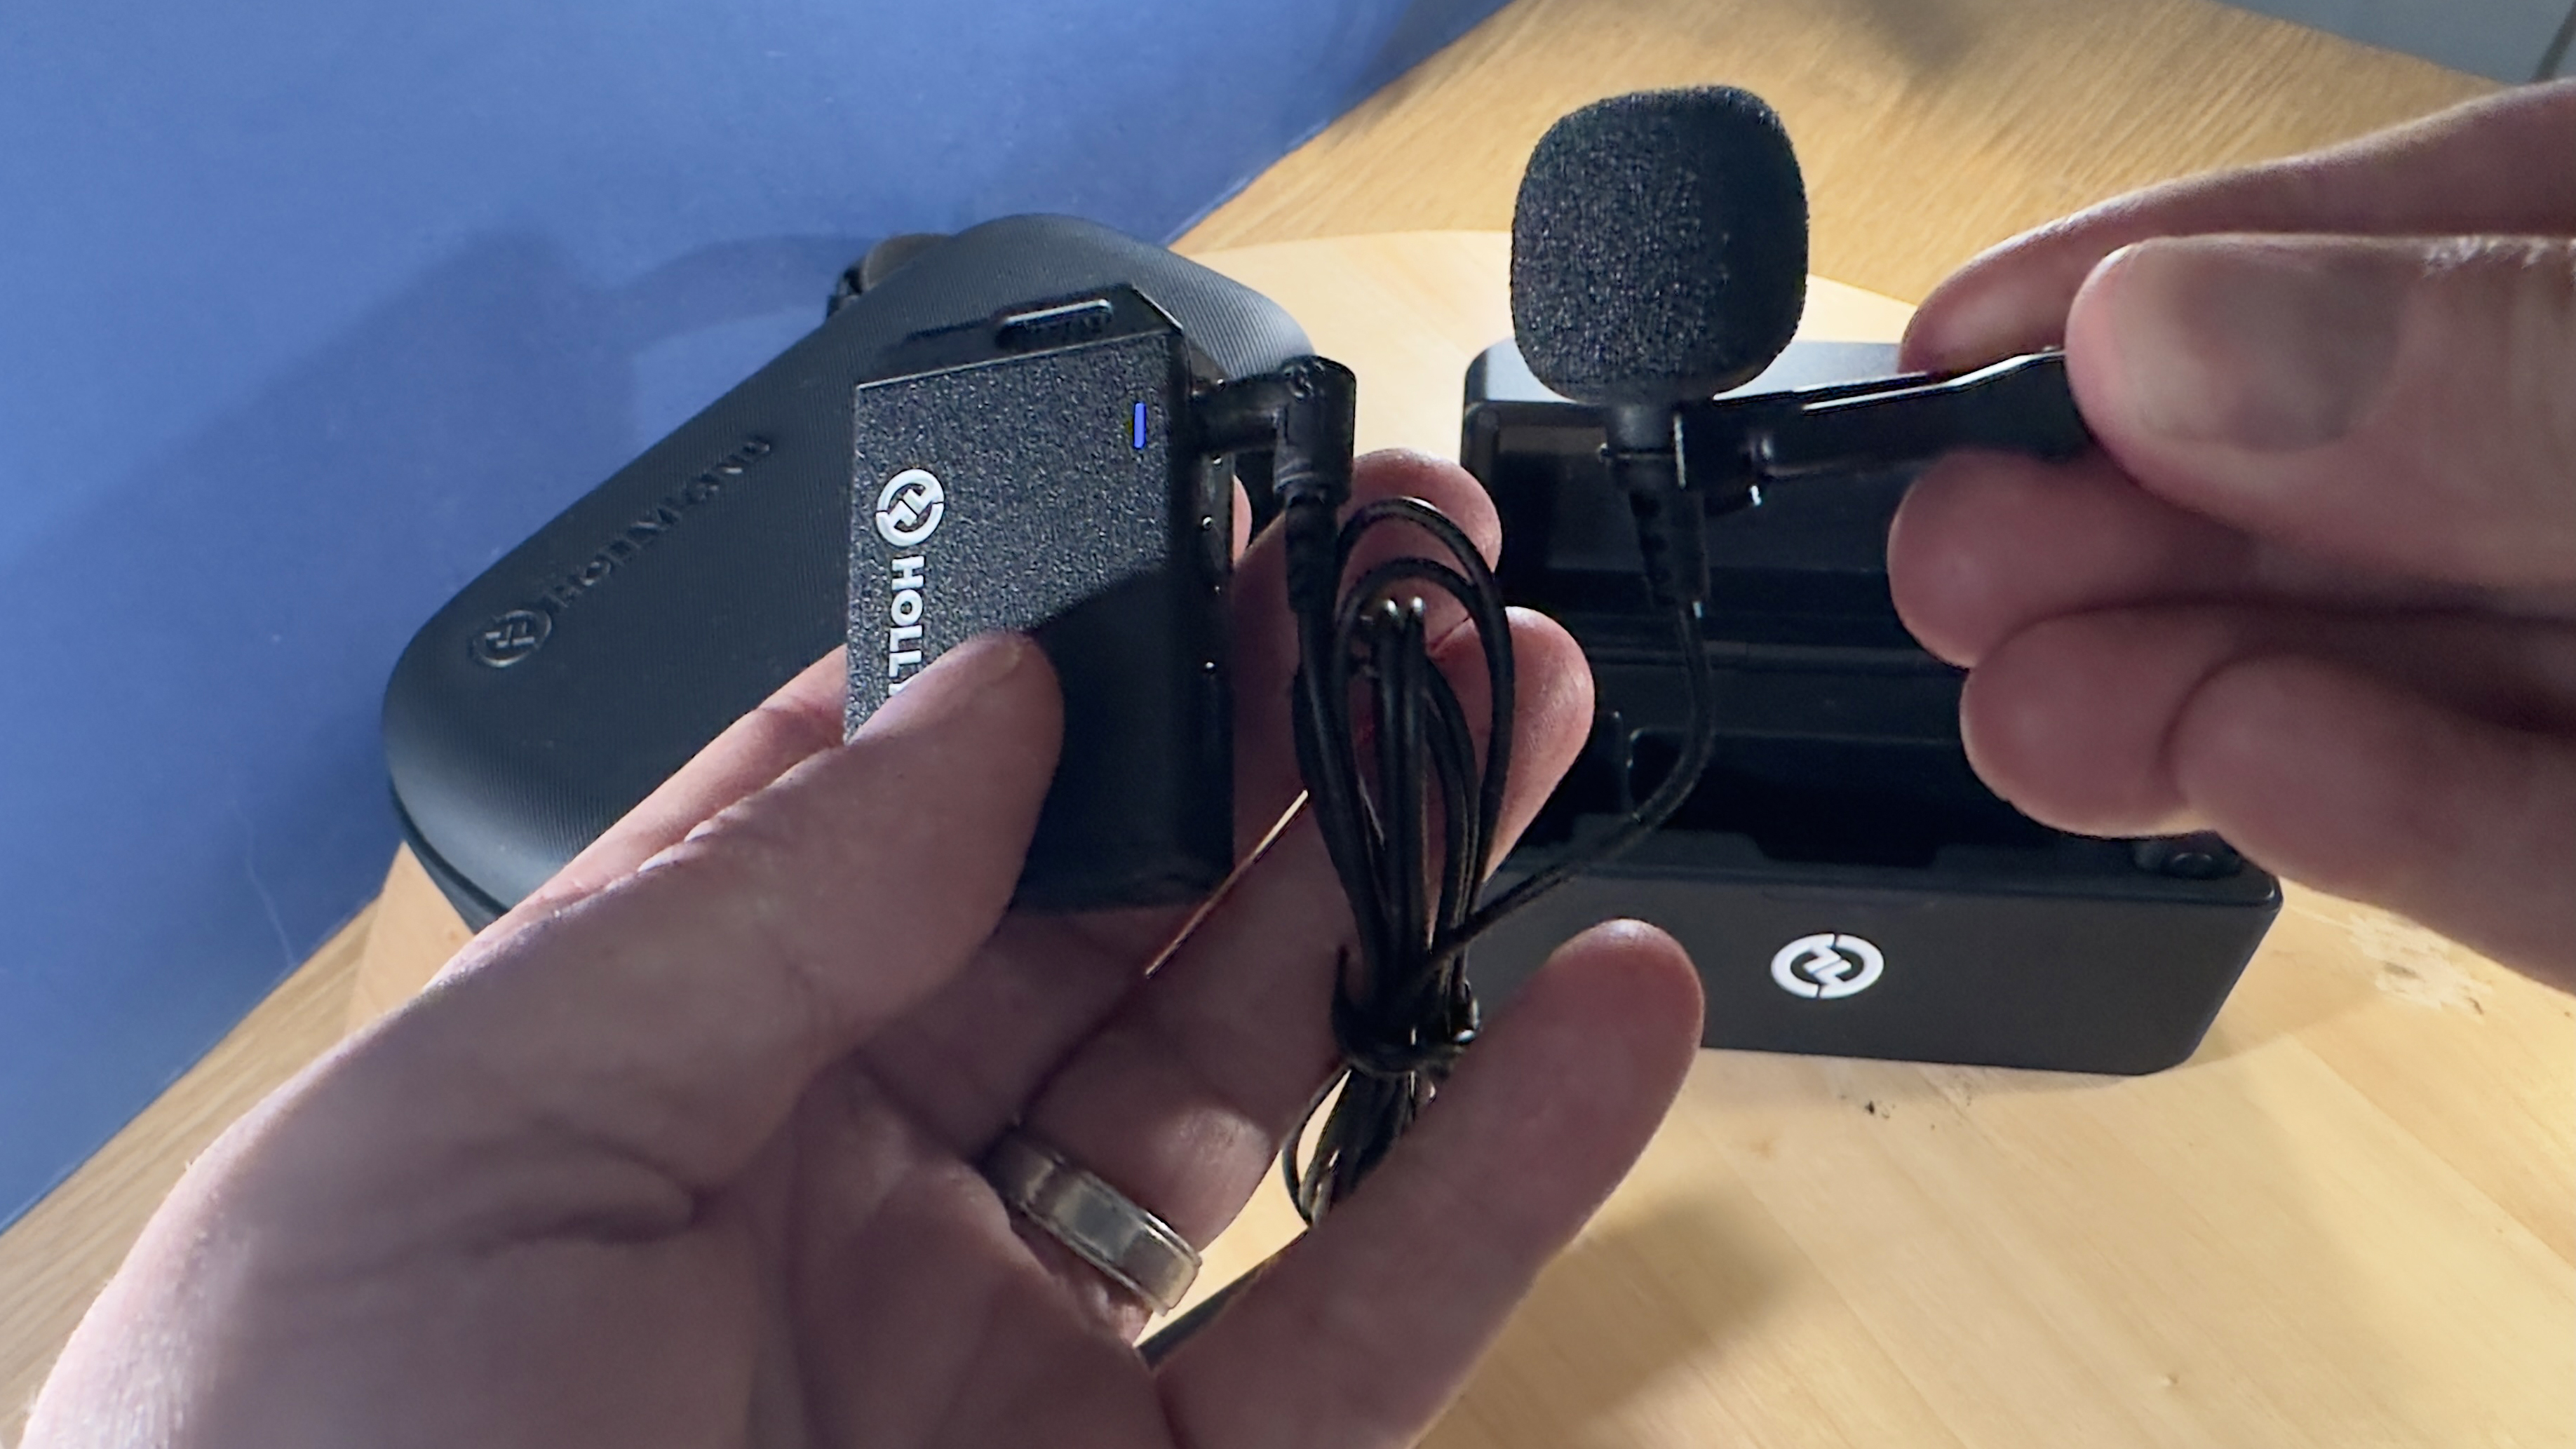
As with the Godox Virso M2 kit, the Hollyland Lark Max Duo kit ships with two transmitters that have built-in mics. It also supplies lavalier clip mics that you can plug into each transmitter via a cable for a more classic lav mic set-up.
Both wireless transmitter mics in this kit are capable of onboard recording (so you can capture drop-out-free audio that can be used to replace gaps in the audio due to signal drop-out between the transmitter and river). Unlike the Godox Virso, you don’t need to supply a micro-SD card as each transmitter’s onboard recording is captured digitally. With 8 GB of storage space, you can store up to 14 hours of audio on each transmitter. To help produce better quality sound you can press a button on the receiver to trigger noise cancelling software and reduce the presence of background sounds. This noise reduction feature isn’t as effective as that on the Lark M2, but it does take the edge of distracting background sounds (such as passing planes) and could rescue a take.
As with most kits in this guide, both transmitters and the receiver are stored in a carry case which doubles up as a charger to prolong their use in a shoot. As all devices are charged simultaneously via a USB-C port they will perform equally. The receivers automatically pair with the transmitter when you take them out of the charger, so you can start recording quickly without any fussing about. Another plus point for the Lark Max is its low latency, so the sound of the subject’s voice is in sync with their mouth.
Read our full Hollyland Lark Max Duo review
Best entry-level wireless mic kit
Specifications
Reasons to buy
Reasons to avoid
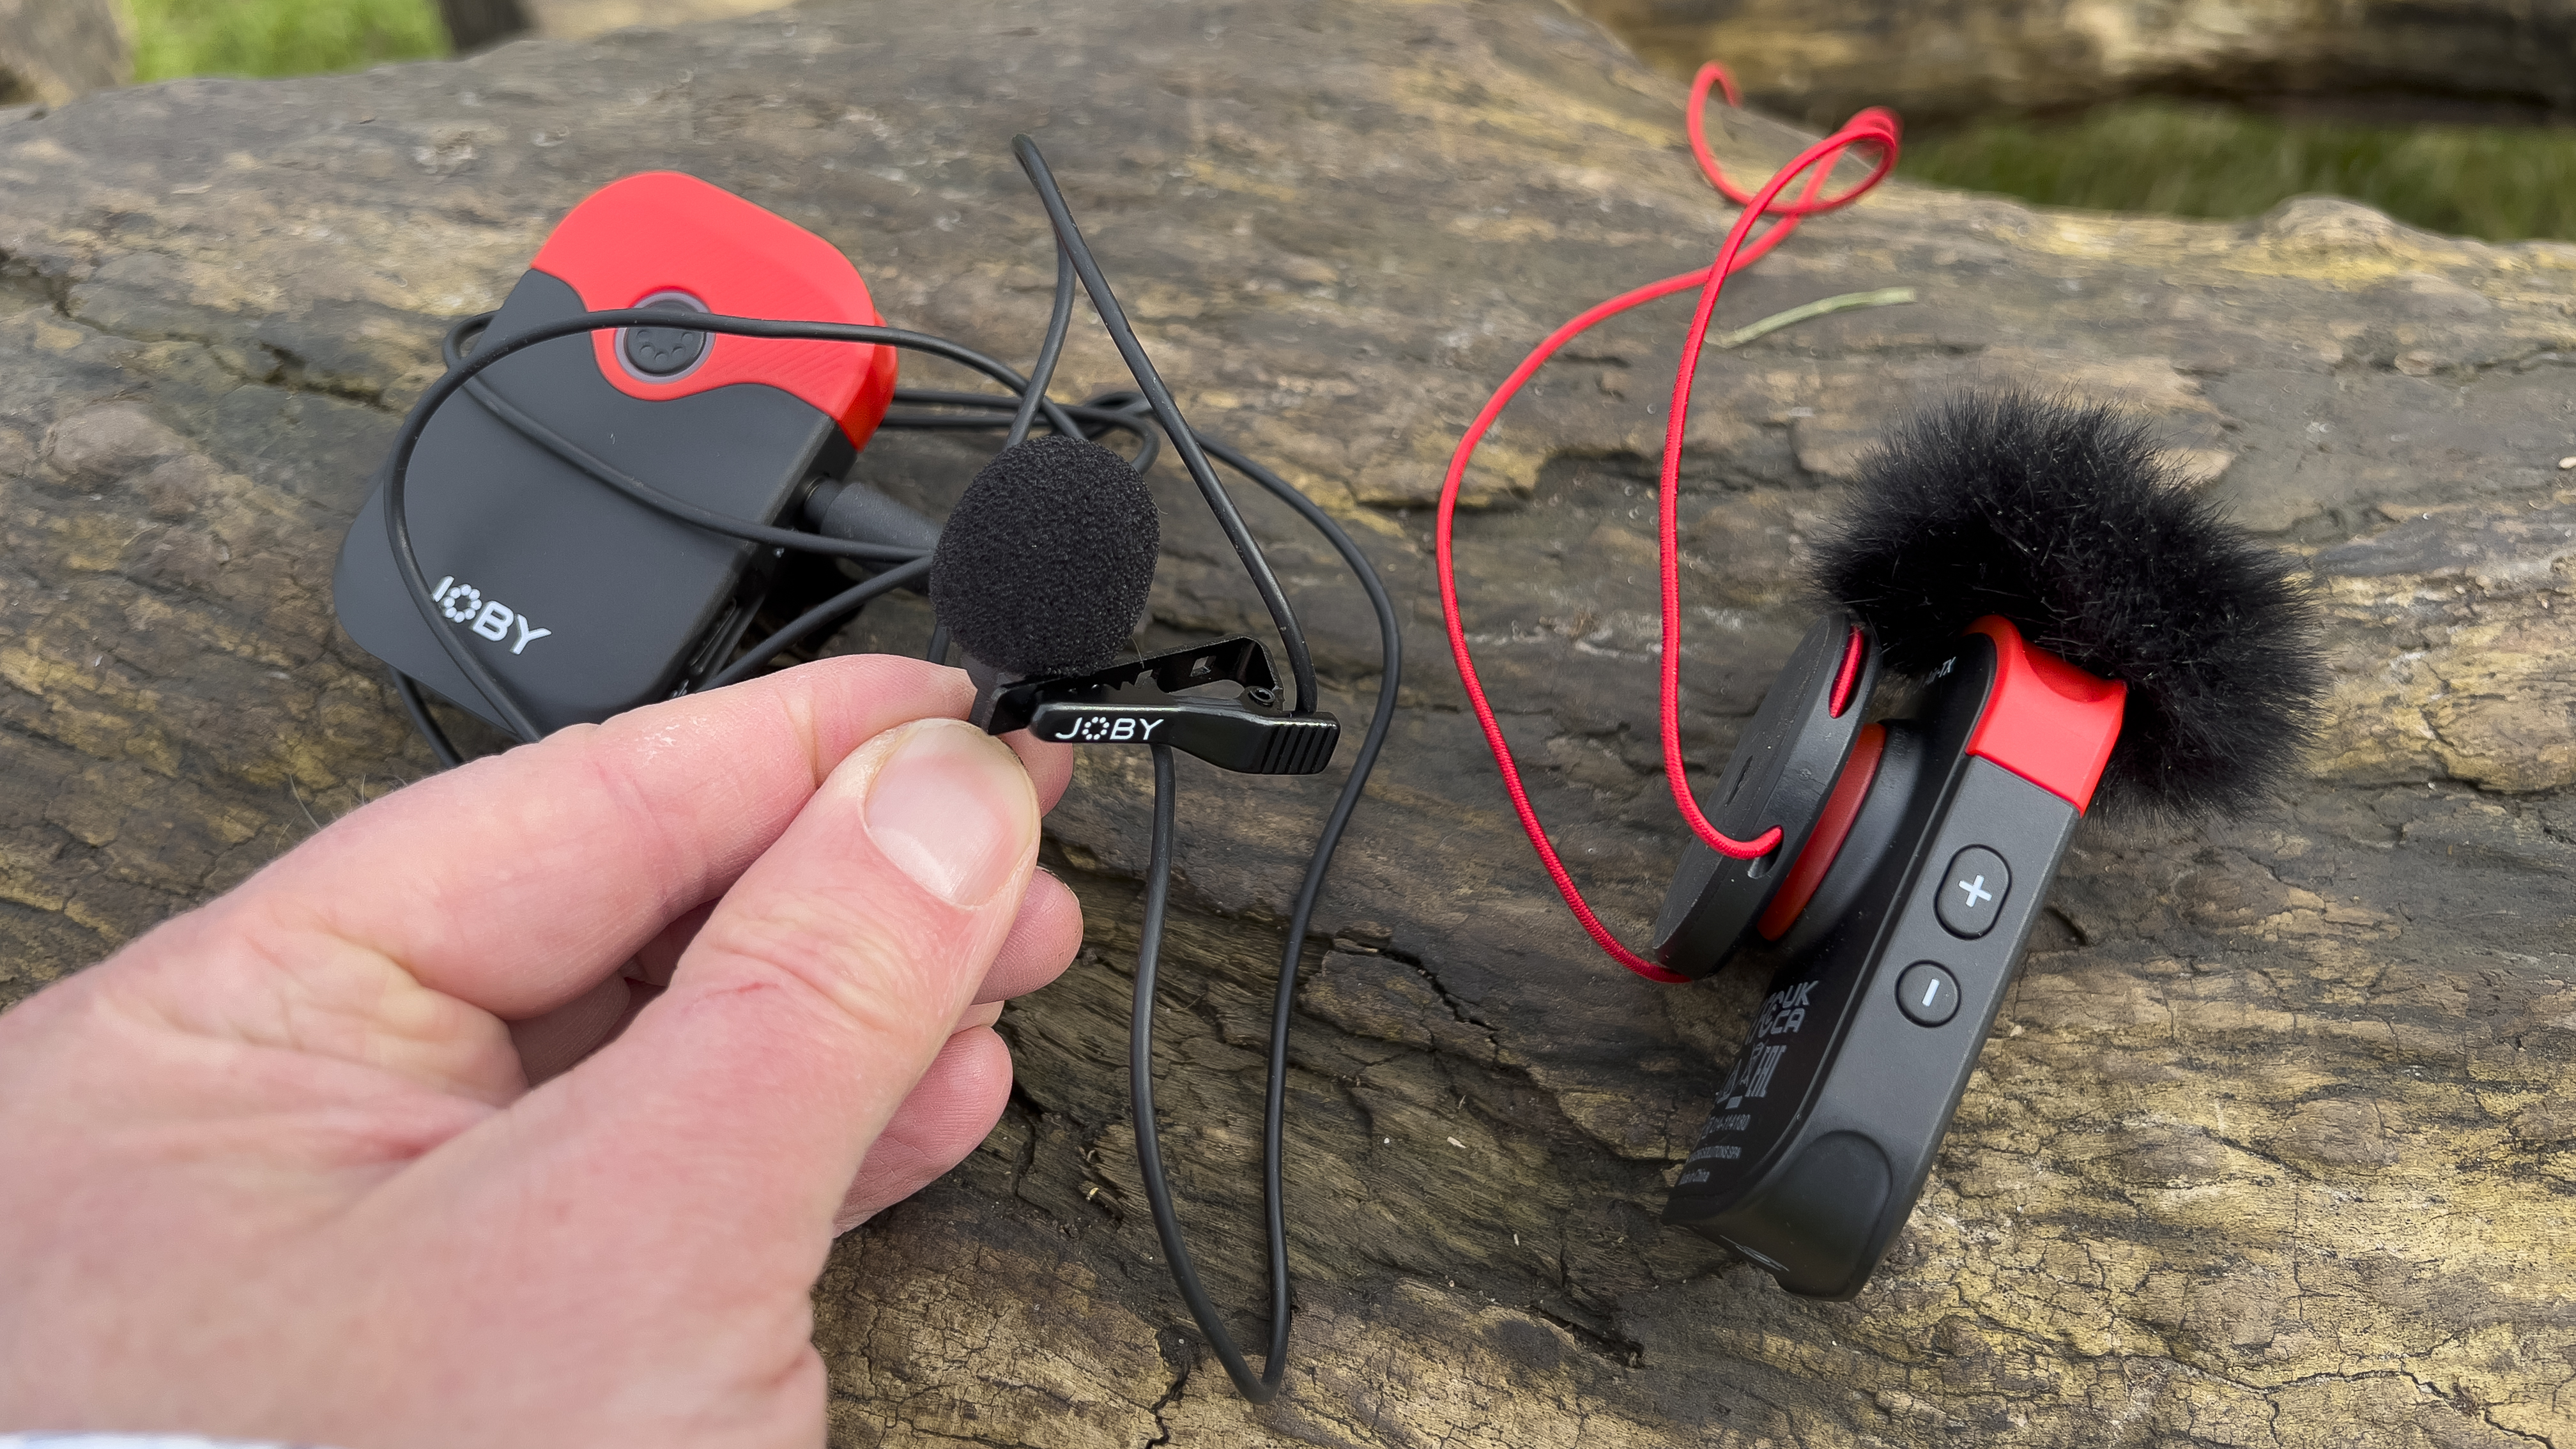
The JOBY Wavo Air is cheaper than many of the lav mics featured in this guide and this is reflected in its chunky yet lightweight plastic transmitters and relatively short range transmission range of 50 meters (compared to the more expensive DJI Mic 2’s 250-meter range). However, the Joby Wavo AIR’s wireless transmitters still enable you to capture better quality sound from a distance than you could get using your camera or smartphone’s built-in mic. As with the Lark Max Duo kit the Joby Wavo Air also ships with a cabled Lavalier mic so you can clip this (via crocodile clip) to your shirt and hide the bulky transmitter by attaching it to your belt.
If you need to rig up a mic in a hurry then Wavo Air supplies a magnetic pendant for you to wear under your shirt. Simply hold the transmitter in close proximity to the pendant and it will snap onto it, fixing the transmitter to your shirt in an instant. This is a much quicker process than clipping on a cabled lav mic and passing its cable down the inside of your shirt.
Both the transmitter's built-in mics and the supplied Lavalier cable mics have windshields, though the transmitter mics suffered less from wind noise than the cabled Lavalier mic. We found that if the transmitter lost sight of the receiver then the sound would drop out at 24 meters, but remained loud and clear if you faced the camera up to 50 meters. As this is a budget mic set it lacks the handy onboard recording features in higher spec (and more expensive) mics such as the Lark Max (but you get what you pay for.)
Read our full JOBY Wavo AIR review
Best wireless mic for recording two people
Specifications
Reasons to buy
Reasons to avoid
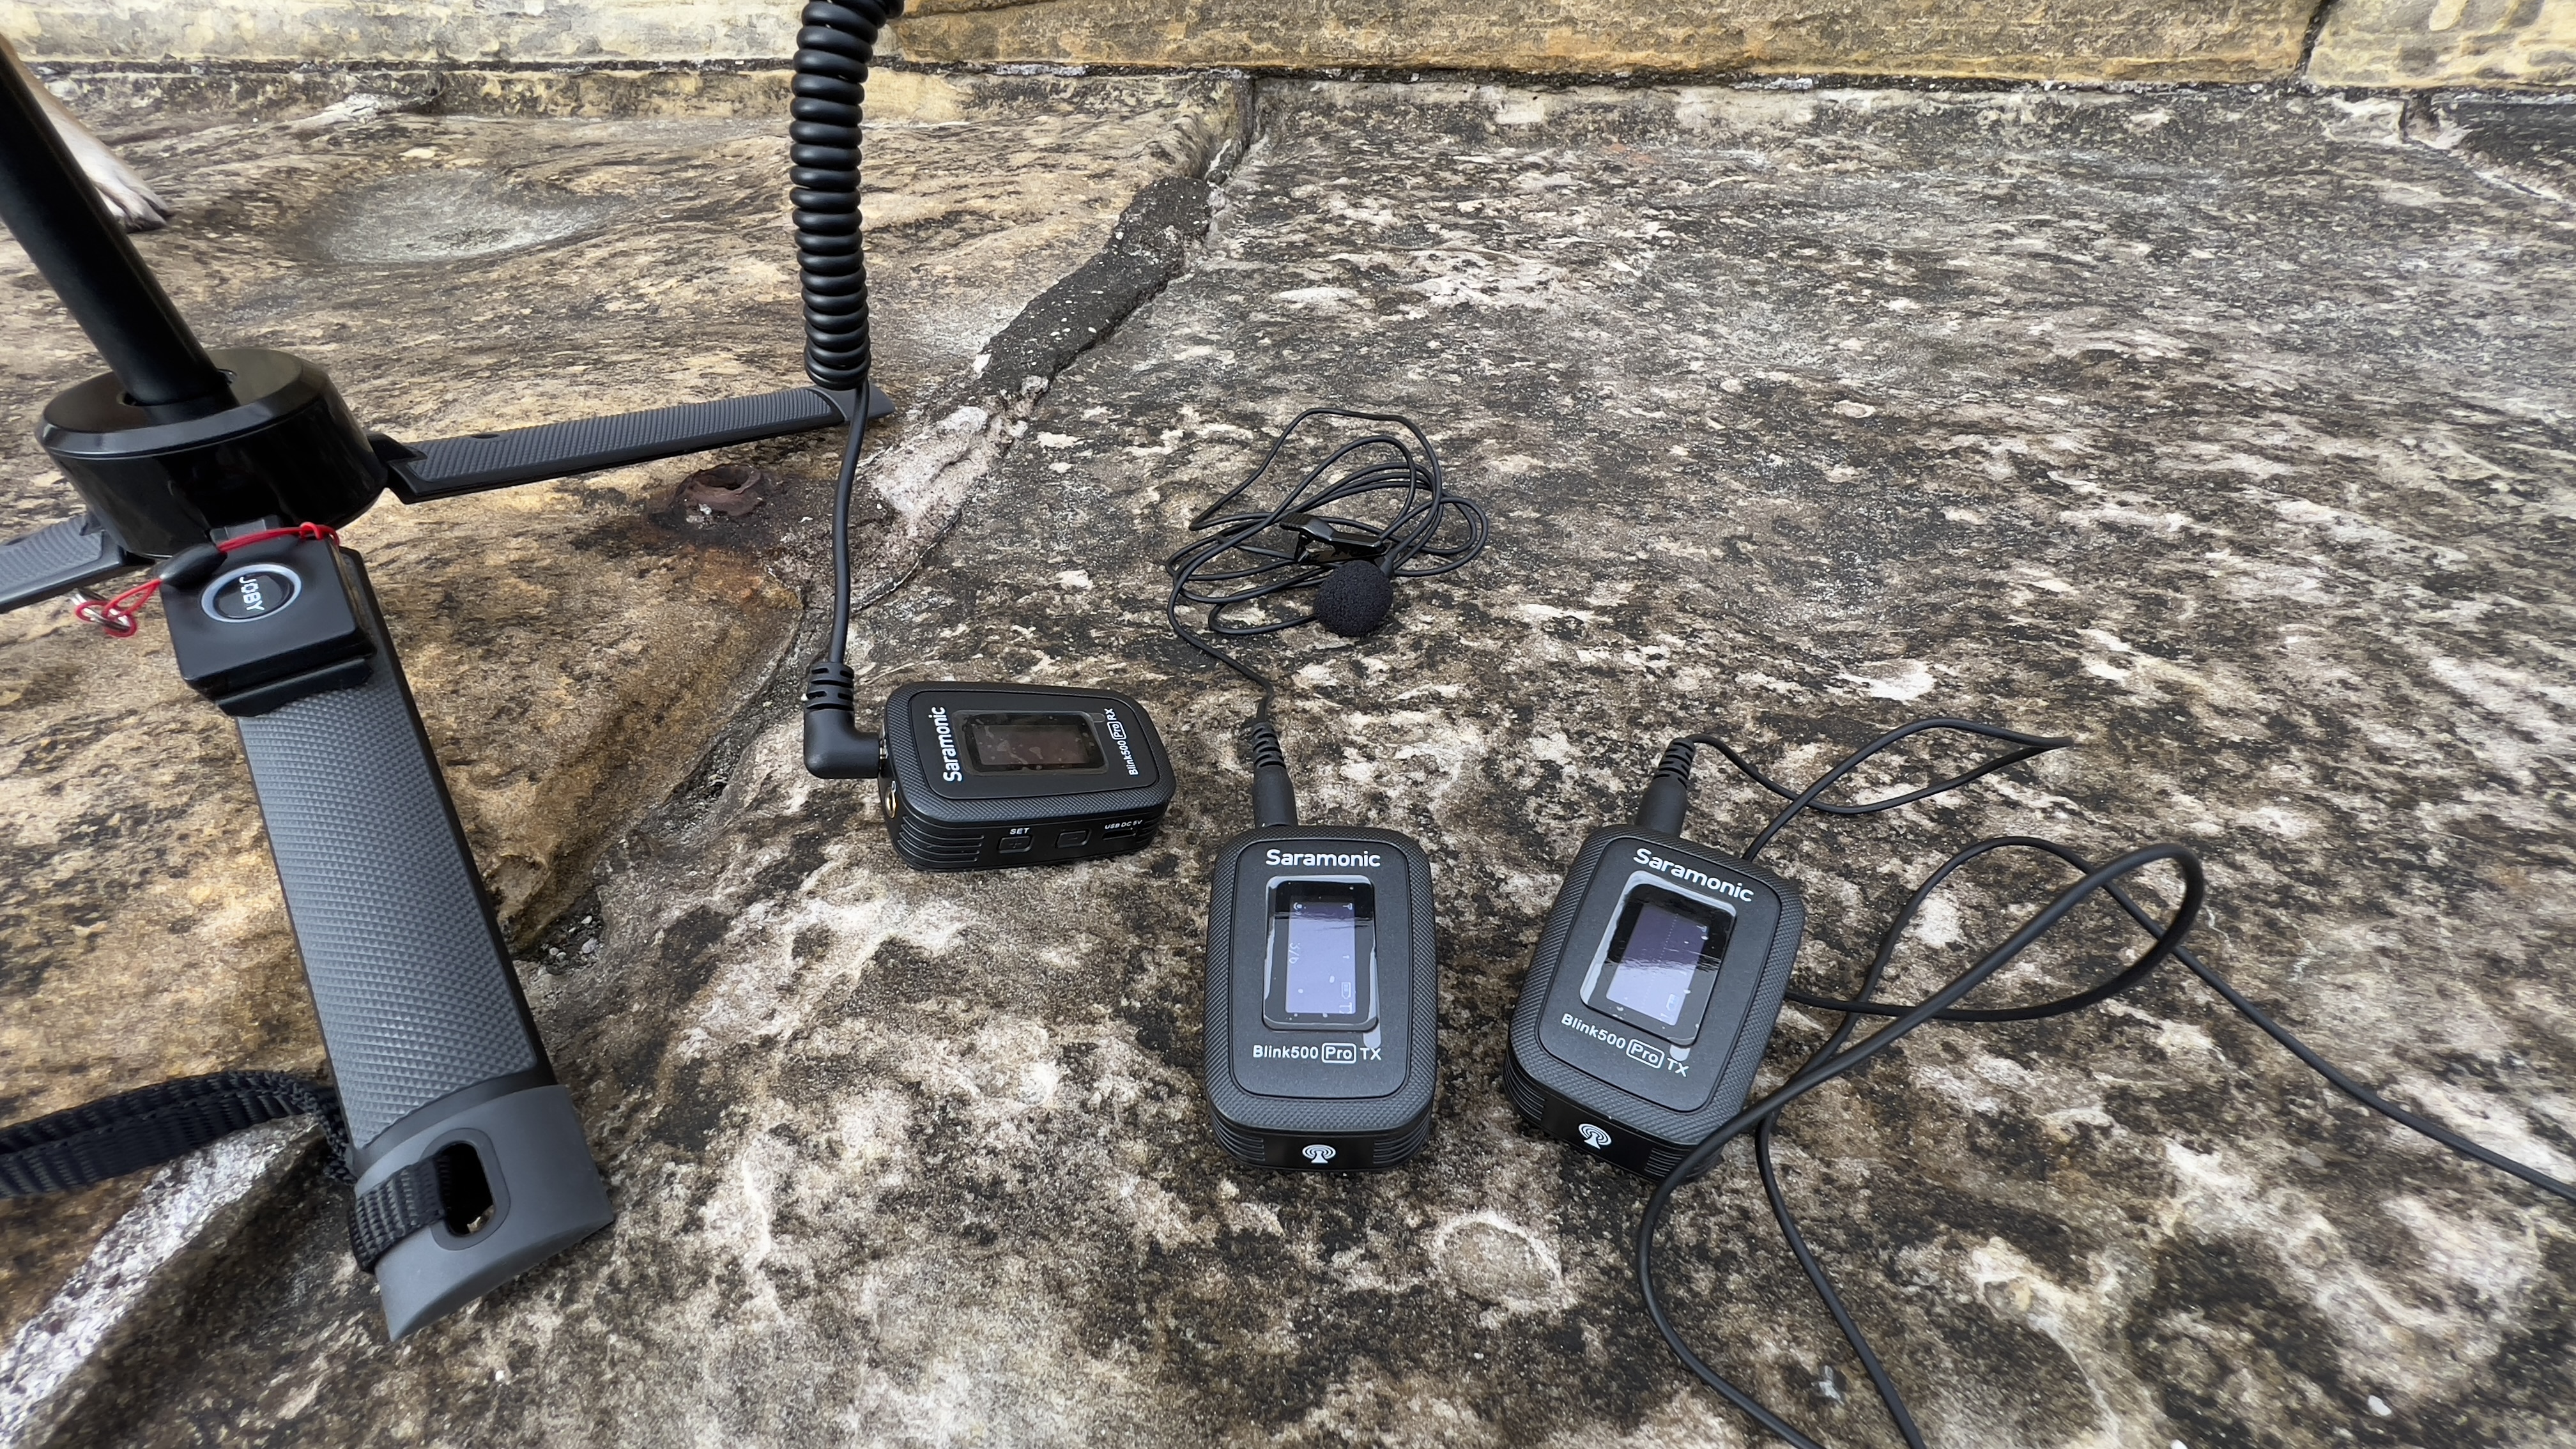
As with most of the lav mic kits in this guide, the Saramonic Blink500 Pro 2 consists of two transmitters with built-in mics and a receiver that you need to attach to your camera. A charging case keeps the three units equally charged so that they perform equally on a shoot. The kit also consists of classic cabled lav mics that you can clip to the subject’s shirt as an alternative to the plastic transmitter mic. The cabled lav mic’s small foam windshield is much more subtle and discrete than the fluffy ‘dead cat’ that squats on the chunkier transmitter mic. We also found that the cabled lav mic’s windshield was much more effective at reducing wind noise than the transmitter mic’s ‘dead cat’ was (check out our full review’s test video to hear the excellent sound quality from these lav mics).
We tested the Saramonic Blink500 Pro 2 in a windy coastal location and recorded our subjects as they chatted while clambering over rocks. The kit enabled us to capture clean full-bodied (and wind-free) audio wirelessly, making it perfect for documentary-style programmes where the subjects need to walk freely around a location and at a distance from the camera. There was a little latency of around 3 frames but this wasn’t noticeable when viewing the footage on a smartphone’s display (plus it's an easy matter to offset the audio by three frames in an editing app.)
Unlike cheaper transmitter lav mics such as the JOBY Wave AIR, the Saramonic Blink500 Pro 2’s transmitter has an OLED display so that you can clearly see the strength of the mic’s input levels and tweak them accordingly (using a 6-increment gain control). This helps you avoid recording audio that is too weak (or peaking so high that it clips your voice).
Read our full Saramonic Blink500 Pro B2 review
Best mic for professional video makers
Specifications
Reasons to buy
Reasons to avoid
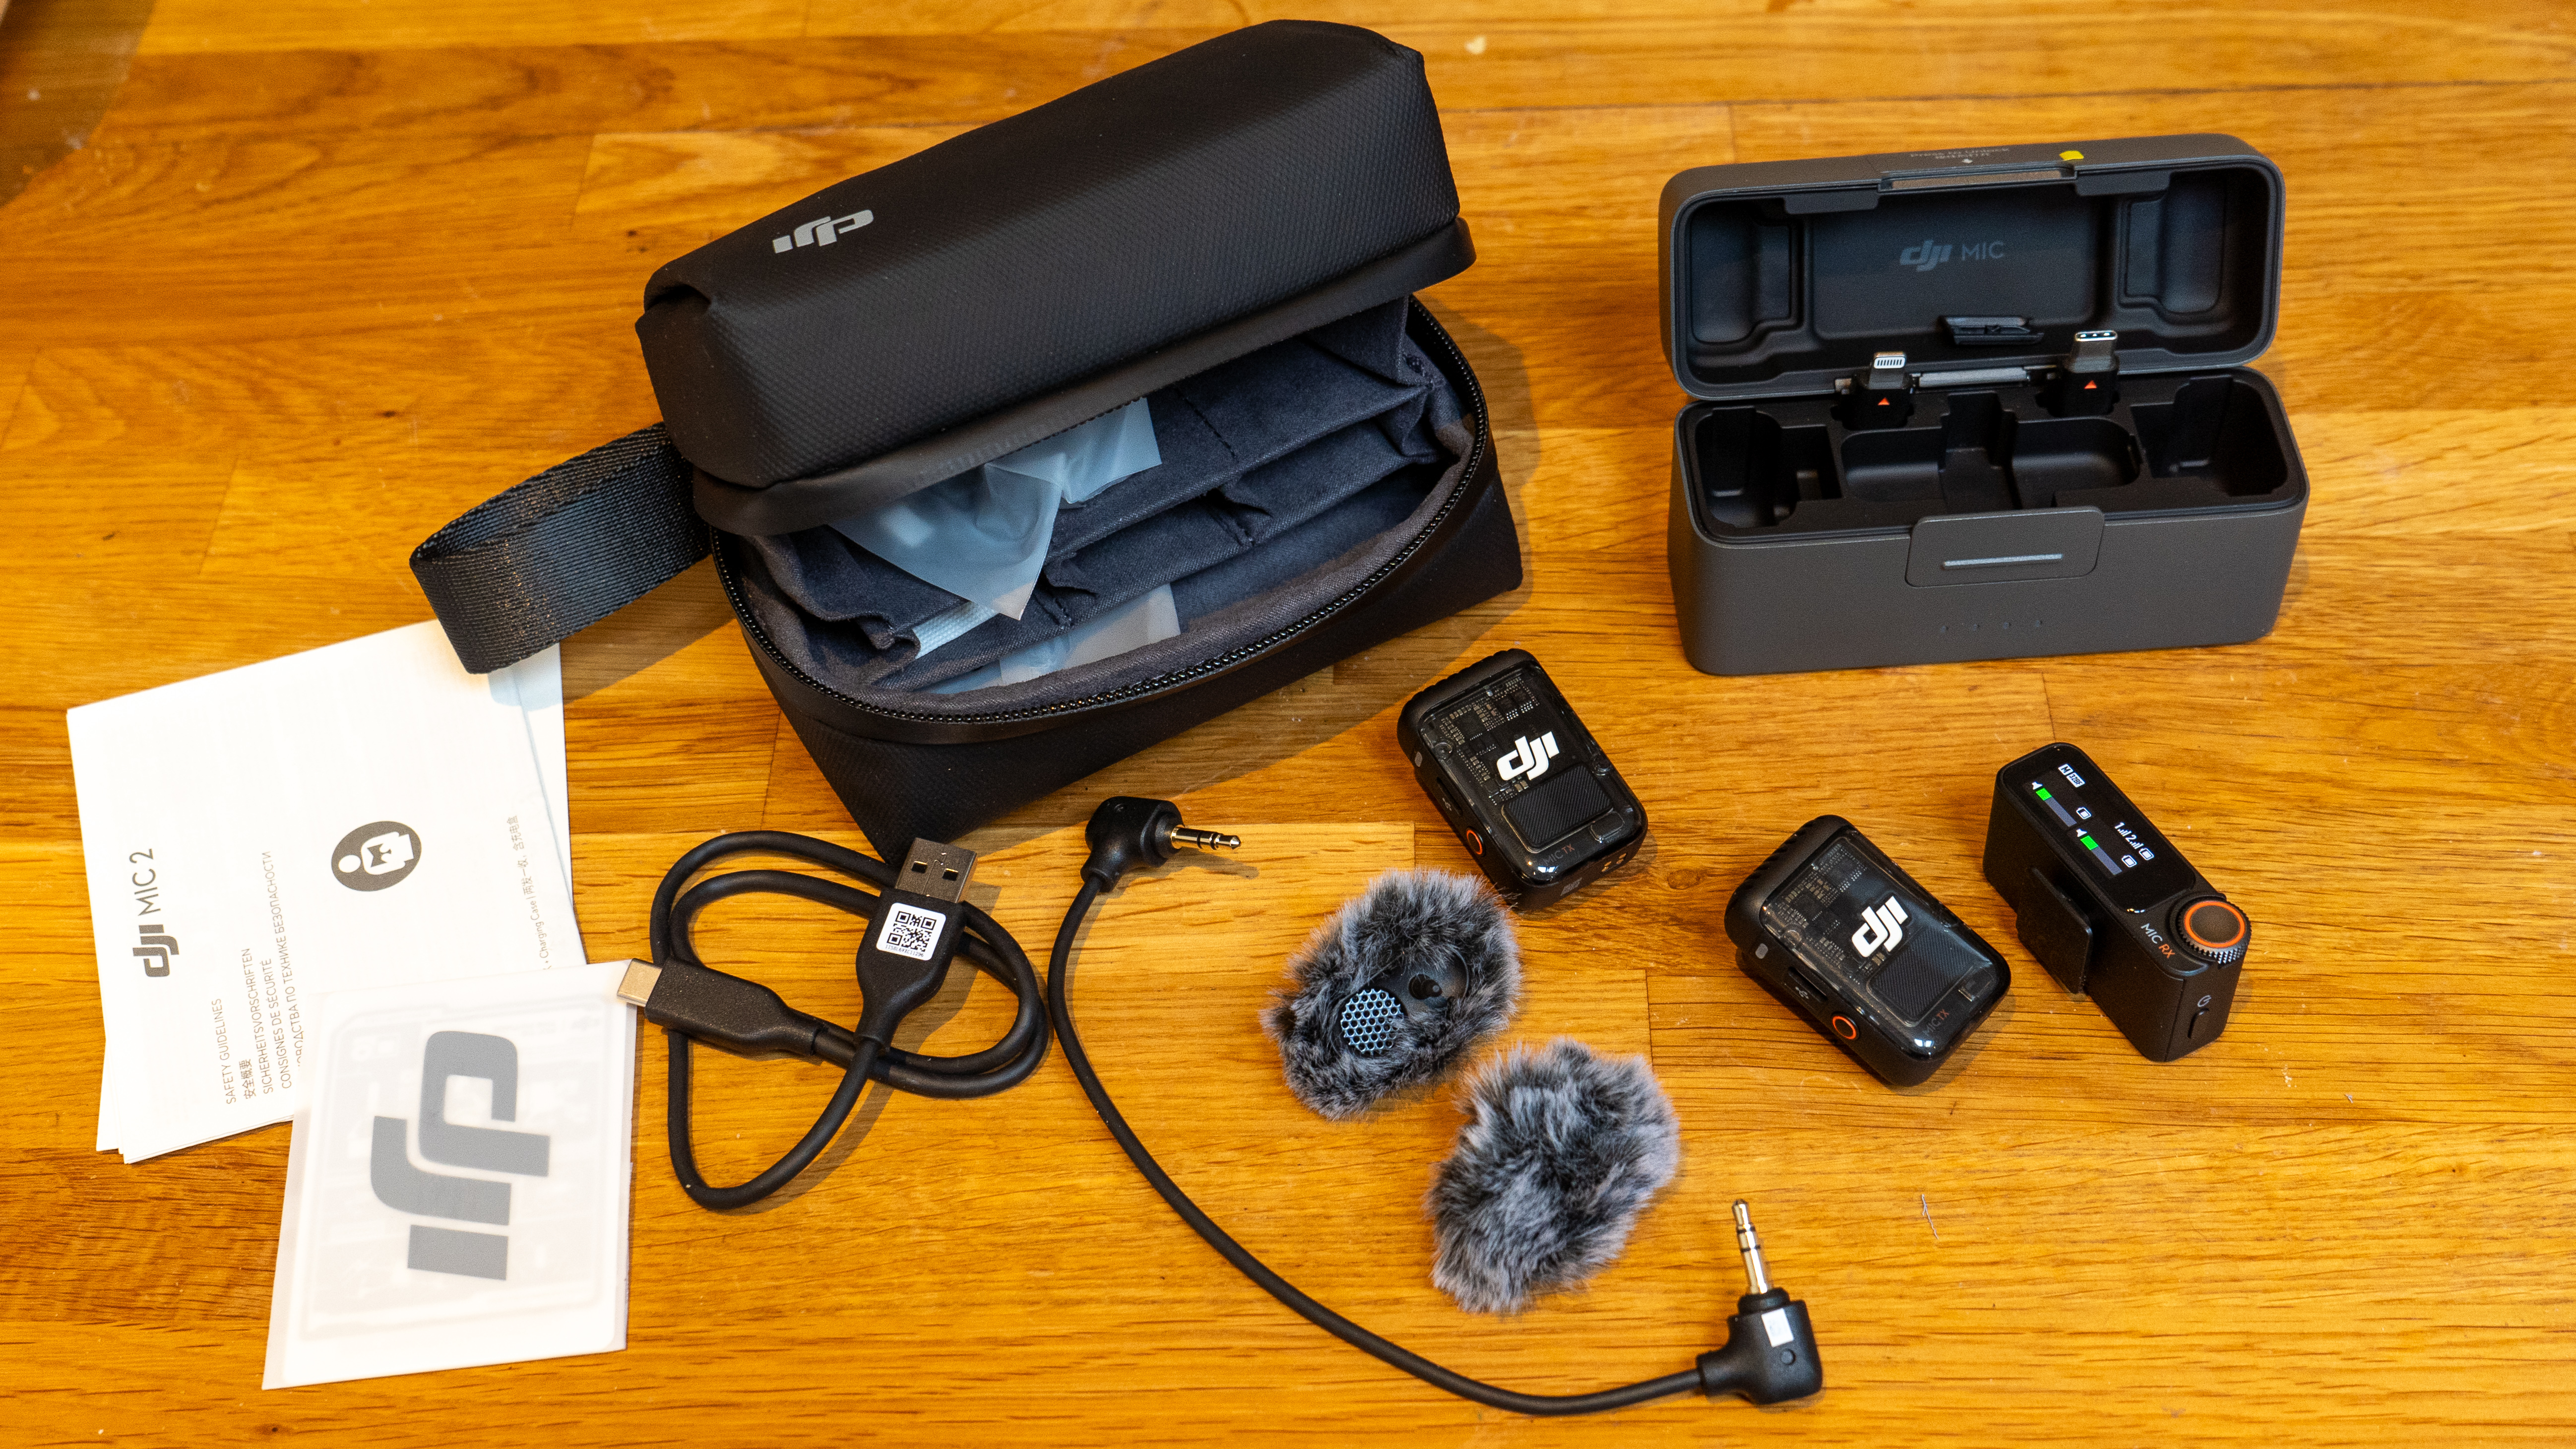
Some of our recommended mics - such as the JOBY Wave AIR - feature lightweight plastic transmitters that look and feel cheap. The DJI Mic 2’s transmitter on the other hand is a weightier and more solidly constructed unit that radiates a professional quality. This pro look and feel extends to the charging case which has a metallic feel (compared to the plastic charging cases from the other kits in this guide). The transmitter also offers haptic feedback when performing various functions (such as powering on and off or capturing an onboard recording). This helps quickly and easily understand the device’s status when on a shoot.
The DJI Mic 2 also deals with the problem of capturing clipped sound levels by using 32-bit float onboard recording. This enables you to capture distortion-free audio when the subject speaks at a high volume, making this an invaluable tool for jobs that you can’t re-record. For a belt and braces approach you can also record an additional -6dB safety track at a lower level. The kit’s 18-hour battery life and 250m range mean that it will go the distance!
As with most of our other mics in this guide, you can also attach a classic cabled Lavalier mic (not included) with its crocodile clip connector to the DJI Mic 2’s transmitter as an alternative to using the transmitter’s built-in mic. The Combo kit that we tested is relatively expensive but if you don’t need the extra transmitter you can save money by buying a single transmitter set (though this doesn’t ship with a charging case).
Read our full DJI Mic 2 review
Best for weddings
Specifications
Reasons to buy
Reasons to avoid
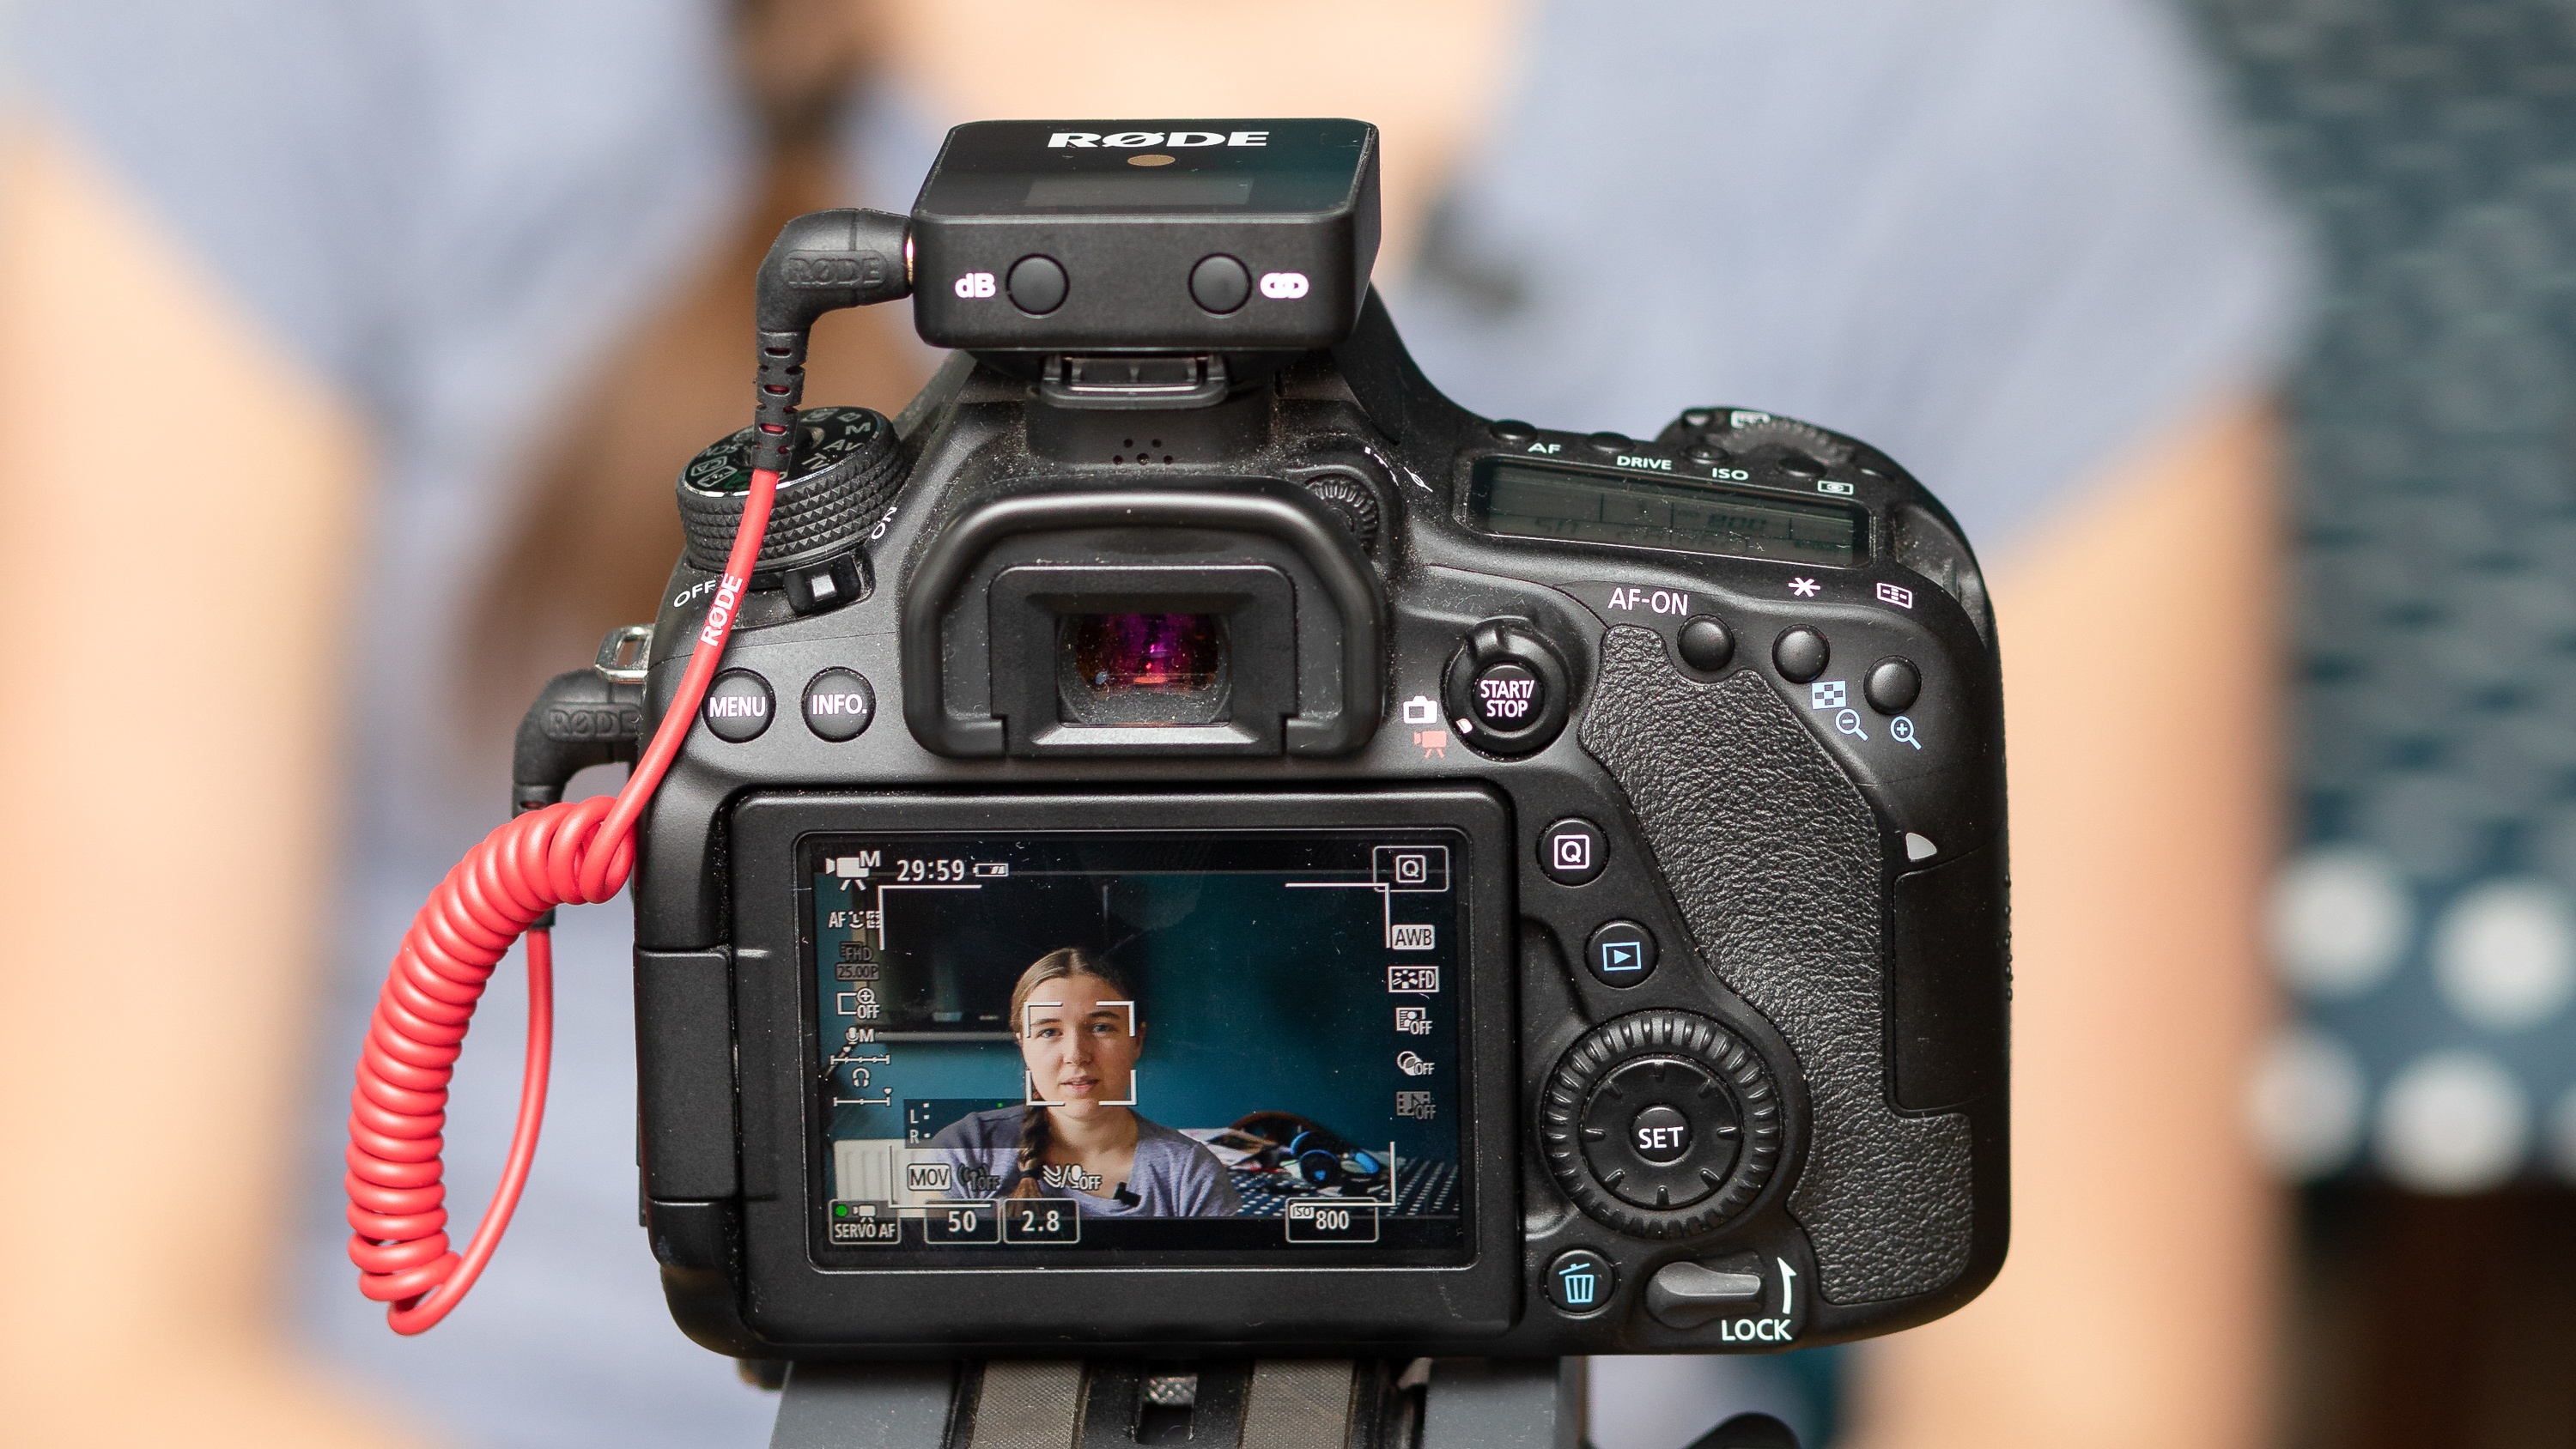
The Rode Wireless Go was the first mass-market wireless microphone system - offering a small clip-type transmitter with a built-in mic. The Wireless Go II standard kit goes one better by providing you with two transmitters - perfect for recording interviews, or the exchange of the vows at a wedding.
We found it very straightforward to use the connected units which respond immediately so that as soon as the cable is unplugged, they’re ready for action. We loved that you get the choice to record audio from each of the transmitters to a separate channel, or to use a ‘Merged’ mode so that the dual audio inputs are combined onto a single output. There's a special safety mode too, that allows you to record the audio at two different levels - as insurance against unexpected big jumps in volume.
Read our full Rode Wireless Go II review
How to choose the best wireless mic kits
Any of the lavalier mic kits in this buying guide will enable you to improve the audio production values of your video programs, but it’s worth considering your specific needs as a filmmaker.
If you want to talk to camera without the constraints of a hard-wired lavalier mic then consider the cheaper option of buying a version that contains one transmitter mic and a receiver. Our buying guide features the more expensive duo version of each kit which enables you to clip a mic onto yourself and another onto your interviewee so that you both sound loud and clear as you walk and talk wirelessly.
You should also consider if you want a simple ‘plug and play’ kit that lets you start recording straight away (such as the JOBY Wavo Air), or whether you want the option of viewing and manually adjusting sound levels on the receiver with a kit such as the Saramonic Blink500 Pro B2.
On the whole, the more you spend the more features you’ll get - such as onboard recording for example. But even the cheapest kit in our guide should sound better than your camera’s built-in mic, especially once you’ve moved a few feet away from your recording device.
How do I connect a receiver to a smartphone?
Most of the wireless lav mics that feature in this review ship with a 3.5mm TRS jack audio cable that connects the receiver to the 3.5mm socket on a DSLR or mirrorless camera. They also provide a 3.5mm TRS to TRRS cable for smartphones that have a jack input.
To connect this cable to a smartphone that doesn’t have a 3.5mm jack socket (such as an iPhone) you’ll need to buy an add adaptor cable. A 3.5mm to USB-C adaptor will let you connect the receiver to an Android smartphone (plus the iPhone 15 Pro line). If you have an older iPhone then you can buy a 3.5mm to Lightning connector. The DJI Mic 2 ships with connectors for both USB-C and Lightning so you can plug its receiver into your smartphone or iPhone without the need for a third-party adaptor. Adaptors are relatively cheap.
When you plug the adaptor into an iPhone you’ll be asked if you’re connecting headphones or another device to the cable. Tap ‘other device’ or your iPhone might not recognize (and therefore not listen to) the mic.
What does 32-bit float mean?
The DJI Mic 2’s transmitter uses a 32-bit float to capture its onboard recordings. This is an audio equivalent of shooting a photo in Camera RAW format. A RAW file contains much more information about a file’s colors and tons, enabling you to restore detail to clipped (over-exposed) highlights and restore detail hidden in under-exposed shadows. The 32-bit float recorded file contains more information too, enabling you to boost quiet sound levels without adding artifacts such as hiss or capturing a sound voice without it becoming distorted.
How we test the best wireless mics
We test microphones in a number of challenging situations to check how they perform against different background noises. We so far have tested the microphones in this list in a moving train, near a major busy road, and by some high-pitched noisy children. We assess how cleanly the Lavaier microphones can pick up our voices amongst all this hubbub. If you want to see for yourself how the microphones perform, our full reviews have supporting test videos so you can hear the sound quality for yourself.
Get the Digital Camera World Newsletter
The best camera deals, reviews, product advice, and unmissable photography news, direct to your inbox!
George has been freelancing as a photo fixing and creative tutorial writer since 2002, working for award winning titles such as Digital Camera, PhotoPlus, N-Photo and Practical Photoshop. He's expert in communicating the ins and outs of Photoshop and Lightroom, as well as producing video production tutorials on Final Cut Pro and iMovie for magazines such as iCreate and Mac Format. He also produces regular and exclusive Photoshop CC tutorials for his YouTube channel.

