Digital Camera World Verdict
If you couldn’t afford the older Cinepeer Crane 4 then the cheaper 4E is well worth a look. The Cinepeer Crane 4E may lack the Crane 4’s LED fill light (which is arguably a non-essential feature anyway), but the Crane 4E can still perform the same DSLR/Mirrorless heavy-lifting tasks as its higher-specced sibling. The Crane 4E lacks the sling grip and wrist rest that ships with the more expensive Crane 4 Combo kit, so these optional items will add to the cost if you want to carry your payload with less effort.
Pros
- +
Native portrait (vertical) shooting
- +
Carries DSLR sized payload
- +
Long barely life
- +
Bluetooth shutter control
Cons
- -
Lacks balance indicator lights
- -
Wrist rest and sling grip sold separately
Why you can trust Digital Camera World
If you’re a DSLR/mirrorless videographer then having the best gimbal (or stabilizer) is an essential piece of kit. You can of course pan, tilt and zoom when your DSLR/Mirrorless camera is mounted on a tripod but thanks to a gimbal’s tilt, pan and rotate motors you can perform a wider range of camera moves while on the move - such as performing dramatic tracking shots that follow your subject or low-to-high angle crane shots that reveal your subject in a cinematic way. However, a tripod can take a while to set up or reposition (plus it might get in the way in a busy location.) A gimbal such as the Cinepeer Crane 4E enables you to be much more mobile as a videographer and have a smaller footprint when on a shoot.
The name Zhiyhun is synonymous with camera gimbals. At the time of writing Zhiyun offers twelve stabilizers capable of carrying DSLR/Mirrorless cameras. These include the heavy-lifting Crane range and the lighter Weebill models. Zhiyun also produces a range of mobile phone-compatible stabilizers in their Smooth range. This range features five different models including the Smooth 5S AI, plus late in 2024 they unveiled an entry-level (and very low budget) mobile gimbal in the shape of the Cinepeer CQ5.
Back in 2023 I tested and reviewed the predecessor of the Cinepeer Crane 4E - the Crane 4. The new Crane 4E is almost identical to the more expensive Crane 4 but it lacks a couple of key features including a built-in LED fill light - though arguably that’s not an essential feature for a stabiliser. However, one key feature that is missing from the newer and cheaper Crane 4E is the Crane 4’s balance indication lights. These shine white when a particular motor’s axis is balanced or red when it’s unbalanced. I’ll go into more detail on this missing key feature in the Performance section.
Zhiyun Cinepeer Crane 4E: Specifications
| Payload | See Zhiyun Site for compatible cameras |
| Pan Mechanical Range | 360° |
| Roll Mechanical Range | Max: +71° / Min: -251° |
| Tilt Mechanical Range | Max: +220° / Min: -103° |
| Battery Life | 12 hours |
| Dimensions | 340mm x 280mm x 70mm |
| Weight | 1630g (without tripod attached) |
Zhiyun Cinepeer Crane 4E: Price
The Zhiyun Crane 4E launched with a price of $499/£529/AU$699 but if you shop around you should be able to find a discounted version. For example, as I write up this review Zhiyun’s official store has dropped the price by 20%.
Compared to the Zhiyun Crane 4, the Crane 4E’s cheaper cost should make the gimbal an attractive purchase to DSLR/Mirrorless filmmakers, but unlike the older Crane 4 there is no option to purchase a Combo kit that ships with a very useful sling grip and wrist support. So if you want the benefit of these extra (and I’d say essential) MasterMove accessories then you’ll need to buy them separately - which could add $149/£149 to your costs. We couldn’t see the MasterMove sling grip and wrist rest on the Australian Amazon Store.
Zhiyun Cinepeer Crane 4E: Design & Handling
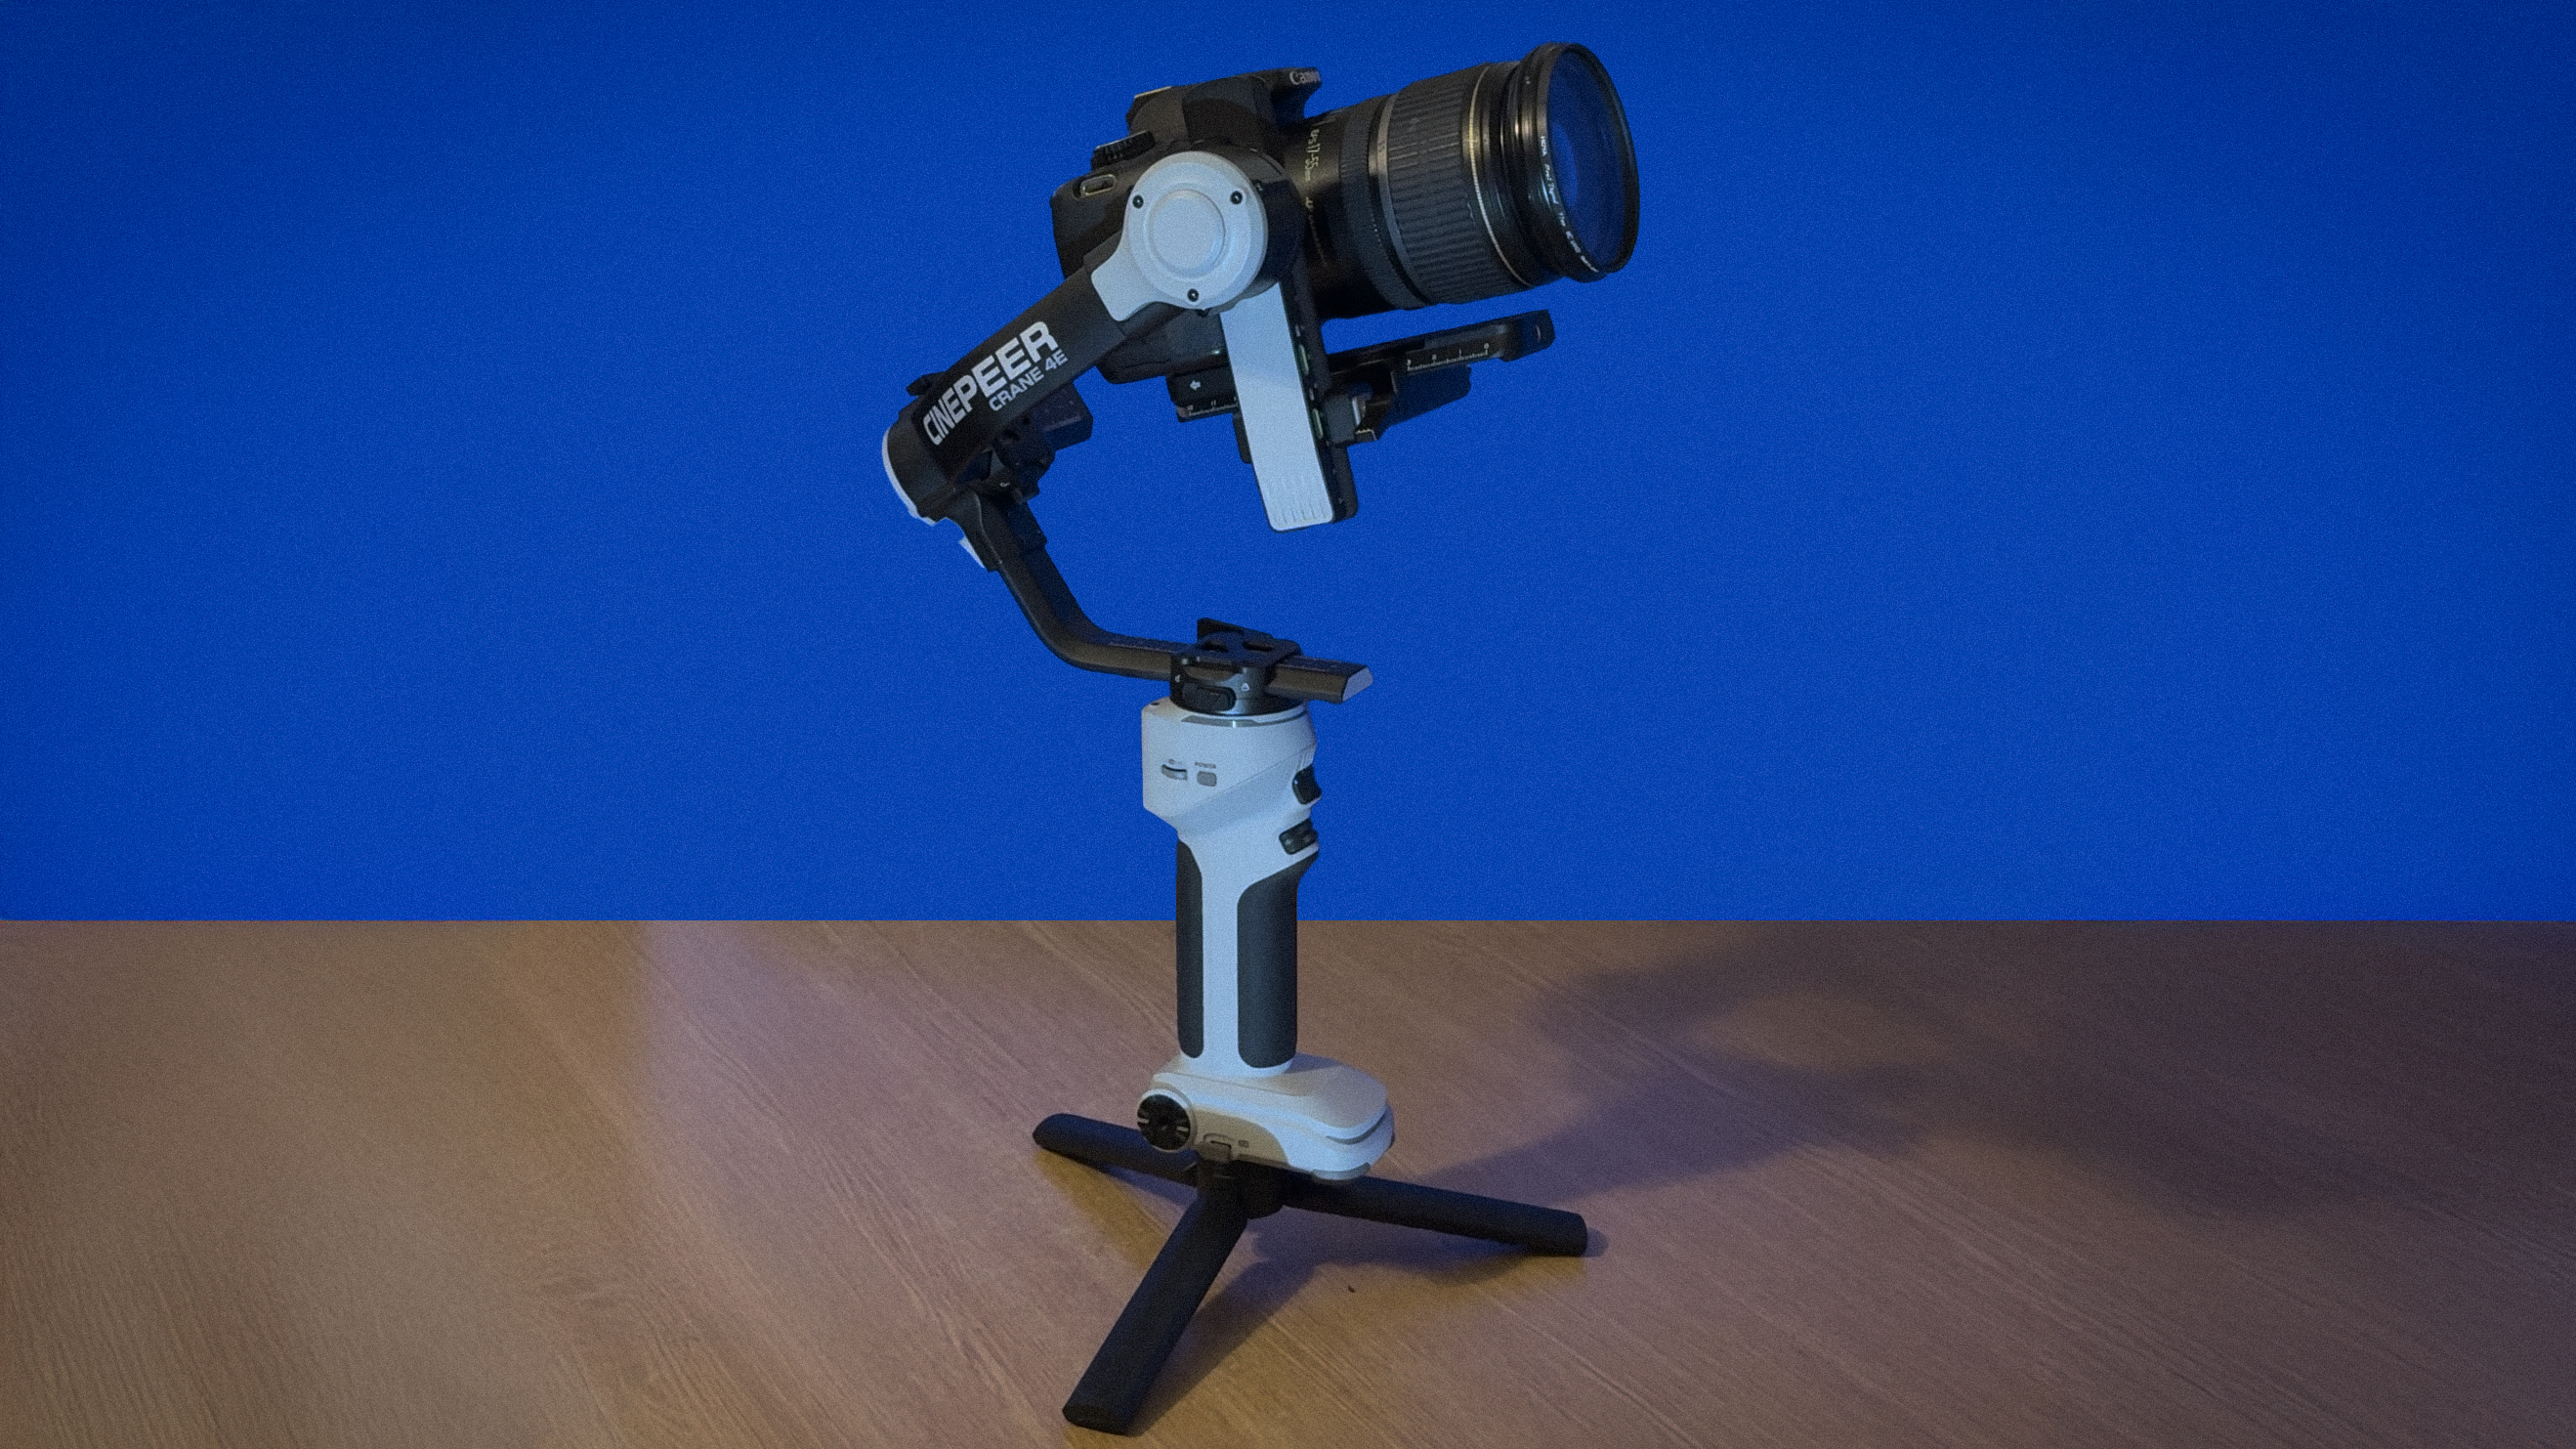
Back in 2023, I enjoyed testing and reviewing the Zhiyun Crane 4, so I was interested to see how the cheaper but very similar Cinepeer Crane 4E fared in comparison. At first glance, the differences between the two stabilizers appear to be cosmetic. The original Crane 4 is constructed of a slick black and grey mix of plastic and metal that echoes the look of other professional heavy-lifting gimbals such as the DJI RS 4. The Crane 4E has a lighter grey pistol grip with a black metal roll arm adorned with its name. The label “Cinepeer Crane 4" is a bit of a squeeze to fit onto the roll arm and it looks messier than the clean bold ‘Crane’ that is printed on the roll arm of the Crane 4.
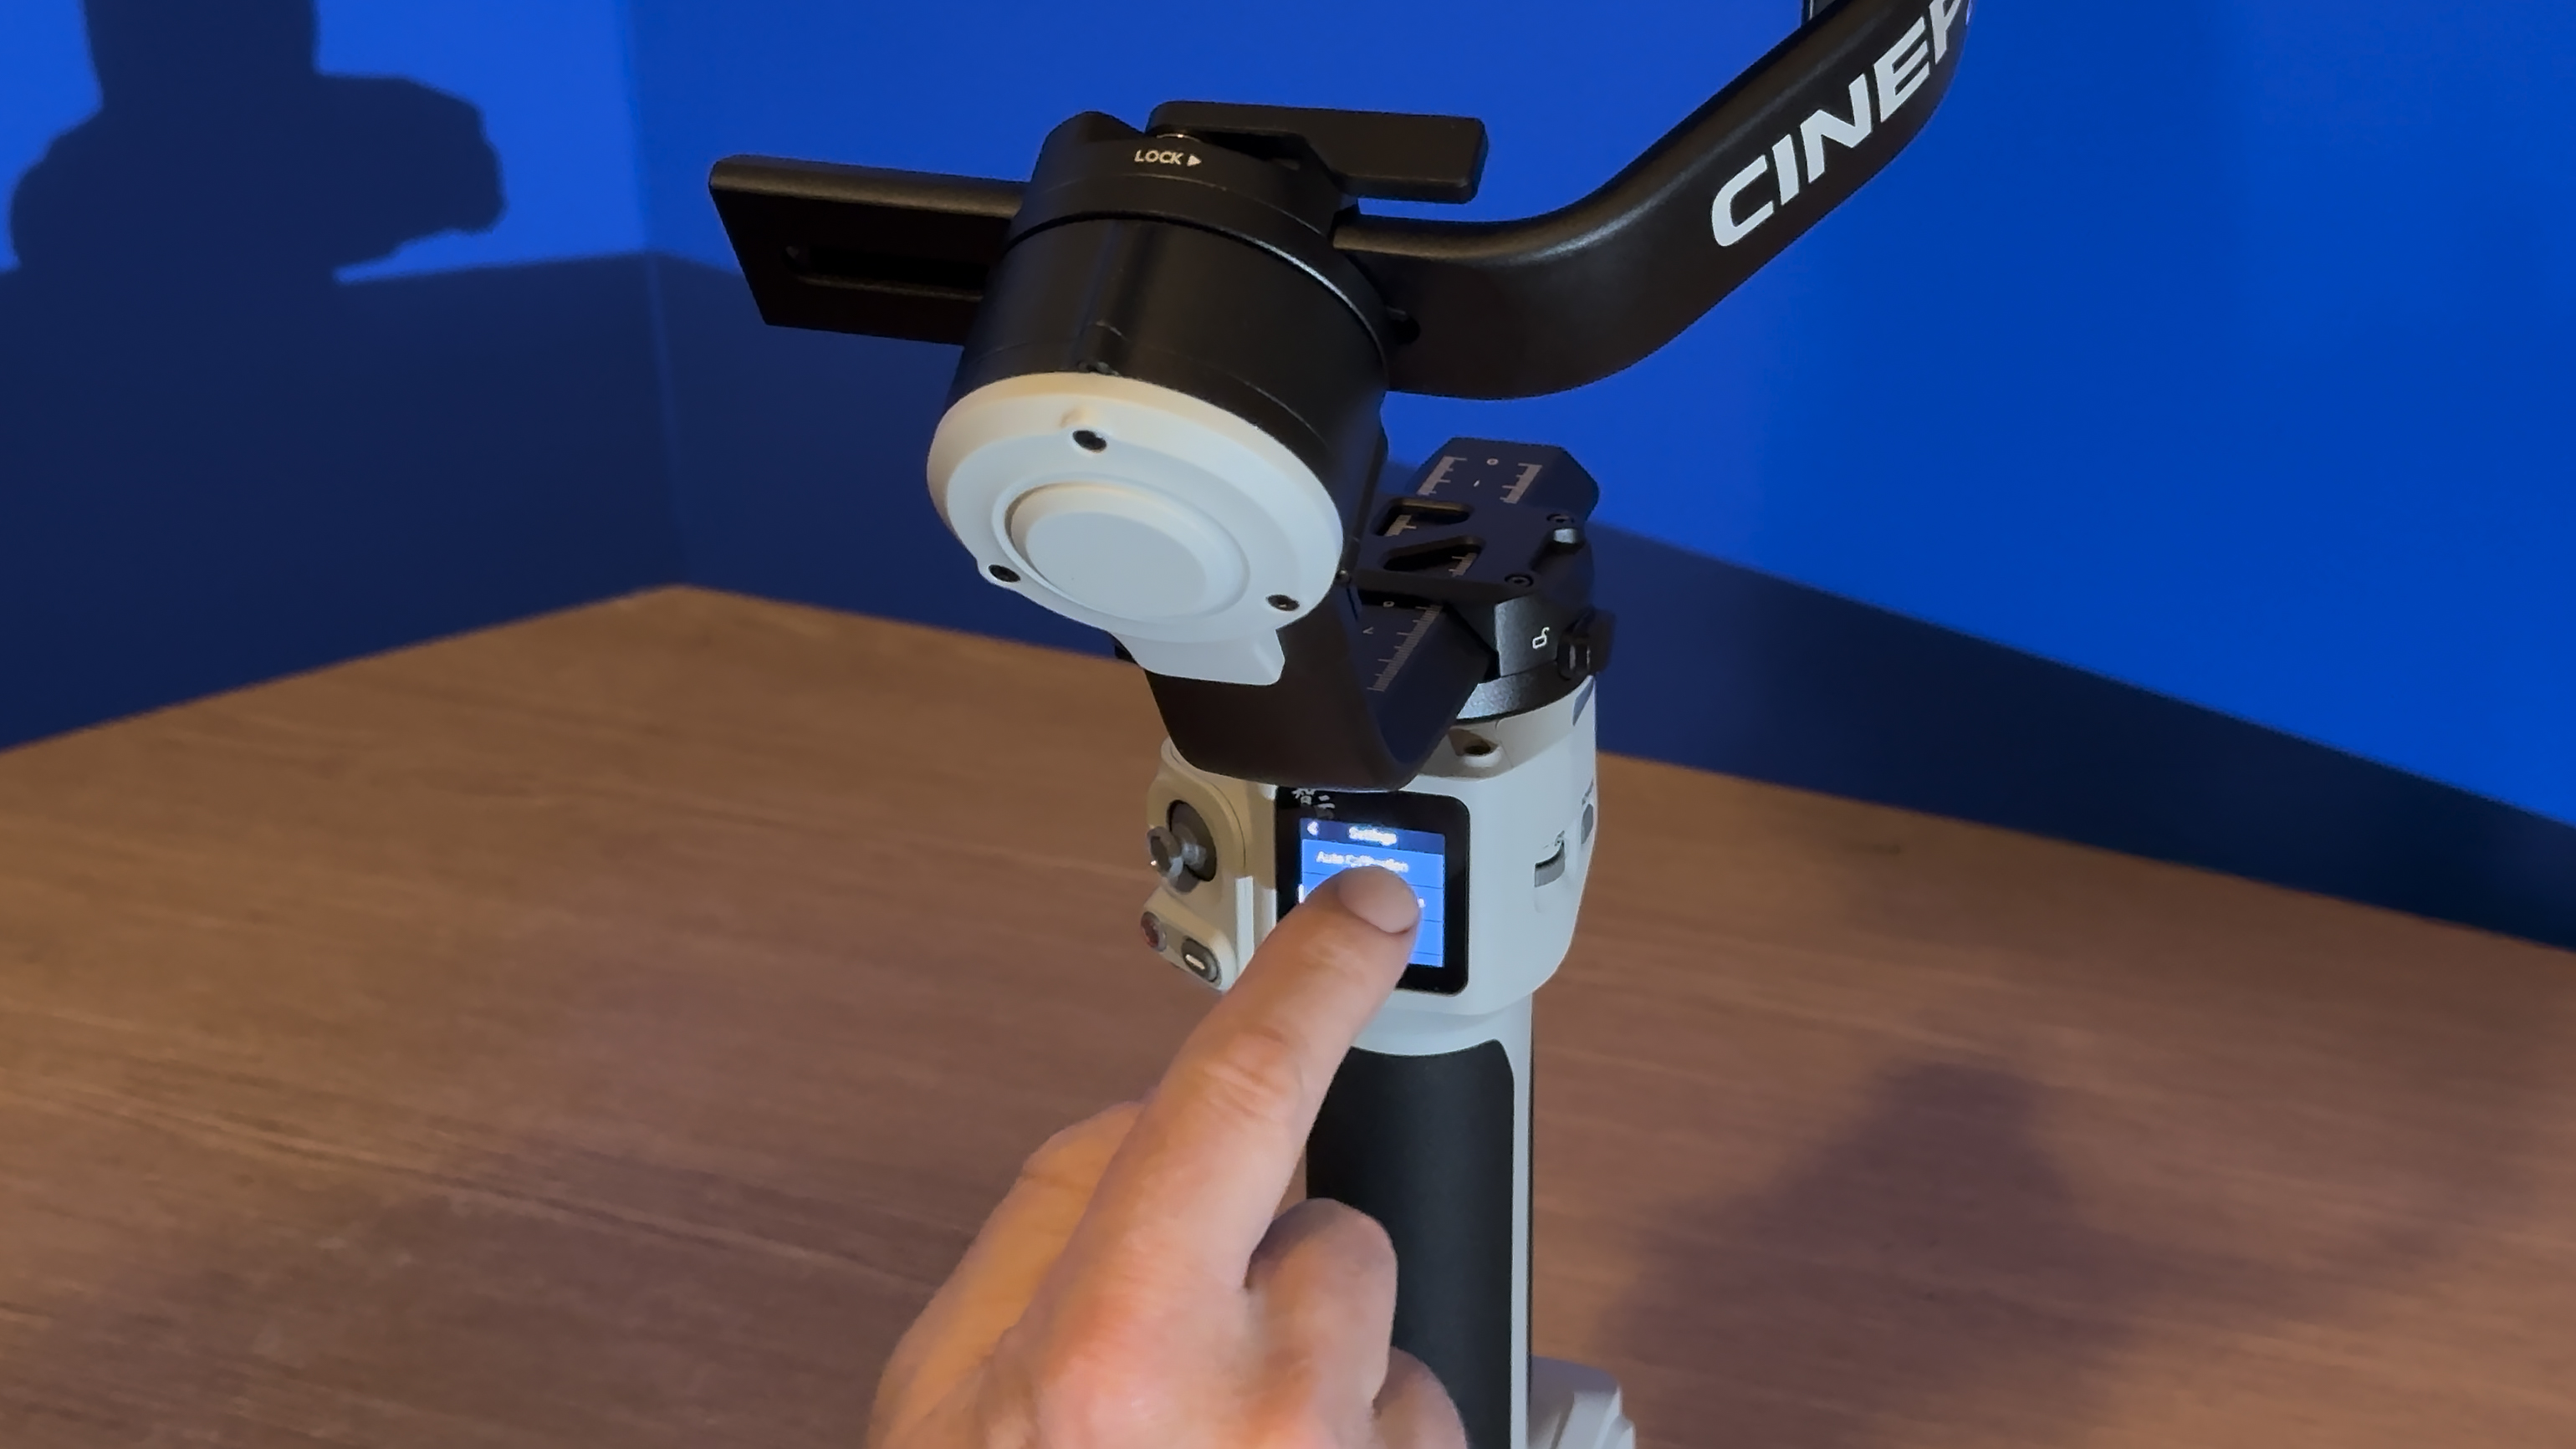
At a net weight of 1630g, the Cinepeer Crane 4E is 43 grams lighter than the older and more expensive Zhiyun Crane 4, but I’d say that this difference is negligible when it comes to handling the gimbal with a camera mounted on it. I attached a Canon EOS 650D with a Canon lens to the Crane 4E. The combined weight of the payload and gimbal was 7lb (3.18 Kg). Without the MasterMove wrist support and sling grip that shipped with the Zhiyun Crane 4 the Crane 4E felt heavier, especially when performing low-angle camera moves that put more strain on my wrist.
A key difference between the Crane 4 and the Cinepeer Crane 4E is that the latter lacks the three balance indicator LEDs that help you know when the camera is balanced on the gimbal for optimum performance. This makes balancing a trickier and more time-consuming affair on the Crane 4E. The Crane 4E is also missing the Crane 4’s built-in LED but that’s a welcome trade-off for a cheaper price.
Zhiyun Cinepeer Crane 4E: Performance
Prior to testing the Cinepeer Crane 4E, I reviewed a smartphone stabilizer - the Insta360 Flow Pro 2. The key attraction of smartphone stabilizers is that you don’t need to balance the lighter camera on them. Simply clip the smartphone into a magnetic holder, attach it to the stabilizer, and start shooting!
Compared to the speed and convenience of smartphone stabilizers, balancing a Canon DSLR on the Crane 4E took me around 10 minutes (and this is the 10th DSLR/Mirrorless gimbal that I’ve reviewed for Digital Camera World so I’ve had lots of practice!). The tilt, roll, and pan axes all have units of measurement on them so you can take note of the optimum settings once the balance has been achieved. However, I found it quite a fiddle to adjust the position of the three axes as they were quite stiff to slide to get a perfect balance.
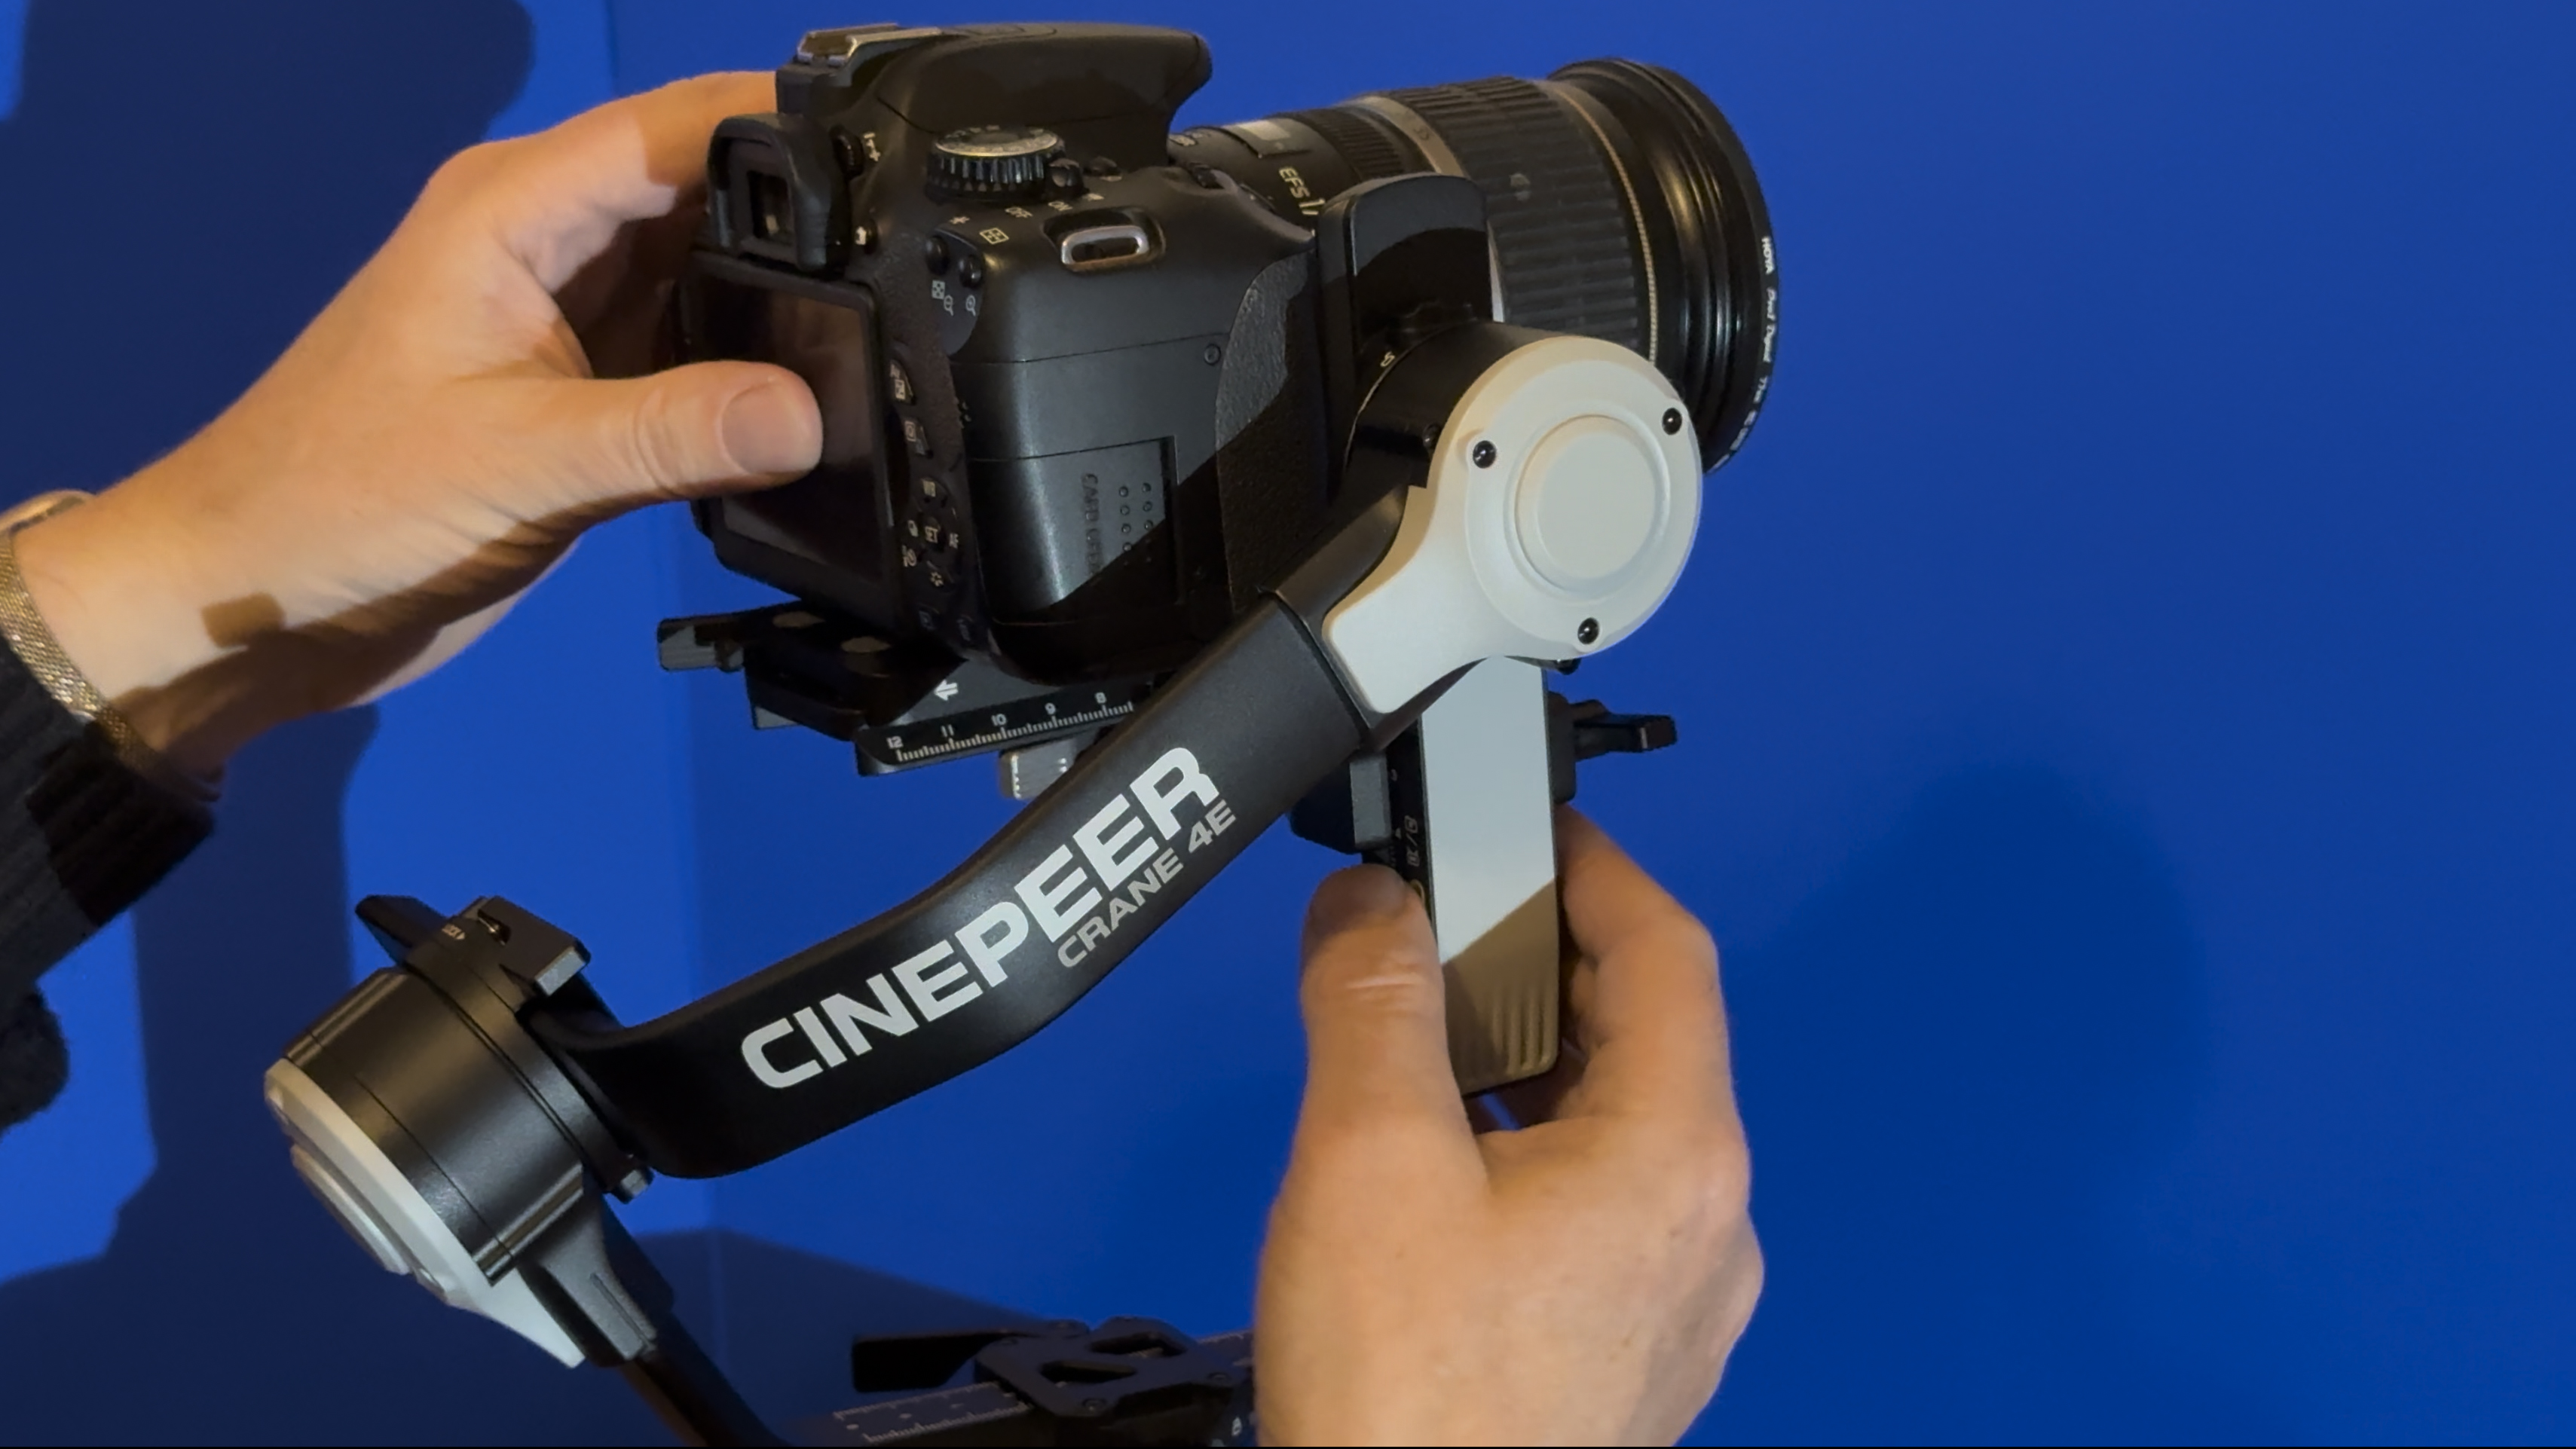
After balancing the camera I unlocked and powered up the gimbal, only to find that the Crane 4E was vibrating. After much tinkering, I delved into the menus and found that the motor torque had been set to a custom value by a previous user to suit their particular payload. Once I reset the torque to default my balanced camera tilted, panned, and rolled smoothly. I did miss the balance indicator lights found on the more expensive Crane 4, but if you dip into the Crane 4E’s OLED screen menu you diagnose a particular axis’s balance problems from there and then fine-tune its position.
After achieving an optimum balance (which puts less pressure on the three axes motors and therefore extends their life) I headed out on my first test shoot. Normally I pop an iPhone on a tripod to film myself using the gimbal to perform different modes such as Follow, Pan Follow, Lock, Selfie, POV, Go, and Vortex (and you can see all these modes in action in my supporting video). However, I decided to lob my new DJI Flip into the sky in Spotlight mode so that I could film the gimbal from a higher angle. Having the drone as an aerial tripod also gave me a target to tilt up and pan away from when using the gimbal.

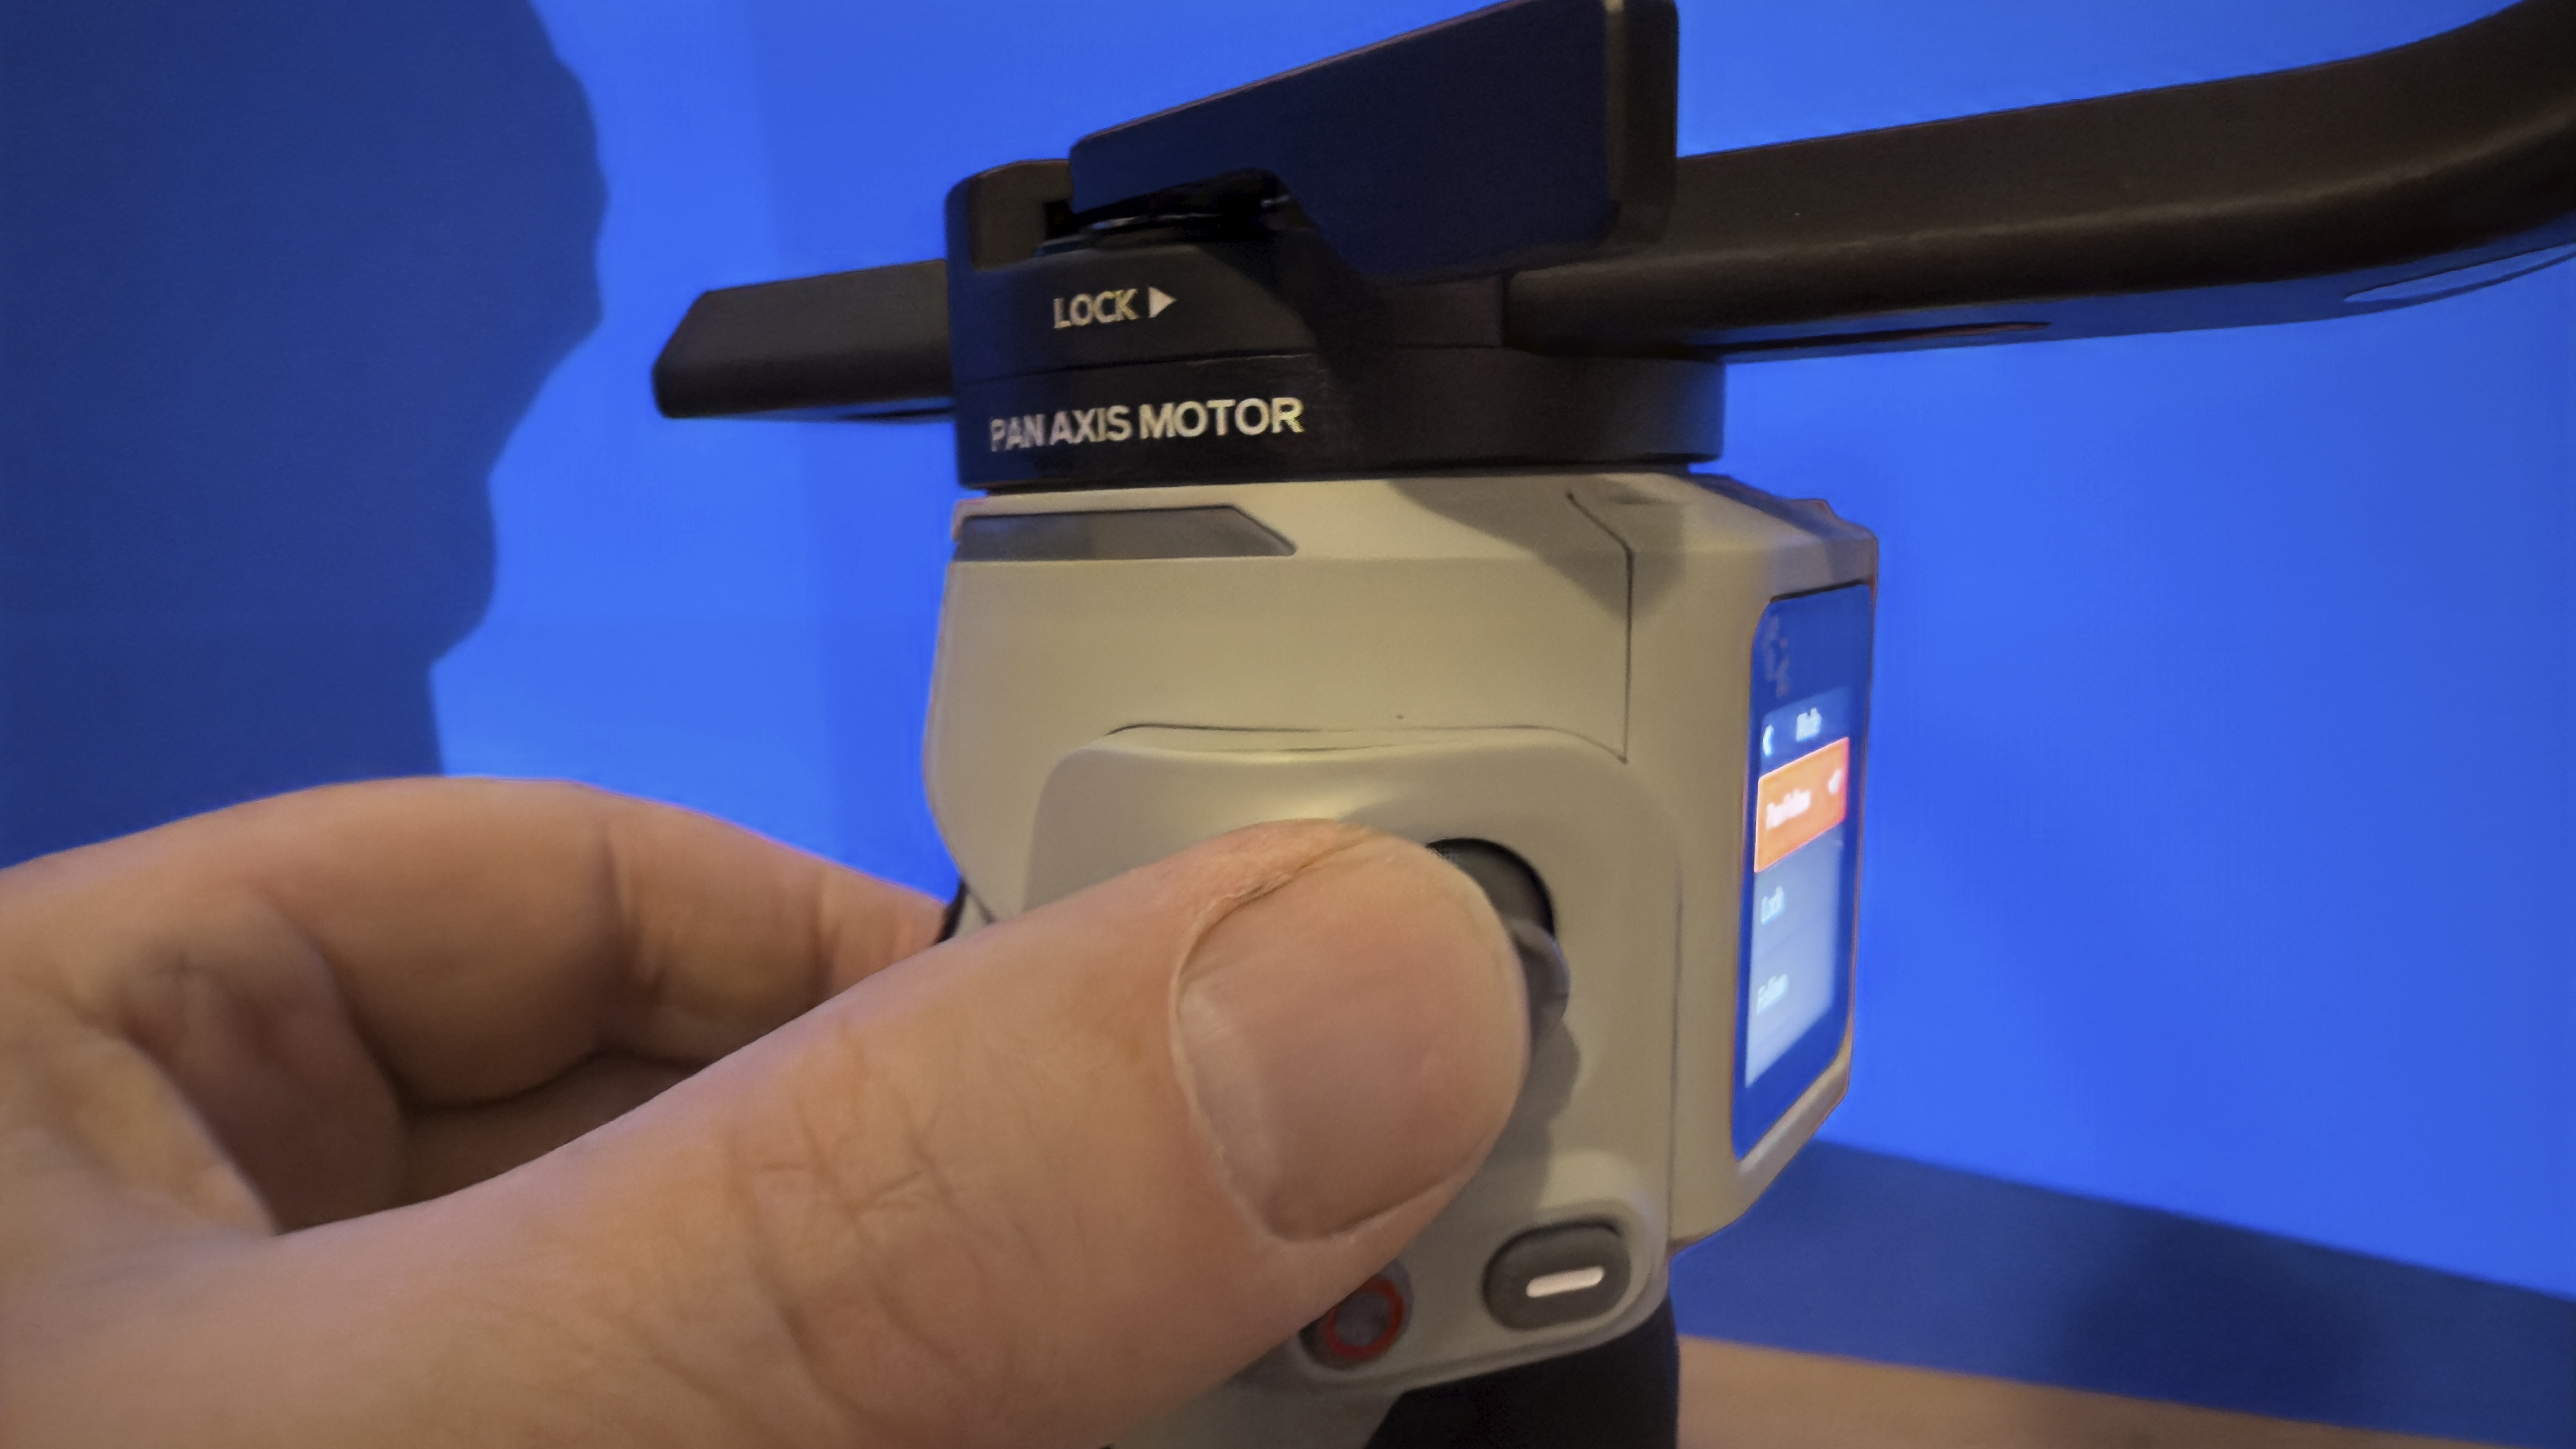
Going back to balance, the Crane 4E has a quick-release plate that enables you to slide your camera into a vertical position to shoot portrait-oriented footage suitable to be shared as Reels on Instagram. Although it’s a quick process to swap the camera from landscape to portrait orientation you will still need to perform the time-consuming balancing process from scratch (whereas a quick tap on an Insta360 Flow 2’s button instantly rotates the smartphone between portrait and landscape mode).
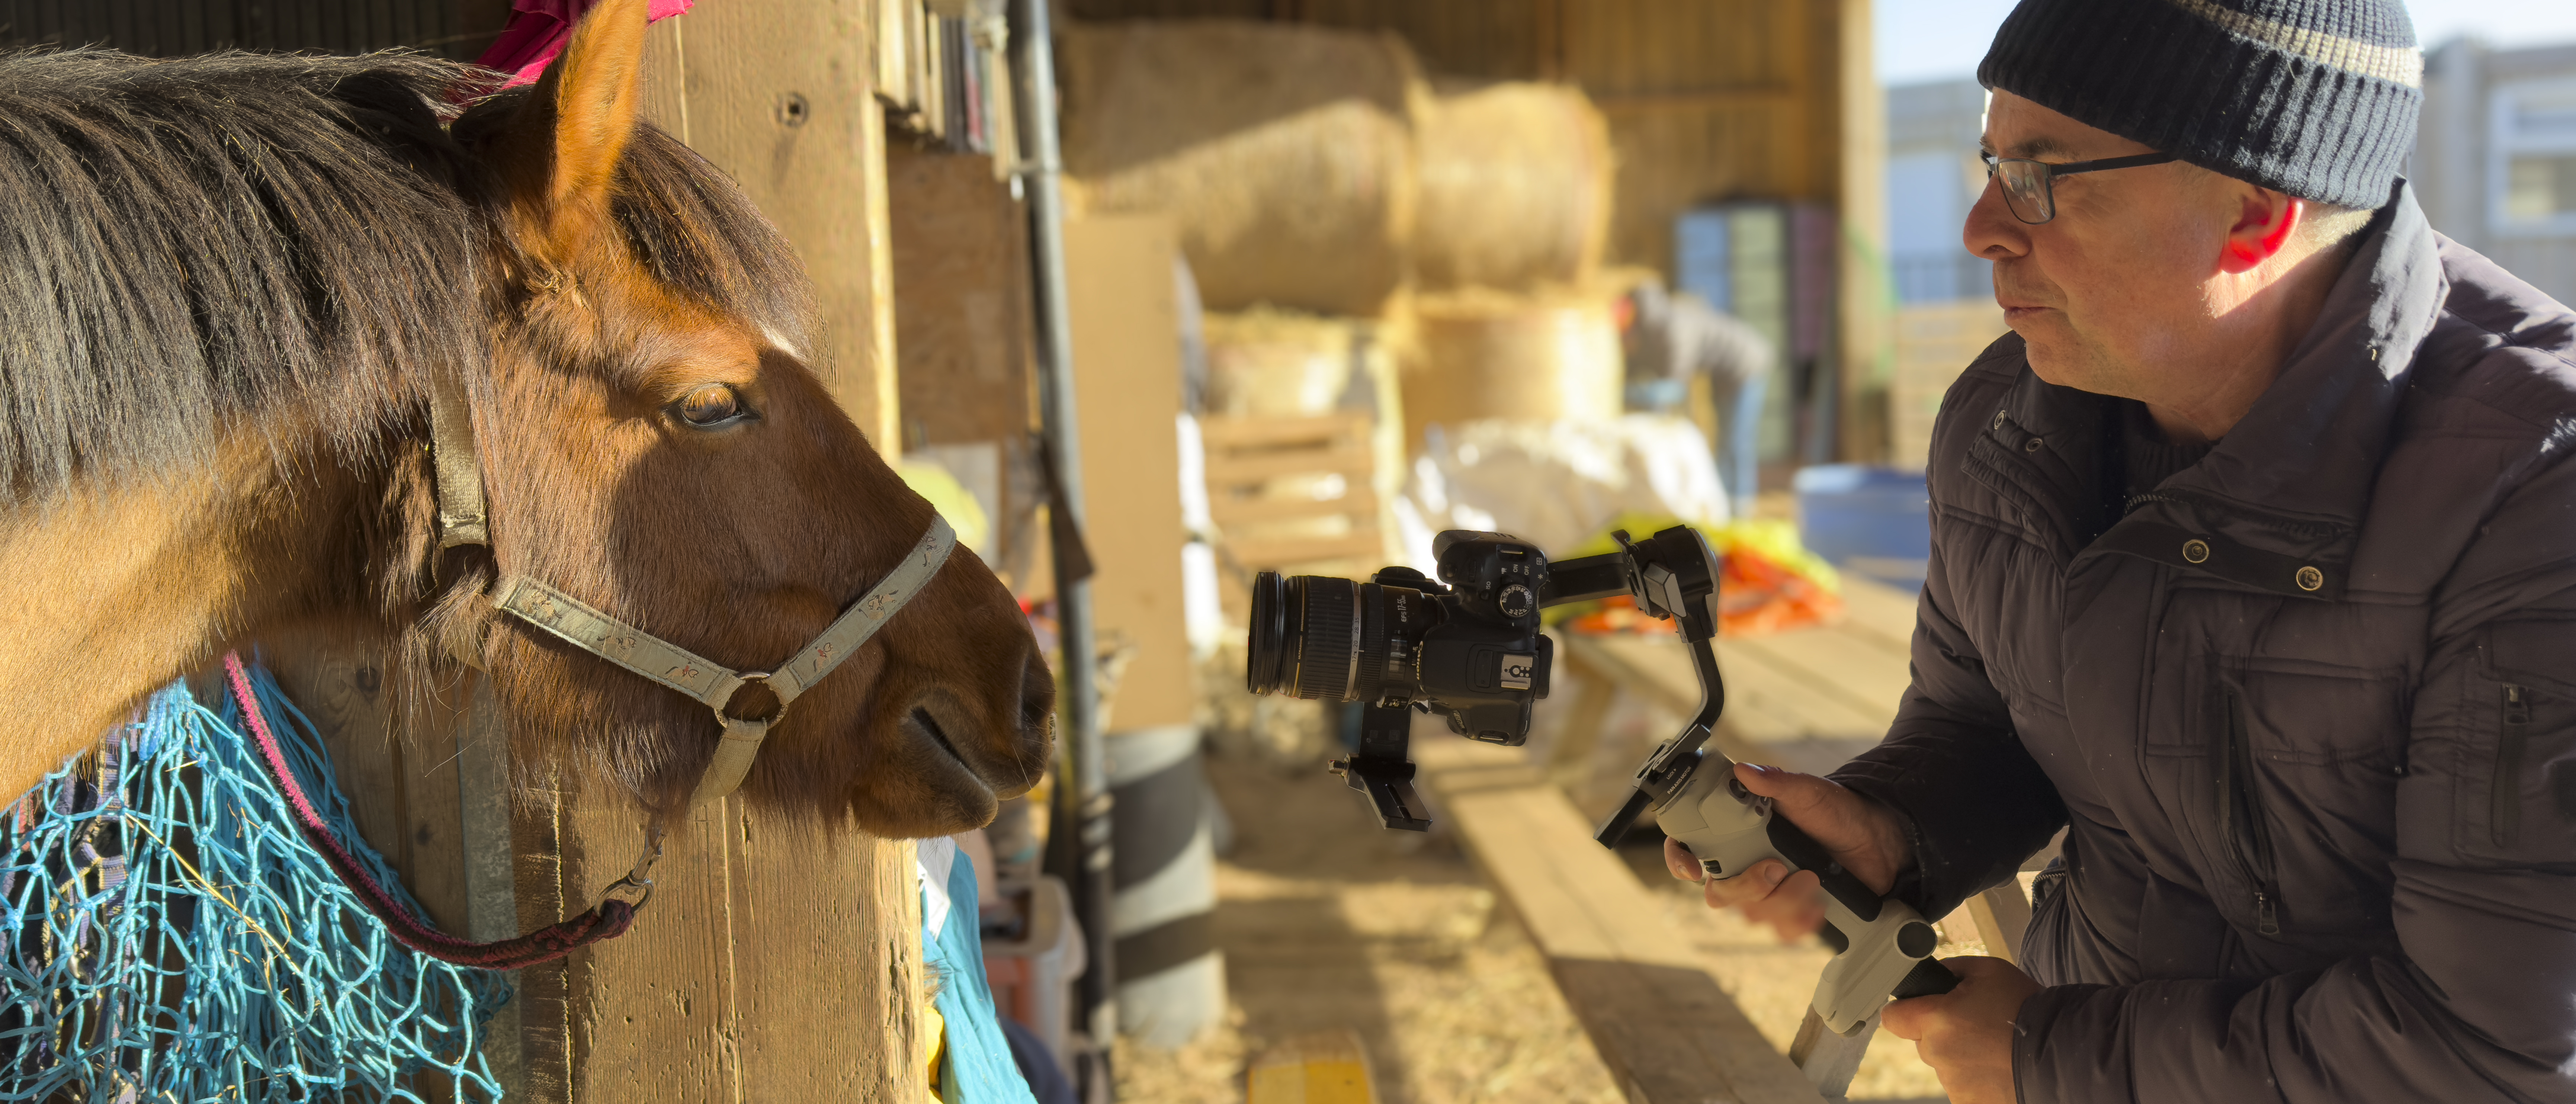
I used the Cinepeer Crane 4E’s vertical configuration to film some portrait-oriented social media footage for a Scottish horse riding school on my second test shoot. I was grateful for the gimbal as it enabled me to keep up with (and out of the way of) the ever-moving horses (and it also avoided getting a tripod covered in mud and horse poo!) Talking of tripods the Crane 4E ships with a handy mini tripod that you can use to make the gimbal stand on its own while you perform smooth pans and tilts with its joystick. You can also fold the tripod into a handle which helps you grip the gimbal more effectively and spread the weight when you’re making your camera moves. The mini tripod isn’t as comfortable as a dedicated sling handle and wrist grip, but it helps keep the price down.
Zhiyun Cinepeer Crane 4E: Verdict
Compared to the original and more expensive Zhiyun Crane 4 the newer and cheaper Cinepeer Crane 4E should be an attractive purchase if you don’t mind losing the useful (but not essential) motor balance indicator lights and the built-in LED fill light (which is a nice touch but again not essential to the gimbal’s performance). What is lacking is the option to purchase the Crane 4E as a Combo kit (like you can with the Crane 4) so that you can enjoy the support of a wrist rest and the extra low-angle maneuverability offered by the sling grip.
However, you can purchase these essential accessories in the form of the Crane 4 MasterMove kit. Even with this extra expense the combined cost of a Cinepeer Crane 4E and the MasterMove sling and wrist rest accessories is still cheaper than buying the older Crane 4 Combo kit.
After my initial challenge of getting the camera and lens payload balanced, I was able to tilt, pan, and even roll my Canon DSLR smoothly, making moves that would be impossible if I were tethered to a tripod. I also enjoyed the freedom and flexibility to shoot in a public location without a tripod getting in the way of the public.
I’m not a fan of shooting vertical footage (see my grumpy Generation X perspective on that topic). However, it was an easy enough procedure to detach my horizontally-mounted camera and slide it onto the Crane 4E’s vertical support arm to capture portrait-oriented social media footage.
Unlike other manufacturers, Zhiyun doesn’t share a maximum payload weight for their gimbals, but you can find a wide range of supported cameras if you head over here and scroll down to the Camera Compatibility List.
| Features | Quick-release plate enables conversion from landscape to portrait shooting and Bluetooth connectivity can trigger your camera button more easily. | ★★★★☆ |
| Design | A solidly built 3-axis DSLR gimbal, though the lighter gray plastic components reminds me of the look of many smartphone stabilizers. | ★★★☆☆ |
| Performance | I was able to make my gimbal-mounted 1.36 Kg camera pan, till and roll smoothly in horizontal and vertical orientation, though I did miss the Crane 4’s wrist rest and sling handle. | ★★★★☆ |
| Value | As a cheaper version of the Crane 4, the Cinepeer Crane 4E lacks the handy balance indicator lights and the LED fill light, but it can still smoothly manoeuvre a heavy DSLR payload. | ★★★★☆ |
Alternatives
Zhiyun Crane 4
The Crane 4 is almost identical to the Crane 4E, but it boasts a built-in 3200 Lux-fill light to illuminate close subjects. More usefully each motor has a light that indicates whether the payload has been balanced correctly. The Combo kit also includes a handy wrist rest and sling grip for easier maneuvering. Read the full review...
Zhiyun Crane-M 3S
If you own a smaller mirrorless camera then you won’t need to blow your budget on a heavy-lifter. The Crane-M 3S strikes a balance between lightweight design and power, accommodating various mirrorless camera and lens combinations. It also ships with a mini tripod which doubles up as an extension handle. Read the full review...
George has been freelancing as a photo fixing and creative tutorial writer since 2002, working for award winning titles such as Digital Camera, PhotoPlus, N-Photo and Practical Photoshop. He's expert in communicating the ins and outs of Photoshop and Lightroom, as well as producing video production tutorials on Final Cut Pro and iMovie for magazines such as iCreate and Mac Format. He also produces regular and exclusive Photoshop CC tutorials for his YouTube channel.
You must confirm your public display name before commenting
Please logout and then login again, you will then be prompted to enter your display name.
