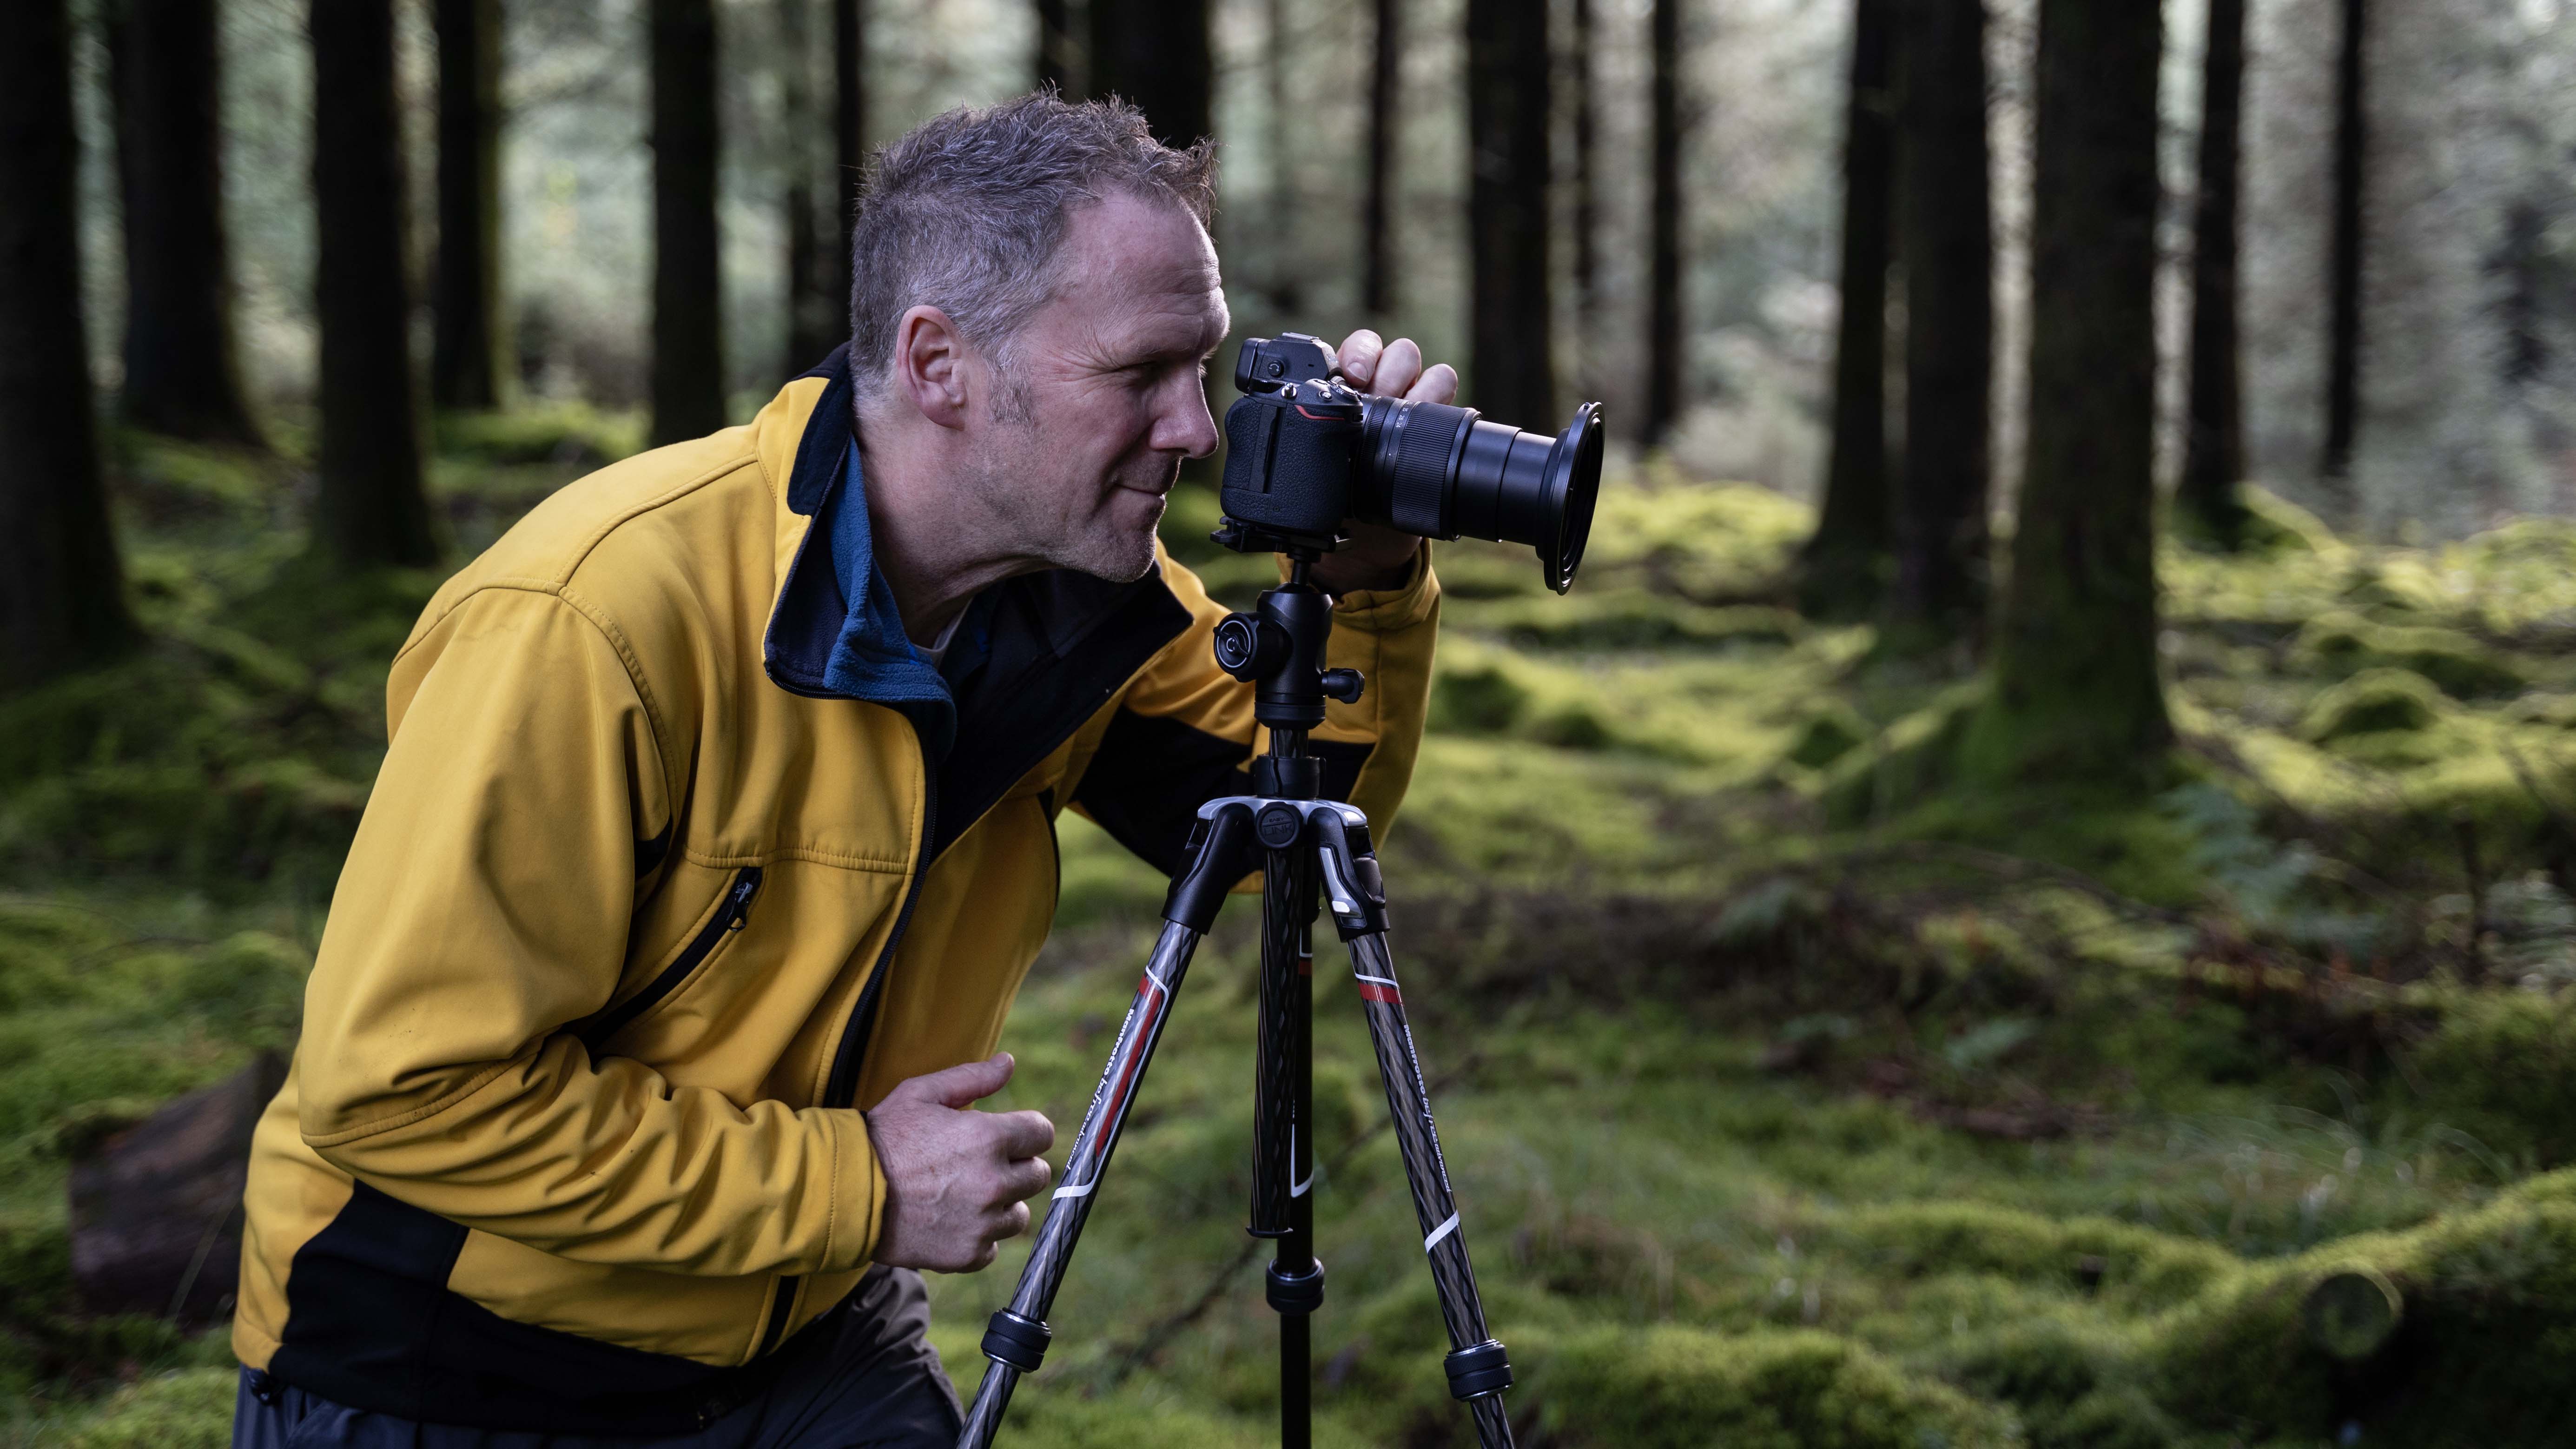
11 tripod mistakes you could be making – from wrestling with cheap tripods to not using good ones correctly
A good tripod is the backbone of many photographers' setups; learning how to wield one could have a huge impact on your work

Kudos to 3 Legged Thing for spicing up the world of tripods with jazzy colors and names, because – like many accessories – the best tripods just aren't as sexy as cameras and lenses. But if you’re a photographer who shoots certain genres such as landscapes, astrophotography and still life, nothing will improve your photographic quality of life more than a good-quality tripod. But here’s the kicker: you’ve got to know how to use it.
I know, I know. How hard can it be? You splay the legs, whack the camera on top and you're good to go. And while these are certainly the broad strokes, I see plenty of photographers (myself included) making these 11 mistakes… don’t let that be you!

1. Not investing in a good tripod
Professional-grade tripods like the Gitzo GT5563GS Systematic Series 5 can easily exceed $1,000 / £1,000. I’m certainly not suggesting anyone needs to fork out that much to own a good-quality tripod. But if you’re using a light, plasticky off-brand tripod, it might be worth upgrading.
Extremely cheap tripods often aren’t up to the task of hoisting enthusiast-level mirrorless cameras and DSLRs. They can suffer from overall stability issues, problems with precision, loose mechanisms, and more. If any of that sounds familiar then I’d recommend picking up a new tripod, stat. Not only will it make capturing photos easier and more enjoyable, but it’ll keep your pride and joy safer.
A rough price range of between $100-$300 / £100-£300 should land you a decent tripod. I own a Manfrotto Element MII Aluminium tripod, which at the time of writing, can be found for $99 / £99. This is a great choice if you value portability or are on a tight budget. Those with a little more to spend might opt for a carbon-fiber tripod like the 3 Legged Thing Winston 2.0. And if you want to get the best bang for your buck, you could always pick up an older tripod on the used market.
2. Not considering the tripod head
The tripod head is the bit that your camera attaches to, and can usually be separated from the legs. You will usually get more bang for your buck if you purchase a leg-and-head combo, like the Manfrotto Befree Advanced. However, you may wish to upgrade your head or purchase the legs and head separately. There is a huge range of head options out there, including the best pistol grip tripod heads, the best geared tripod heads and the best ballheads.
The head you choose will depend on personal preference and the type of photography you’re into. Geared heads, for example, are great for studio work because they’re so precise, but they’re often larger and heavier, and slower to set up than ballheads. Pistol grips, on the other hand, tend to be rather cumbersome, but boast unrivaled speed when adjusting your framing.
Get the Digital Camera World Newsletter
The best camera deals, reviews, product advice, and unmissable photography news, direct to your inbox!
Another consideration is the type of plate that your tripod head uses. This is the bit that screws onto your camera, so it can be locked onto the tripod. Various brands have their own proprietary quick-release plates, but my favorite is the industry-standard Arca-Swiss quick-release system, which clamps plates and L-brackets into place with a vice-like grip.
And speaking of L-brackets…

3. Not using an L-bracket
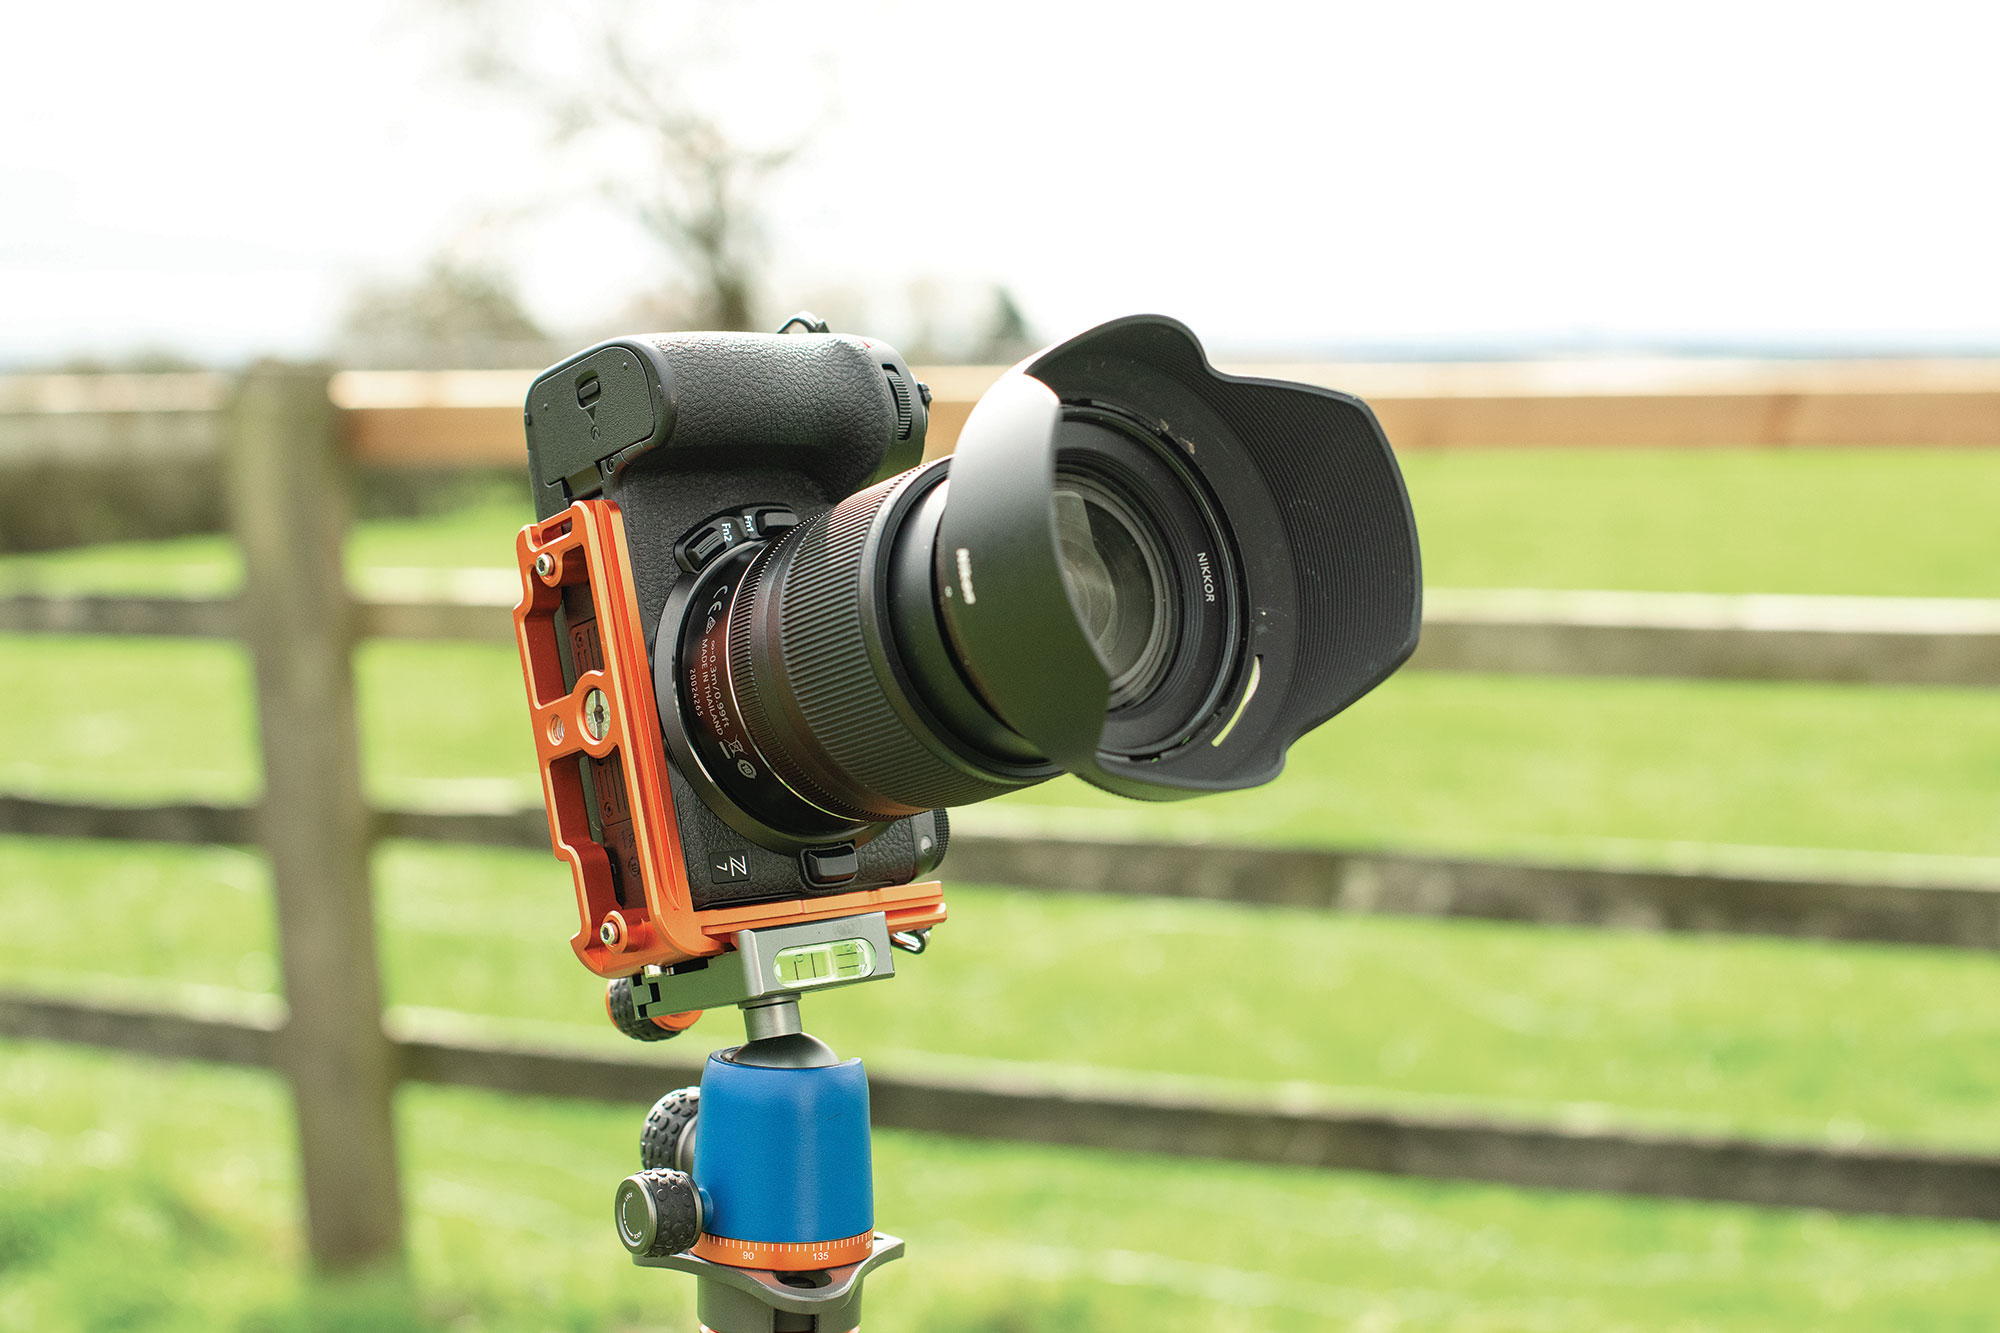
Conventional cameras only have a tripod thread on their bottom plate, meaning you have to tilt the tripod head on its side and effectively hang the camera off the tripod to shoot portrait-orientation images. The best L-brackets are used to remedy this. These right-angle-shaped devices clamp onto compatible cameras, without impeding battery doors and memory card slots, while providing an extra point of contact for compatible tripod plates.
This means you can mount the camera on its side to shoot vertically while maintaining a good center of gravity. I’ve always used 3 Legged Thing L-brackets, and have its Ellie Universal L-Bracket and Zooey QD L-Bracket, designed specifically for my Nikon Z8, so they fit like a glove.
4. Not turning off image stabilization
It’s long been suggested that some image stabilization technology can incorrectly compensate for absent movement when shooting on a tripod. While stabilization has improved, and many camera manufacturers have come up with stabilization systems that supposedly work just fine on a tripod, it’s such a simple task to turn off optical or in-body stabilization that I still tend to do so. However, if I’m in a rush to get the shot, I may still take my chances. The choice is yours, but it’s something to be aware of nonetheless.
5. Raising the center column
Raising the central column that attaches directly to the tripod head is a big no-no. If you spend plenty of time splaying your tripod legs and positioning them so they keep your setup firm and stable, the last thing you want to do is balance your heavy camera on the end of a long, thin central column. Simply put, this is the quickest way to court camera shake. The only reason to ever extend the central column is because you’ve fully extended the legs and you still can’t hoist your camera high enough.
6. Not maintaining your tripod properly (or at all)

If you invest good money in your tripod, you’ll want to look after it. No tripod is indestructible and, over time, water and dirt and grime are going to work their way into quick-release clips or screw threads, and if left unchecked, will cause corrosion. If you shoot seascapes you need to be extra careful, because salt water is extremely corrosive and if sand works its way inside a mechanism, it’ll instantly cause problems.
You’ll want to refer to your tripod manufacturer’s directions as to exactly how to maintain your tripod, as different materials may require different care. But general maintenance tips include wiping down your tripod after every use, regularly checking that screws are adequately tightened and scheduling a regular disassembly and deep-cleaning session.
7. Extending the legs incorrectly
Tripod legs get progressively thinner in diameter as they extend. It stands to reason, then, that the thinnest legs at the very end of the extension are the least stable. And yet, the temptation is often to extend the thinnest legs first. Always extend the thickest legs first for maximum stability. If you’re fully extending the tripod this won’t matter, of course, but if you’re not, always extend them in order of thickest to thinnest.
8. Not adjusting the tripod's feet when working on soft ground
Place your tripod on soft ground, such as sand or mud, and it’ll likely prove unstable and may start to sink. A tried-and-tested technique that some photographers use is to carry around three paper plates that can be placed beneath each leg to prevent them from sinking on soft ground. Some tripods will also have leg attachments, such as spikes, that can be used to provide better purchase.
9. Not using a lens's tripod collar and foot

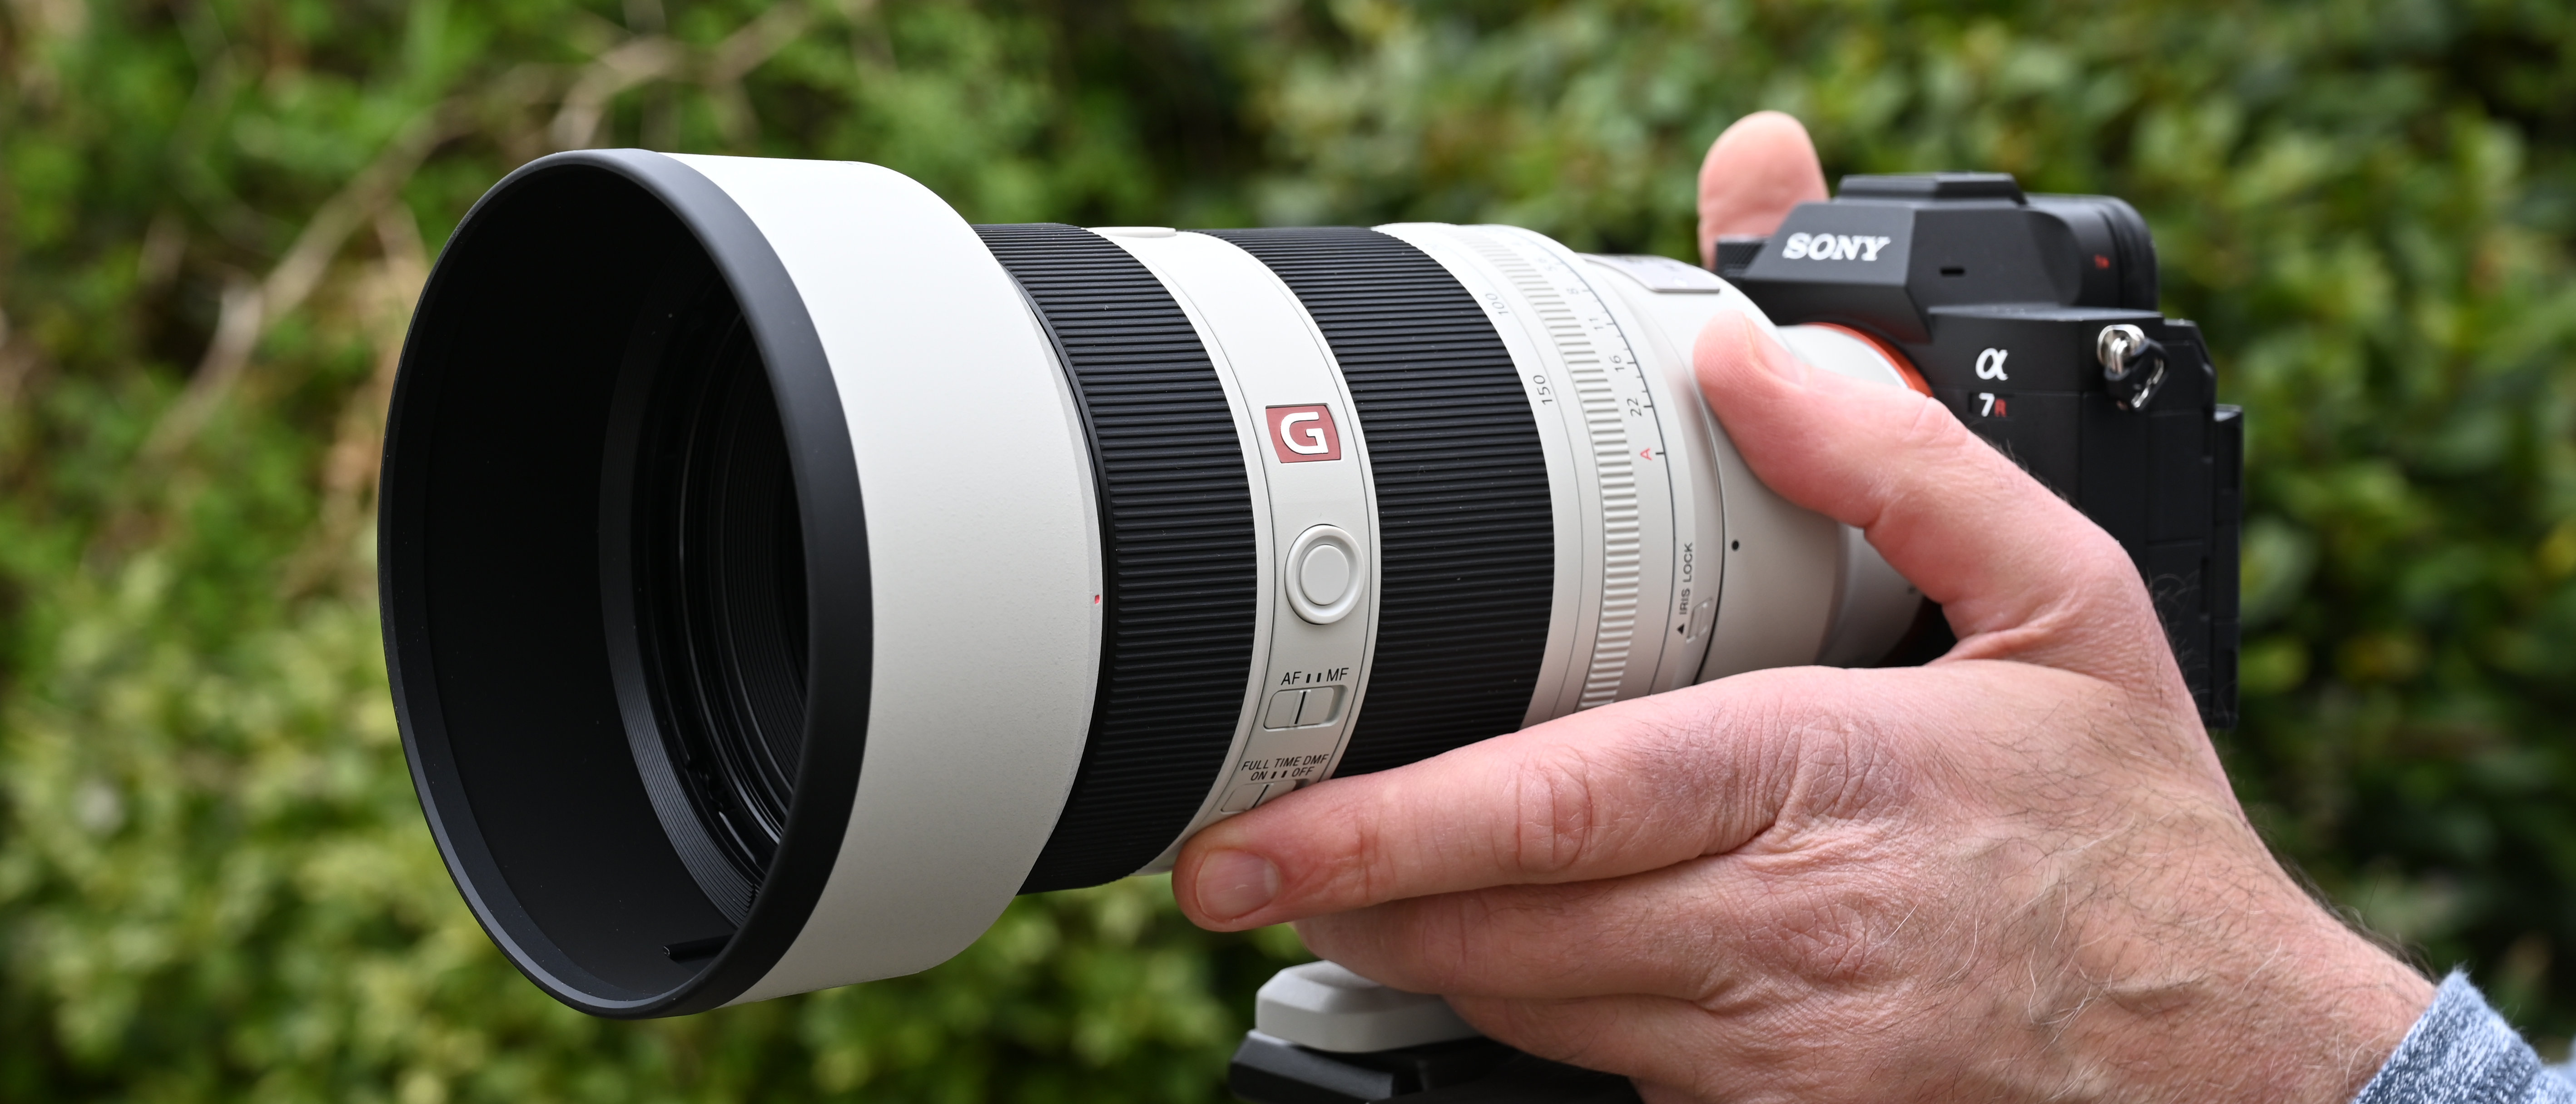
If you’re using a longer lens, it’ll probably come with a tripod collar and foot – and it can be tempting to remove this to conserve weight. But if you frequently mount, say, a 70-200mm lens then you’ll want to mount it via the foot rather than the camera to provide a better center of gravity. Not only would a long-lens setup, mounted via the camera, potentially cause unwanted tripod head movement, but being top-heavy would increase the chance of the tripod tipping over.
Not all long lenses come with a tripod collar and foot, especially those bought second-hand. Thankfully, you can buy them as an aftermarket accessory. In some cases, third-party feet include neat features like being Arca-Swiss compatible.
10. Not choosing the right tripod for the job
Similar to taking note of your tripod’s payload, you need to make sure you’re using the right tripod for the job. Want a tripod for traveling or occasional use? Pick up one of the best travel tripods. Want a rugged tripod for landscapes or studio work? Look for a heavy-duty tripod with thicker legs. Want a mix of durability and lightweight? Opt for one of the best carbon fiber tripods. The same goes for tripod heads. Wildlife photographers often favor the best gimbal heads, for example.
11. Not considering the payload
So, you’ve got a big old Canon EOS-1D X Mark III and a Canon EF 100-400mm f/4.5-5.6L IS II USM lens on a cheap travel tripod. Good luck! Tripod manufacturers quote payloads for a reason. You may think that you can get away with it, but you’re much more likely to experience problems such as unintentional ball head movement, the tripod tipping over or the quick-release plate coming loose if you exceed your tripod’s payload capacity.
I’ve seen what can happen when a tripod tips over. Cue my friend’s Sony A7R III hitting a rock, lens-first, and the lens being knocked into the lens mount, jamming it in place. An expensive repair job indeed…
You may also like...
If you're into tripods, check out the best monopods, too. And if you want to brush up on your landscape compositions, the rule of thirds photography gets a bad rap, but I think it’s the best compositional technique for beginners to learn. Plus, learn how to banish camera shake without a tripod by using the reciprocal rule.

Mike is Digital Camera World's How To Editor. He has over a decade of experience, writing for some of the biggest specialist publications including Digital Camera, Digital Photographer and PhotoPlus: The Canon Magazine. Prior to DCW, Mike was Deputy Editor of N-Photo: The Nikon Magazine and Production Editor at Wex Photo Video, where he sharpened his skills in both the stills and videography spheres. While he's an avid motorsport photographer, his skills extend to every genre of photography – making him one of Digital Camera World's top tutors for techniques on cameras, lenses, tripods, filters and other imaging equipment – as well as sharing his expertise on shooting everything from portraits and landscapes to abstracts and architecture to wildlife and, yes, fast things going around race tracks...
You must confirm your public display name before commenting
Please logout and then login again, you will then be prompted to enter your display name.
