Macro is a fantastic genre of photography that enables you get super close-up to your subjects, to reveal amazingly intricate details you'd otherwise pass by and turn the ordinary into the extraordinary.
It can be difficult to know where to begin when you're just getting started with your close-up photographs, though, and there are certainly some hurdles you'll need to overcome along the way.
• Read more: Best macro lenses
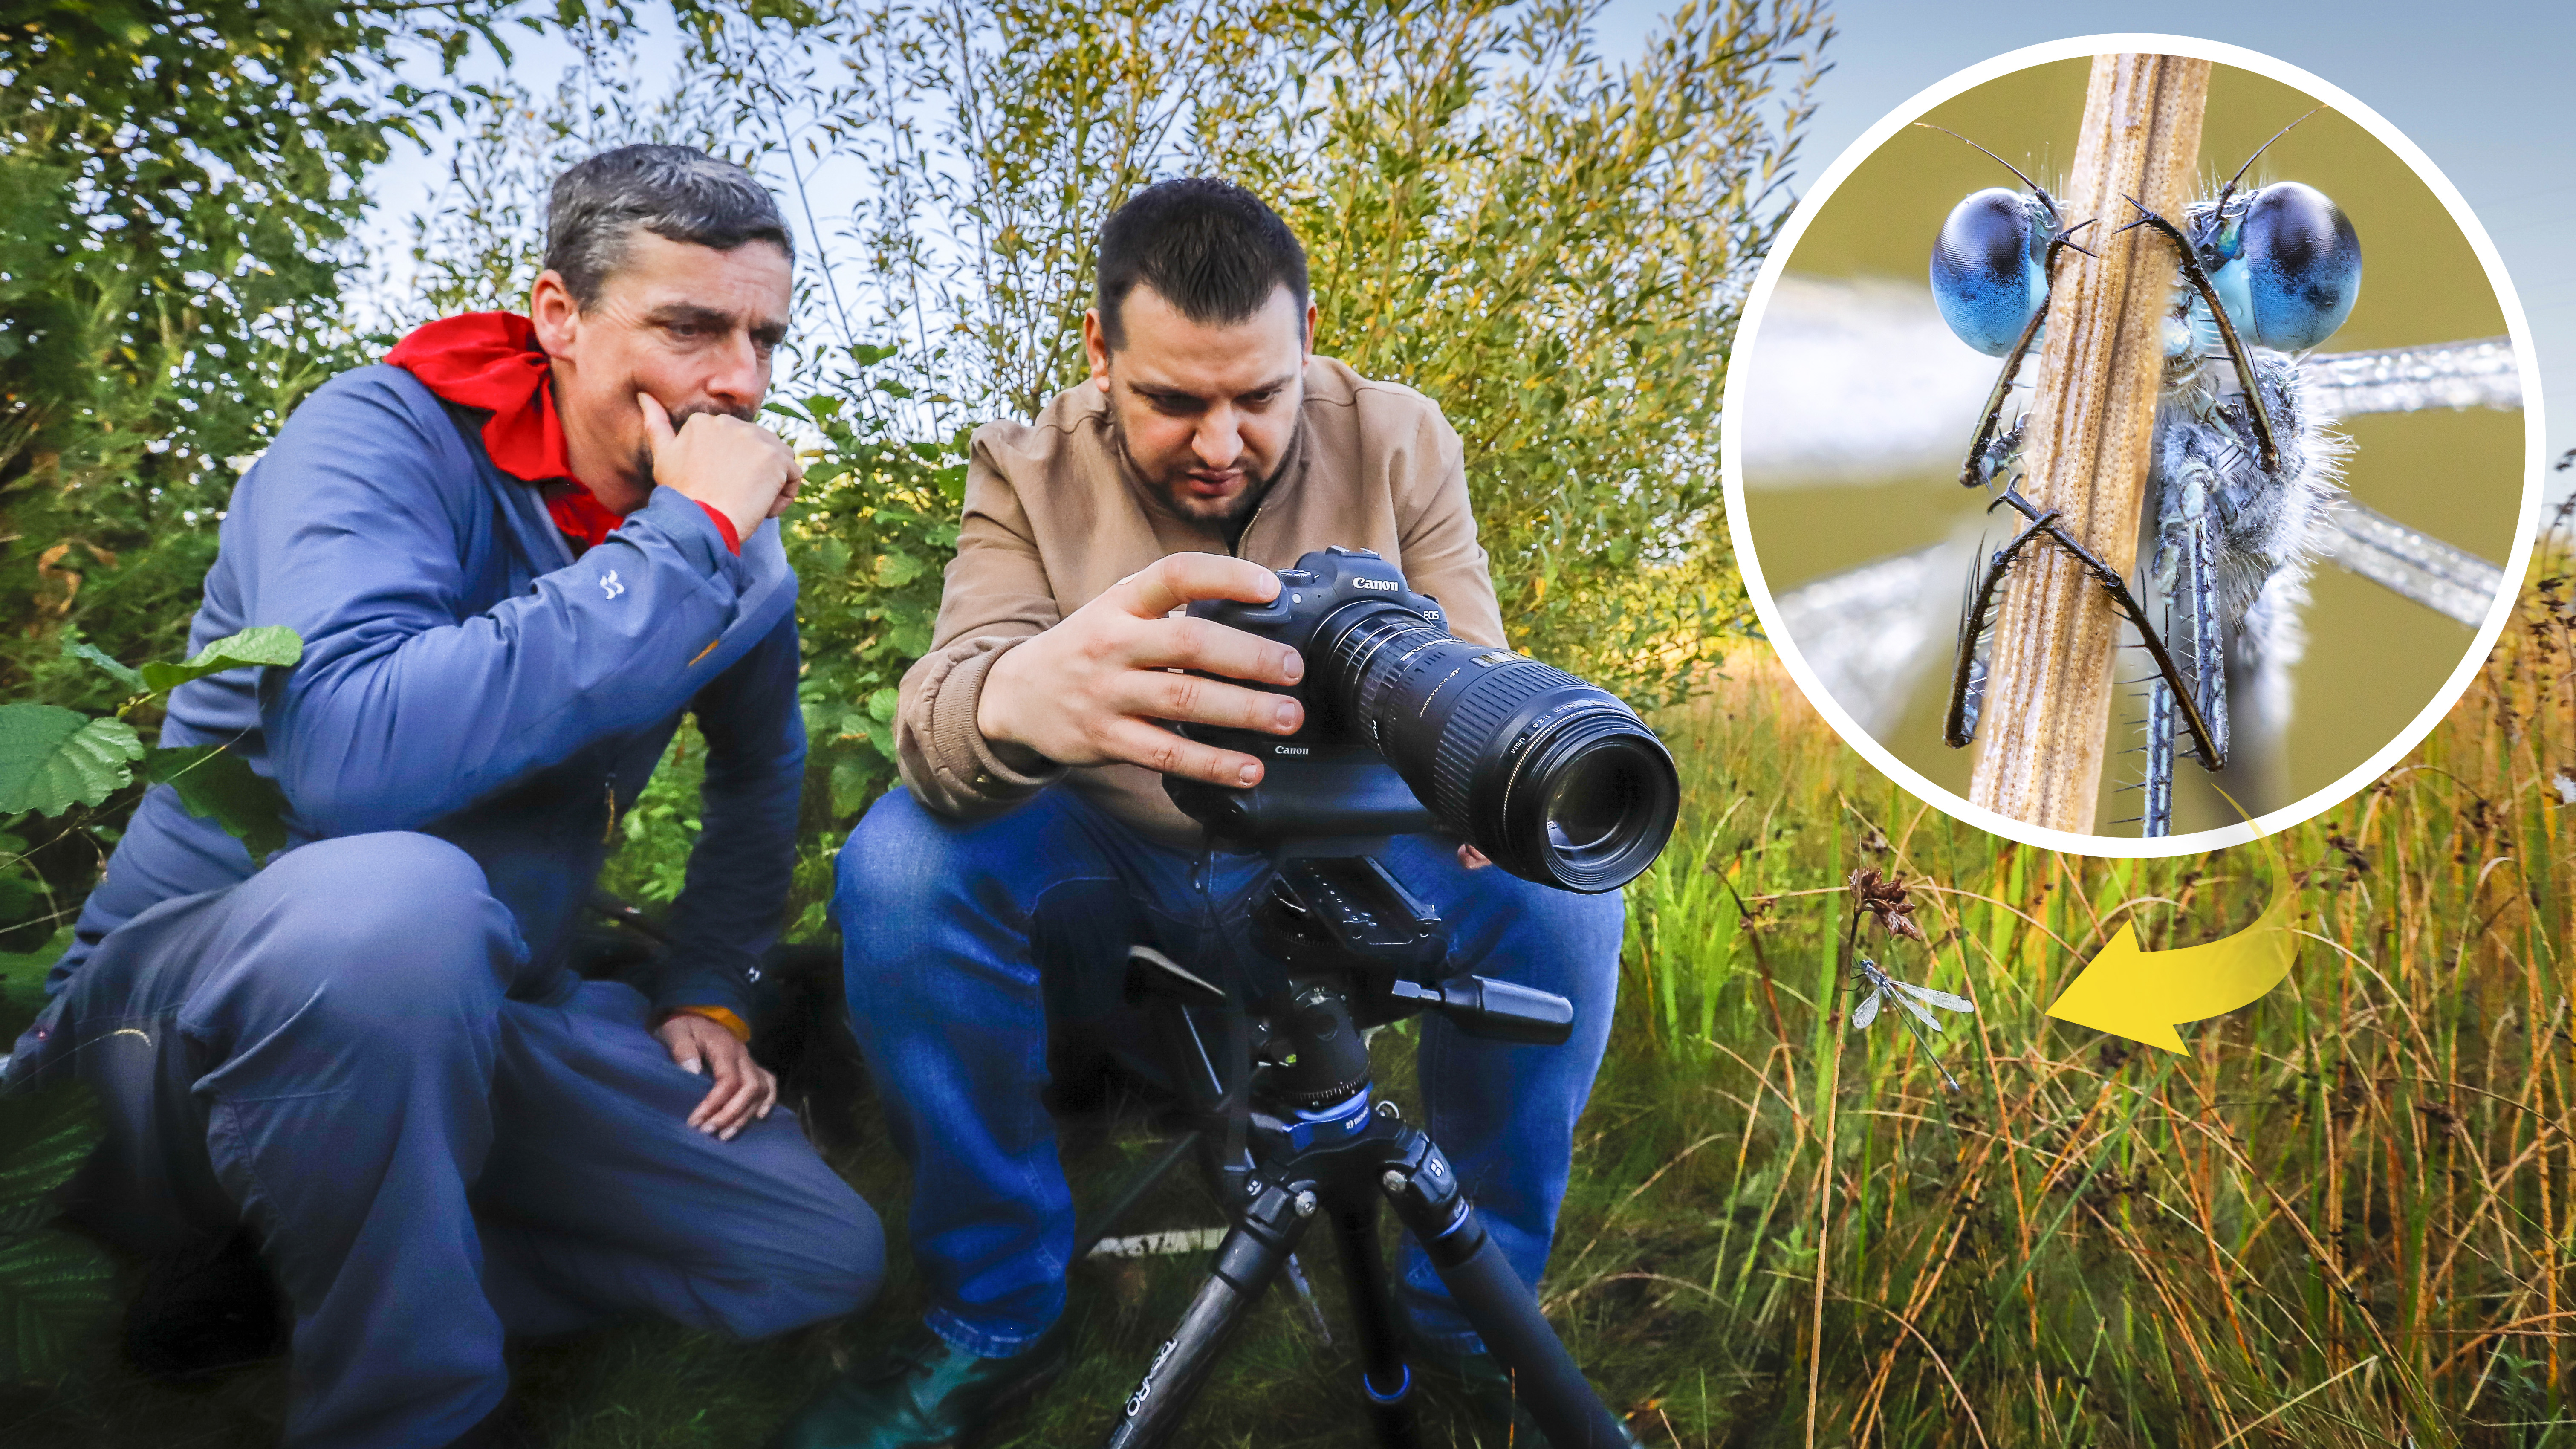
That's why we paired up PhotoPlus: The Canon Magazine reader with professional nature and macro photographer, Oliver Wright, and you'll find his most essential tips, tricks and advice below, as well as some of the fantastic shots they were able to catch on the day.
Based in Garforth, Leeds, Oliver has embraced Canon’s latest full-frame mirrorless cameras, shooting fantastic macro imagery of wildlife, plants and flowers with his Canon EOS R5.
A climbing accident back in 2010 was the catalyst for Oliver realizing his passion for photography, in particular wildlife. Fast-forward 11 years and he runs events with and shoots promotional videos for Canon. He’s had multiple highly commended images in the British Wildlife Photography Awards and is the perfect pro to teach macro tricks. Find out more about Oliver on his website and Instagram.

01. Use Manual Mode
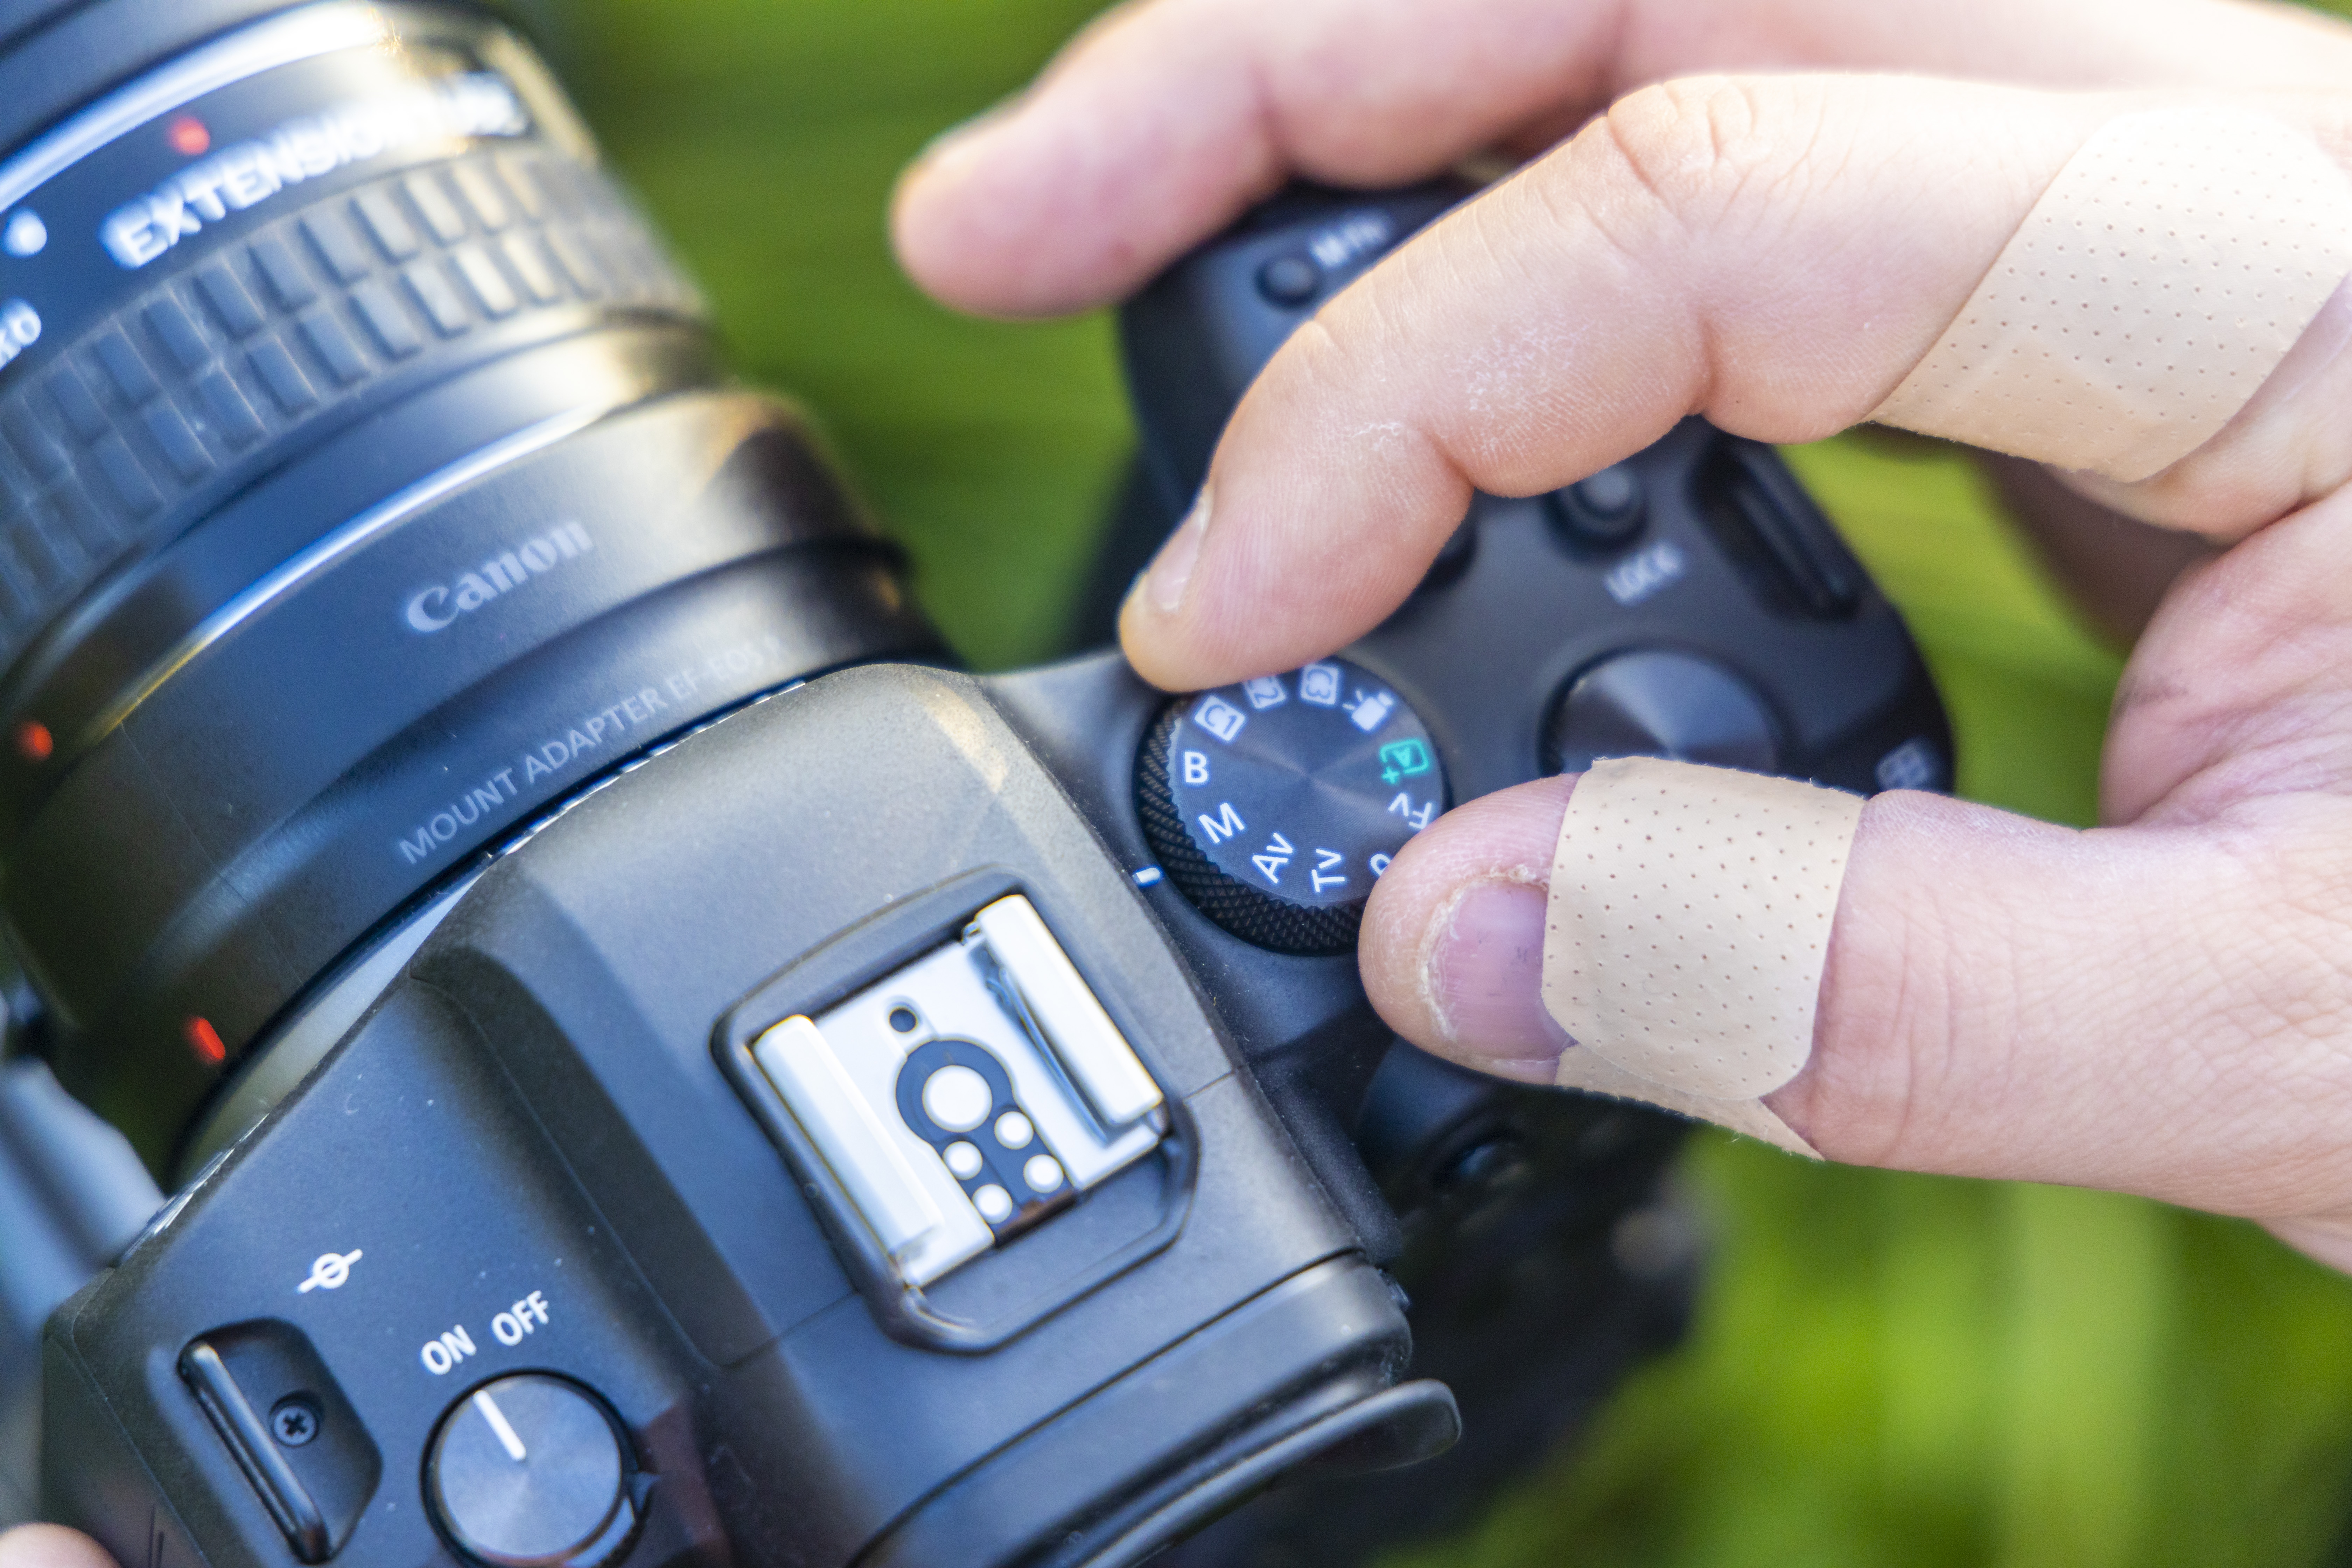
Oliver set his camera and reader Matthew’s Canon EOS R6 to manual mode, so that they could dial in exposure settings without them being affected by the cameras built-in metering systems. This meant that if the light changed, their images would become brighter or darker, so checking the rear LCD or viewfinder for a decent exposure was crucial. They also set up Raw shooting to give them a little leeway if the exposure was off when it comes to post-processing.
Get the Digital Camera World Newsletter
The best camera deals, reviews, product advice, and unmissable photography news, direct to your inbox!
02. Key camera settings
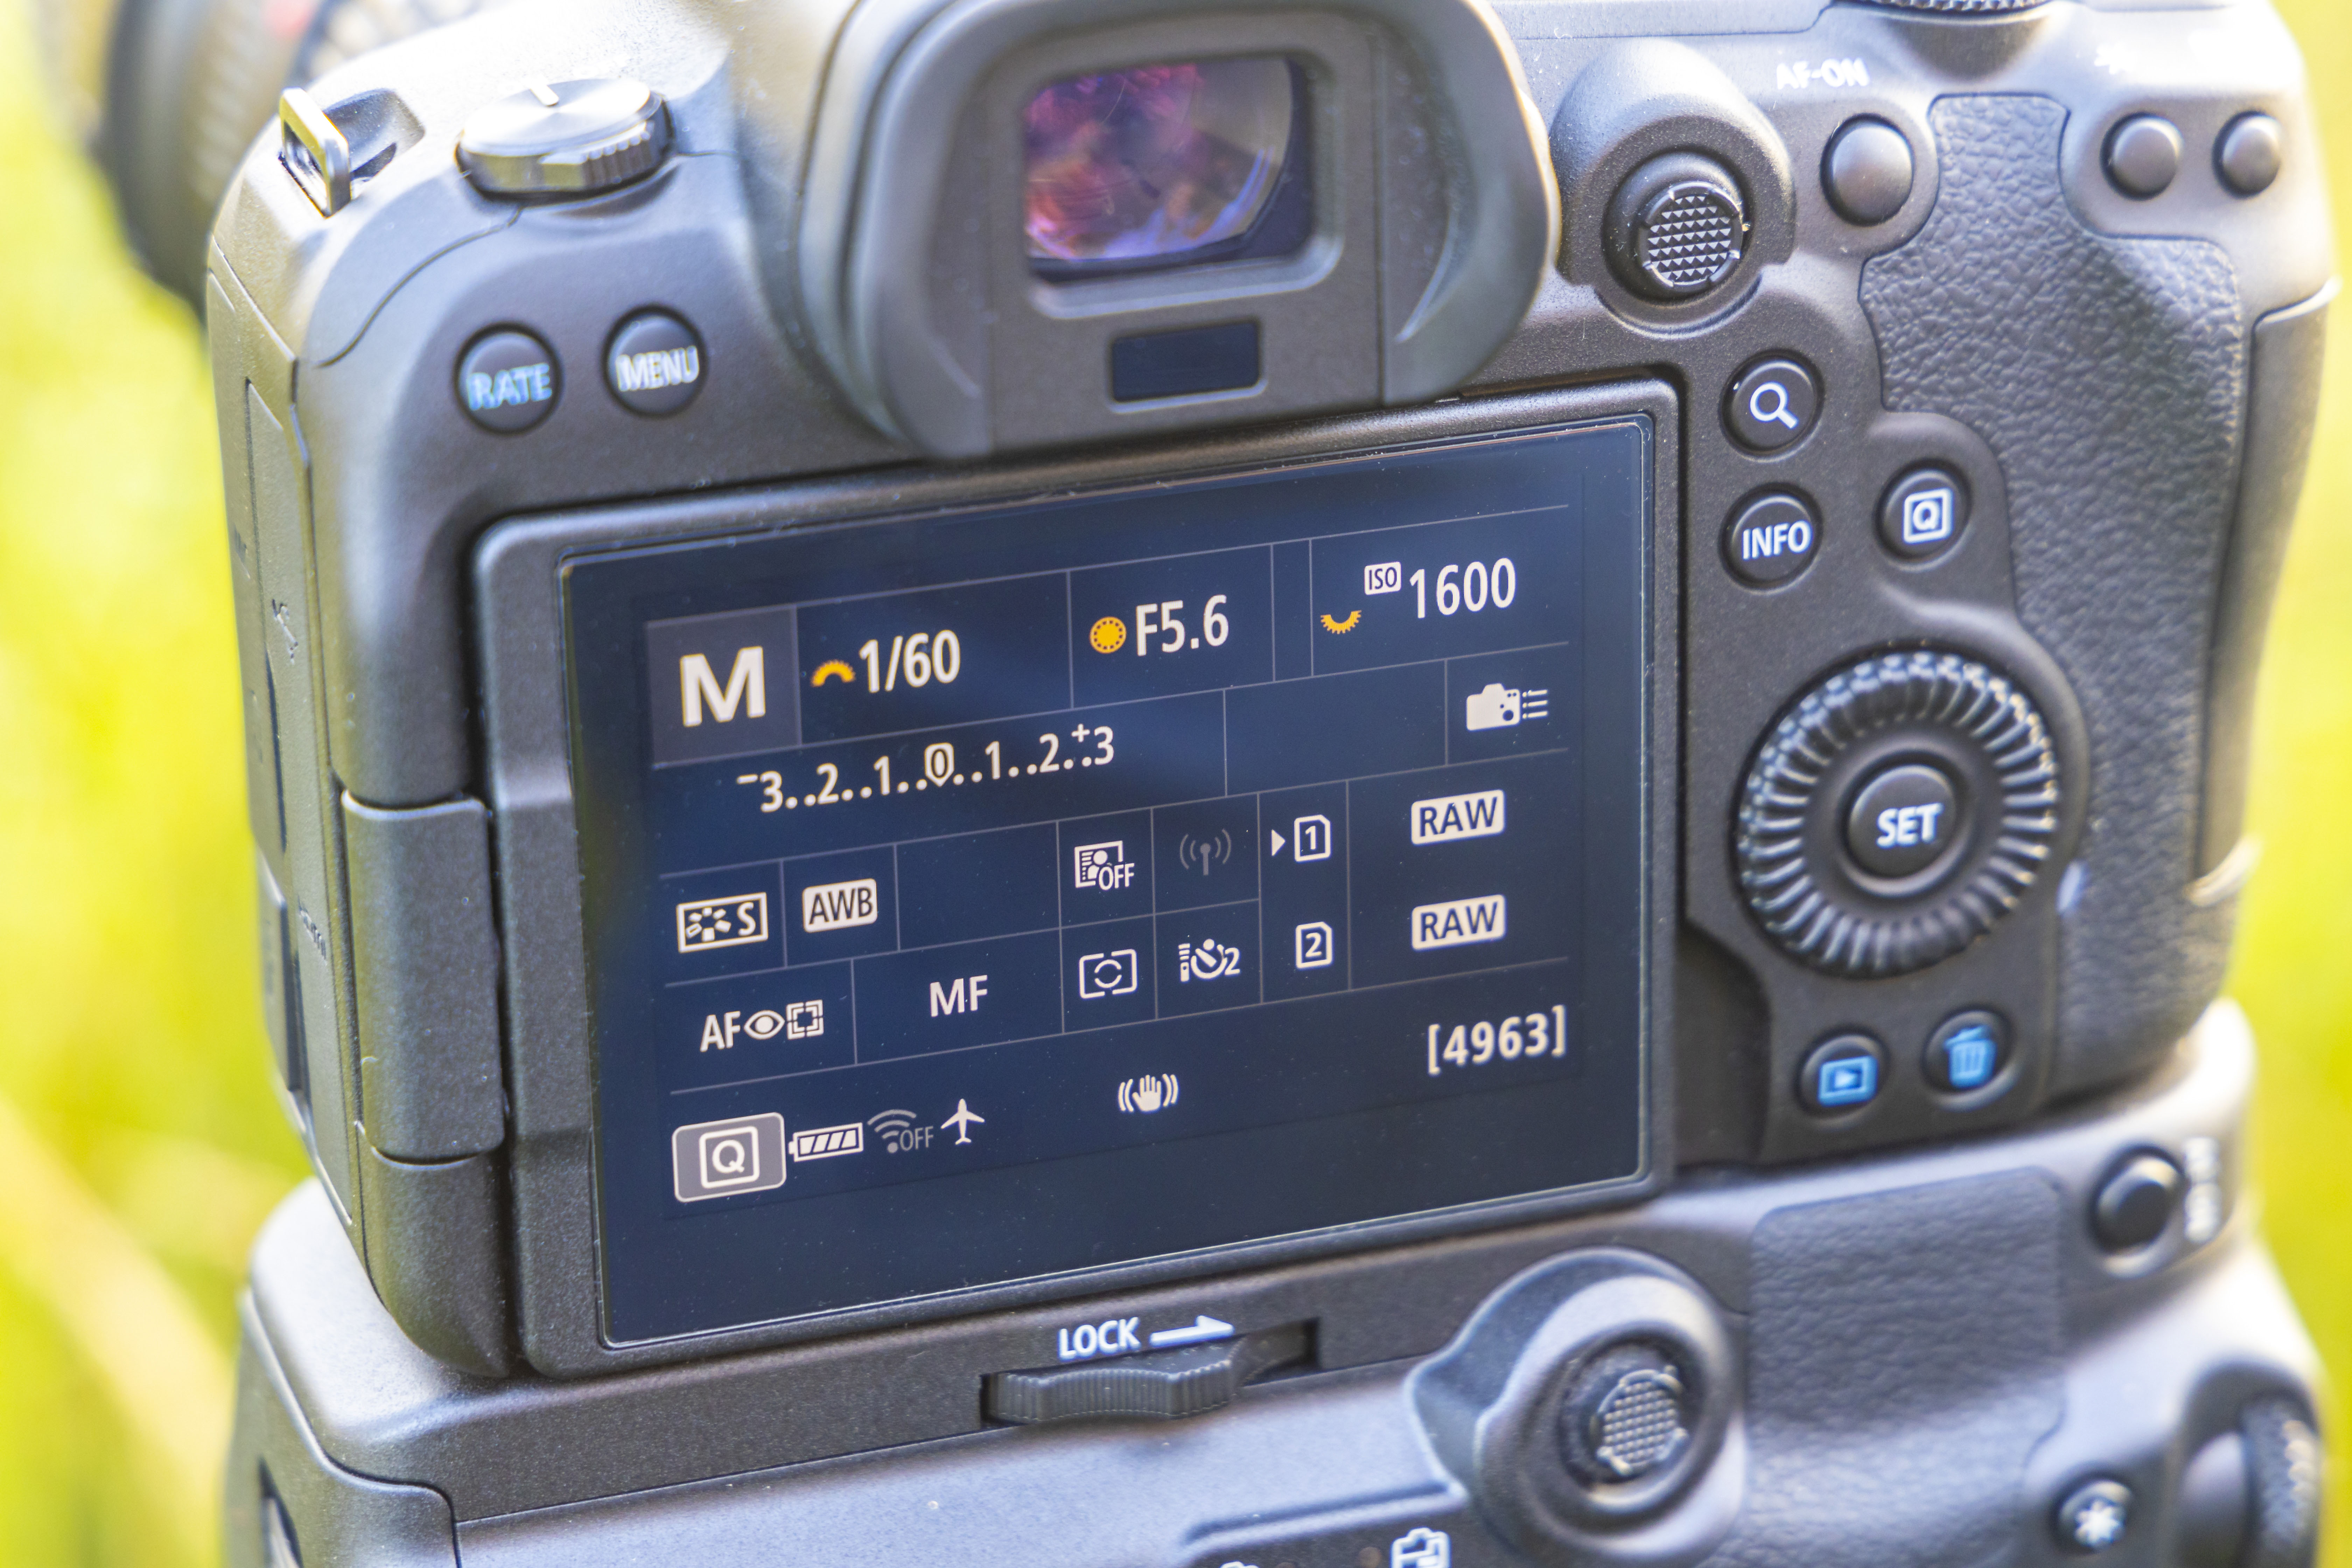
Although shooting at sunrise, Oliver likes to go to areas that are still in shade. This is because once insects (like dragonflies and damselflies) are hit by the sun, they start to warm up and become much more active – which obviously makes sharp shots and focus stacks much more difficult. Shooting in the shade requires a tripod and a high ISO, which Oliver set to 1600 to begin. He also set the aperture to f/5.6, helping ensure that the depth of field wasn’t too shallow. This resulted in a shutter speed of 1/60 sec, fast enough to freeze the stationary insects.
03. Shutter release cable
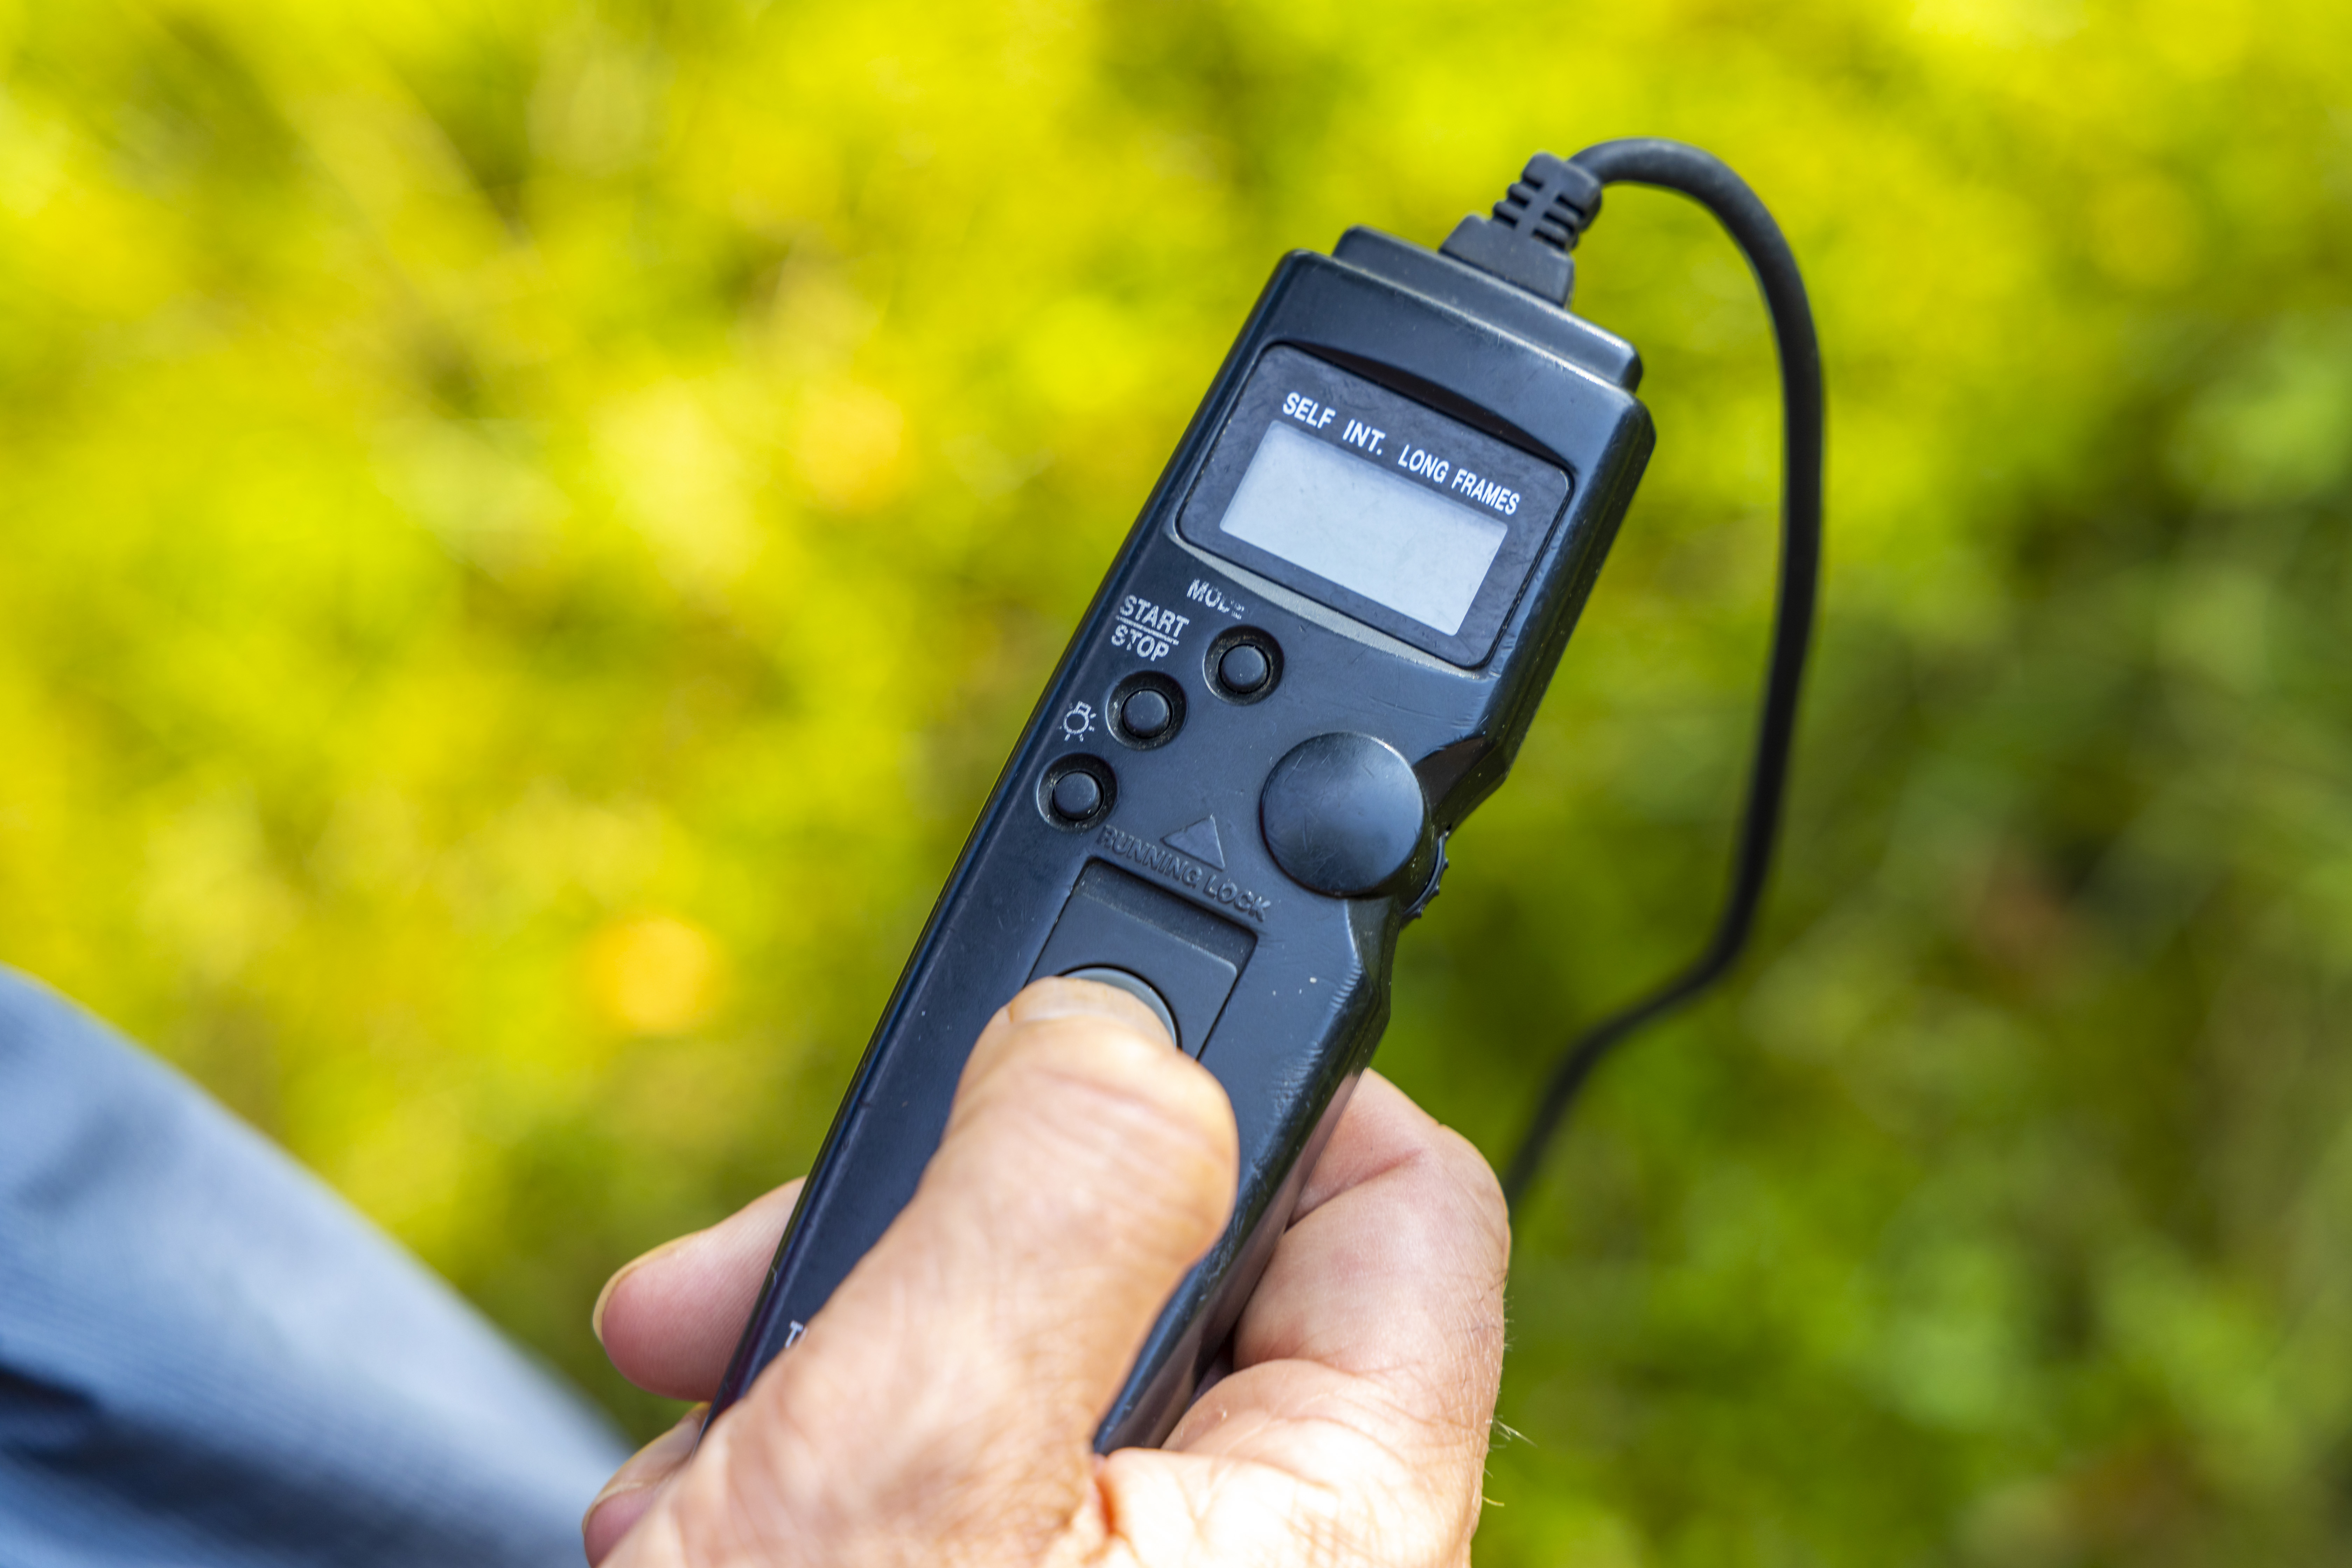
The simple action of pressing the shutter button on your camera can cause vibrations, which are easily picked up as camera-shake at high magnifications. Using the two-second self-timer would leave too much time between shots when recording a focus stack, as it would give the insect a chance to move between frames. For this reason, Oliver uses a Canon TC-80N3 remote cable release, so he can fire off lots of shots remotely without physically touching his camera body.
04. Try focus peaking
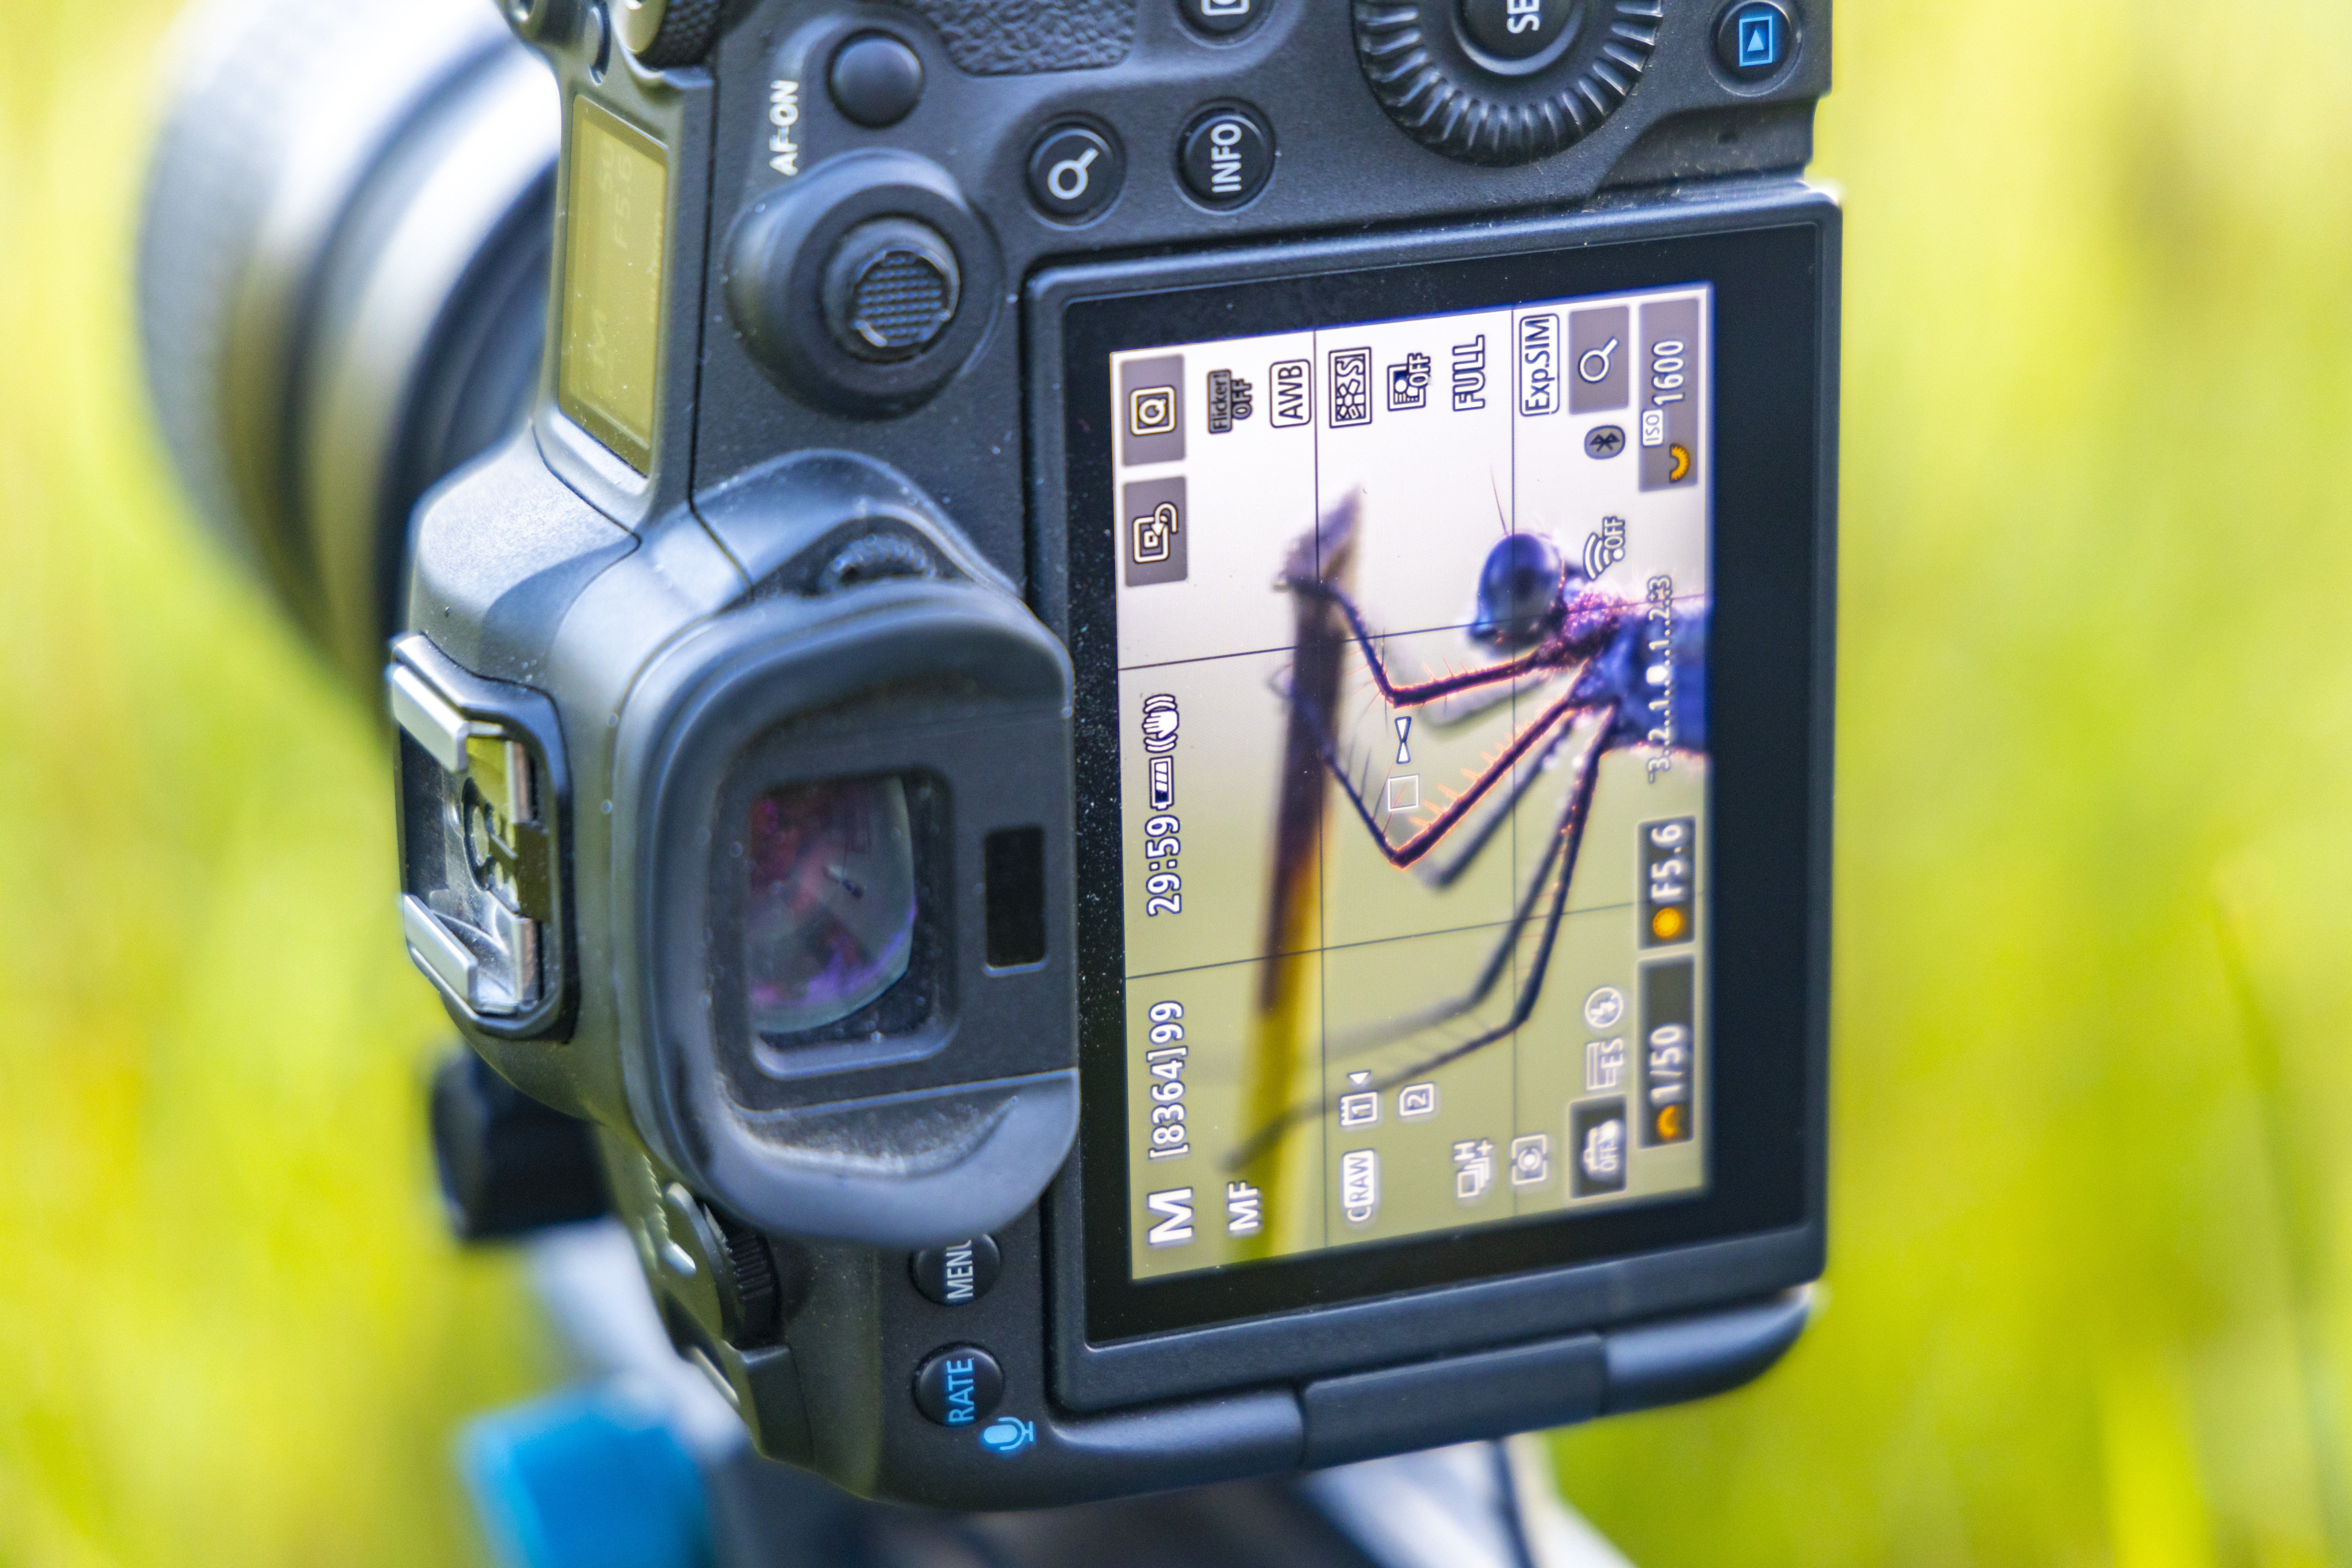
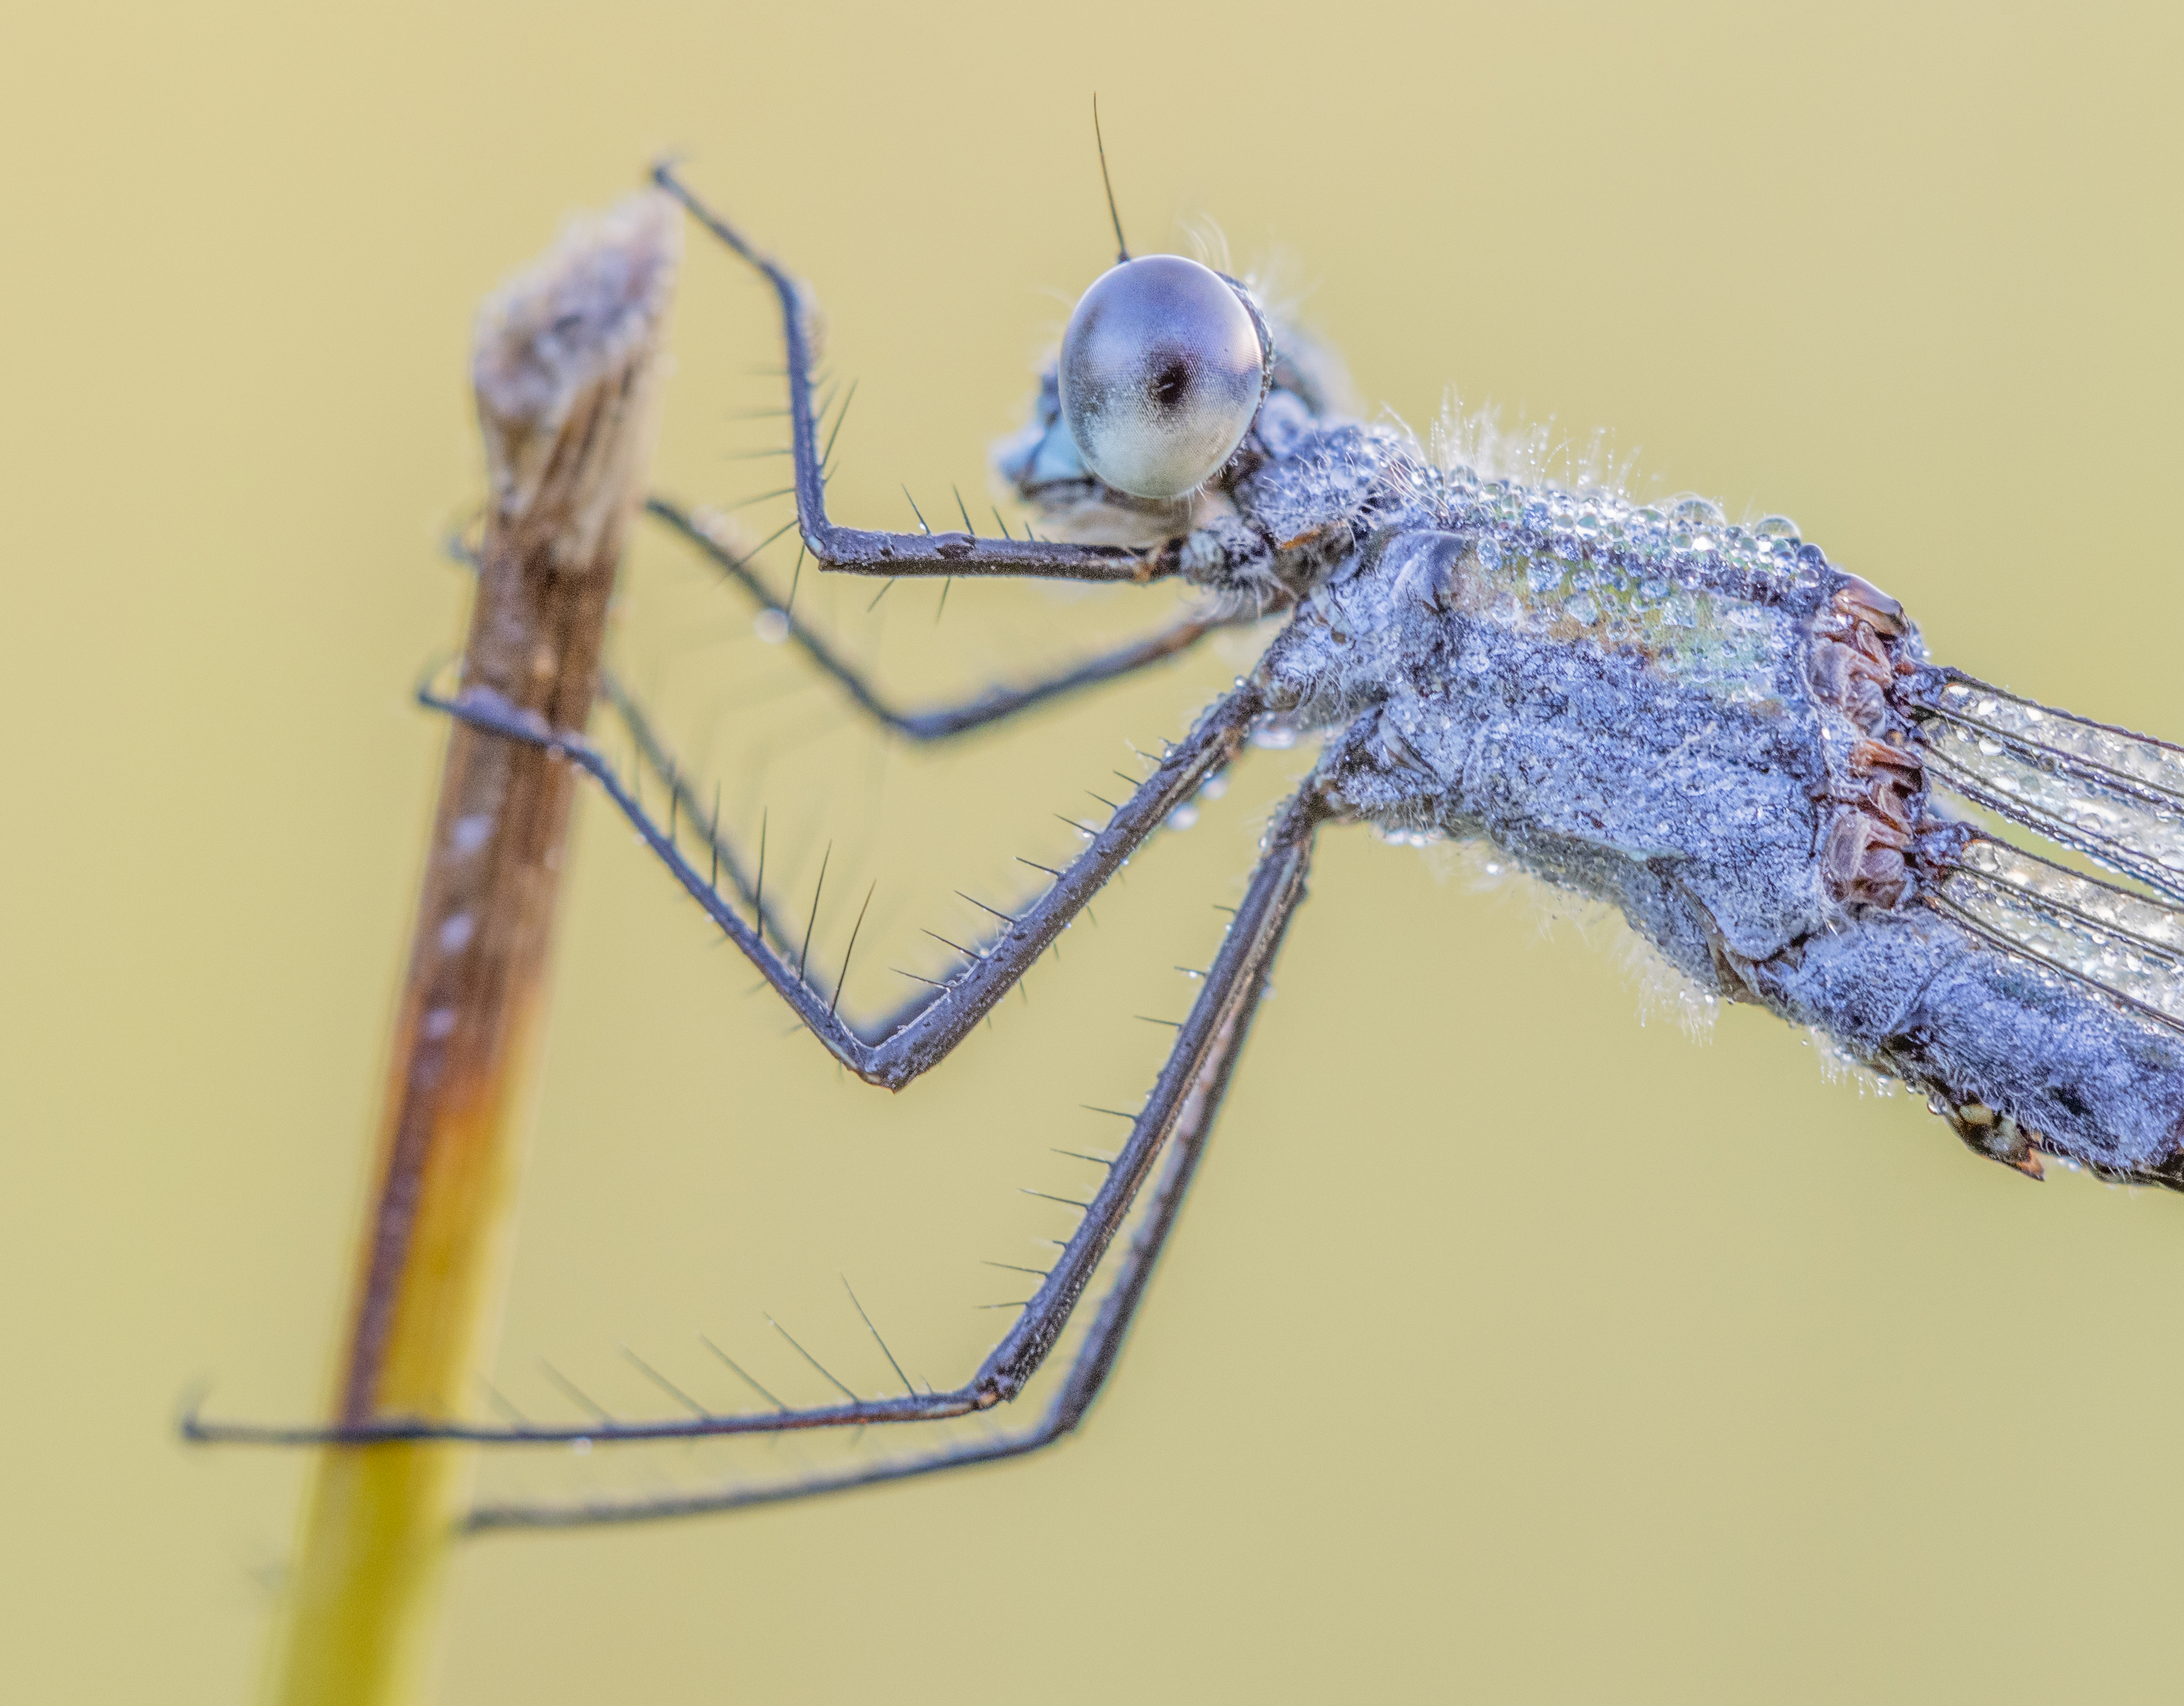
Focus needs to be extremely precise when shooting close with macro lenses, because your depth of field is extremely limited. Even high aperture values, such as f/22 and f/36, will deliver a shallow depth of field when the focus point is so close. This means that focus stacking is important if you want to get a completely sharp small subject. To see exactly which area of the insect is in focus, Oliver uses the focus peaking mode on his R5, which superimposes a vibrant red, yellow or blue outline around any areas of sharp focus.
05. Canon EOS R5
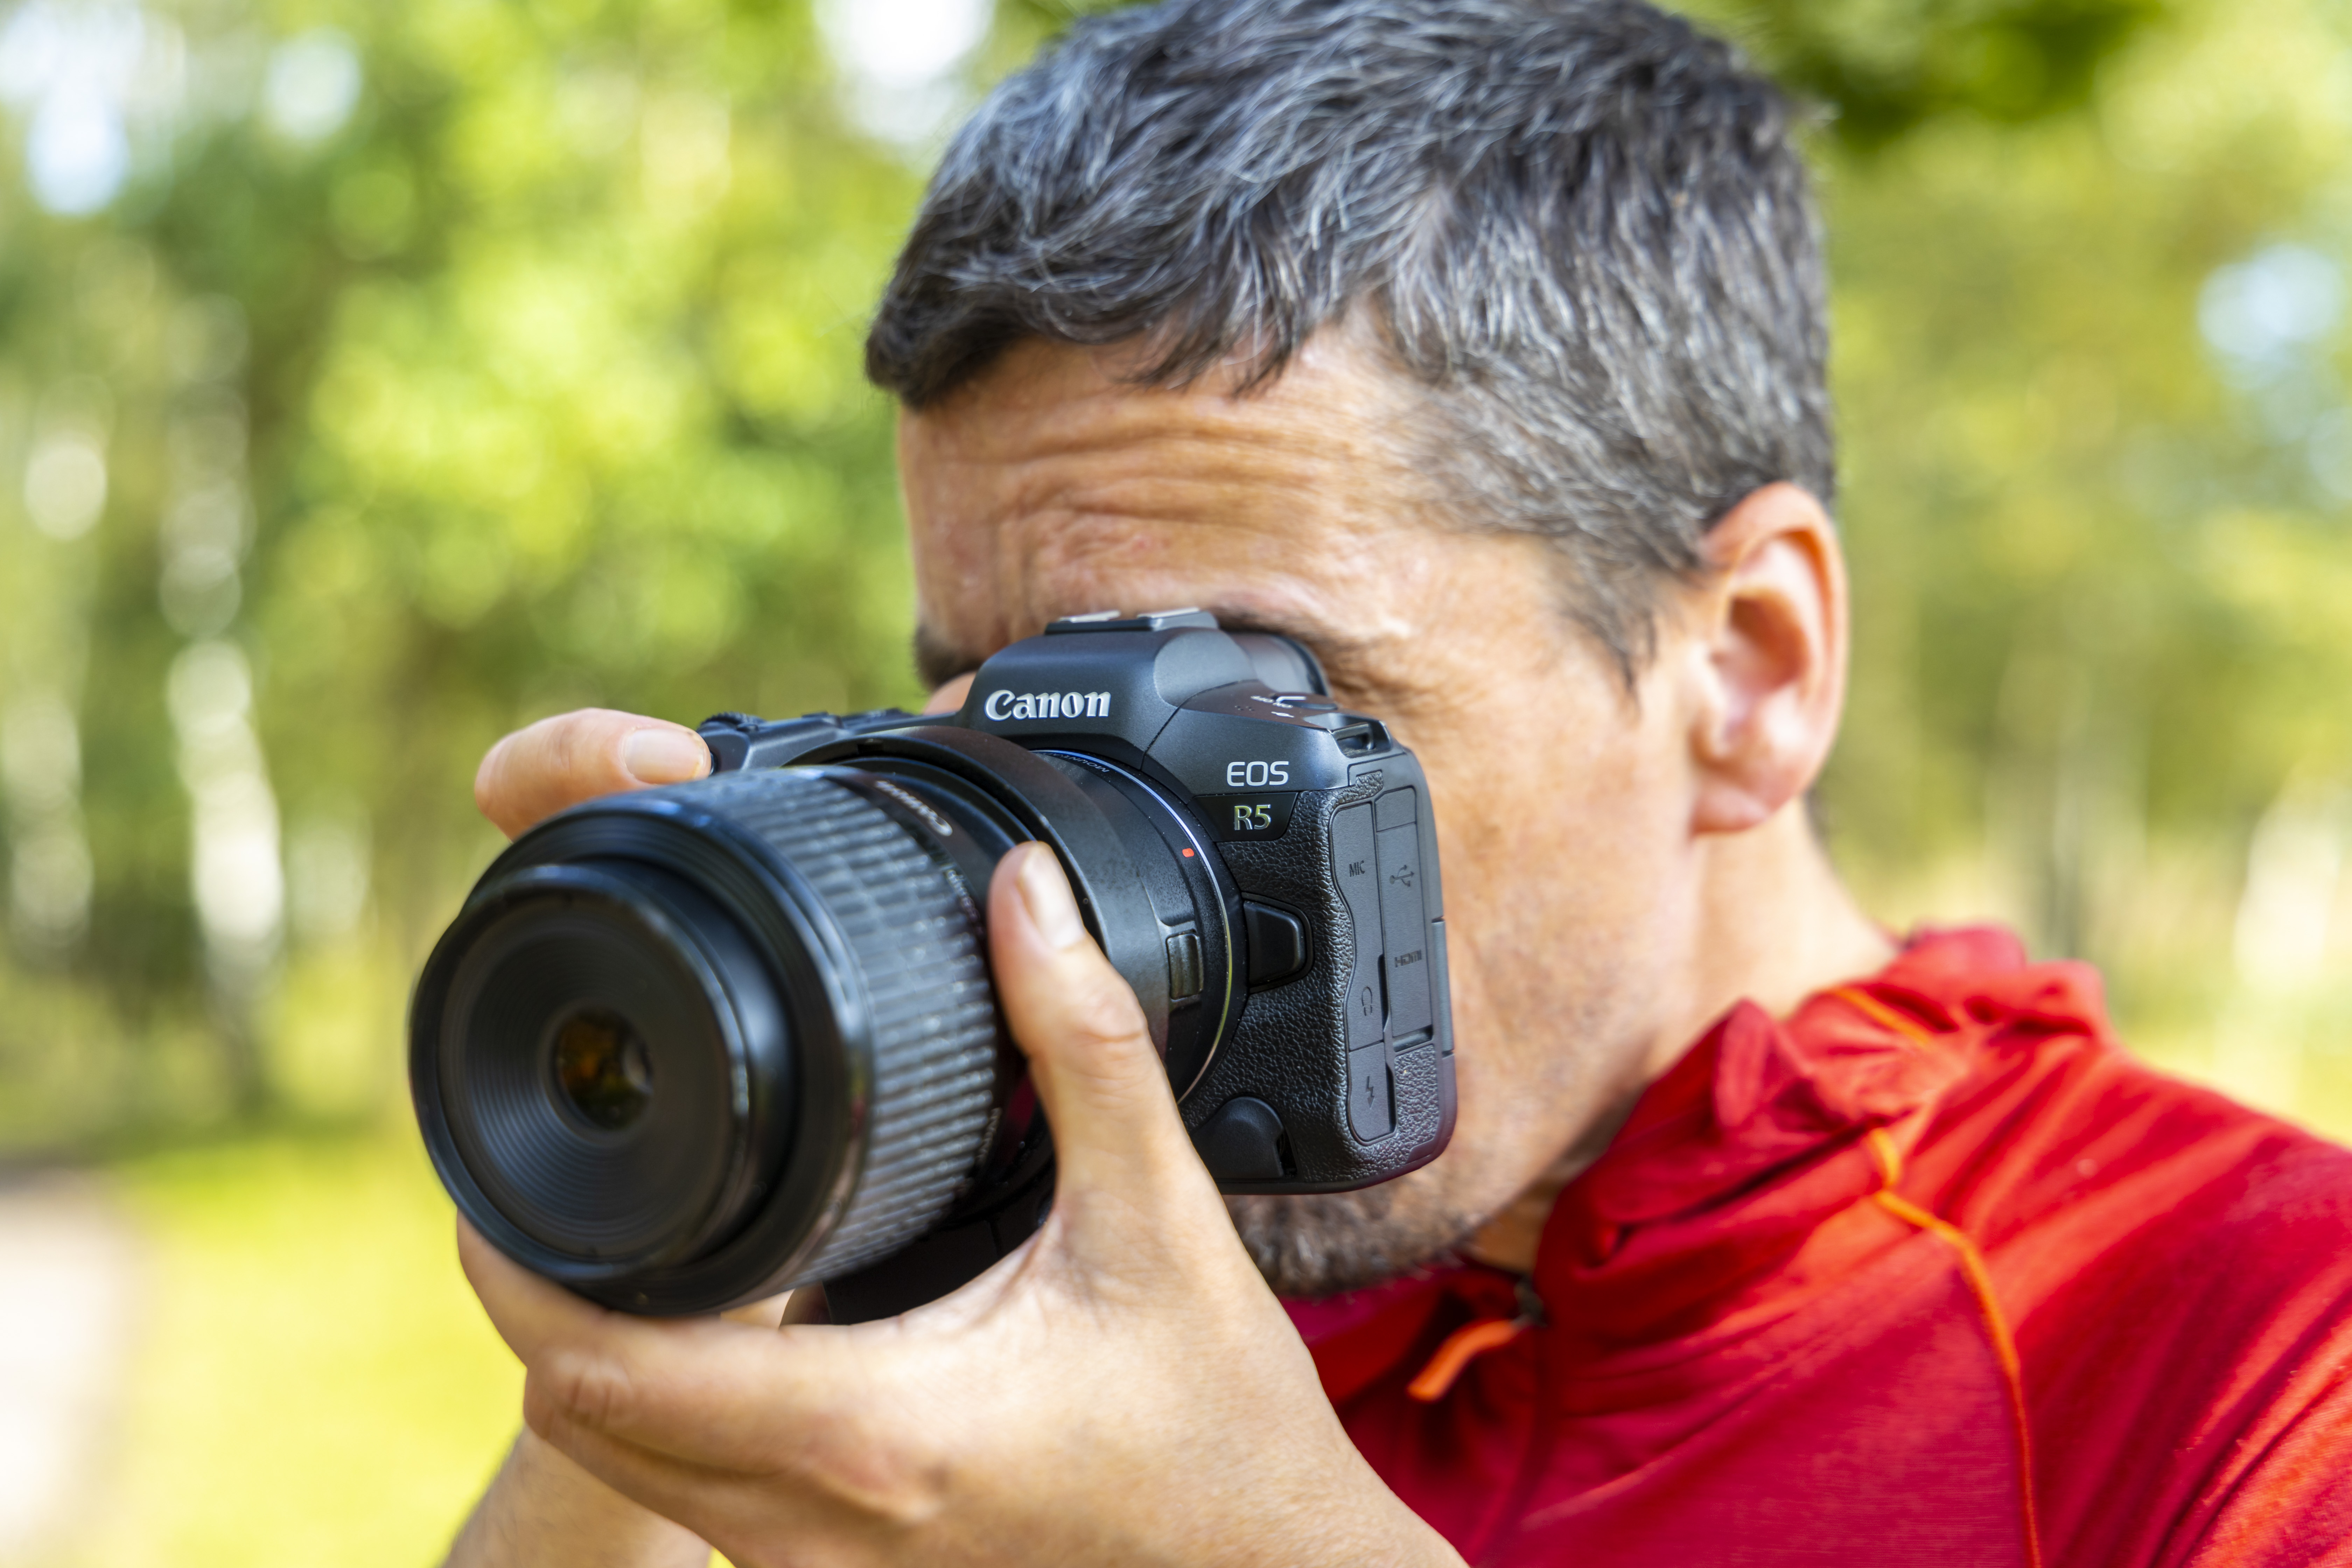
Oliver’s camera of choice is the Canon EOS R5. It has a whopping 45MP sensor for incredibly detailed images and can shoot at a blisteringly fast 20fps, making it perfect for shooting wildlife and insects. It can also record 4K video up to 120fps and features in-camera focus bracketing, which is perfect for Oliver’s macro work. The built-in sensor stabilization and low noise even at high ISOs has become essential for his work, which makes use of natural light instead of flash for a more natural look.
06.Use a 'plamp'
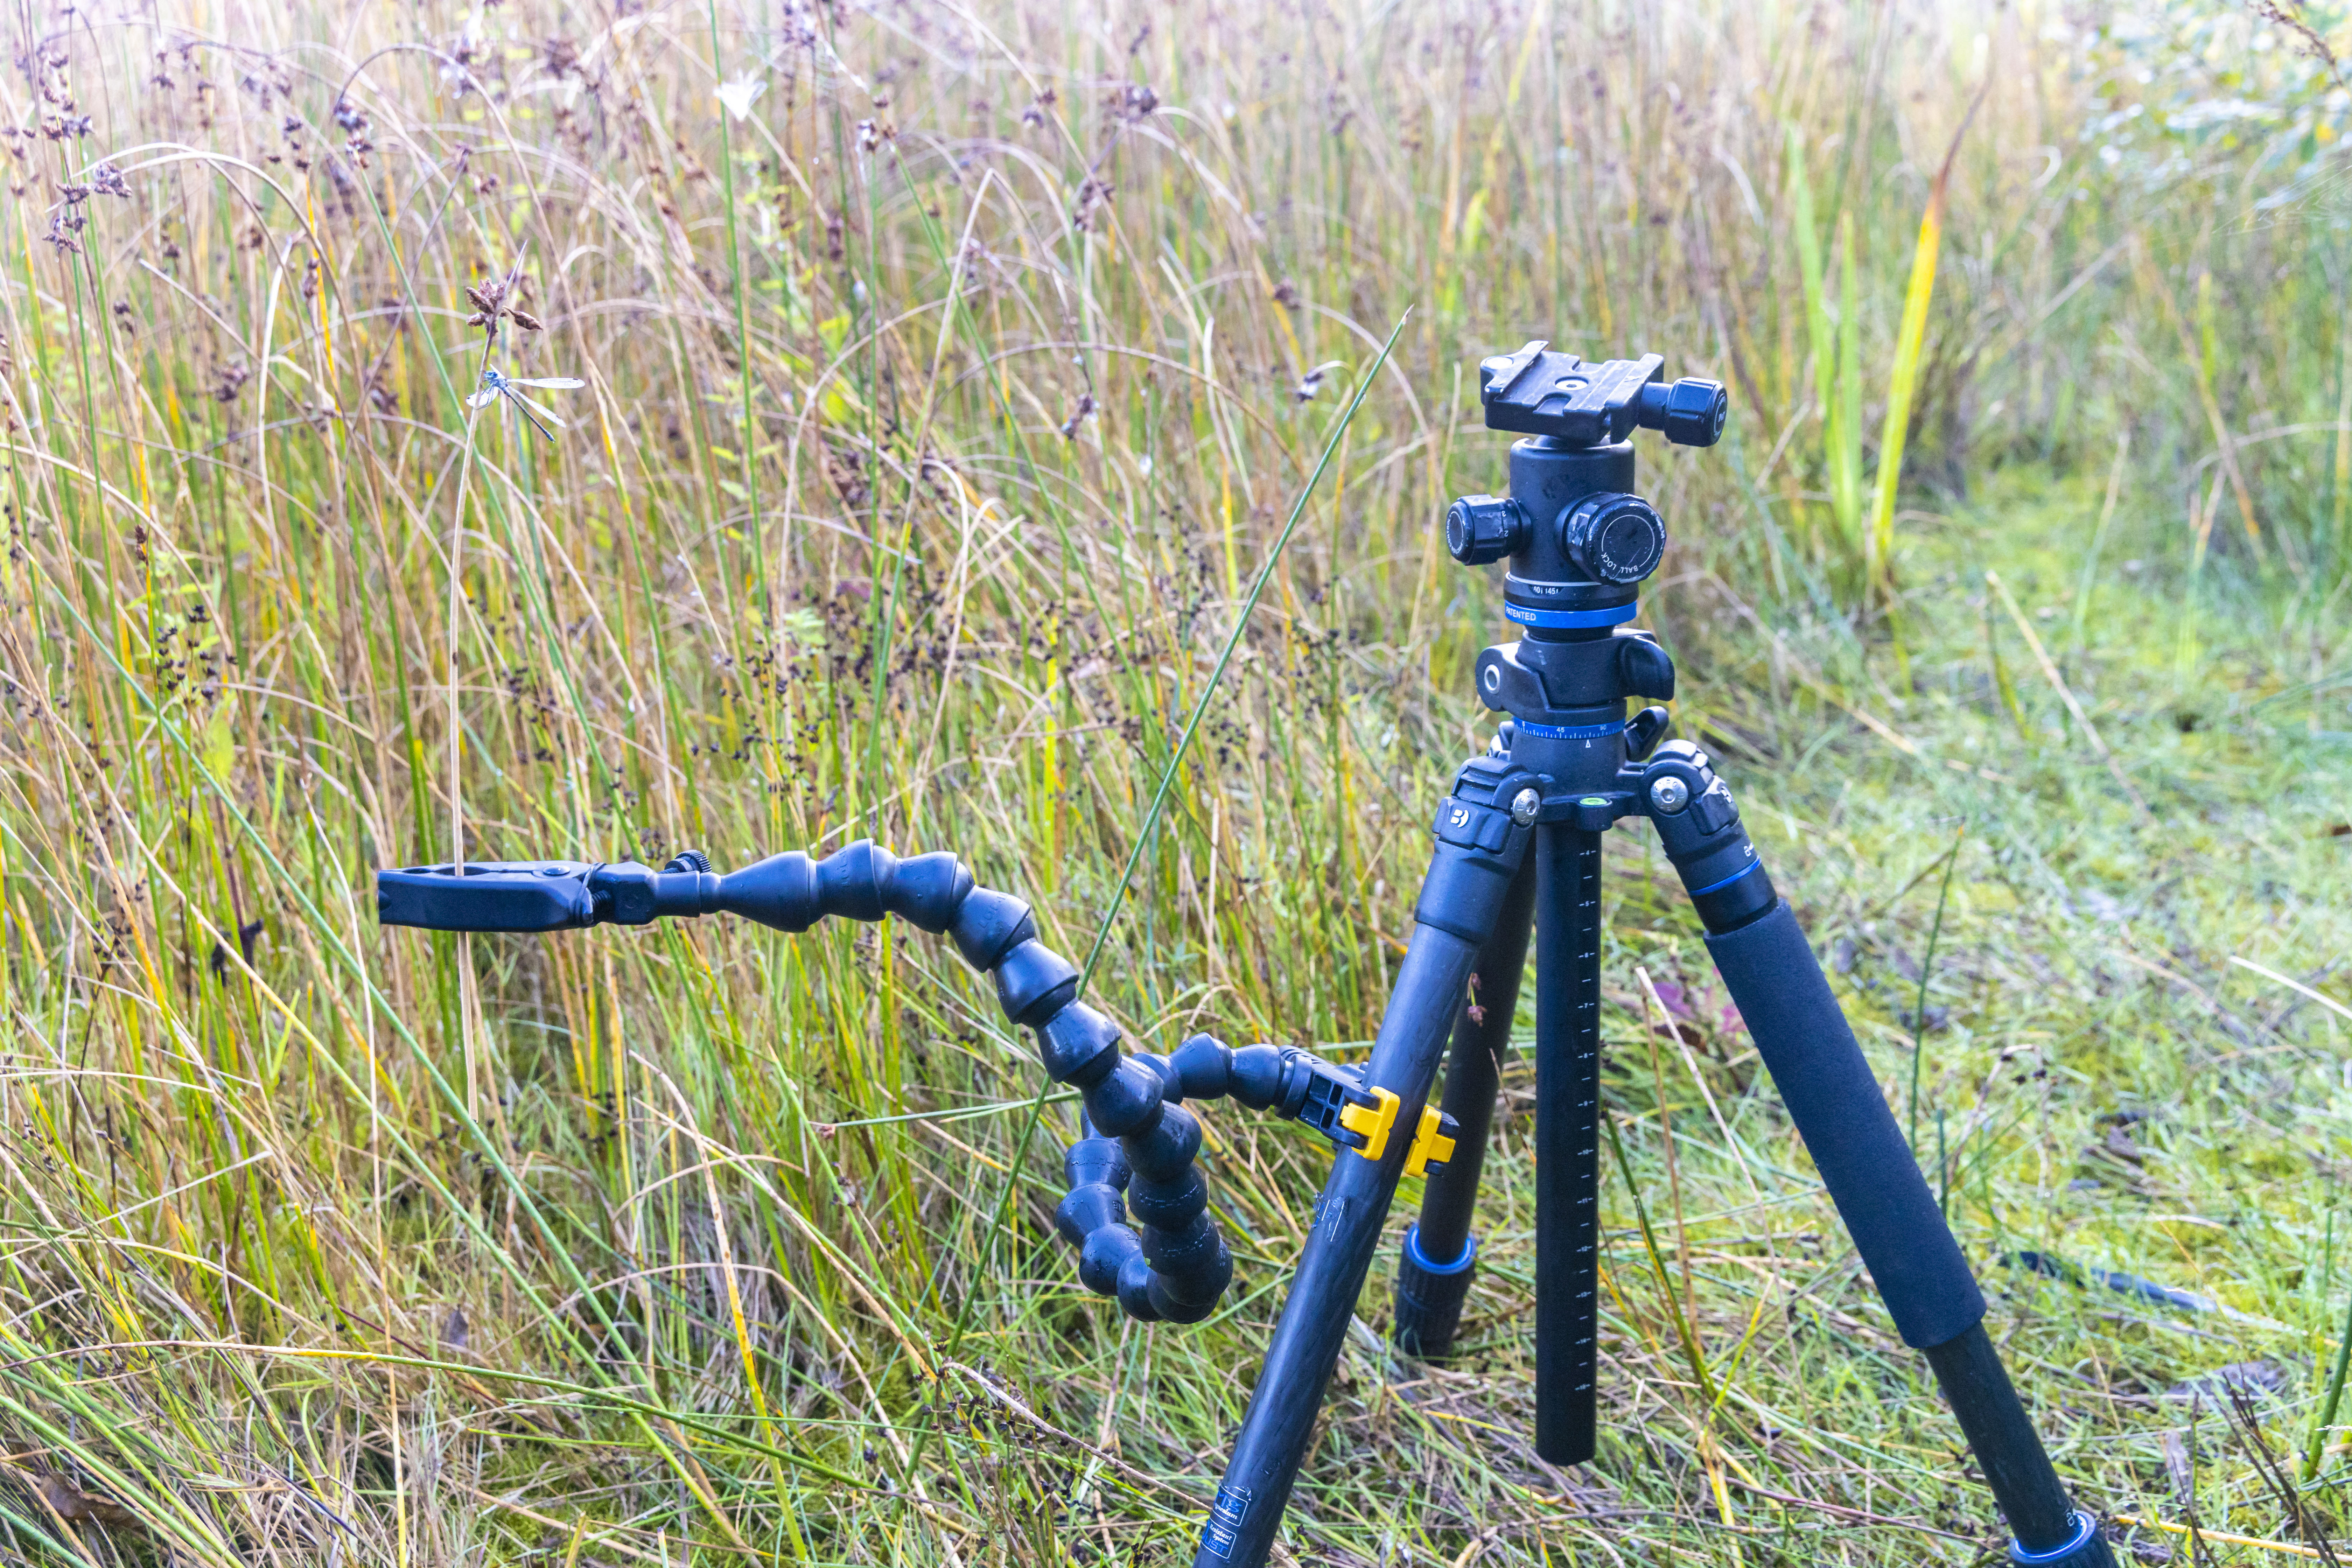
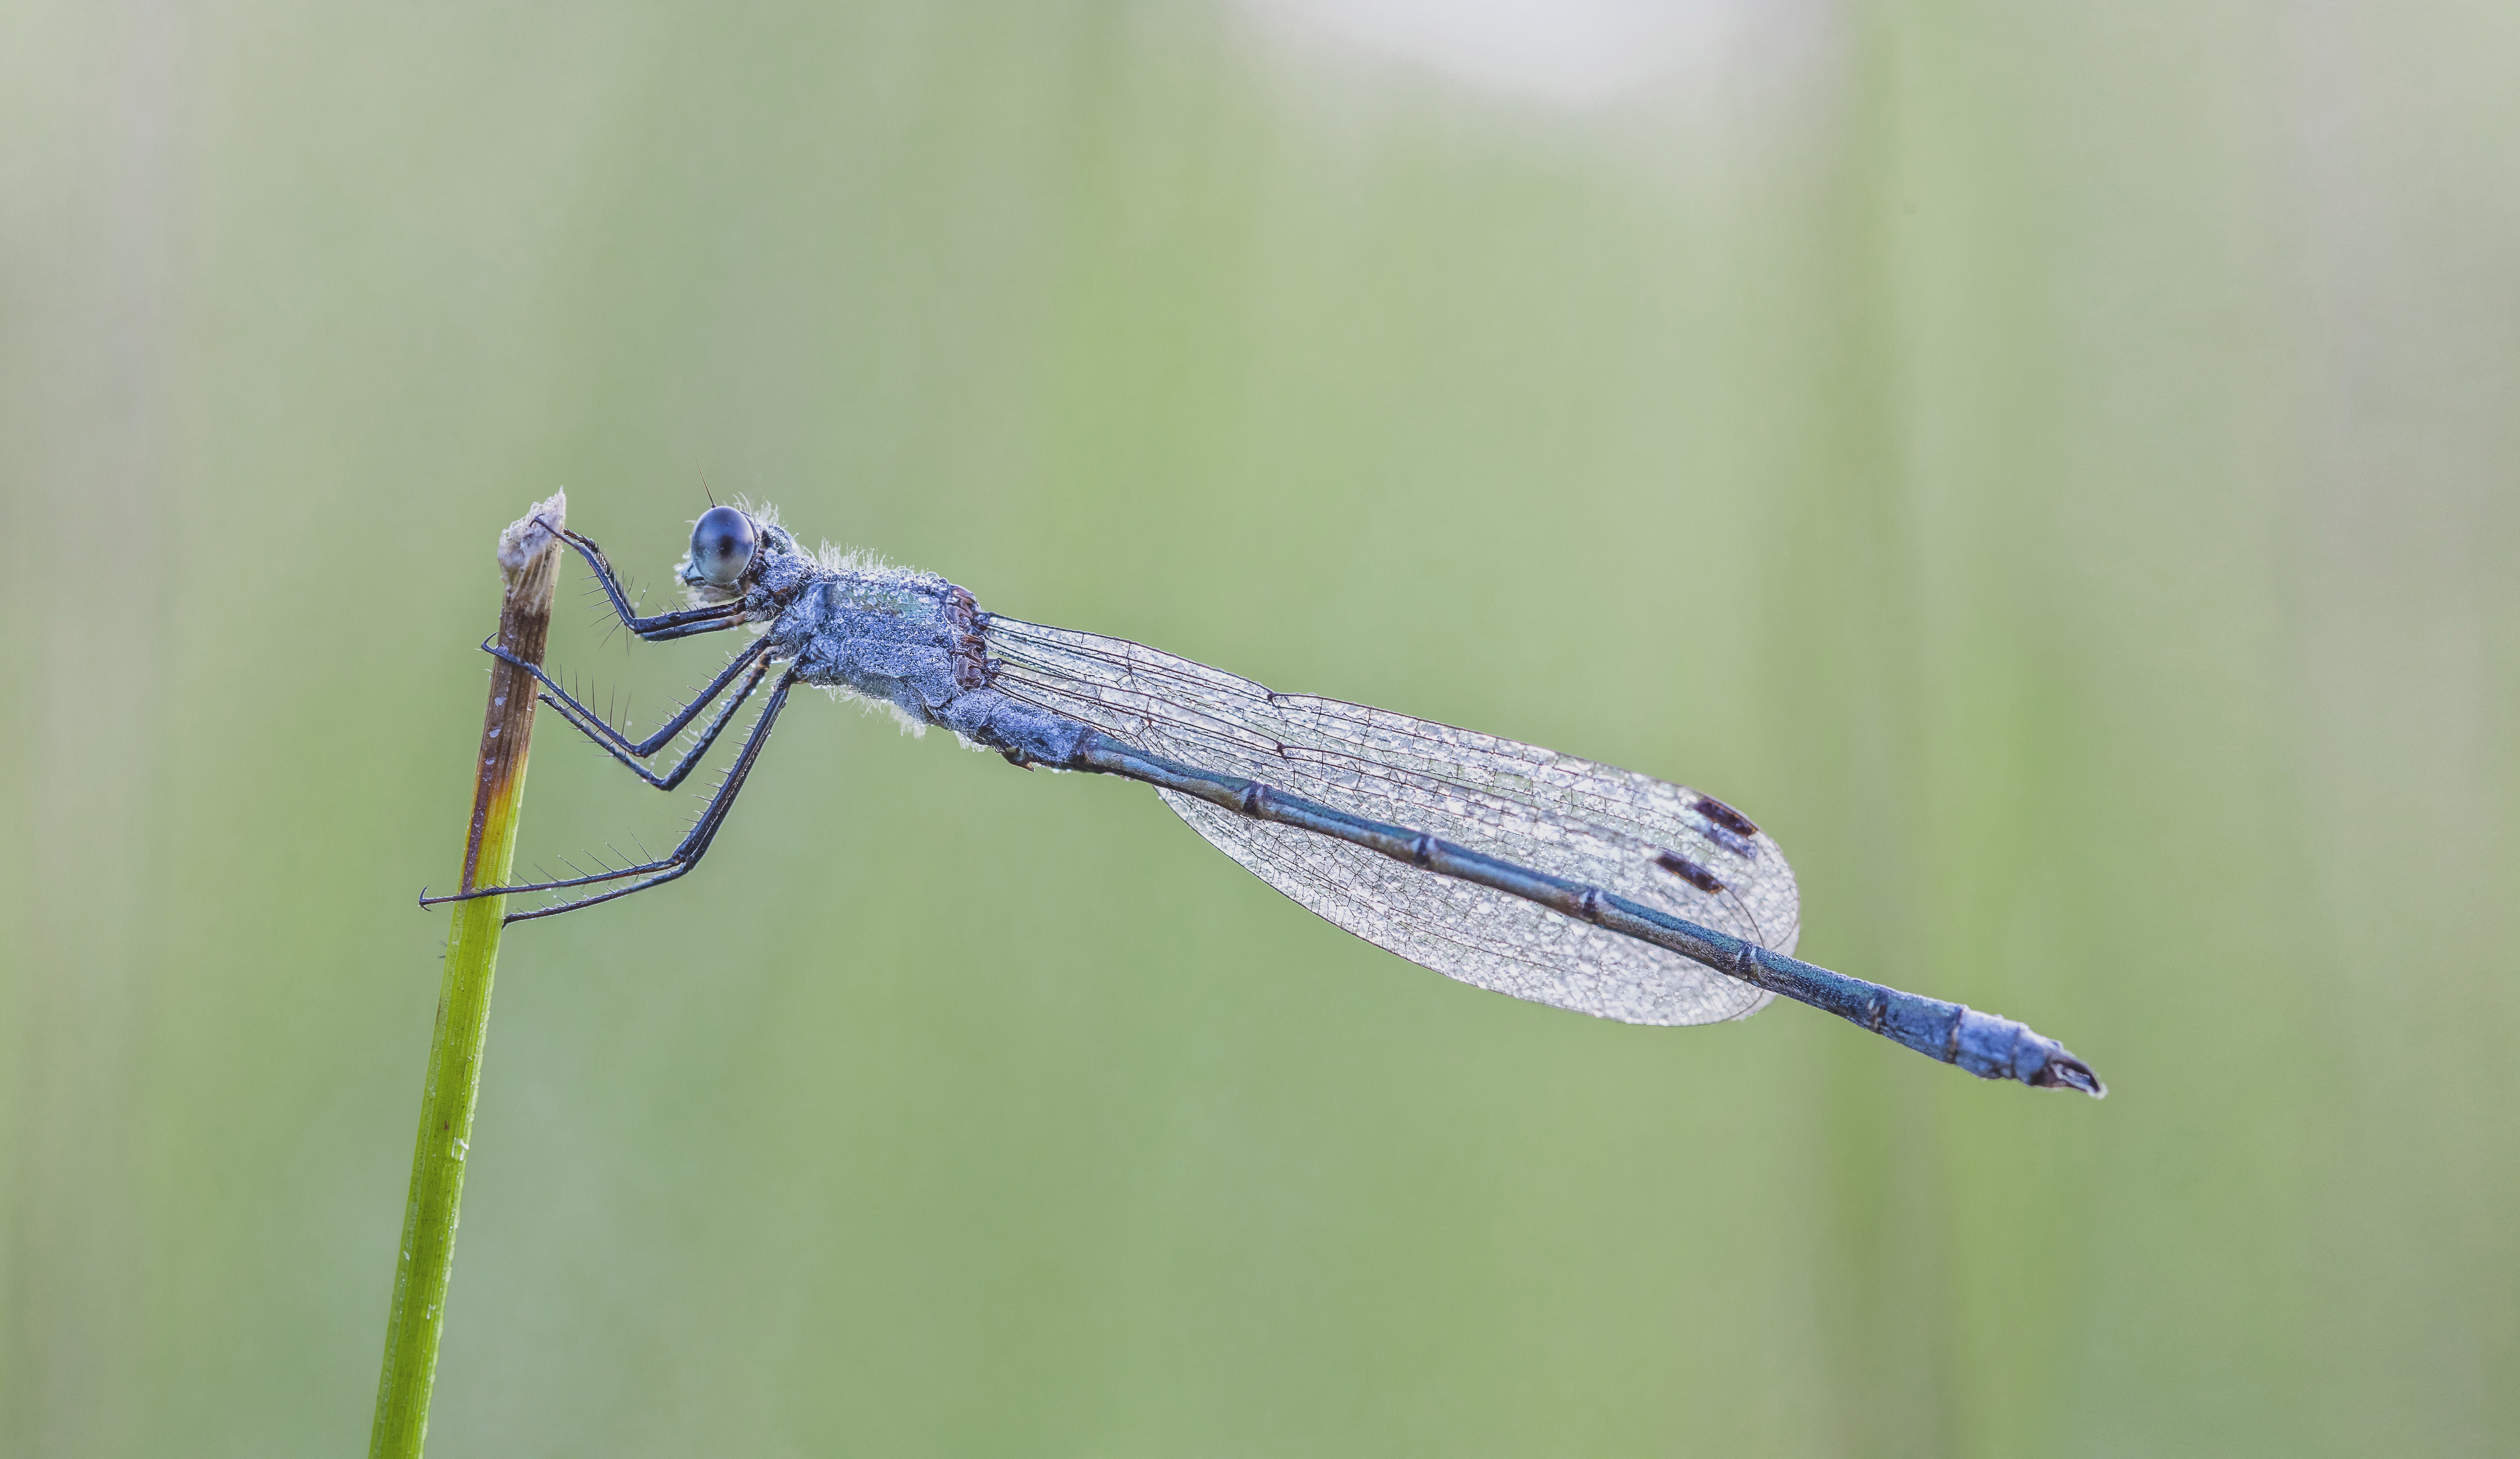
Oliver carries two tripods with him in the morning. One is to shoot on, the other is to prop up a plamp – an articulating double-ended clamp that he can position to hold onto little twigs or branches. Oliver has a plamp from Wimberly, which he used to hold up a little bit of a dead stick that the above damselfly was perching on by a pond. Because the plant was already dead Oliver had no problem with carefully cutting it and placing it in a better position for photographs.
07. Focus rail
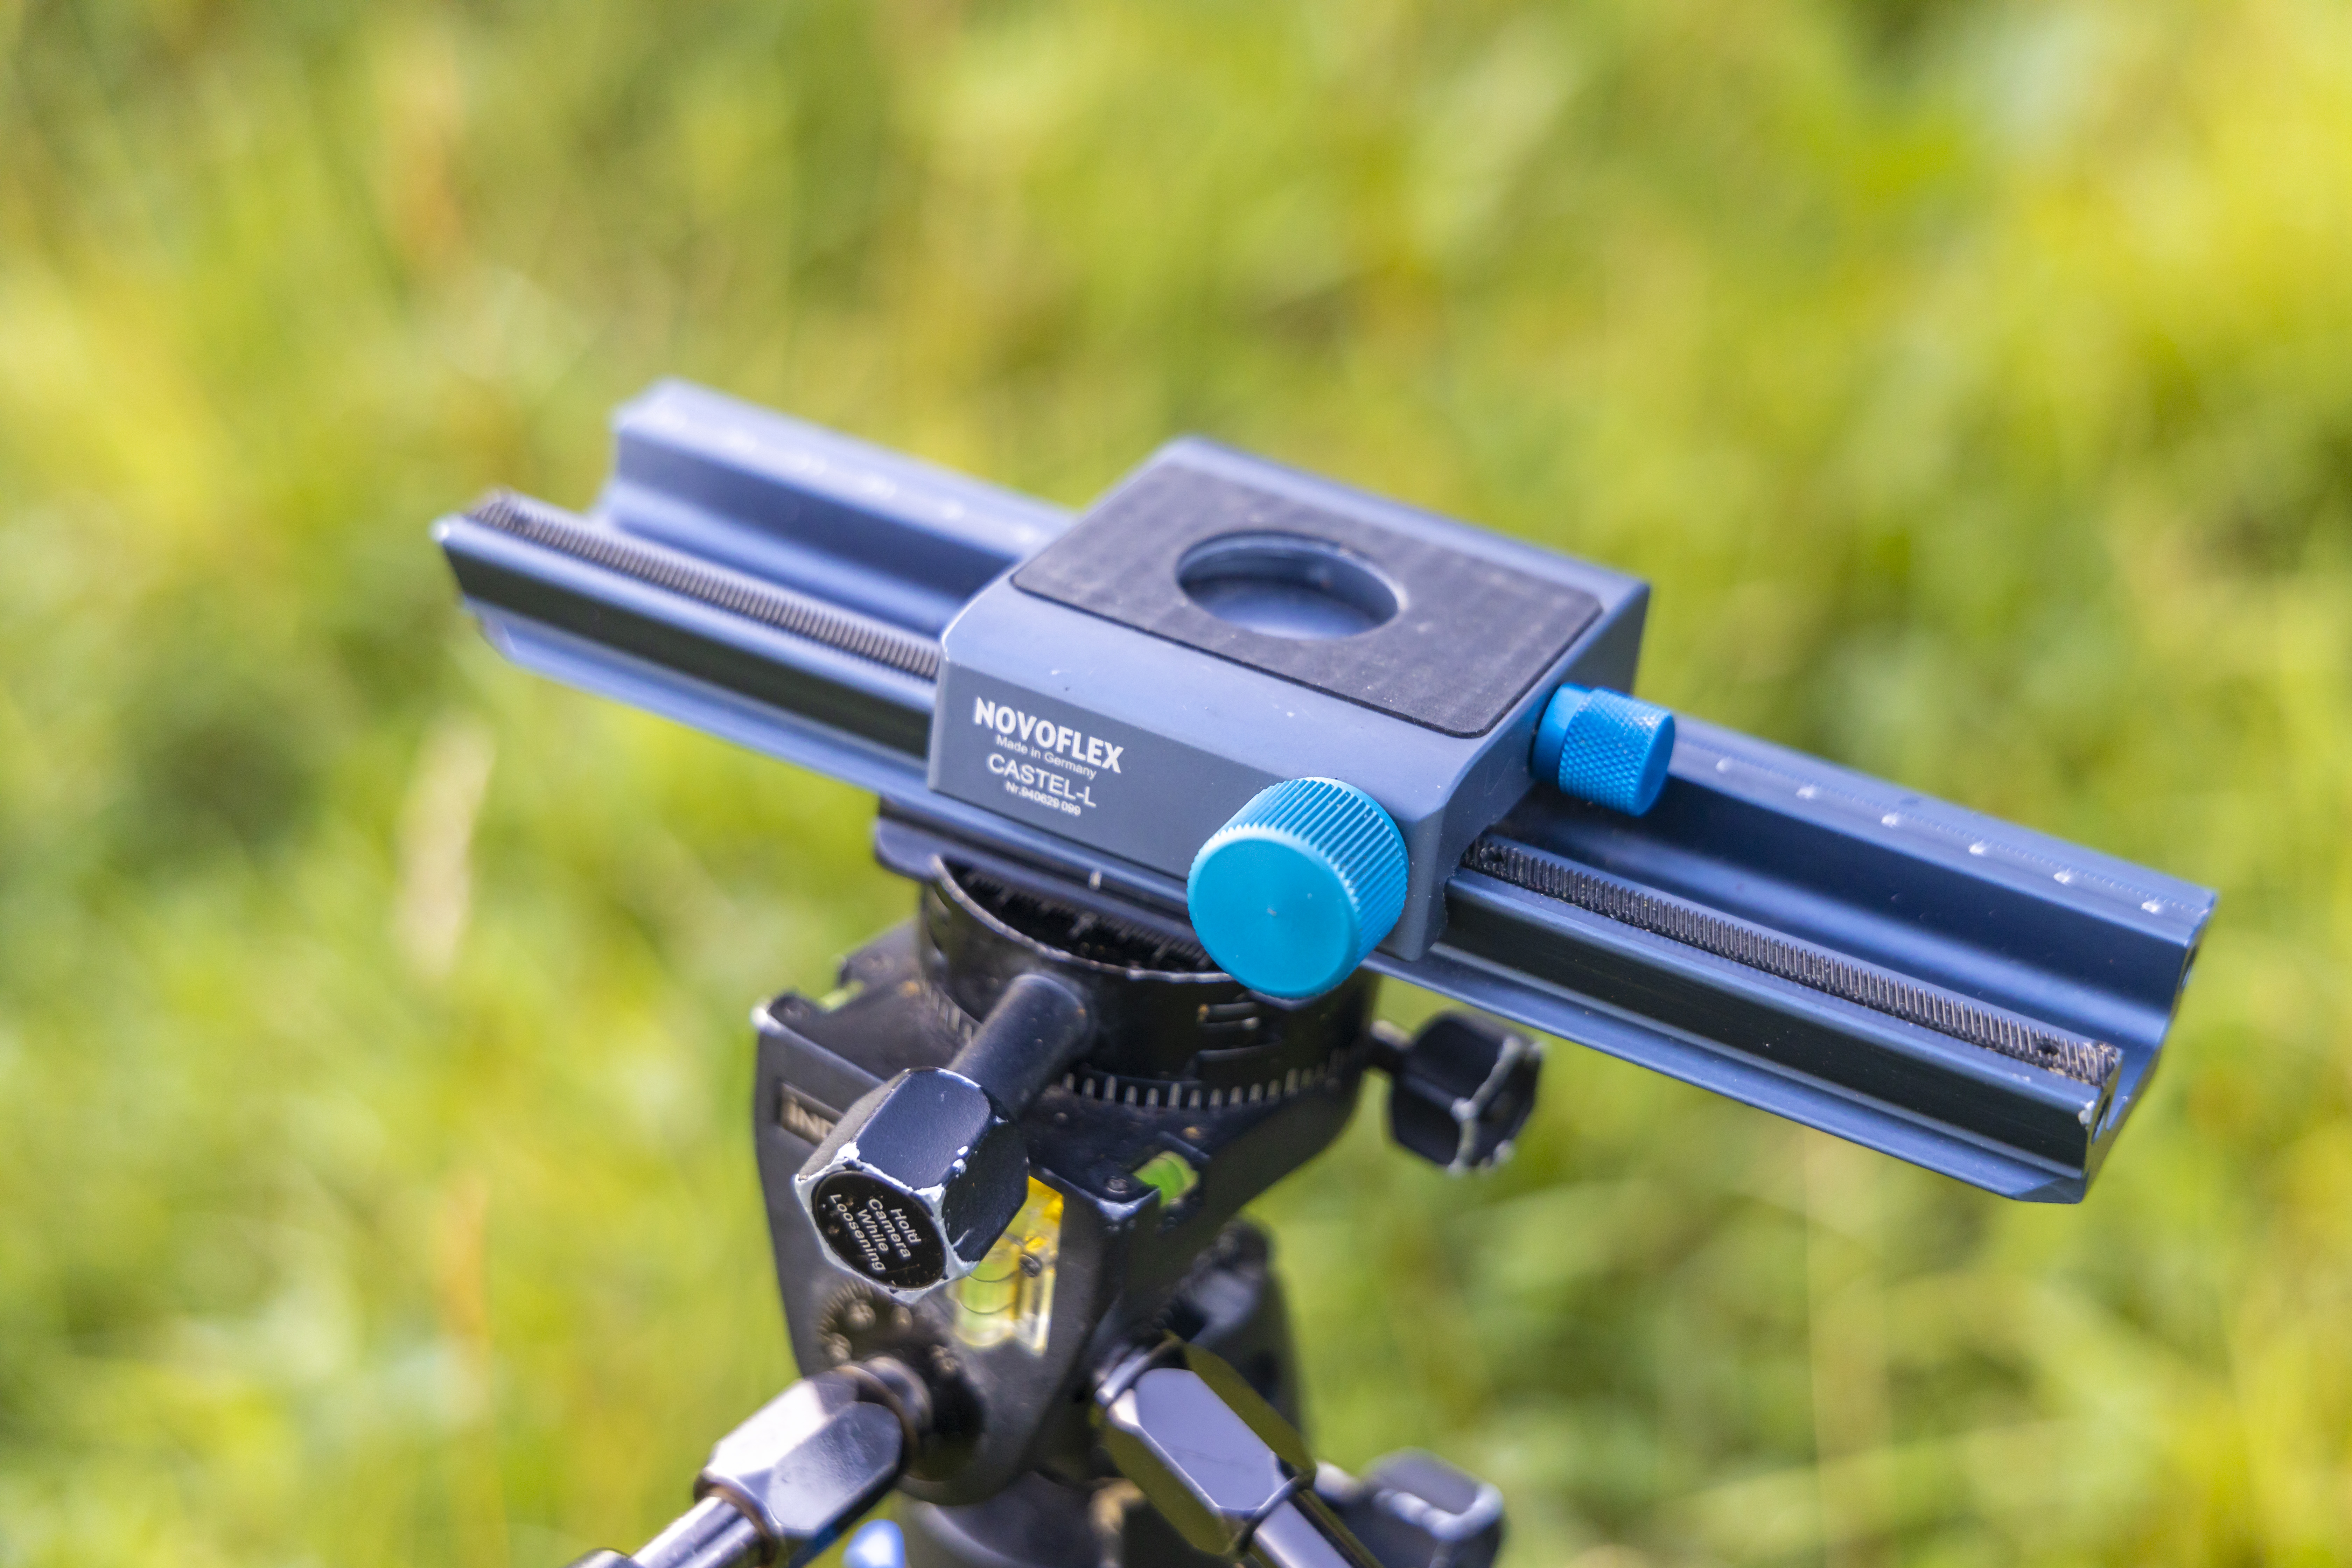
Depth of field is incredibly shallow when shooting at high magnifications, even when using high apertures such as f/22. To achieve macro subjects that are sharp throughout, Oliver uses a focusing rail mounted to his carbon fiber tripod with a five-way head, giving him an astonishing amount of control when composing. The focusing rail enables him to precisely move the camera and lens forward or back a little to adjust the band of sharp focus.
08. Extension tubes
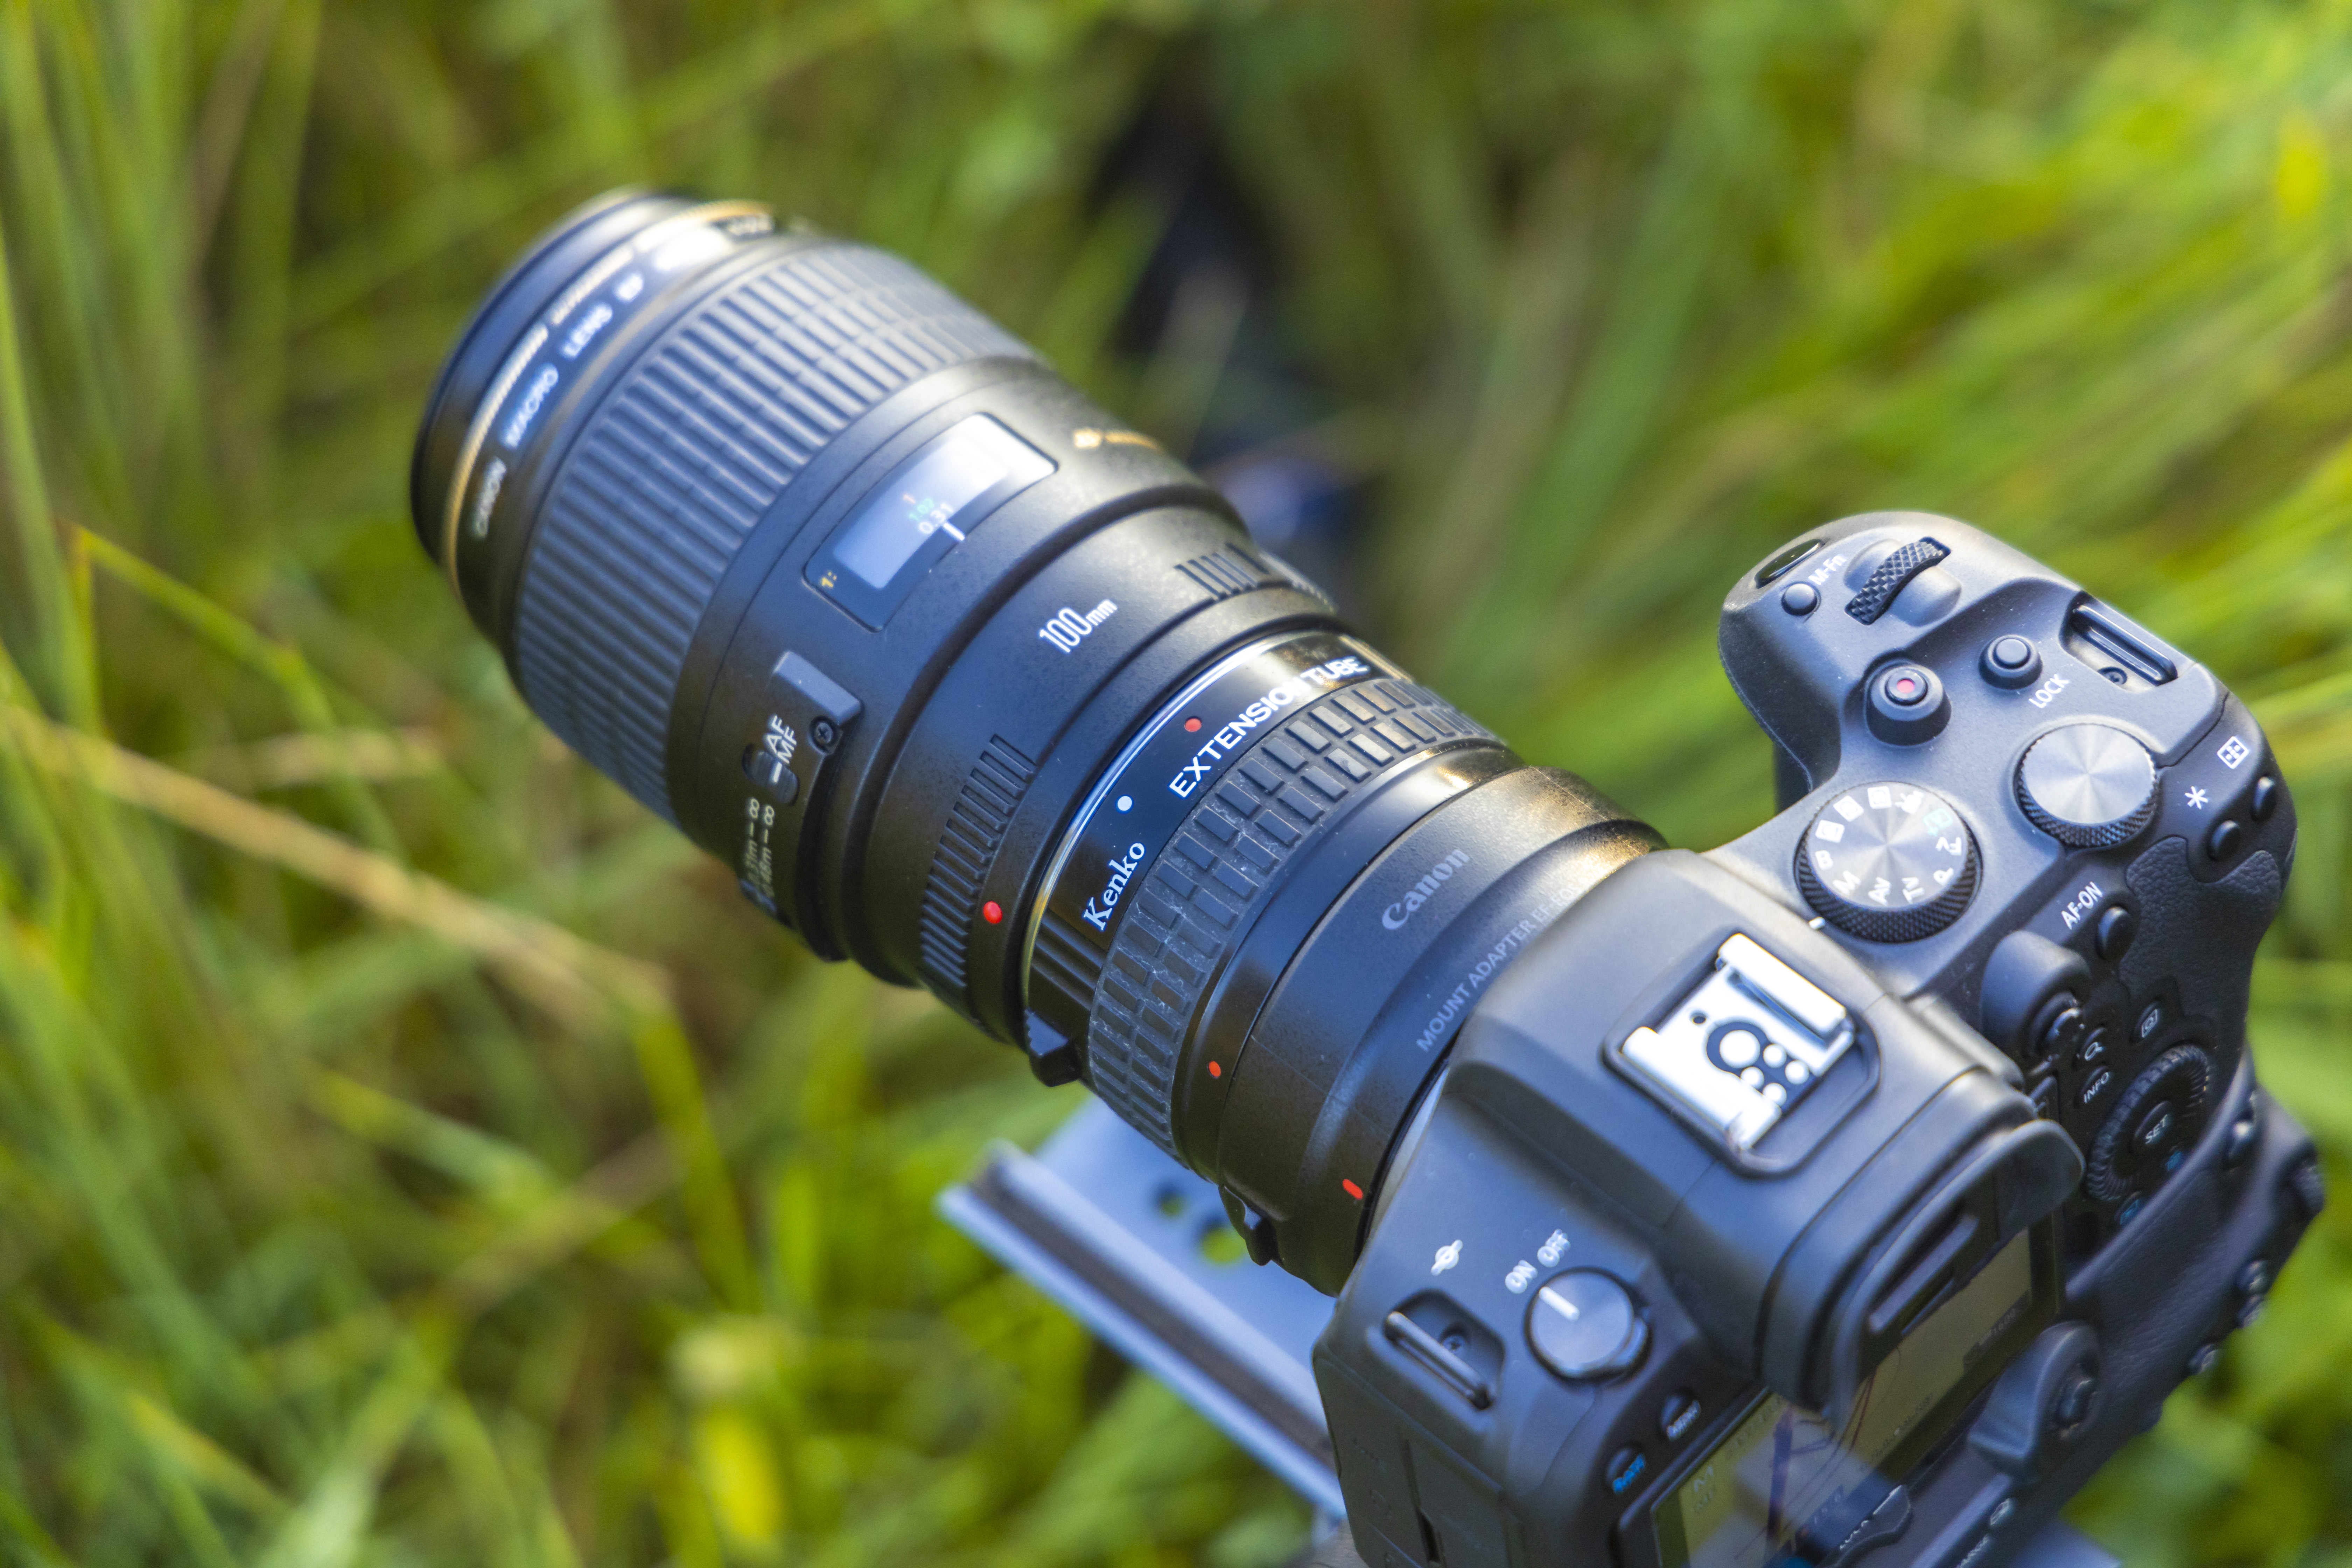
Oliver uses a set of Kenko extension tubes to increase the distance between the lens and the camera body. This shortens the minimum focus distance, so you can get closer to your subject. The set comes with three adapters: 12mm, 20mm and 36mm. You can use a mixture of all three until your focus distance is spot-on.
•Read more: Best extension tubes
09. Focus bracketing in-camera

Oliver focus stacks his pictures and merges them together to create macro images with incredible front-to-back sharpness. The Focus Bracketing mode on his R5 can take up to 999 shots in a rapid burst, with all the images at different focus increments, which makes the focus stacking process much easier and enables him to create a series of stacked shots without a tripod.
10. Macro lenses
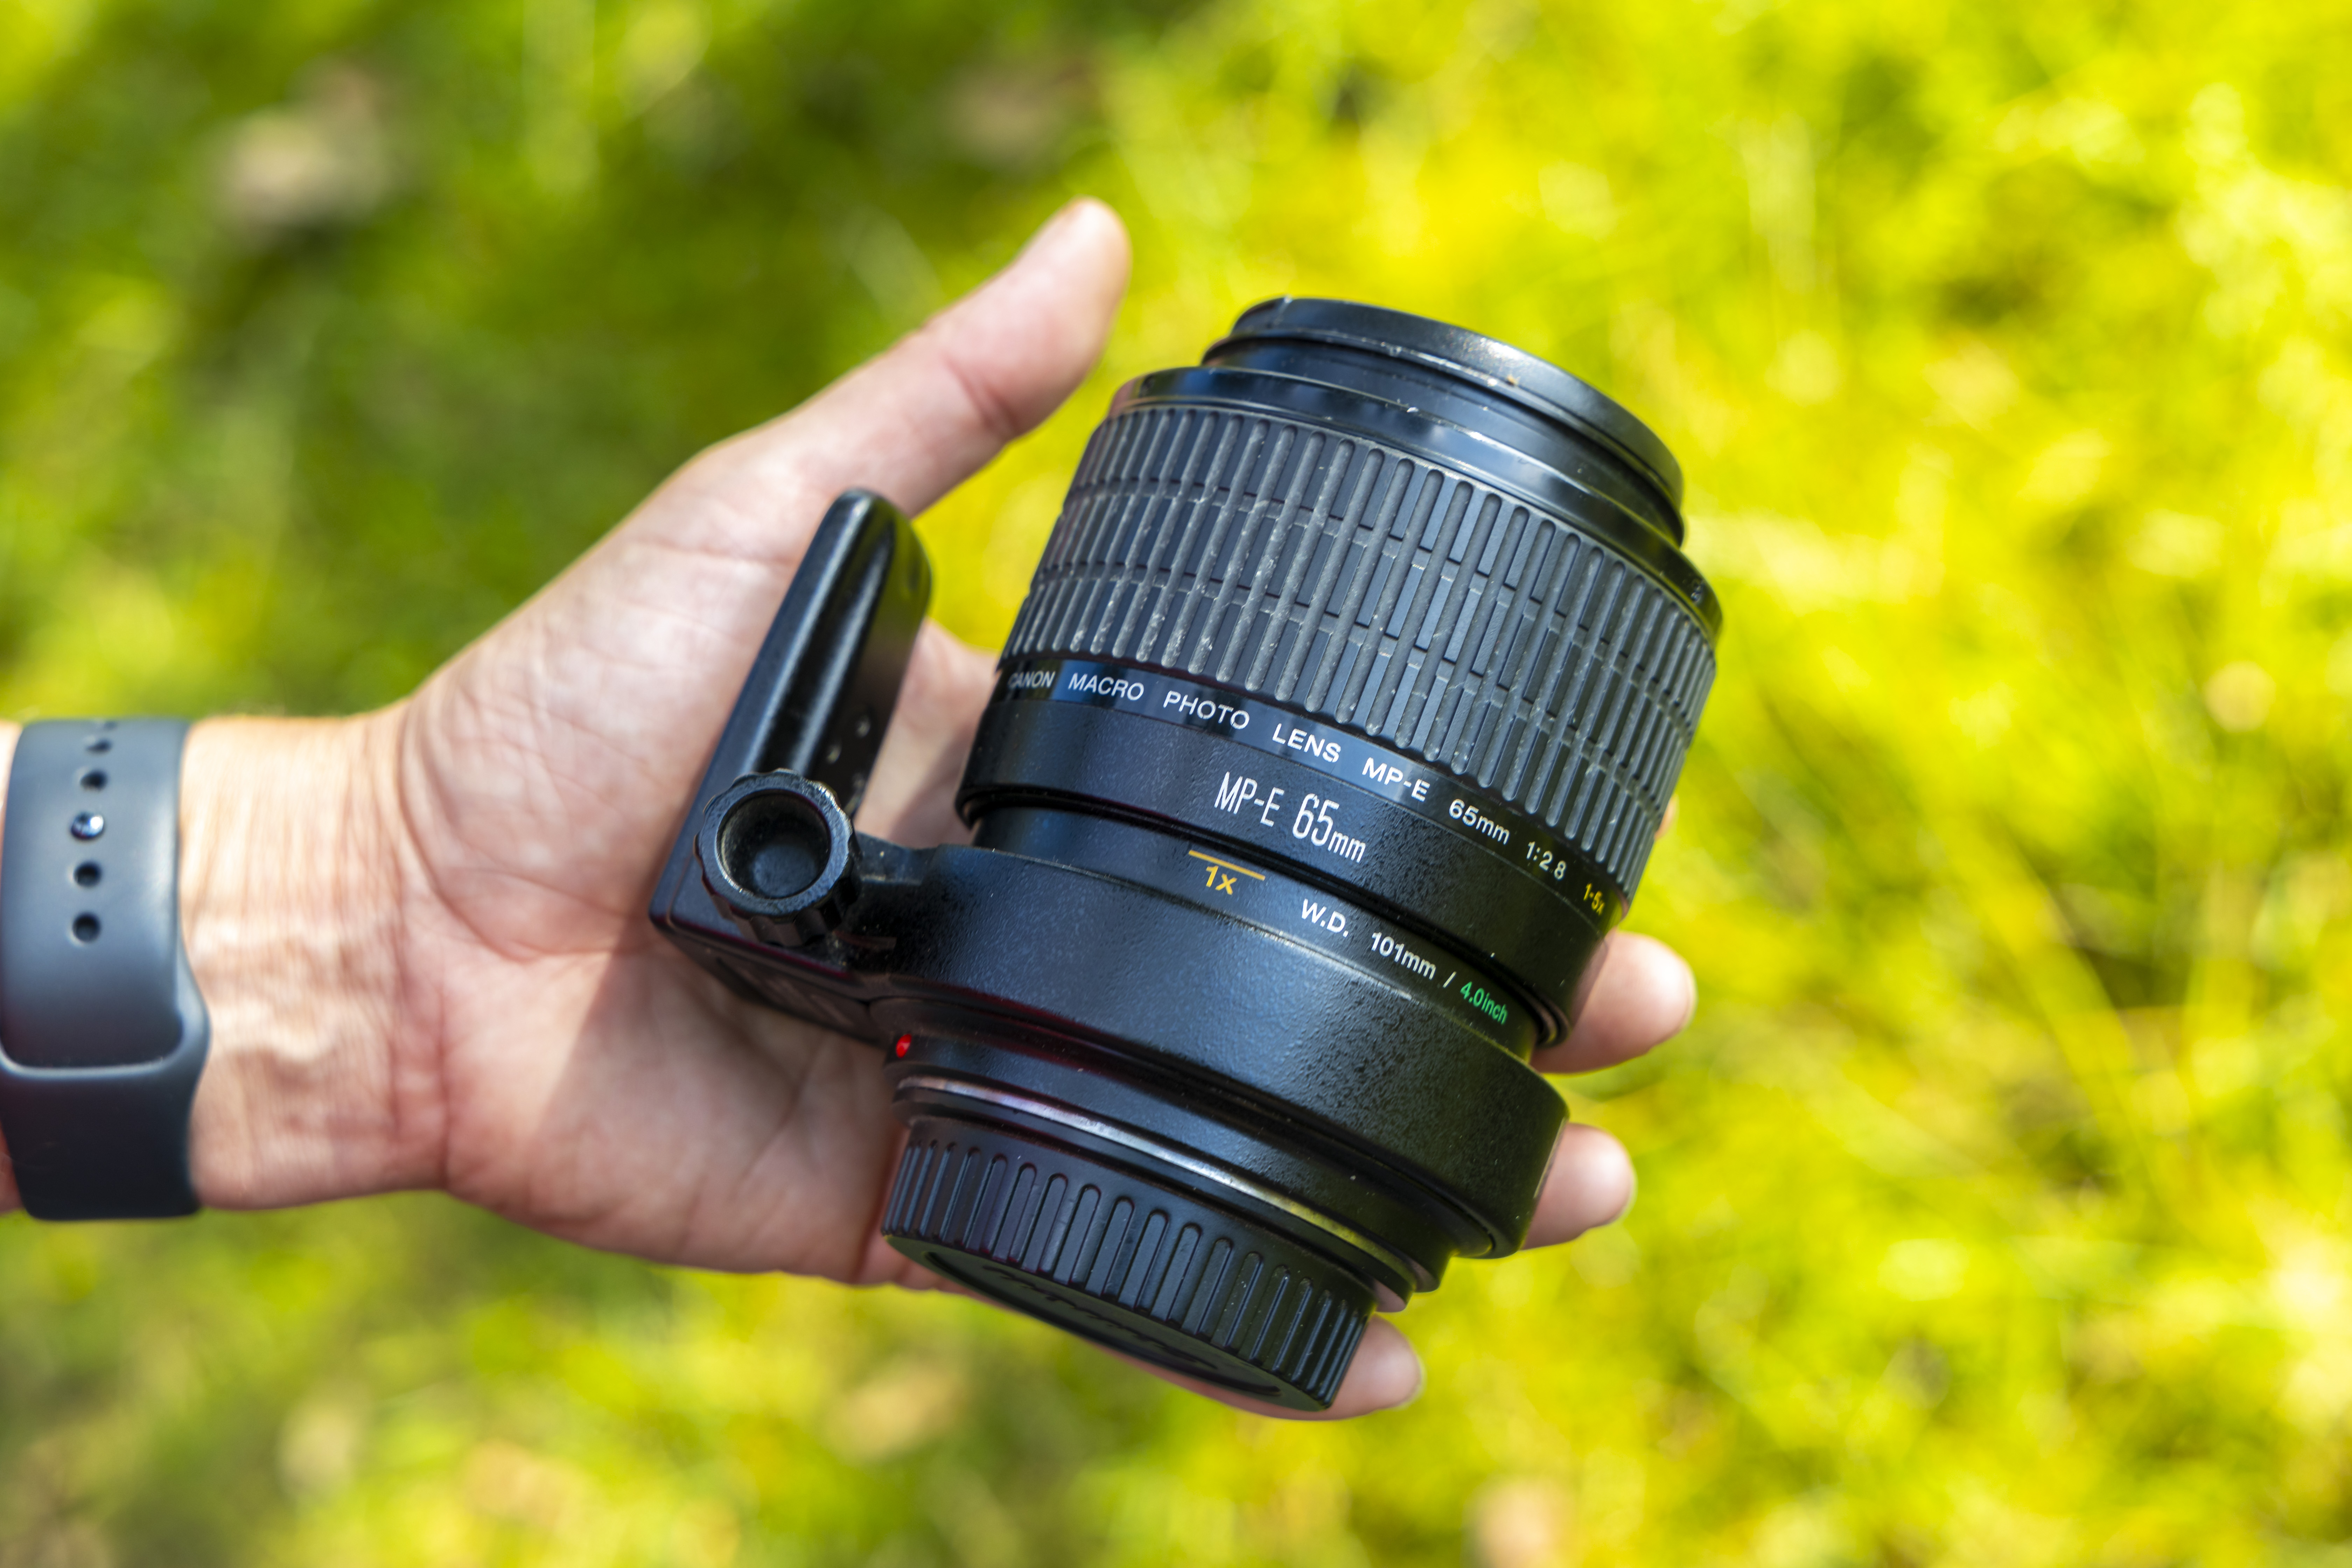
To get super close to his subjects Oliver uses the Canon MP-E 65mm f/2.8 1-5x Macro lens. Most ‘true’ macro lenses have a reproduction ratio of 1:1, which means that the subject will be rendered at life-size – in other words the same size as if you laid it across the camera’s sensor. The MP-E 65mm starts at 1:1, but can go to five times this magnification, making it possible to achieve frame-filling shots of incredibly small subjects. However, it does become more difficult to use at these incredibly high magnifications.
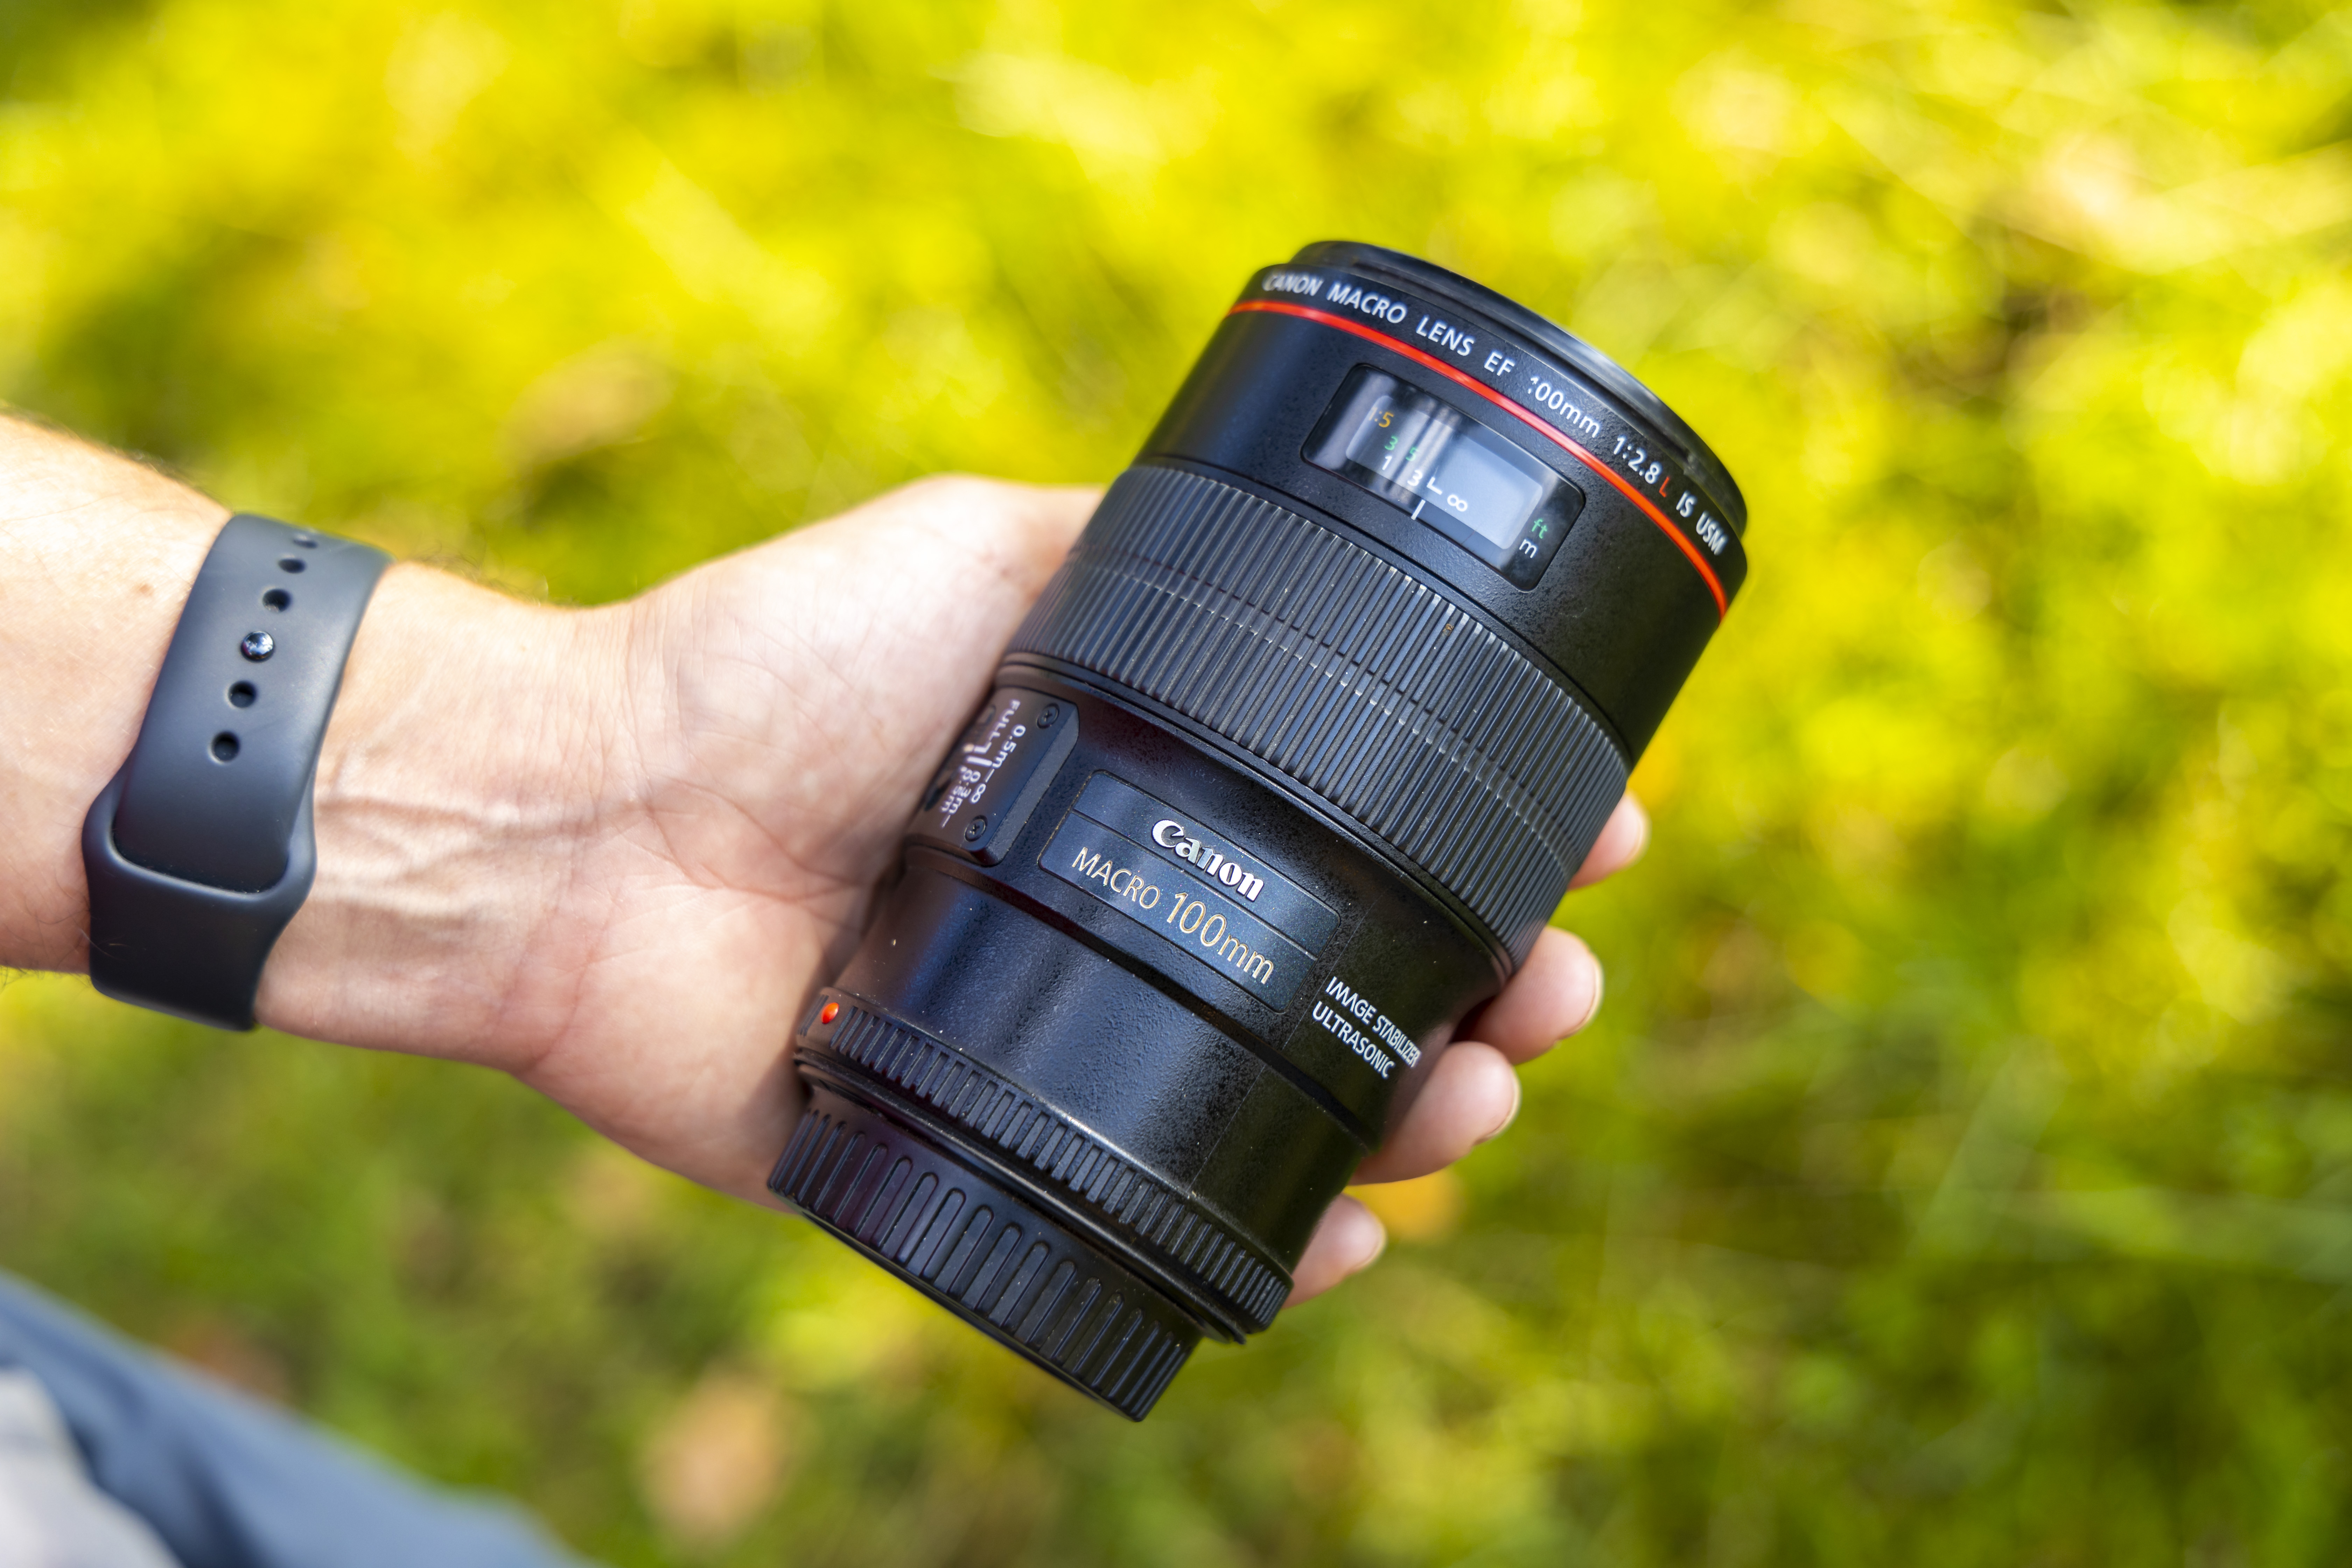
Oliver’s other main macro lens is the Canon EF 100mm f/2.8L Macro IS USM, which can shoot at up to 1:1, or even more with Oliver’s handy extension tubes. Unlike his MP-E 65mm macro lens, which can shoot at 5x life-size, Oliver sometimes prefers to use this lens as it has a better working distance, fast USM autofocus system, image stabilization and a larger front element. After trying out the mirrorless Canon RF 100mm f/2.8L Macro IS USM version, he will be switching over soon!
PhotoPlus: The Canon Magazine is the world's only monthly newsstand title that's 100% devoted to Canon, so you can be sure the magazine is completely relevant to your system.
Read more:
The best lens for portraits: our pick of the best 85mm lenses right now
The best camera for portraits: cameras and lenses perfect for portraits
215 photography tips, techniques and tricks for taking pictures of anything
Best camera for macro photography

Deputy Editor on PhotoPlus: The Canon Magazine, Dan also brings his technical wizardry and editing skills to Digital Camera World. He has been writing about all aspects of photography for over 10 years, having previously served as technical writer and technical editor for Practical Photography magazine, as well as Photoshop editor on Digital Photo.
Dan is an Adobe-certified Photoshop guru, making him officially a beast at post-processing – so he’s the perfect person to share tips and tricks both in-camera and in post. Able to shoot all genres, Dan provides news, techniques and tutorials on everything from portraits and landscapes to macro and wildlife, helping photographers get the most out of their cameras, lenses, filters, lighting, tripods, and, of course, editing software.

