10 quick steps for photographing creative macro masterpieces
Start producing more engaging close-up shots today with these quick but essential tips
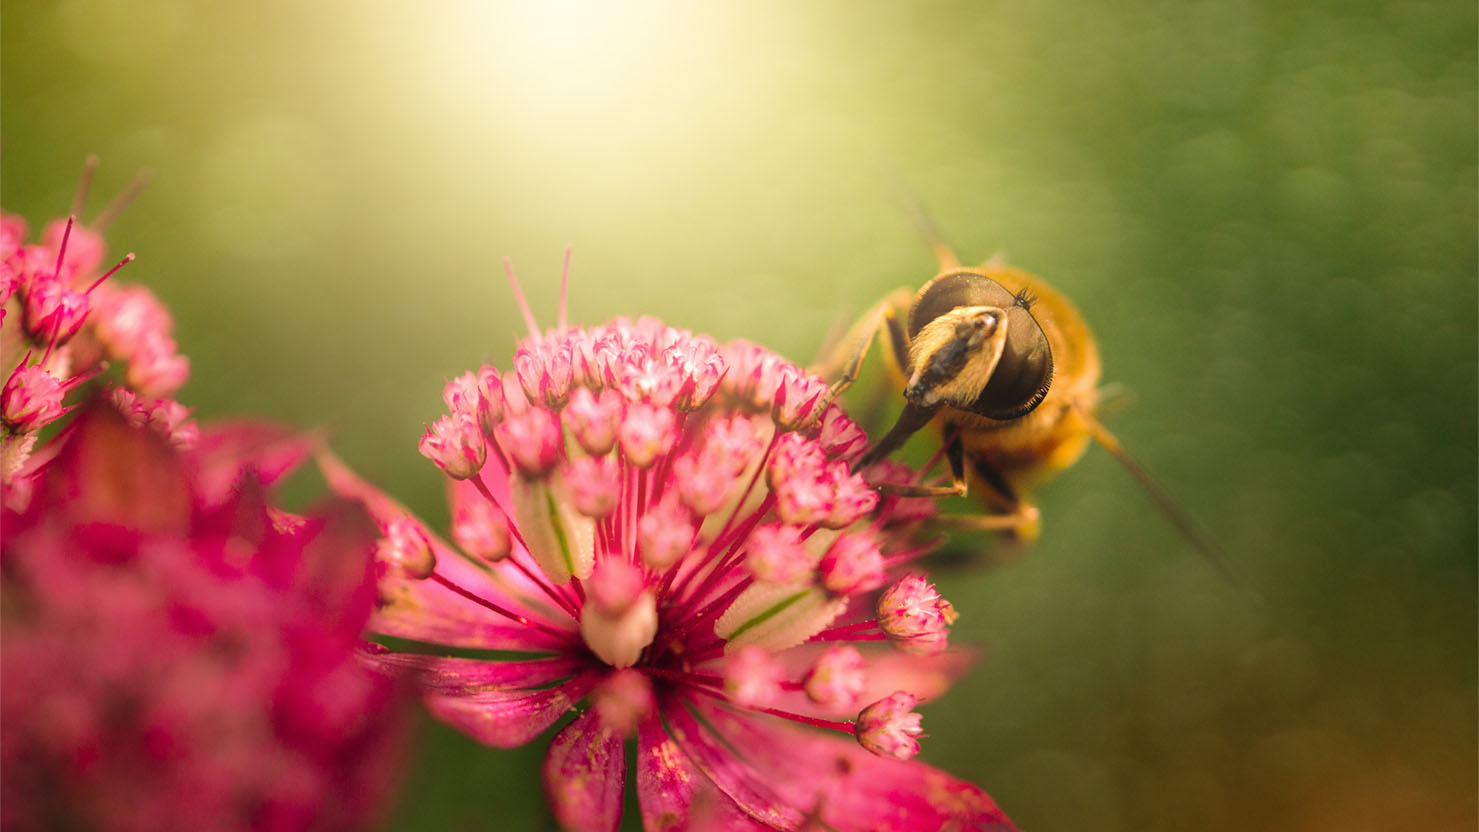
Macro photography has many more artistic options than we often give it credit for. Many photographers default to a state of functionality over beauty when it comes to capturing closeup images. This might seem a bit unfair, given the natural beauty that exists in flowers and insects. However, what we mean by this is that photographers tend to look at macro imaging as ultra-technical and mildly scientific, much like wildlife photography.
It suddenly becomes a matter of capturing mere record shots of our subject, more than trying to create something truly artistic. This is a shame, as there are a plethora of creative opportunities to be found. Here we take a look at ten quick steps you can take towards elevated, arty macro masterpieces.
1- Directional lighting
Try using off-camera flash or diffused sunlight to add sparkle and shape to closeup subjects. At high magnifications light gradients tend to be shallower, as the subject or field of view is small, compared to the size of the light source. By using flash we can make the light appear more like we experience it in our world, creating a more identifiable appearance.
2- Create layers
Align the camera to feature clear foreground, middle and background elements for an immersive feel. We want the viewer to feel as if they are the same size as the subject, viewing the macro world from the same level. By introducing depth, using foreground foliage for example, it feels like we are standing in the macro scene, gazing into the distance - which at that size might only be a few feet away!
3- Avoid empty backgrounds
Negative space is useful. Empty space however is a void which pulls the eye from the subject. What we don't want is for the person looking at the photo to be drawn into a huge mass of underexposed background, for example, which will fail to hold their attention. Always place a coloured background behind the subject, or find some way to fill empty space.
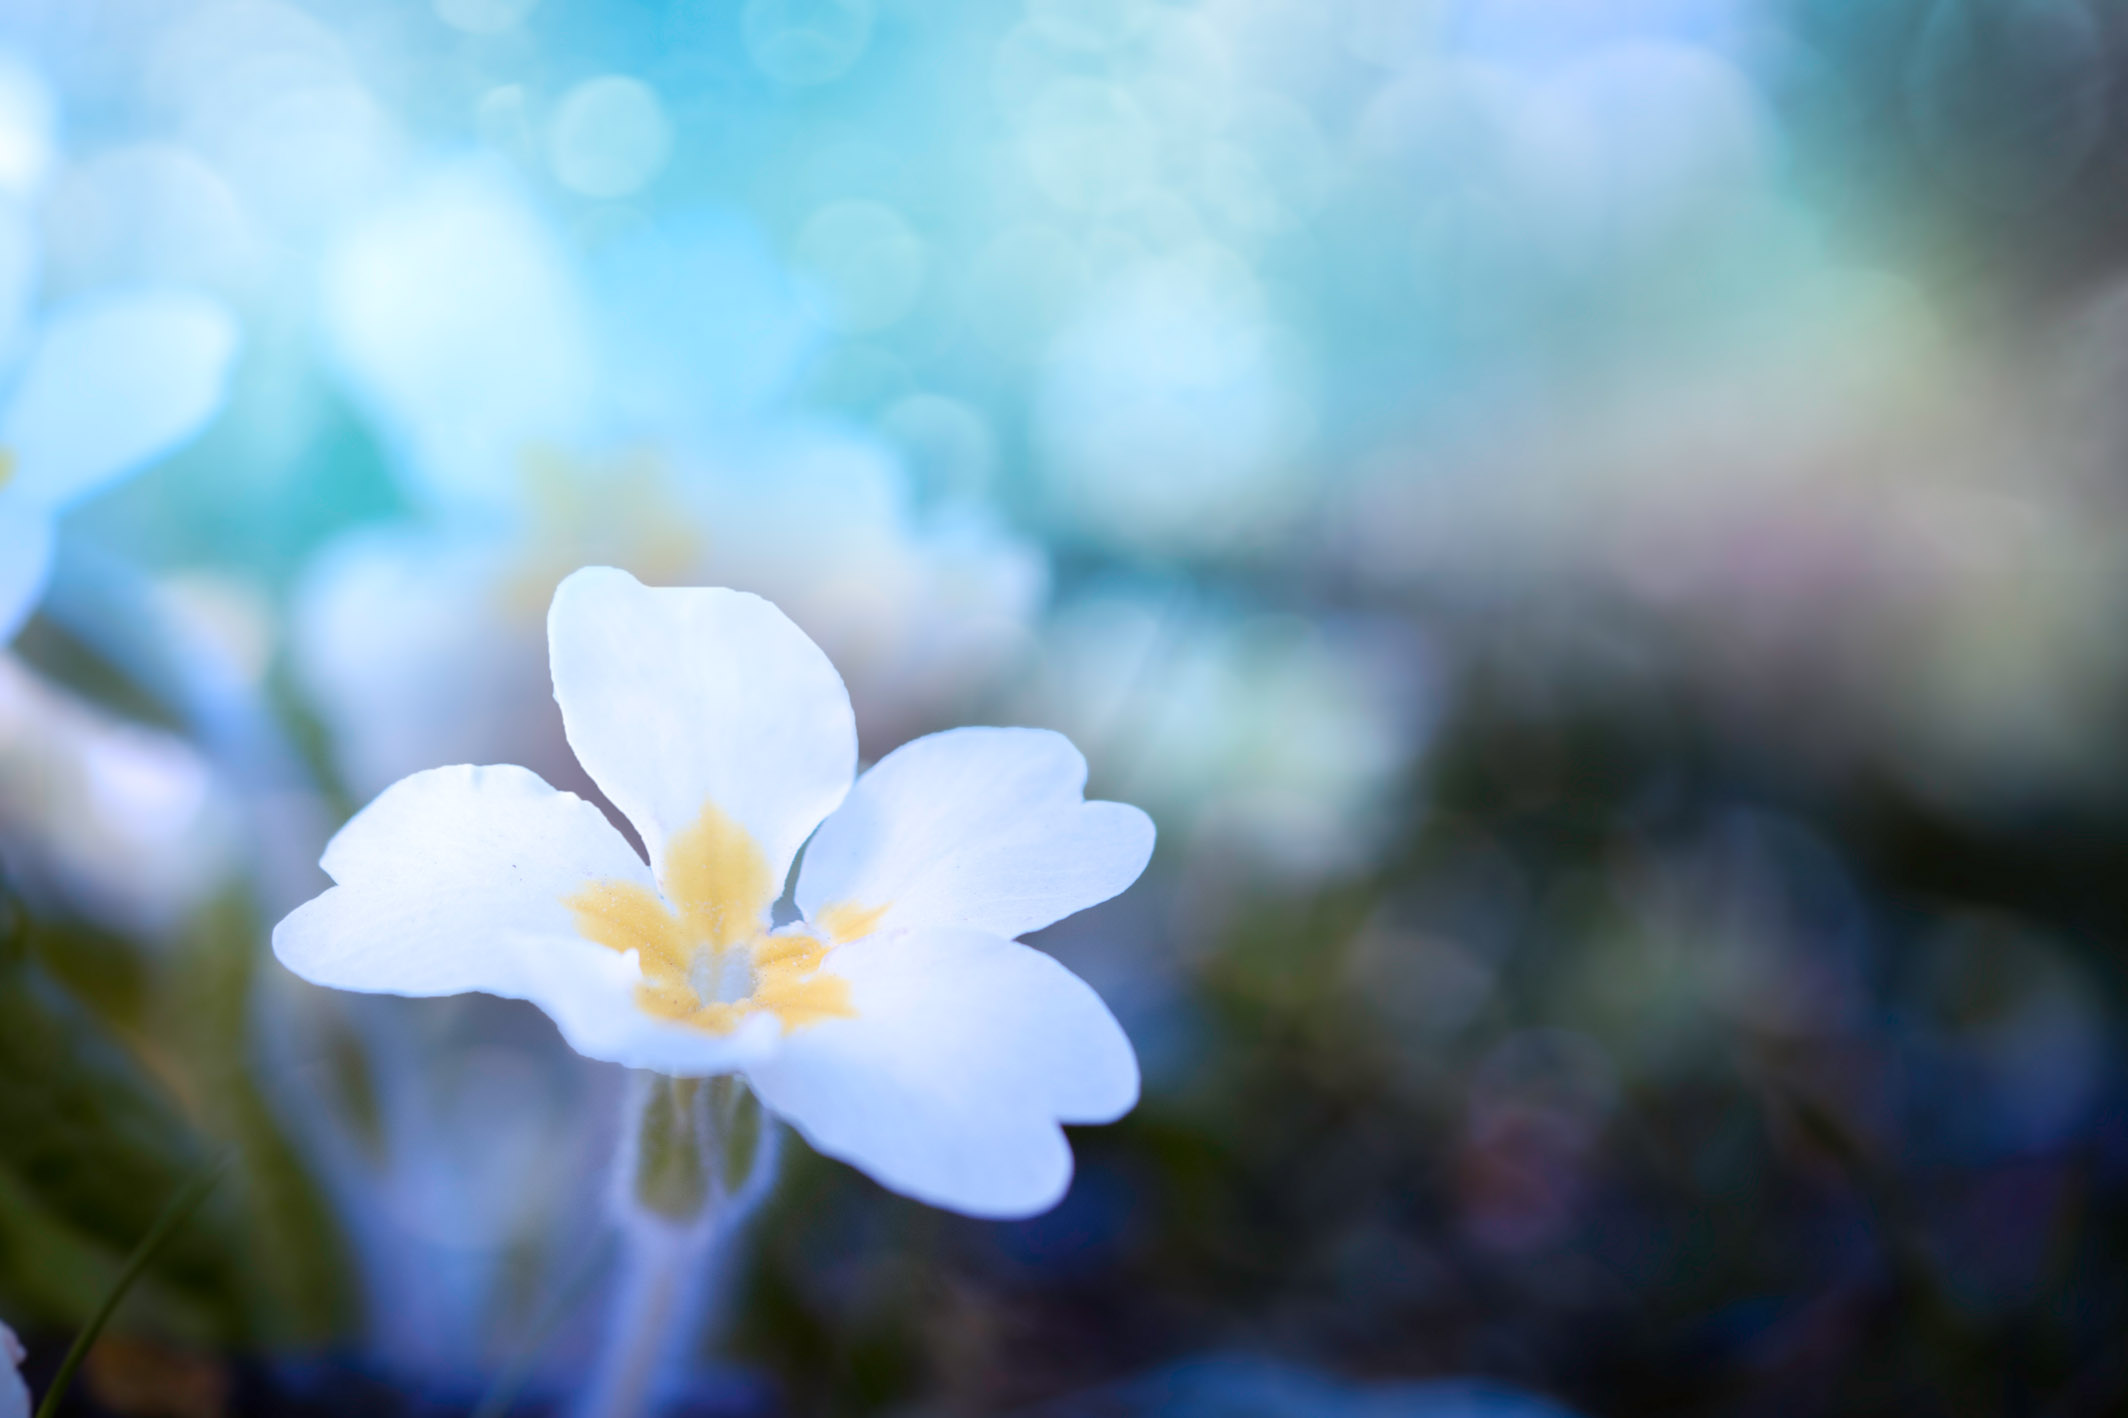
4- Contrast color
Look for contrasting hues to make your shots burst with color, to emphasize those present naturally. Whether this is a printed background you can place behind the subject, to suggest a particular environment, or a naturally occurring spread of colorful vegetation, always be mindful of color interactions.
5- Natural frames
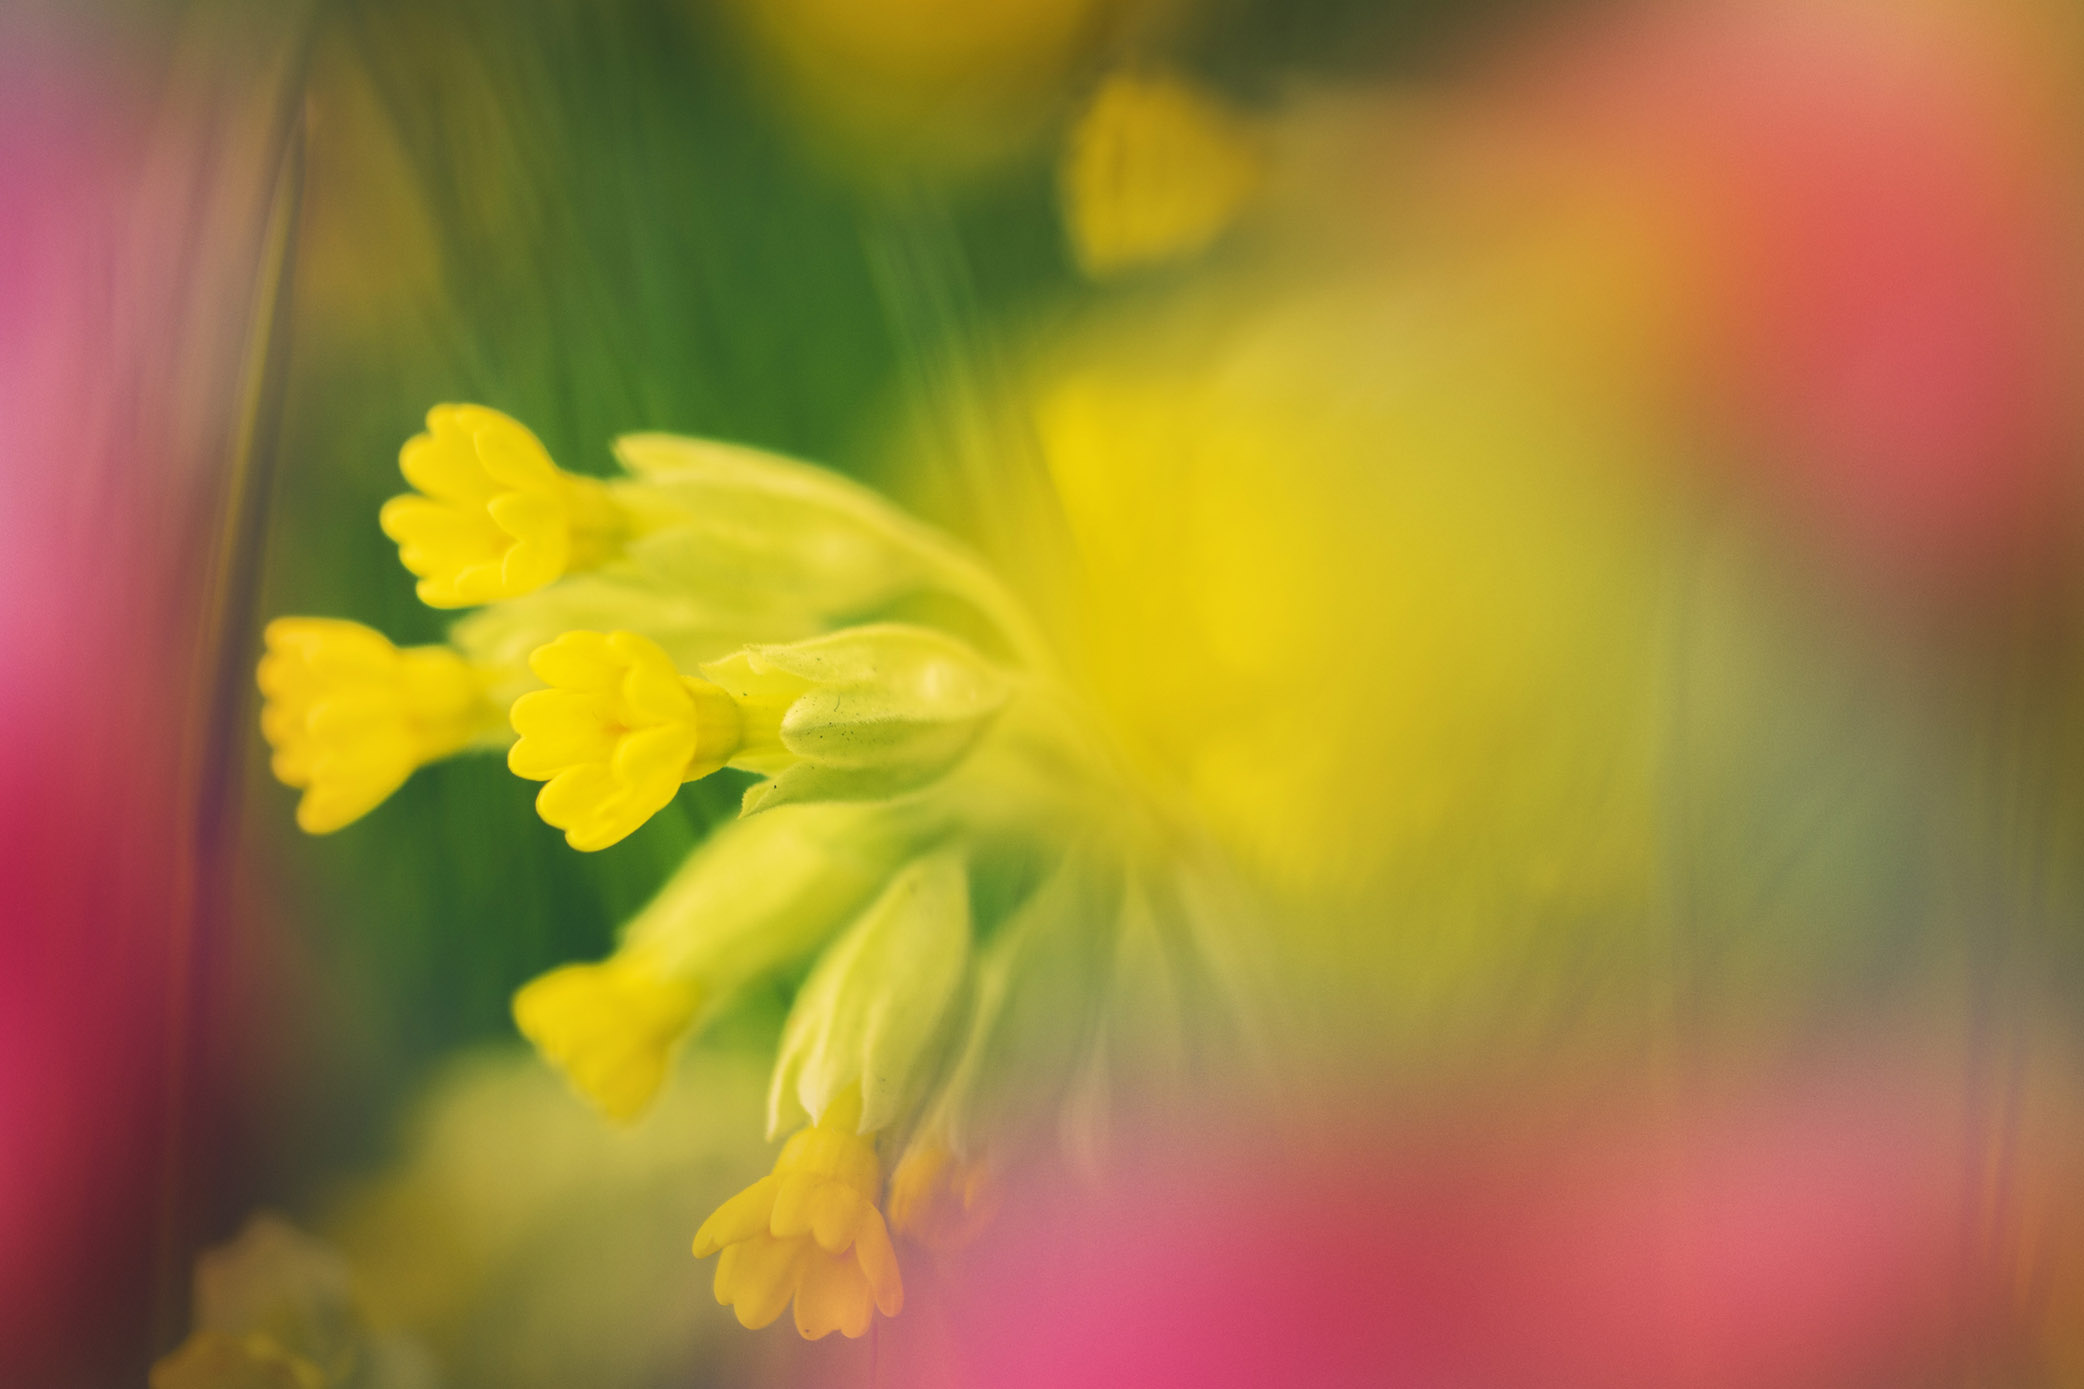
Always focus on making the viewer feel as if they are small themselves and within the scene! As we mentioned above, the viewer should feel as if they are being drawn into the scene. A good way to do that is to use surrounding elements to form natural frames of colour or brightness, to focus the viewer on an area of the scene you want them to be looking at. Lower the camera and shoot through foreground vegetation for a quick way to get this look.
Get the Digital Camera World Newsletter
The best camera deals, reviews, product advice, and unmissable photography news, direct to your inbox!
6- Dynamic angles
Get down low and shoot up at small subjects, pushing the bug’s eye aesthetic. The one aspect which lets down most beginner's macro images is that they are shot looking down at the subject - a very 'everyday' point of view. Shoot at 90° to the subject, or even from a lower level than the subject, looking up, with the sky or tree canopy as a background.
7- False color
Where you can’t find a perfect background naturally, introduce your own to add necessary colour interactions. Try printing images with blurred colour, which can create the impression of an implied setting. For example a image with an array of greens at the bottom and blue at the top could suggest the surrounding grass and sky. These backgrounds are essentially like miniature matte paintings! Print several versions and different sizes, for maximum versatility.
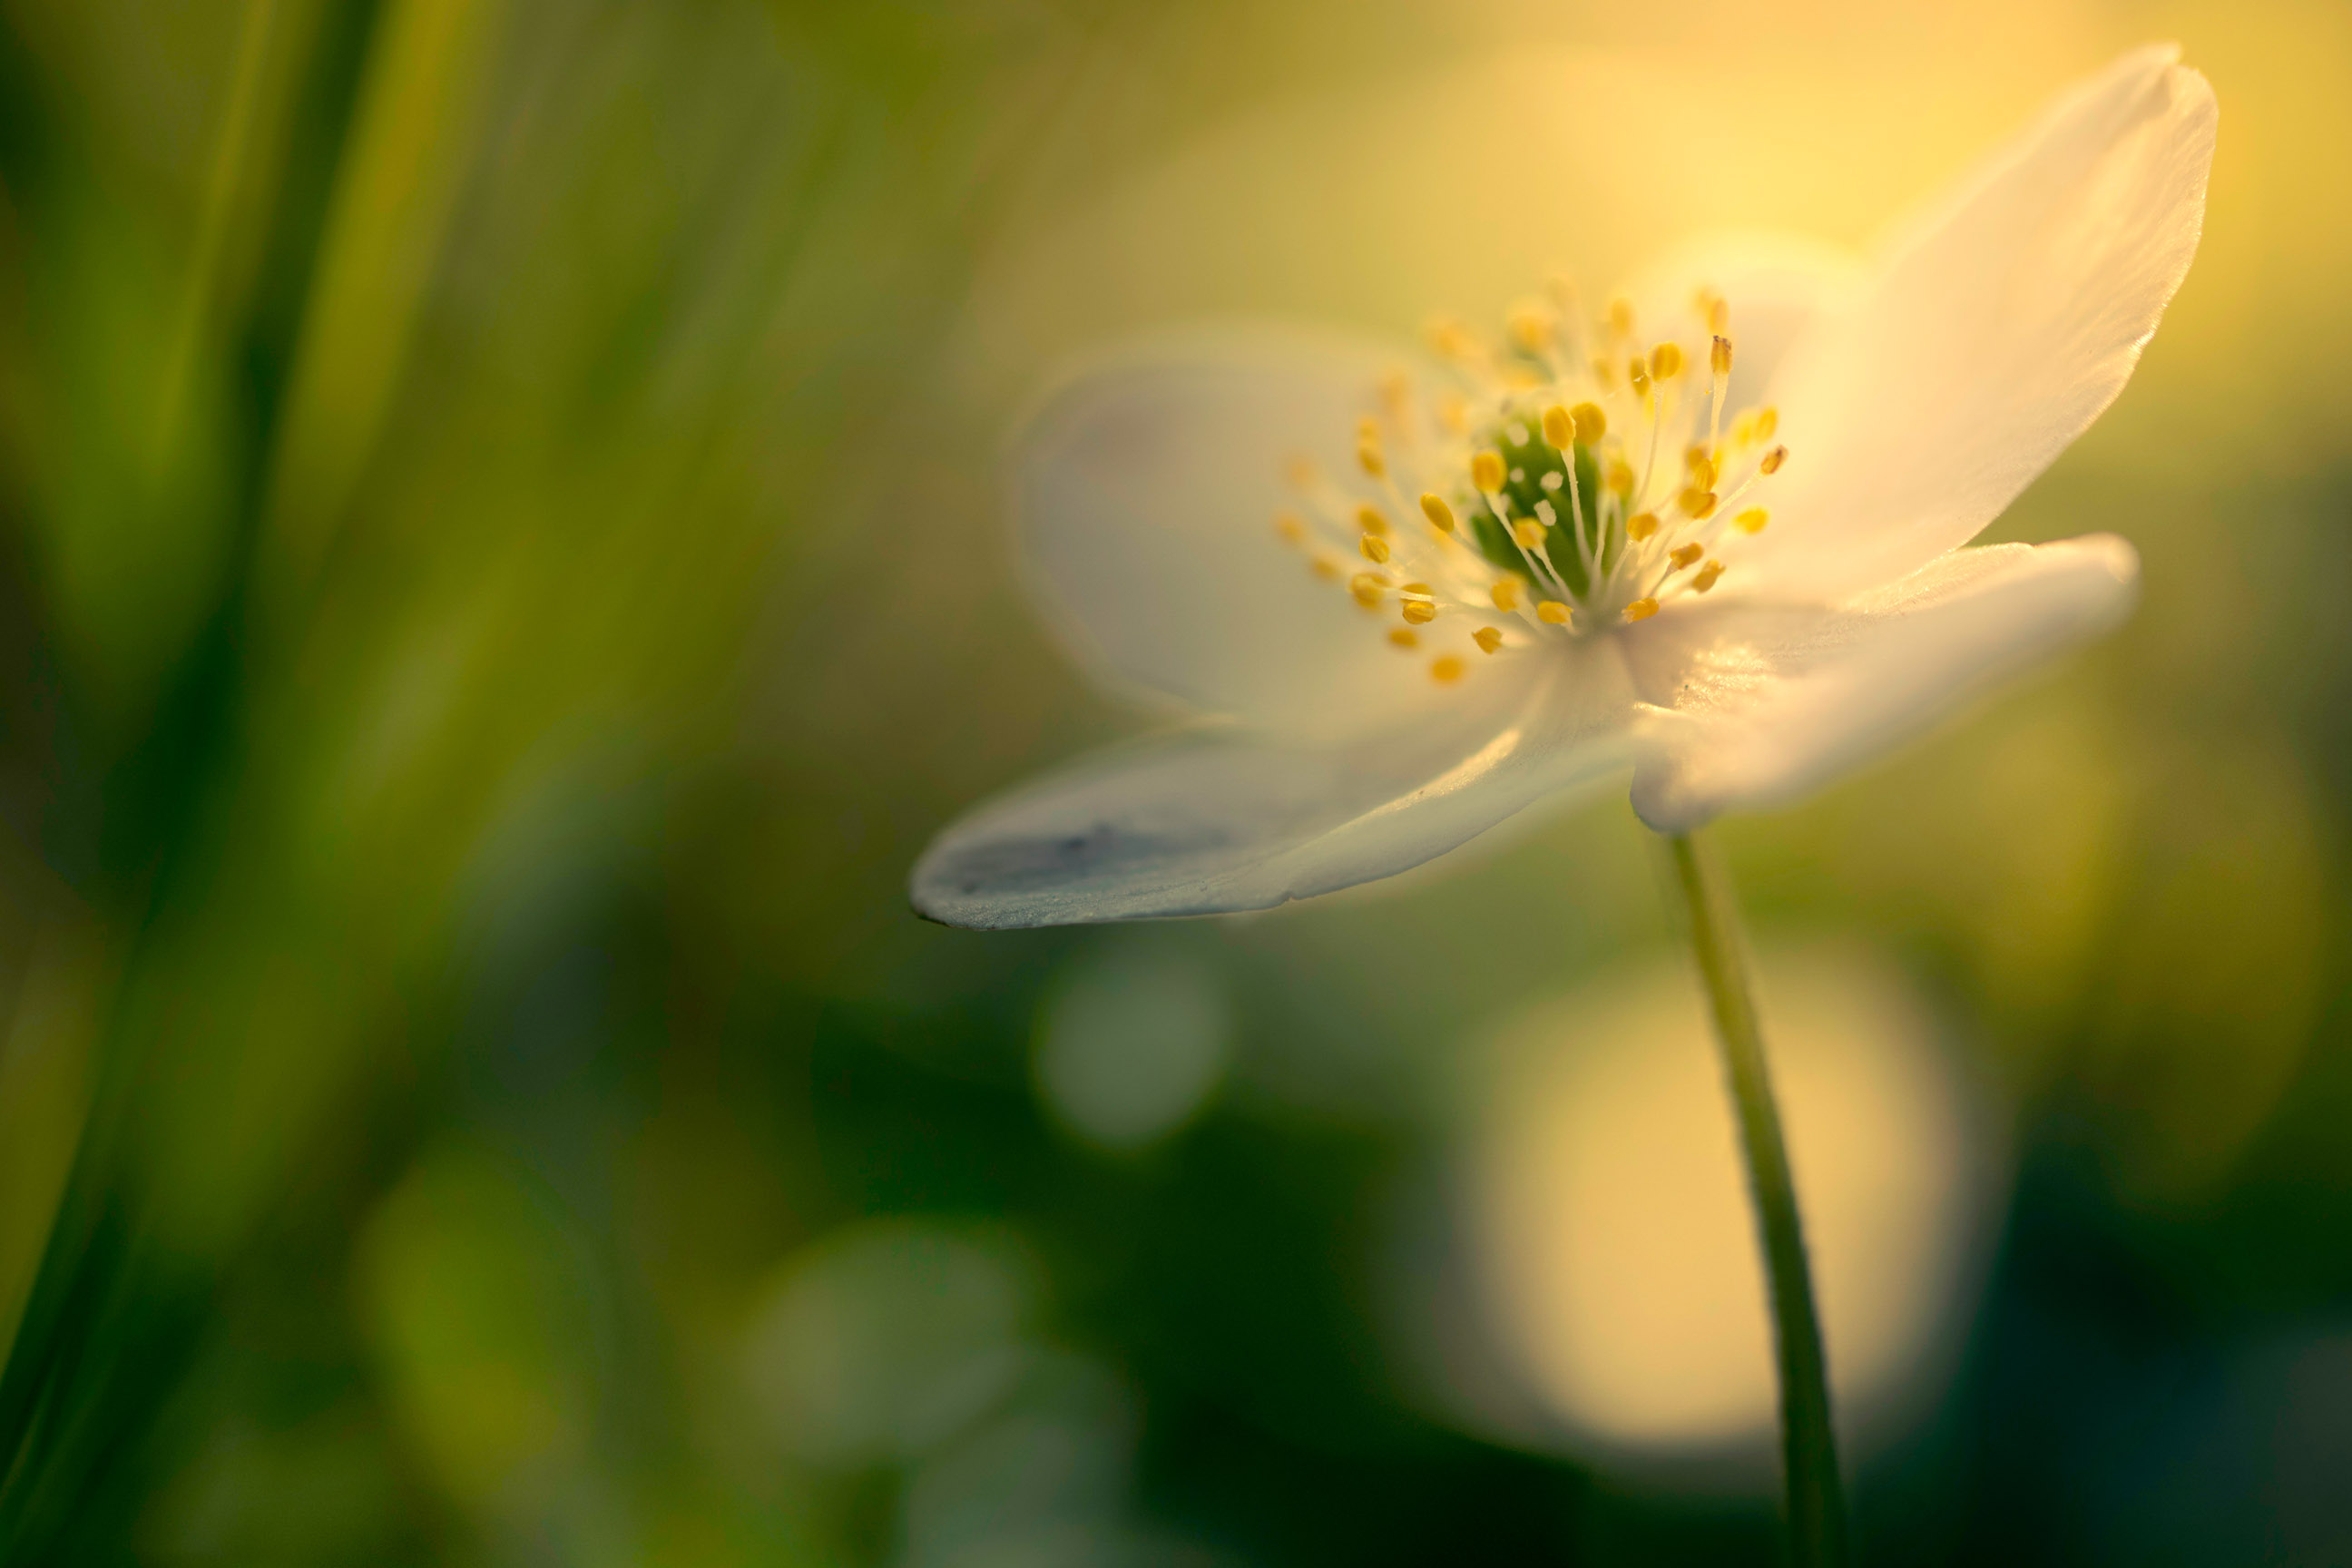
8- Bring it inside
For maximum control of light and exposure bring the subject into a studio environment. Even if this is your kitchen table, once out of the elements you can take full control over lighting and background, free from wind movement or changeable conditions. It's pretty simple to maintain a natural feel by keeping your lighting directional, avoiding indoor ambient light and by applying water droplets to simulate rain, for example.
9- Frame wider
Don’t always fill the frame. Often the surroundings are where the true story is found, so shooting from a little further back, so that your subject occupies a little less of the frame area, allows it room to breath and space for the viewer to visually explore the background. This can also be a get out of jail free card if you don't actually have a true macro lens, capable of 1:1 life size magnification. We won't tell anyone.
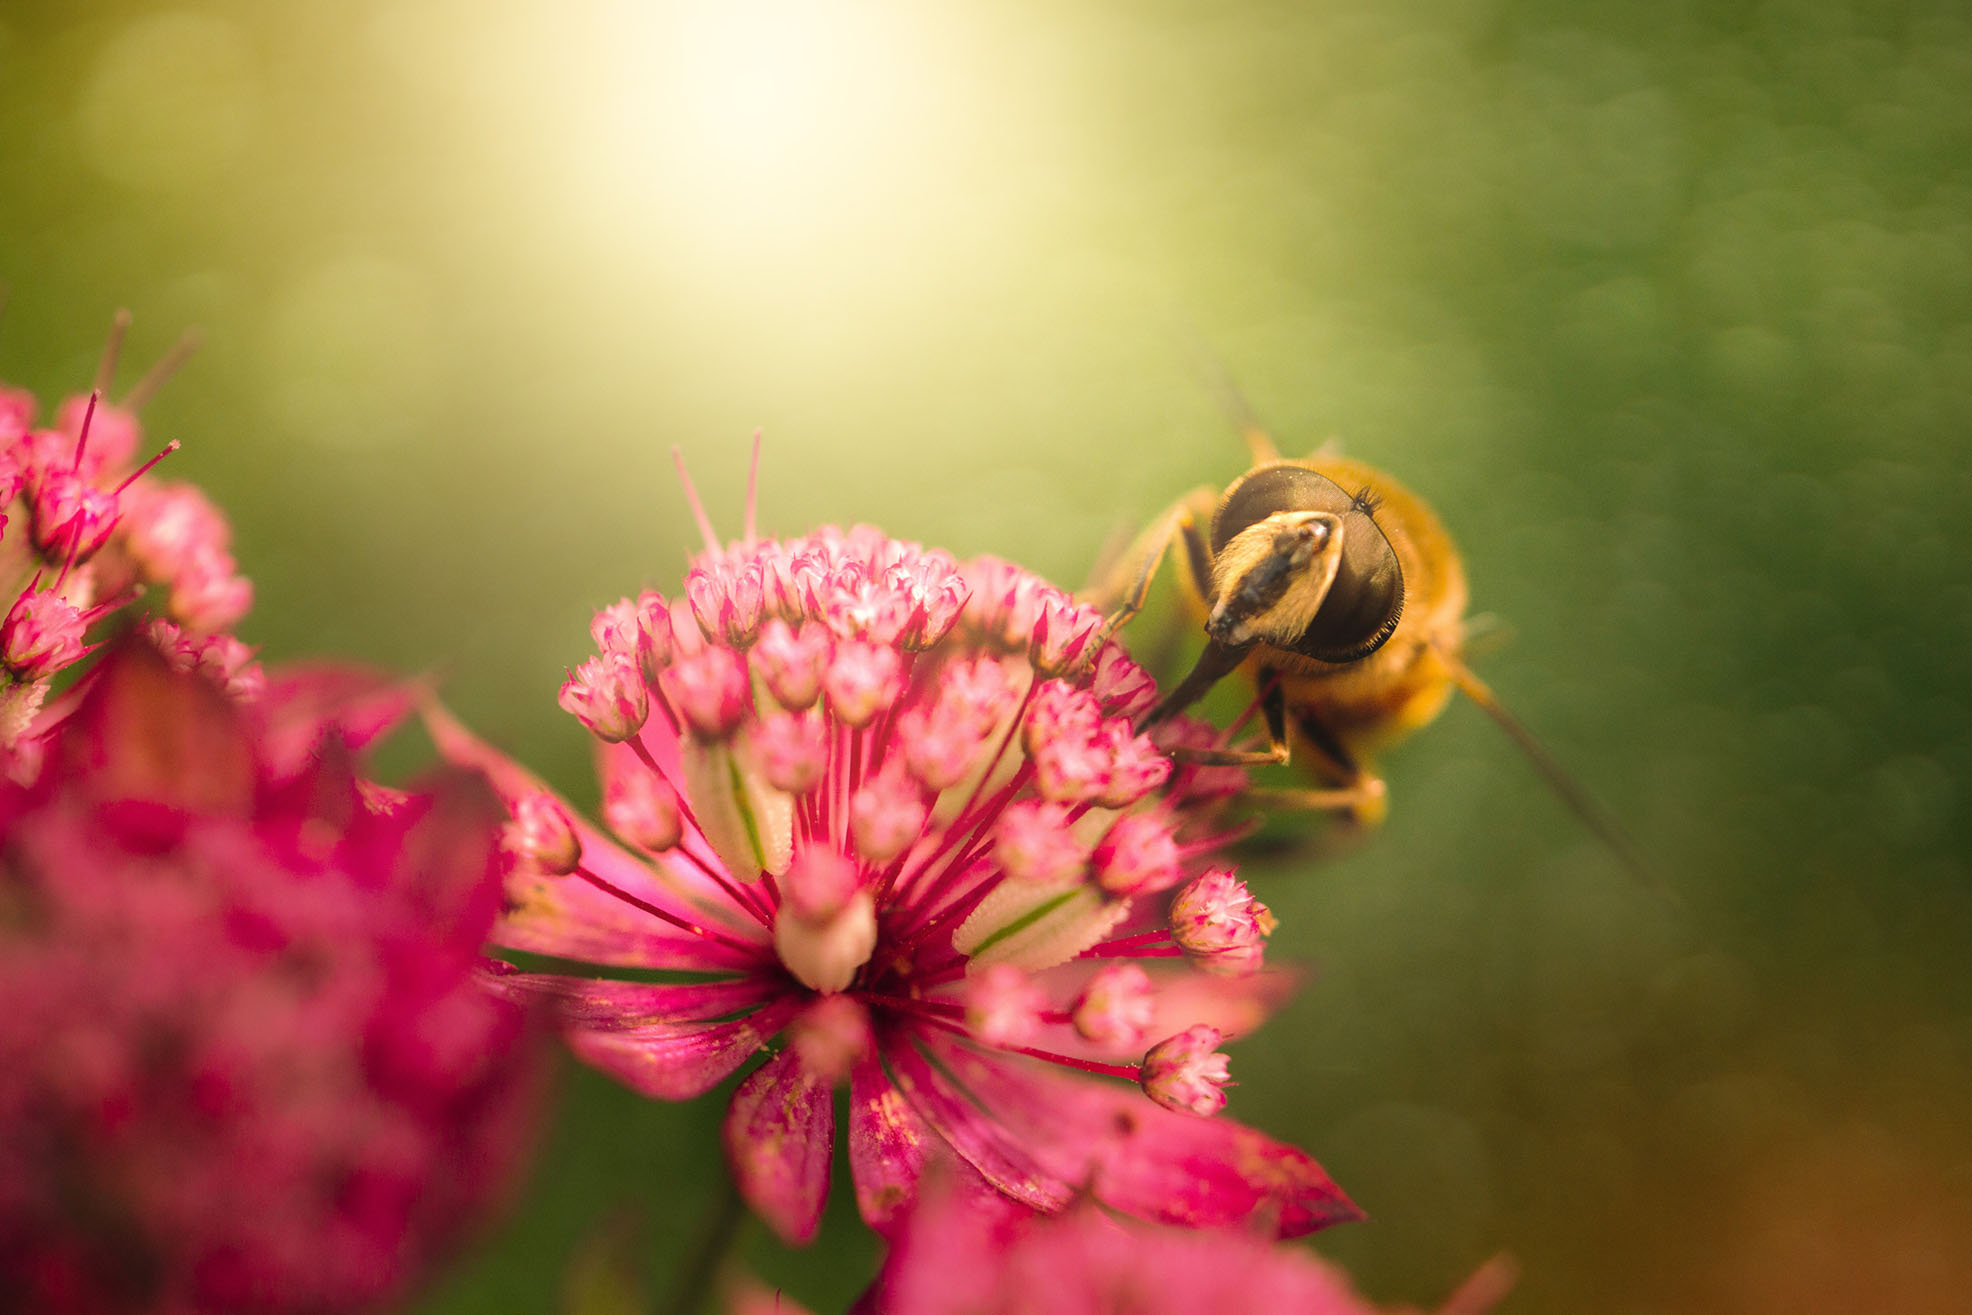
10- Focus is everything
Try both shallow focus and greater DOF to find the balance of depth and distraction. Both shooting at maximum aperture, for highly limited depth-of-field, and focus stacking, with the intention of the opposite effect, can give intriguing styles. We expect macro images to have extensive bokeh, so front-to-back focus can be surprising. However, f/2 on a true macro optic will limit sharpness to just a few millimeters, allowing you to experiment with just colour and light.
Digital Photographer is a monthly magazine, and the kitbag essential for enthusiasts and amateurs alike!
Inside, you'll find practical guides, shooting tips and techniques from working photographers, plus all the latest industry news.
Read more
It's here! Canon RF 100mm f/2.8L Macro has 1.4x magnification
The best macro lenses in 2021: get closer to your subjects than ever before!
Home photography ideas: Shoot macro with no macro lens, using a reversing ring
Best ringflash for macro photography
As the Editor for Digital Photographer magazine, Peter is a specialist in camera tutorials and creative projects to help you get the most out of your camera, lens, tripod, filters, gimbal, lighting and other imaging equipment.
After cutting his teeth working in retail for camera specialists like Jessops, he has spent 11 years as a photography journalist and freelance writer – and he is a Getty Images-registered photographer, to boot.
No matter what you want to shoot, Peter can help you sharpen your skills and elevate your ability, whether it’s taking portraits, capturing landscapes, shooting architecture, creating macro and still life, photographing action… he can help you learn and improve.
