Entries are now being taken for the Comedy Wildlife Photography Awards, an annual contest that combines humorous animal photography with a serious conservation message.
Capturing animals is no easy task, so if you want to be in with a shot of winning, read on for some top tips from professional photographers.
This year, sponsors include Affinity Photo – the award-winning professional photo-editing app for Mac, Windows and iOS, and Apple’s iPad App of the Year. A new category in the awards, the Affinity Photo People’s Choice Award, will allow users to select their favourite image.
1. Know your equipment
Before you get out into the wild, make sure you know how your kit works and where all settings you’re likely to use with any frequency are accessed. You’ll need to respond to any changes quickly, so knowing how to change things like ISO and drive mode without any delay are essential. Obviously this is on top of knowing how to adjust more basic controls such as shutter speed and aperture.
Not all cameras provide direct access to key settings, so you may want to assign some options to programmable controls such as function buttons (often labelled Fn1 and Fn2 and so on). It’s also likely that other controls, such as the AE-L button or video control, can be customised.
Many cameras also allow you to set up custom menus with all of your key options in one place, and also to alter the options within the ‘Quick’ menus that round up essential controls for fast access.
2. Make the most of good light
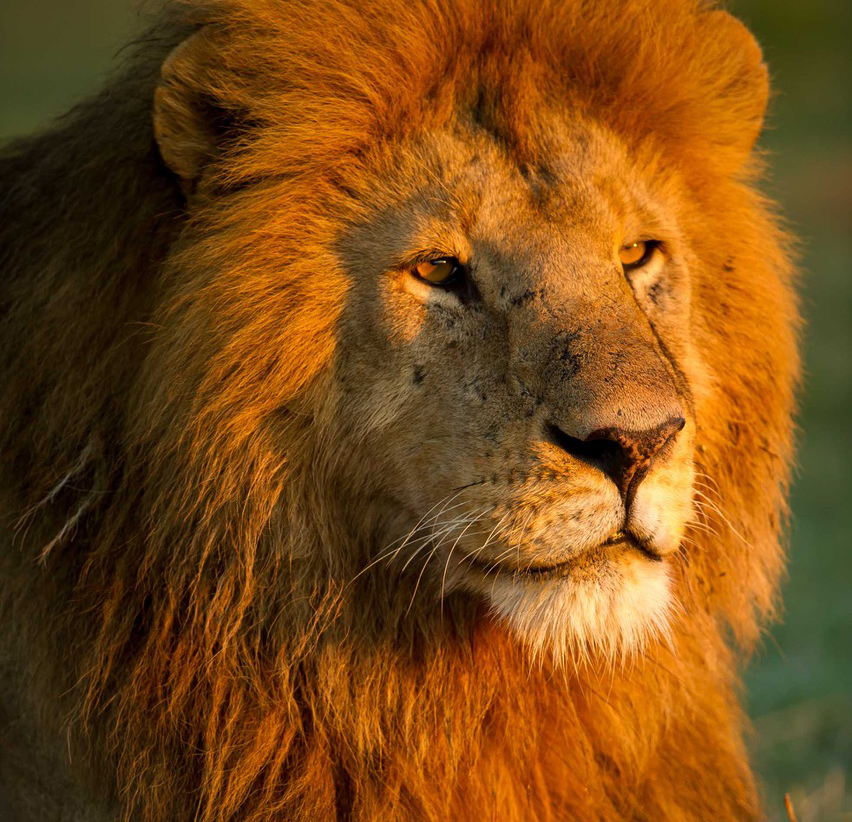
It pays to know what the light is doing, where it’s coming from and how it’s going to affect your image. This is pretty much the same for all photography but in wildlife photography you can’t control it.
Get the Digital Camera World Newsletter
The best camera deals, reviews, product advice, and unmissable photography news, direct to your inbox!
If it’s sunny, for example, you’ll need to make sure you’re out and about before dawn so you can find something to shoot as the sun rises. Come midday, the light may not be very flattering on your subjects.
If you have a guide then they may be able to assist you with best times and spots. Otherwise it pays to check where the sun will be beforehand, perhaps with one of the many smartphone apps that are designed to help you plan these things.
3. Leave space for movement
Although compositional guides such as the rule of thirds can help you with general framing, there are a few other things to think about with subjects that move.
One of the most important principles is to leave some space ahead of where the subject is walking, assuming it is moving across the frame. Cropping in too tightly can look too severe, and you can easily end up losing context too. So, leave a little space ahead of the subject, and remember that you can always crop a little further into the frame during post processing if you feel the need to.
4. Put the focus on the face
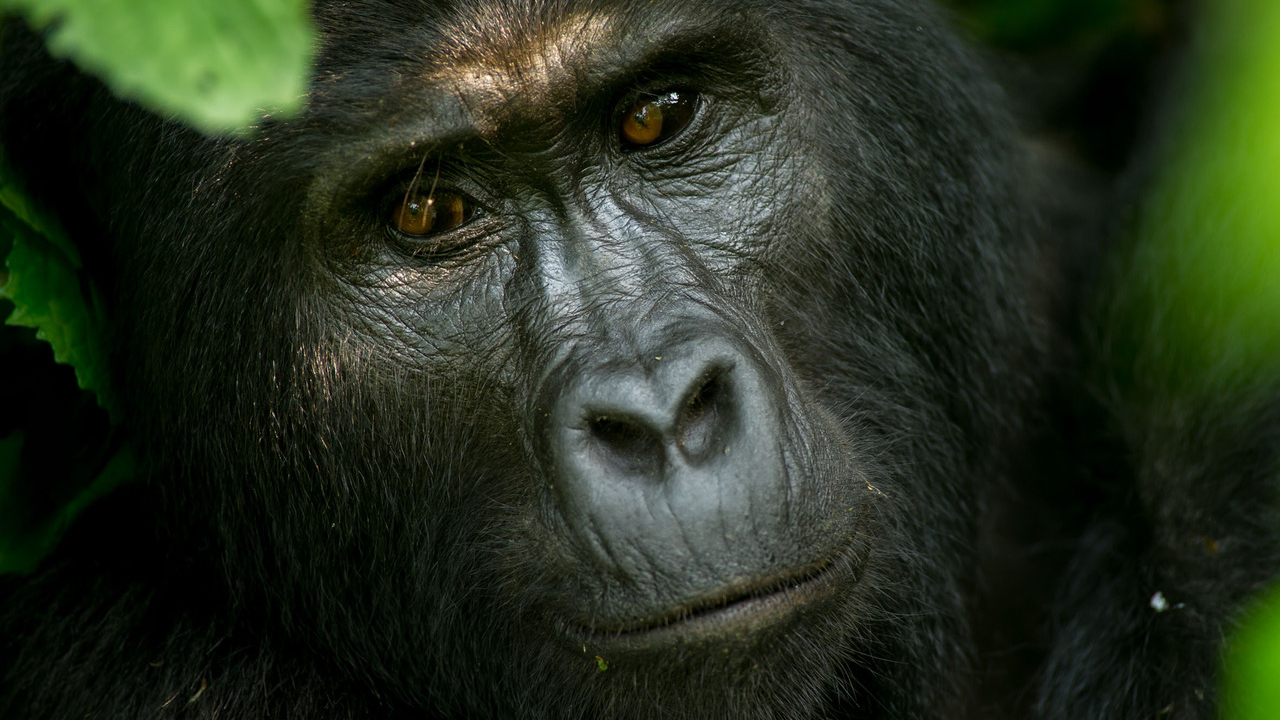
For wildlife portraits, remember that you want to focus on the face of the creature, so make sure that you have a focus point covering the subject. For subjects up close, focus on the eyes, as this is the most important thing to get sharp.
Your camera may have a face-detection system that may work on animals, and this should help you here. Team this with a wide aperture such as f/4 or even f/2.8 if you can, and you’ll be able to throw the background out of focus to place even more emphasis on the subject.
5. Use the right shutter speed for action
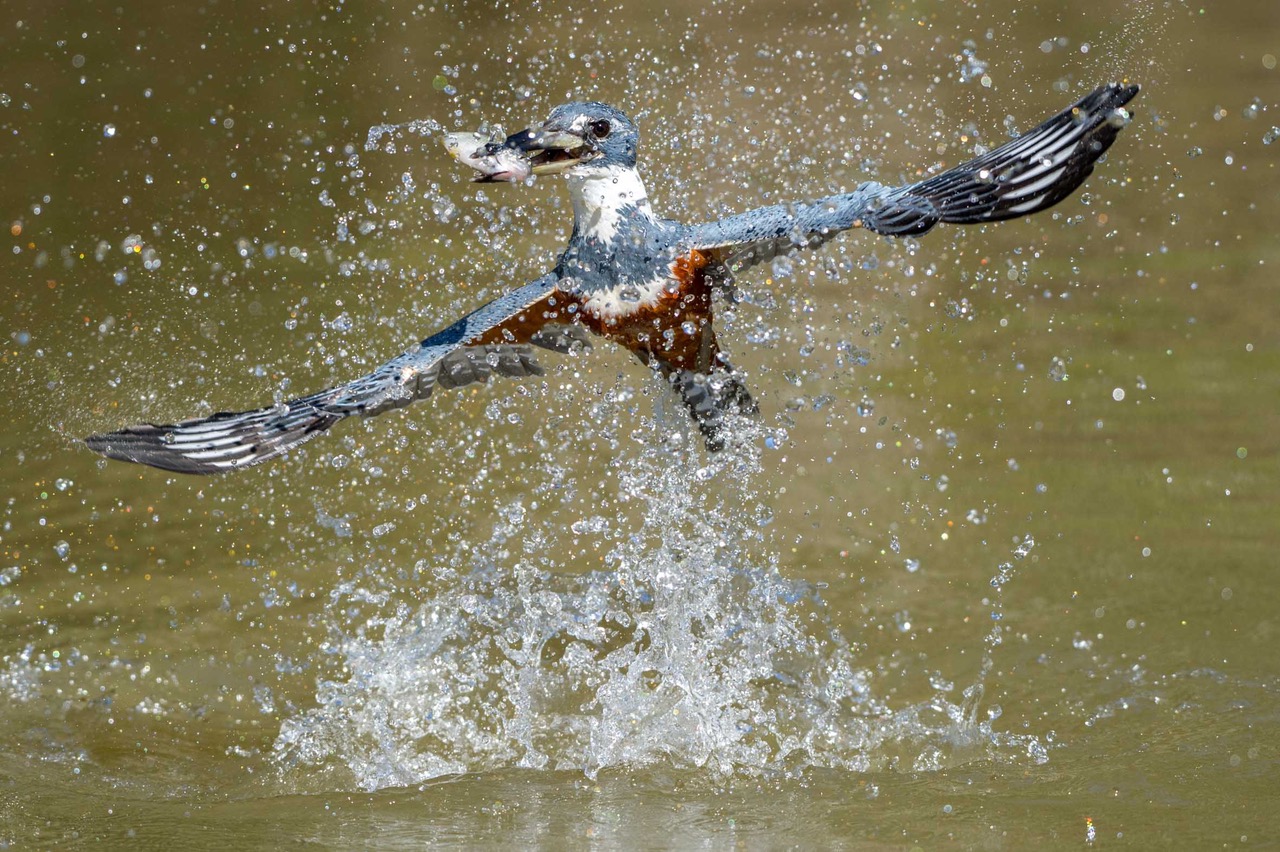
If you want to catch wildlife in action, such as lion cubs jumping around, cheetahs charging about or birds in flight, remember you need a super-fast shutter speed.
Here, you’ll typically need to use an ISO that’s higher than you may otherwise be using, perhaps ISO 3200 or ISO 6400. You may be hesitant about using such lofty settings, but most modern cameras are able to control noise well, and if you shoot in Raw you’ll be able to polish these images with precision later on.
Remember that it's better to take a sharp image with a little noise than a blurry one without noise, as you can’t do much to rectify image blur.
6. Play with aspect ratio
Always remember that there is more than one way to photograph any particular scene, so shoot the way that feels naturally first and then try it another way. For example, let's say you're trying to photograph a lion in a tree; start with a close-up shot and then perhaps a wide option with the whole tree.
Your camera’s standard aspect ratio may be 3:2 or 4:3, but if you’re using a mirrorless camera or a compact, you’ll be able to switch this to something less conventional such as 16:9 – great for getting the whole horizon into the frame. Don’t feel like you need to always stick to the default options, as unique images often come from thinking outside of the box.
7. Have fun with panning
Panning is a technique that allows you to capture the subject sharply as it moves across the frame, while also blurring the background at the same time. It’s a great effect that can result in striking images, but it takes a bit of practice to get right.
The trick here is to move the camera with the subject as it runs or flies across rather frame, and to use a relatively slow shutter speed. Whereas you would normally employ a fast shutter speed for moving subjects, here you need a slower one to sufficiently blur the background.
Start with a shutter speed of around 1/10th of a second and see whether this gives you the desired effect, before adjusting this up or down. If your camera has an image stabilisation system, it may offer a secondary mode that's designed specifically for this technique, and this should help you to get a sharper result as you pan, so check the manual.
8. Know your wildlife
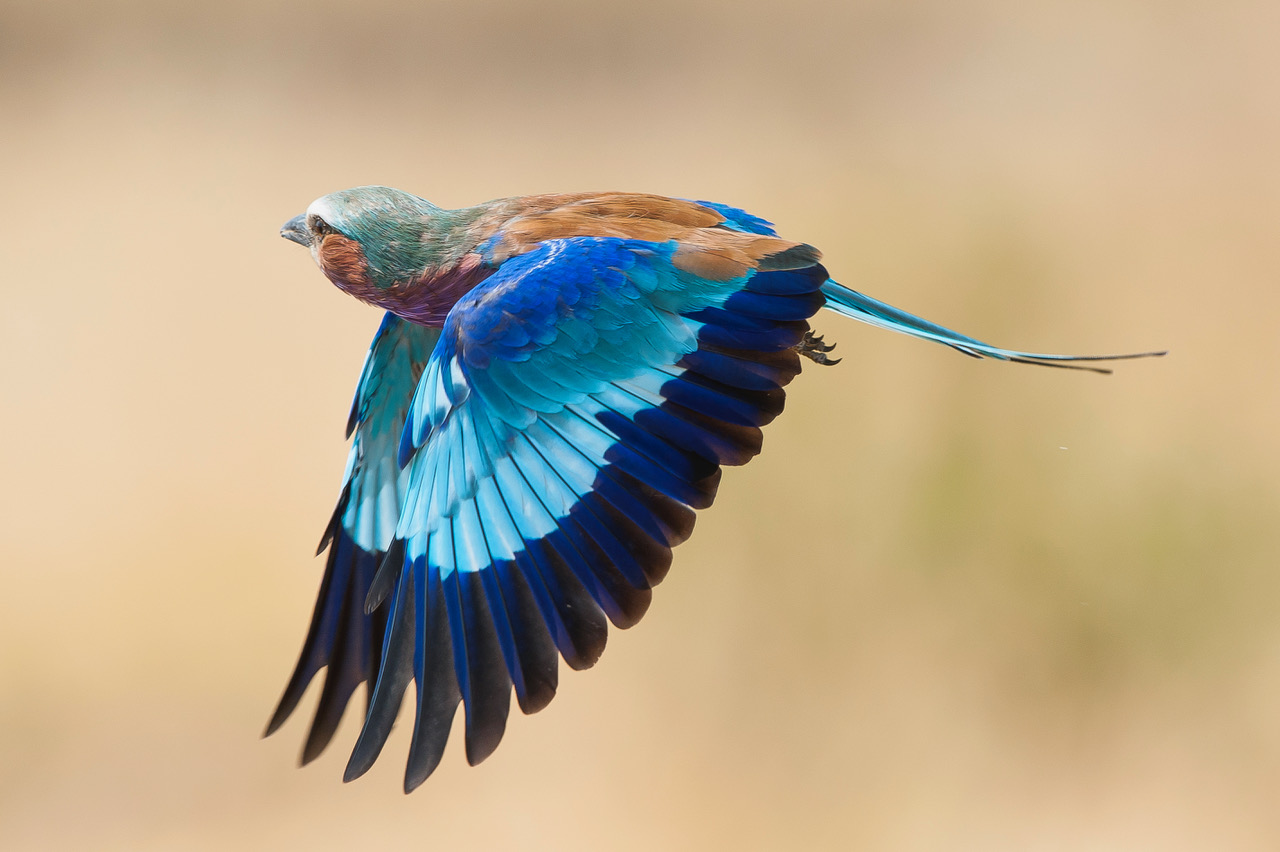
OK, so you're out there in the wild and you have established the best light and a fantastic composition, but do you know what’s going to happen next? In order to maximise your photographic potential and opportunities, you want to understand your subjects' behaviour as much as possible.
Talk as much as you can to your guide, read books and do some research online so you can try and predict what’s going to happen next, So, where certain animals are going to be at certain times of day and so on. While it may seem that the key to successful images is to get your technique, exposure and composition spot on, it’s the preparation behind getting to where you need to be that allows all this to be possible.
9. Get low
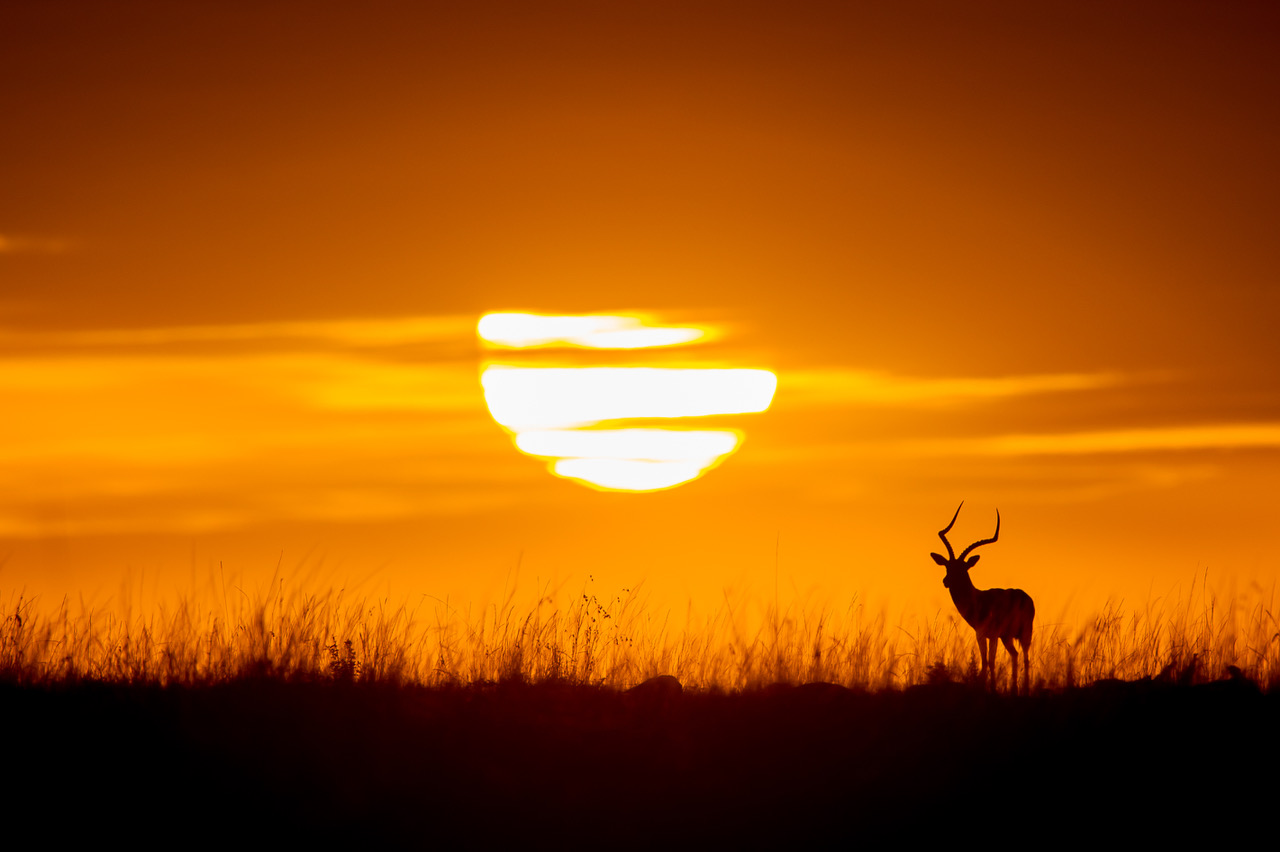
In the same way that images of pets or children often benefit from you being at eye level with the subject, so to do shots of wildlife. Quite what’s possible depends on the specific environment in which you find yourself, but if you’re using a relatively modern camera you may find a number of features can help you here.
LCD screens that tilt in some way can be used to get shots at higher or lower viewpoints than would be possible otherwise, and a touchscreen will let you quickly focus on and capture the subject when shooting in this kind of unconventional way.
If your camera has an electronic levelling function, this will also help you to keep things level if holding the camera away from your face, particularly if there’s a defined horizon of some kind behind the subject.
10. Edit your work with Affinity Photo

Faster, smoother and more powerful than ever, Affinity Photo continues to push the boundaries for professional photo editing software. Priced at a one-off £48.99 with no subscription, or £19.99 for the iPad version, it offers a huge tool-set specifically engineered for creative and photography professionals. So, whether you’re editing and retouching images or creating full-blown multi-layered compositions, it has all the power and performance you will ever need.
Digital Camera World is one of the leading authorities on camera and photography news, reviews, techniques, tutorials, comparisons, deals and industry analysis. The site doesn't just specialize in cameras, but all aspects of photography, videography and imaging – including camera phones, gimbals, lenses, lighting, editing software, filters, tripods, laptops, printers, photo books, desks, binoculars and more.
Whether you're using, looking to buy or trying to get the most out of a compact camera, action camera, camera drone, cinema camera, beginner camera or professional camera, Digital Camera World has a roster of experts with combined experience of over 100 years when it comes to cameras, photography and imaging.

