25 common Photography problems and how to fix them
How to solve the most common problems every photographer comes up against
13. How can I avoid ugly and unflattering shadows when I use my camera flash?
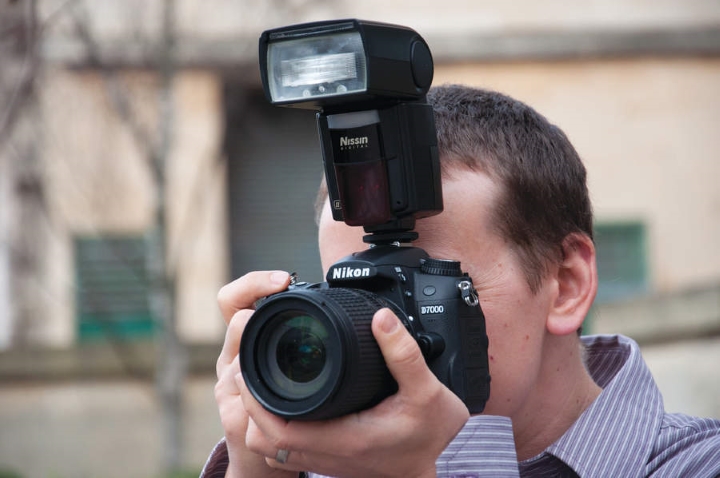
Our camera’s built-in flash is a useful fall-back when lighting conditions are so dark that there’s no alternative way for the shot to be achieved. However, the results are not always the most flattering, particularly the closer the bulb is to the actual lens.
The subject can end up looking like a rabbit in the headlights, and the harsh light can also introduce ugly, amateur-ish looking shadows.
The solution is to move the flash further away from the lens – by attaching an accessory flashgun, if your camera will allow for it. This usually comes with a tilting head, allowing for the light from the flash to be angled and ‘bounced’ off surrounding surfaces, in order that it is not directly flooding the subject. The result will be more even, more natural light – that doesn’t look so obviously artificial.
Of course you can start using reflectors and softboxes and studio lighting heads on stands for more professional results still, but investing in a dedicated flashgun that simply slots onto your existing camera is usually the initial solution to banish any problems.
14. The brighter parts of my image have lost detail. What can I do to fix that?
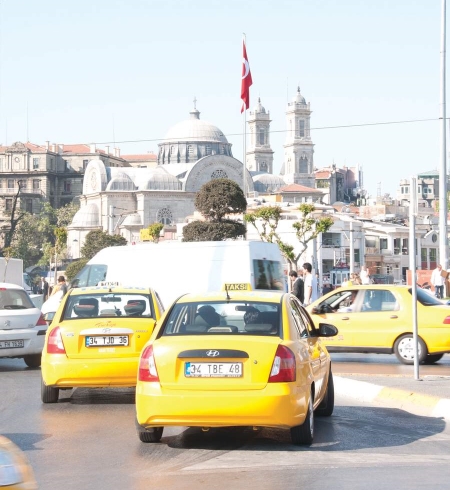
This is what's commonly referred to as ‘blown highlights’. As we can’t re-introduce detail that has been lost in the process of the image being captured, particularly if shooting JPEG rather than Raw, the ideal way to avoid such an issue is to prevent it happening in the first place – by which we mean paying attention to your camera’s histogram, the on-screen graph which highlights the overall brightness of your image/scene.
Ideally, you want to be looking at an even distribution, rather than seeing the graphic representation bunching up to the left or right of screen in a thin, narrow band. If it appears as if the image is going to be over-exposed, you can adjust the camera’s exposure compensation to suit, dialing it down, say to -1 EV, and seeing what effect that has on subsequent shots.
15. My night-time images look noisy, blurred, or both
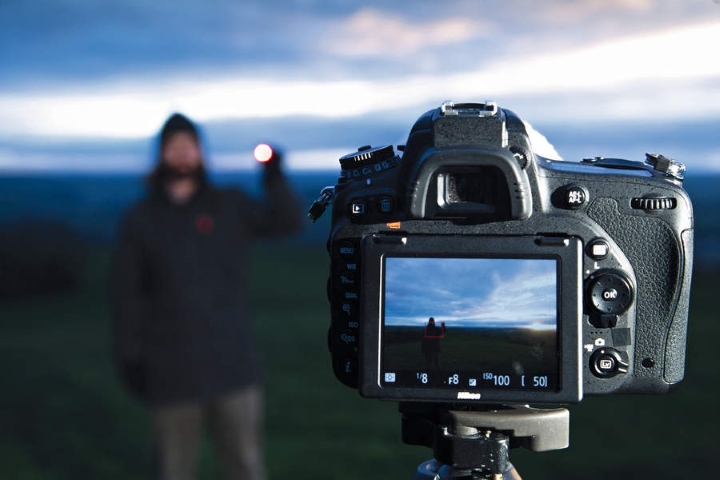
If you’re not using flash – which, in fairness, could ruin the naturalistic effect you’re trying to achieve – then a slow shutter speed/long exposure, enabling the camera to let in as much ambient light as possible, is the obvious answer here.
Get the Digital Camera World Newsletter
The best camera deals, reviews, product advice, and unmissable photography news, direct to your inbox!
However, as anyone who has tried to hand hold a camera shooting a longer exposure will have discovered, it's impossible to avoid blur, so a flat surface and/or tripod is a must.
It's also worth setting the camera’s self-timer feature, so the shutter fires automatically without you having to physically depress the shutter button yourself, an act which could also introduce camera shake and image blur under such sensitive, low light circumstances.
An alternative is investing in a cable release, if your camera is compatible with them. Experimentation here is key, particularly if seeing the effect that can be had when adjusting ISO light sensitivity settings, and if you’re also attempting to capture the sky at night, which requires both patience and perseverance.
16. My selfie images always look terrible
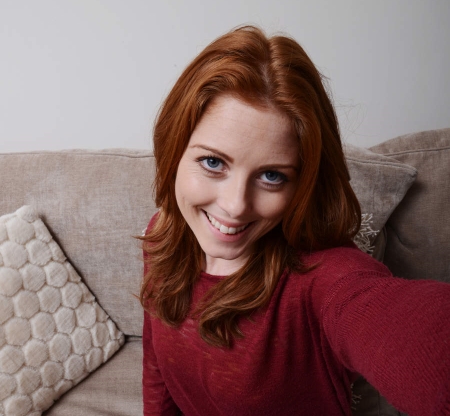
There are a few tricks you can try to get your narcissistic portraits looking less terrible. Firstly, unless you absolutely have to be using flash, deactivate it. Firing a flash into your face via a camera held merely at arm’s length is rarely going to flatter.
Secondly, because you’ll be shooting handheld without flash, try bumping up the ISO and engage the camera’s built-in image stabilization (if it offers the feature), as a belt and braces approach to avoiding any camera shake introducing unwanted blur to the image.
If you’re shooting indoors at a party under tungsten lighting you may also want to manually adjust the white balance, by, typically, selecting the tungsten setting. Additionally, try setting the camera to continuous or burst capture; by taking a rapid fire sequence of shots you’re more likely to end up with one where you're you’re looking your best.
Fortunately the tilt and swivel LCD screen is becoming more commonplace on the latest generation digital cameras, enabling the user to point not only the camera’s lens but also the camera’s LCD screen in their direction – thereby enabling the selfie taker to get a good idea of what the eventual image may look like before they squeeze the shutter release button.
17. I’ve tried and failed to take stunning images of snowy landscapes
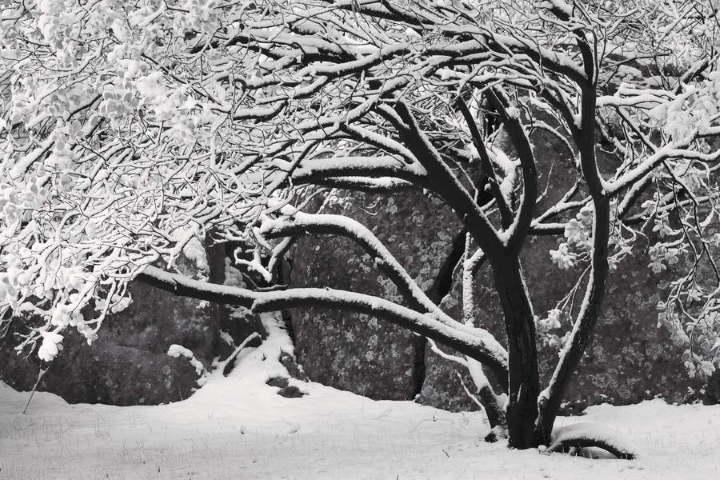
The problem here is that snowy scenes have one dominant colour: white. Daylight also lends snow a blue colour cast, so that’s one thing you’ll want to adjust for. This can either be done in camera – adjusting the white balance settings until you arrive at a natural look – or at the image-editing stage.
Most cameras that offer scene modes will include one specifically for snow. An interesting experiment is also to avoid colour altogether and to shoot the scene in black and white, for a real windswept, wintry look. You may even find you want to add grain for any even grittier, foreboding appearance.
Also, as fresh snow is so bright, your camera’s metering system will be fooled into thinking it is lighter out than it actually is, and so will want to underexpose the scene, making for a gloomier appearance than what you see before you. To combat this, you’ll want to bump up the exposure compensation by +1 or +2EV in camera, or brighten the image at the post production stage. If it’s sunny out, and you have a lens hood for your camera, this can also be deployed to reduce the effects of glare off the snow.
If you want to get ambitious, meanwhile, and attempt to capture falling snow, then you’ll need a slower shutter speed; say 1/250th of a second. Finally, try also photographing a snowy scene at night, with streetlights reflecting off the white surface; you may have to bump up the camera’s ISO, but again nothing is lost in experimentation, except your time.
18. I want to use motion blur creatively for action shots. How do I go about it?
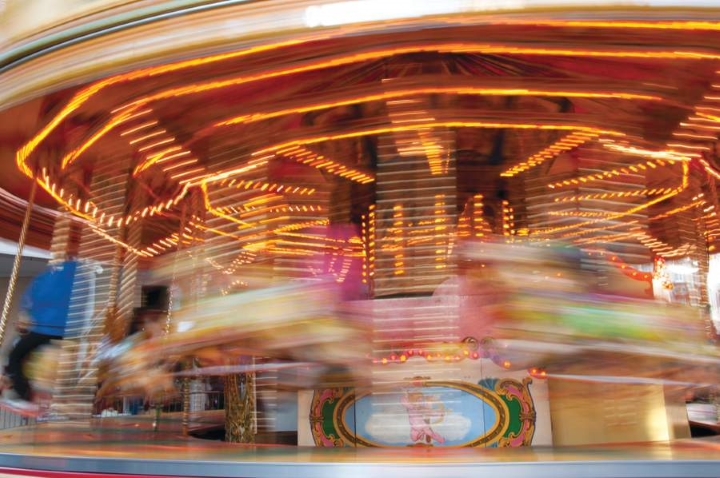
A tricky one, as it’s difficult to arrive at a shutter speed that can achieve two things: create motion blur in the background of the shot and yet be fast enough to avoid blurring the car or bike that is the main focus of the image.
First off, select your camera’s shutter priority mode. To create attractive motion blur for the background of a shot you need a slow-ish shutter speed of say 1/60 to 1/125 sec, while, in order to manage to get the main subject of your shot sharp enough with it, you need to develop an effective panning technique, too.
To help with this, place your feet comfortably far apart and aim at the position you envisage the vehicle or subject will be in when you photograph it. As the subject passes, pan as smoothly as possible, gently squeezing the shutter release button, so as not to introduce any camera wobble and therefore possible blur.
Again, this is one of those instances where you gradually arrive at a sweet spot after a degree of trial and error, so expect to discard a few frames in your quest for the perfect action or sporting shot. But stay focused and don’t keep checking captured images on the rear screen every few seconds.
19. I want to creatively blur free-flowing water for my landscape shots, so it resembles an ethereal mist
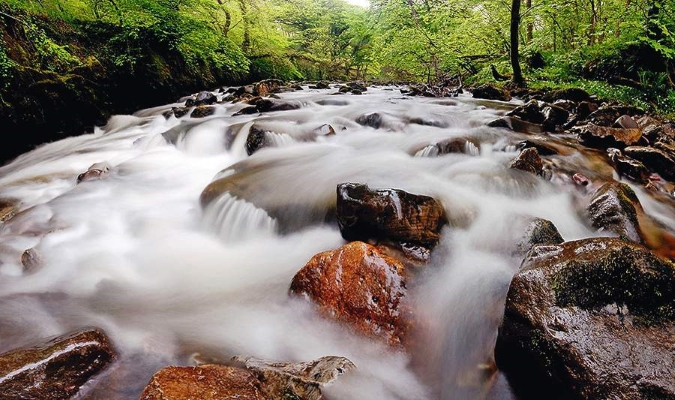
The way you achieve this rather painterly look beloved of professional landscape photographers and fine artists is with a long exposure.
To achieve this, in daylight, you’ll need to slow things down by selecting a sufficiently narrow aperture, say f/16 or f/22, and dialing down the ISO settings to a minimum, say ISO100.
If this doesn’t work, then investing in a neutral density filter, in order to prolong an exposure that would normally last less than a second to one lasting longer than 30 seconds, is recommended.
It probably goes without saying that use of a tripod for such long exposures is a must.
20. I’m using my camera’s flash, but my images are still too dark
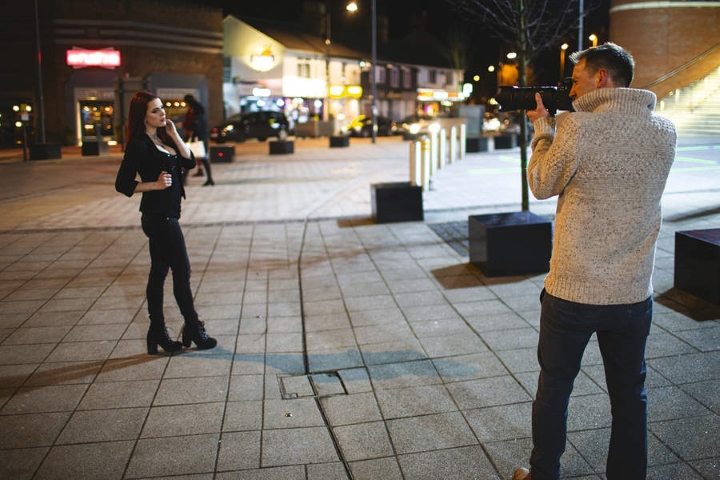
The most likely issue here would be that your flash isn’t powerful enough to adequately illuminate the subject at the distance you’re shooting at – so simply move a few feet closer if possible, rather than zooming in (which won't make the flash any more powerful).
Flash, although perfectly helpful in most low light scenarios, has a limited range after all, and the flash on board your camera will be weaker than an actual accessory flashgun.
So investing in a bigger and better accessory flash (if your camera allows for such an attachment) is another obvious solution.
21. My photos still resemble amateur snaps. How do I take my compositional skills to the next level?
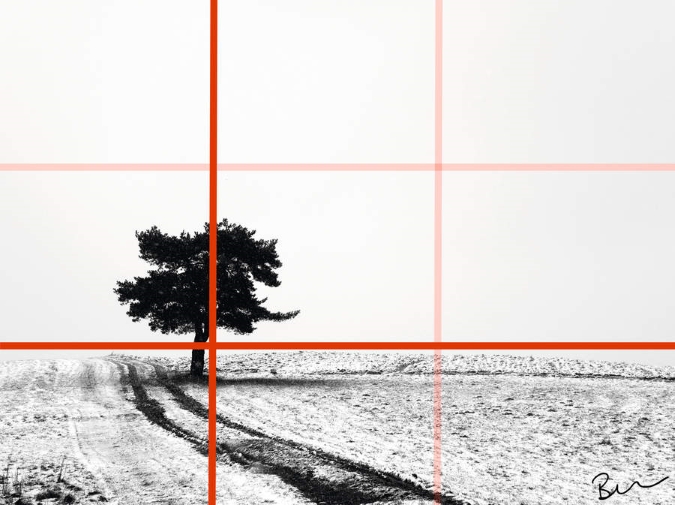
Employing what’s referred to as the ‘rule of thirds’ when placing a subject in your frame is a tried and tested way to start upping your game.
Mentally imagine your image divided by three lines horizontally and three vertically, producing, in effect, nine squares. Now, experiment by placing your subject or subjects on those points within the frame where those theoretical lines intersect, aiming for something of interest in the foreground, middle and background of your shot.
Some digital cameras will let you call up a compositional grid from their operational menu that mimics this rule and overlays the image represented on the camera’s LCD, so you don’t even have to think for yourself.
You might also try placing your main subject off to the left or right hand side of the frame, rather than making the obvious beginner’s error of simply plonking them in the centre of the image. The rule of thirds also encourages you to pay attention to what’s going on in the foreground and the background of your shot. This helps avoid the regular (and easy to miss in the heat of the moment) ‘street sign growing out of your subject’s head’ effect, when dealing with busy backgrounds.
22. How can I get great still life close ups?
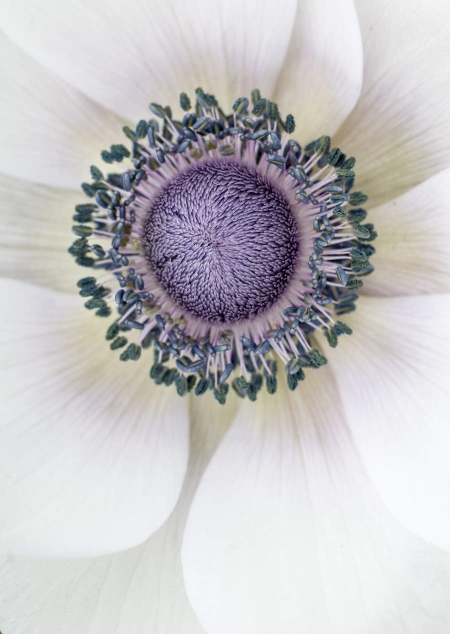
Your camera’s close up or macro setting – or macro lens, if you’re using a DSLR – is the one to activate here. It’s the one with the flower-resembling icon.
However, bear in mind that if your camera has a zoom lens, close focusing will only be possible at its widest setting. Also, if you get too up close and personal to your subject, it will fall prey to shadows cast both by your camera and the photographer – you.
So a slightly longer working distance is more practical. After all, if you’re shooting at a high resolution anyway, the shot will accommodate a degree of cropping later.
23. I’ve been using my lens’ minimum aperture setting of f/22, but the picture’s a bit soft
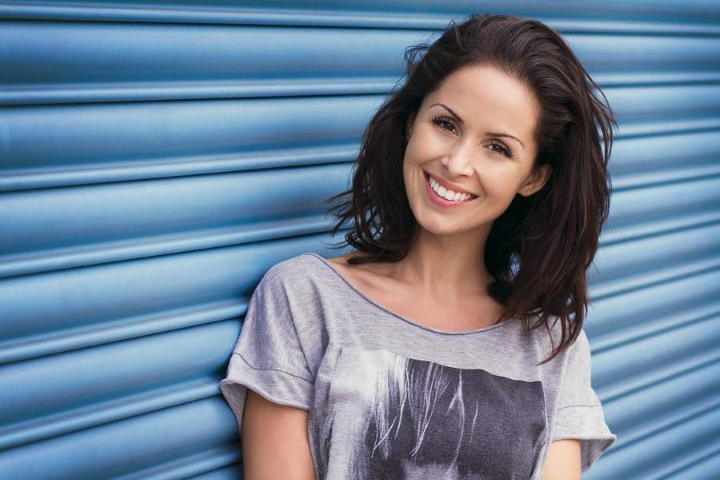
The lens’ maximum brightest/ fastest aperture setting is often given as the headline feature, partly because its smallest aperture – say f/22 – is rarely recommended to be used because of the optical phenomenon known as diffraction.
This occurs when waves of light entering the lens are bent by the hard edges of the aperture, and, as the apertures get smaller, the effect becomes more pronounced. At the smallest aperture, for example, the light waves are bent and spread out so much by the aperture blades that it can have the effect of the image appearing indistinct, when in fact it’s focused correctly.
Of course, stopping down the aperture to, say, f/22, rather than the brightest of, for example, f/2.8, will also generally make the resultant image more susceptible to the effects of camera shake and image blur. The solution to all of this is to open up by a half or a full stop in order to improve overall image quality.
Check out our f-stop cheat sheet
24. Why are some of my camera’s ISO settings unavailable as part of its ‘core’ light sensitivity range?
It’s become commonplace for digital cameras to split their total light sensitivity range (given as increasing or decreasing ISO numbers) between standard and ‘extended’ settings.
This is because cameras deliver their optimal performance within their standard, or core, ISO range, with the extended range – usually needing to be implemented via a dedicated setting in the camera menu – provided as a back up, lending the photographer added flexibility in low lighting conditions. The trade off, is, however, increased noise or grain at these higher ISOs.
At the other end of the scale – say, decreasing the camera’s formerly minimum ISO100 setting to ISO50 instead – the ability to tweak the ISO still further comes in handy if you want to use a fast/bright camera aperture for a shallow depth of field, or to create motion blur with a slow shutter speed – both without overexposing the image and losing highlight detail. Again, experimentation is key.
25. Am I losing anything by shooting JPEG instead of Raw files?
Your camera’s Raw files should be thought of as your digital negatives – those containing the maximum amount of information about your shot – whereas JPEGs are the photographic prints of the digital world.
Your camera has already applied a series of adjustments to a JPEG file, while compressing it at the same time. This is why you can fit many more JPEGs on your camera’s media card than you can Raw files, which is, yes, the raw information for your image.
For those who have the time, inclination and storage space, self-processing a Raw file lets you make a bunch of creative choices as part of your imaging workflow that the camera would otherwise make for you if shooting only JPEG. For example, you can adjust exposure, sharpening, color saturation, contrast and more. It’s time consuming for sure, but can also be more rewarding.
Read more:
Photography cheat sheets
How to master manual focus
How to use the Aperture Priority mode
- 1
- 2
Current page: Part 2: 25 common photography problems
Prev Page Part 1: 25 common photography problemsGavin has over 30 years’ experience of writing about photography and television. He is currently the editor of British Photographic Industry News, and previously served as editor of Which Digital Camera and deputy editor of Total Digital Photography.
He has also written for a wide range of publications including T3, BBC Focus, Empire, NME, Radio Times, MacWorld, Computer Active, What Digital Camera and the Rough Guide books.
With his wealth of knowledge, Gavin is well placed to recognize great camera deals and recommend the best products in Digital Camera World’s buying guides. He also writes on a number of specialist subjects including binoculars and monoculars, spotting scopes, microscopes, trail cameras, action cameras, body cameras, filters and cameras straps.

