7 types of astrophotography you need to know about
This misunderstood genre includes many styles that each demand different gear
What do you think about when you hear the word ‘astrophotography’? You might think of the James Webb Space Telescope and its incredible close-ups of nebulae and galaxies far away. Or perhaps you think it's more to do with images of the Milky Way, the moon or the northern lights. Astrophotography means all kinds of things to photographers, from landscape photography at night to the more technical pursuit of deep sky close-ups using telescopes and planetary cameras.
Astrophotography is becoming more popular and more accessible in all of its guises, but it's such a broad subject that we've divided it up into seven genres and styles of images that often require different photography gear. With this guide you should be able to differentiate between the different images you see on social media and better understand what the photographer had to do to get the shot.
1. Wide-angle night-scapes
Equipment needed: DSLR/mirrorless manual camera, wide-angle lens, tripod
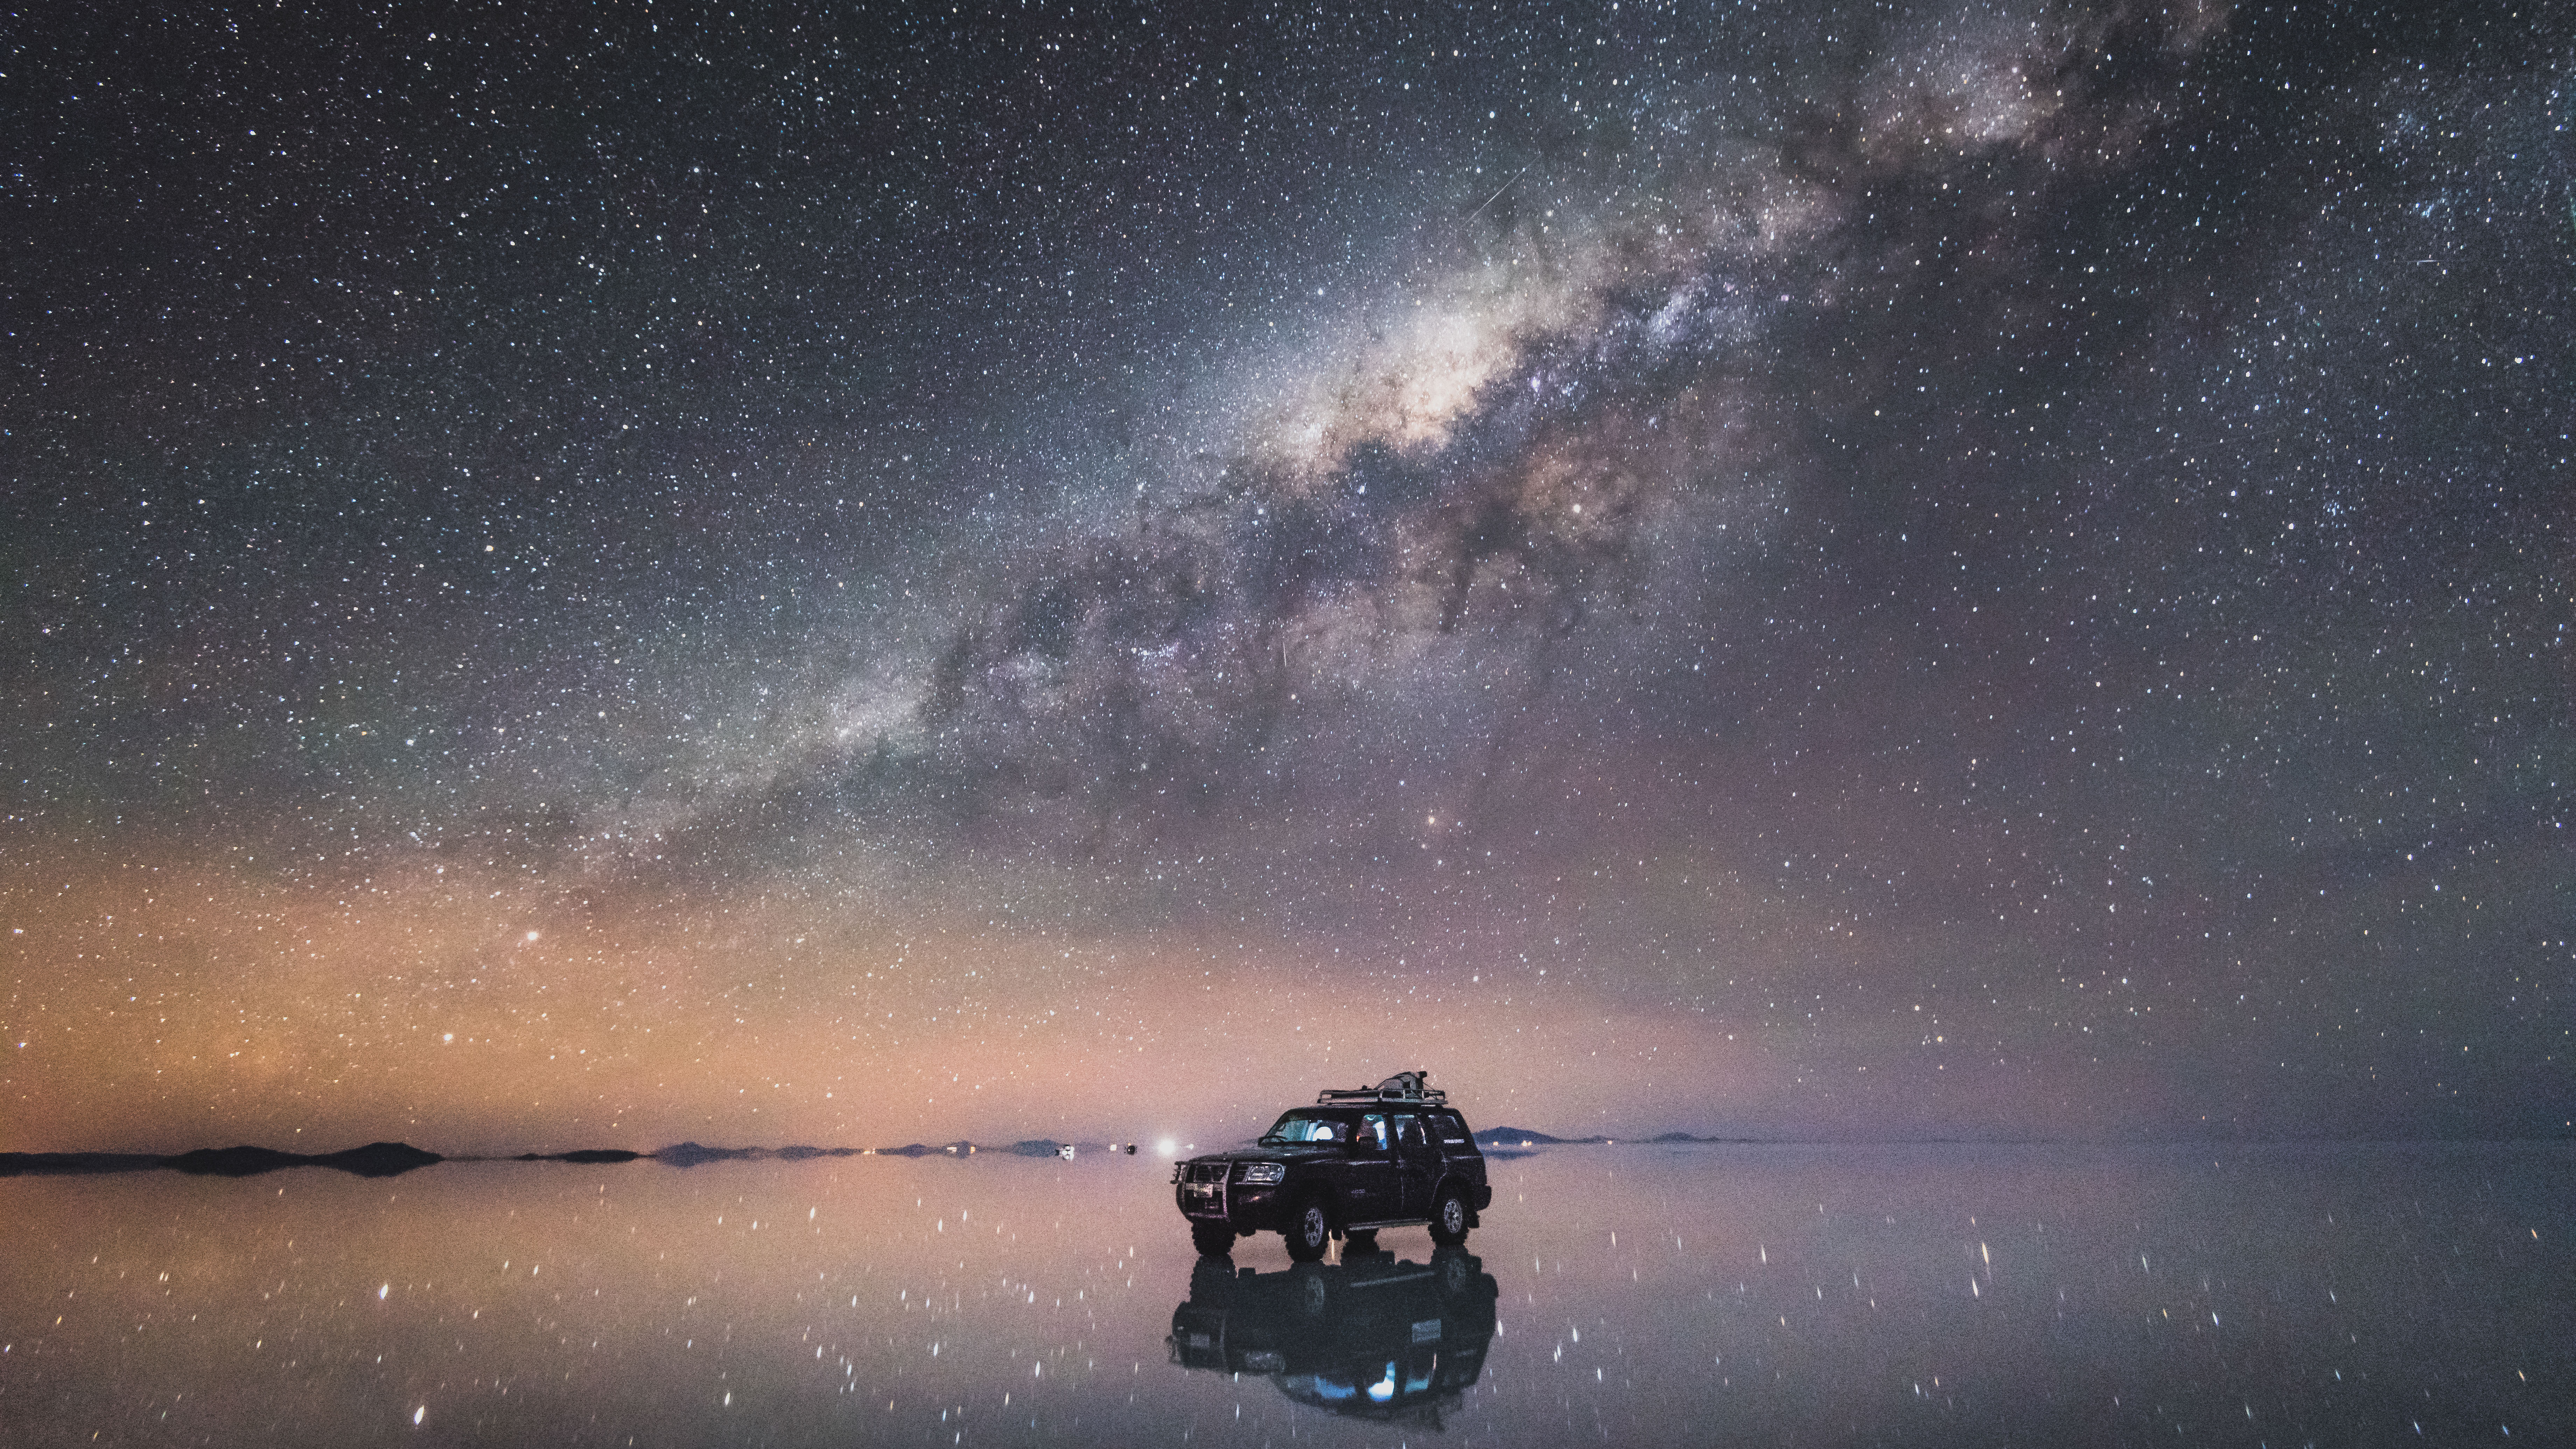
When you take any photographs at night you have to use a long exposure. However, the most basic technique for taking a picture featuring stars is easy. All you have to do is put any manual camera on a tripod in infinity focus – preferably a wide-angle lens – dial-in ISO 800 (or upwards if your camera can handle it), use f/2.8-f/4 aperture and expose for about 25 seconds. It depends a lot on light levels, and composition is everything – as with all landscape photography – but do all that and you will get a reasonably impressive picture as long as the foreground isn't too dark. For a slightly more complex, but better image take a second image – without moving the tripod – but this time expose properly for only the foreground (use PhotoPills’ calculator). The combine the two photos later using image processing software.
2. Prime focus astrophotography
Equipment needed: Telescope, DSLR/mirrorless/CMOS/planetary camera, T-ring/T-mount (for camera), T-adaptor (for telescope)
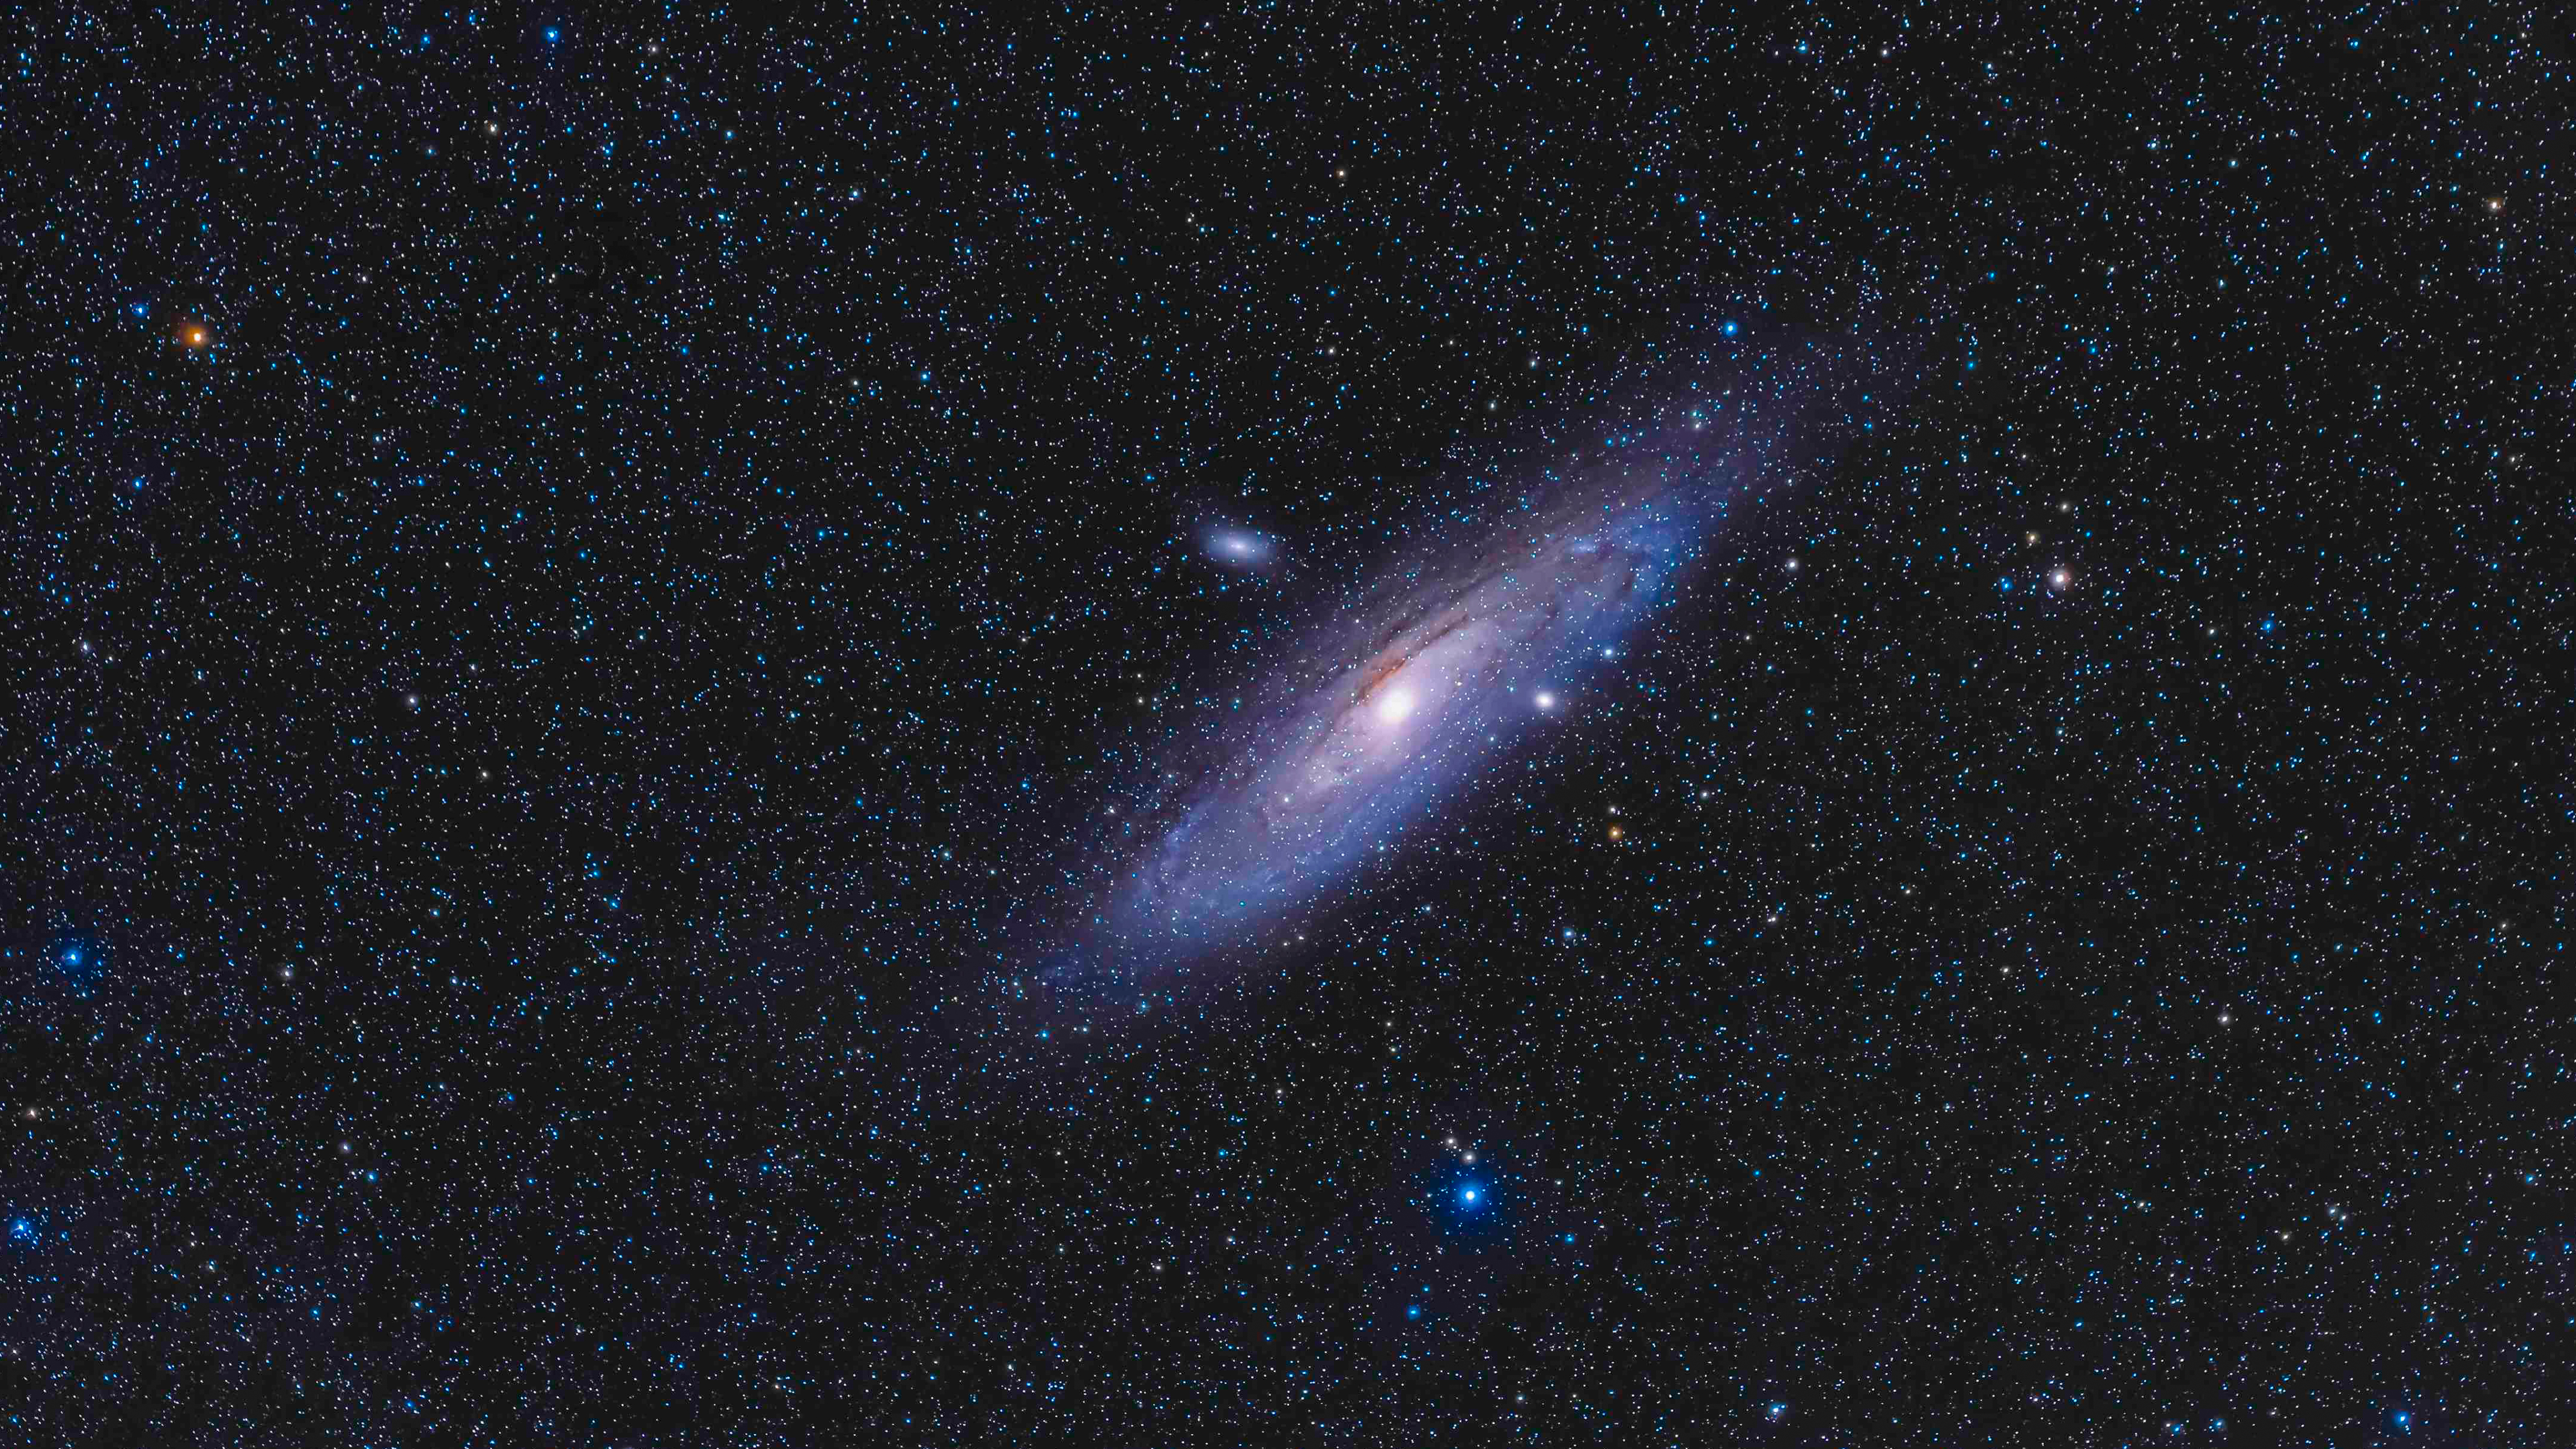
Welcome to ‘true’ astrophotography. If you have a telescope you can attach your camera and, without using any lenses or eyepieces, directly take photos of faint objects in the night sky. Suited to deep sky imaging, you’ll need to remove all accessories from the telescope and get hold of a brand-specific T-ring or T-mount, which are usually 42mm and fix to a DSLR camera (they’re widely available for Sony, Canon and Nikon cameras). You’ll also need a T-adaptor, which fits onto the telescope where the eyepiece would normally go. The basic technique is to take lots of images to stack using RegiStax (or similar), thus reducing image noise. Another similar way of taking photos of deep-sky objects using a telescope is to purchase a CMOS camera. They typically have a 42mm T-thread. Instead of taking lots of individual images to stack later these cameras essentially shoot video so you can extract all the individual frames later to stack. Specialized planetary cameras can also be used for imaging Jupiter, Saturn and Mars.
3. Star-tracker night-scapes
Equipment needed: DSLR/mirrorless manual camera, wide-angle lens, tripod, star-tracker and extra ball head
Get the Digital Camera World Newsletter
The best camera deals, reviews, product advice, and unmissable photography news, direct to your inbox!
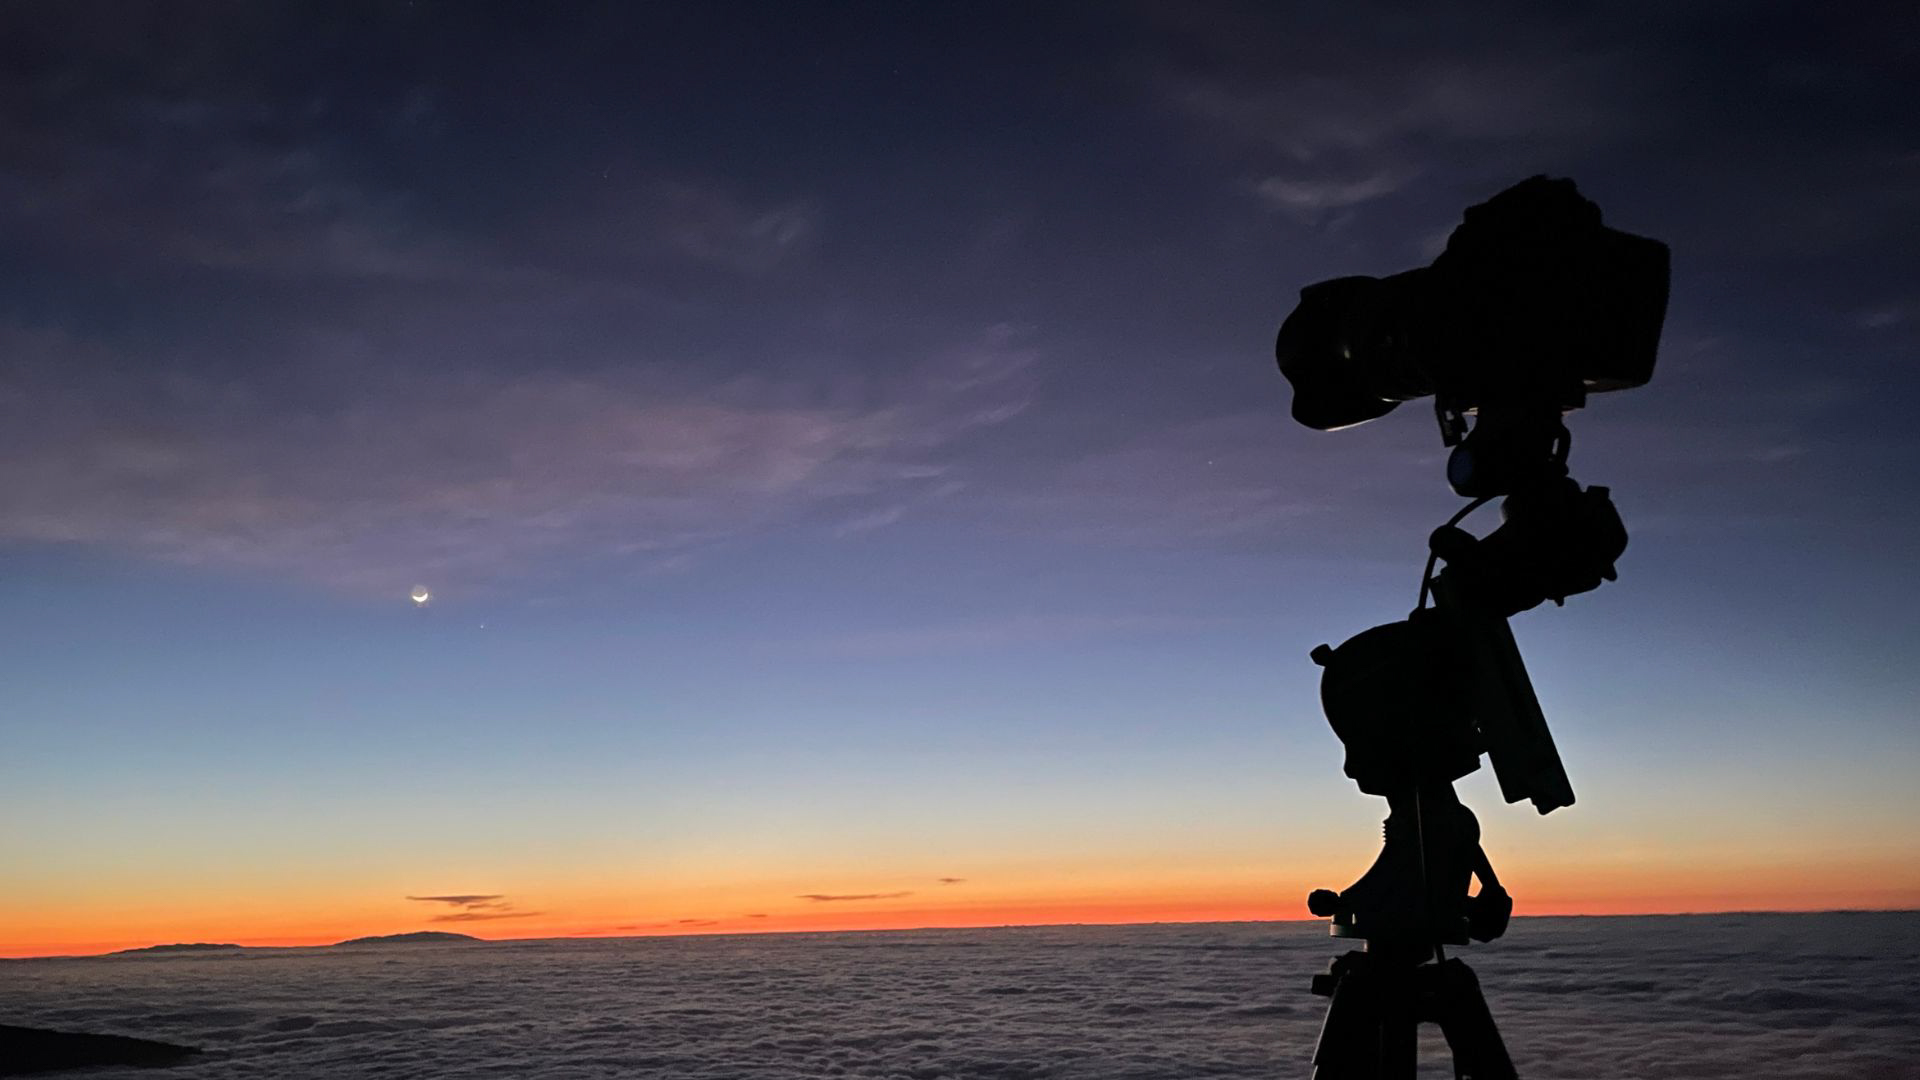
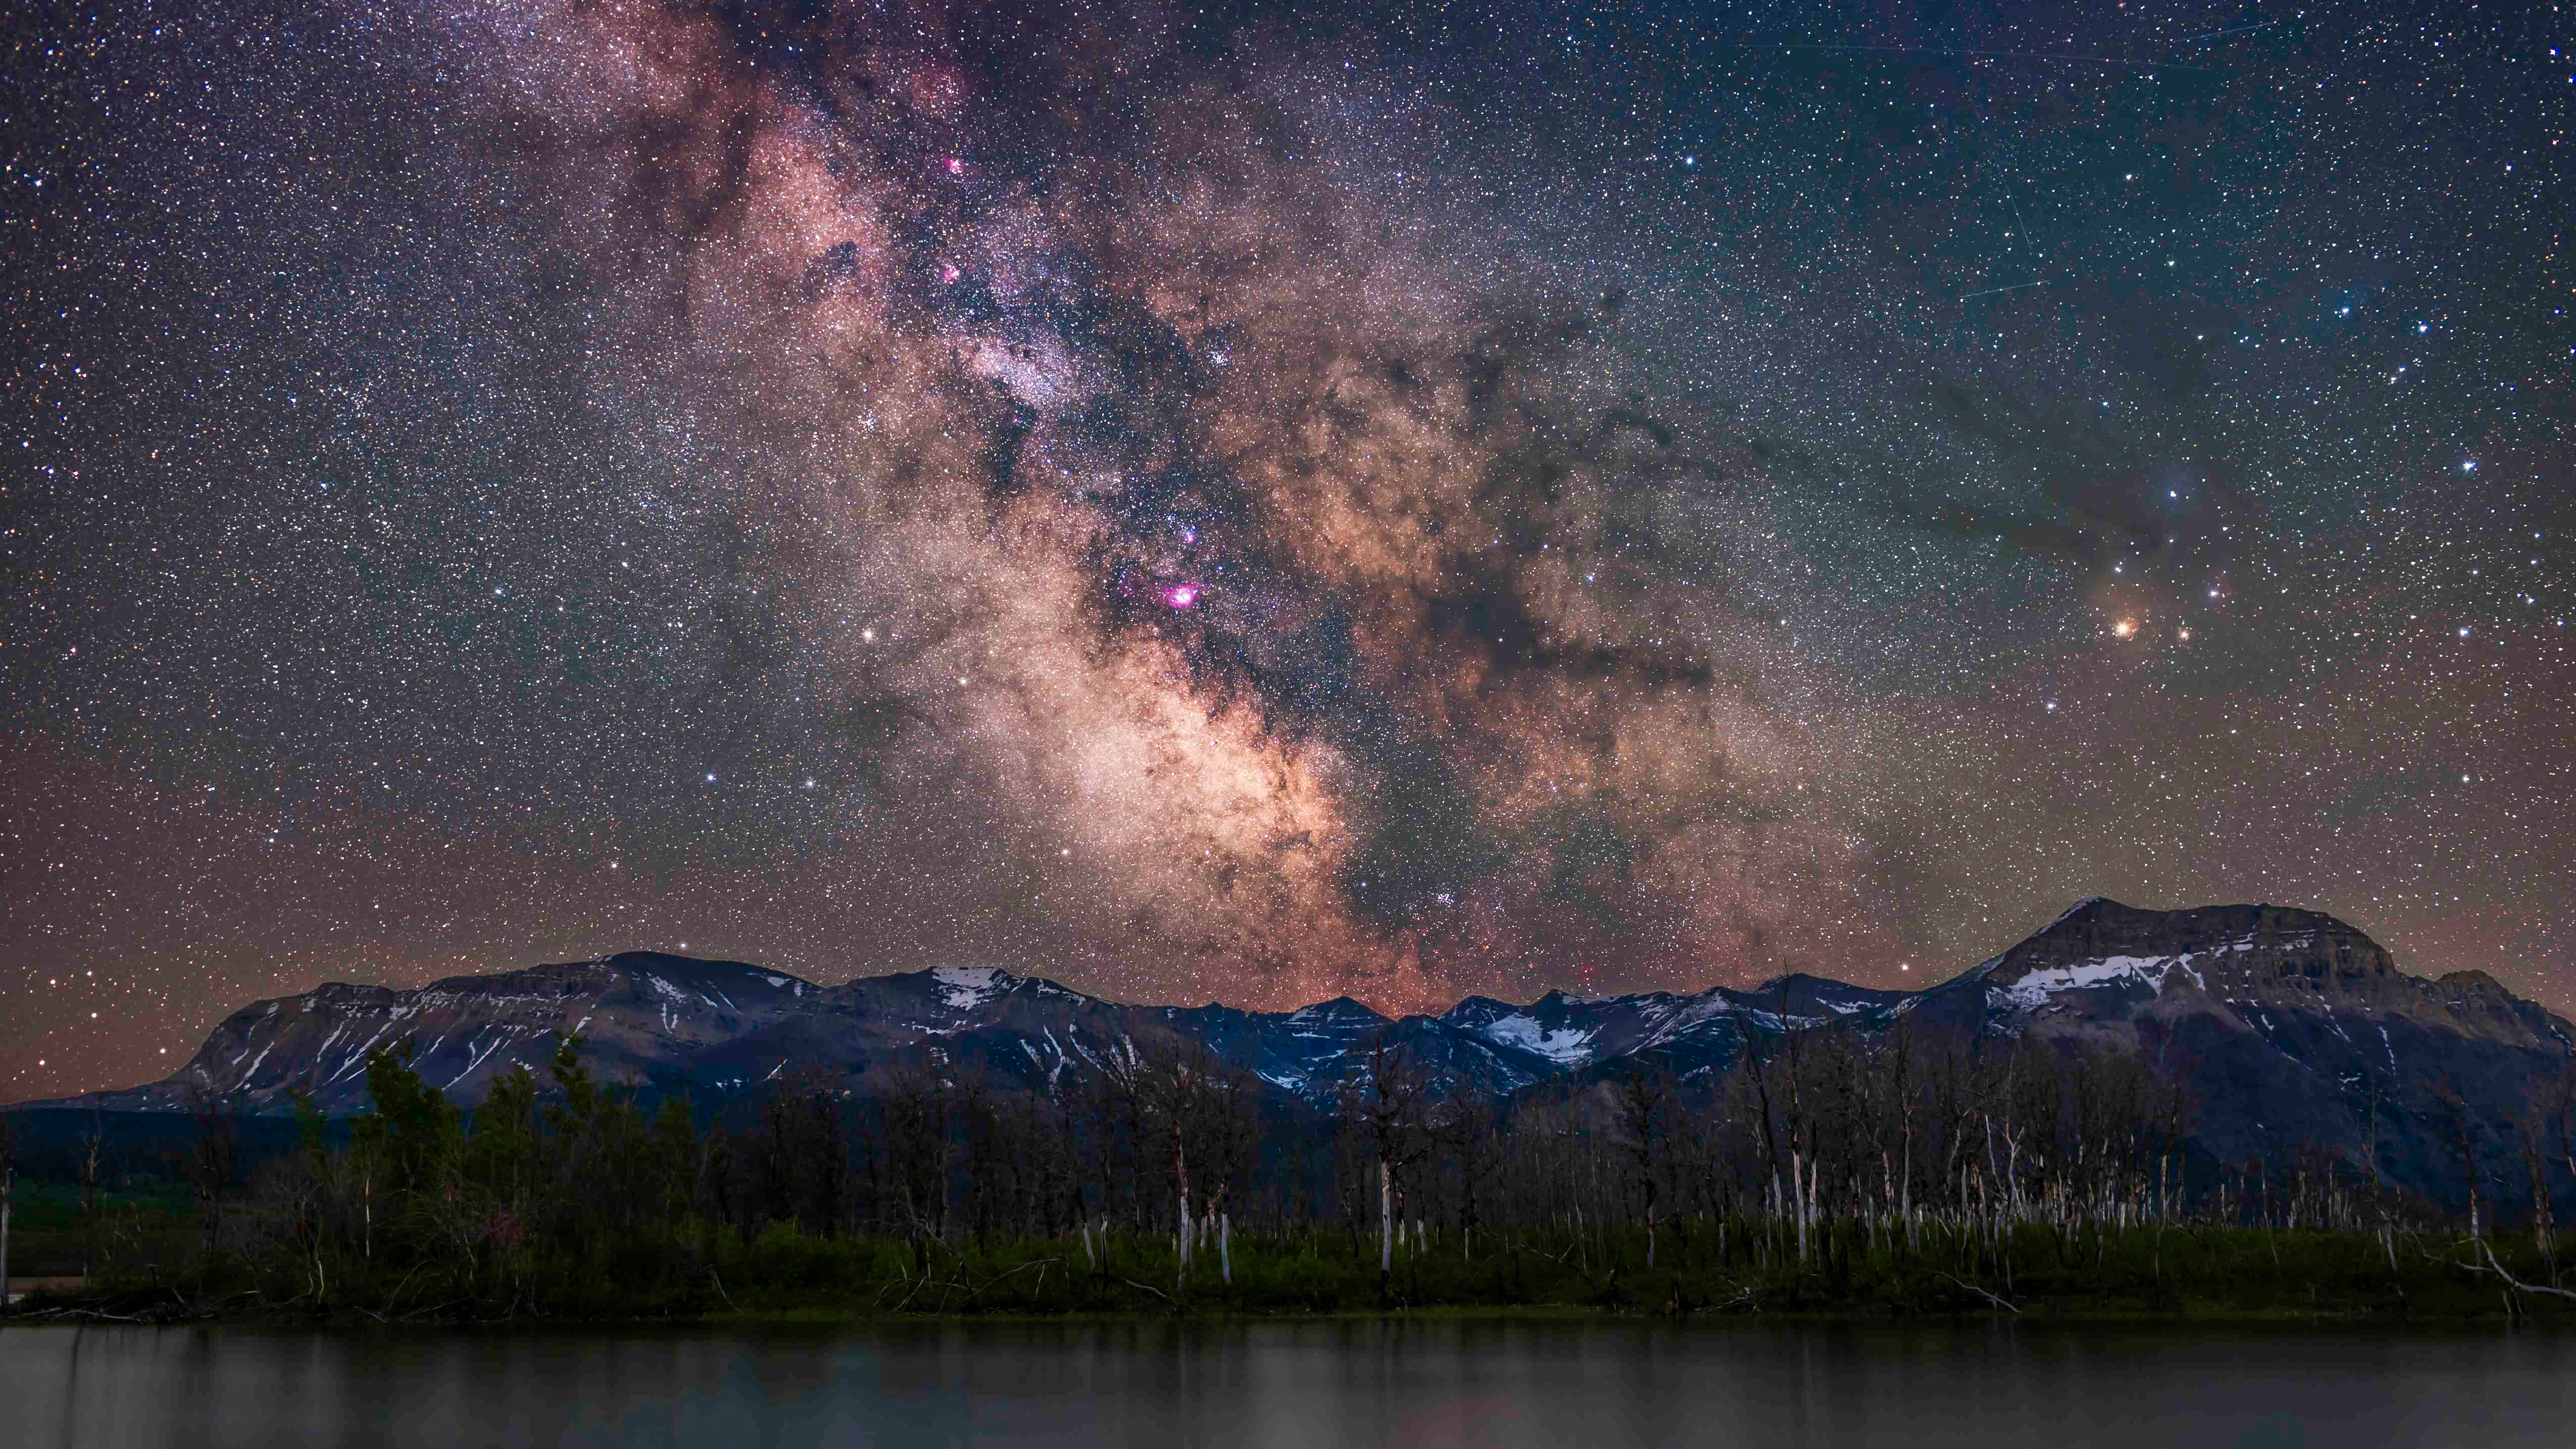
The trouble with the basic technique for night-scape photography is that you can't expose for more than about 25 seconds because the Earth is rotating very quickly. If you do, your stars will blur. Cue a relatively new device, the star tracker, which when aligned to the north or south pole moves with the Earth's rotation. The result is that you can take much longer exposures of the night sky and reveal many more stars, star clusters and more.
Star trackers have revolutionized the Milky Way photography, but it does come with some time-consuming downsides. Although it produces great looking skies, a star tracker’s long exposures produce lots of image noise and its movement by definition blurs the foreground. So you have to take multiple (as many as 10) versions of the same three-minute exposures for the night sky; you then have to take lots of (much longer exposure) foreground images and merge them together. It will try your patience, but it gets great results.
4. Piggyback astrophotography
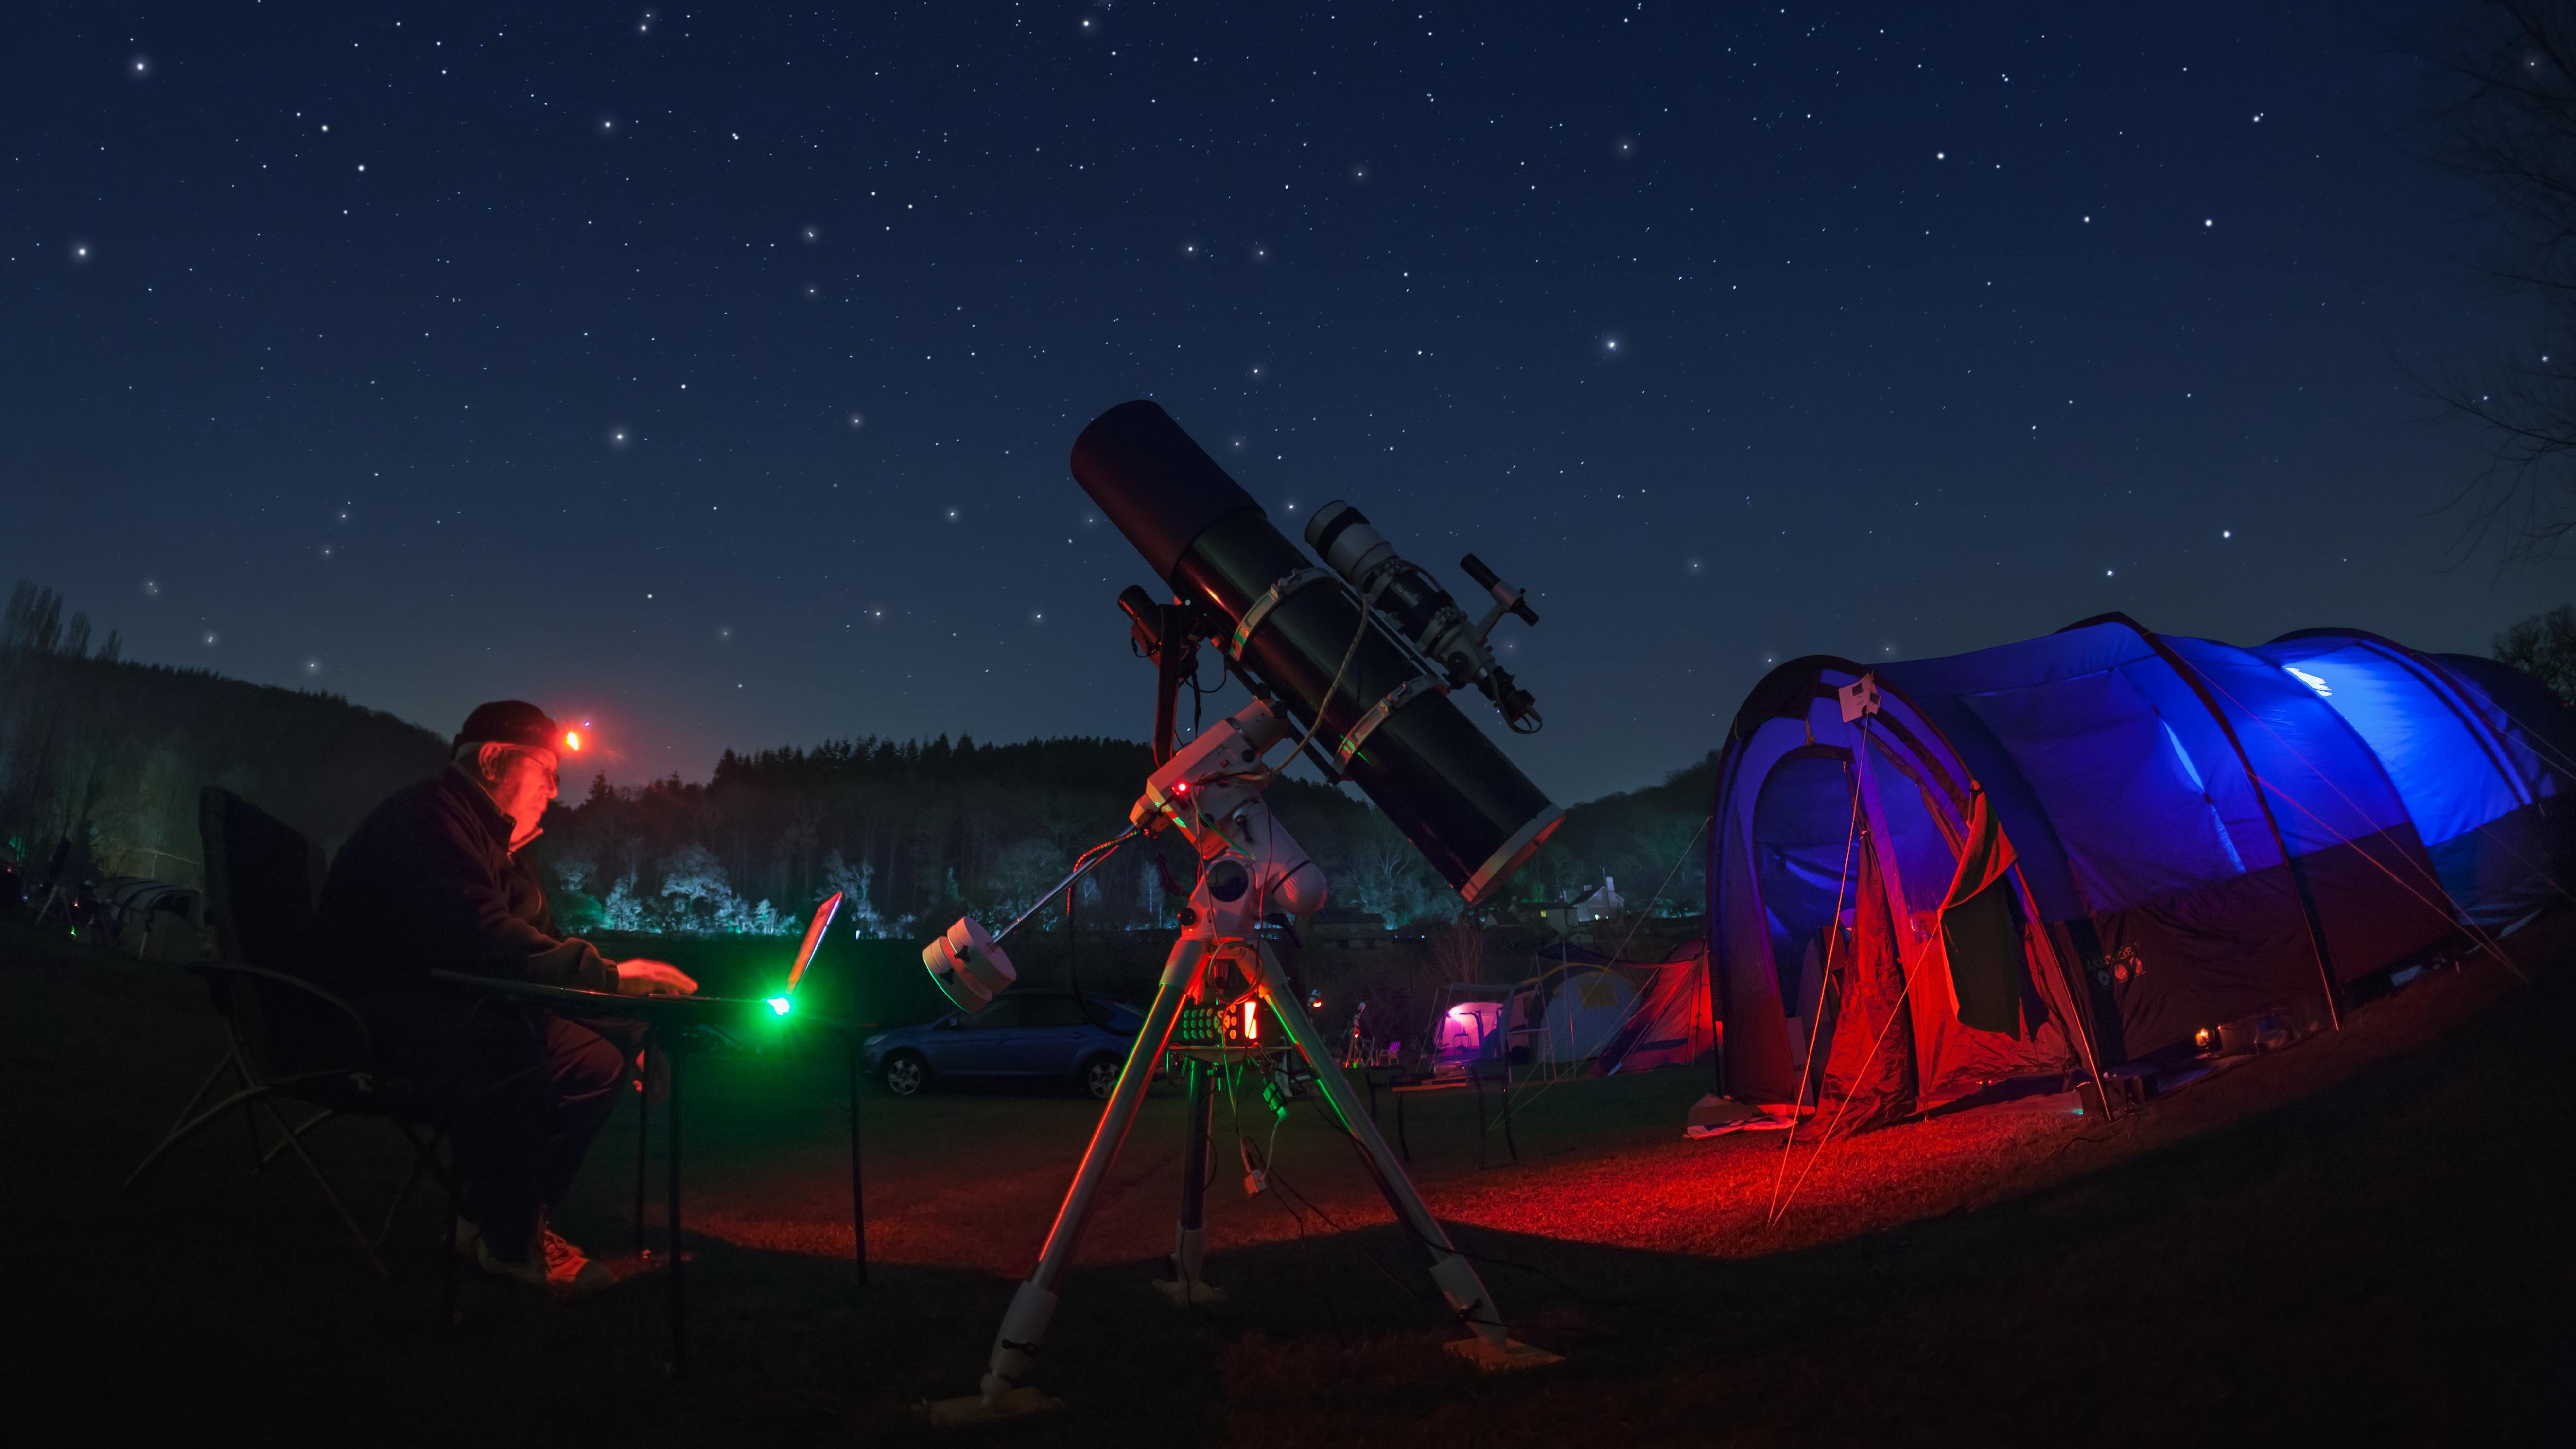
Equipment needed: Telescope on an EQ mount, DSLR/mirrorless camera
Very popular before star-trackers appeared on the market, piggybacking merely refers to mounting a DSLR on a telescope that itself already tracks the night sky. The key piece of kit here is an equatorial mount (EQ) for the telescope. However, while the whole camera makes use of the EQ mount, it doesn’t use its optics. This kind of set-up is best used in your backyard, with star-trackers best used when travelling.
5. Star-tracker Milky Way close-ups
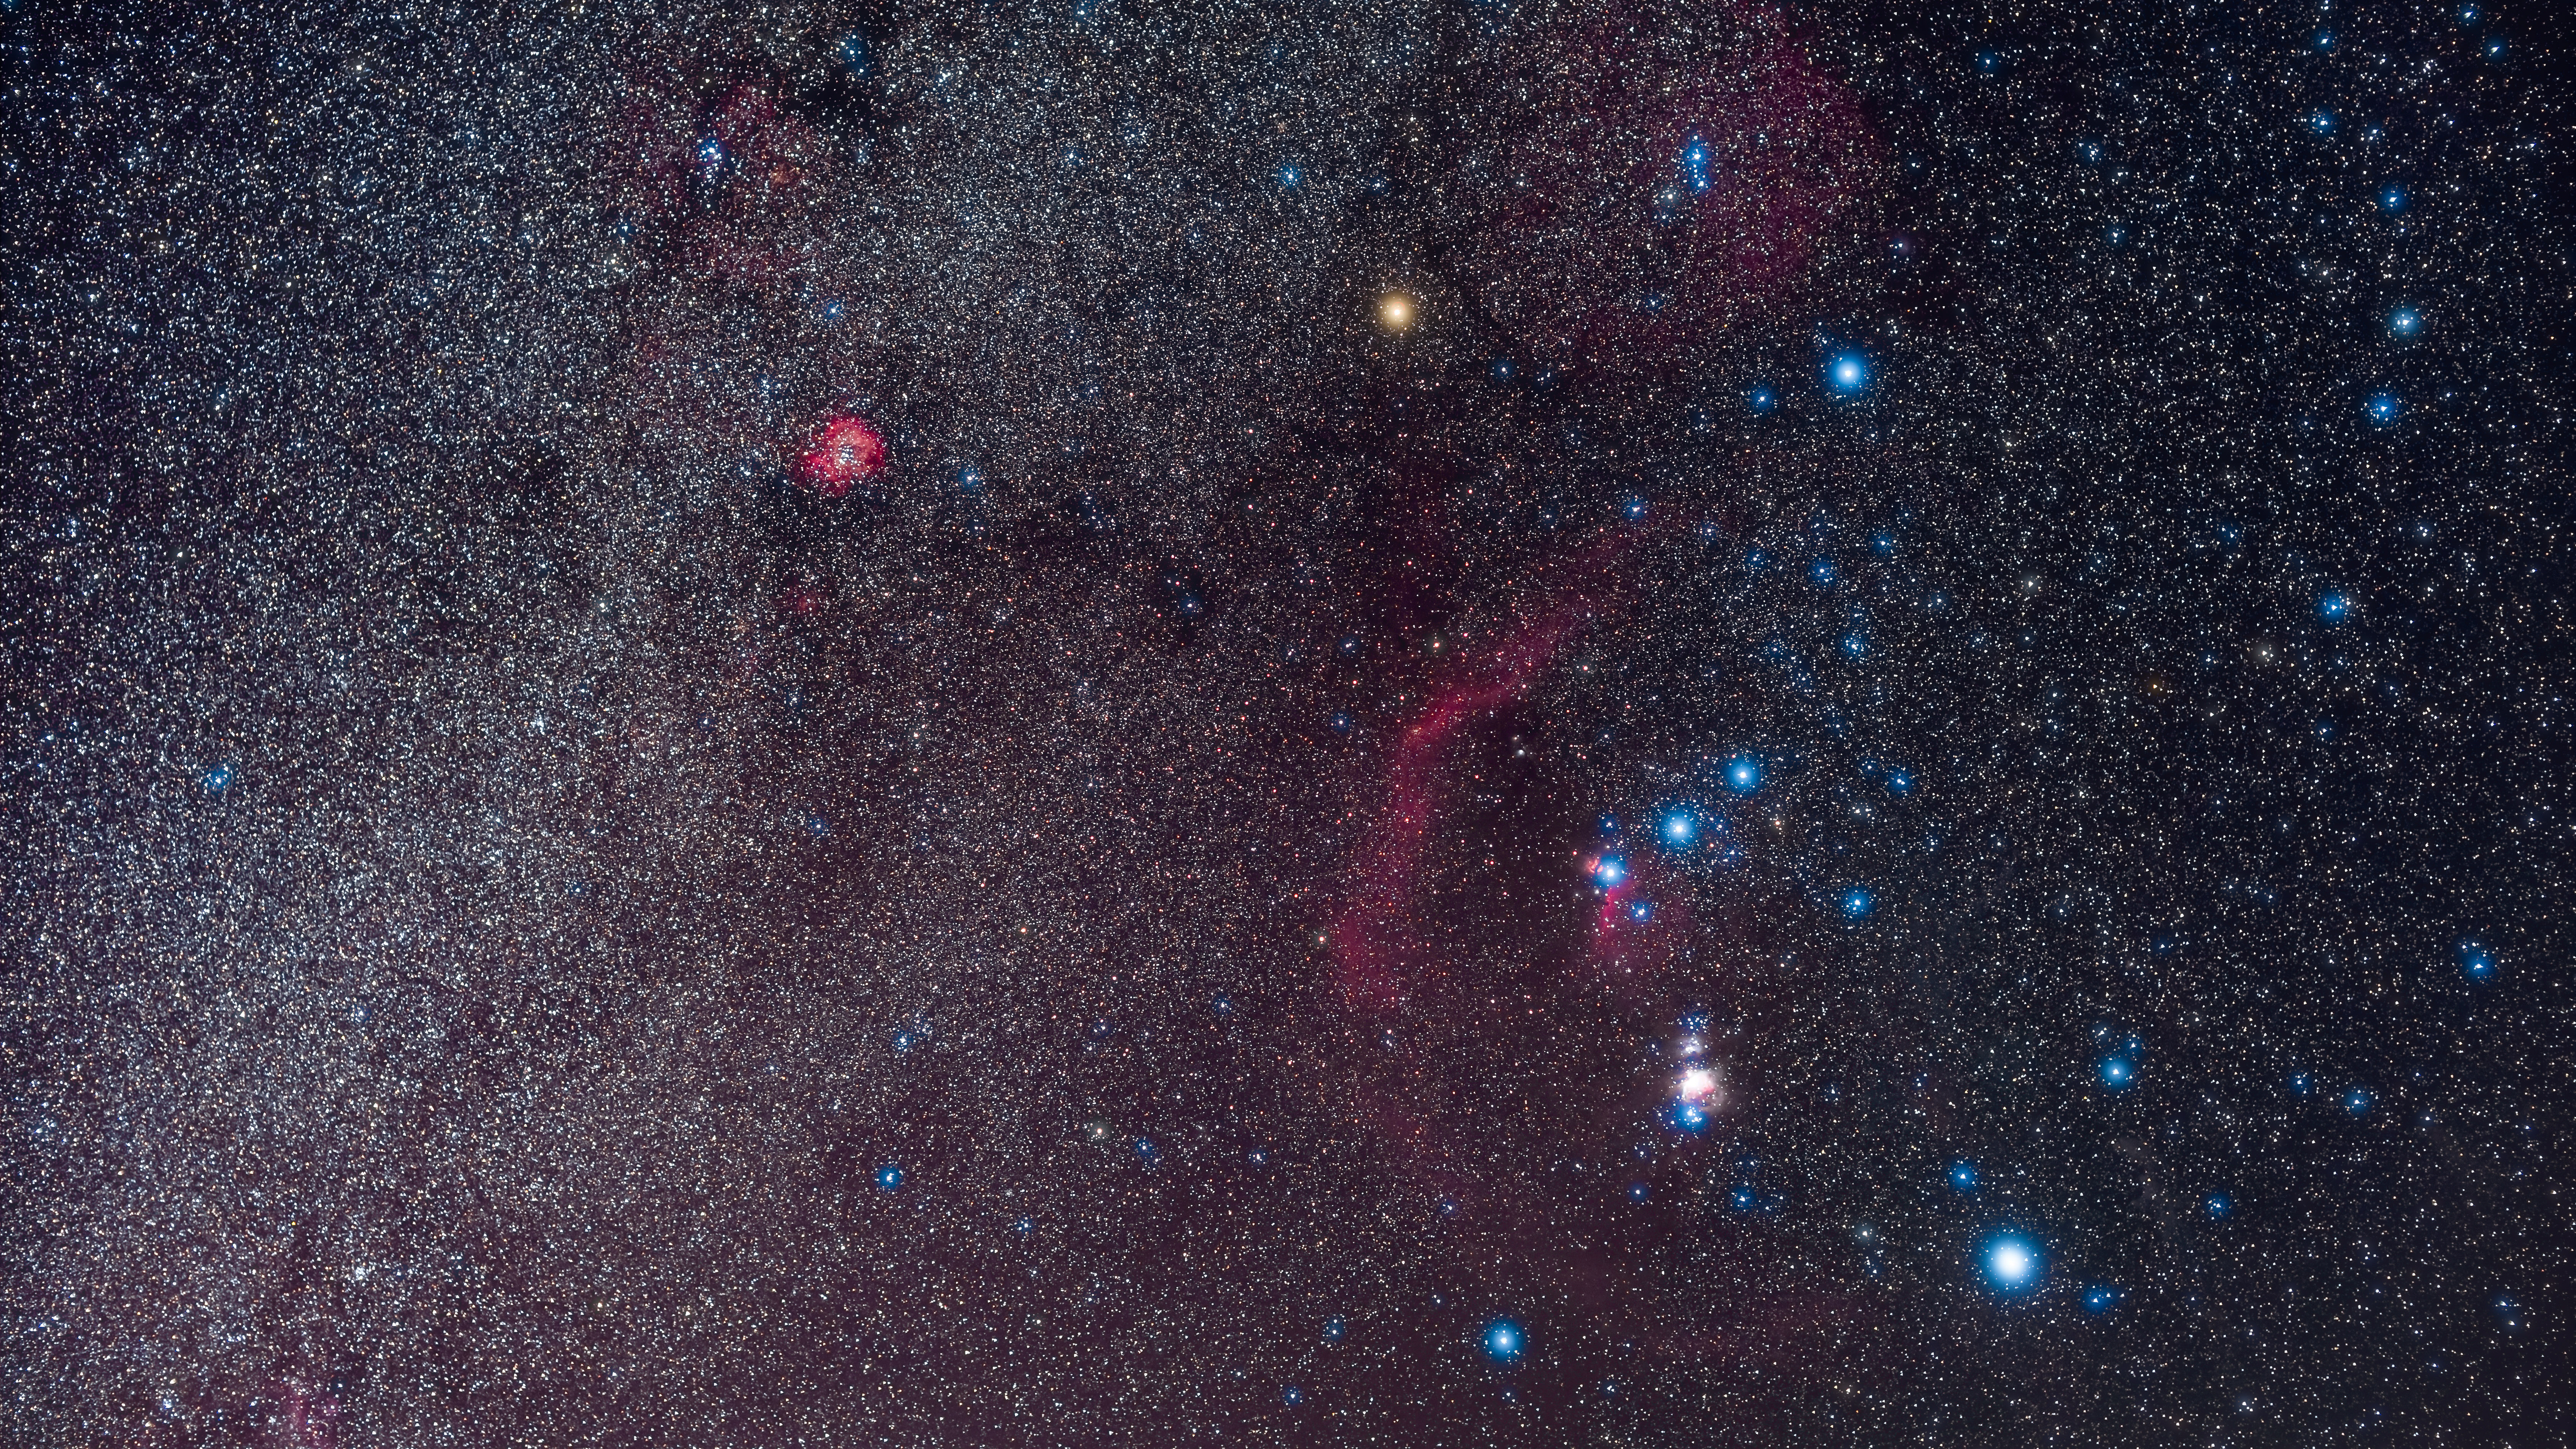
Equipment needed: DSLR/mirrorless manual camera, telephoto lens, tripod, star-tracker and extra ball head
Although a basic star trackers can be used with more than just wide-angle lenses, if you step-up to a slightly pricier product you can experiment with longer lenses and reveal some incredible detail and colour within the Milky Way (the glowing clouds of interstellar gas in Scorpius region between May and September is a favourite for this technique). The more expensive the star-tracker, the better for this technique largely because they will more easily hold the weight of longer lenses. That prevents droop, so increases the time you can accurately track the night sky. Star trackers are very fiddly and generally not that easy to use, but in future these devices are expected to get a lot slicker and simpler.
6. Afocal astrophotography
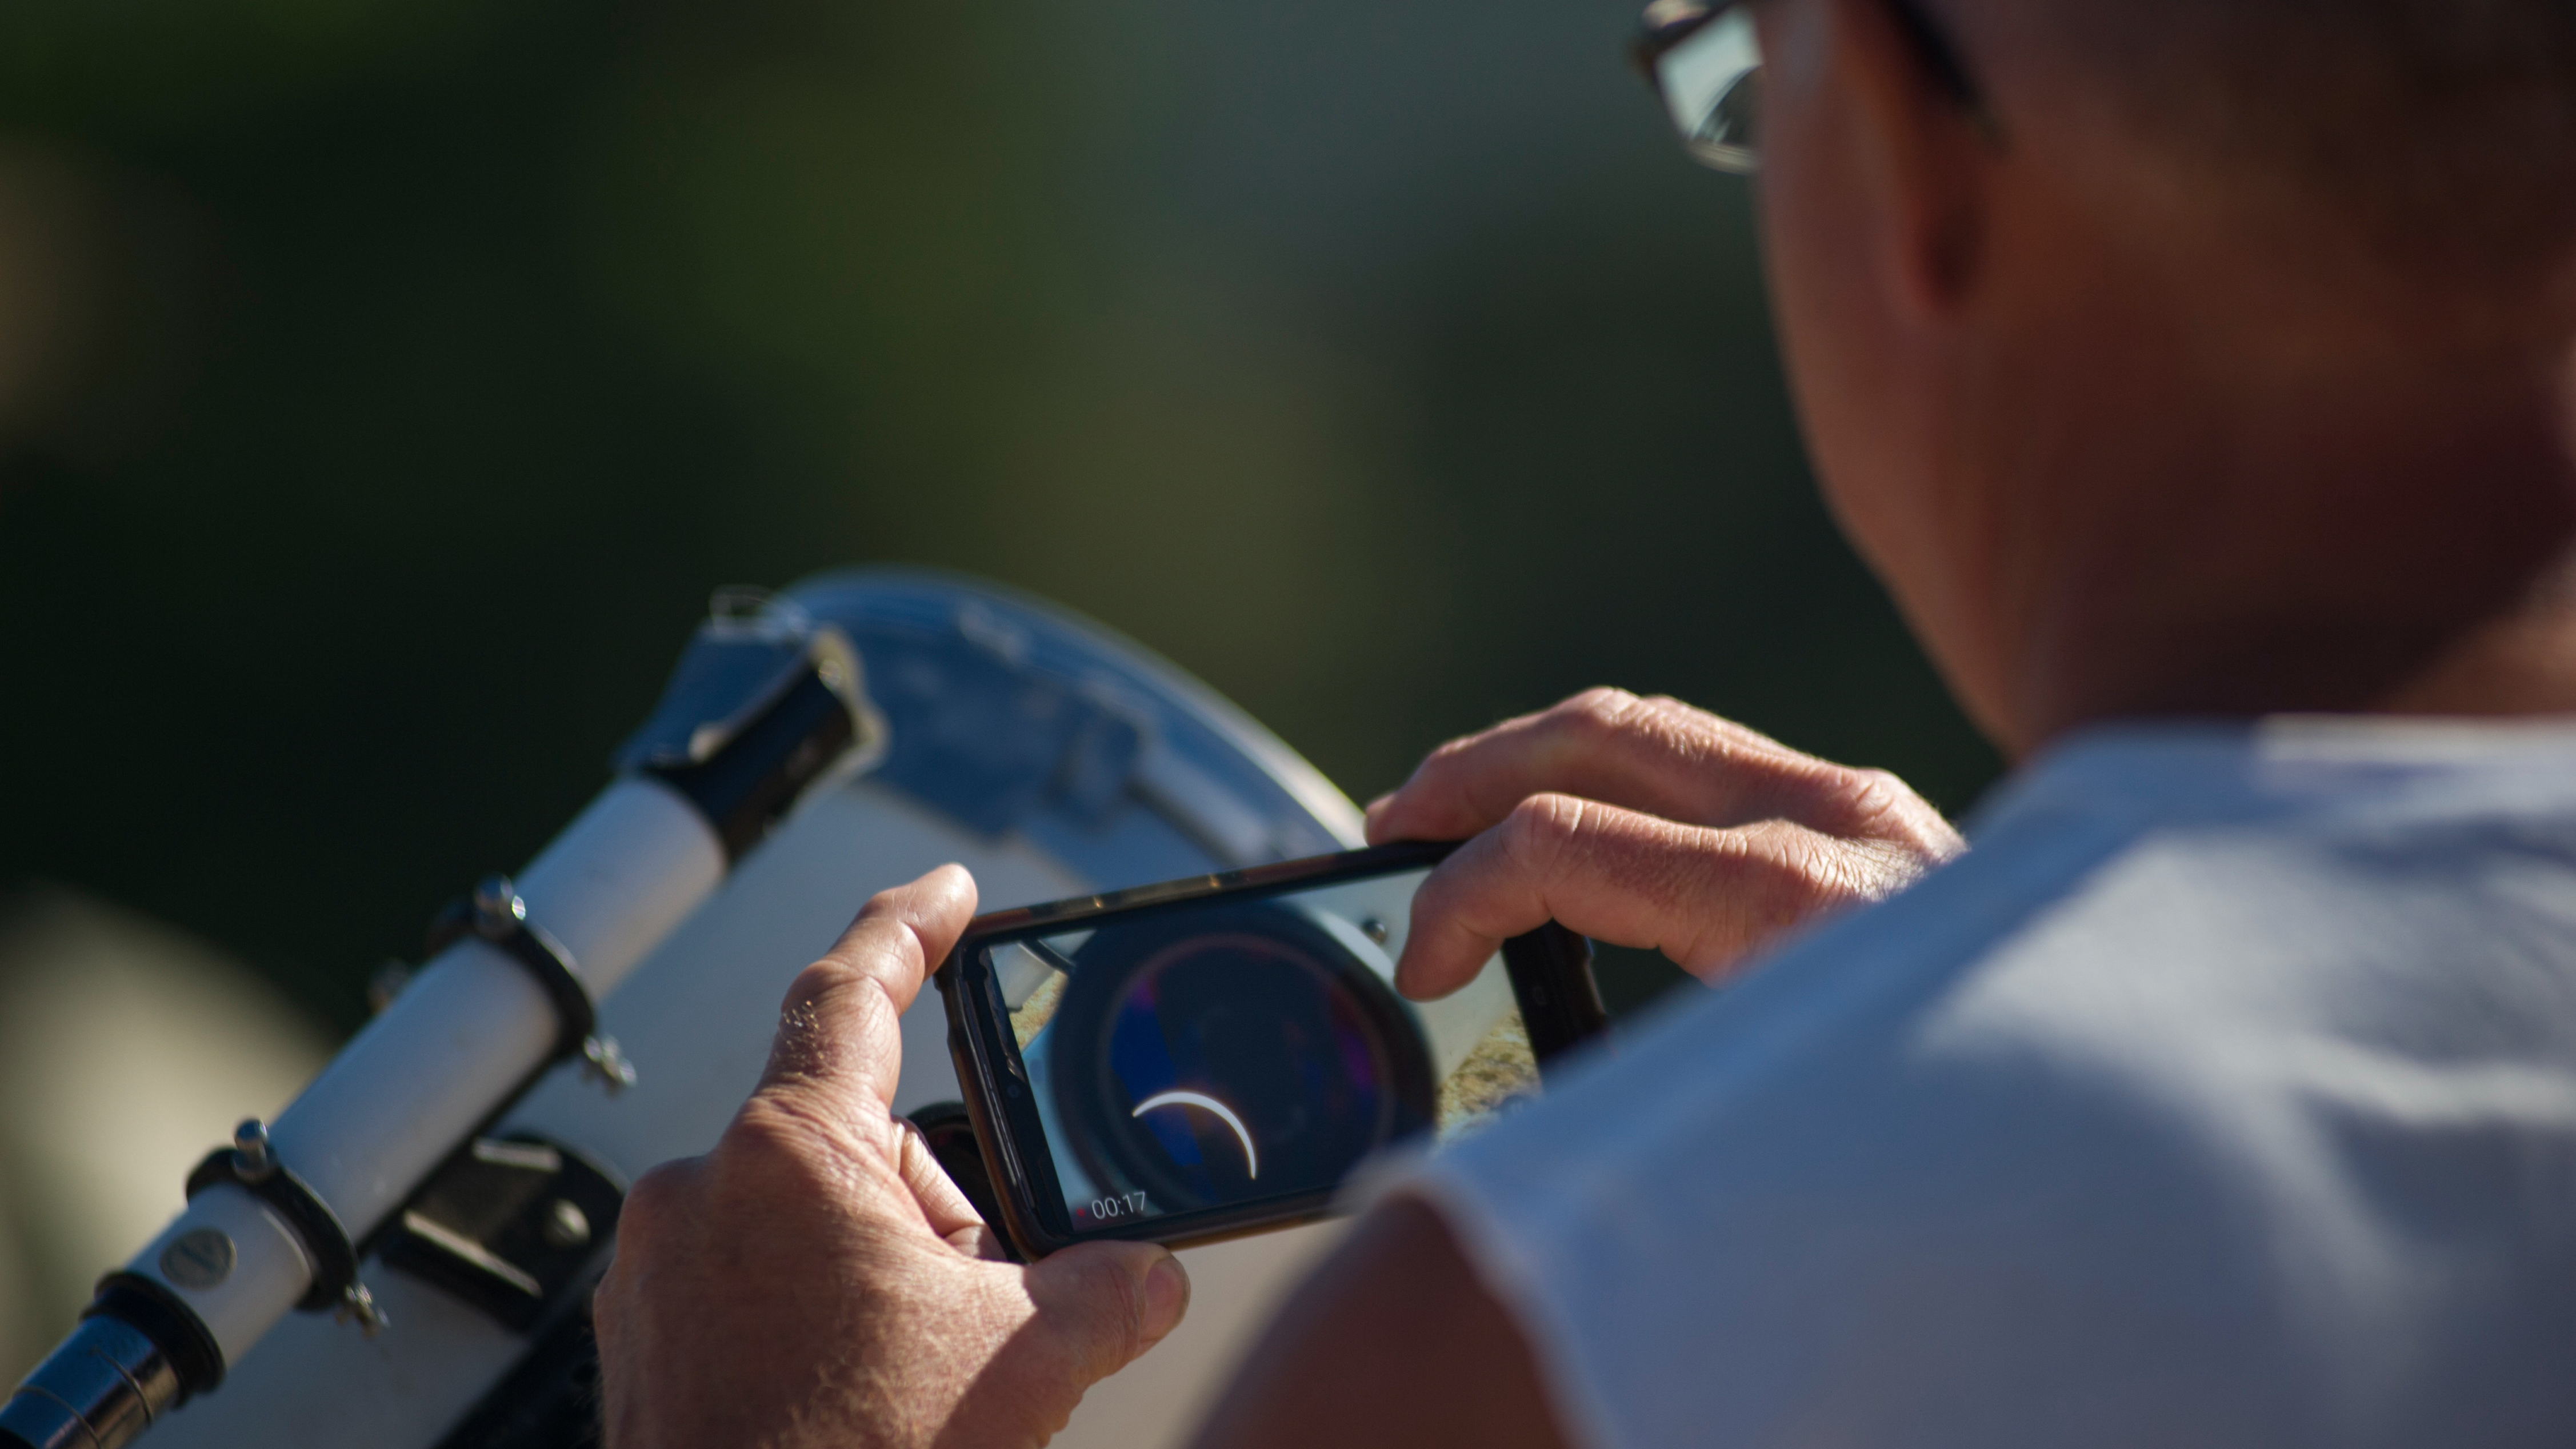
Equipment needed: Smartphone and any telescope
This is perhaps the most simple astrophotography technique of all, but it's very limited. Using any telescope all you need to do is hold the camera sensor on the back of your smartphone up against the eyepiece. If you wiggle it around a bit you will find that you can take an impressive photo using your smartphone. It’s now possible to buy smartphone mounts made for this specific job, usually by clamping around a telescope’s eyepiece holder. The major limitation for this is that it only really works well for the moon.
7. Night-scape panoramas
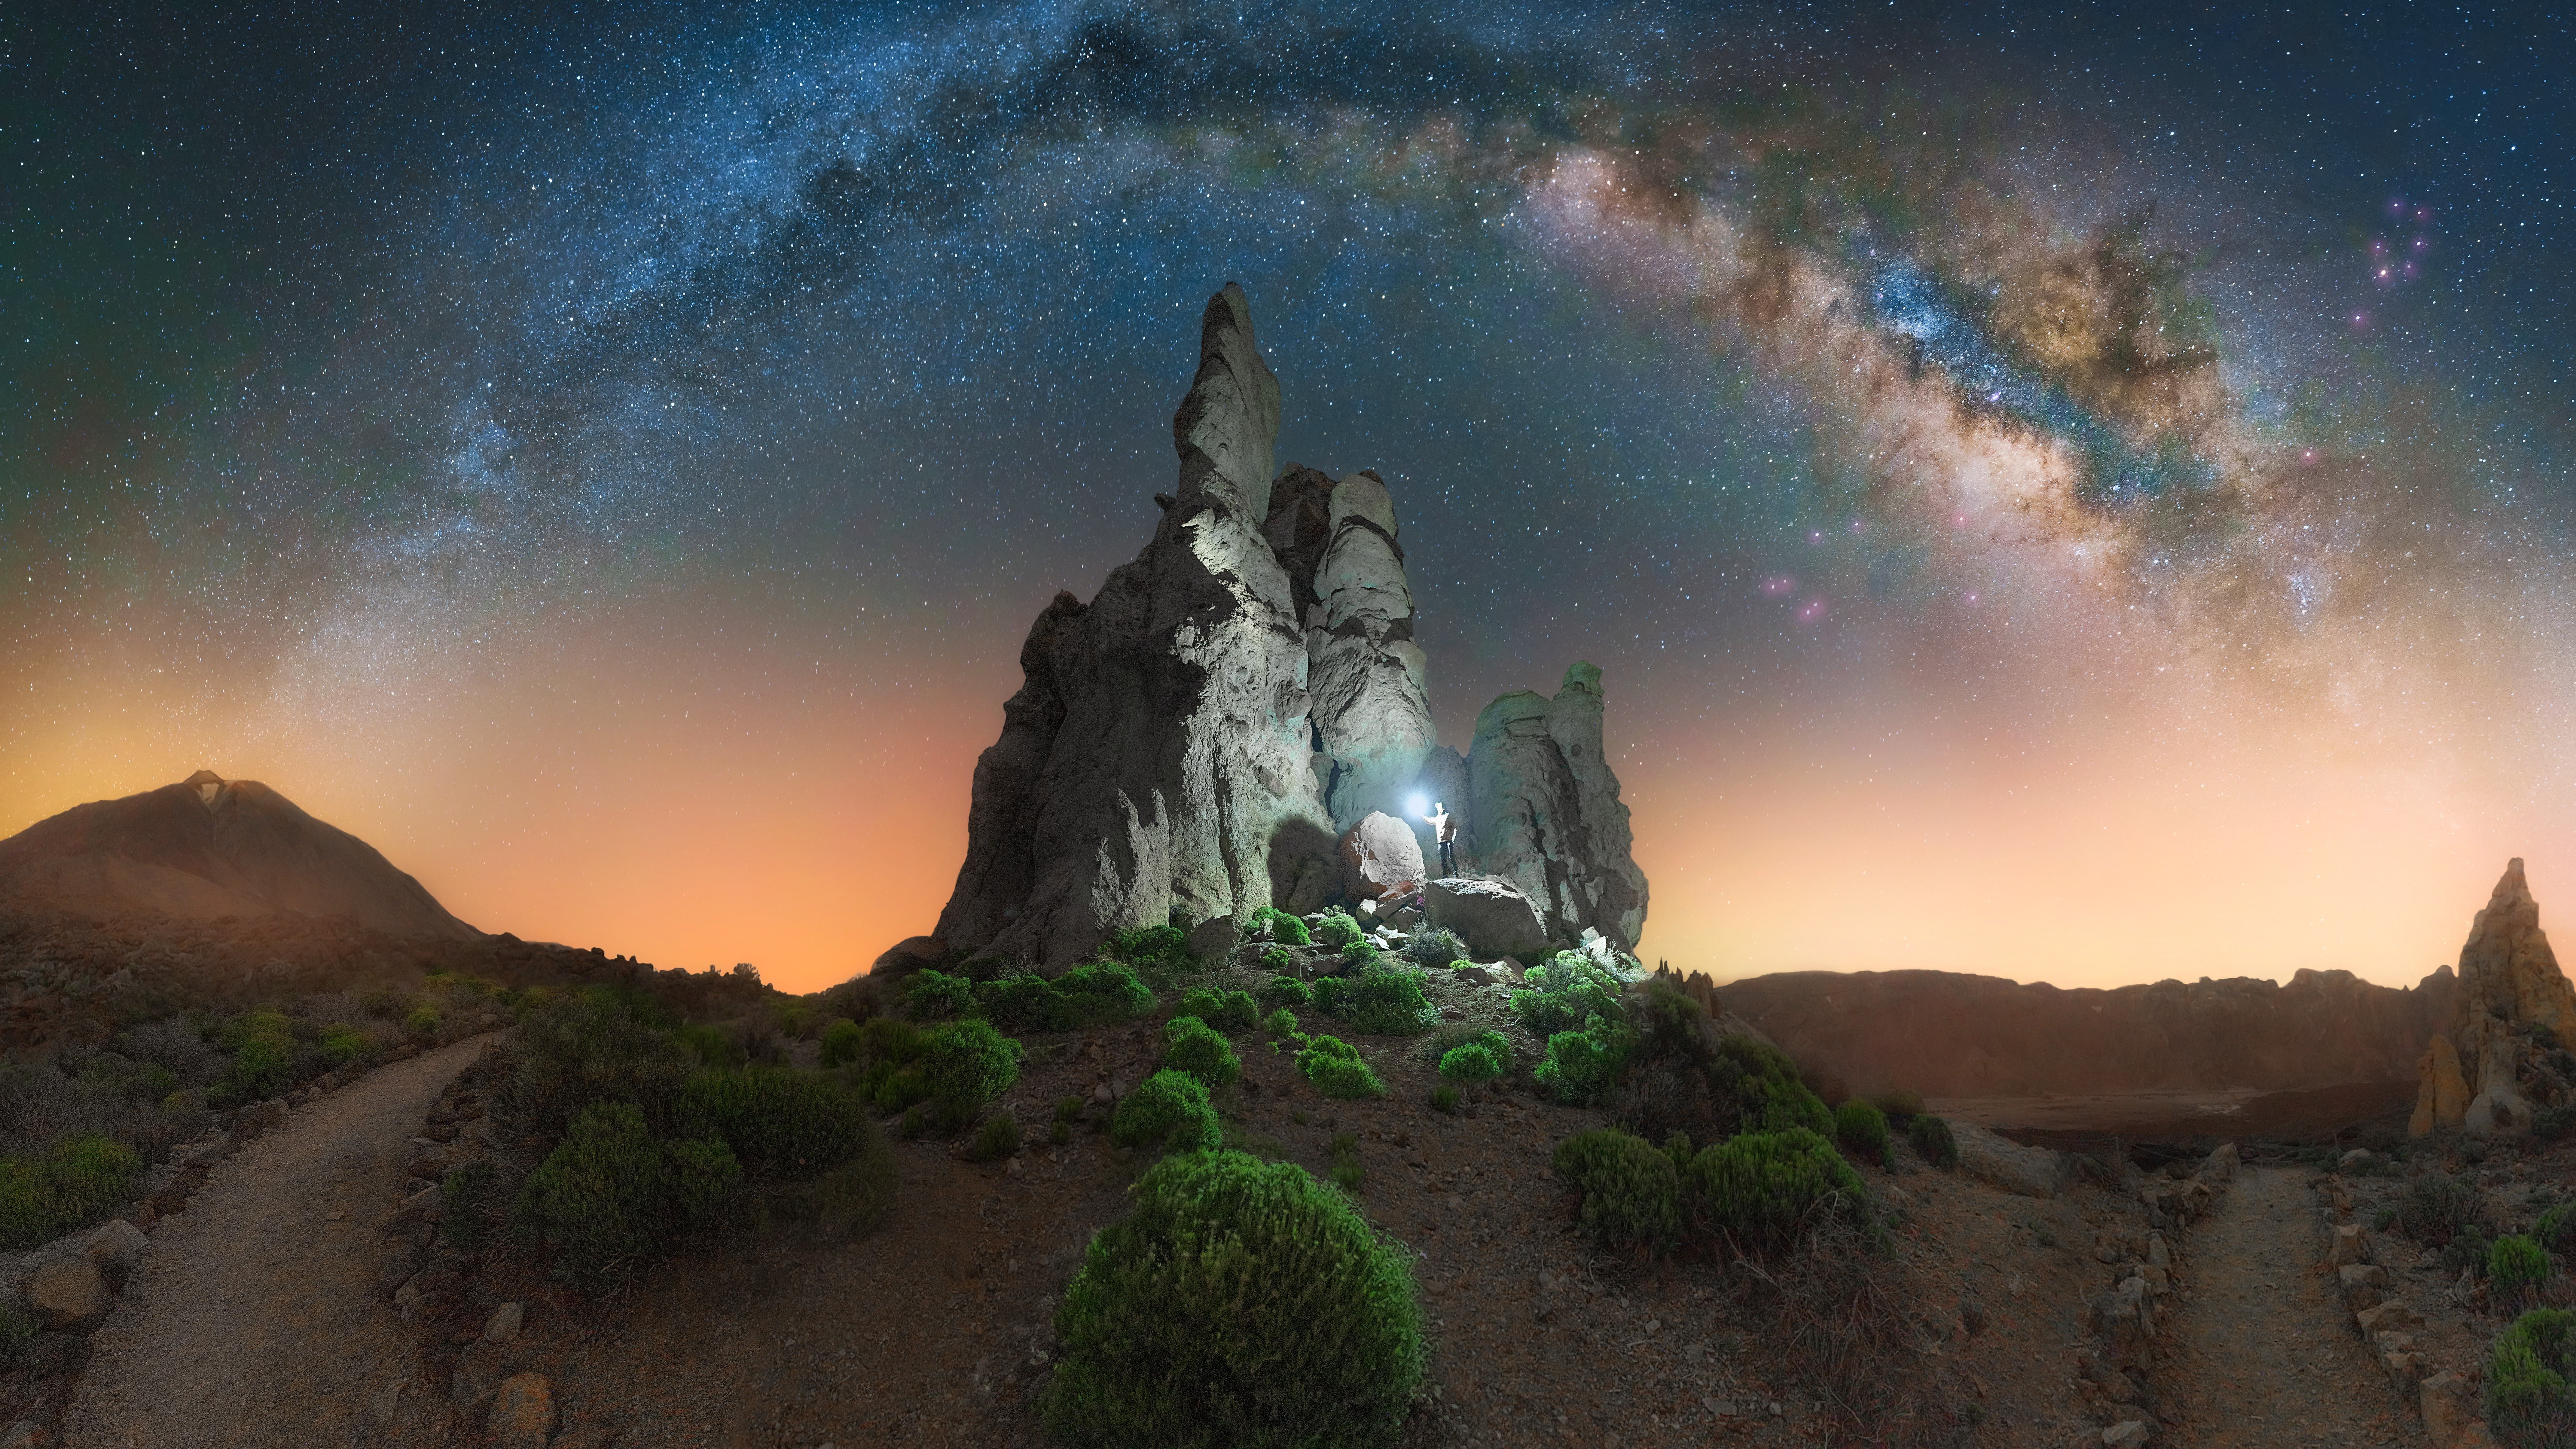
Equipment needed: DSLR/mirrorless manual camera, wide-angle lens, tripod, star-tracker and extra ball head
These are essentially identical to star-tracker images, but instead of taking one tracked image of the night sky and one foreground image (albeit with multiple frames, plus dark frames) you take multiple shots to stitch together later using Photoshop or similar. This is how you take a vast photo of a big landscape with the Milky Way arching across the landscape. The downside to this technique is that it takes a lot of time to do and you have to be very precise. Not only must the tripod stay completely stable for the entire shoot, but you need to take tracked and foreground images, each of which can take between three and 15 minutes to take. Since widescreen-shaped night-scape panoramas are made up of lots of individual portrait-shaped images, an L bracket can help a lot with this technique because it keeps your camera in the middle of your tripod.
Read more:
• How to improve your astrophotography: tips, tricks and techniques
• Astrophotography tools: the best gear for shooting the night sky
• The best telescopes for astrophotography
• The best CCD cameras for astrophotography
• The best star trackers for astrophotography
• The best light pollution filters
• Best lenses for astrophotography

Jamie has been writing about photography, astronomy, astro-tourism and astrophotography for over 15 years, producing content for Forbes, Space.com, Live Science, Techradar, T3, BBC Wildlife, Science Focus, Sky & Telescope, BBC Sky At Night, South China Morning Post, The Guardian, The Telegraph and Travel+Leisure.
As the editor for When Is The Next Eclipse, he has a wealth of experience, expertise and enthusiasm for astrophotography, from capturing the moon and meteor showers to solar and lunar eclipses.
He also brings a great deal of knowledge on action cameras, 360 cameras, AI cameras, camera backpacks, telescopes, gimbals, tripods and all manner of photography equipment.
