8 tips for jaw-dropping winter landscape photography
Master the elements of winter landscape photography to capture the color, light and atmosphere of the season
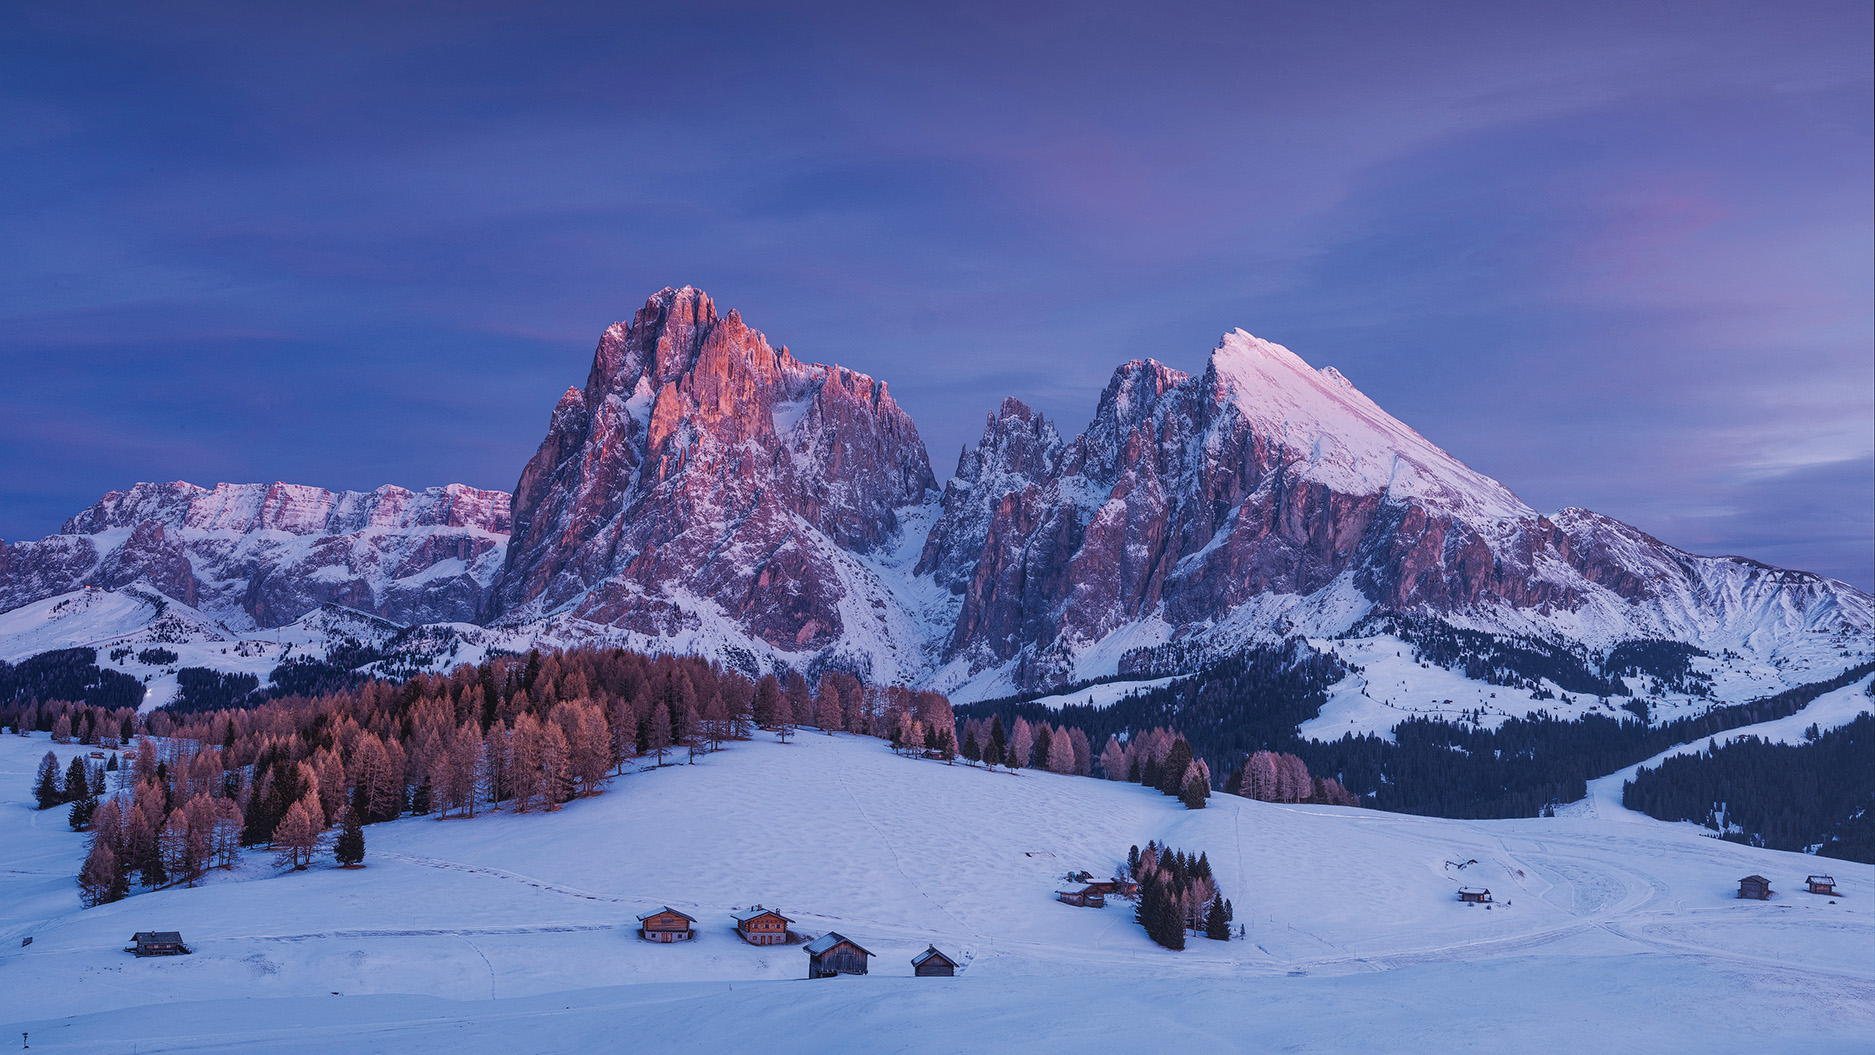
Winter landscapes can sometimes be portrayed as desolate, uninviting places, yet rarely does this detract from their regal nature. There's also a very magical and visceral element to snow-enveloped terrain that stimulates an emotional response beyond the common perception of beauty.
The human eye is always drawn to the brightest or most colorful aspect of a scene, but when devoid of such objects, a landscape can conjure a mix of feelings. The winter months provide a unique set of challenges and creative opportunities – frosty, snow, ice and short days, to name a few – so it is helpful to brush up on your landscape photography before the first snow starts to fall, at least in temperate and polar climes.
With the best cameras for landscape photography, you can use these traits to your advantage when framing and exposing winter landscape scenes.
If you live in a region with less extreme swings in weather, you can still apply the skills learned here to your everyday landscape photography. You can also use this knowledge to emphasize the best qualities of winter, however it manifests itself.
1. Overexpose
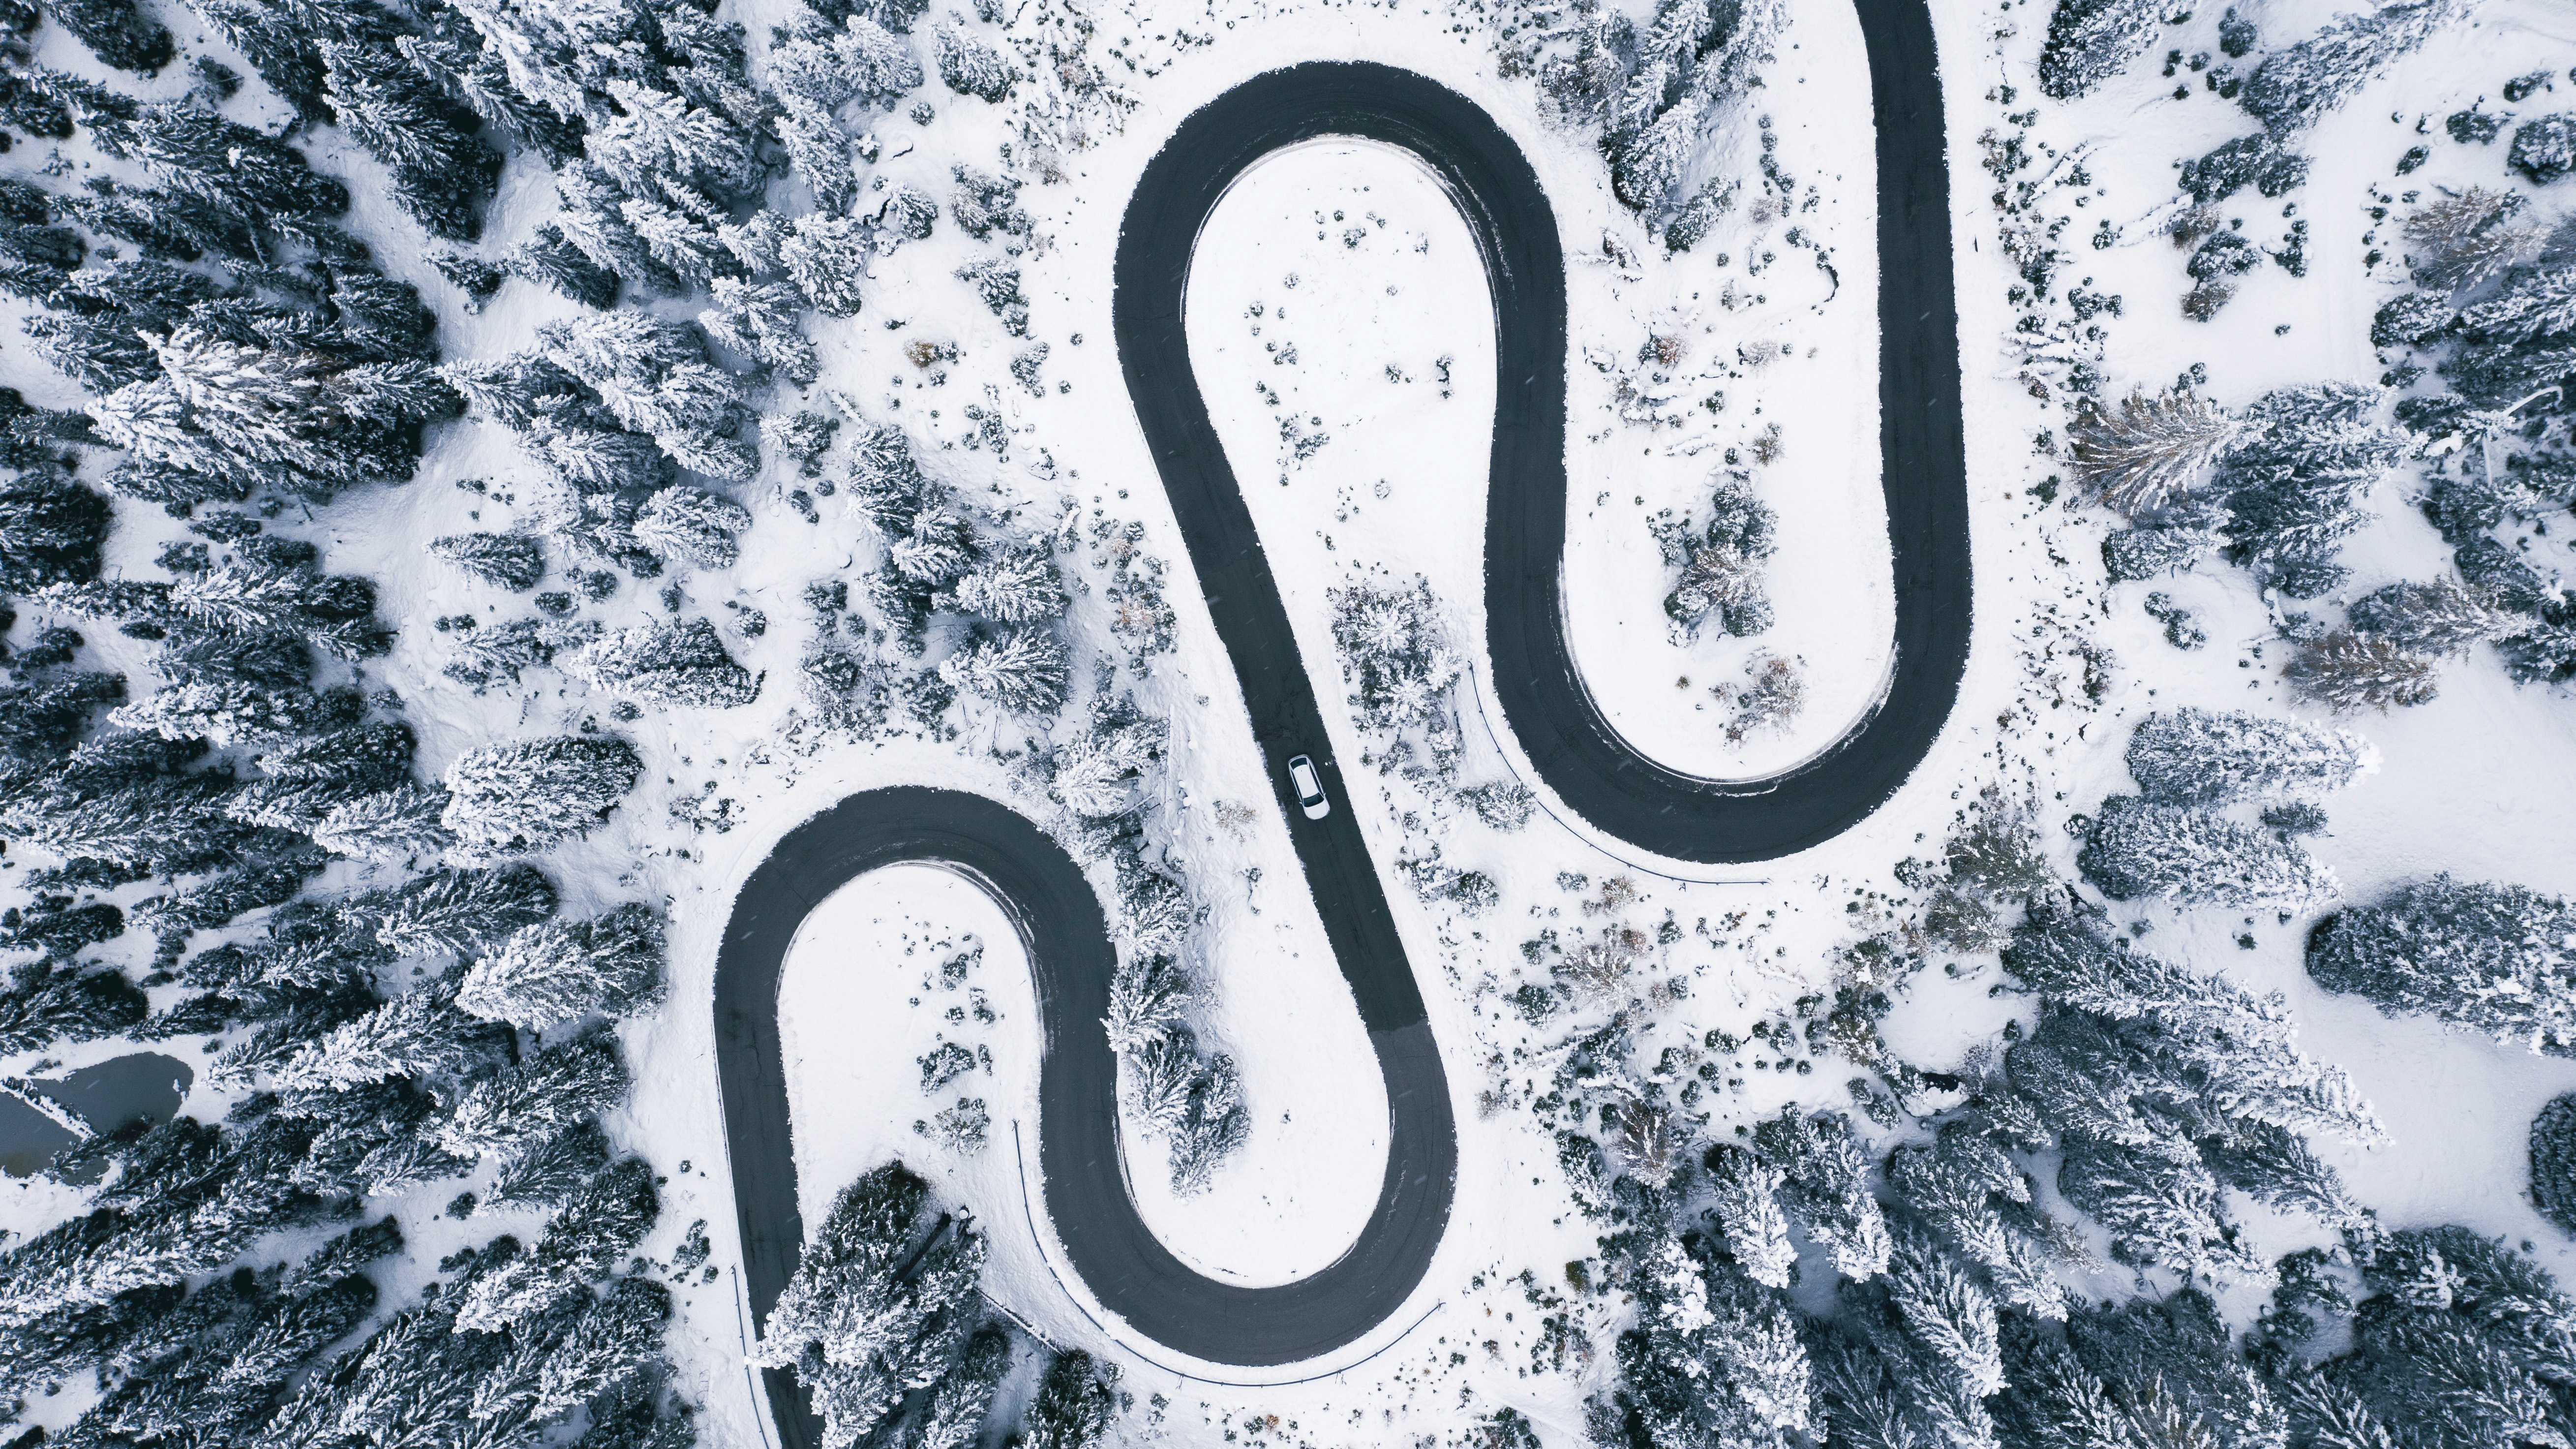
Snow can wreak havoc with our camera’s auto exposure system. The reflective properties of snow force the camera to underexpose the scene, by attempting to render the white material mid-tone grey.
It is therefore advisable to use Exposure Compensation to bring the exposure back toward the center, for a more natural image. However, this can also be an opportunity for creativity. Instead of merely aiming for a ‘correct’ exposure, pushing it further can produce a high-key, minimalist image, with a greater focus on contrast and small details.
• Read more on how to expose in snow.
Get the Digital Camera World Newsletter
The best camera deals, reviews, product advice, and unmissable photography news, direct to your inbox!
Keeping an eye on the histogram or highlight alerts for clipping, nudge Exposure Compensation up to around +2/3EV. This really pushes the ‘white-out’ feel of a blizzard and can make a great black-and-white or near-monochromatic composition.
2. Compress the scene
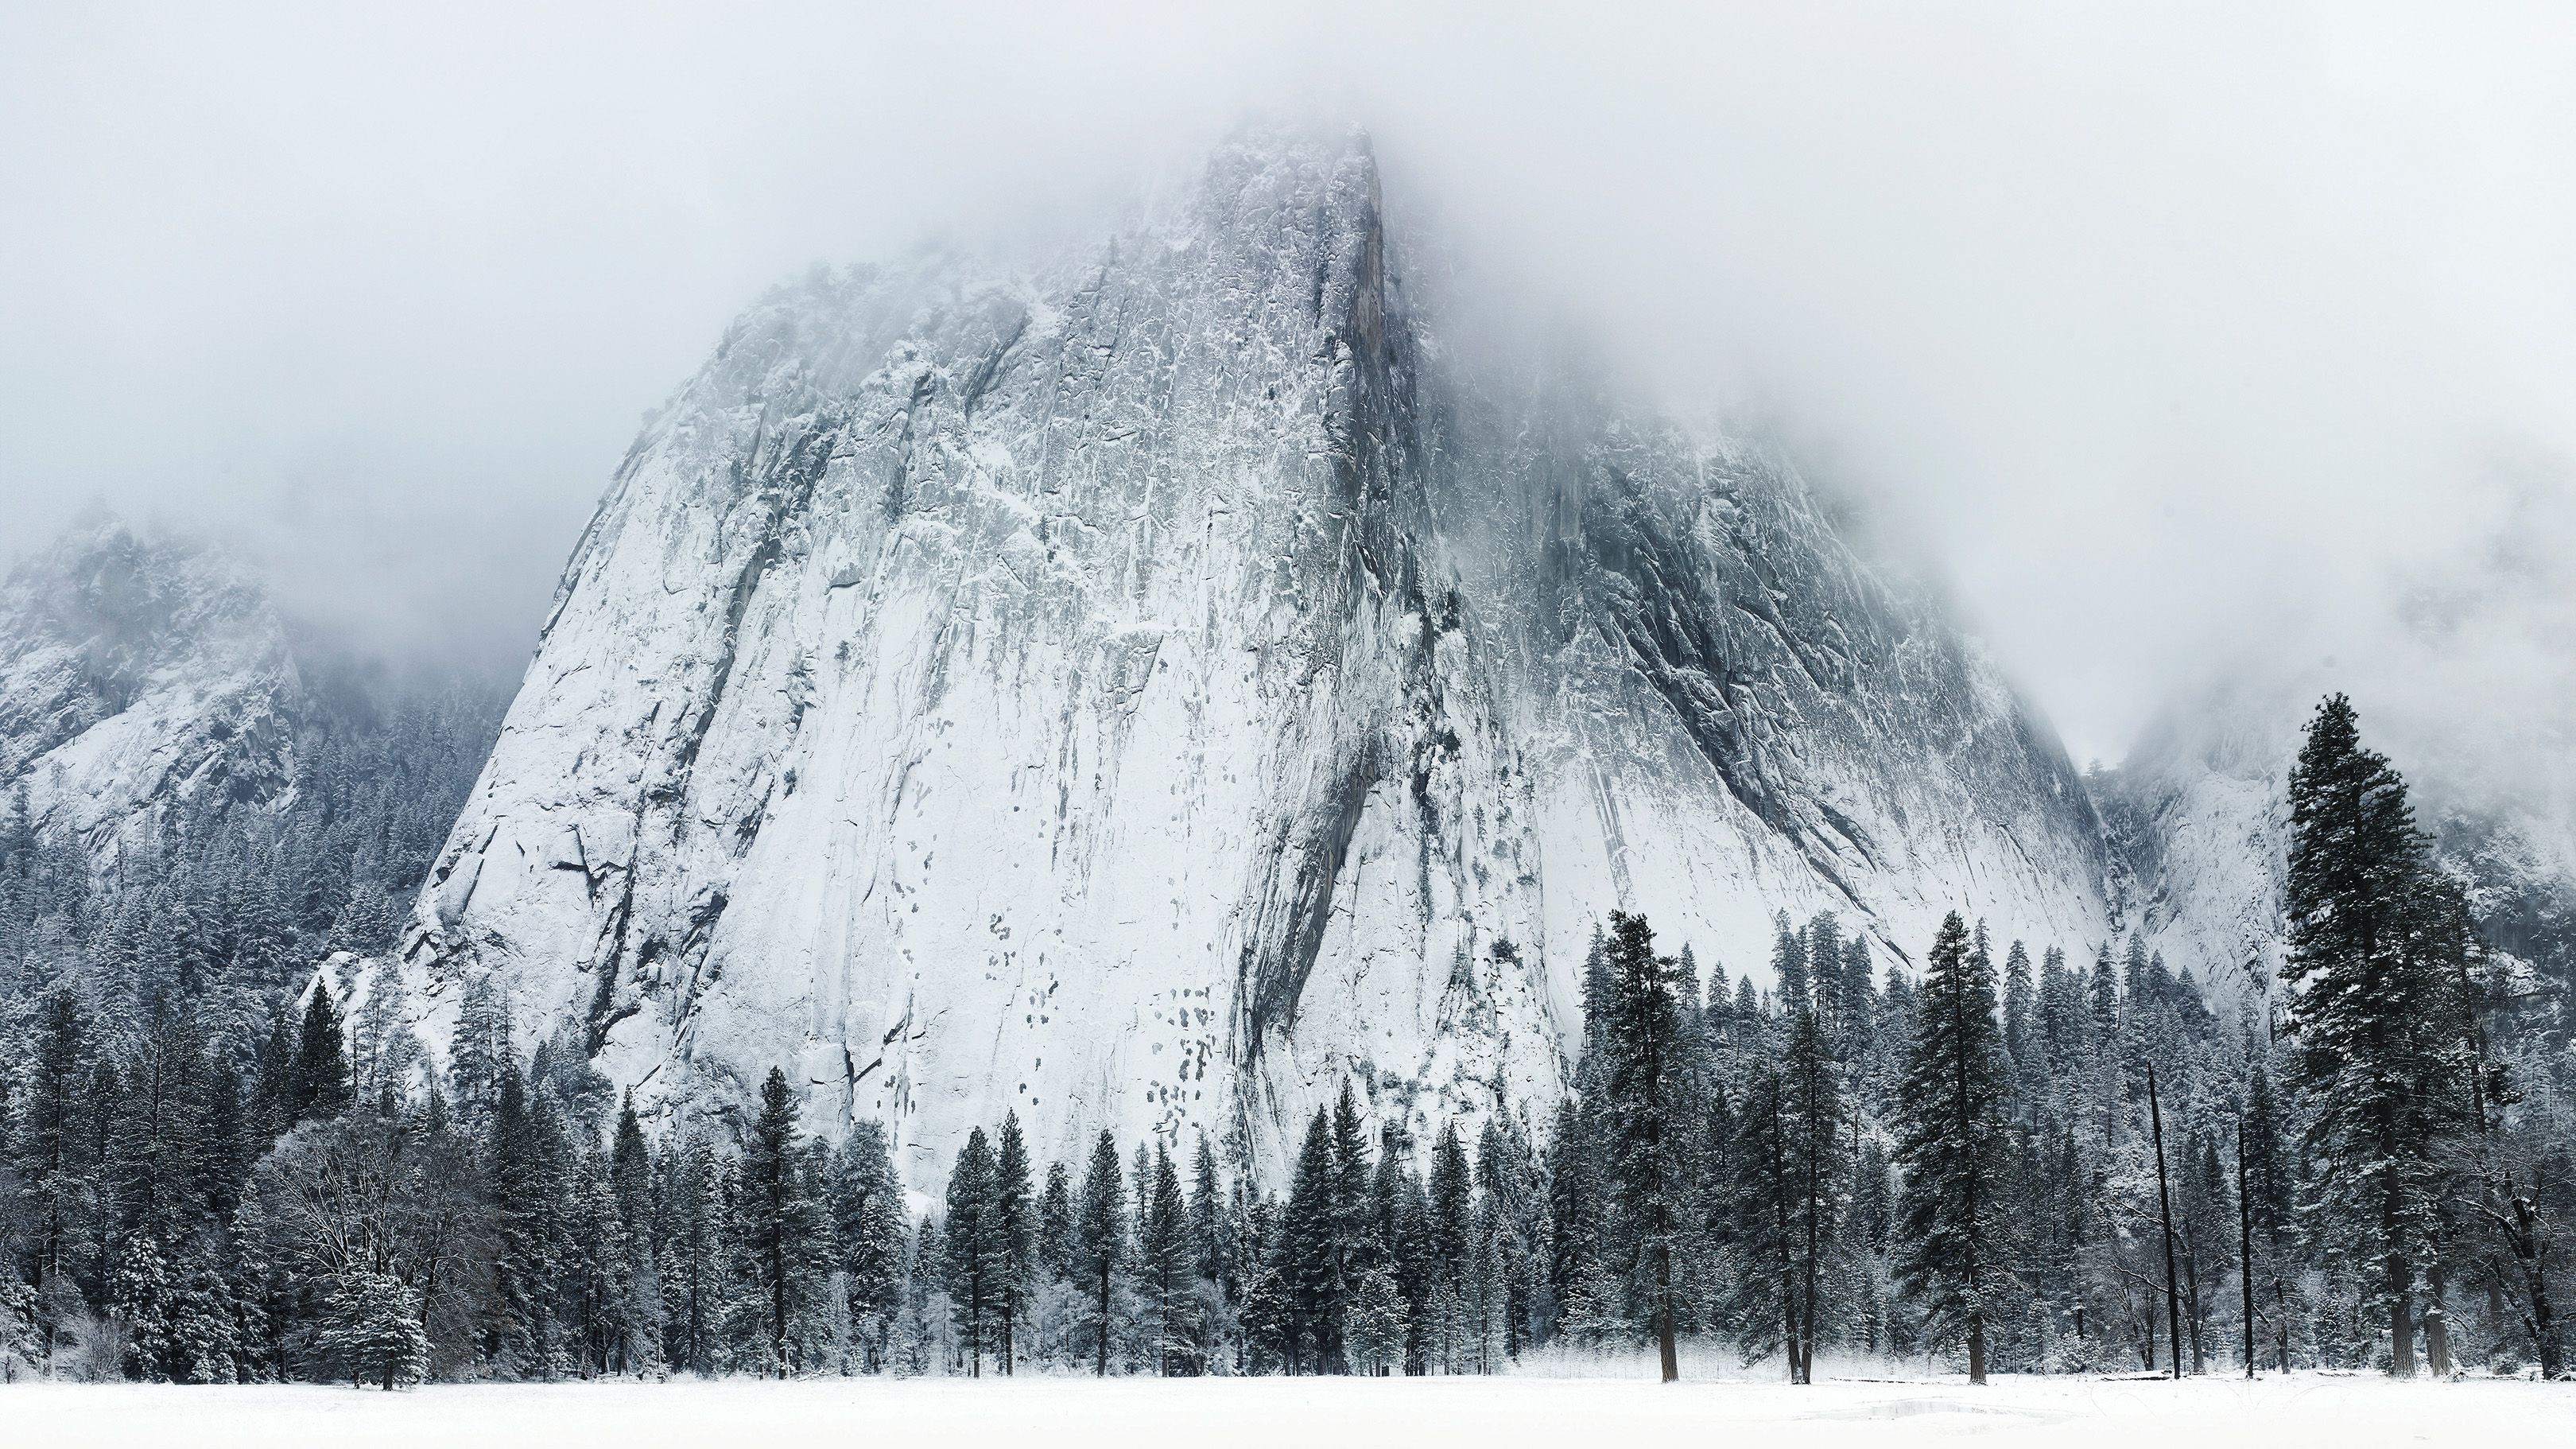
Where color is in short supply, as is often the case when shooting snow-covered landscapes, it helps to switch your attention to capturing patterns and detail. For example, tree bark contrasting against the white field of snow is a great subject, truly isolating the experience of seeing familiar scene elements in a new way.
Because of the relatively low-frequency detail of such winter scenes, it helps to compress the most engaging elements, to control the symmetry of the frame. This can be achieved using an equivalent focal length of 100mm or greater. A 70-200mm lenses are perfect for small groups of trees or shrubs, while a 70-300mm or 400mm lens is better for bringing together mountainous scenes or snow-capped hills.
Using a longer focal length with the best telephoto lenses will also make falling snow more prominent, as compression will make flakes appear larger in the frame. If you wish this to be visible, stop down to f/11 or higher, while shooting wide open or extending the shutter speed will blur this detail, reducing its presence in your shot.
3. Capture reflections
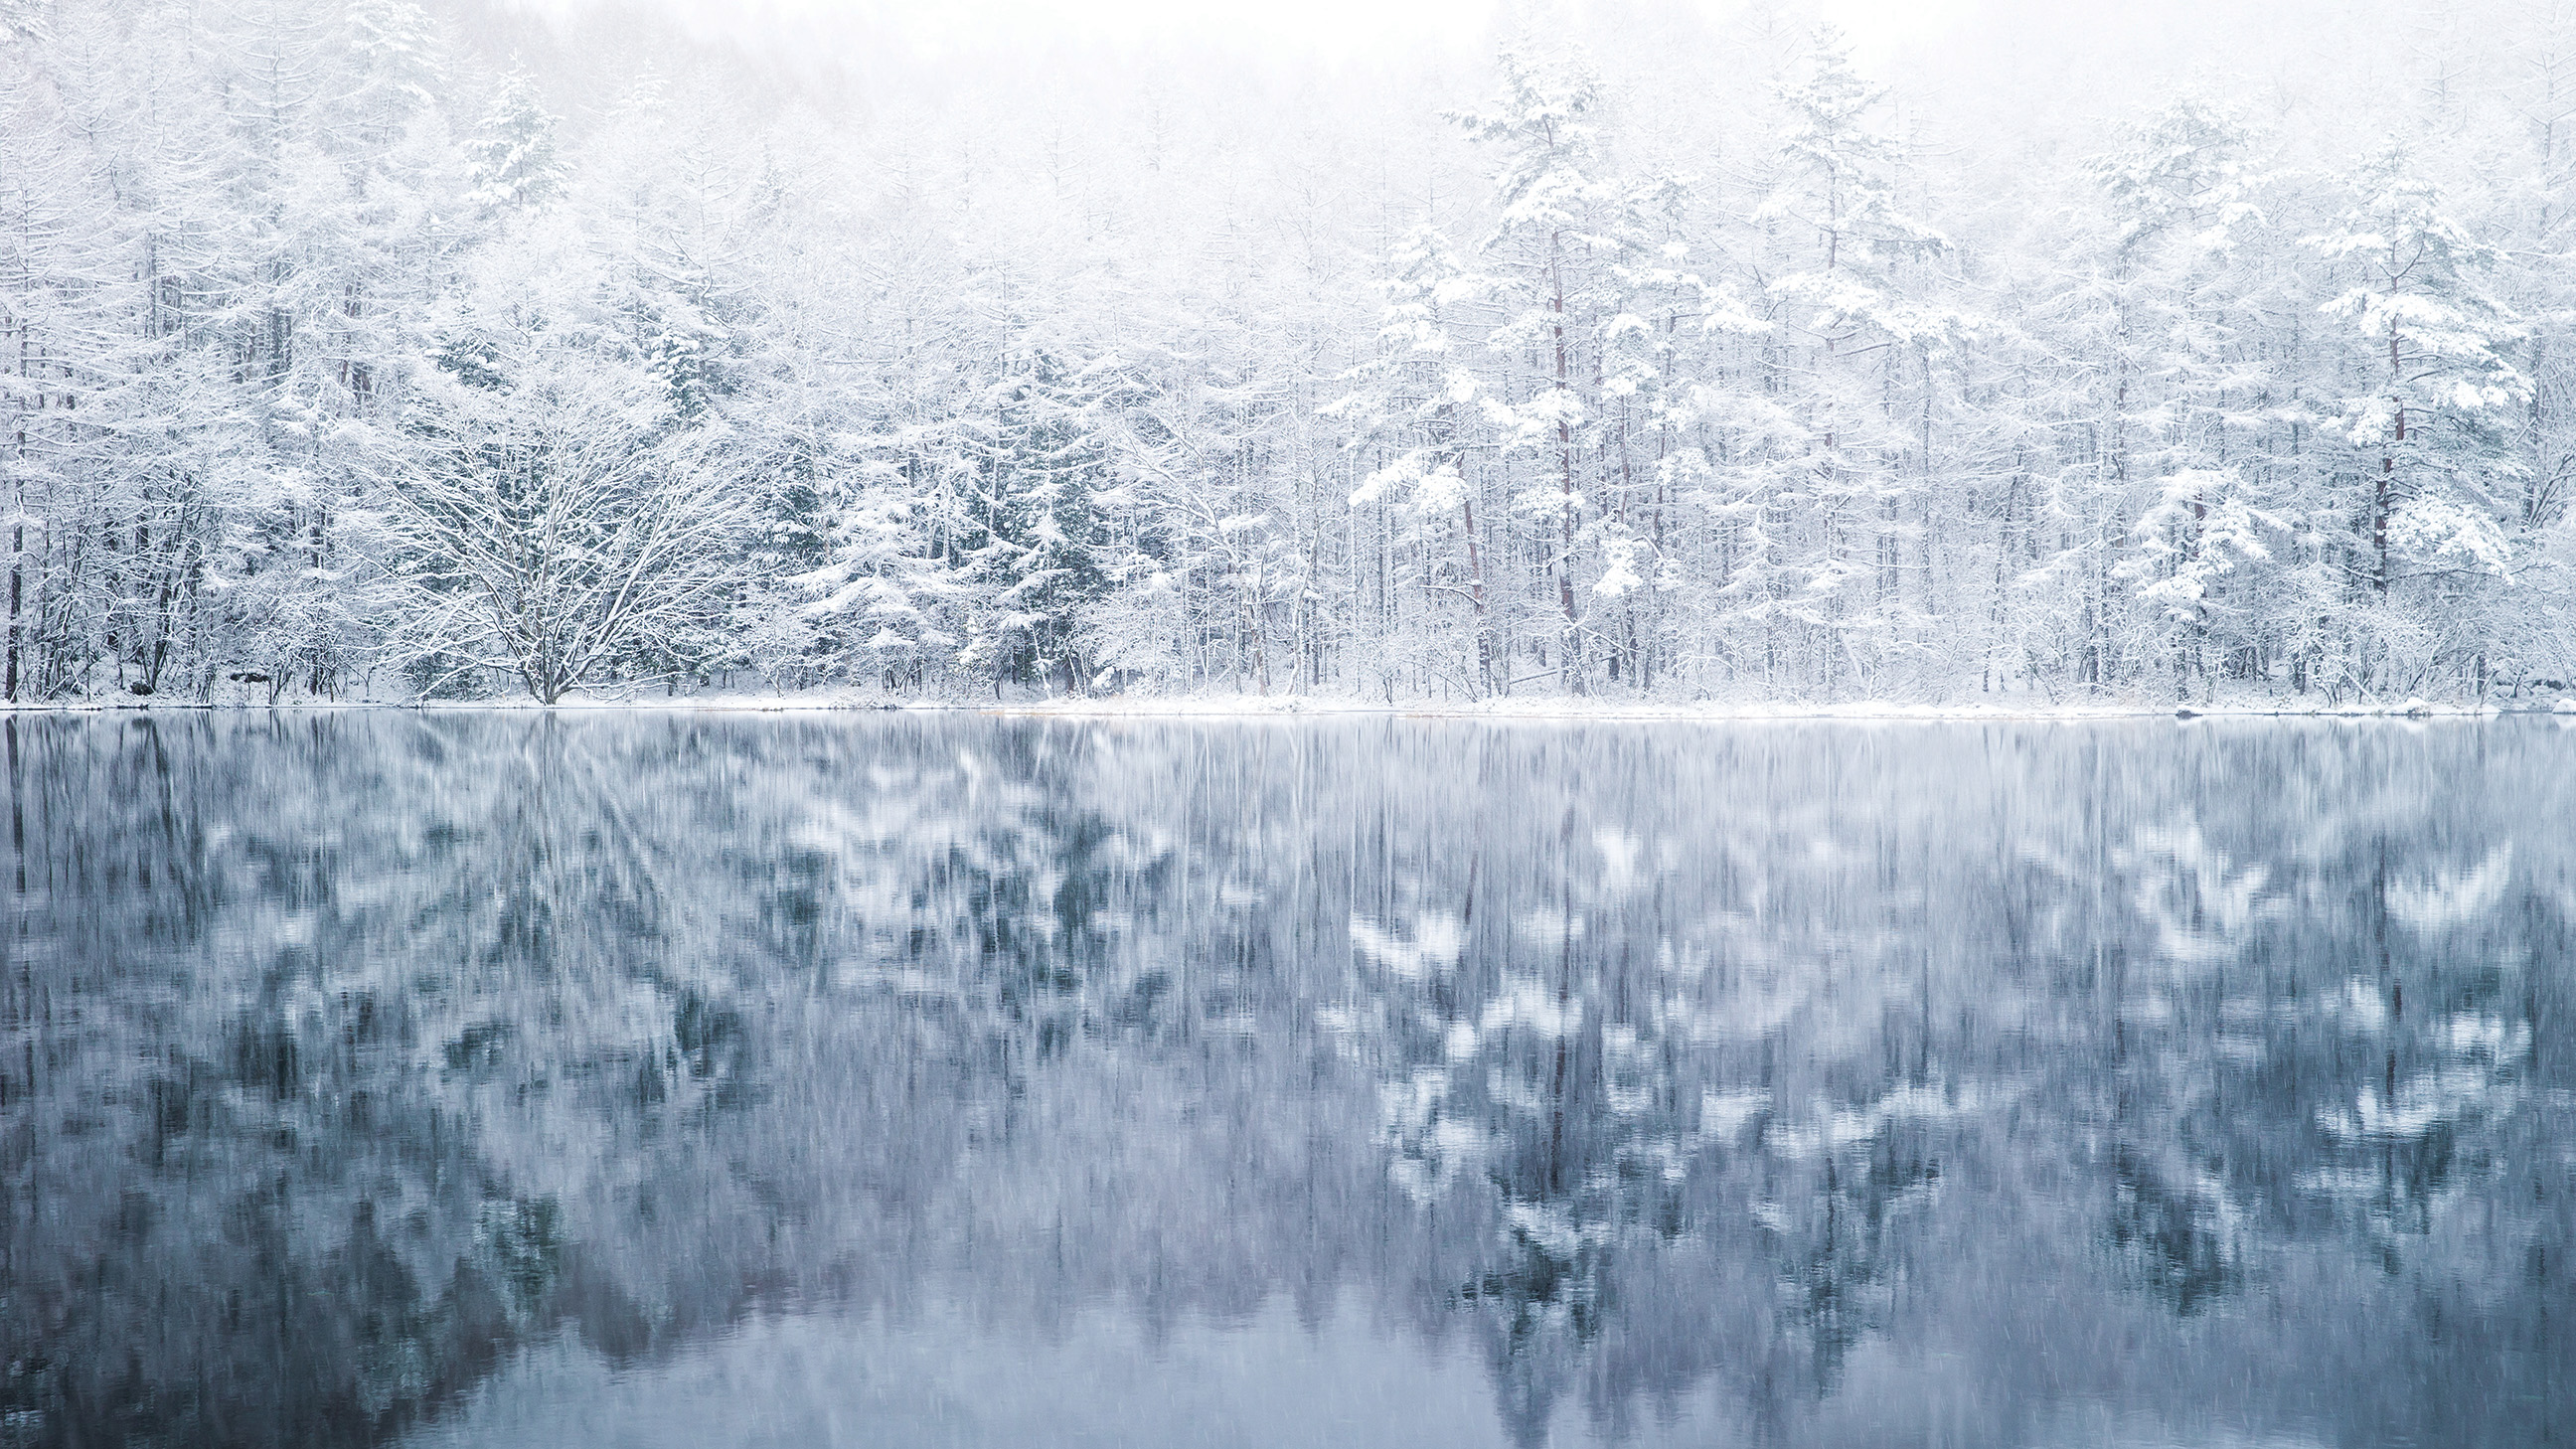
Although winter weather can be changeable and dramatic, in between these periods of low pressure come stretches of high pressure and stable air. When these occur, there is little if any wind, which is the perfect condition for capturing reflections on bodies of water within the landscape. Reflections are potentially tricky to shoot at any time, but if there is snow present, the already challenging exposure requirements are further complicated.
• Photography cheat sheet: camera metering modes at a glance
Reflected images are generally darker because a proportion of the light has been absorbed by the reflective surface itself, so this is not bounced back in the direction of the camera. This often leads to underexposure. Since this is already a danger in winter scenes, even more precision is needed when calculating exposure.
Use Partial or Spot Metering modes for more precise exposure measurement, taking a reading from shadow areas, or alternatively, meter from the reflected image and use +1EV exposure compensation. Then increase this in 1/3 stop increments until happy.
4. Look for color
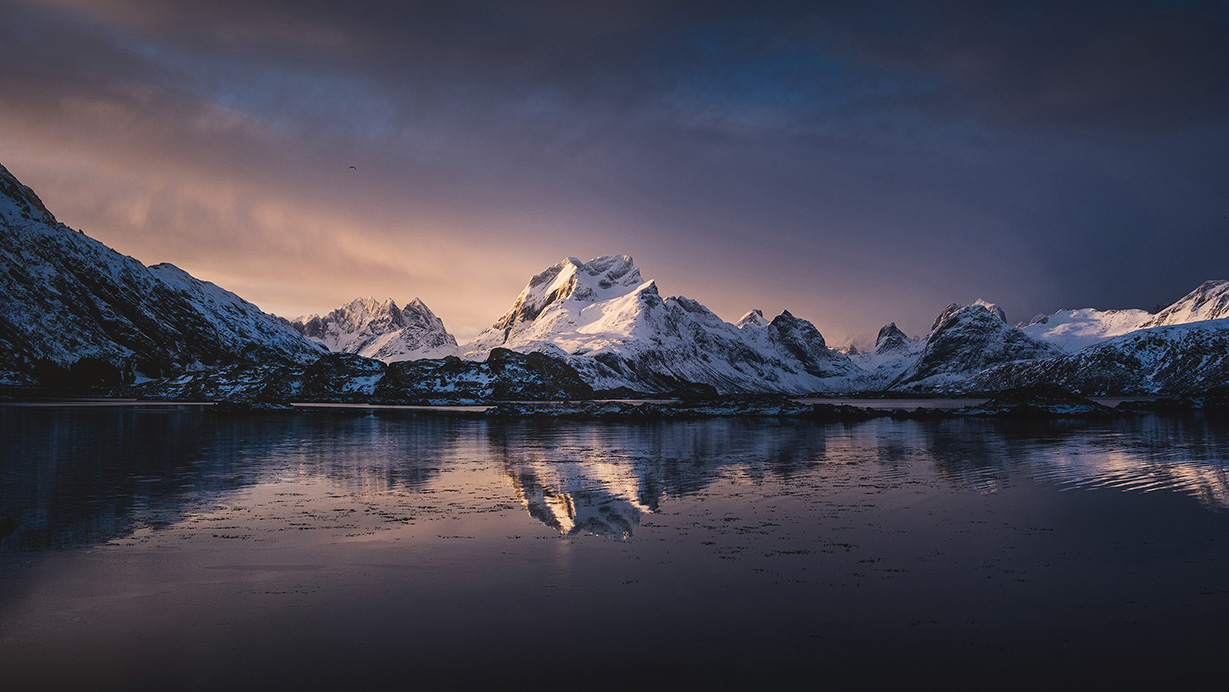
While many winter landscapes seem devoid of bold color, this can often be used to our creative advantage. However, it can also be used as the basis for an organic color-splash-like effect. The software technique of the same name is rarely attractive and has fallen out of favor, but when placing a naturally colorful object in a high-key setting, the results can be extremely eye-catching.
A popular example is to feature a human figure in a winter landscape, wearing brightly-colored apparel. A red coat in a sea of snow immediately draws the viewer’s eye, so when placed at a compositional crossroads, such as at the start of a leading line, this can help you control the audience’s journey. Similarly, colorful winter berries can have the same function in a close-up scene or the plumage of a bird will offer a unique focal point.
5. Capture warmth
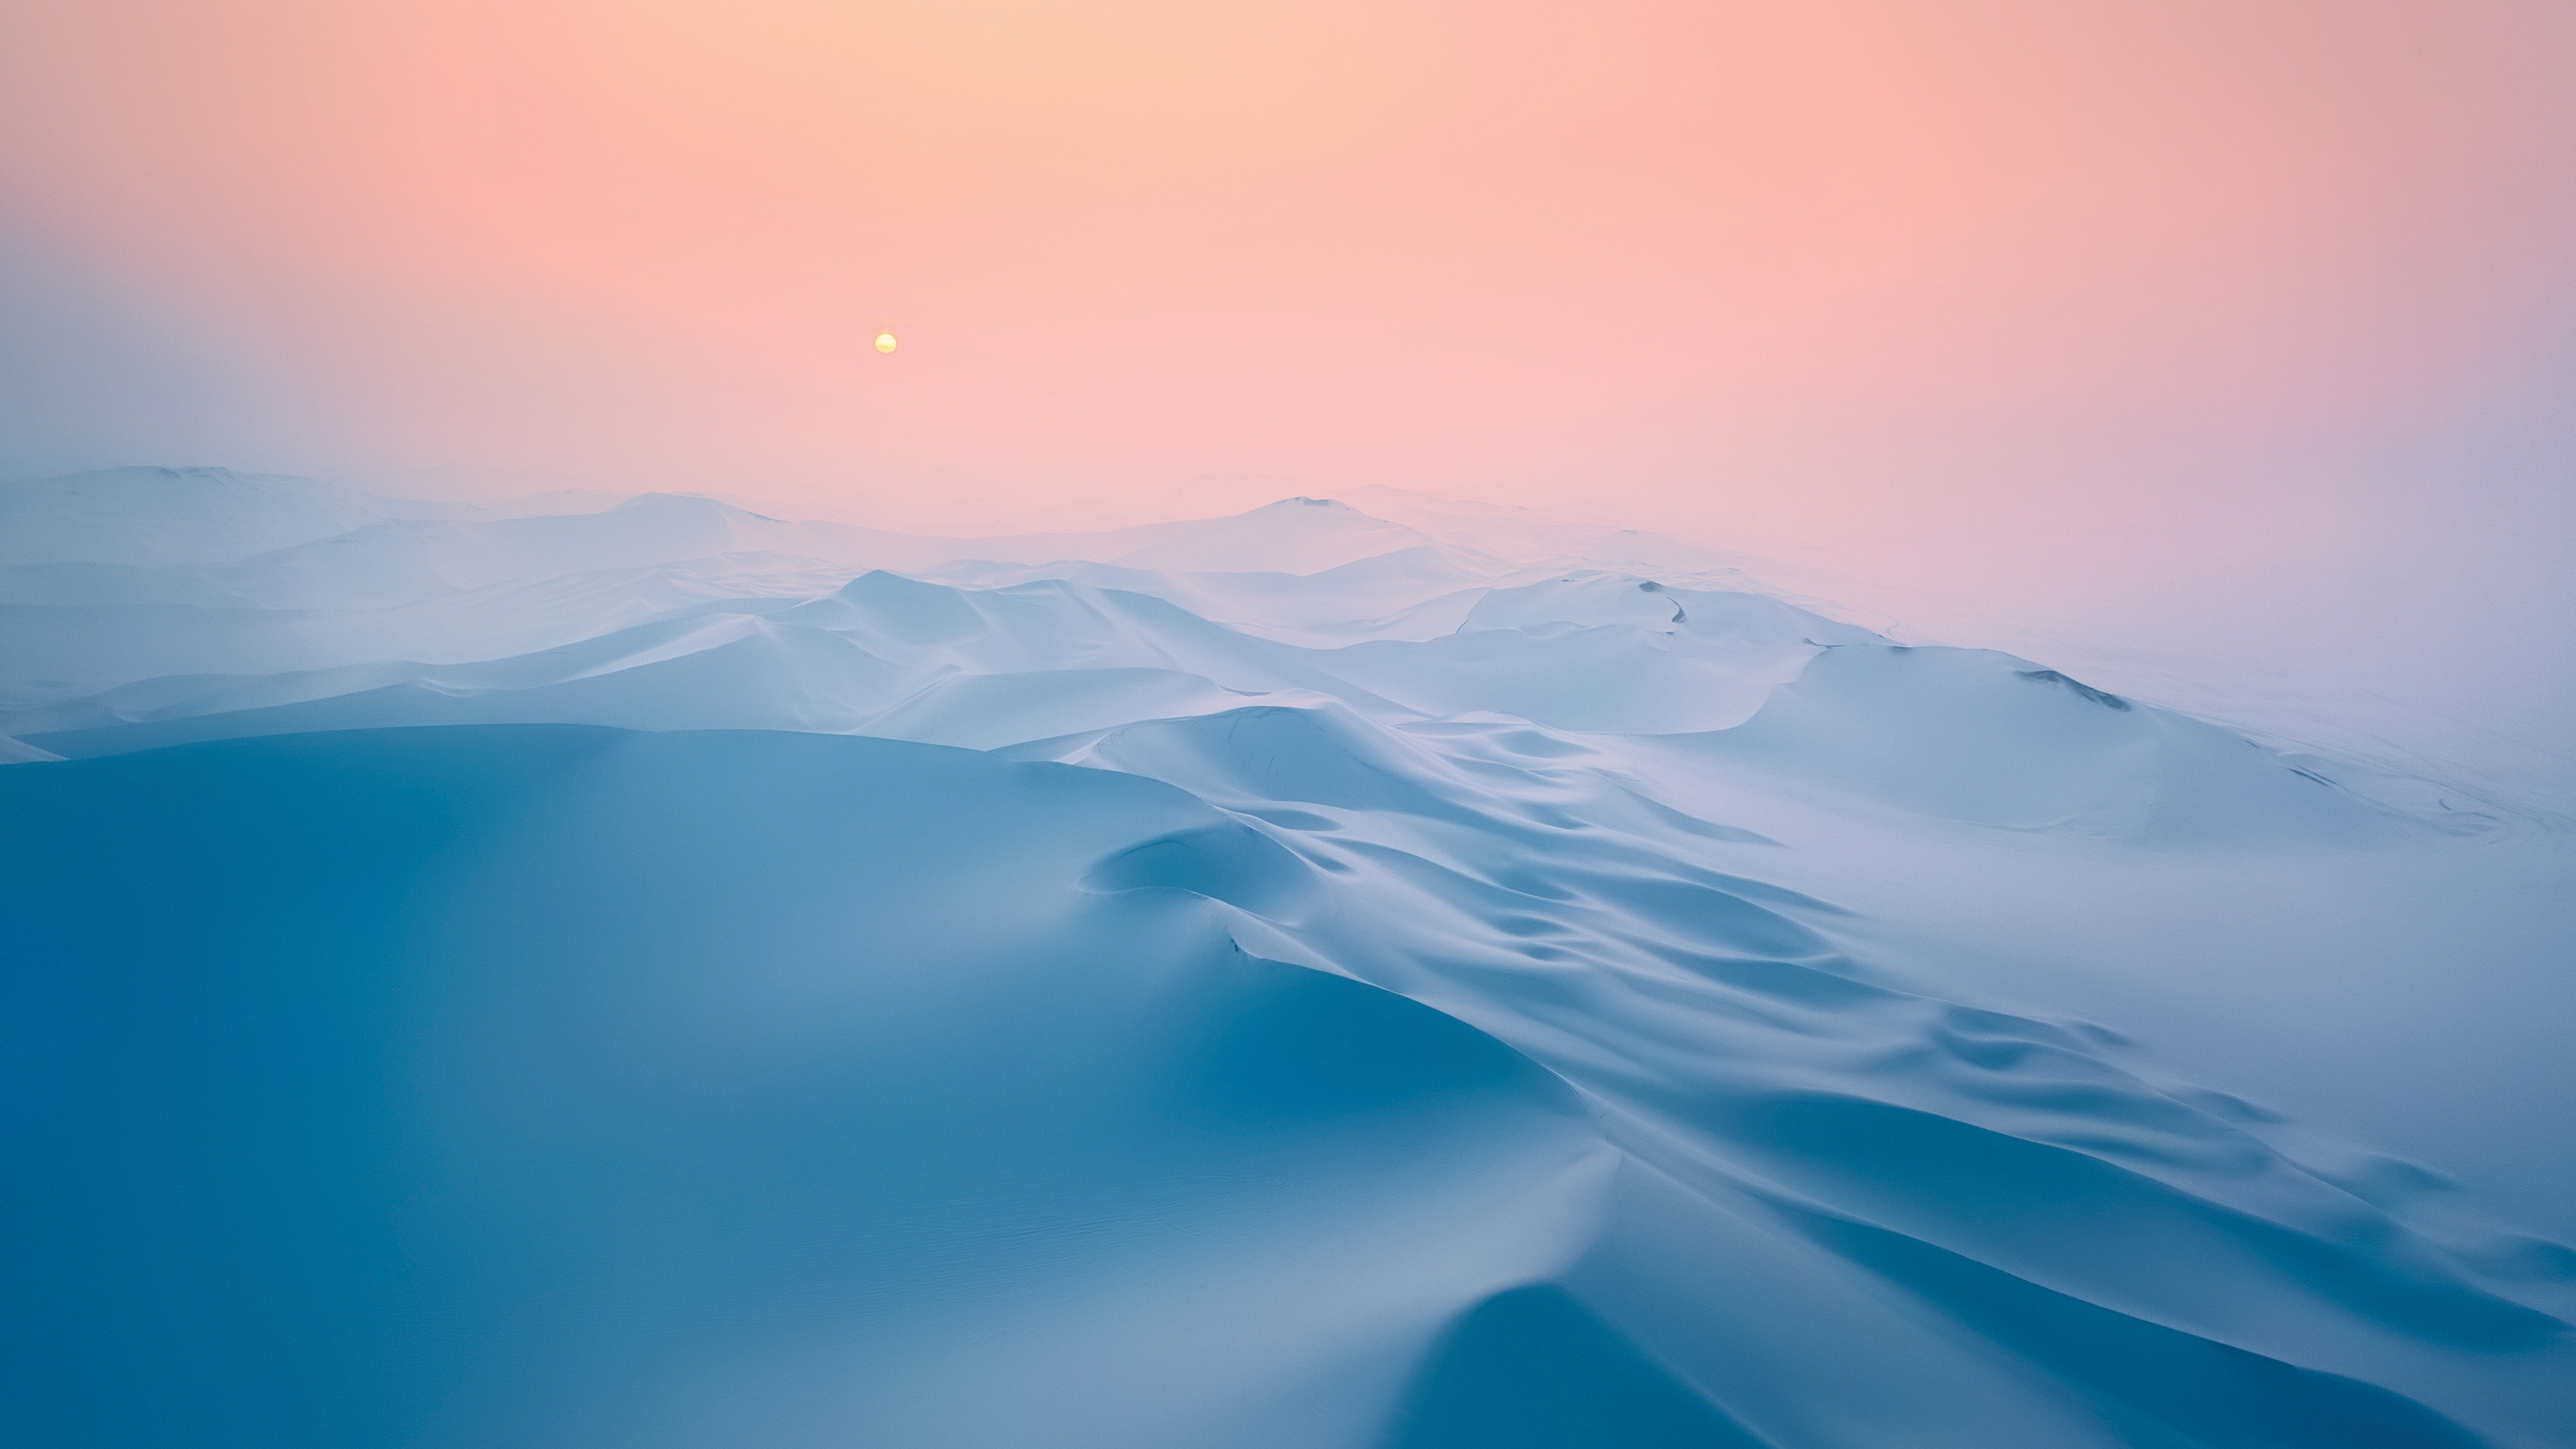
We have learned through reinforcement that winter is defined as a season by shades of blue and other ‘cold’ colors such as magenta and cyan. The association is fairly self-explanatory but is not always justified.
Firstly, we only tend to think of these colors as cold because of the winter connection. Secondly, the winter months are populated by some of the fiery, dramatic golden hours seen all year. Yes, it is easy to let blue creep into the shadow areas but to represent the full-color palette winter provides, we must include these low Kelvin colors too. Shoot in RAW format and adjust the color temperature in a localized way, introducing a contrast of colors across the image.
• What is White Balance? Find out more
If your image is looking too blue but a ‘warmer’ White Balance such as Shade or Cloudy strips away its natural presence, look for something to reflect any reds and oranges in the sky. Frozen lakes or pools can break up the composition by adding reflected sky color to contrast against the surrounding snow.
6. Balance the blues

How you control white balance in winter landscapes depends on the lighting in the scene. Snow in a cloudy blue hour is different from snow in a warm golden hour. The most important thing is to ensure you have as much data as possible in the file so you can ensure it’s correct later on at the processing stage, and this means ensuring the image is properly exposed.
Most modern cameras are pretty good at exposing for winter scenes, but it is better to expose to the right to ensure the snow is as bright as possible, without clipping. The closer to the mid-tones and shadows, the more the snow takes on a color, and removing it can degrade the file.
At the processing stage, it’s about understanding the mood of the scene and adjusting the white balance and tint to suit. A slight blue in a cloudy scene feels natural, but in a sunny scene, try to keep the snow as white as possible and remove any blue present. What’s important is that you shoot in RAW so you can adjust the white balance in photo editing software.
7. Show movement
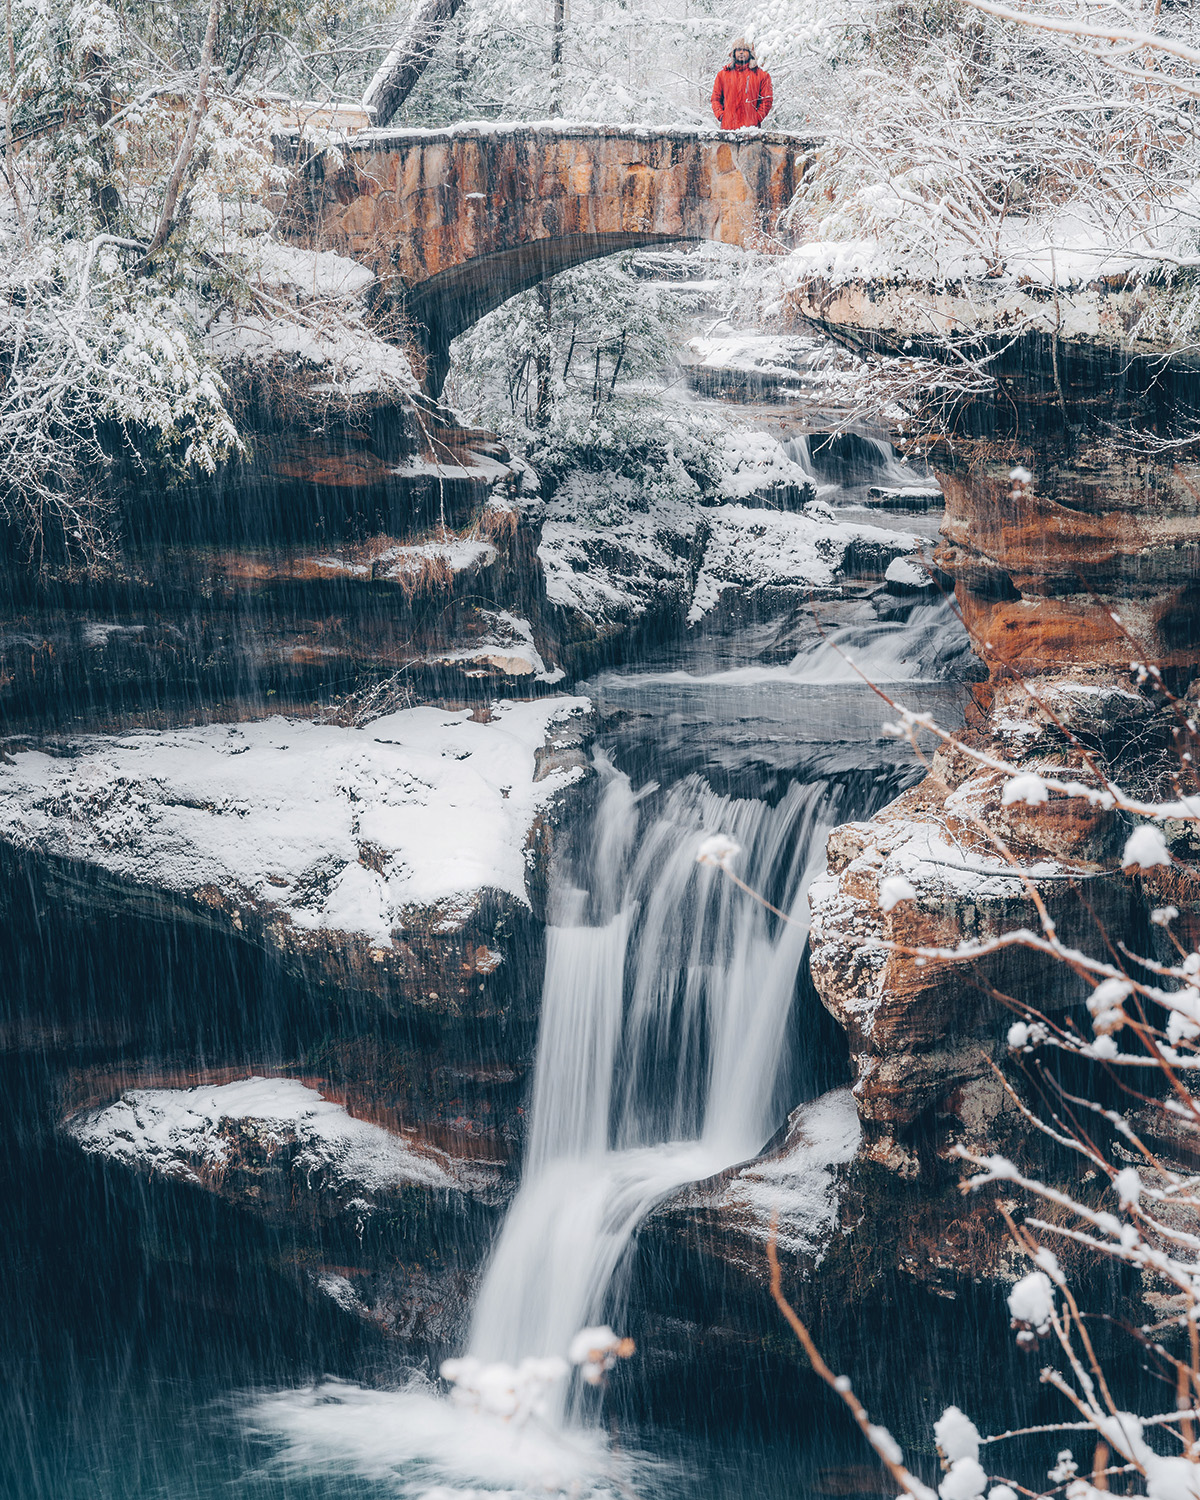
Stillness can be a fantastic attribute of winter landscape scenes and is one of the defining characteristics of the season, especially after heavy snowfall. However, on occasion, the lack of detail can produce a flat shot with little in the way of drama or energy. Showing motion is an effective tool in all landscape imaging but in winter scenes it can make or break the shot.
When presented with white-out conditions, assuming it is safe to head out and shoot, it is worth finding a moving subject first around which you can base your images. A stream, river or waterfall are all perfect contenders as they are large enough in the frame for the motion to be visible.
• Read more: What makes beautiful landscape photography?
Moving water is effective because it will either complement the soothing qualities of undisturbed snow, or it will contrast well against sharp forms, such as frozen rocky outcrops or bare tree branches. In heavy snow showers, make an asset of drifting flakes by extending the shutter speed slightly, to convey its movement. Shooting at approximately 1 second will trace the motion, amplifying the impression of blizzard conditions.
Try shooting falling snow against an area of darker trees, to make flakes stand out more clearly. Combining multiple frames in your editing software will also create a stronger effect.
8. Shoot the details
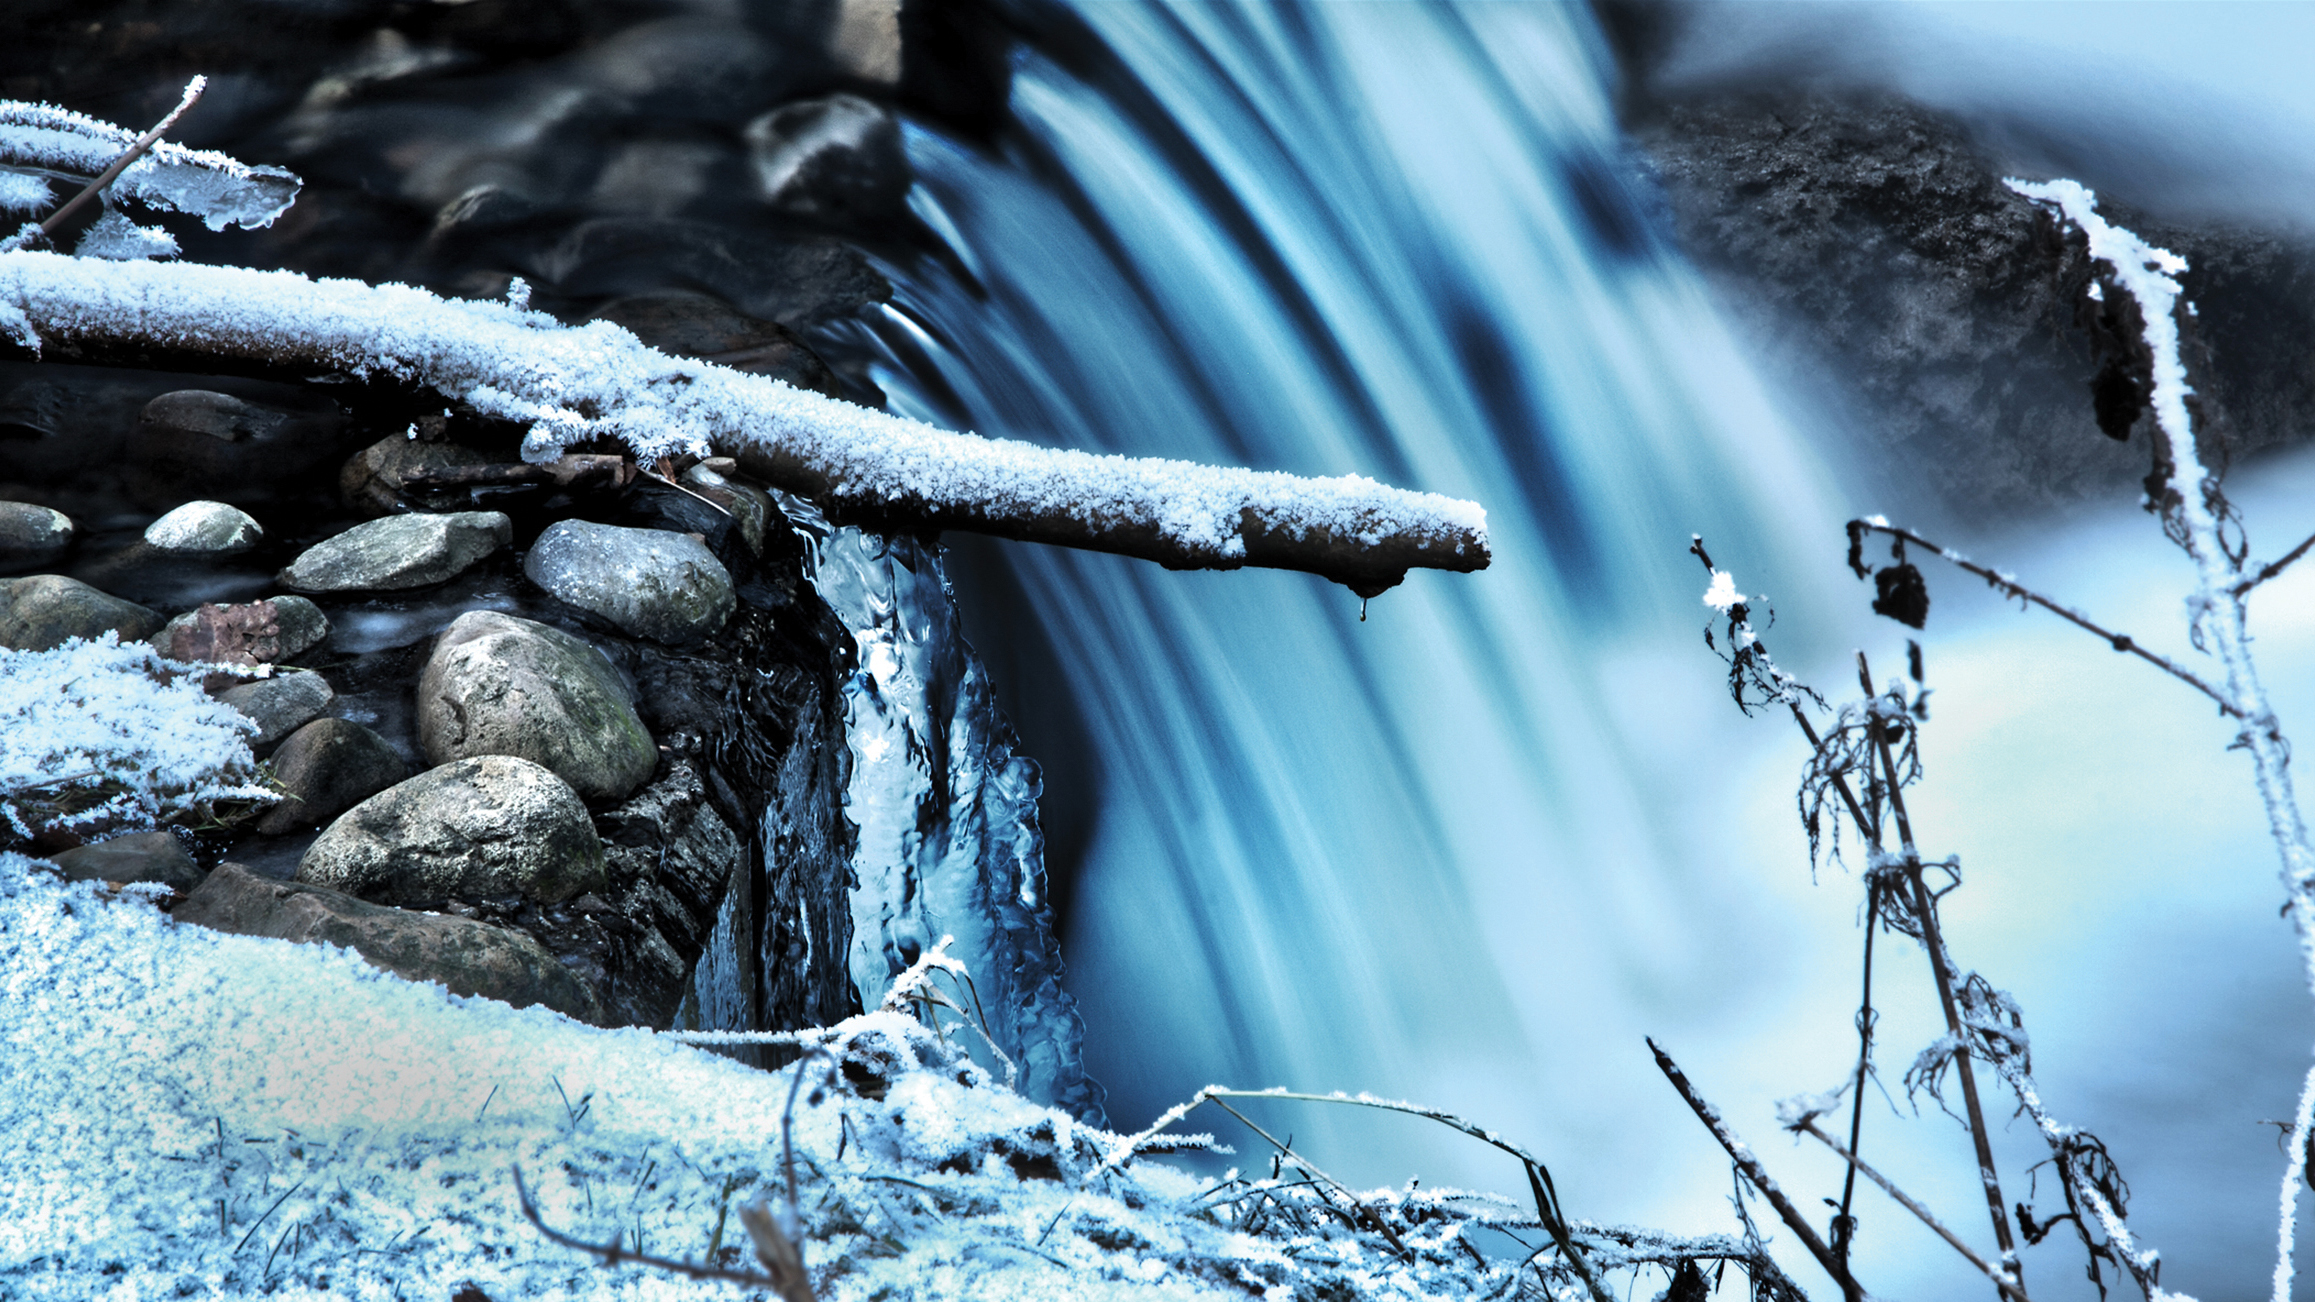
It’s tempting to focus on sweeping vistas in the winter season, mostly because of the pressure to ensure our images have enough detail to hold the viewer’s attention. However, there are also many smaller-scale opportunities to form a narrative.
On stock photography websites, detail shots of larger subjects are often prominent. The last remaining vegetation pushing through the snow layer, a drystone wall with a subtle snow dusting or a robin sitting on a fencepost – these elements convey more visual information about objects that would otherwise be lost in wider-framed scenes.
Other points of interest might be cracks in the ice, bubbles of air caught under the frozen surface of a lake or frost on leaves. Make sure to limit background visibility to ensure that each detail is given room to breathe.
Digital Photographer is a monthly magazine, and the kitbag essential for pros, enthusiasts and amateurs alike!
Inside, you'll find practical guides, shooting tips and techniques from working photographers, plus all the latest industry news.
As the Editor for Digital Photographer magazine, Peter is a specialist in camera tutorials and creative projects to help you get the most out of your camera, lens, tripod, filters, gimbal, lighting and other imaging equipment.
After cutting his teeth working in retail for camera specialists like Jessops, he has spent 11 years as a photography journalist and freelance writer – and he is a Getty Images-registered photographer, to boot.
No matter what you want to shoot, Peter can help you sharpen your skills and elevate your ability, whether it’s taking portraits, capturing landscapes, shooting architecture, creating macro and still life, photographing action… he can help you learn and improve.
- Lauren ScottFreelance contributor/former Managing Editor
