Beauty photography: 10 things you need to know before you start shooting
Jade Keshia Gordon shares all you need to know before you start shooting beauty and fashion photography
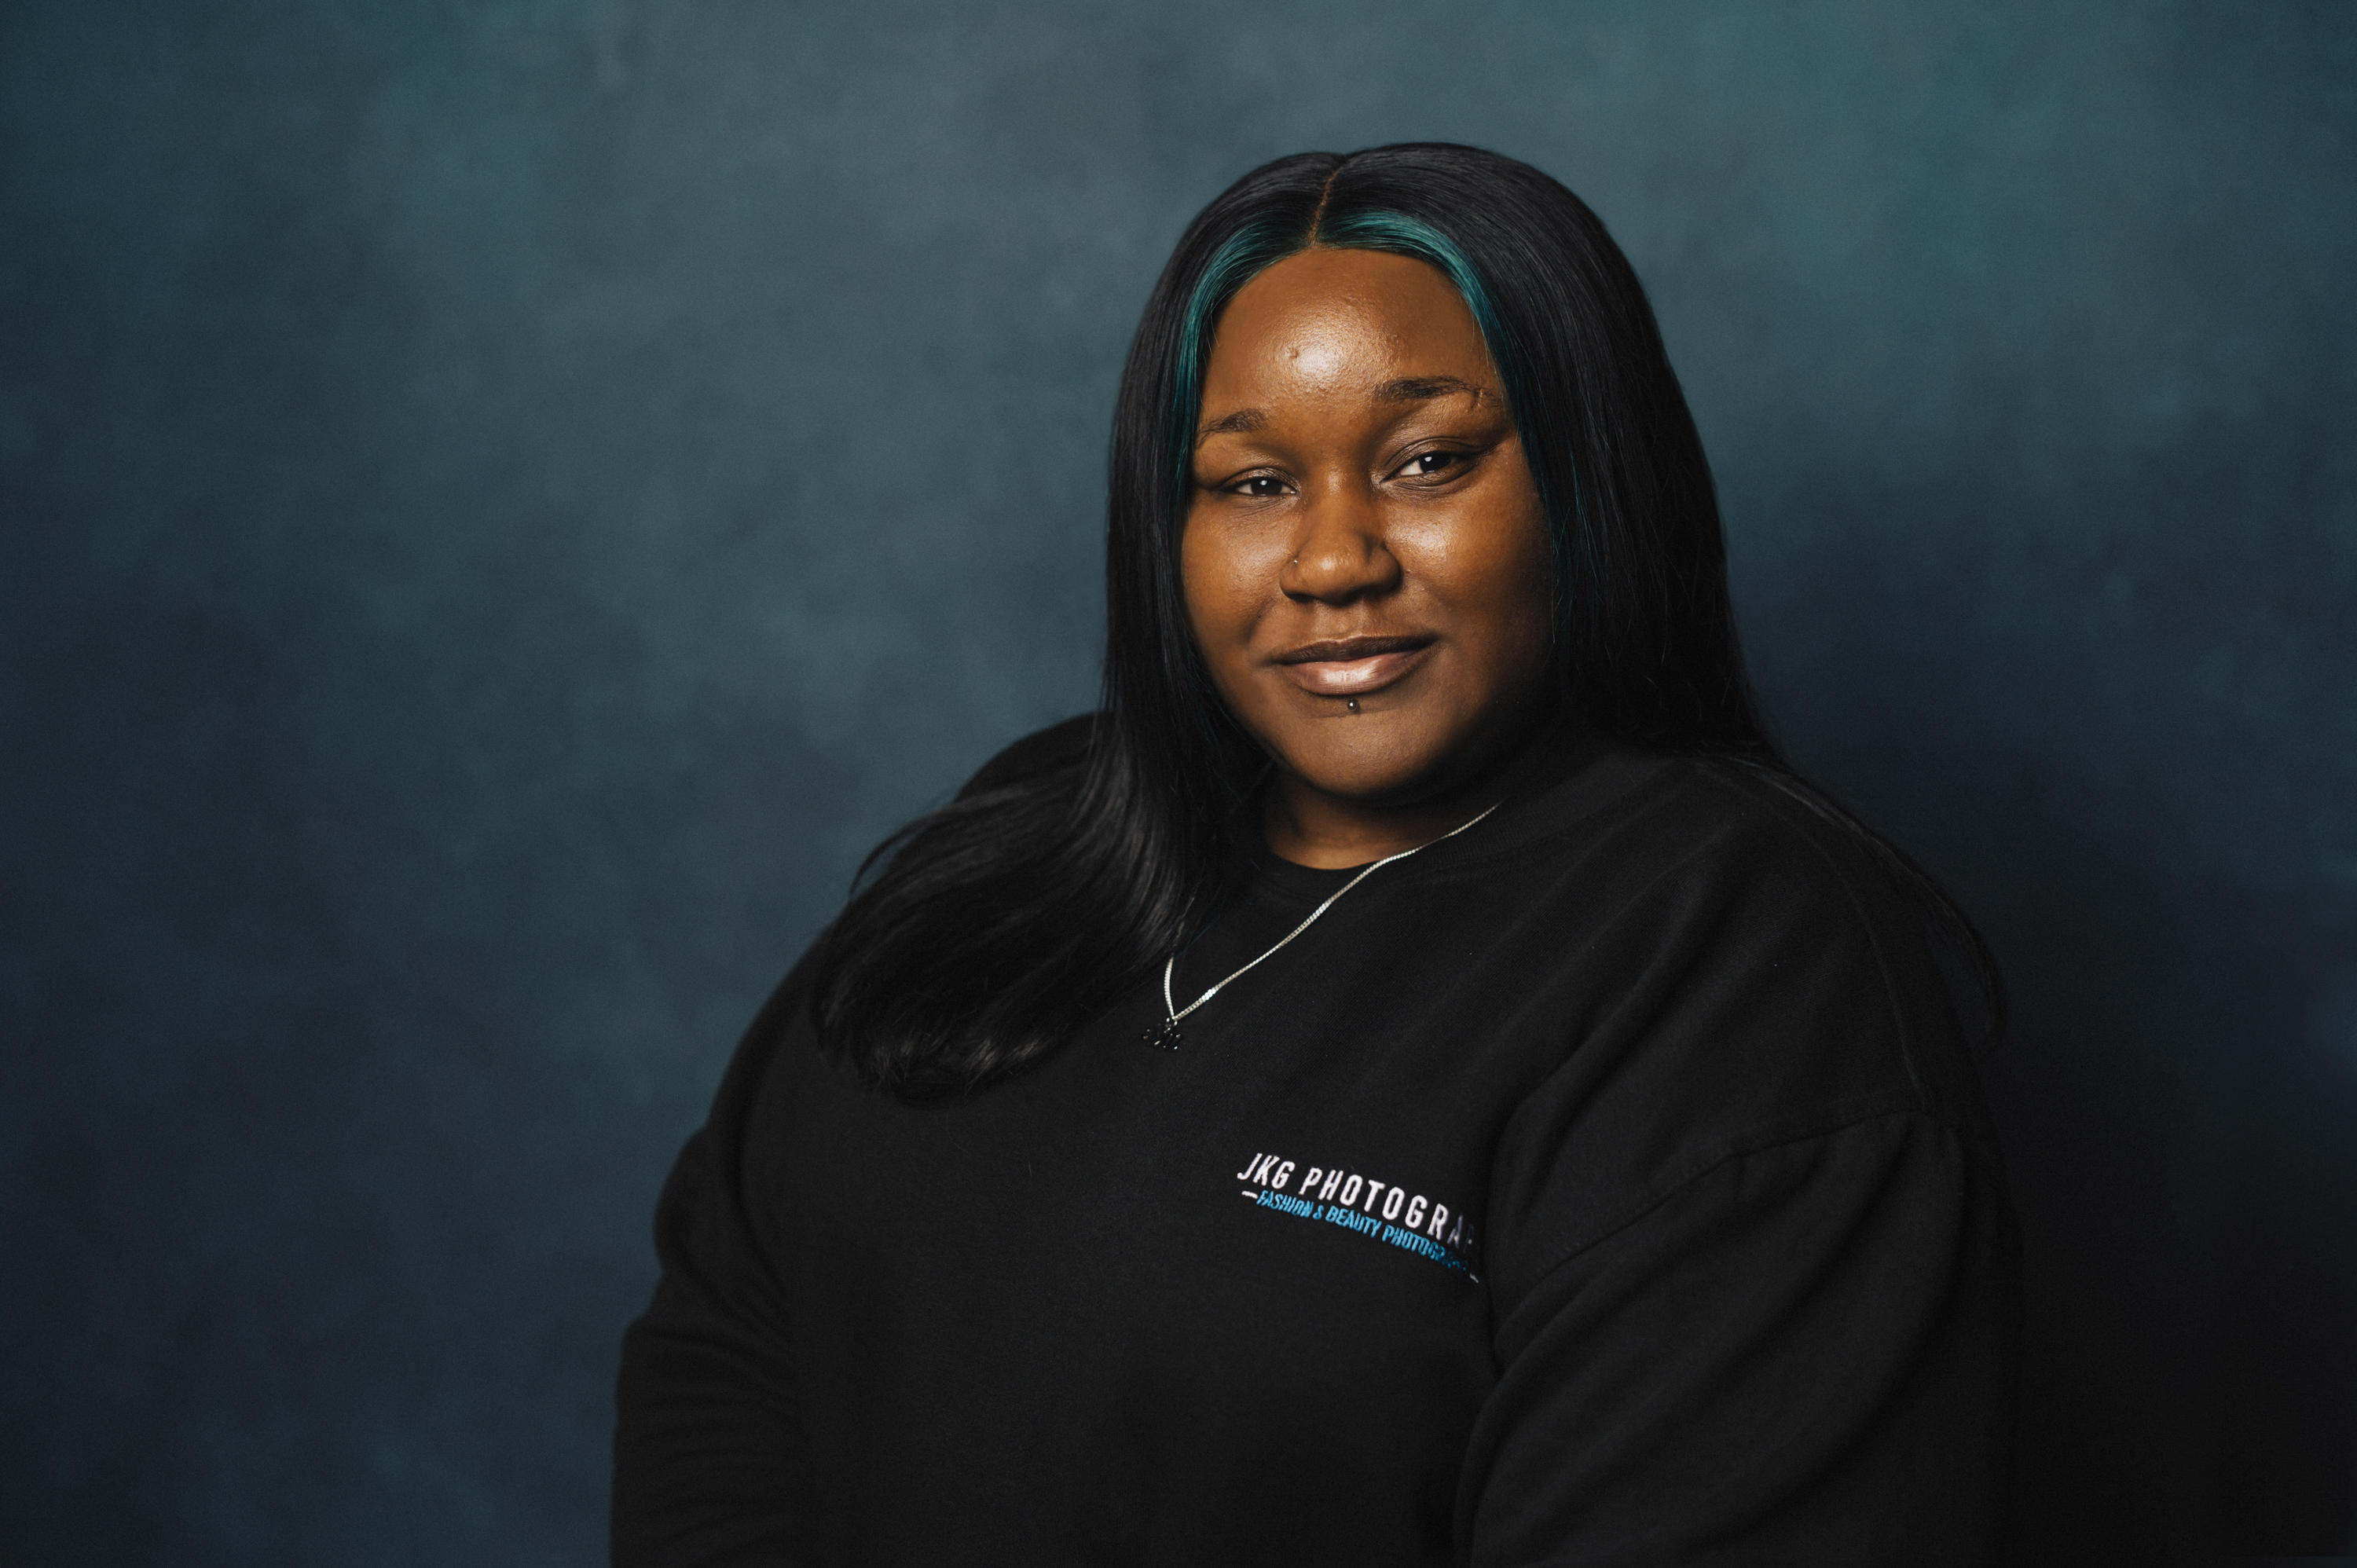
Jade is a professional beauty and fashion photographer based in London, and has been taking portraits for more than a decade developing her signature style.
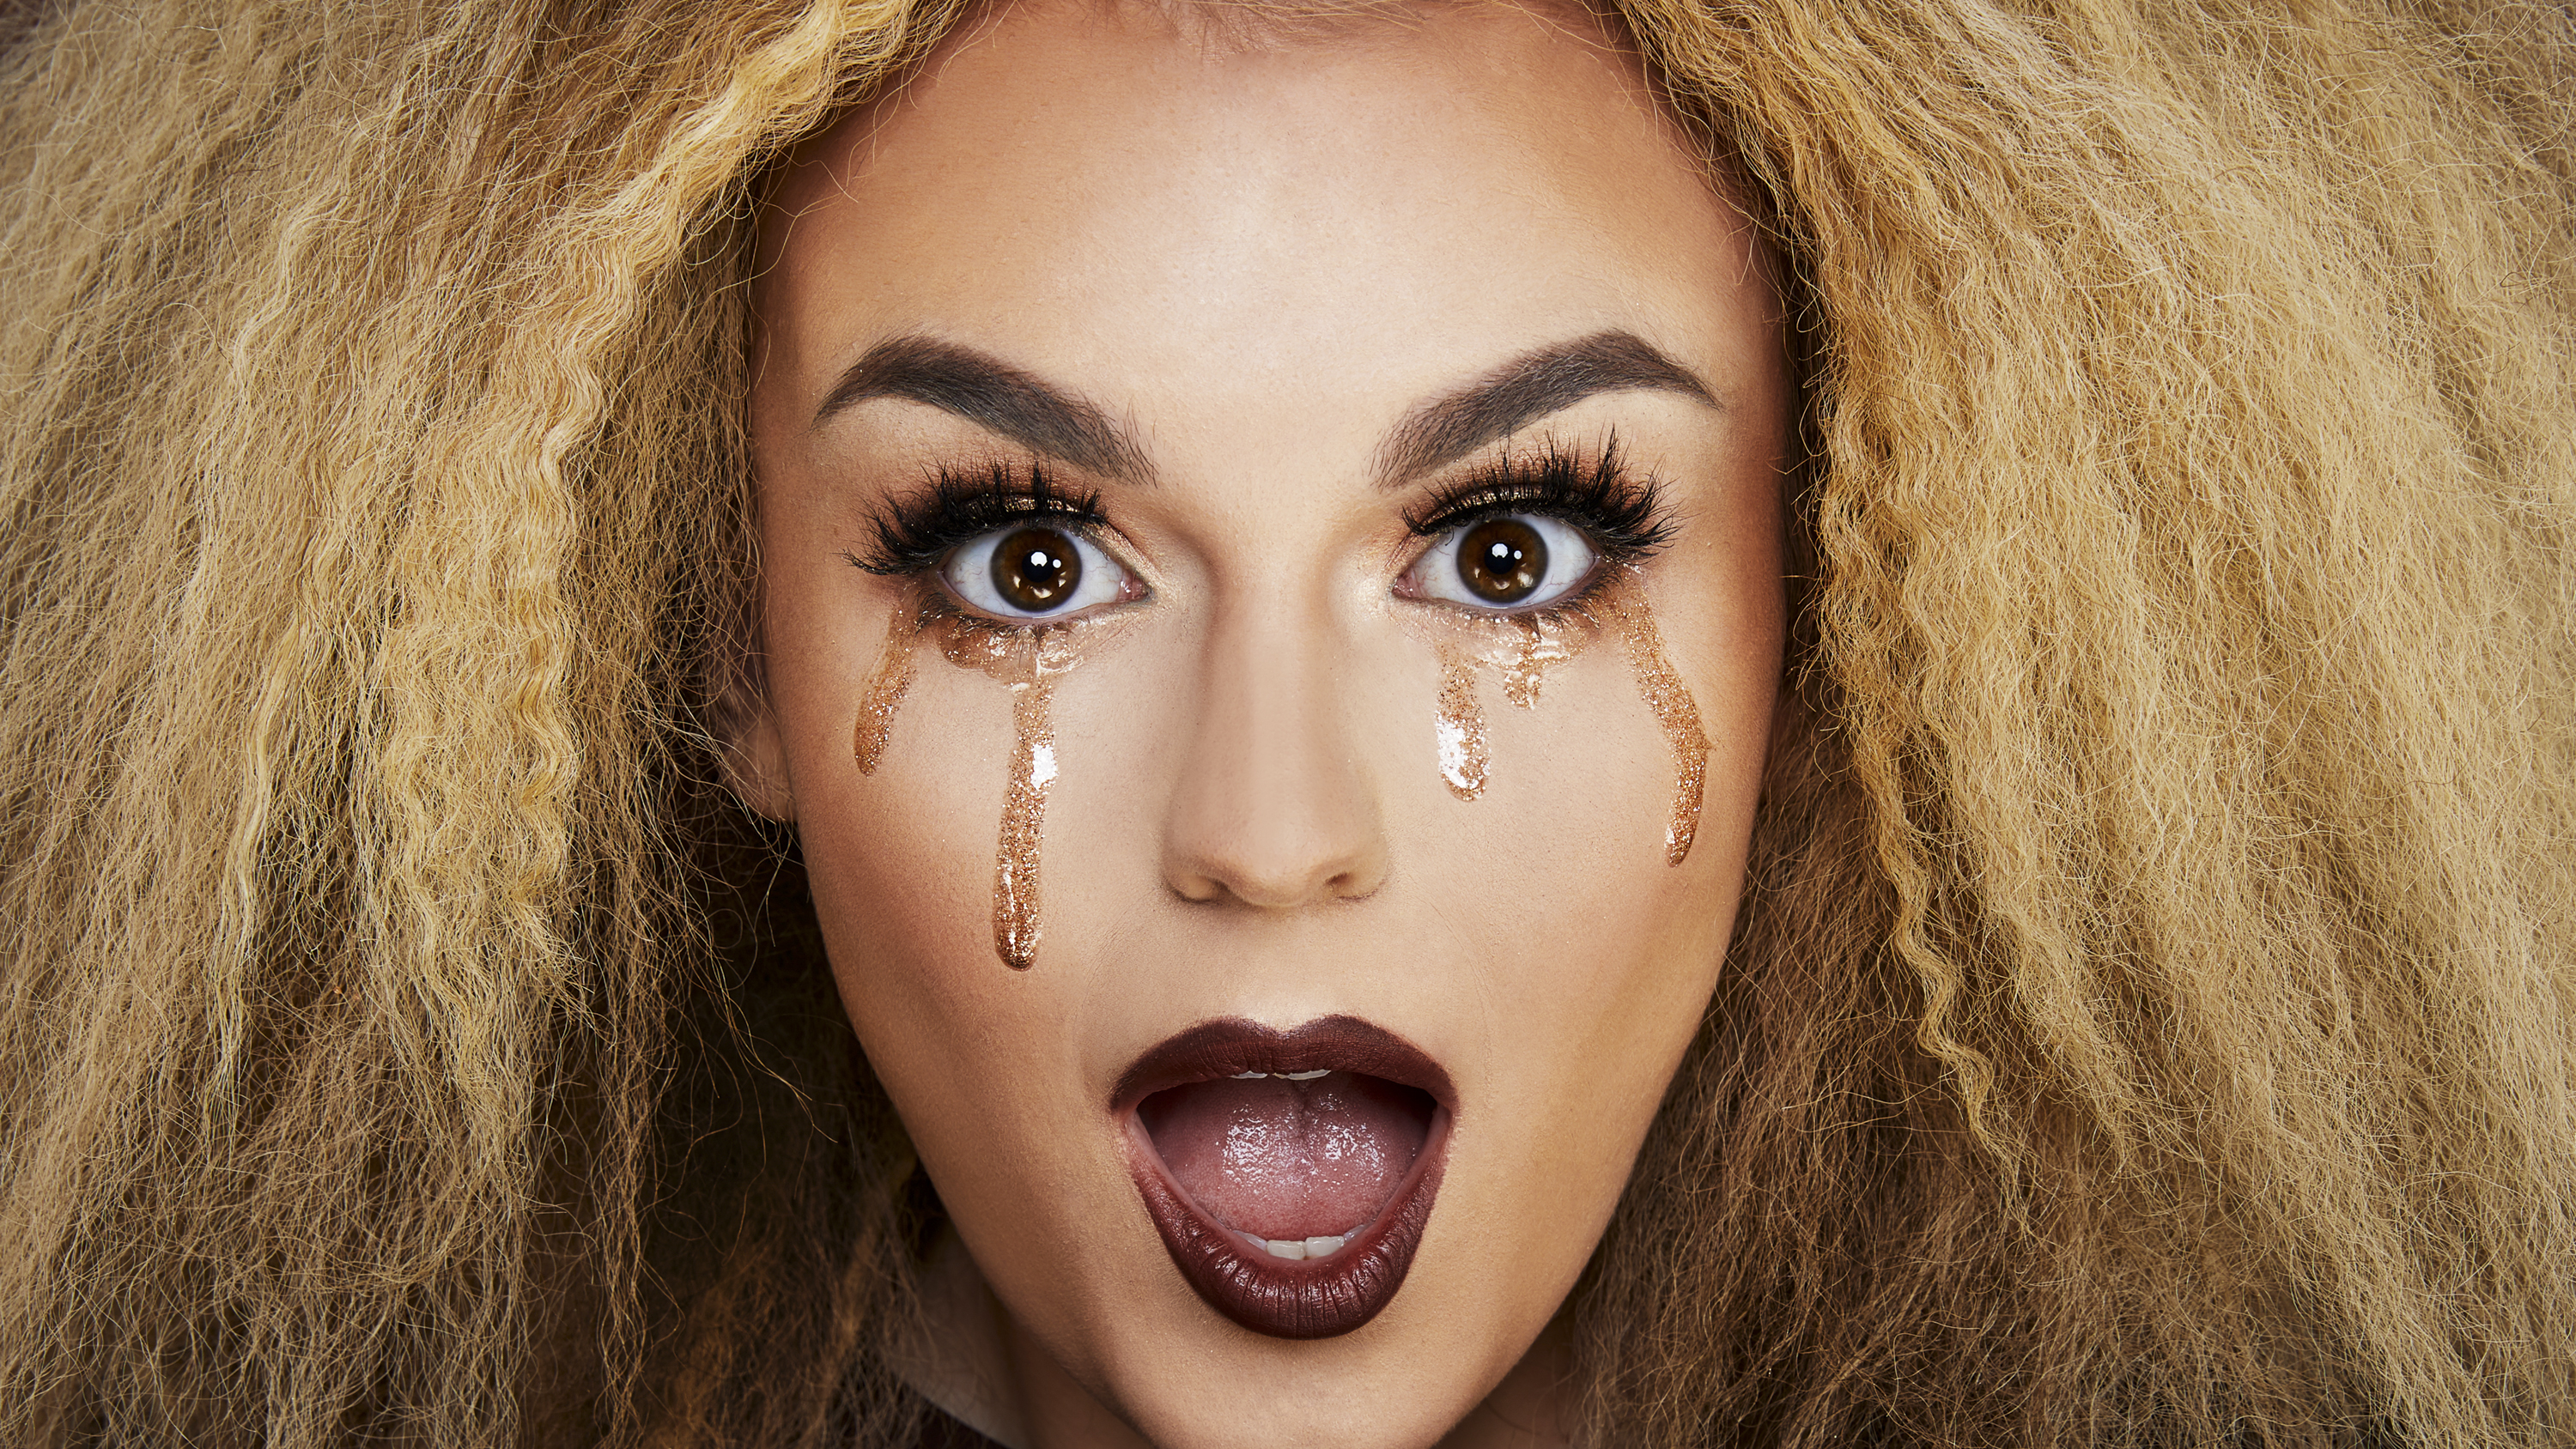
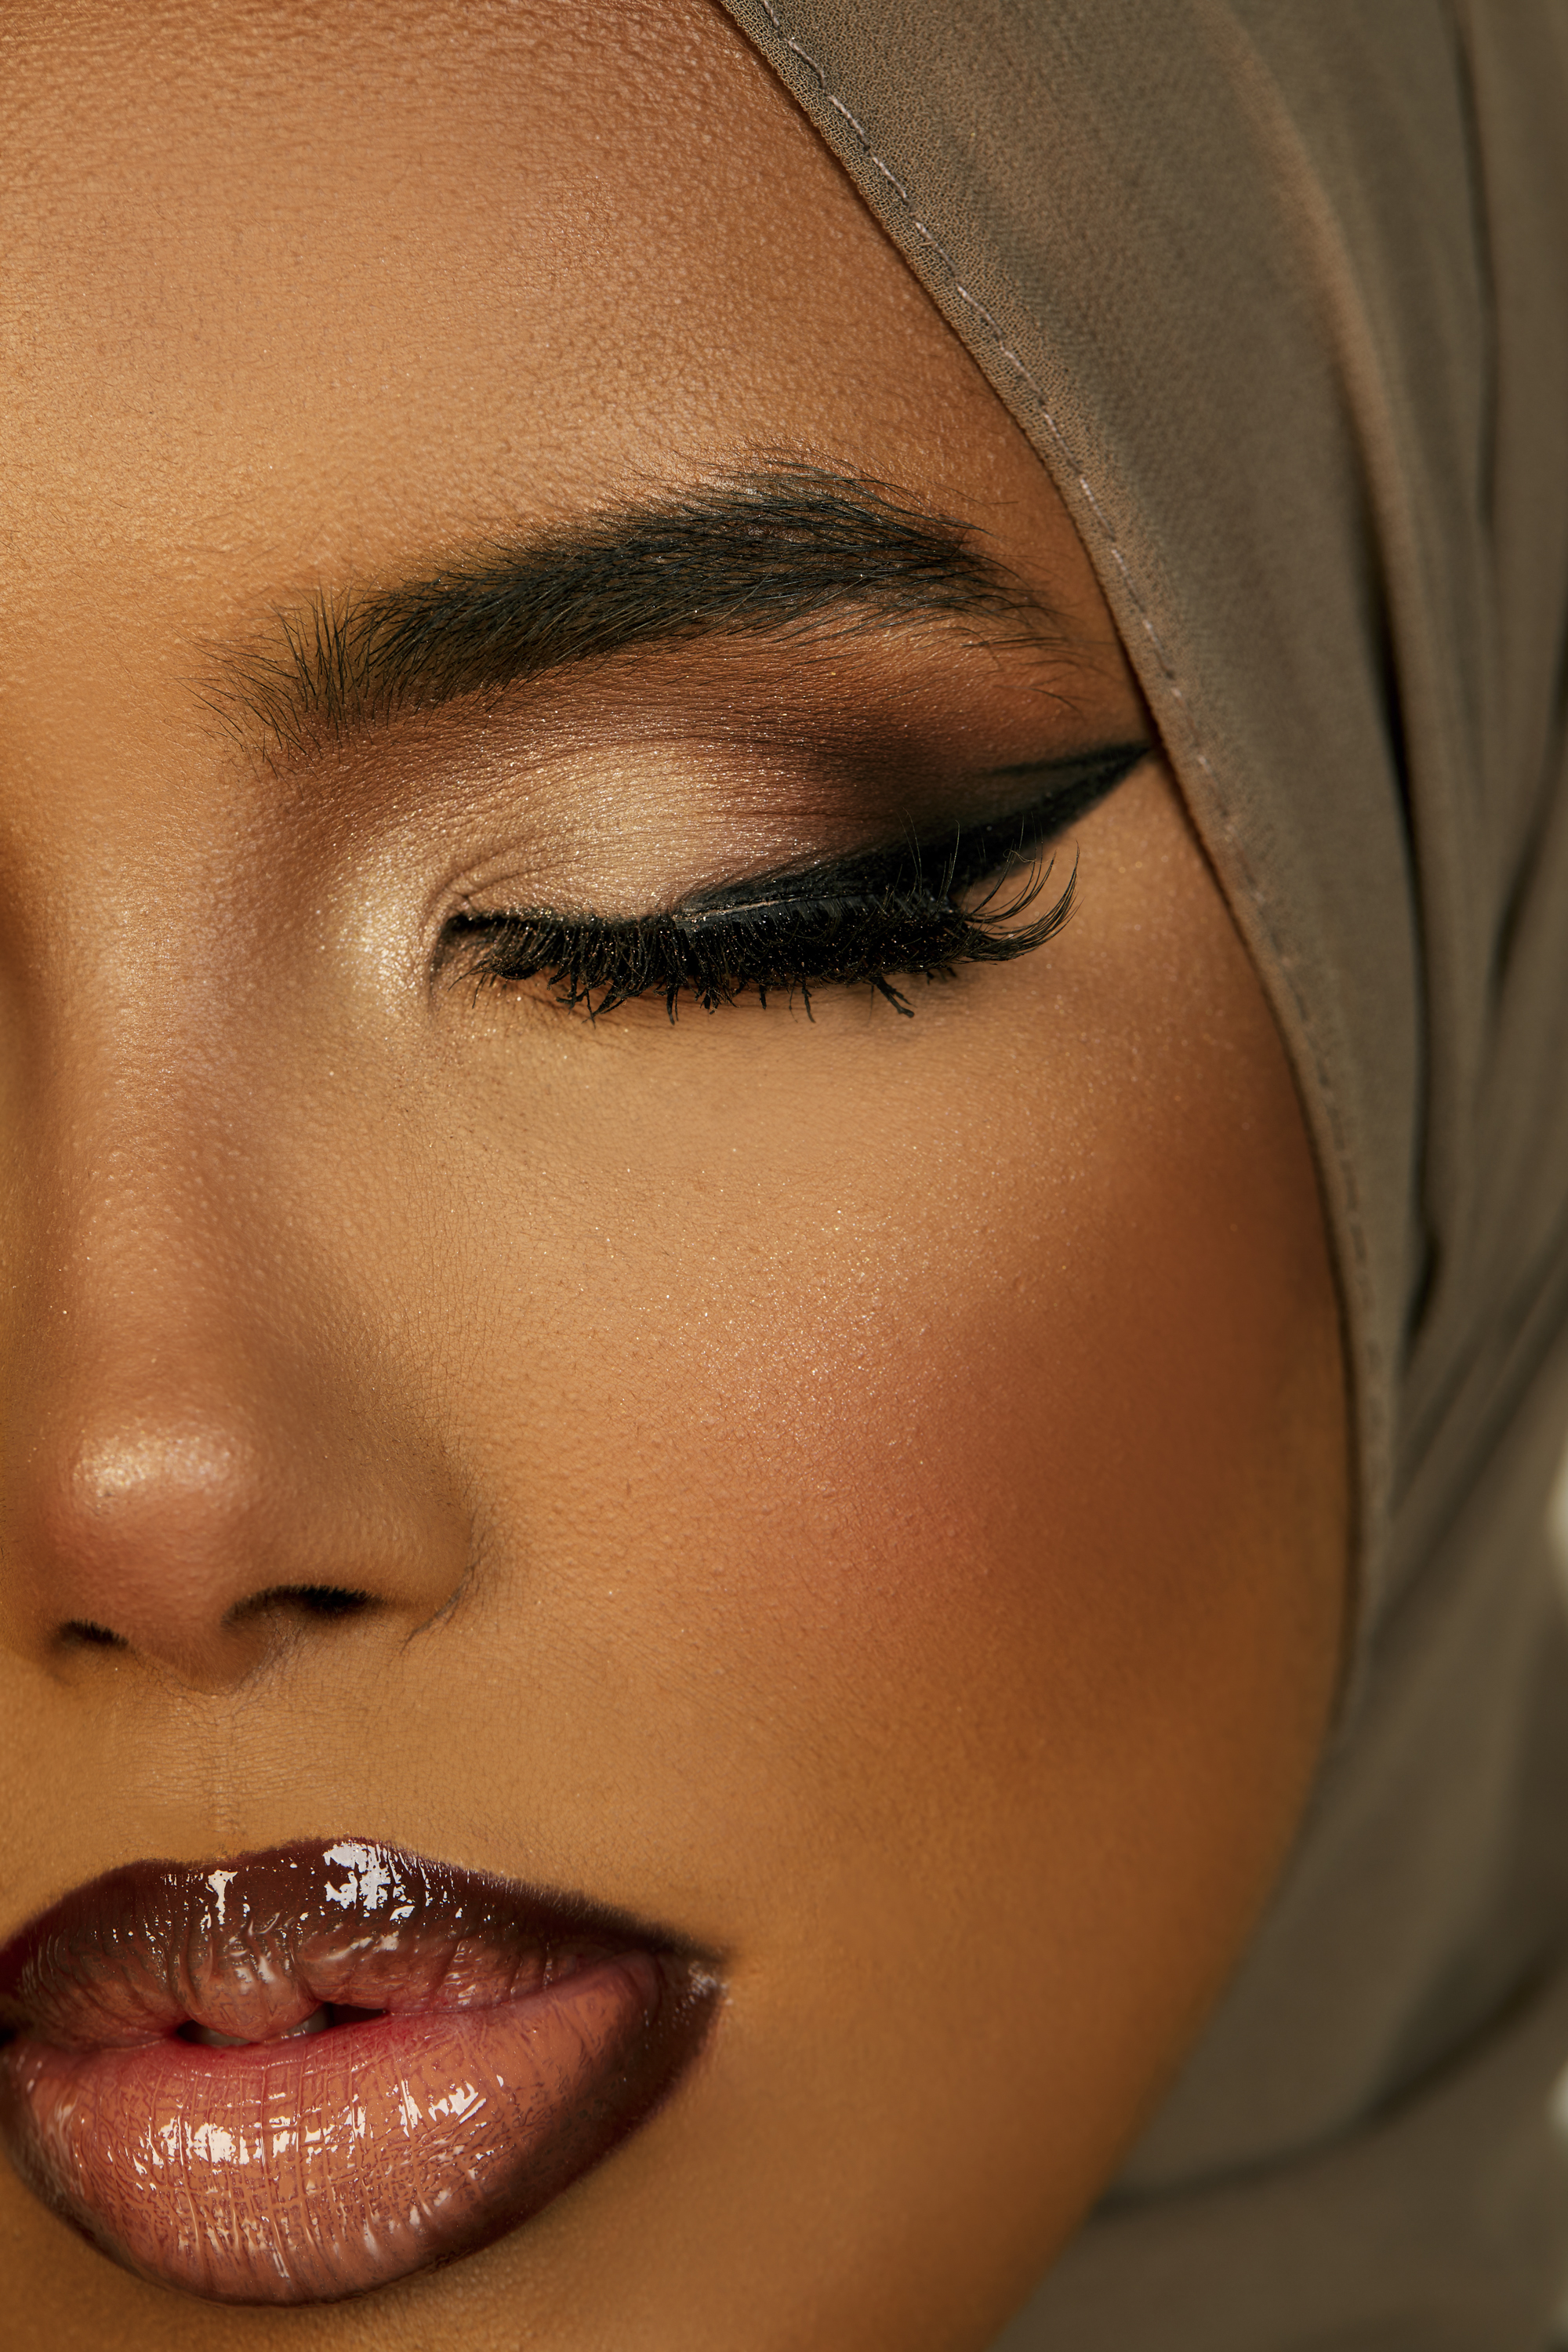
Beauty photography is the name given to the practice of shooting close-up images of subjects – you'll be typically getting much closer to models than a standard portrait, and will be aiming to highlight their features for commercial use, adverts, magazine spreads and brands.
I've been shooting beauty for a while, but over the years I’ve made many mistakes with this style of photography, whether it's not having the right lens, not being prepared to simply not lighting the model correctly.
Below I’ll list my 10 top tips for making sure you know all you need to know before you start shooting – so that you don't make the same mistakes that I did.
1. Use a macro lens
Finding the right lens for beauty photography is key, but it's not immediately obvious what optics will serve you best. I currently use the Canon 100mm f/2.8L macro lens (you can find out why here) and this was something that I invested in just shy of two years ago.
The lens was created for shooting details, so you can imagine my excitement when I first used the lens on my beauty shoot and it captured everything, and even allowed me to get close to the lip and eye make up to get singular shots of these features. Due to the focal point I believe that it enables the user to create flattering close up shots that we crave as beauty photographers.
2. Having the right team
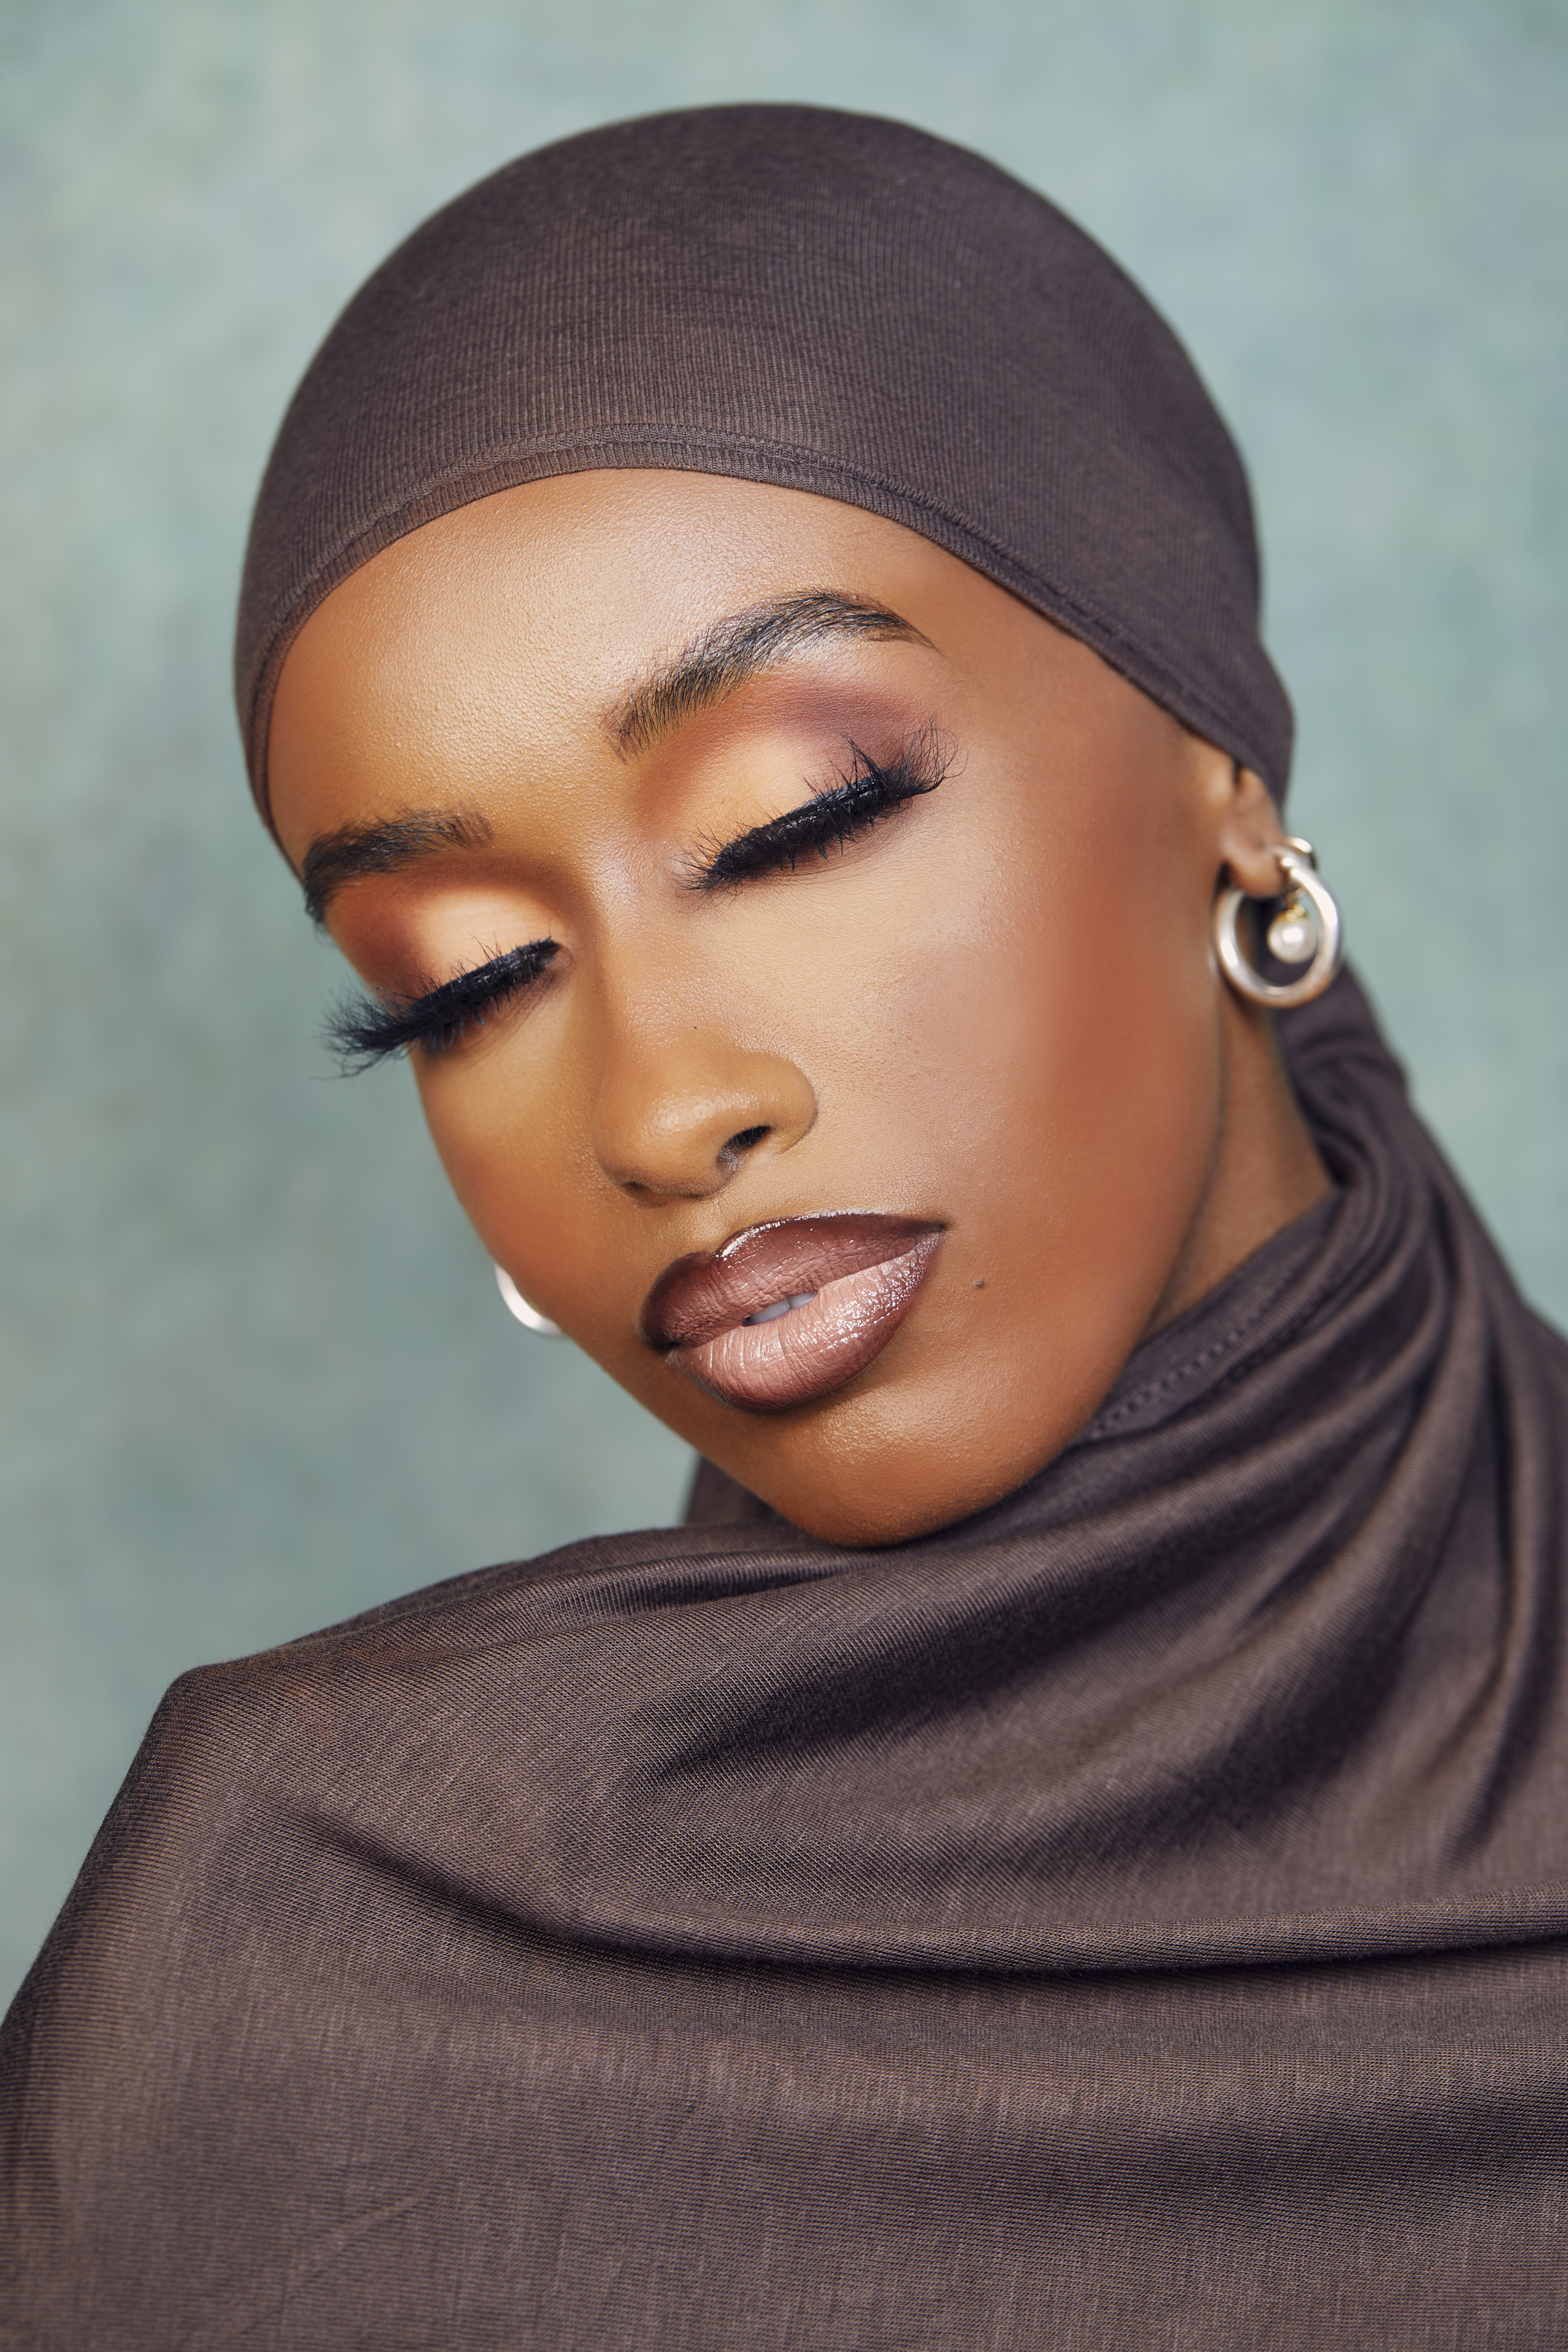
When organizing any shoot you always want to make sure that the team you have selected can work on the model you’ve chosen, and also have experience in beauty hair and make up. For example if you have a darker skinned model you would need to make sure that your make artist can work on all skin types.
• What a professional wants you to know about photographing dark skin tones
Get the Digital Camera World Newsletter
The best camera deals, reviews, product advice, and unmissable photography news, direct to your inbox!
3. The angle you take the images
As with any type of photography niche, the angle at which you capture the images plays a part in the overall result. Sounds simple enough!
A slightly lower angle can add a flattering feel to the shots, so have fun and don’t just shoot straight on. Angling your lens slightly creates a different mood, and don’t be afraid to get up close and create shape within your photography.
4. Choosing the lighting setup
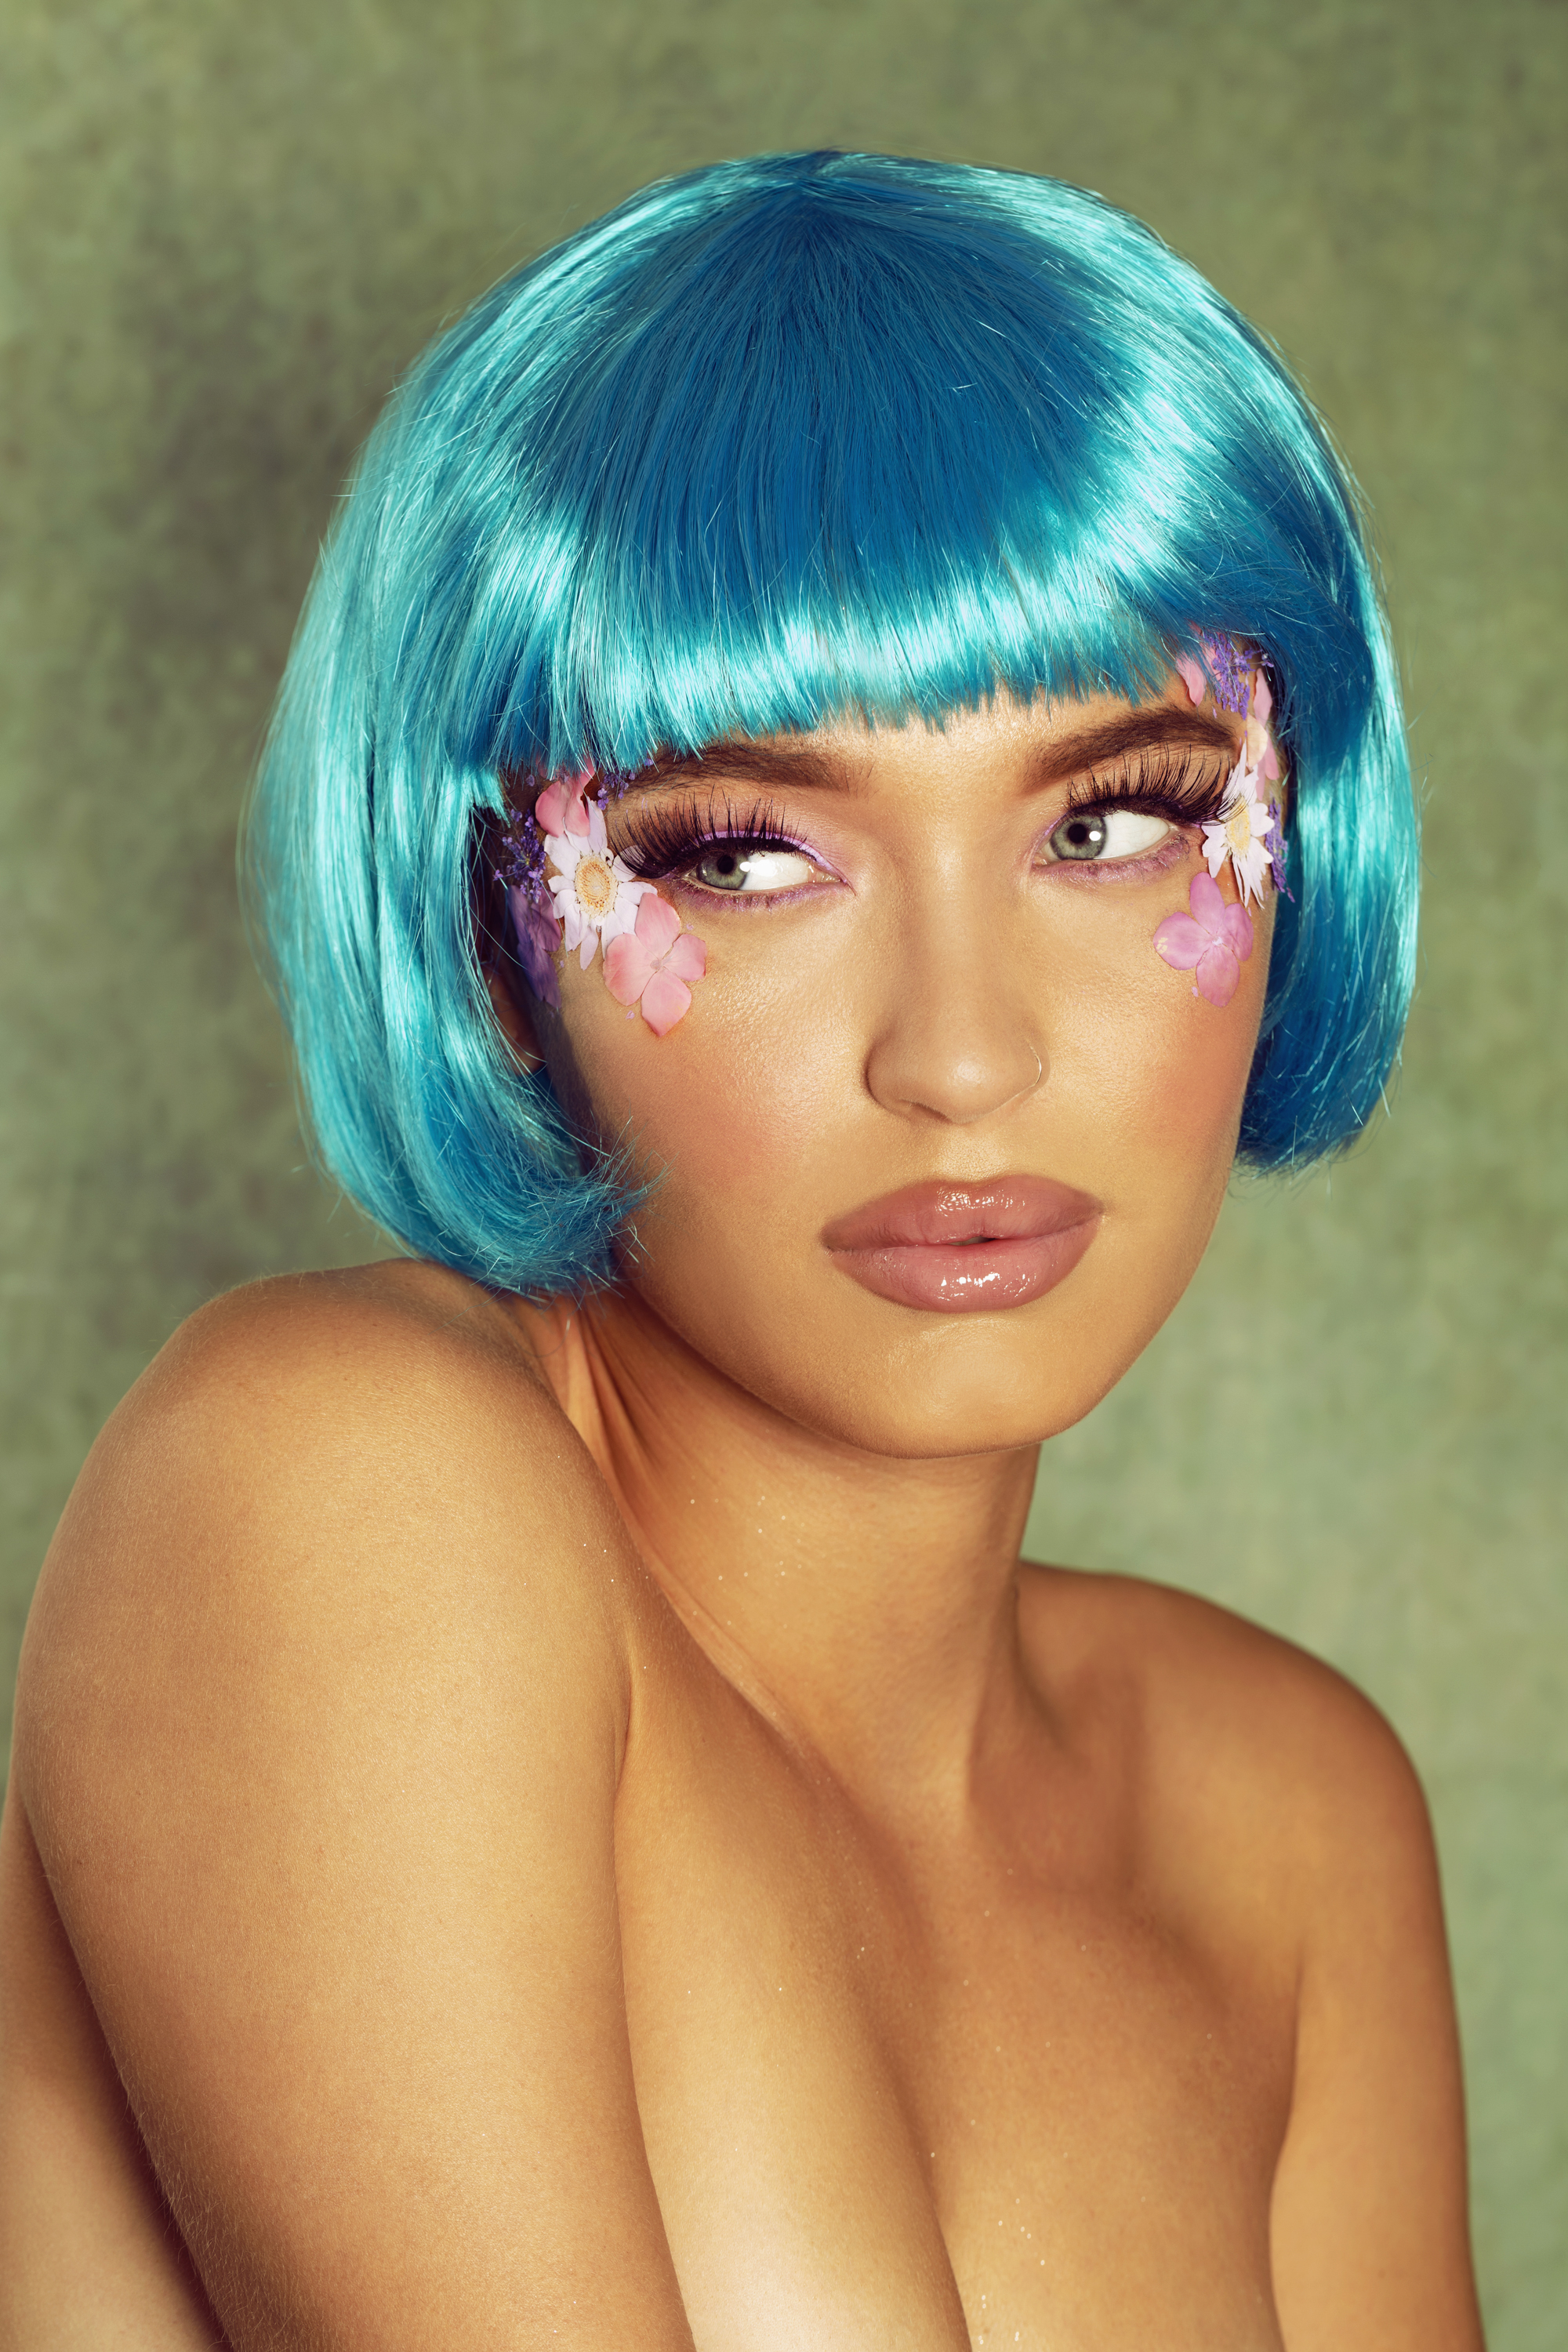
Working out what lighting set up to use should be done prior to the shoot either by doing a test shoot or doing some independent research. My go to setup for beauty photography is a two light setup; on the righthand side of the model I would have a beauty dish for the dramatic lighting that it creates.
On the left hand side I would have a soft box or Octabox at around a 90 degree angle, allowing the light to spill on to the left hand side of the models face and on to the backdrop. The best flash diffusers, softboxes and modifiers can help you to create beautiful results.
5. Create a mood-board
When planning any shoot you always want to make sure everyone knows what they need to achieve on the day. A few days before hand I will create a mood-board for the hair, make up artist and also for the model.
With the make up artist board I will include key looks that I would like to achieve on the day, and the same goes for the hair stylist. Depending on how many models will be present on the day this will have a break down for each model for hair and make up. The models board will consist of poses and facial expressions. Ideally on the day of the shoot you would have these printed so everyone can see them.
6. Model choice
Not all models work well for beauty photography, and it's always best to find a model that has experience in this field. You want to choose a model that has character in the kind of poses that they use when being photographed – elegant poses combined with facial expressions really helps to bring the images together.
7. Communication is vital
Building a rapport with your team prior to shoot day will really help in making the day go as smoothly as possible. An introduction email tends to be a good start and then on the day of the shoot make it a point that you are available if you have any questions or questions.
Asking the teams opinion on the images also helps you in potentially adding or remove something from the images. Communicating with your model really makes the difference in getting the “money” shot, so encourage your model, let them know they are doing well, give advice on posing and if need to why not demonstrate the pose to help them envisage what you're looking for.
8. Utilize other light modifiers
We’ve already mentioned the amazing beauty dish and the reason behind using this. But there are other light modifiers that really bring beauty photography together, including the best reflectors, and even Triflectors.
I use the Manfrotto Halo Compact Plus reflector (silver side) because of the size this can easily become a third light source reflecting light on to areas such as under the chin, or adding an extra glow across the face.
Another favorite of mine is the Manfrotto Triflector MKII, the panels come in gold, silver, white. The idea with this reflector there are 3 panel reflectors that are connected together allowing you to maneuver each allowing an even light and creating the catchlight in the eye that we all love.
9. Tether your camera to your computer
Being able to tether to a screen allows you to see how the images look on a bigger screen but gives your team a way to see their work and see if there’s anything that needs to be changed. There’s nothing worse getting home and realizing something could have been changed on set.
If you are shooting for a brand on a break this gives your client the chance to go through and star their favorites which in turn saves you time at the selecting process.
Depending on what application you tether to in Capture One you can start color grading images, so when you take the next shot it will have the preset already, again another way to speed the post production process.
10. Select your images carefully
We can all be very modest when it comes to our work, but sometimes you do a shoot and love everything. The problem with not being able to cut images down is that you would end up with hundreds of images from a shoot.
Having your mood-boards next to you will help you to be strict with the selection process choosing on the best looking for ones that has minimal hair or make imperfections, making sure the angle of the images are correct. By keeping all of those tips in mind you would select a solid batch of images ready to be retouched.
Read more
The best Canon lenses
The best Canon cameras
Photo hack: make a beauty dish
Digital Camera World is one of the leading authorities on camera and photography news, reviews, techniques, tutorials, comparisons, deals and industry analysis. The site doesn't just specialize in cameras, but all aspects of photography, videography and imaging – including camera phones, gimbals, lenses, lighting, editing software, filters, tripods, laptops, printers, photo books, desks, binoculars and more.
Whether you're using, looking to buy or trying to get the most out of a compact camera, action camera, camera drone, cinema camera, beginner camera or professional camera, Digital Camera World has a roster of experts with combined experience of over 100 years when it comes to cameras, photography and imaging.

