194 best professional photography tips from working photographers
Discover some of the best tips for portraits, weddings, landscapes and commercial photography from people who make a living shooting them
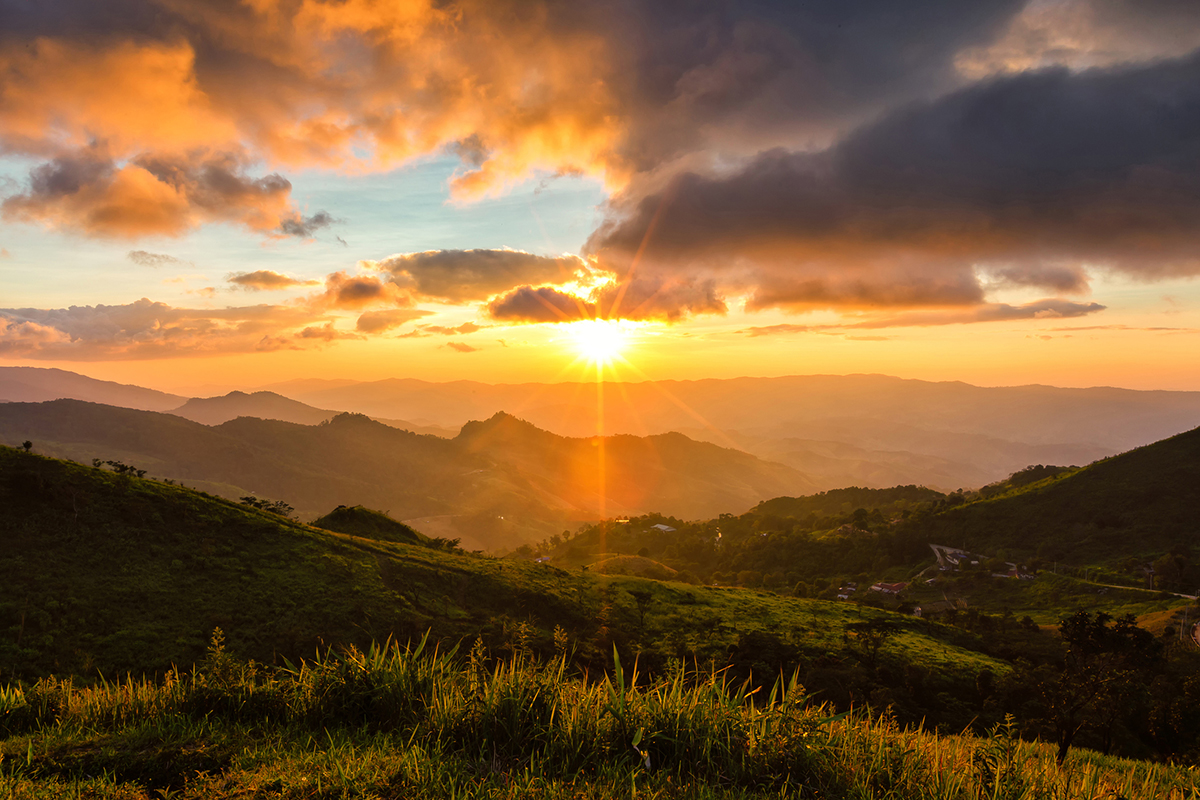
Photographic technology may change and develop, but most of the fundamentals of photography are timeless. We’ve worked with eight professional photographers to put together a collection of tips to help you take better photos, no matter what genre you most enjoy shooting.
1. Discuss the lighting
Lighting can make or break the portrait. Discuss the lighting with the model. Explain the principles to non-professional models to avoid a badly lit face (especially if moving), and guide the professional to get the best result.
2. Make time for creativity
Running a portrait business is 90 per cent regular good shots and 10 per cent creativity. Always have a creative idea for a shoot after you’ve done the ‘regular’ portrait. These are the shots that become viral and are picked up by social media, and will help to promote you without any extra effort.
3. Ask before sharing images
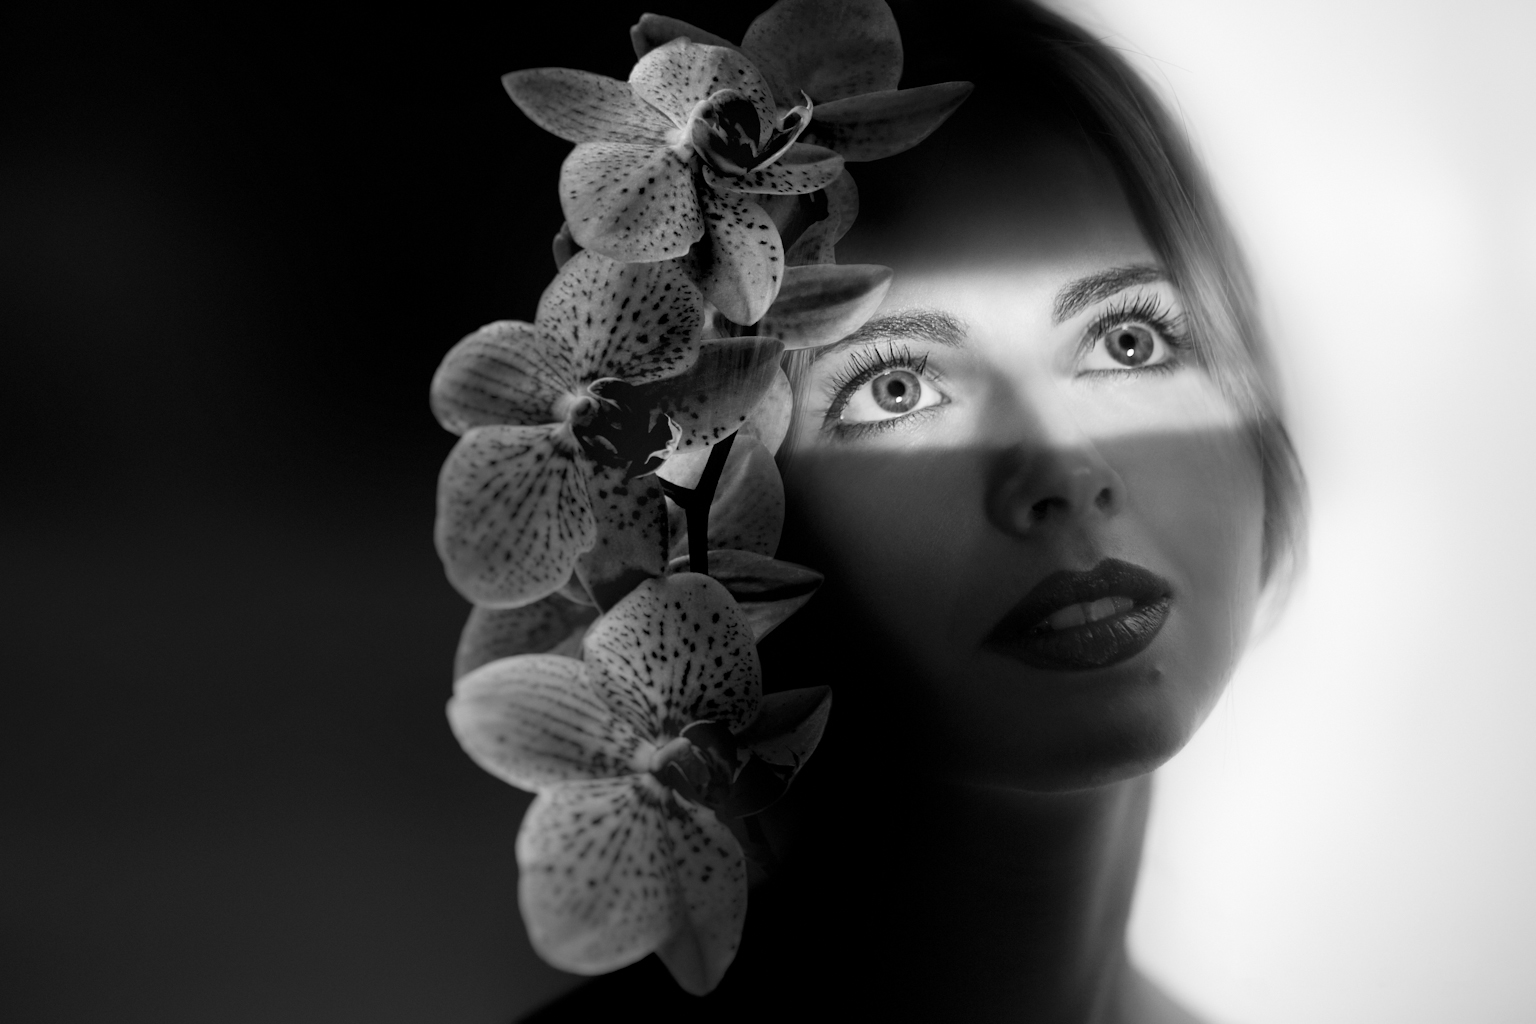
Always ask clients’ permission before sharing their portraits on social media – even if you are legally allowed to share your work. Be especially careful sharing kids’ portraits.
4. Adapt to face shape
Narrow or broad faces can be portrayed in an exaggerated or flattering way. Choose optics wisely: use a longer focal length from further away to widen the narrow face, and use a shorter focal length shot closer to the face to narrow it down. Use shadows to sculpt or create accents.
5. Use slight distortion
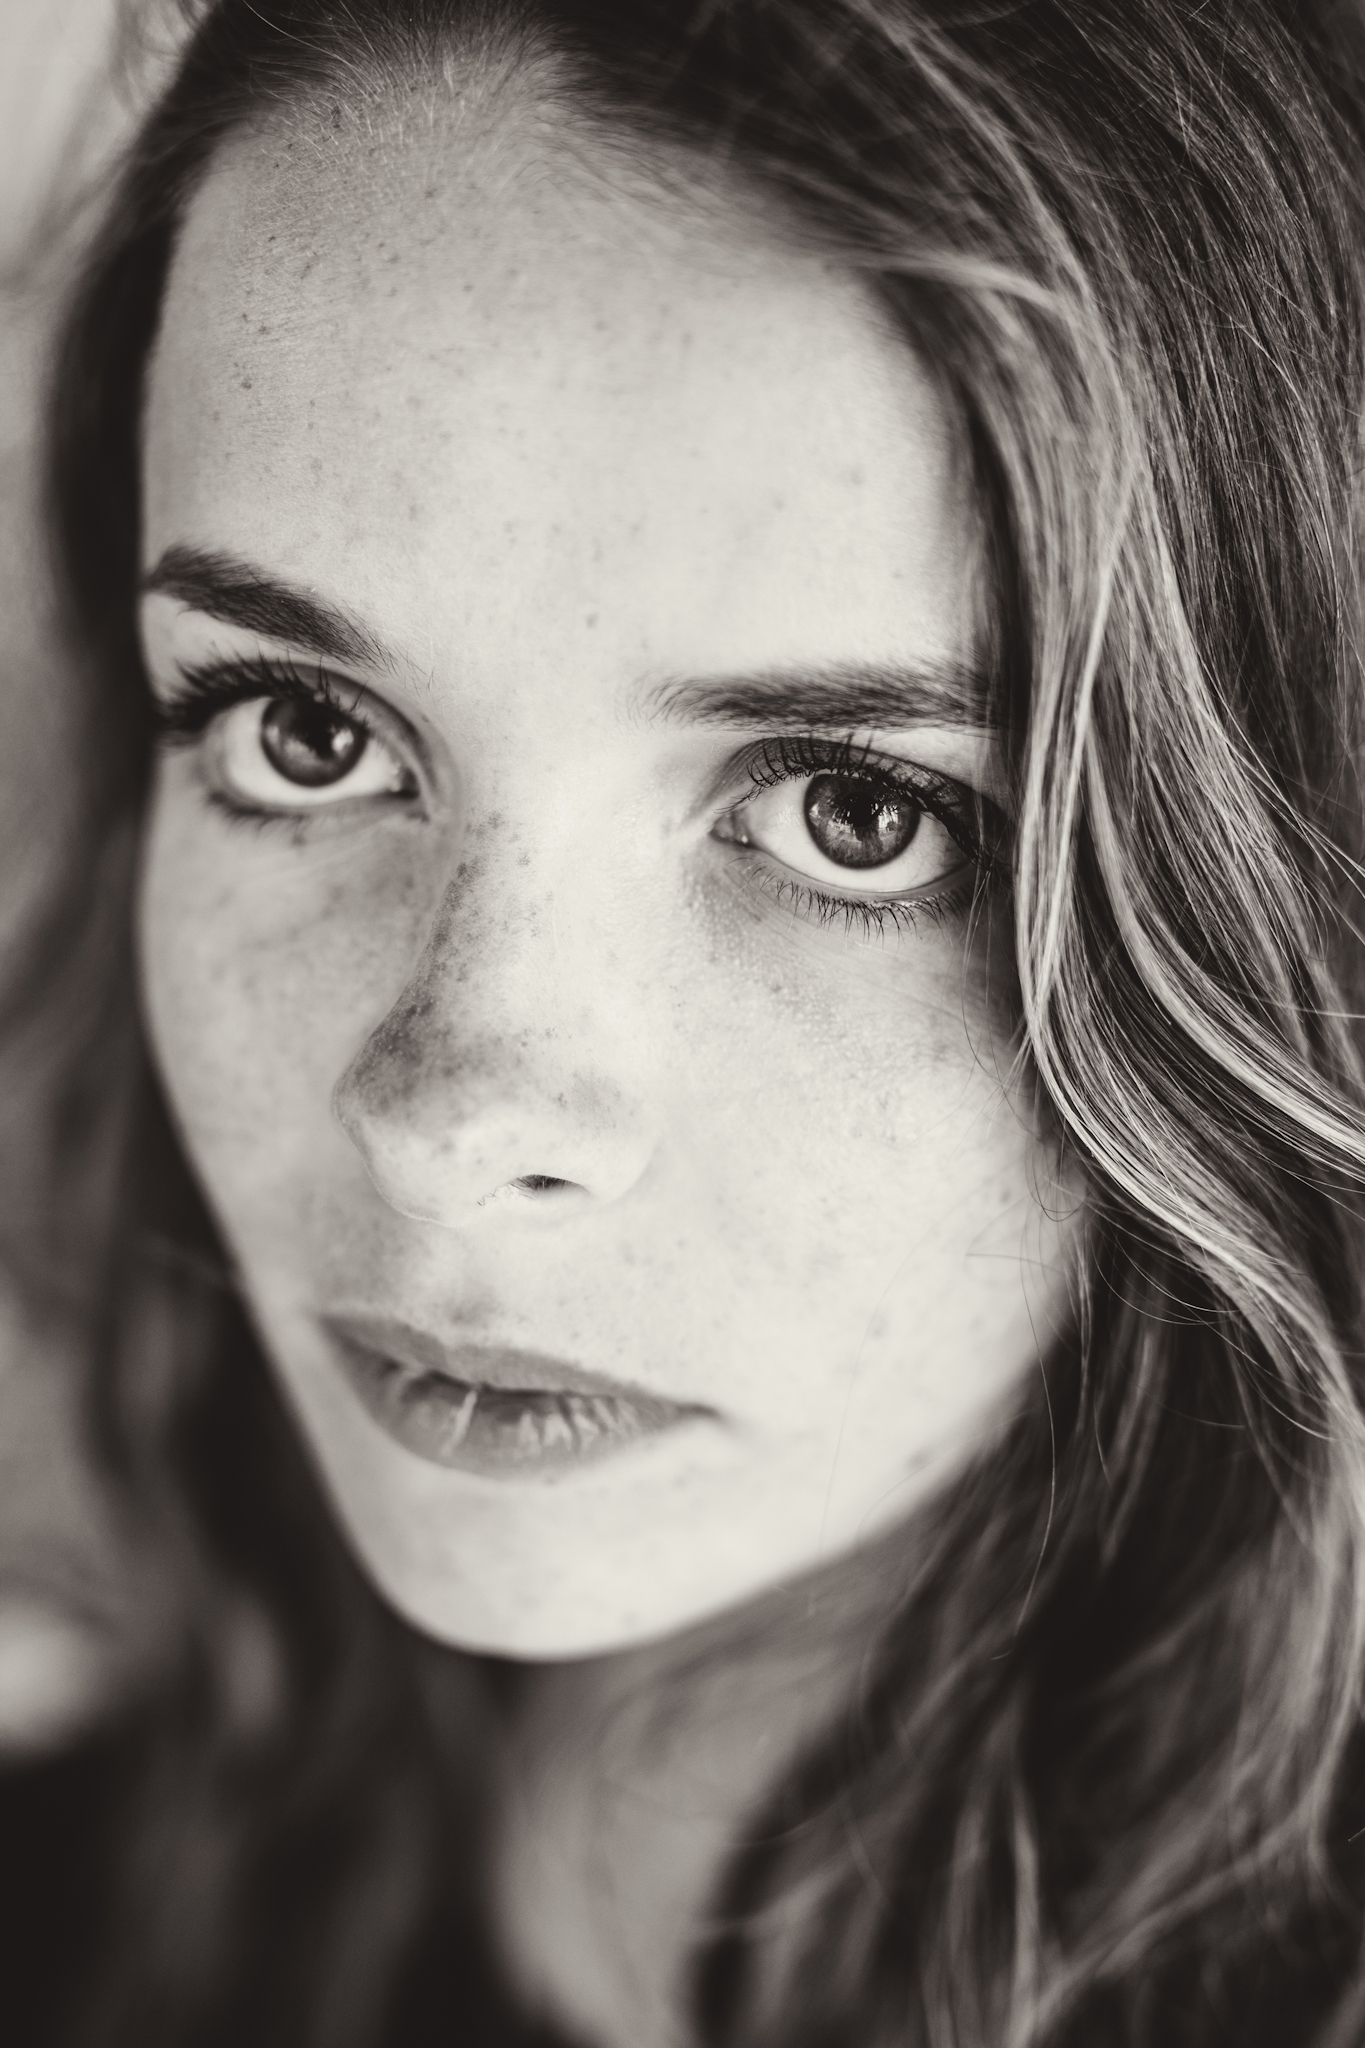
Create unusual portraits by using distortion to your advantage. Using a 50mm lens on a full-frame camera from a distance of around 1m from the model’s face will create an intense portrait through slight distortion, as well as a particular tension from invading the model’s private space.
6. Mood is everything
The photographer is the conductor of the shoot, so it’s the photographer’s job to create the atmosphere where everybody can be most productive. The photographer’s own mood, inspiration, dynamism, jokes and music during the shoot help to keep the stress down and unify the team.
Get the Digital Camera World Newsletter
The best camera deals, reviews, product advice, and unmissable photography news, direct to your inbox!
7. Hold a pre-production meeting

For larger commercial shoots directly with a client (with no ad agency’s art direction) it’s important that a photographer holds a thorough PPM meeting to discuss all the shoot details – including overall shoot goal, number of setups, mood board, style and light references, styling and make-up.
8. Always try to grow
No matter how much success you currently enjoy, repeating the same thing over and over stops your growth as a photographer. Always try to improve your qualification with classes, experimentation or by learning a new technique.
9. Use proven business models
Grow your business using the proven Ansoff Matrix. Start with market penetration (same product, same clients – repeat business with birthdays, anniversaries). Continue with product development (new product, same clients – new segments of business portraits, editorial, family). Advance with market development (same product, new clients – referrals, new geographies). Consider diversification (new product, new clients – video).
10. Do your own post-production
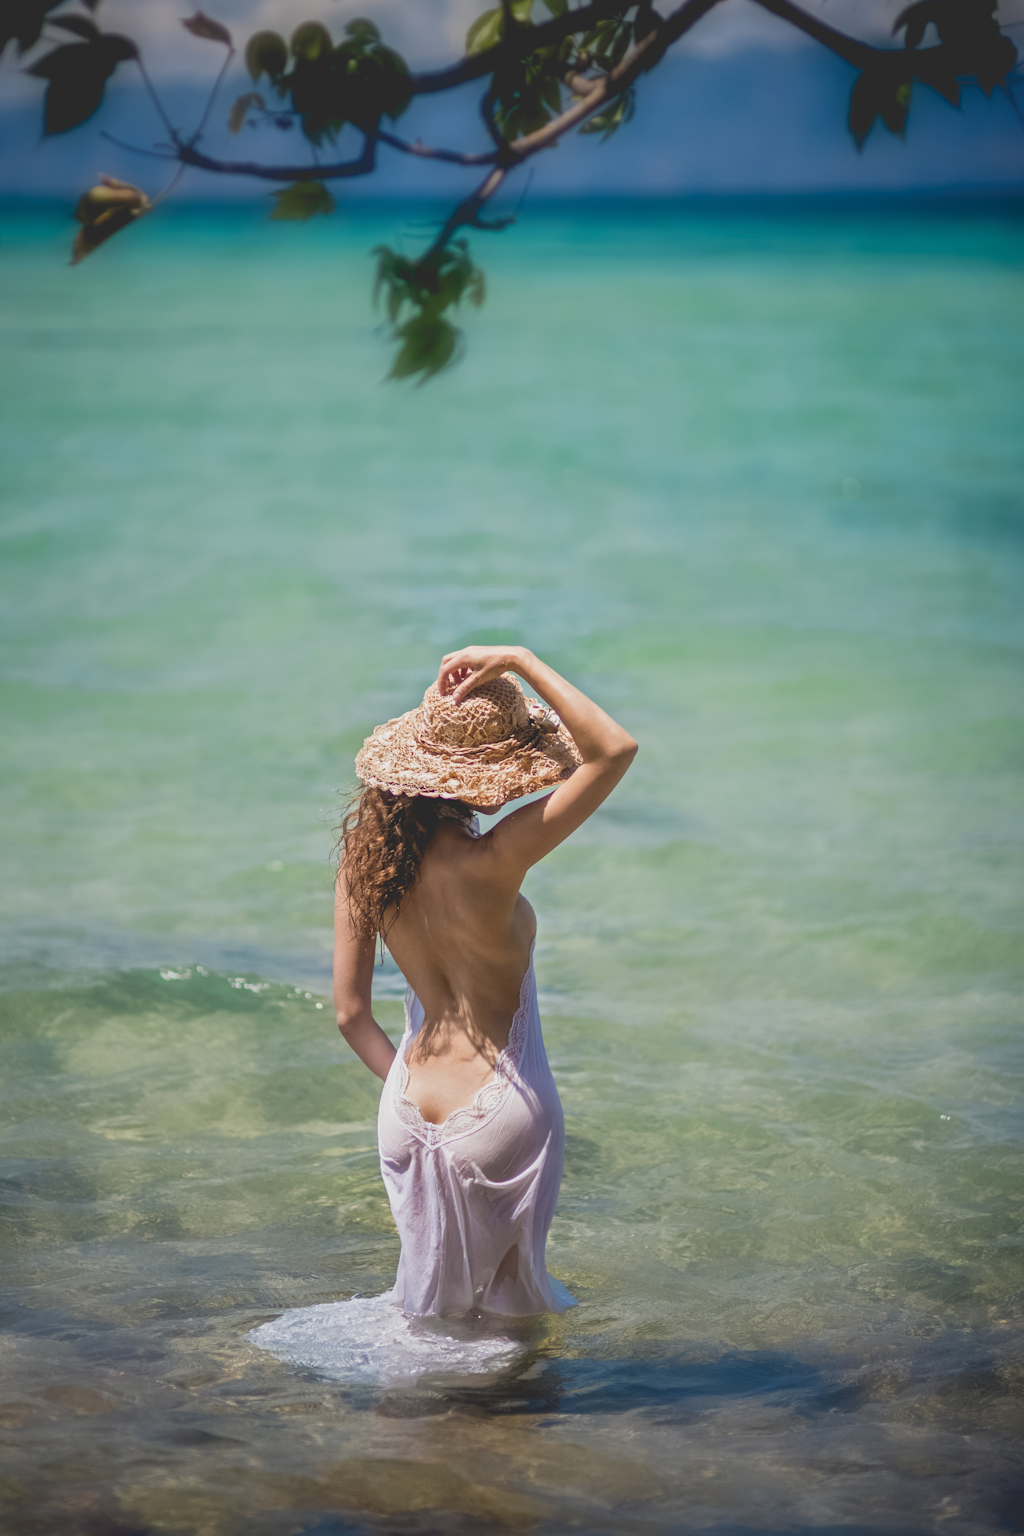
It becomes common to outsource portrait retouching, and while it may save you time, it will dilute your personal style.
Read more: 15 of the best photo apps
Create your own workflow of editing basics and add more value through personalised photo styling and colouring.
11. Go beyond the face
Portraits are not just about the face, it’s also an overall idea of a person. Portraits with no face can be much more powerful, as they trigger imagination and make the viewer concentrate on body language.
12. Don’t limit client time
Private clients aren’t professional models. My job is to show their character in a flattering way. Most photographers charge per hour. I don’t limit time and I charge per final photo that I’ll edit. This turns the session into a self-learning experience, brings fantastic portraits and increases referral rate.
13. Have personal projects

By working on personal projects you can forget the usual client constraints. This allows for greater creativity that you can later incorporate into regular work. They serve as shop windows and eventually bring more business by increasing visibility.
14. Keep client files forever
Clients may ask you for the shots even years after the job. It may pay back with more work/referrals if you can provide them.
15. Feed the models
During long shoots, despite the possible desire to finish the project in one go, it’s best to take a break, let everybody eat and restart.
16. Make models move
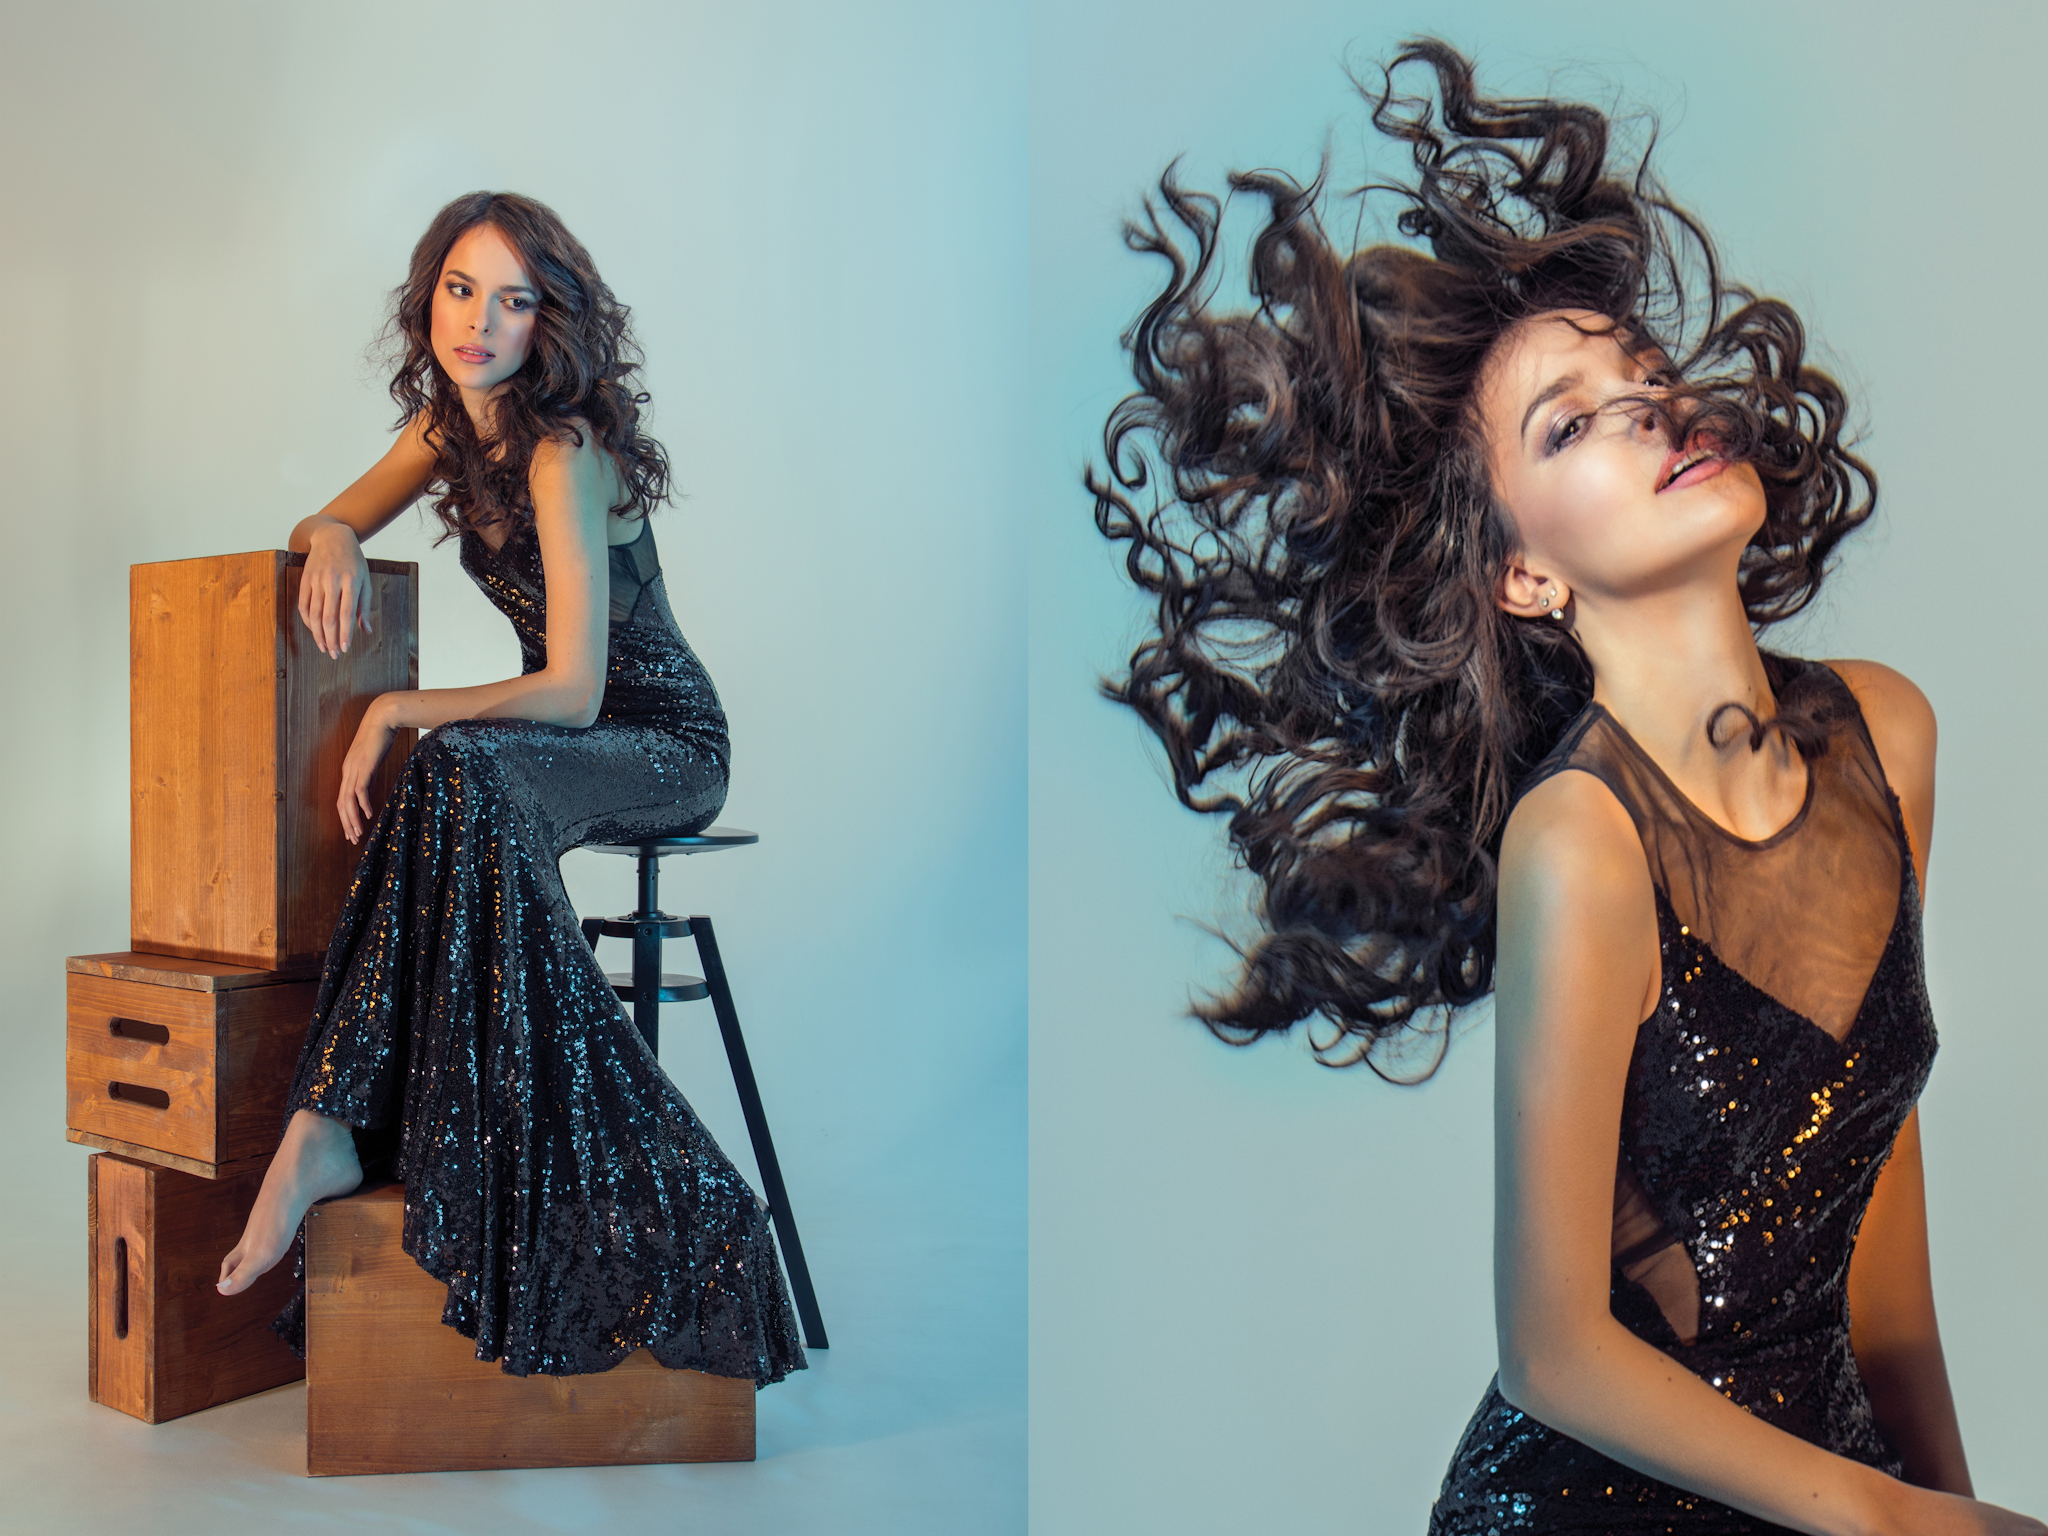
Capturing real and interesting faces becomes easier when models move – either their heads or the whole body. Twirling, walking and turning left or right works best for full-body and half-body portraits. Flipping hair upwards or side to side is great for head-and-shoulder images.
17. Aim for same-day client response
In the modern era of constant connectivity, potential/existing clients expect same-day response to their requests. Respecting this increases your chances of
getting the job.
18. Use gestures to direct
“Your left, my right” as directions can be confusing. Use palm inclinations and rotation to position the model’s head and body, and show directions with your hand instead of telling. Discuss this before the shoot.
19. Perfection is boring
We all laugh at plastic faces over the internet but we all went through [phases of] overdoing it. Perfection does not exist so over-editing creates boring portraits. Life and character are the essence of a good portrait.
20. Create your ‘trigger’ phrases
Models/clients are not actors. If they get too stiff make them think of something else. Create a list of questions that will trigger different reactions. My favourite question is “What’s 7 to the power of 3?”
All words: Julia Wimmerlin
Top image: Phutthiseth Thongtae, Getty Images
21. Fake the sun

In the UK the sun doesn’t always shine, so adding a bare head flash behind your subject pointing towards the camera can create the effect of sunlight.
Read more: How to improve your landscape compositions
Adding a CTO (colour temperature orange) gel will help warm up the image and create the warm temperature of sunrise or set.
22. Create flat lays with punch
If you aren’t blessed with natural light in your location, add some extra punch by bouncing a speedlight or studio light off a white wall or ceiling. This is a great way of quickly and easily mimicking natural light, but watch for colour casts.
23. Open doors and windows
Even inside, natural light can be enough to create a well-exposed image. Place your subject near to and facing natural light if possible, and make sure you open all doors and windows to allow as much light in as possible!
24. Switch to prime lenses

These are great for portraiture, and are often used because of their superior quality in sharpness, large maximum aperture and focusing abilities. Try using a 50mm, 58mm, 85mm or even 105mm prime to create beautiful portraits.
25. Get two lights from one
If you only have one flash available, you can use natural light as a rim light whether inside or outside on location. Turn your subject so the natural light creates a rim or hair light and set your exposure for that. Then add your flash to infill the subject from the front.
26. TTL makes quick work
If you are adding flash in changing light conditions, consider using through-the-lens metering. This uses your camera to approximate the power of the flash on a frame-by-frame basis, so as the conditions change, the output will vary automatically.
27. Reflect the light
You don’t always need studio flash or multi-light setups for the best portraits, as a reflector can add the punch of light you need. Start simple, assess the light and then try a reflector before you go and add flash – overcast days are perfect for this!
28. Take time to location hunt
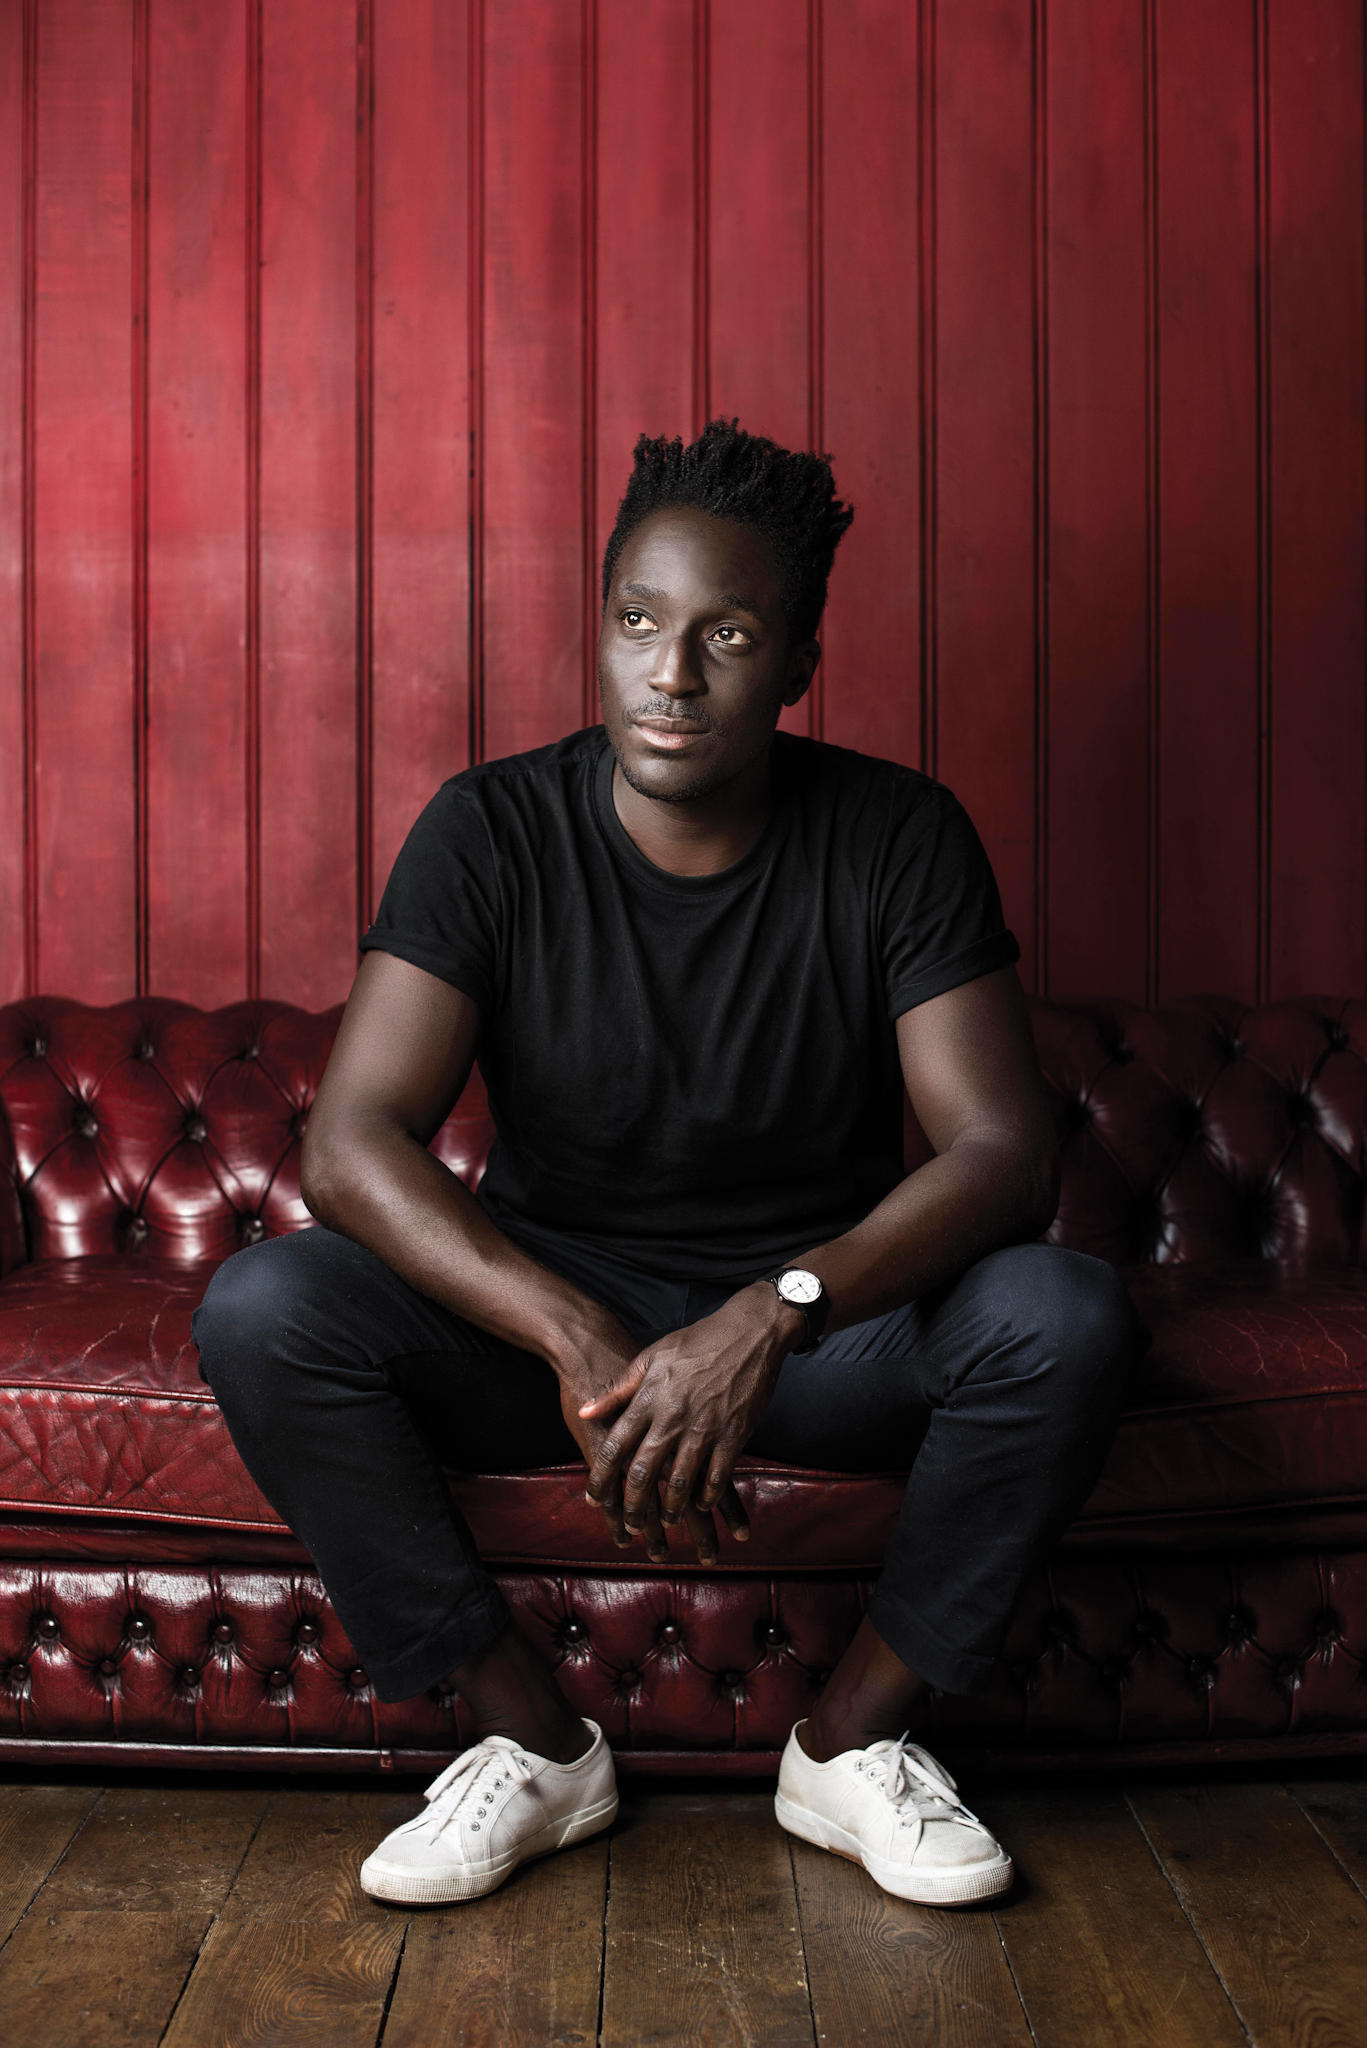
If you’re including the environment in your shot, location is key. Scout or find locations that help tell your story, and make sure it has the colours, ambient light and feel that you want from your shot.
29. Consider what you don’t see
Shadows are just as important as the light; what you see or rather don’t see in an image helps to tell the story. Don’t be afraid to leave parts of your subject in shadow. Partially place your subject in a strip of hard sunlight and expose for that portion of the image.
30. Use flash outdoors
Use flash to balance images where there is hard midday sun. Place your subject in the shadow or create shadow with a scrim.
Read more: How to use off-camera flash
Expose the shot for the ambient light in the background, then add the flash to light your subject and even out the exposure across the image.
31. Create separation
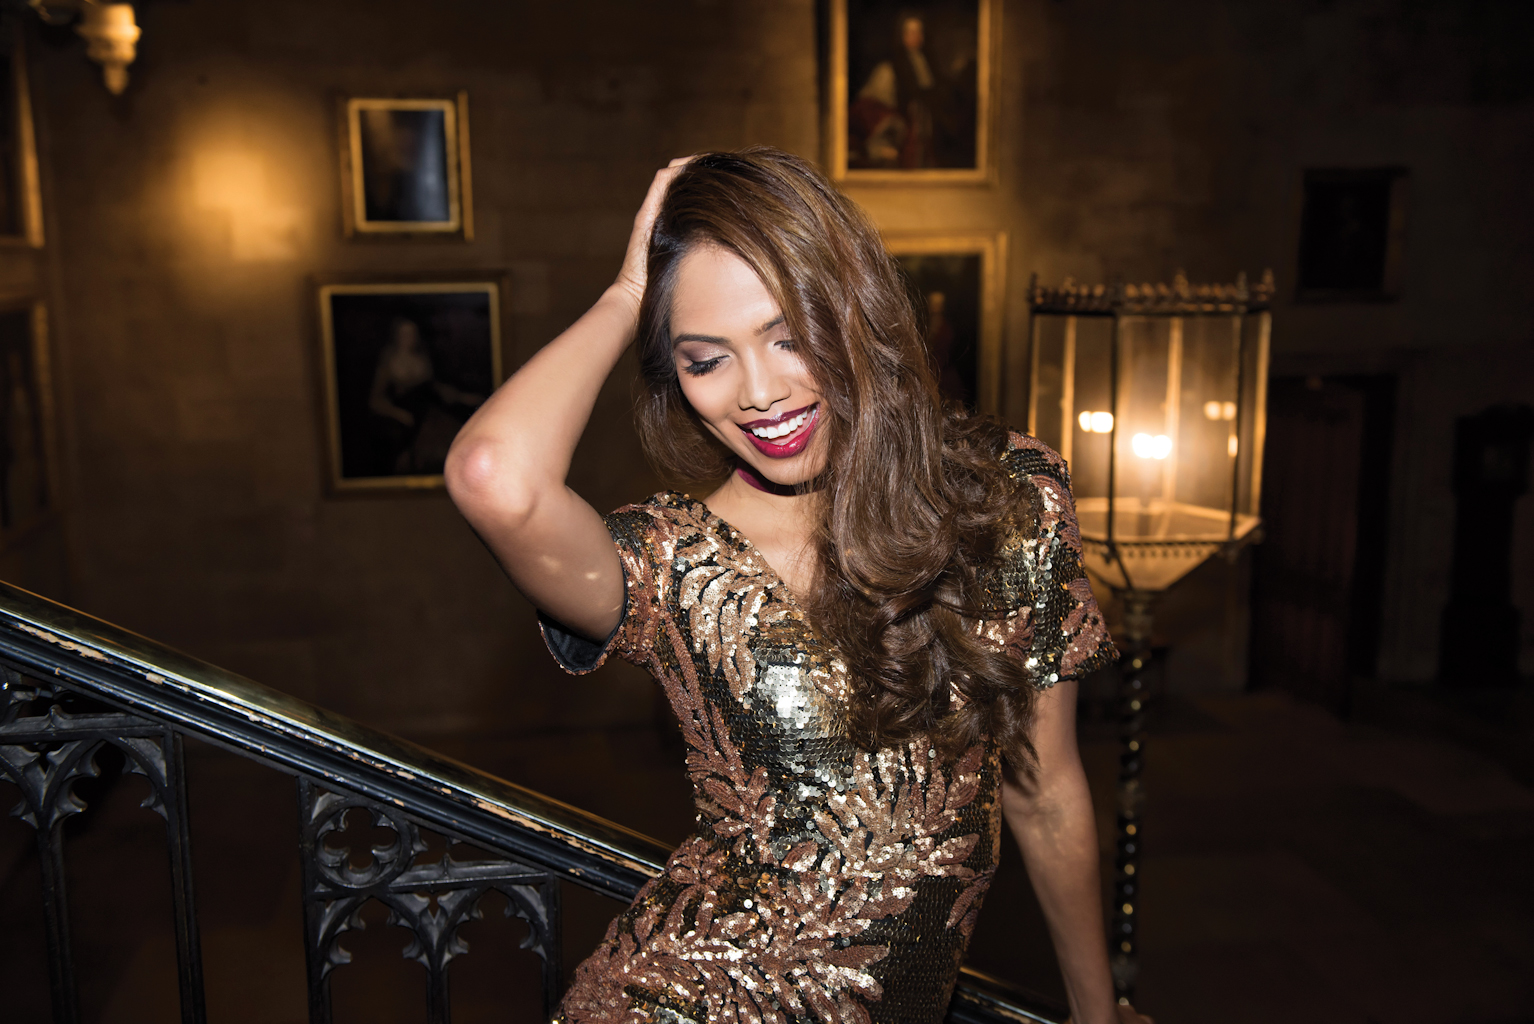
Having a simple one-light setup in low light can leave images feeling flat and without separation. To overcome this, pick somewhere that has some ambient or existing light in the background and shoot on slower shutter speeds or higher ISOs to help bring this out.
32. Use creative lens flare
When the sun hits your lens and causes flare you can use it to be creative.
Read more: How to create atmosphere with lens flare
Frame the shot so the sun isn’t overpowering then bring down the shadows in post-production to help the image pop.
33. Correct temperature in Lightroom

If auto white balance didn’t produce the correct temperature, you can change to the exact Kelvins you want in Lightroom’s Develop module.
34. Avoid harsh sunlight
If you can’t find shade, or have patches of sunlight, use the diffusion of a reflector to control the hard light falling on your subject and even the exposure.
35. Create beautiful catchlights
Use a beauty dish or reflector to create round catchlights in the eyes, which can really lift a portrait. Alternately you can use three strip lights in a triangular formation to frame the pupil.
36. Eliminate background distractions

If you don’t like the look of your location, open your aperture and create distance between the subject and background to blur it and hide unwanted distractions. That way, you can look at backgrounds as colours and shapes rather than objects, or use white walls like a studio backdrop.
37. Control light direction
Adding grids to flash off-camera helps to close down the light and make it more directional – you can add grids to softboxes, beauty dishes or bare heads to stop light spill and control the direction of the light.
38. Use soft light
The softer the light, the more natural it will feel. To create this, keep the source of light close to the subject and as large and diffused as possible.
Read more: Why do we have better light for photography at the start and end of the day?
Large softboxes or umbrellas are ideal for this, but you can also create soft light by bouncing light from a ceiling or reflector.
39. Consider flash direction
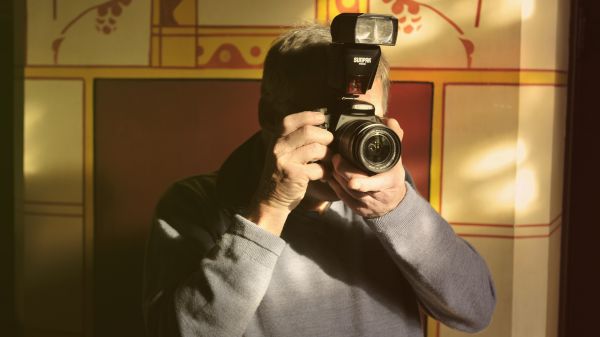
If you want to make the flash you use look natural, add it from the same direction as the natural light. This way you are shaping, controlling and adding to the light that naturally exists, thus concealing the fact that the natural light has been bolstered by
artificial light.
All words: Holly Wren
40. Shape light, retain shadows

You can mimic natural light with flash by paying careful attention to how it falls on the face. Although you want to eliminate drop shadows under the eye, retaining shadows to the sides of the face where the natural light drops off keeps it looking authentic.
41. Practice makes perfect
Photography happens in the moment. While we can’t always plan for these moments we can practise and become confident in our skill. Lose your fear of large-scale editorial productions by organising your own mini test shoots and use this as a practice run.
42. Get creative with props
A well-placed prop can be a way to introduce hands without making them look out of place. Make sure the prop fits into the story you’re trying to tell though.
43. Get into the flow
Once happy with the light and camera settings, find your flow. Don’t stop to look at the back of your camera after every image; give the model a chance to get into an uninterrupted rhythm of poses and expressions.
44. Be creative with backgrounds
There is so much more than plain background paper! Try introducing exciting patterns and textures by using wallpaper and fabric samples or nature’s own backdrops, like bushes and fields of flowers.
45. Gel the light
Light doesn’t just have to be cold and warm shades of white. Try adding some coloured gels and watch your images come to life! Have a play with colourful foils from craft stores before committing to the real thing.
46. Communicate with your subject

No matter how experienced your subject might be, we all love feedback! Tell people what works well, give them previews of poses that looked particularly great and let them know the mood, expression and poses you’re after.
47. Add movement
Portraits can feel a bit static. Add some drama by introducing some movement: try blowing hair or throwing some garments to create extra excitement in your images. Even dramatic poses and expressions can add a feeling of motion to your portraits.
48. Build rapport
In order to create images the viewer can connect with, you need to connect with your subject! Before taking any images, get to know them, spend some time with them while they are getting hair and make-up done. A genuine human connection is very hard to fake, so spend some time creating a real one!
49. Awkward hands
Rule number one: if the ‘emotion’ of the hand doesn’t match the emotion of the face, it won’t work. Not everyone has the ability to pose their hands well, so it might be better to leave the hands out than adding awkward fingers.
50. Get creative with your lights
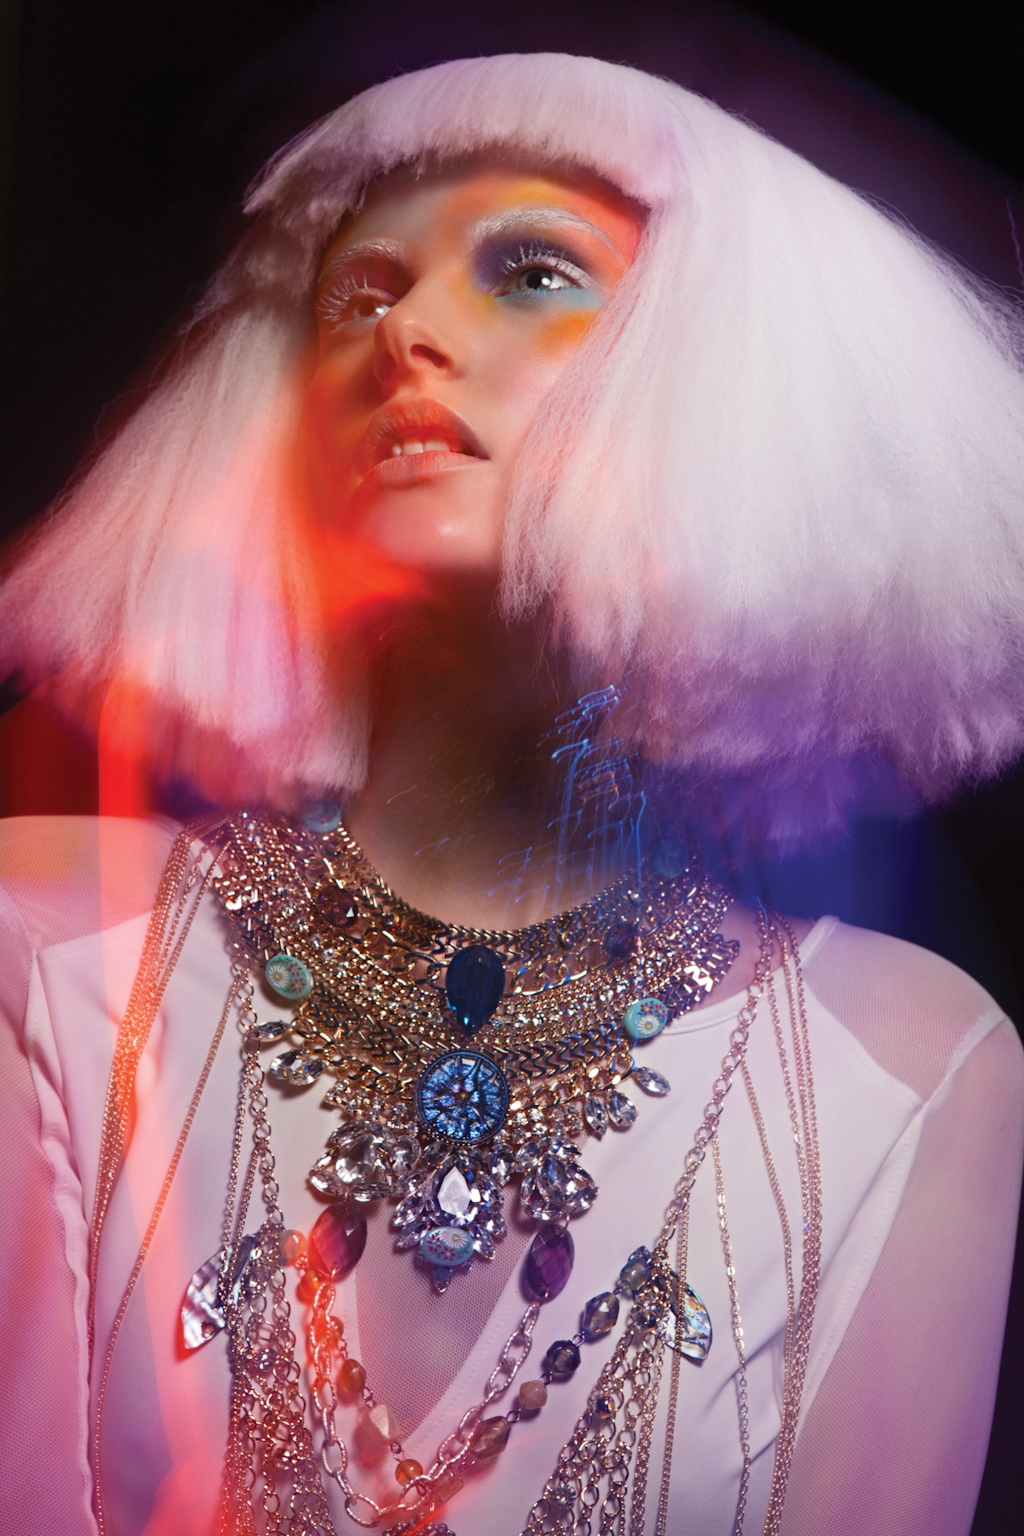
Flash versus constant light… it’s not just one or the other!
Read more: The three lenses every portrait photographer needs to consider
Try mixing both of those in the same shot, capturing some sharp detail with the help of your flash and whimsical motion at the same time!
51. Hail the reflector
It’s not all flashes and sunlight. Handheld reflectors (my favourite is silver) are a lightweight, cost-effective way to fill in shadows and create stunning catchlights in your model’s eyes.
52. Complementary colour schemes
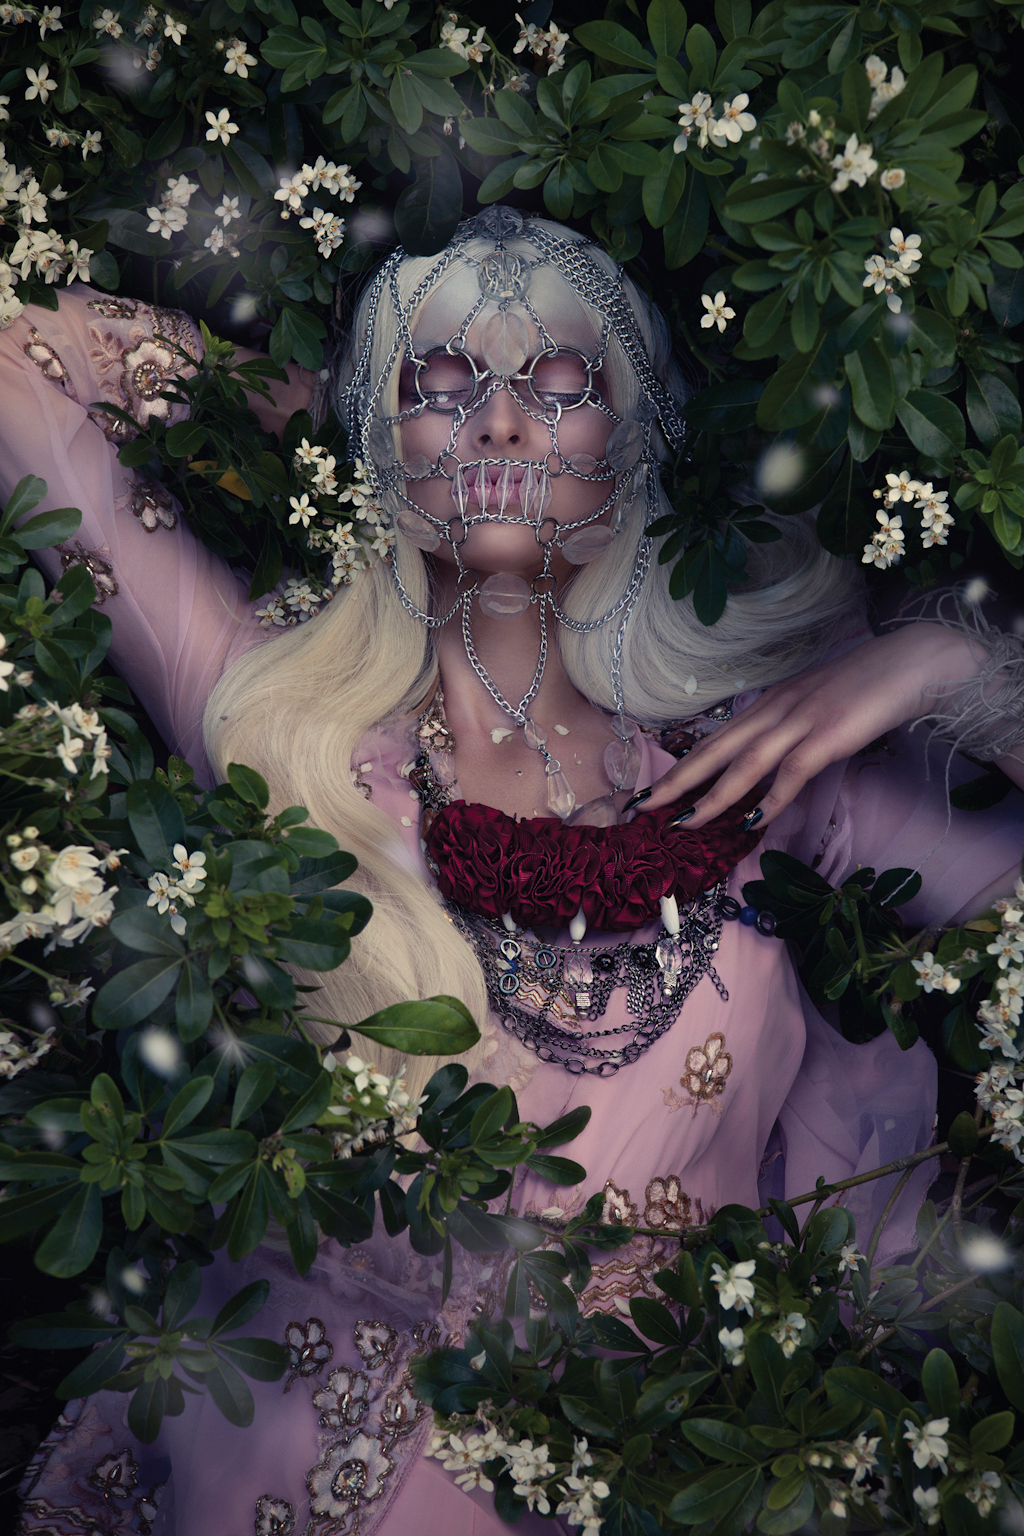
We’ve all heard of the colour wheel. Try to consider these aesthetic rules and use its theory to your advantage; try to match clothing, accessories or even hair colour with a complementary background colour and create a pleasant-to-the-eye atmosphere.
53. Demonstrate your vision
Have an idea in your head but unsure how to explain it to people and put it into words? Find visual aids! Print out images or show digital files of things that inspire you to help you communicate your ideas.
54. Work for free… lots
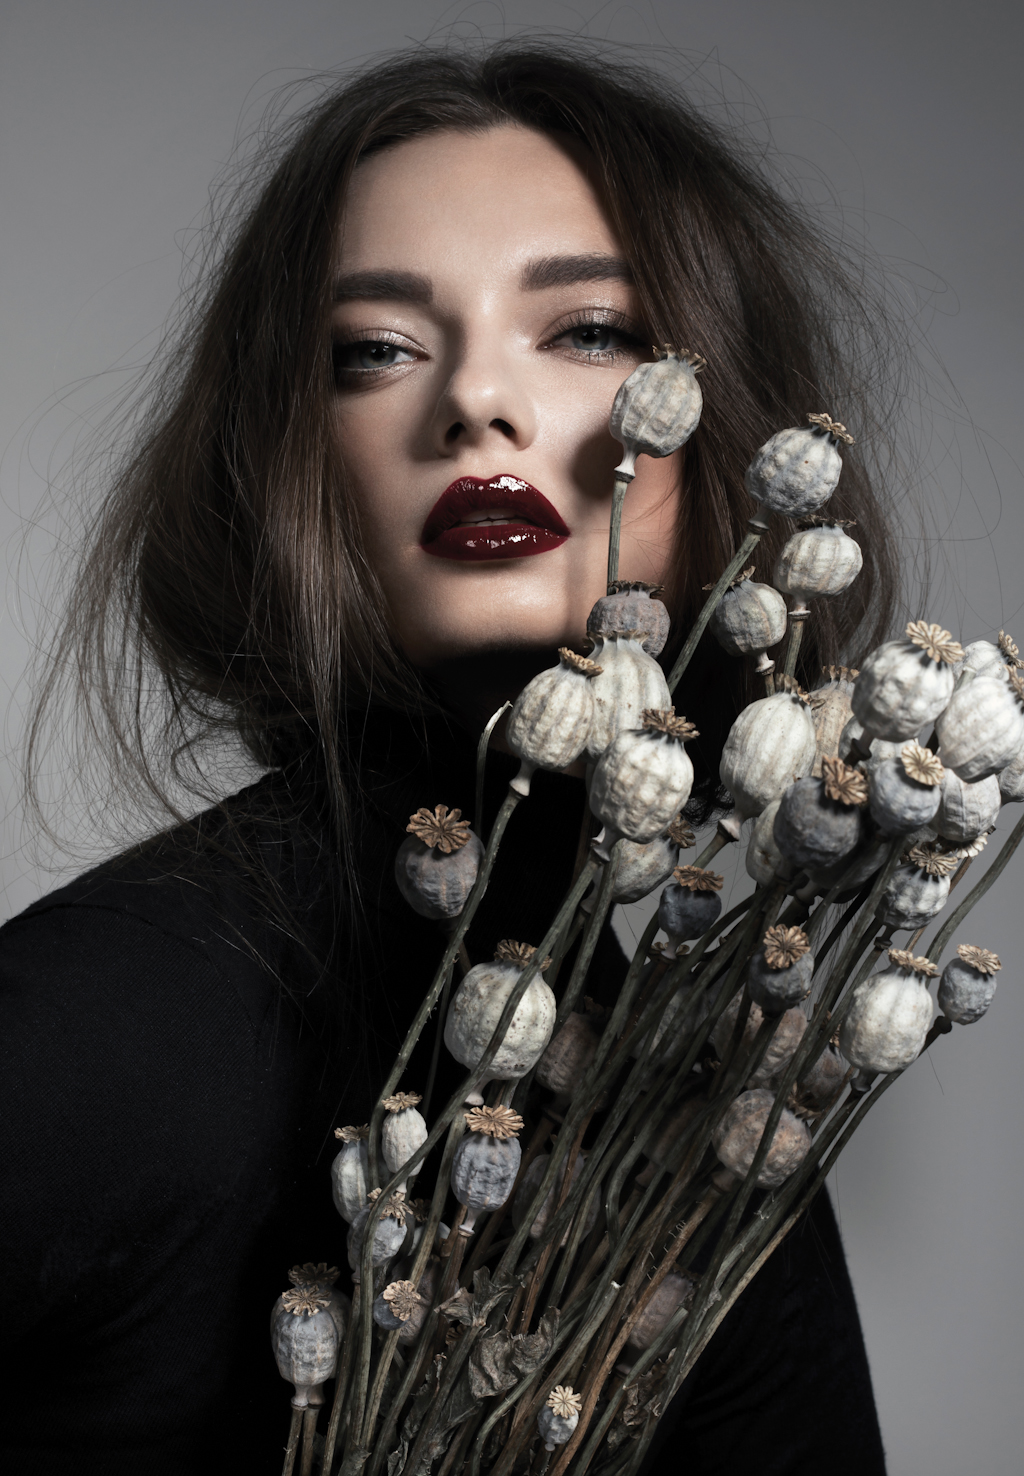
Yes, I said it. Use your free time for free tests. Play with new gear, try out new lighting setups and most importantly, meet like-minded creatives! Build your portfolio the way you like it, not how your clients dictate it.
55. Get inspired
Don’t just get inspired by others’ images. Open your mind to things around you. What shapes, colours, patterns do you get drawn to? Define what excites you as a human (not a photographer) and let this help you find inspiration.
56. Change up the angles
Free your mind from the front-facing, ‘look-straight-at-me’ attitude. Play around with angles, get low, get high, get right in there. Create some drama your viewers will love.
57. Horses for courses
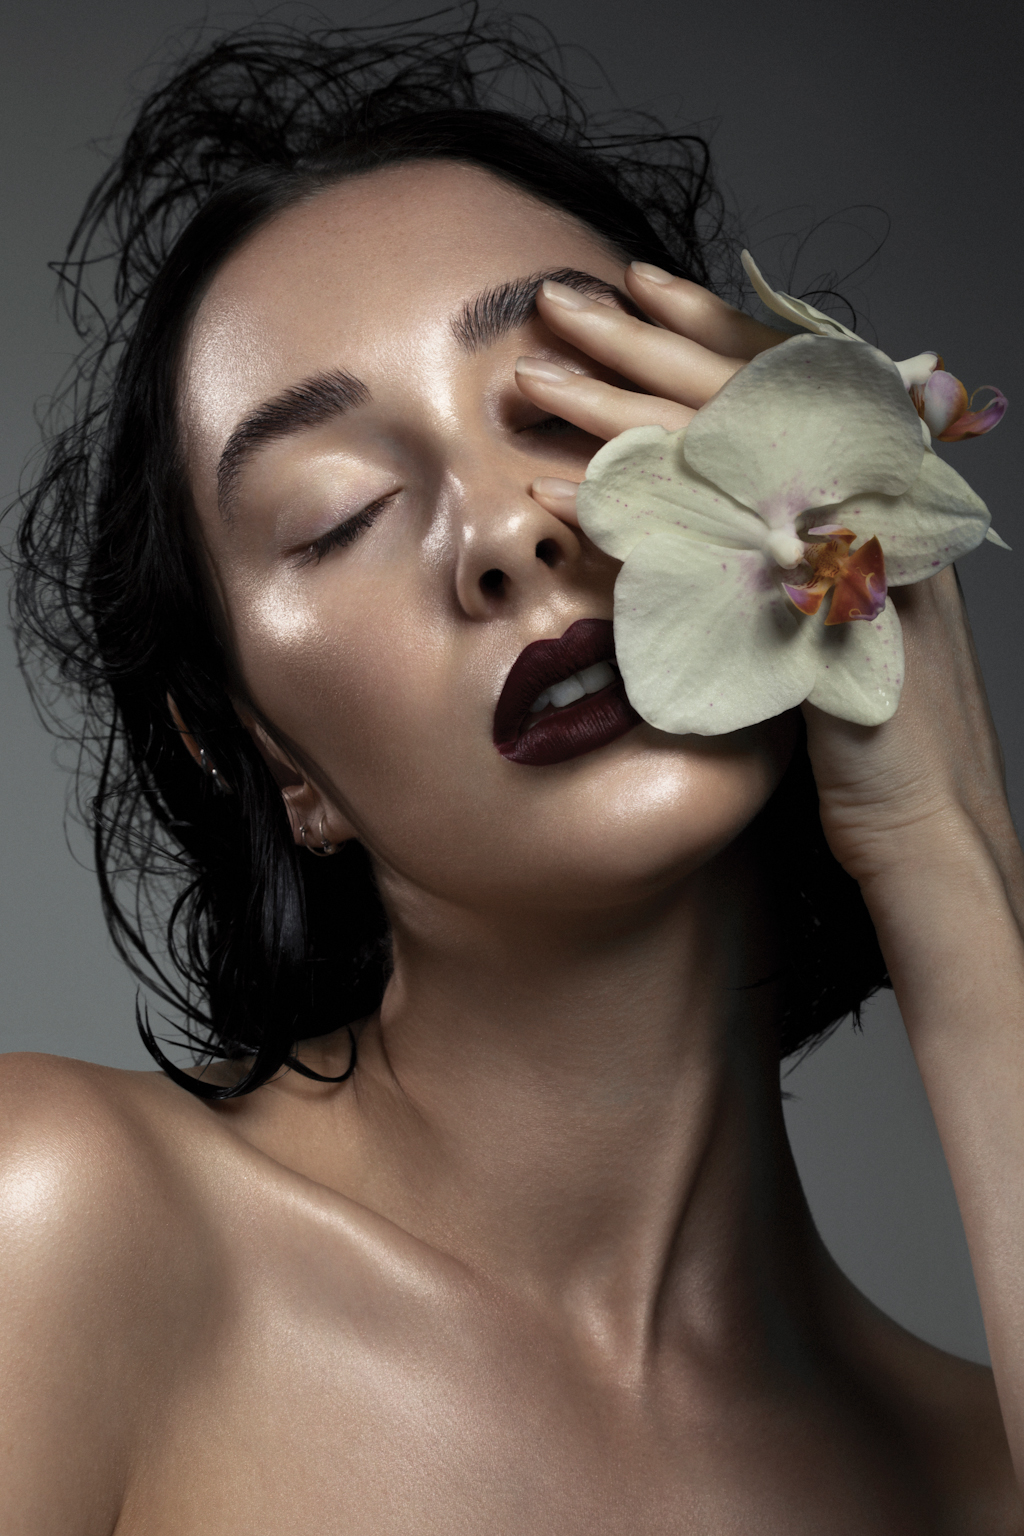
You’re a photographer, not a make-up artist, hair stylist or nail technician. These creatives are highly skilled in their fields and possess endless knowledge of upcoming trends. Listen to their ideas, appreciate their input. It will not only create amazing collaborative results, but will also give you space to concentrate on your own craft.
58. Experiment with expressions
There’s more than just smiley and stern. Once I’m convinced I’ve got some safe poses and expressions in the bag I ask my models to “go wild for the next 20 images.”
Read more: 10 top tips for shooting portraits
You will be treated to a range of mad laughs, scowls, messy hair and smudged make-up, and exciting expressions that will catch the viewer’s eye.
59. Study your goals
Know who and where you aspire to be. Maybe published in a certain magazine? Study its editorials, layouts, poses, crops. The more you surround yourself with images you’d like to take, the more it will become second nature to your own style. Besides that, knowing industry standards will help you choose the right images during your culling process.
60. Get up close and personal
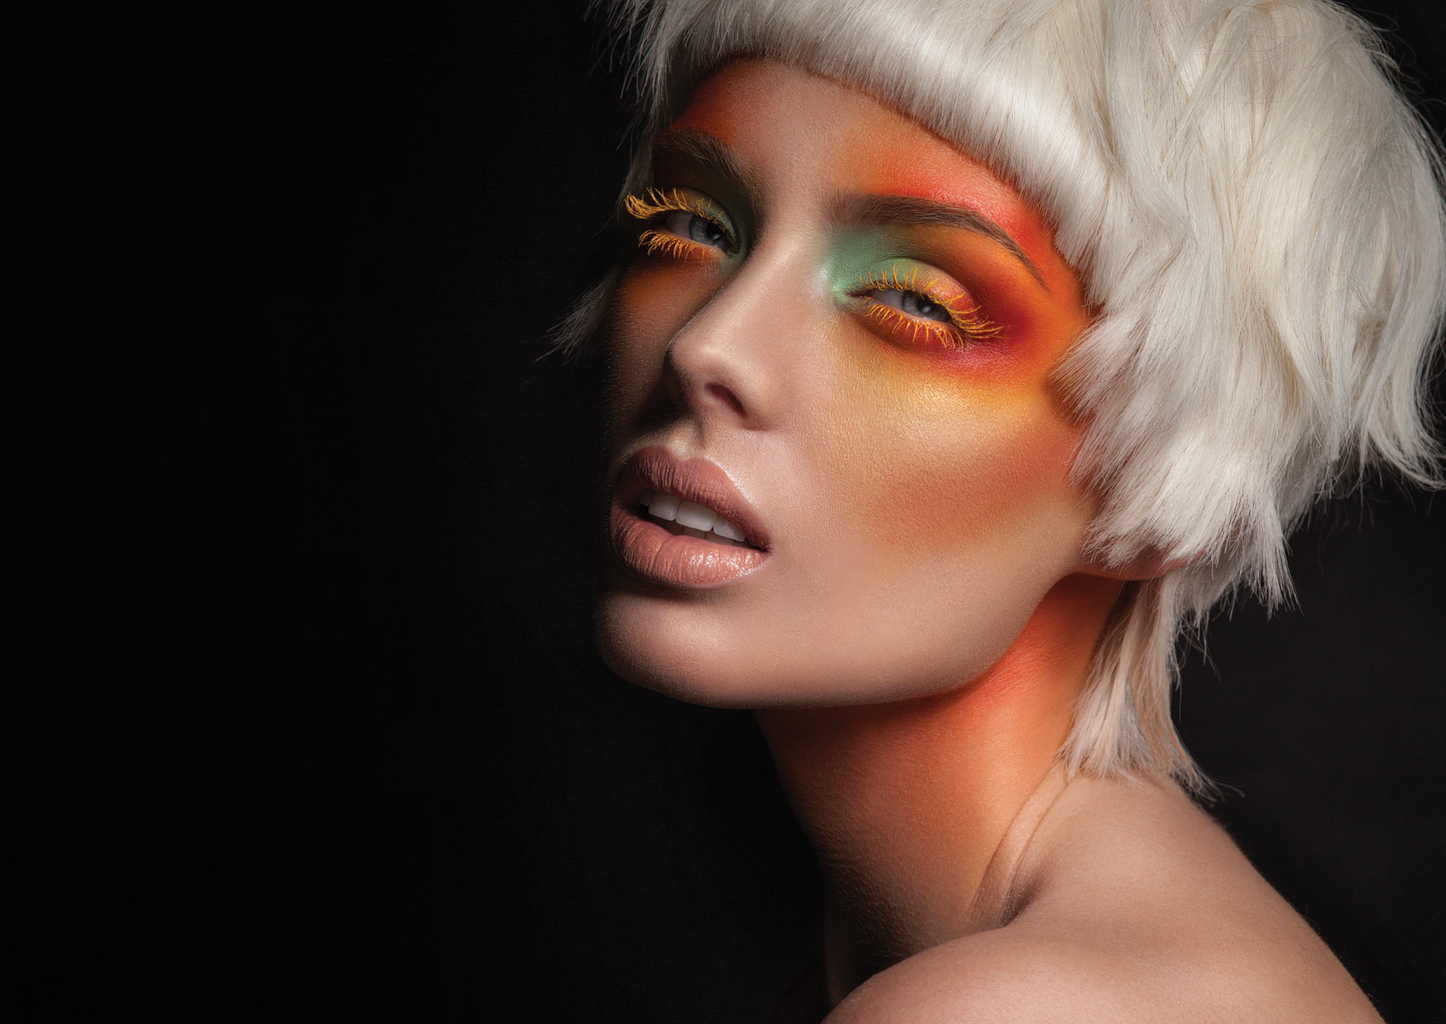
Who says the whole face needs to be in the frame at all times? Aside from cropping out parts of it afterwards, try capturing only the details. Macro lenses are a great tool for creating stunning close-up images of eyes, lips or fingers.
All words: Tina Eisen
Digital Photographer is the ultimate monthly photography magazine for enthusiasts and pros in today’s digital marketplace.
Every issue readers are treated to interviews with leading expert photographers, cutting-edge imagery, practical shooting advice and the very latest high-end digital news and equipment reviews. The team includes seasoned journalists and passionate photographers such as the Editor Peter Fenech, who are well positioned to bring you authoritative reviews and tutorials on cameras, lenses, lighting, gimbals and more.
Whether you’re a part-time amateur or a full-time pro, Digital Photographer aims to challenge, motivate and inspire you to take your best shot and get the most out of your kit, whether you’re a hobbyist or a seasoned shooter.
