194 best professional photography tips from working photographers
Discover some of the best tips for portraits, weddings, landscapes and commercial photography from people who make a living shooting them
81. High dynamic range
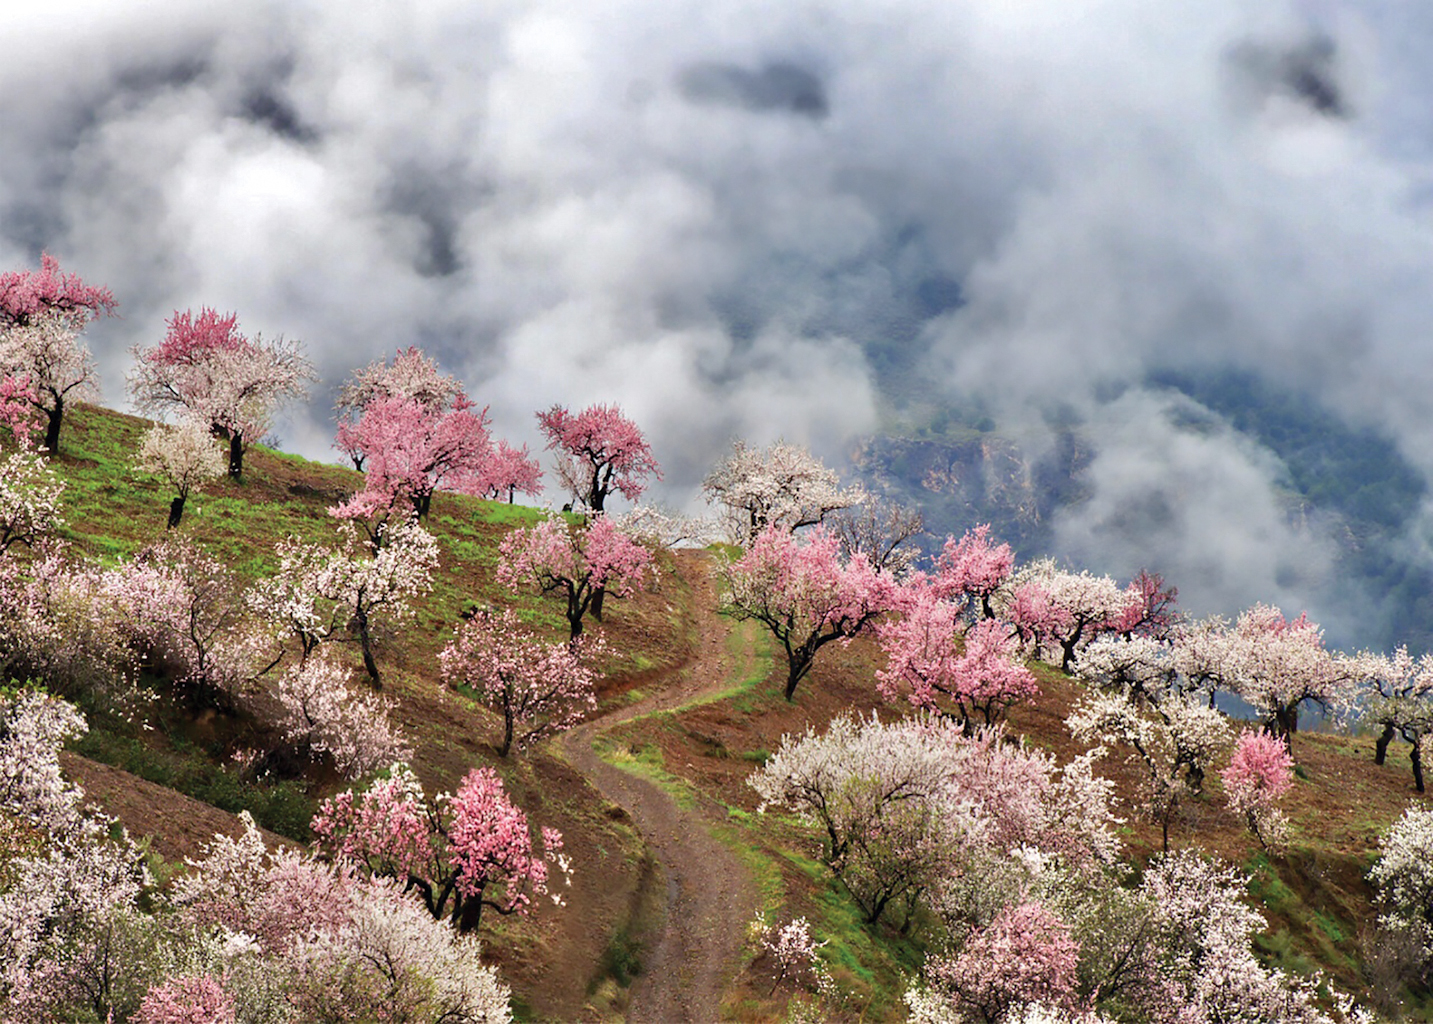
If you decide to use HDR, ensure you are familiar with lighting ratios and don’t underestimate the human eye and brain to detect where these ratios are skewed i.e. too much light drenching a foreground shadow when the light source is in front of you.
Read more: 12 incredible US national parks for landscape photographers
82. Do your own tests
Don’t trust others to inform you about your camera and its performance. Experiment with all ISOs yourself and check to see when image degradation sets in. Test at what aperture and with what lens any diffraction appears. Don’t sacrifice a sacred small aperture if little or no diffraction is evident at that aperture.
83. Investigate and decide
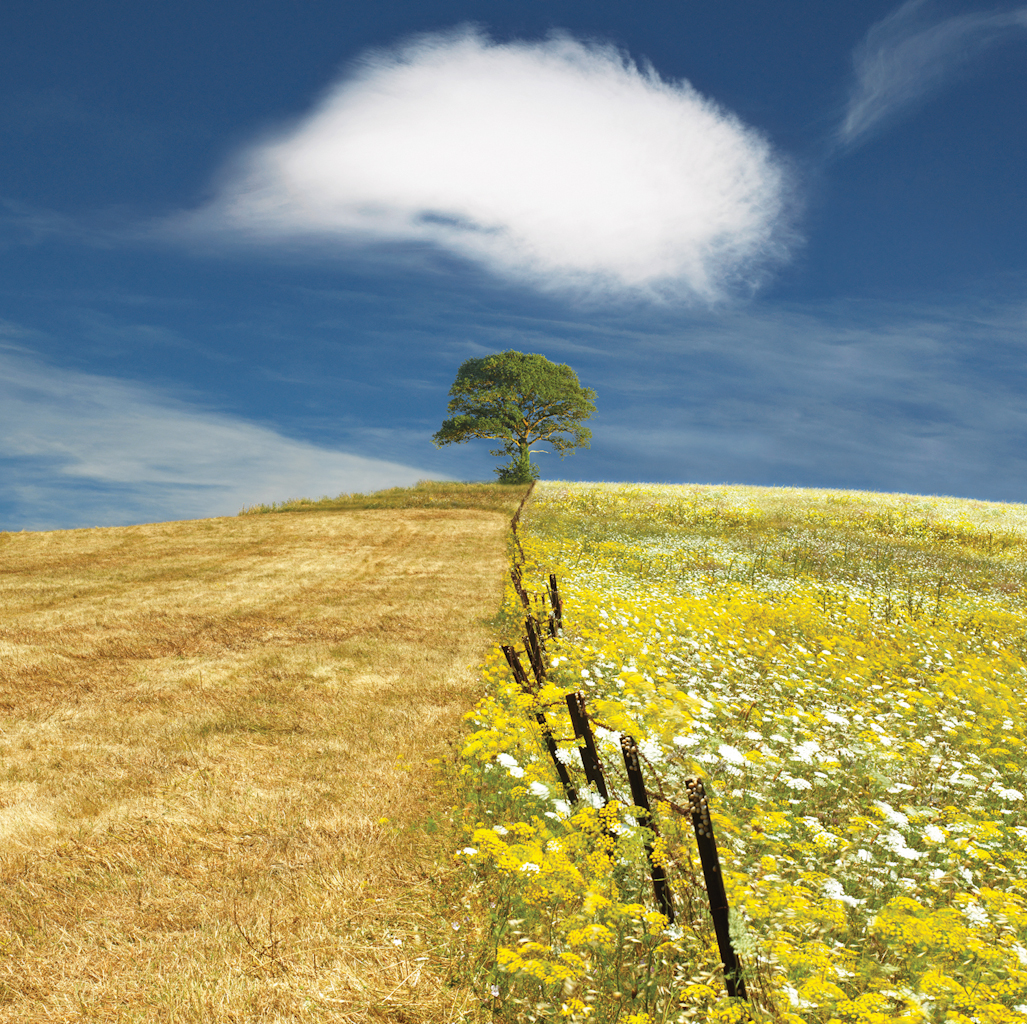
Take your eye around the entire outside edge of the viewfinder, and make sure to do so twice to be totally familiar with all that exists on the perimeter. Decide whether what exists on the outside edge supports what takes place within the body of the image. Omit any redundant elements. A painter would not neglect the edges.
84. A way out
If there has been a rhythmical and sinuous river or road in your image, try and find an easy departure for it through a corner. Better that exit rather than slamming abruptly into the edge of the frame in an ungainly fashion.
85. Restraint and integrity
For classic landscape photography, your audience needs to trust your image. Maintain your integrity with restrained post-production manipulation. A good maxim is: in-camera, on the day.
86. Consider shadows and highlights
Look at where shadows are and how deep they are. It is surprising how deep black ‘nothingness’ can dominate a photograph as much as unwanted highlights. Find a balance. Squint to evaluate brightness range.
Get the Digital Camera World Newsletter
The best camera deals, reviews, product advice, and unmissable photography news, direct to your inbox!
87. Visualise a print
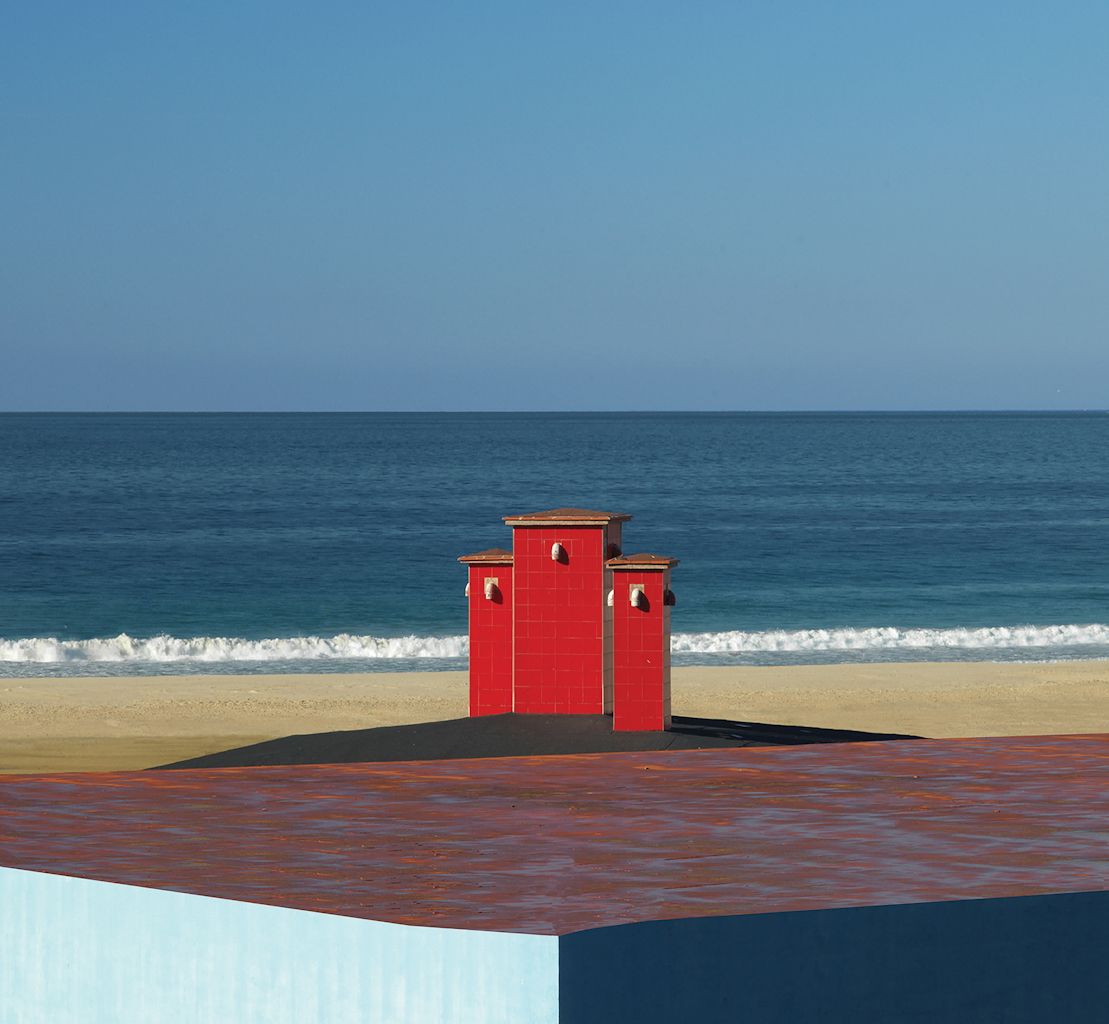
When looking through your camera try and envisage the image as a giant print. It will help you to take your photograph seriously if you can make the leap from the postage-stamp size image in your viewfinder to imagining it becoming a print 1,000 times bigger.
88. Refine your vision
Only acquire a new camera if you can really justify the expense. It’s better to develop your perception than buy another camera that you may not need.
89. Don't panic
There will be times when you may feel ‘photographically blind’. Do not panic, as your vision will eventually return. Any artistic endeavour is fraught with decline of confidence, anxiety and joy. Doubt your doubt and build back your confidence.
90. Attend and intend
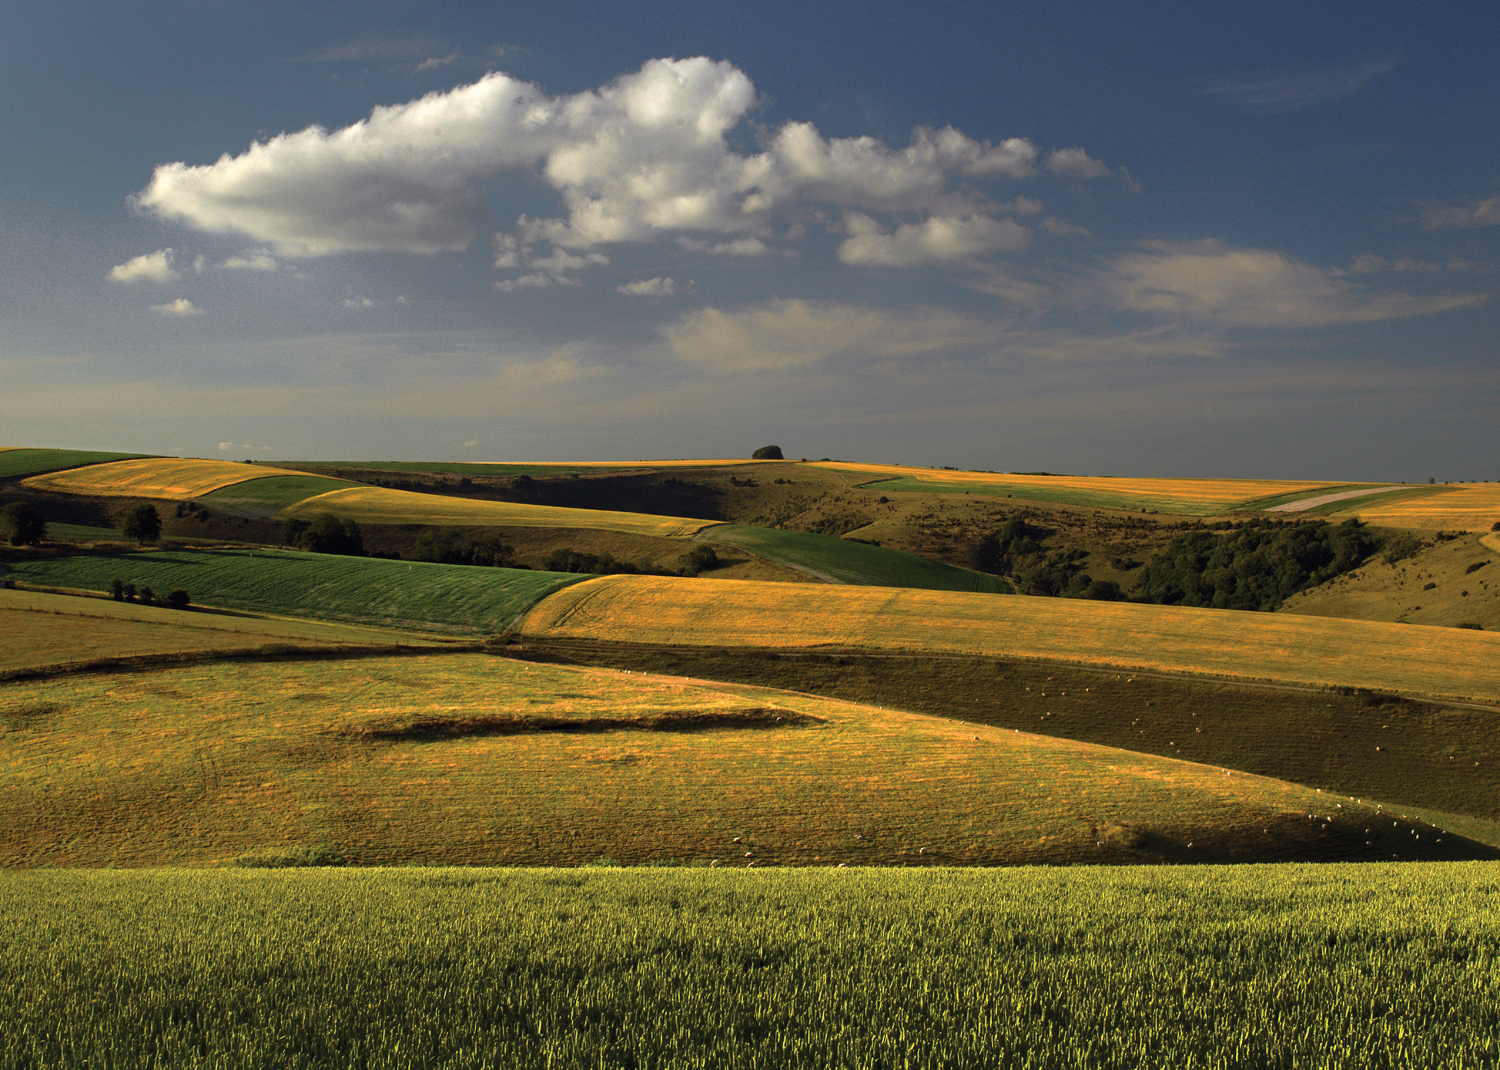
Try and attend to all the elements within the image you plan to make. Landscape photographs can often be made up of many components. Get to know all of them and ensure that you intended for them to be there before depressing the shutter.
91. Use shadows from clouds
Use cloud shadow to conceal any ugly features of the landscape. Look up to see what the clouds are doing and use them. Clouds that are not in your image are often actually more useful than the ones that are.
92. Create a portfolio
Build a website with all that you want to say, but no more. Less can often equal more. Be sure to check that all the images you present in your gallery are your best, so that they are representative of your skill level. Also, create a print portfolio.
93. Frame up
Using your hands, make them into a rectangle to see whether there is a photograph to be made. Possibly make a piece of thick and durable black card about 4 x 5 inches with a rectangular aperture cut out of it. This will help a great deal to remove the potential image from its wider context.
94. Use the histogram

If the subject brightness range is compressed, then no need to bracket. Think of bracketing with extreme contrast. Highlights and shadows will be on the margins. Decide which is sacred.
Read more: How to read a histogram
There is no need to bracket if the contrast is low. The histogram is all knowing and super informative, so make the most of it.
95. Monitor the sky
Try to monitor the movement of the sky. If it is lacking in interest, consider omitting it. Look at the wind direction and prepare for a better sky than the one that you found on your arrival.
96. Use your tripod
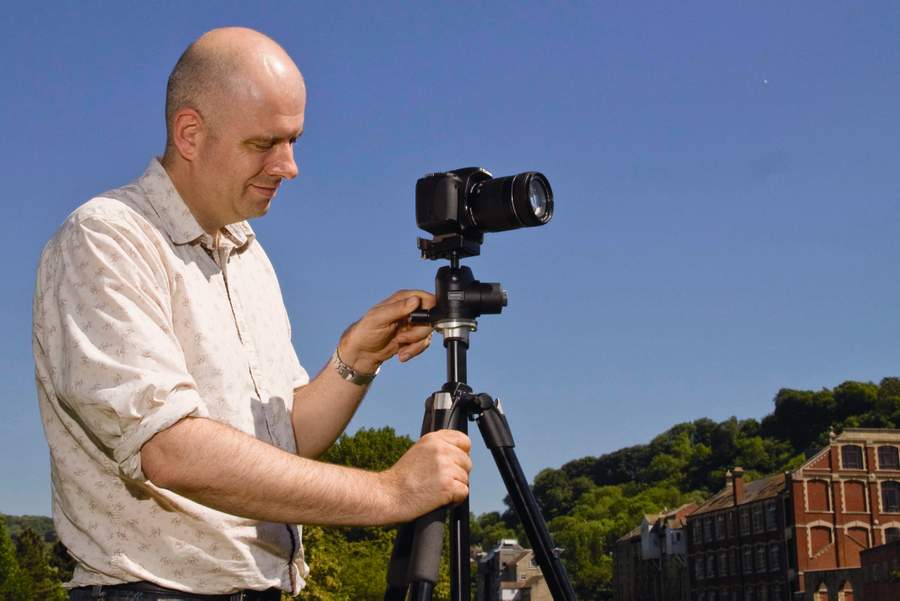
If you have a tripod, try to use it! It has two functions. First and most obviously to allow long-time exposures, and secondly, and as important, it enables you to take your photograph seriously. With the aid of a tripod fine adjustments can be made. Think of your photograph as being an important, considered production.
97. Be the lighting director
Make sure that you are always consciously aware of the light. A photographer must be acutely aware of nature and the quality of light, as well as how the light is falling on the subject and how the light is absorbed and reflected by different surfaces.
98. Be clear
Big views can at times be overwhelming and difficult to manage and make sense of. Aim to make them coherent and cohesive; don’t be scared of them. Try to look for relationships, no matter how tenuous they are. Your audience will find them.
99. Look at postcards

Look at postcards with a critical eye. Compare relevant postcards of the same subject. Check out photography exhibitions whenever you possibly can. Go to talks and fill yourself up with photography and further your inspiration.
All words: Charlie Waite
100. Develop a signature
When you look at a photograph you like, try and unravel it to learn what it is about the image that you like. Take a workshop or a private one to one with a landscape photographer you admire. Aim to develop your own personal style.
101. Shoot the Blue Hour
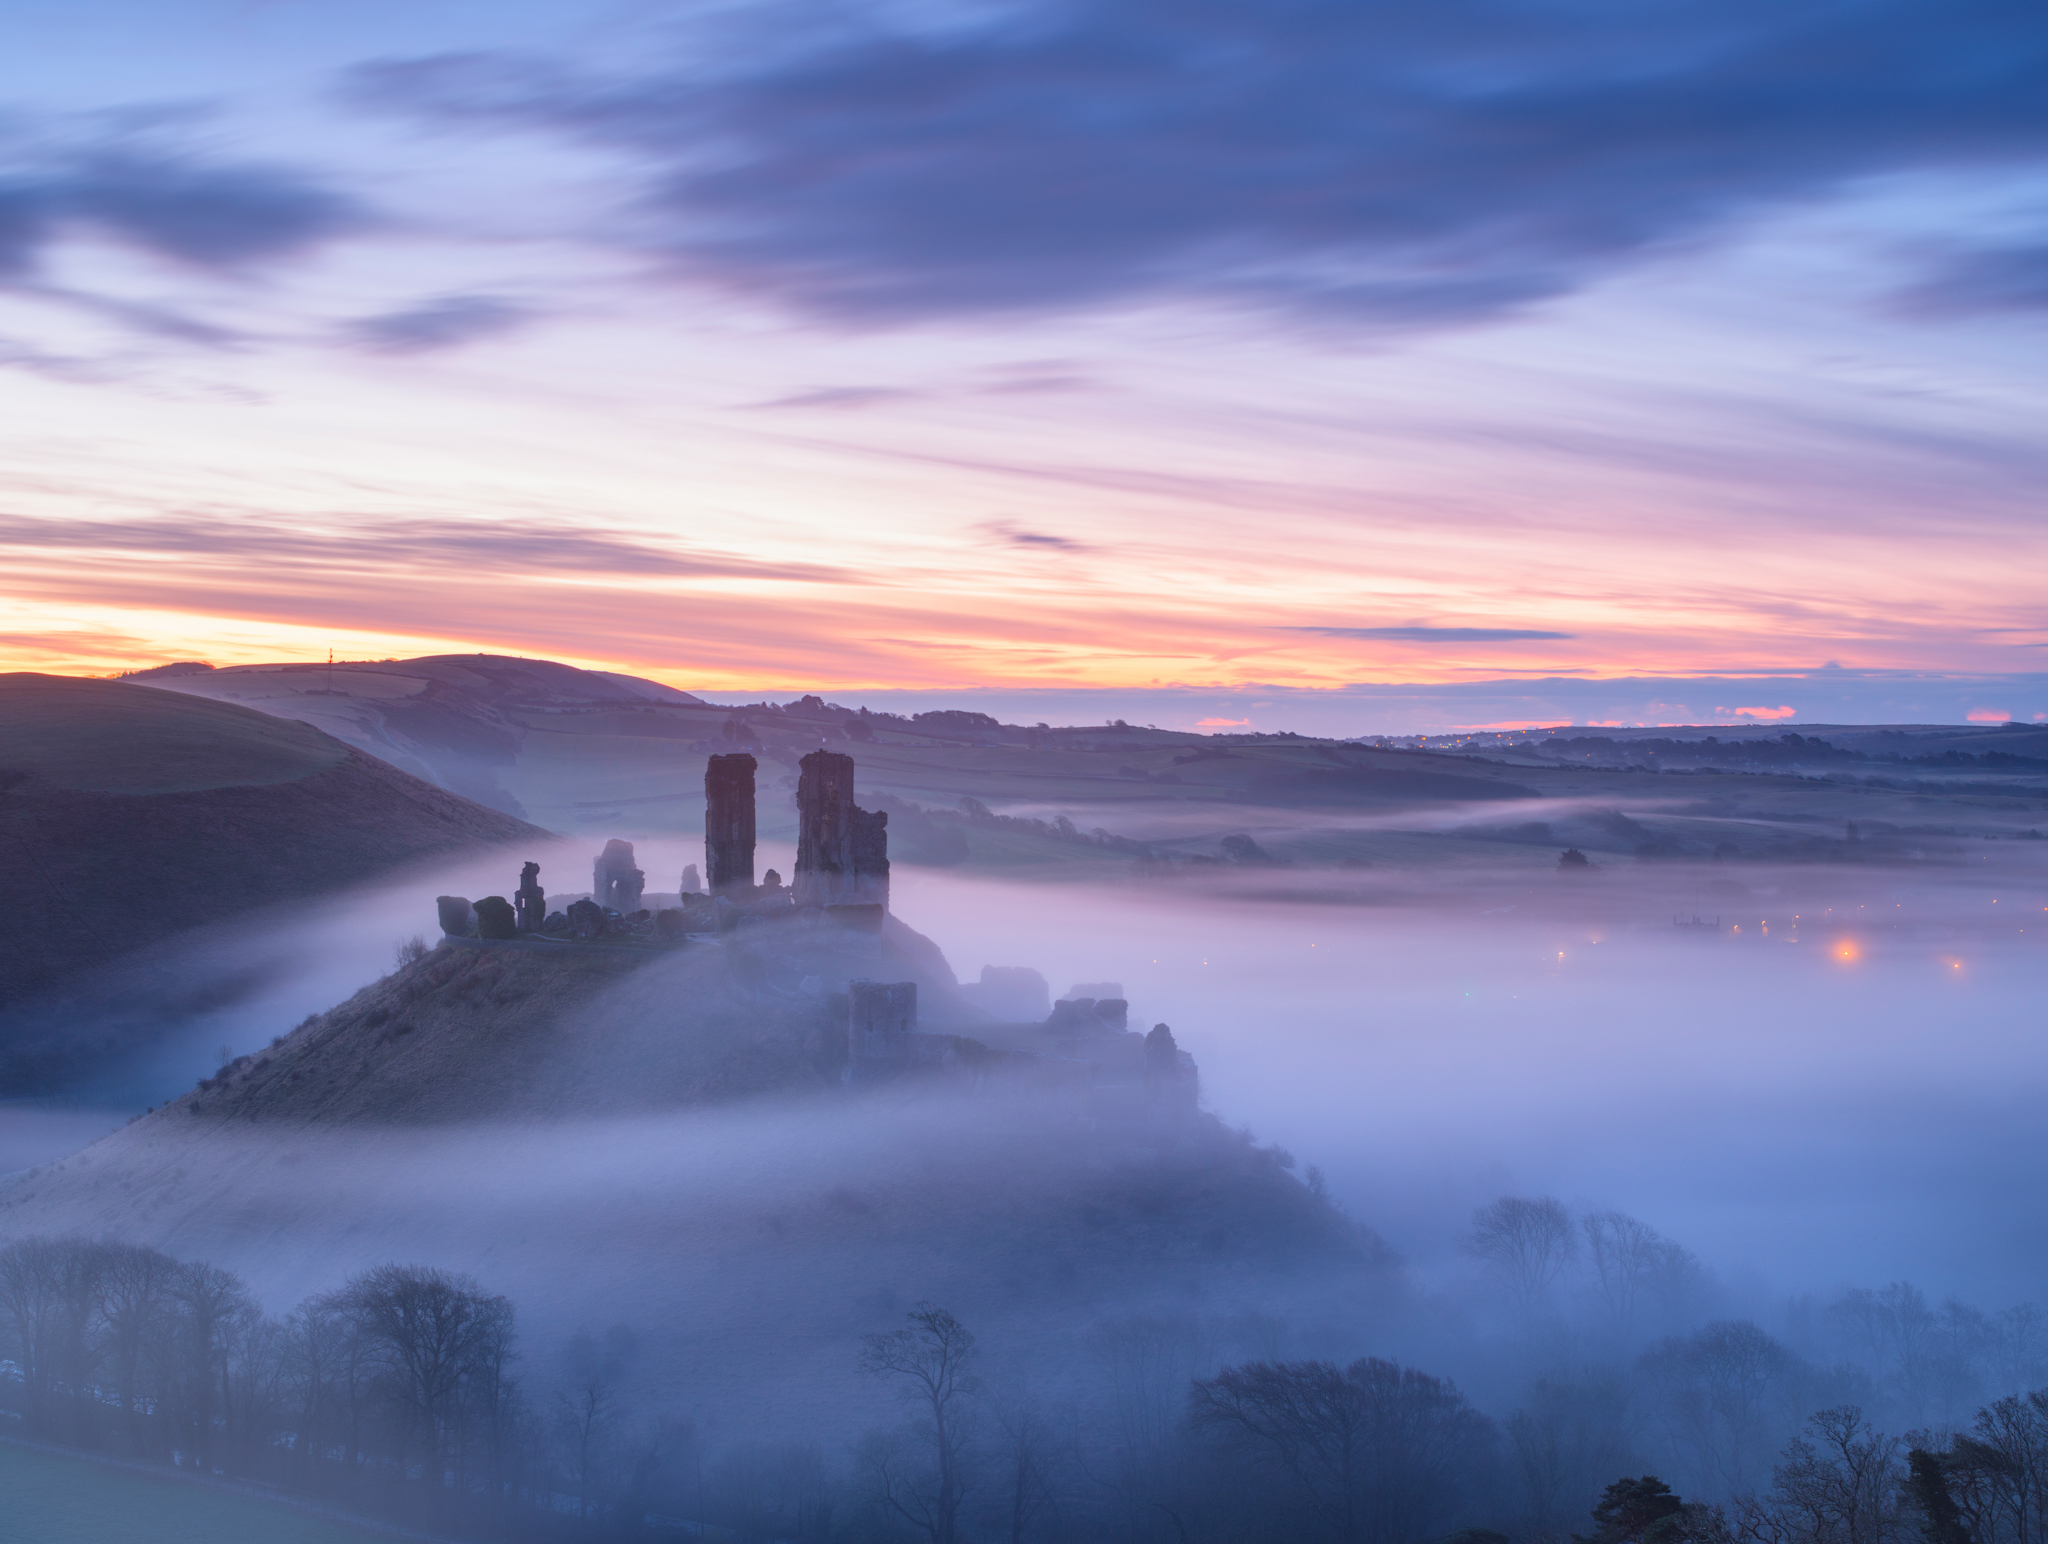
If you like moody landscapes, wait past the Golden Hour (or arrive before the morning Golden Hour) and shoot in the Blue Hour; the cool, blue tones add an air of tranquillity and mystery.
102. Make use of bad weather
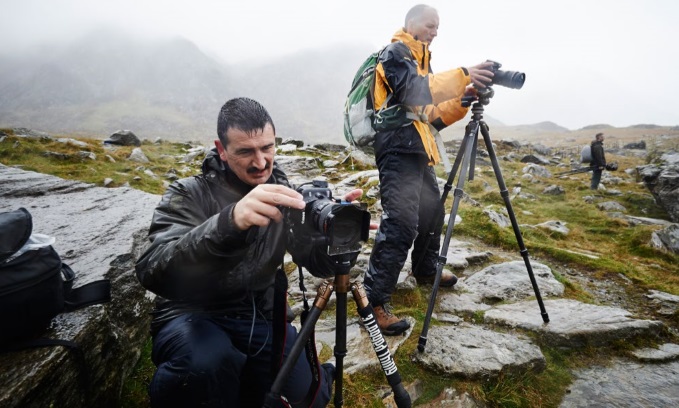
Although some weather is nearly impossible to shoot in, overcast and dull days present plenty of opportunities. For example, head to the coast and shoot long exposures with an ‘extreme’ ND filter, or go to the woods where the soft lighting will keep contrast low and allow you to capture plenty of detail.
103. Explore new locations
On days when the light and weather are poor, invest some time in scouting new locations. Check out viewpoints and potential compositions and you’ll have something to look forward to when the light is good.
104. Highlight the focal point
Most landscapes benefit from having a clear focal point and compositions are strengthened if you exploit natural features to lead the eye to it. Lines such as rivers and paths are ideal, and objects pointing in from the corners direct attention into the frame.
105. Shoot a project
To boost motivation, shoot a project where you concentrate on one type of subject or technique – for example, shooting only monochrome or with a single focal length.
106. Be flexible
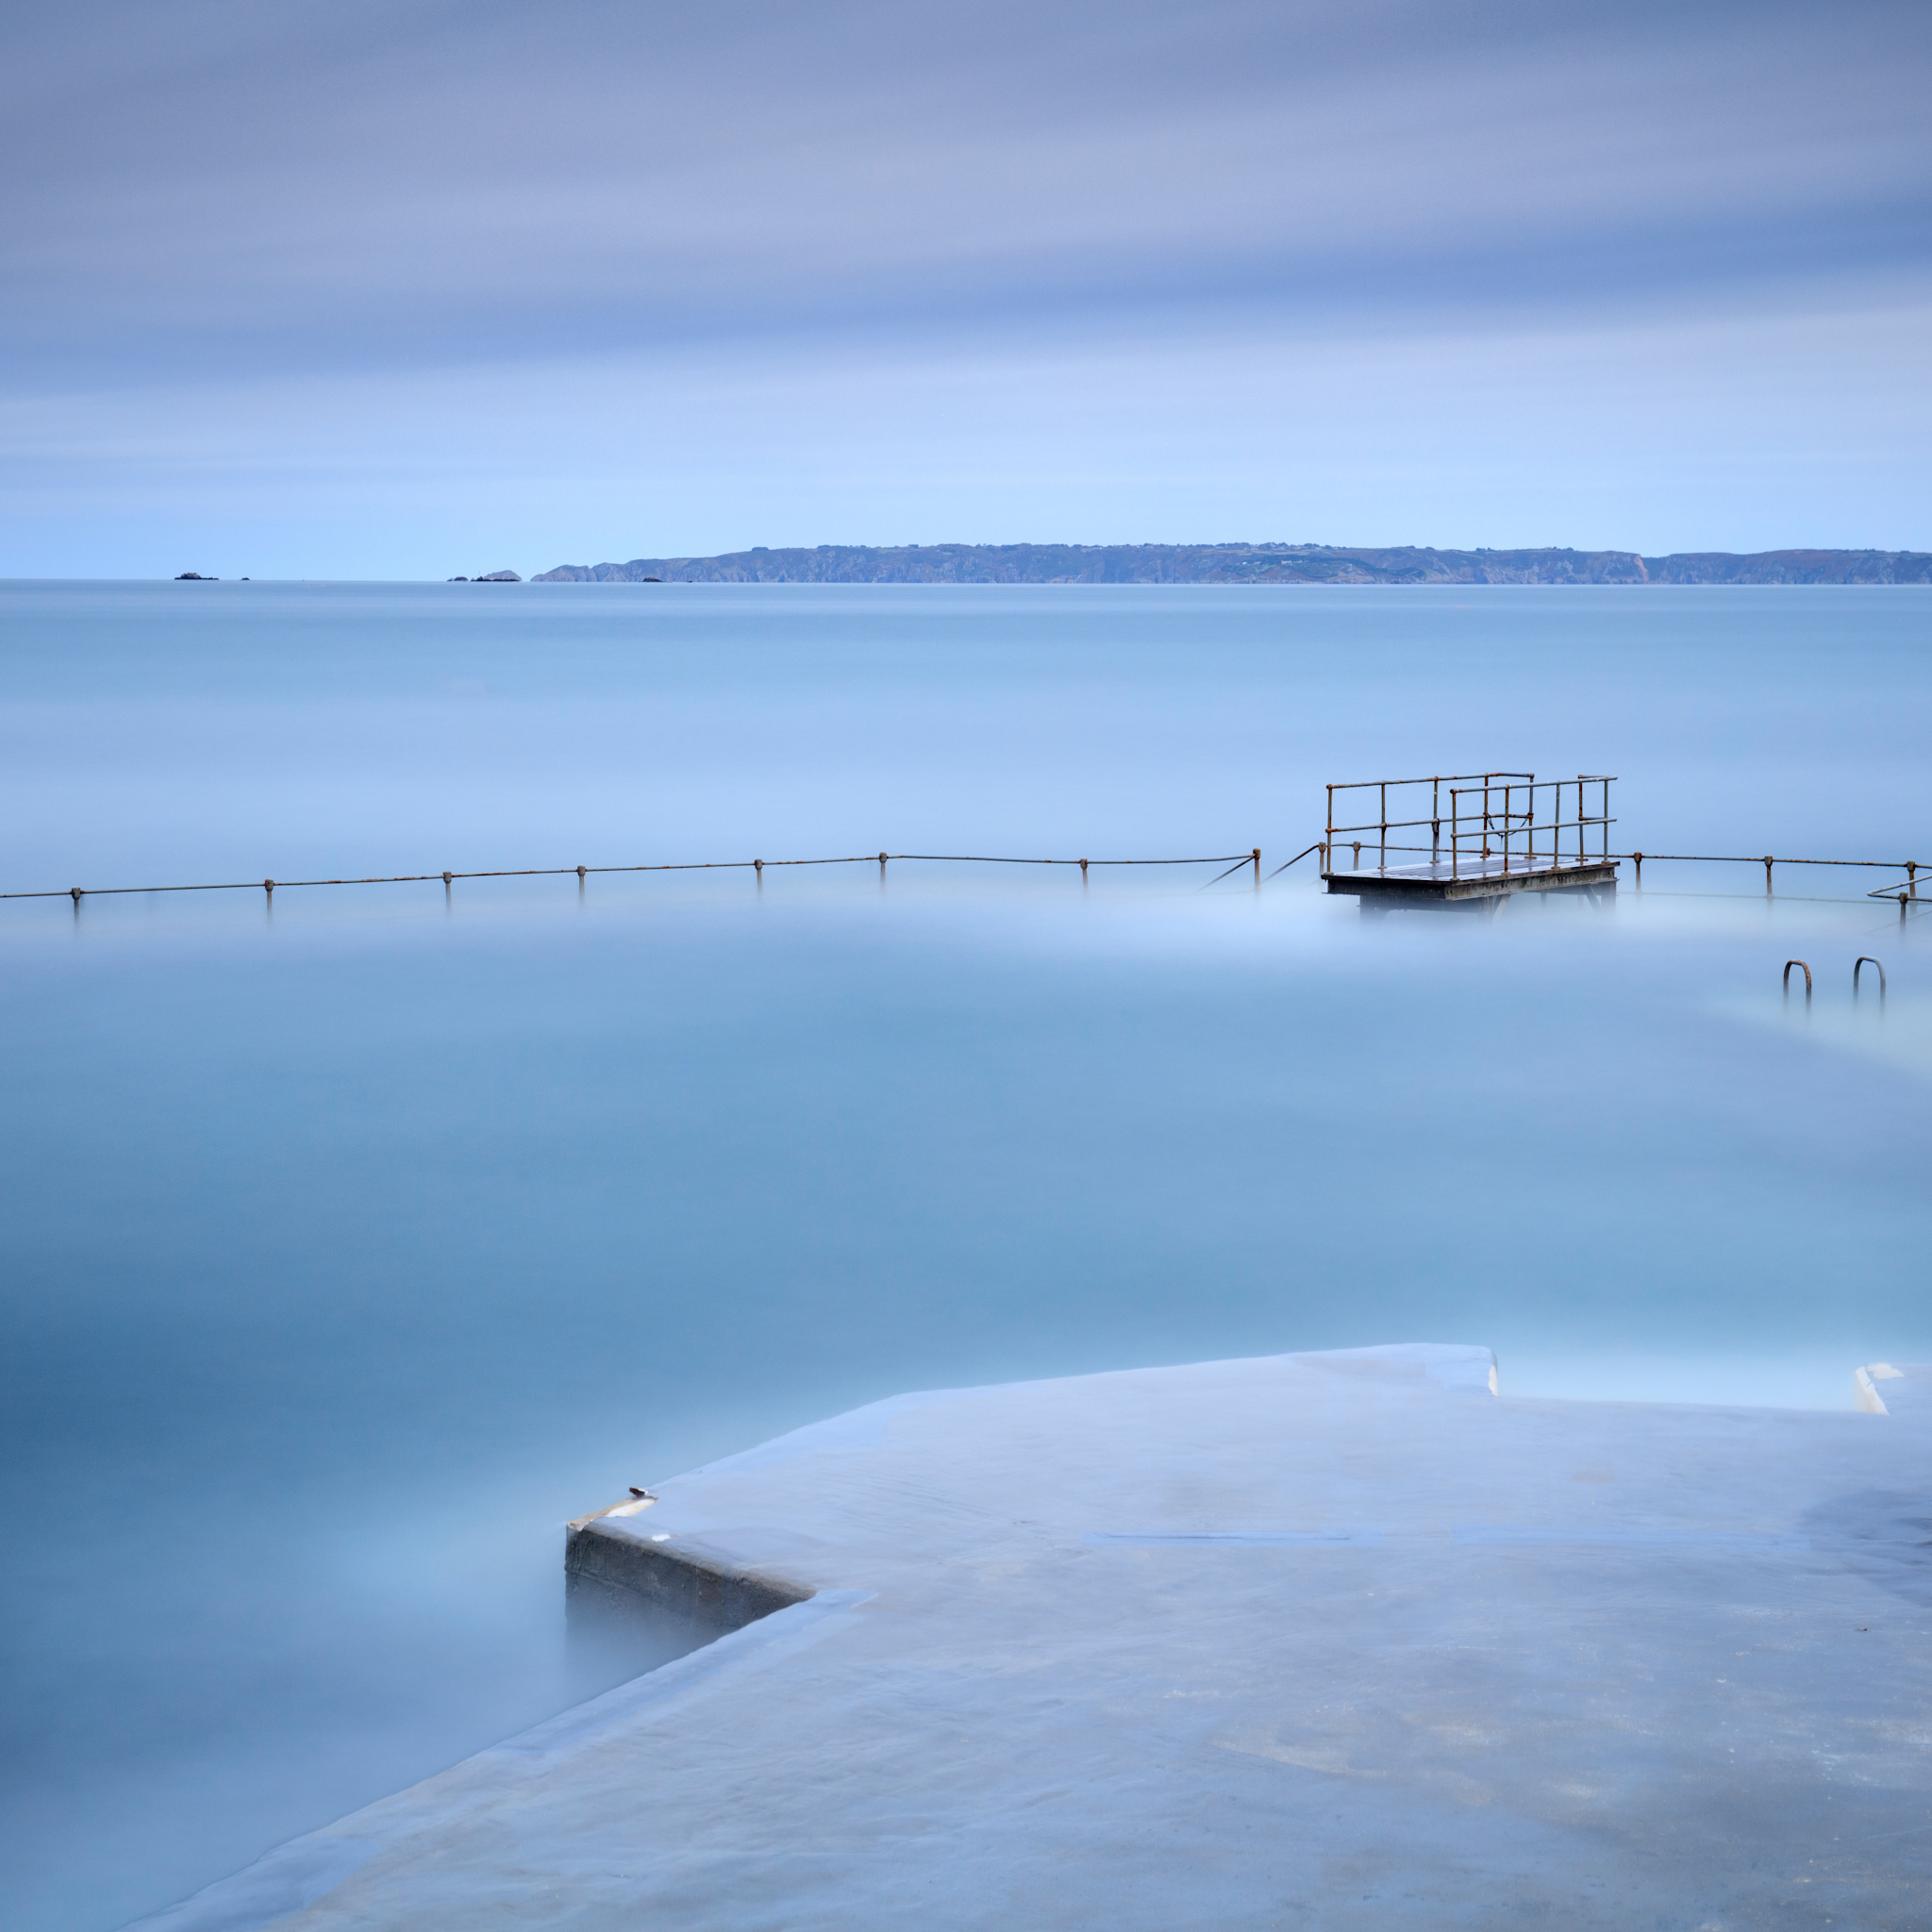
We often plan shoots with a particular viewpoint or composition in mind. Don’t let this close your mind to other opportunities; be prepared to react to the conditions and go off plan.
107. Add a sense of place
Many landscape photographs are anonymous; try to include features in your compositions that identify your location and add a sense of place.
108. Break the rules
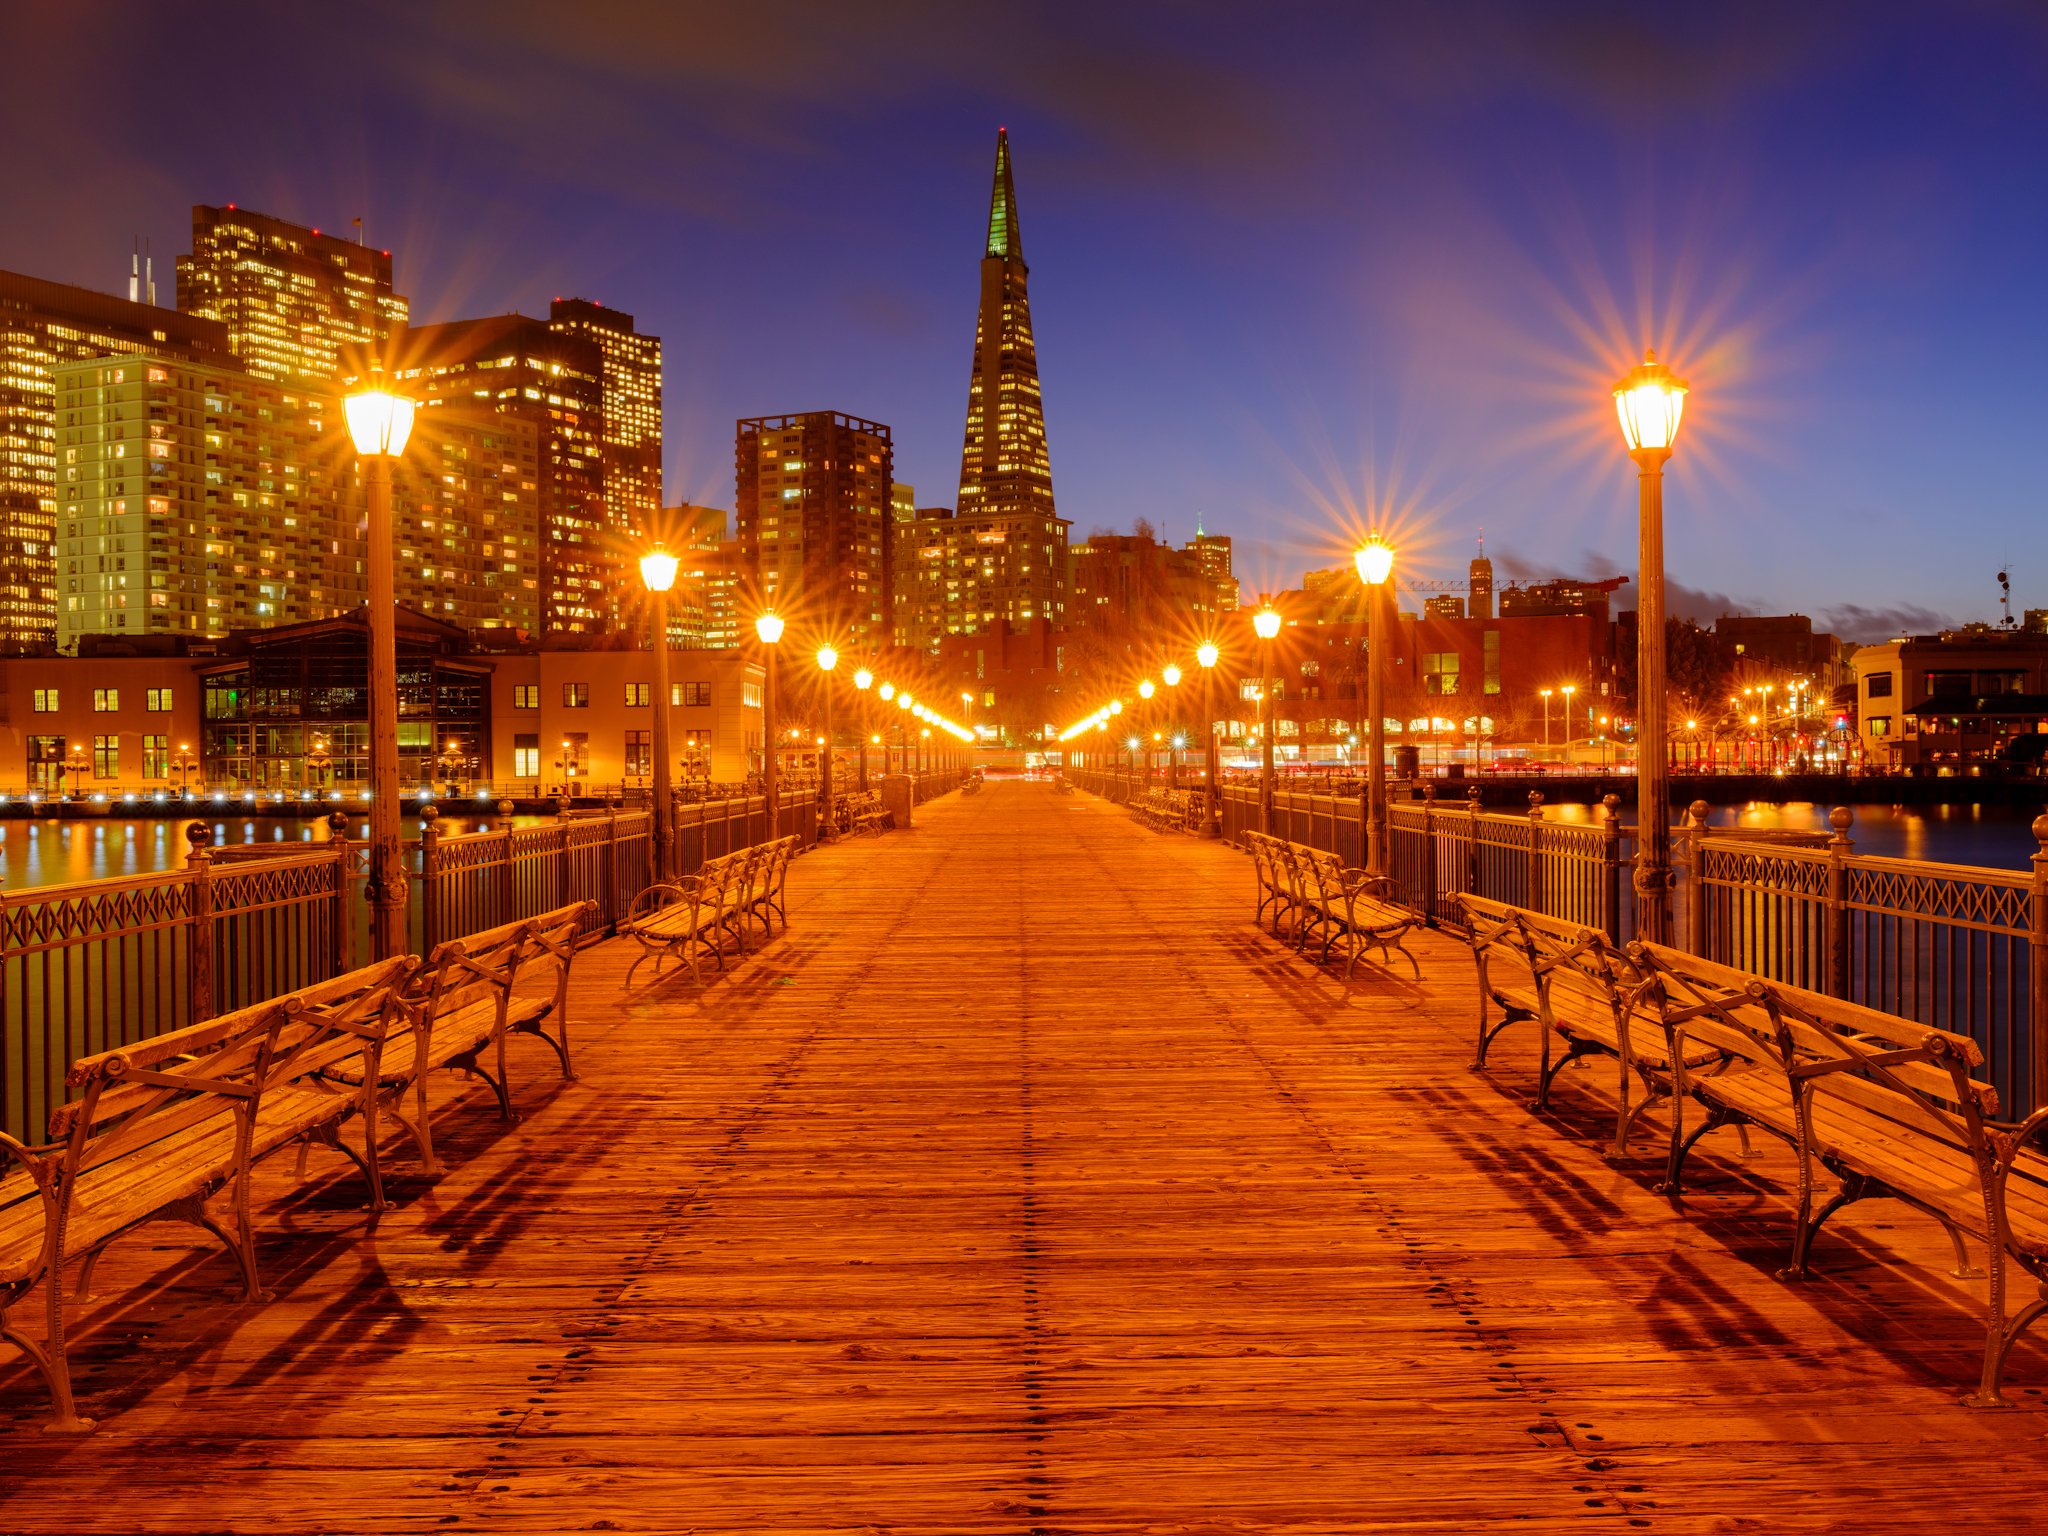
Most photographers are familiar with the ‘rules’ of composition, such as the Rule of Thirds, Golden Section and so on. They work well, but can be a little constraining. Don’t just break them for the sake of it, however – know when this will work, for example, when a scene naturally lends itself to symmetry.
109. Less is more
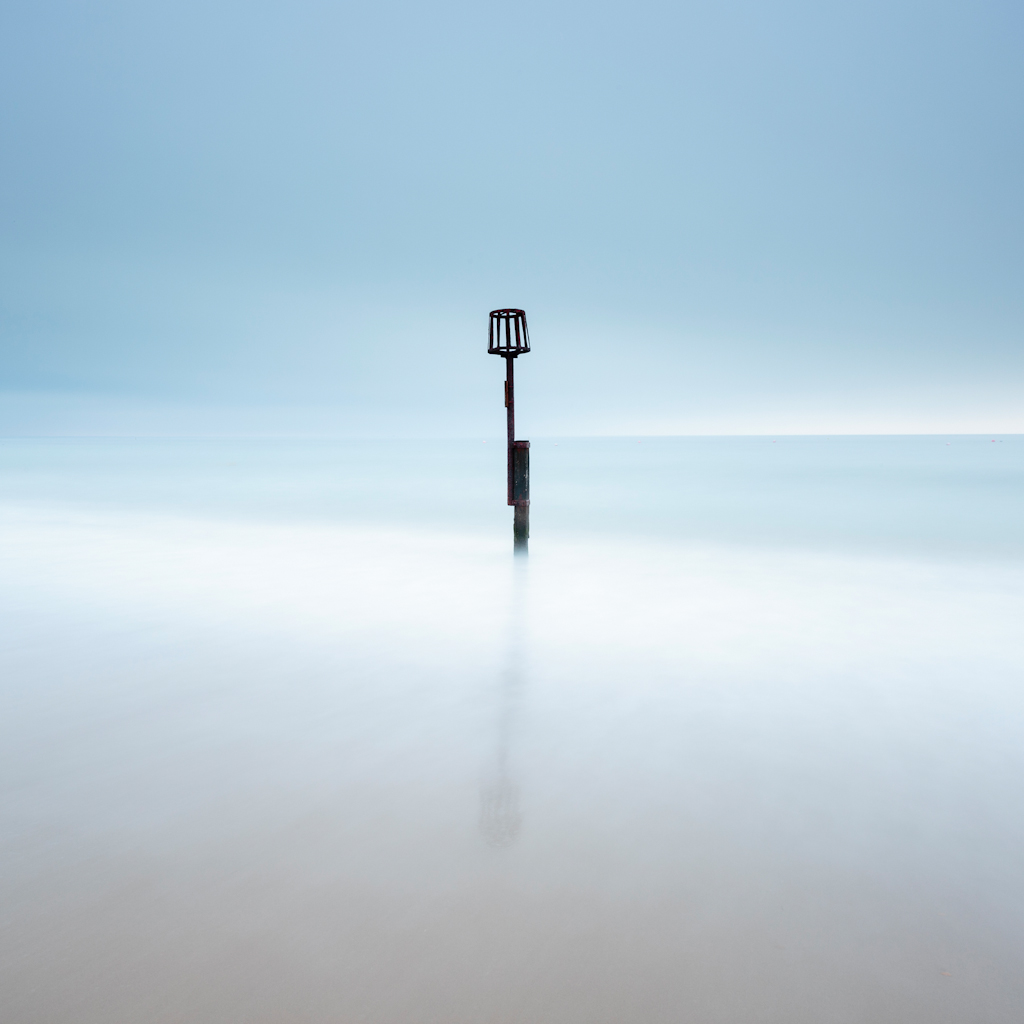
The best compositions are often the simplest. Composition is a reductive process – starting with everything in front of you, exclude any items from the frame that do not enhance the mood you’re trying to evoke.
110. Enjoy the process
Slow down and make sure that you enjoy the experience of being out in the landscape with your camera. Your images will really benefit as a result.
111. Ignore the forecast
The most dramatic light is often in marginal conditions. Forecasts can tell us that, for example, it will be cloudy, but they can’t predict things like small gaps in the cloud, which can let light through and transform a scene. So head out whatever the forecast.
112. Try a new technique
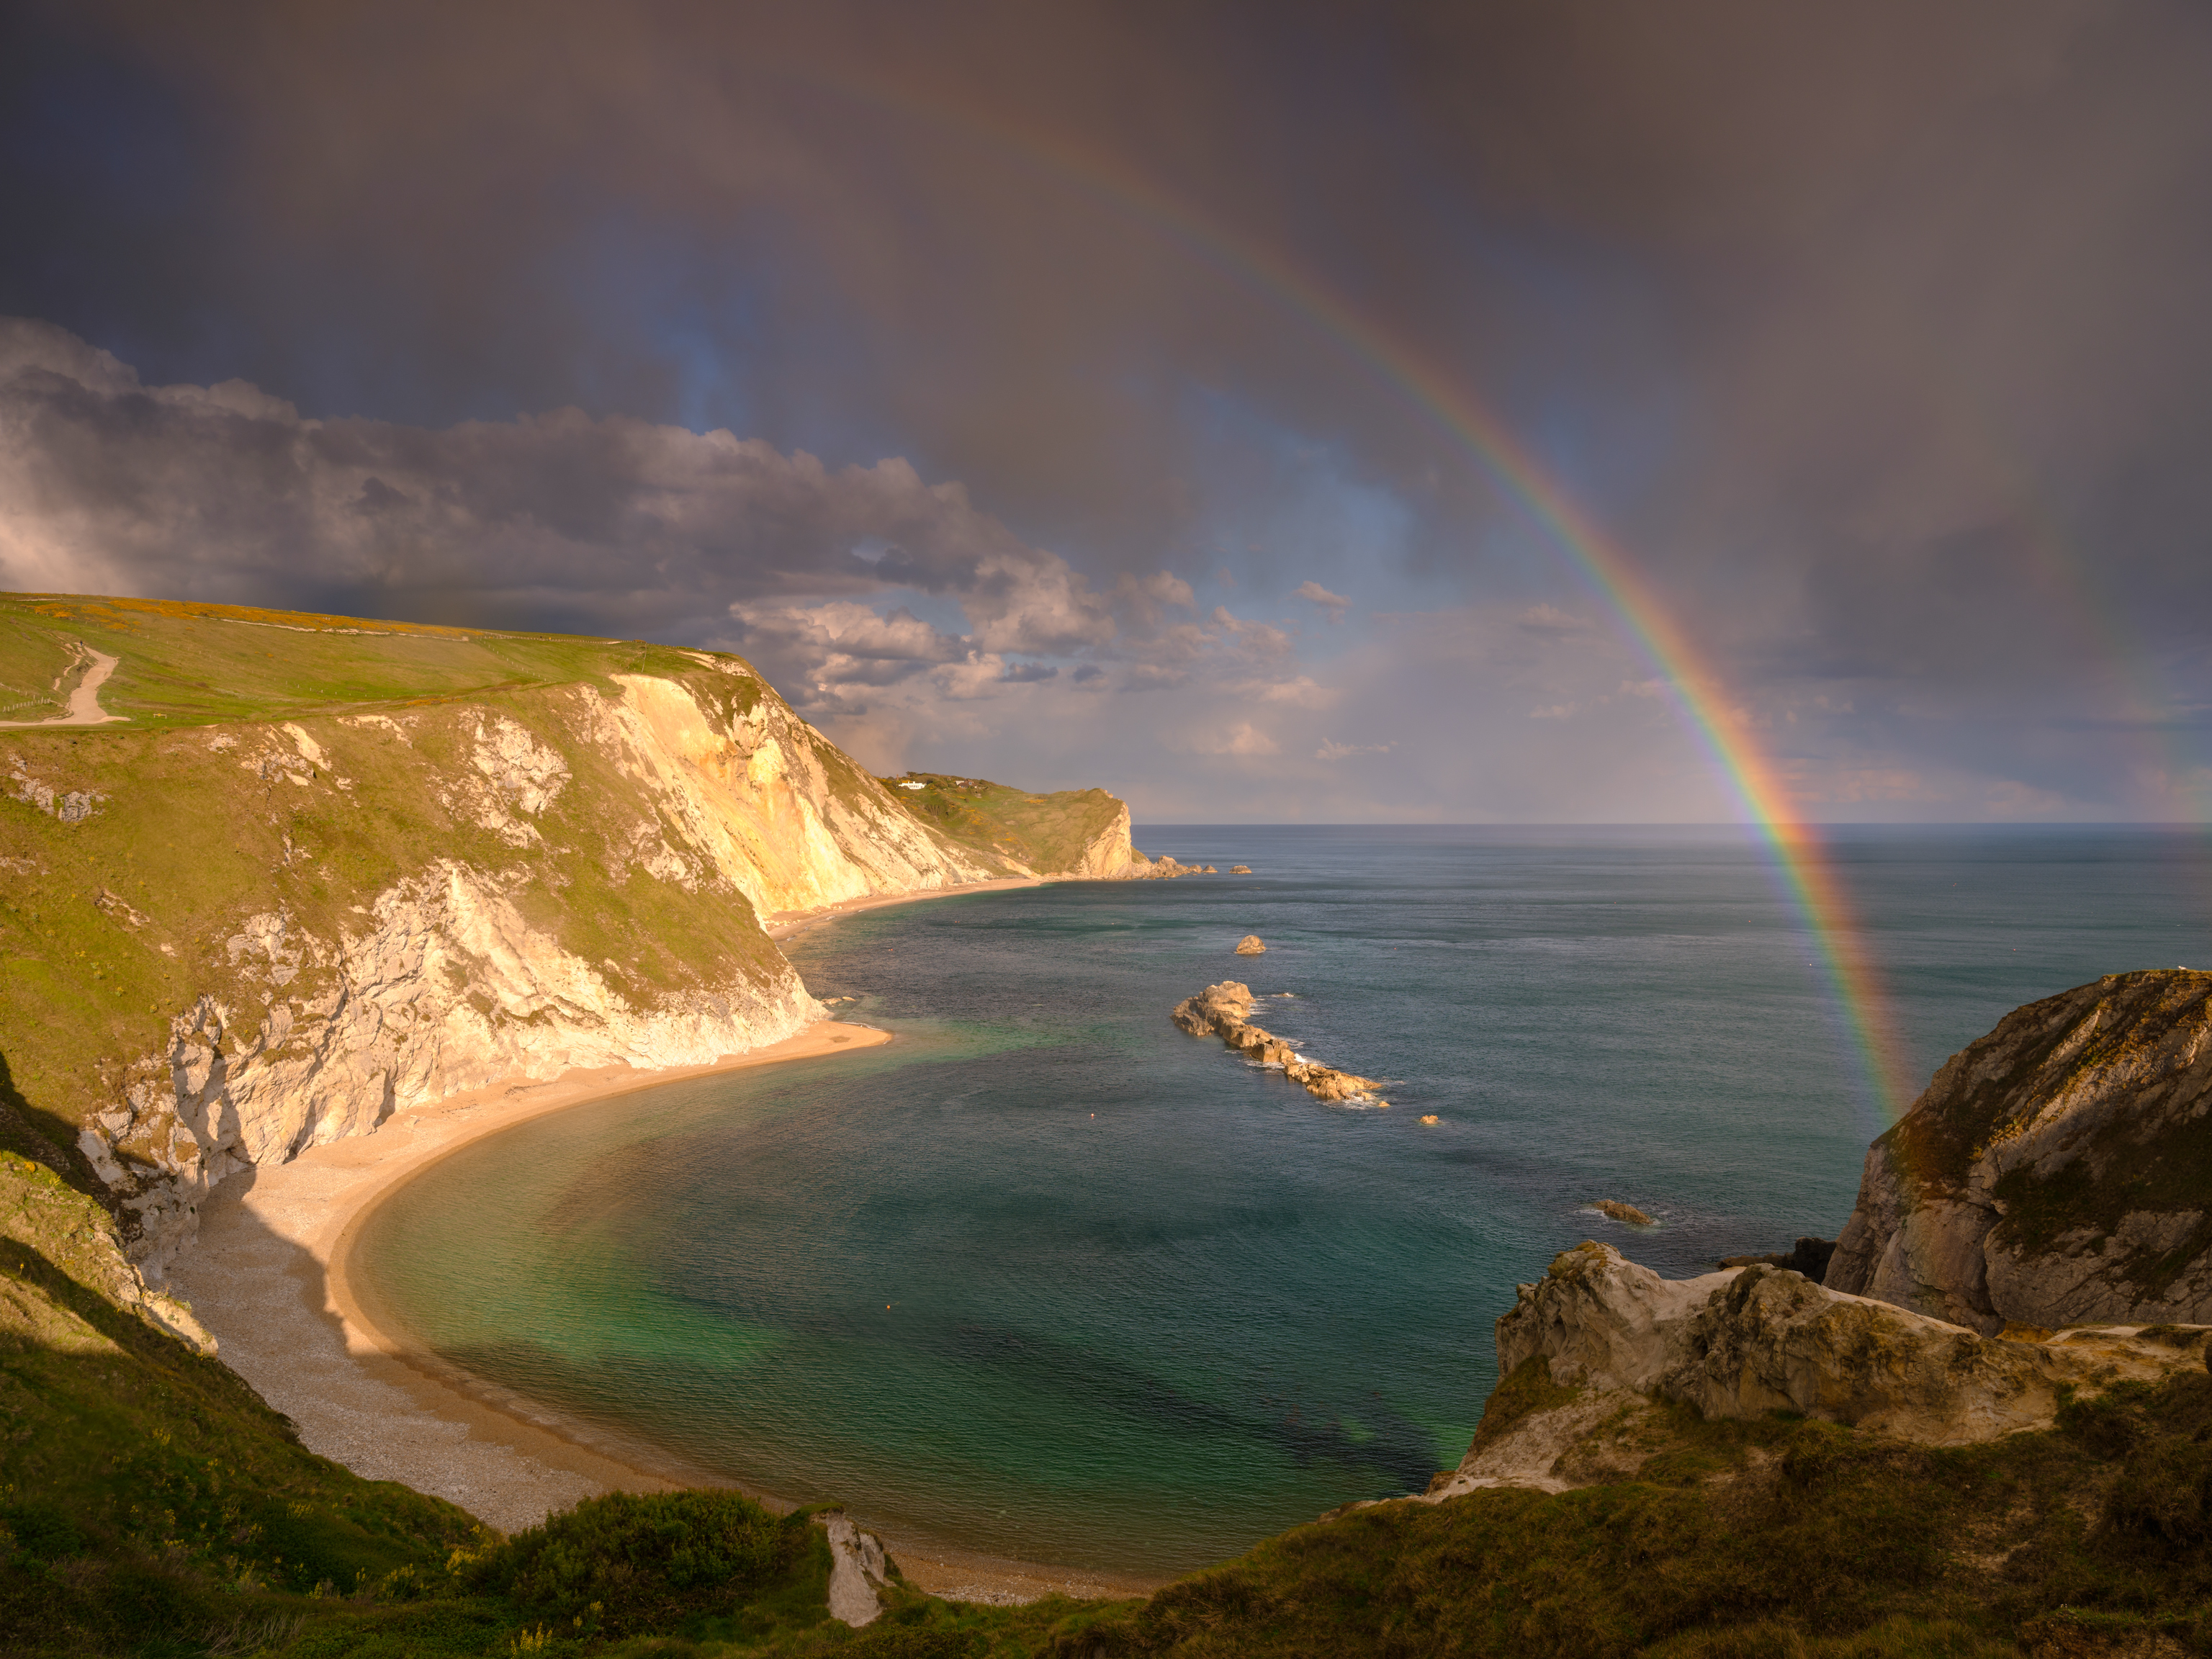
It’s very easy to get stuck in a rut, doing the same thing over and over again. To add some variety to your landscapes, consciously try out something different – whether that’s night shots, cityscapes, long exposures… anything you’ve not tried before, to kickstart your creativity.
113. Use long focal lengths
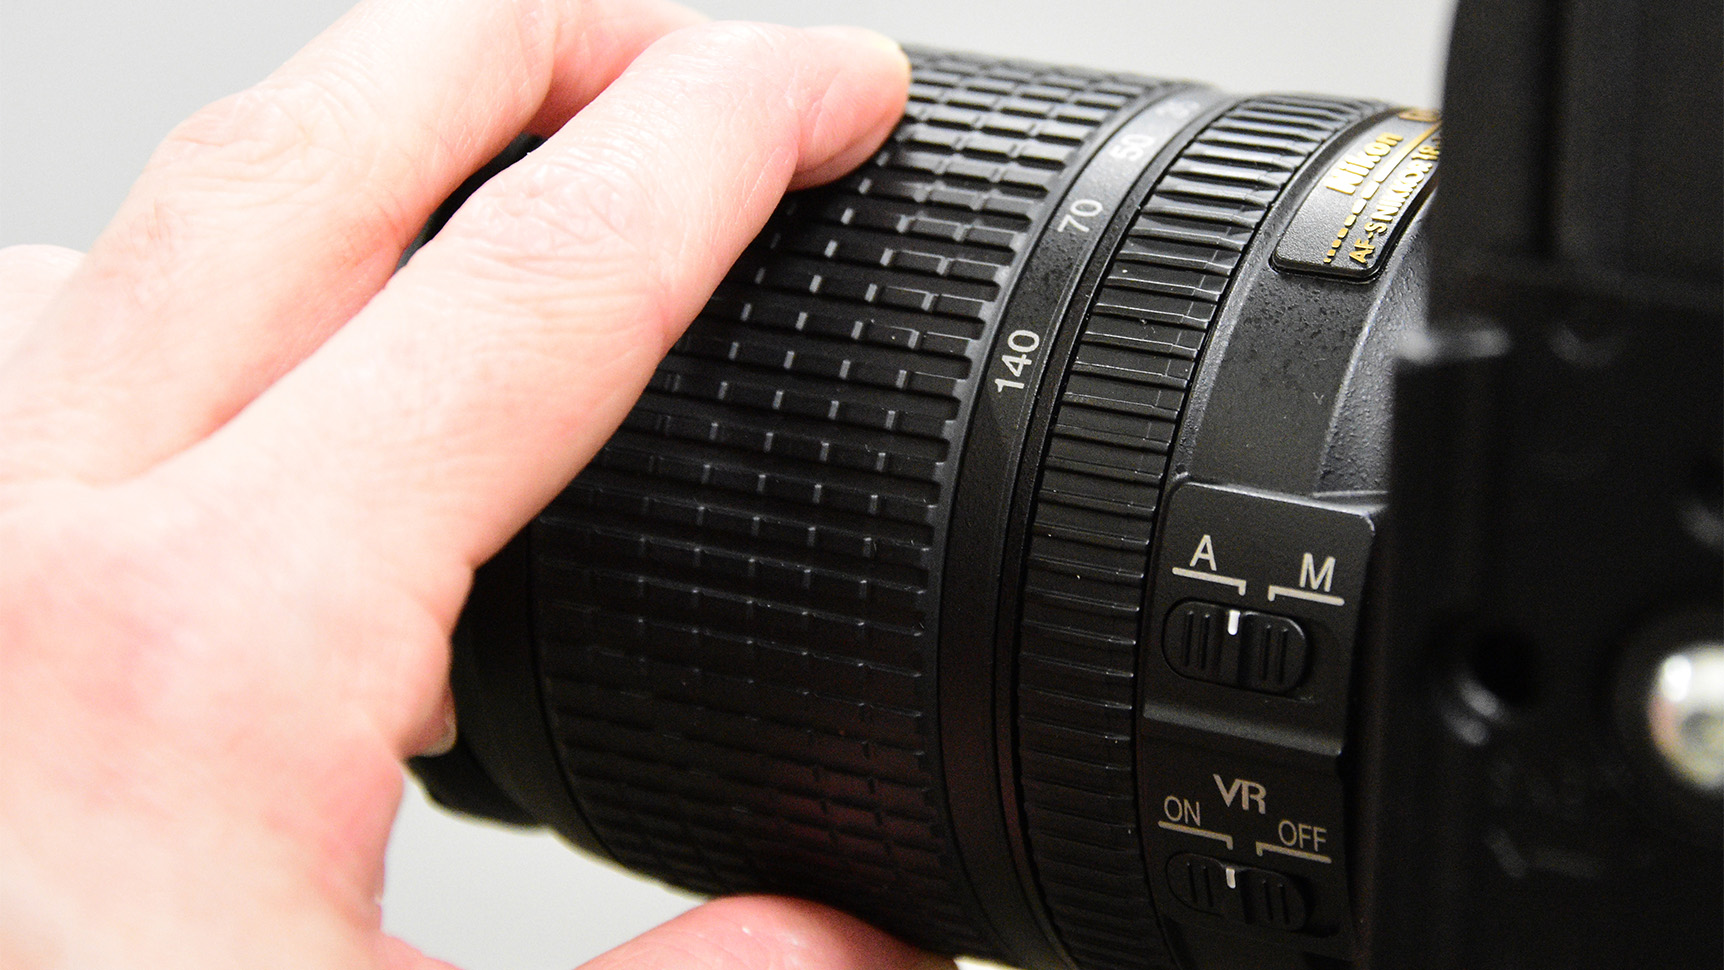
It’s easy to get obsessed with wide angles; don’t ignore the possibilities offered by telephotos for focusing on shape, pattern and texture, as well as their ability to compress perspective and created layered landscapes.
114. Look for shapes
Instead of only looking at the details in a landscape, look at the overall shapes that are being made; for example, a group of rocks may form a triangle or a line of trees may create an ‘S’ curve. How shapes interact with each other helps to create balance, harmony and mood in a composition.
115. Respect the environment
Don’t be tempted to trample over wild flowers or do other damage to get your shot; the environment is always more important than your photograph.
116. Use foreground interest effectively
Getting in close to foreground objects with a wide-angle lens is an effective technique for enhancing the perception of depth in a scene. However, don’t just set up in front of the nearest big rock – choose foregrounds that connect with the rest of the scene.
117. Learn your kit
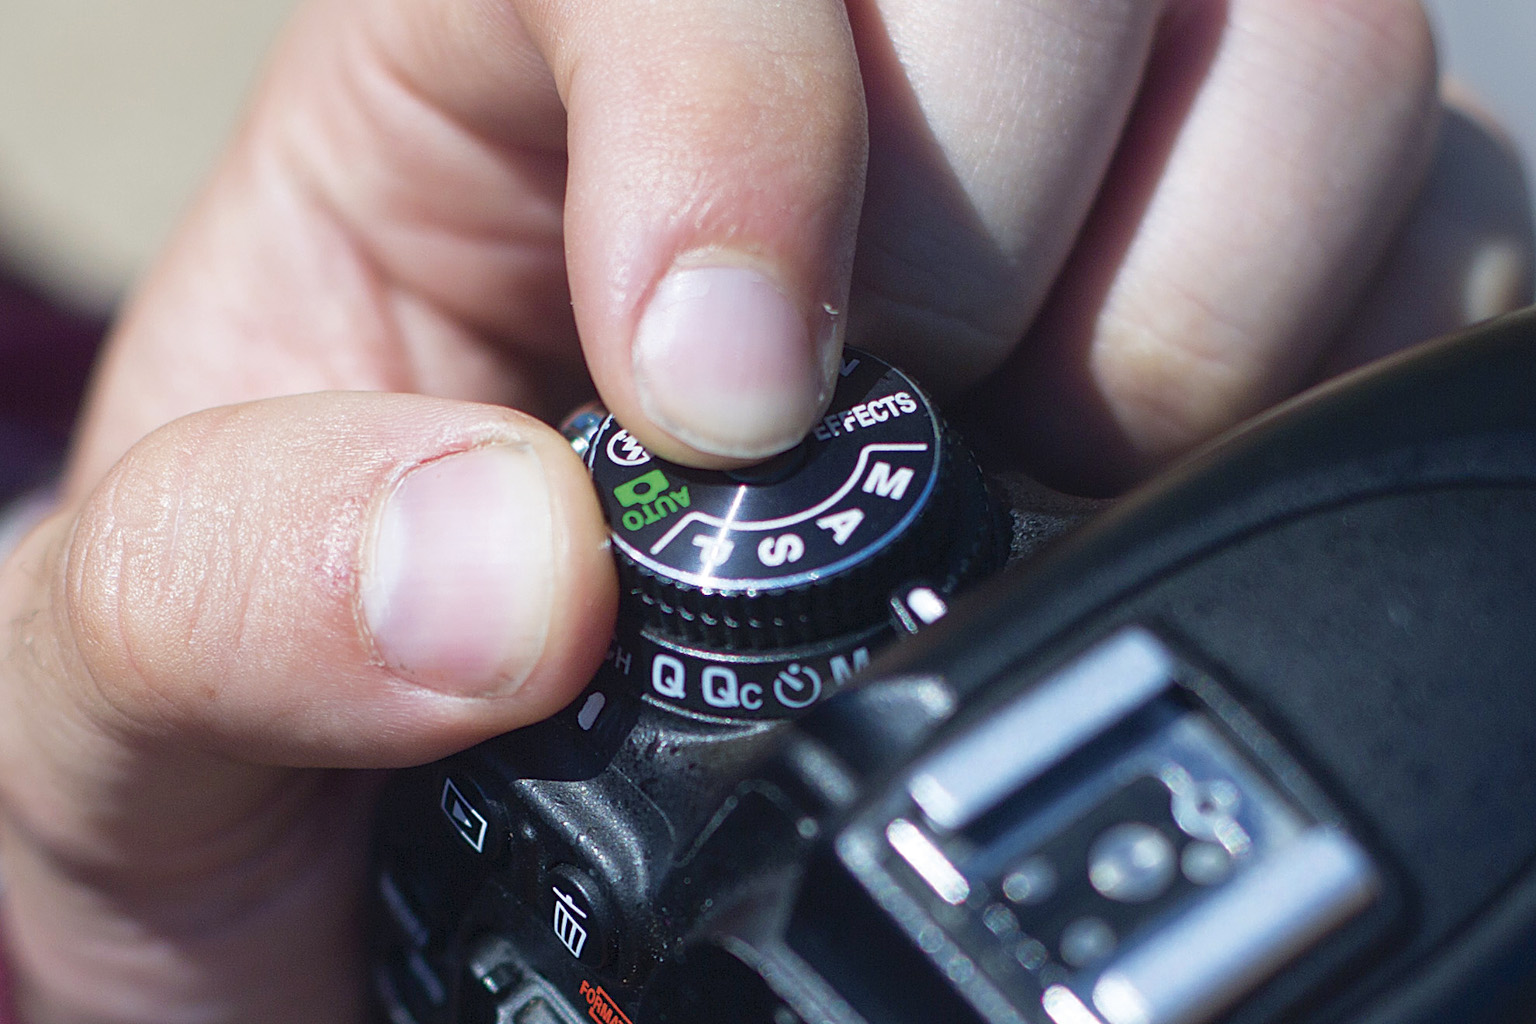
Spend time familiarising yourself with your camera and accessory controls. Being able to change settings quickly and instinctively allows you to concentrate on composition, without the camera ‘getting in the way’.
118. Anticipate the light
Great light is fleeting and you must be ready to shoot before it happens, or you’ll miss it. So for example, to capture a rainbow, you’ll need to stand in the rain waiting for it to clear. Observe carefully and predict how conditions will develop.
119. Choose the right height
Camera height has a huge impact on composition. High viewpoints help to separate planes and key elements in the composition, therefore creating depth. Low viewpoints can reduce separation and therefore depth, but can be necessary if there is little interest in the middle distance.
120. Use double distance focusing
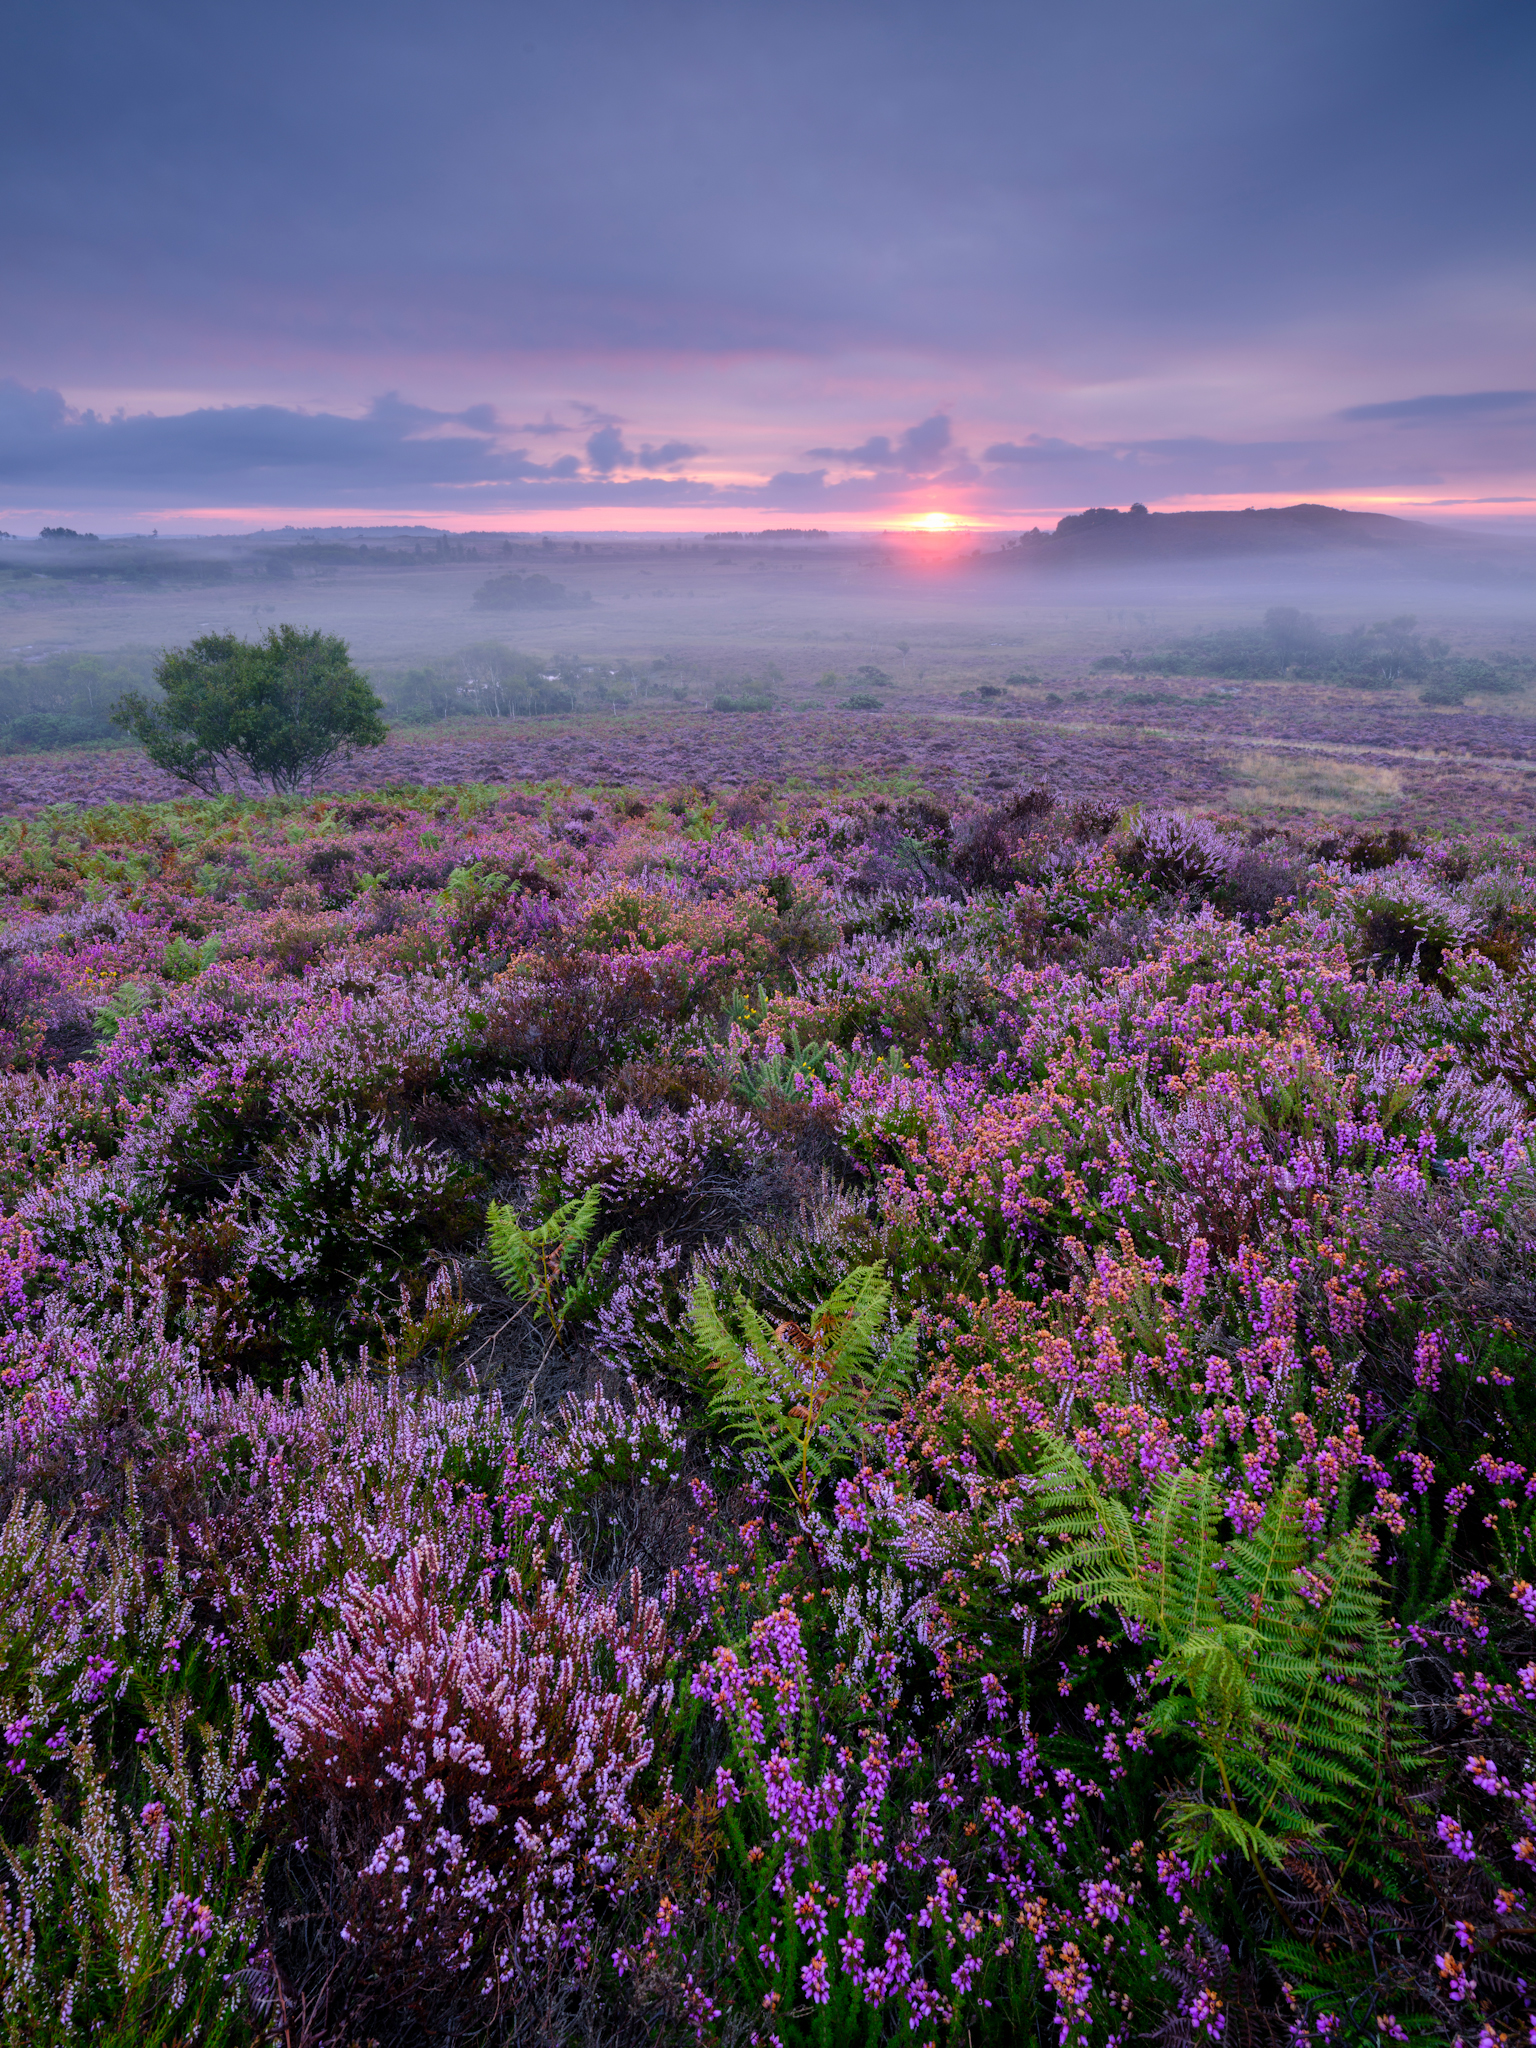
If shooting with a wide-angle lens and a smallish aperture, this technique will help you to maximise depth of field and without complicated hyperfocal distance calculations. Estimate the distance from the camera to the nearest object you want to keep sharp and set focus at double that distance.
All words: Mark Bauer
121. Lens hood flare control
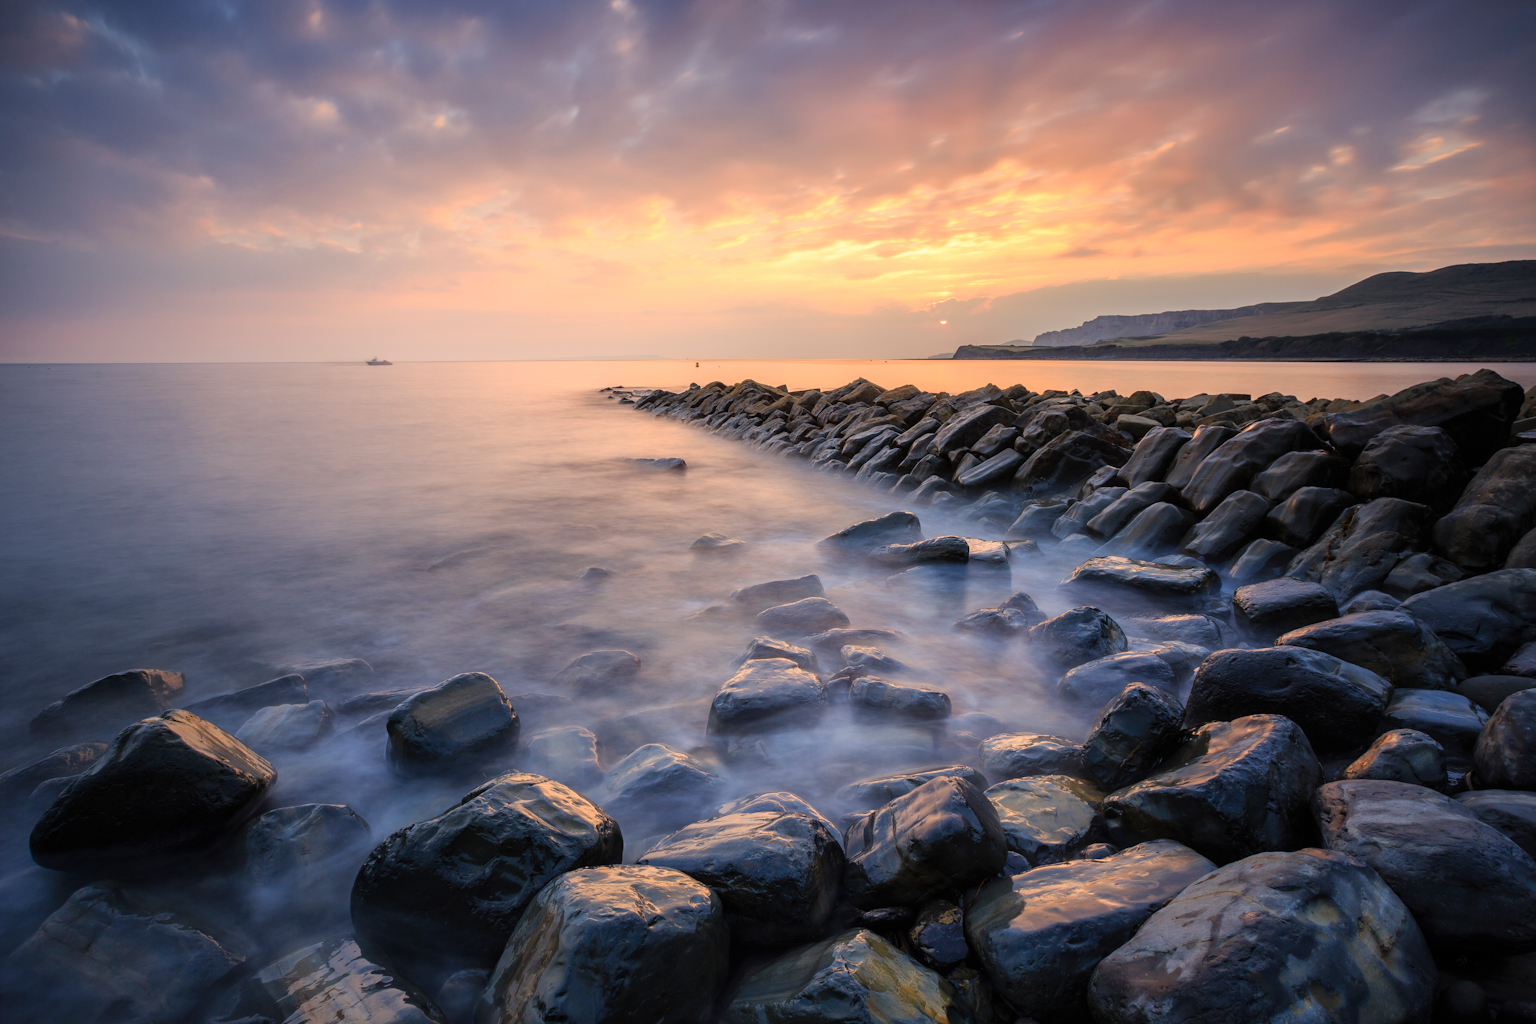
Direct light hitting the front element of your lens can bounce around through the lens and onto the sensor, lowering image contrast or worse, creating unwanted flare marks. Putting on your lens hood is an easy habit to get into and it saves problems like this!
122. Contrast emphasises your subject
When processing your files to make your subject more prominent in the frame, don’t only use exposure to make subjects lighter or darker – consider using contrast. Increasing the contrast of your subject will bring it forward, decreasing the contrast of your background.
123. Grey card colour correction
How do you always ensure correct colour balance? Whether indoors or outdoors, shoot a grey card or a set of colour patches (like the Datacolor SpyderCheckr) in a test shot. Take one for each different lighting condition, then use it in post-production.
124. Pinch blacks for impact
Photographs can look more powerful if they have a base of solid black. Achieve this by ‘clipping’ the black point or use the Blacks slider in Lightroom.
125. Consider backpack choice
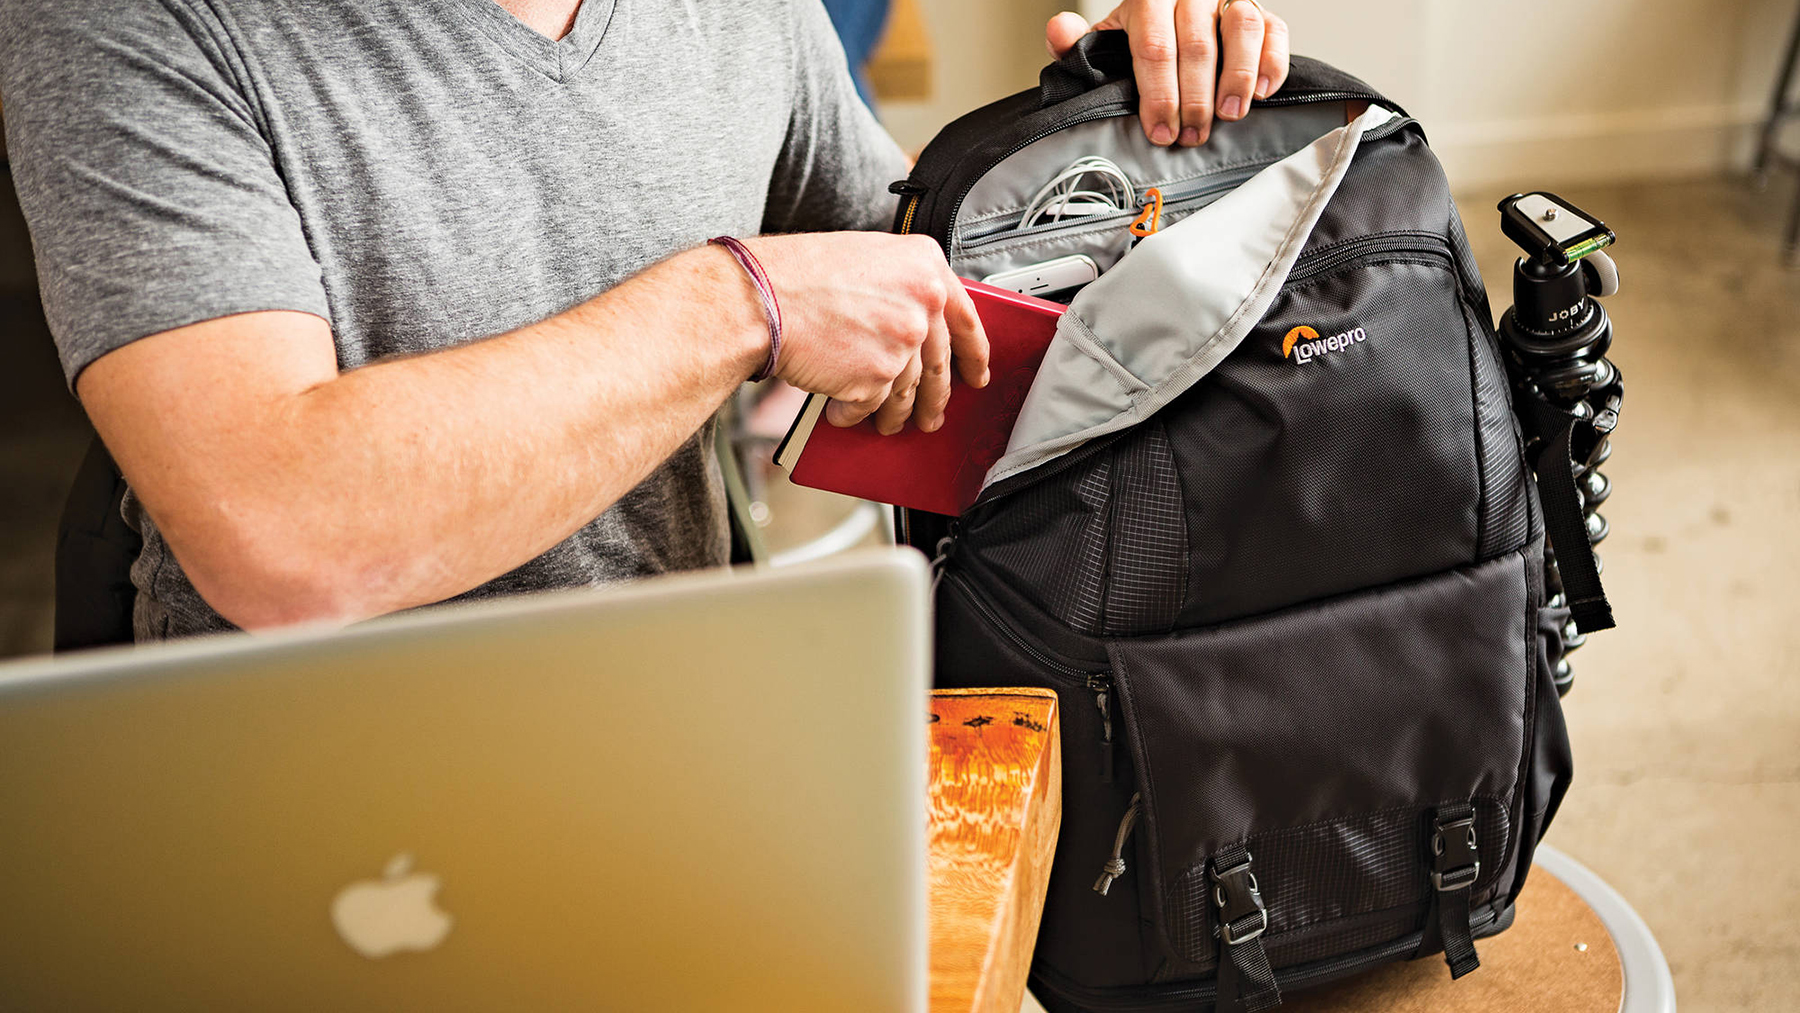
It’s wet, muddy and you need to put your backpack down to get your camera out. You need a design like the Lowepro Whistler that opens on the inside, so mud doesn’t dirty your jacket when you put the pack back on.
126. Warm foreground, cool background
Introduce depth into an image by using colour theory: warm colours approach, cool colours recede, so warm up your foreground or subject so it stands out against a cooler or bluer background.
127. Geared heads for control
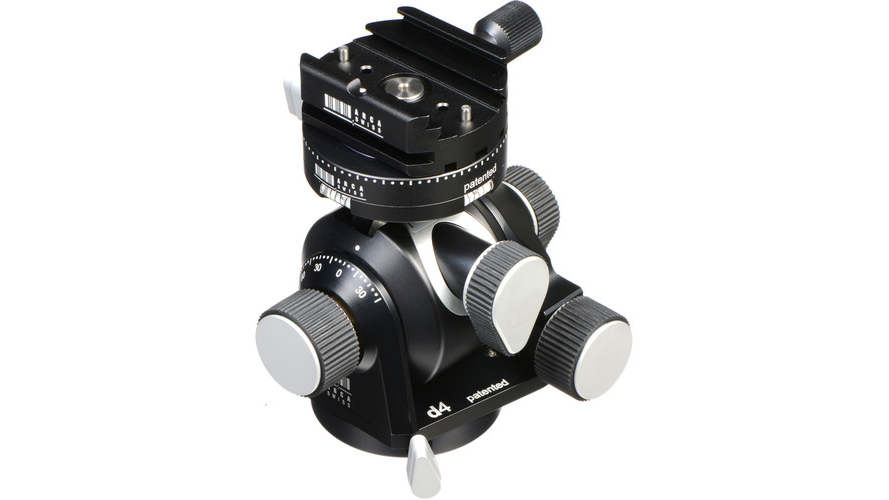
Are you frustrated every time you release your ball head to adjust the camera position, because it moves too far and is difficult to fine-tune? A geared tripod head is the solution – like the Arca Swiss D4. Minor adjustments are very easy to achieve.
128. Grey card in editing
Remember that grey card you photographed to determine correct colour? Using the white balance colour picker, click on a mid-grey square to set correct colour and apply the same settings to all the other shots.
129. Capture One vs Lightroom
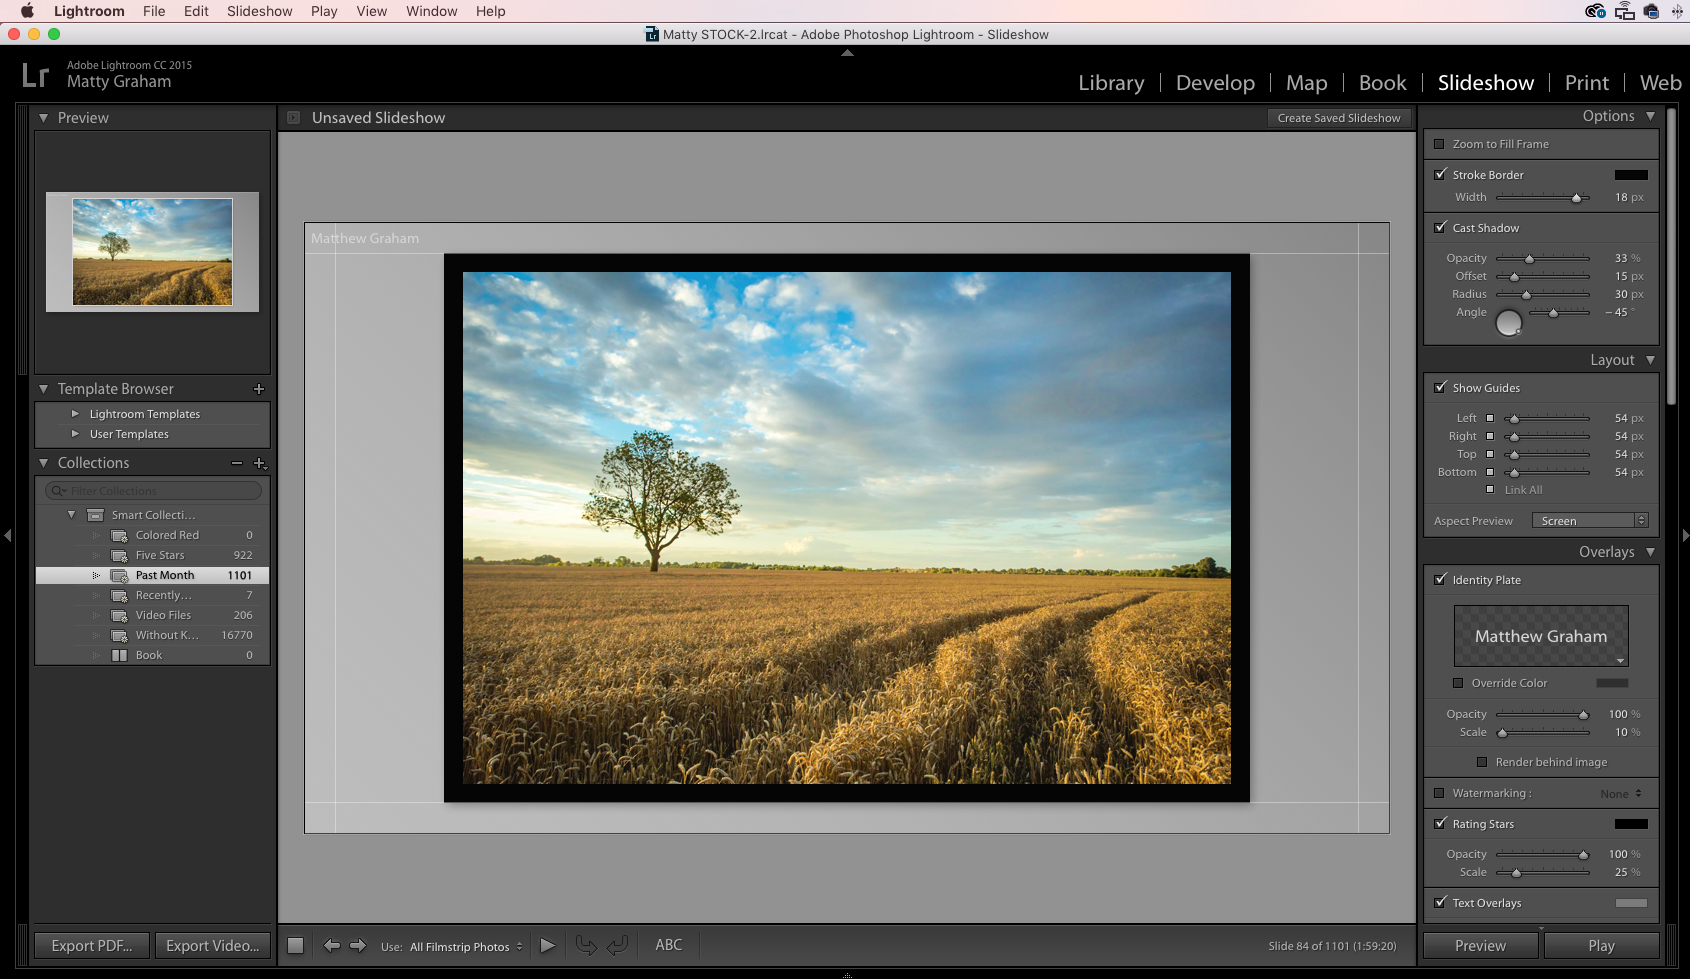
Not all Raw processing is the same.
Read more: 63 free Lightroom presets
Different processors deal with colour, contrast and tonality differently, so if you currently use Lightroom or ACR, check out Capture One and other Raw processors as well.
130. Auto ISO = easy life
Travel photographers shoot under a wide variety of lighting conditions and the Auto ISO feature on modern cameras is a huge help in ensuring your shutter speeds are sufficiently fast at all times.
131. Choose spiked tripod legs

High-pixel camera images are more likely to suffer from visible camera shake, even when on a tripod. Rather than using the normal rubber feet (above), consider steel spikes which can be driven into the ground for a much more stable platform.
132. Watch your histogram’s highlights
We are more forgiving of black shadows than we are of white, detail-less highlights.
Read more: Cheat sheet – How to read a histogram
To help ensure that your files have enough detail in the highlights, keep an eye on your camera’s histogram, making sure it is close to but not touching the right side of the graph.
133. Keep your kit in the cabin
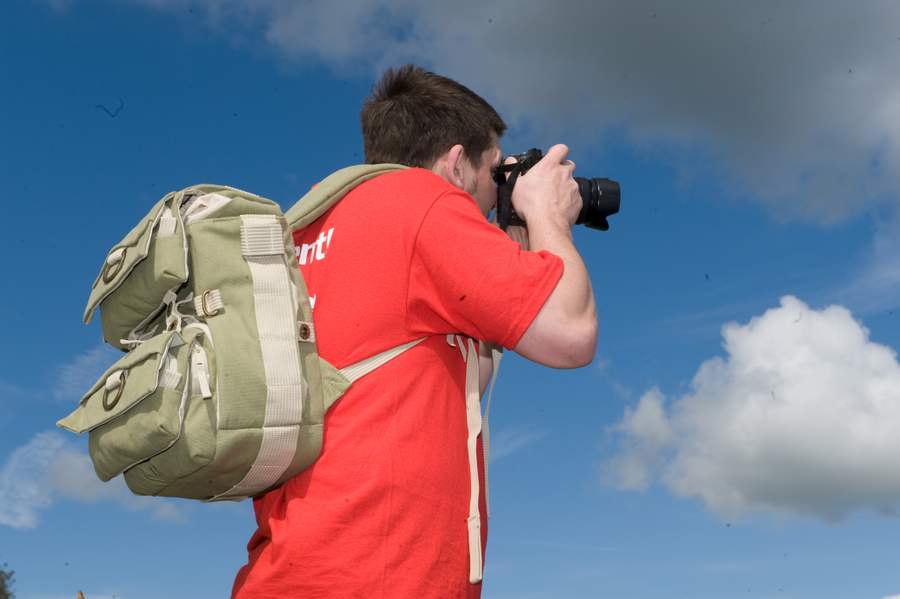
When travelling by air, take a full camera kit with you in the cabin so if your checked luggage doesn’t arrive, you can still shoot.
134. Lenses for beautiful bokeh
‘Bokeh’ is the out-of-focus areas in front of and behind your sharply focused subject. It is the result of shallow depth of field and you get the shallowest depth of field using lenses with a very wide maximum aperture – like f/1.8, f/1.4, f/1.2 or f/1.0. The best news is that 50mm f/1.4 and 85mm f/1.8 lenses are very affordable!
135. Why f/22 is no good

When light passes through very small apertures, like f/22 and smaller, it can bend or interfere with itself, resulting in blurred images. This is called diffraction.
136. Shoot wider, crop later
Some experts recommend cropping your subject in the viewfinder as you take your photograph, but not every image works best with a 3:2 or 3:4 ratio rectangle.
Read more: 6 ways to improve your composition
Take a step back, shoot a slightly wider scene and then take some time to consider the best framing and cropping for your image during post processing.
137. Know your sharpest aperture
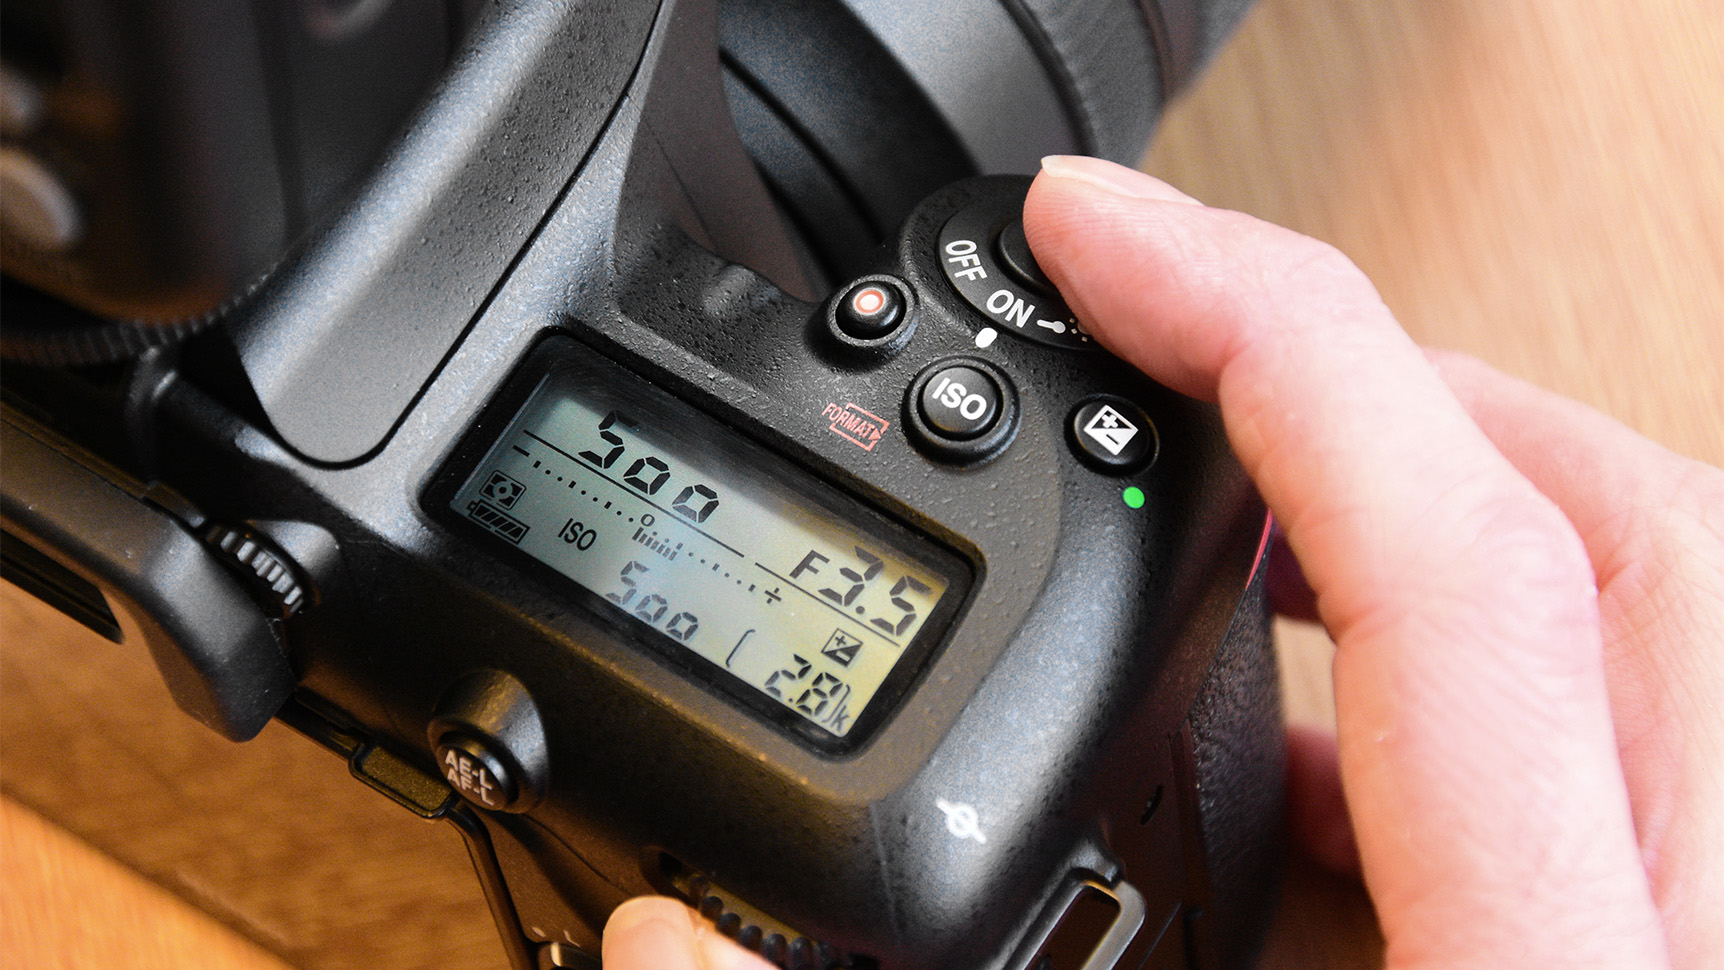
If you want big prints with optimum sharpness from corner to corner, determine the sharpest aperture for your lens. You can work this out by taking a series of photos at different apertures and comparing.
138. Beware nasty Clarity!
One of the great discoveries for photographers editing their photos is the Clarity slider.
Read more: Crash course – Adobe Lightroom for complete beginners
Images can have a beautiful sense of sharpness and detail added to them, but push the slider too far and you can end up with unwanted haloes around your subject, especially when your subject sits against a light background.
139. Shower caps for protection
Is it theft to take a shower cap from your hotel room if you don’t use it there? If it isn’t, they actually make great rain protectors for your camera!
140. Use a polariser for reflections

While polarising filters are problematic with skies, they are incredibly useful for controlling reflections on water (either enhancing them or minimising them).
Read more: How to use a polariser
They're also great on wet days for reducing specular highlights on foliage.
All words: Peter Eastway
Digital Photographer is the ultimate monthly photography magazine for enthusiasts and pros in today’s digital marketplace.
Every issue readers are treated to interviews with leading expert photographers, cutting-edge imagery, practical shooting advice and the very latest high-end digital news and equipment reviews. The team includes seasoned journalists and passionate photographers such as the Editor Peter Fenech, who are well positioned to bring you authoritative reviews and tutorials on cameras, lenses, lighting, gimbals and more.
Whether you’re a part-time amateur or a full-time pro, Digital Photographer aims to challenge, motivate and inspire you to take your best shot and get the most out of your kit, whether you’re a hobbyist or a seasoned shooter.
