Boost colors in your macro photography with Serif Affinity Photo
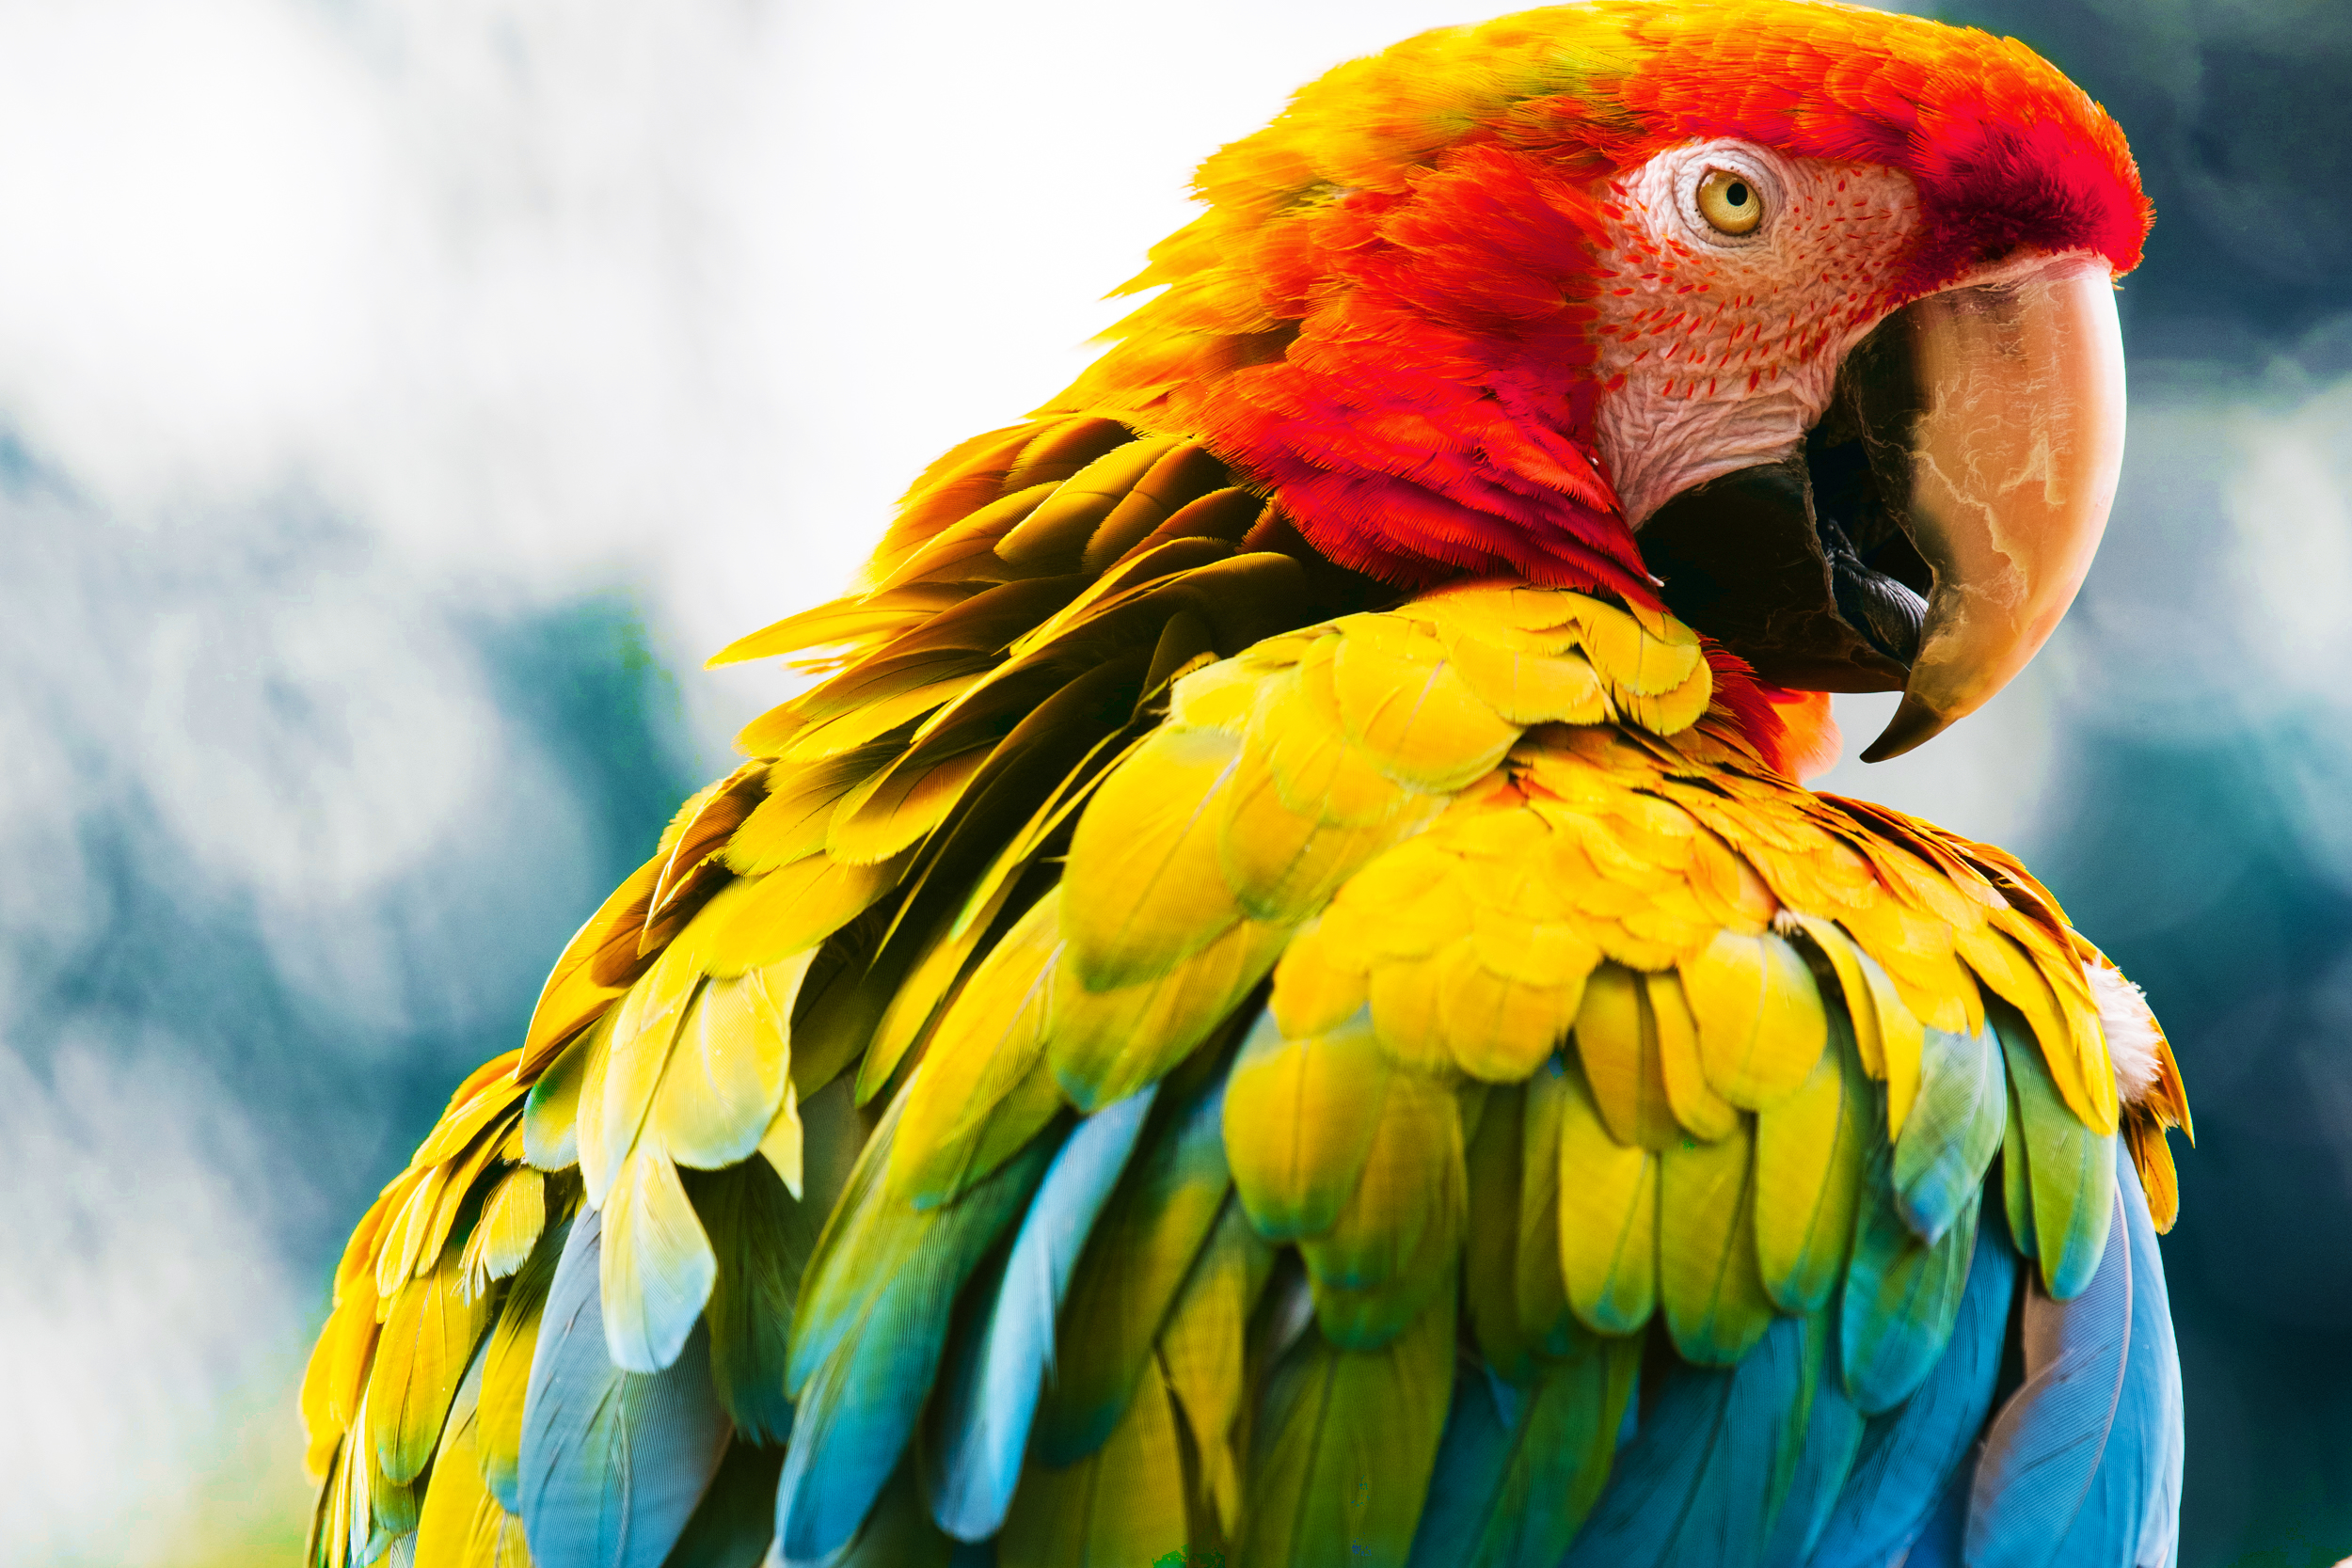
Sometimes colors need a subtle boost to make your images shine. Affinity Photo offers an array of color controls that let you achieve this with ease. We mostly use these tools to boost the existing colors in a scene so that the image ‘pops’ off the screen or out of the print. But if you like, you can also use these tools to completely change a color from one shade to another. In this tutorial we’ll focus on the excellent HSL tool. This stands for Hue, Saturation and Luminosity: three factors that control the shade, intensity and brightness of the colors in the image. Not only can you use the control to boost colors, but you can also target precise color ranges within the image, allowing you to alter one color without affecting others.
We’ll use the HSL tool here to enhance the colorful feathers in a macaw, but you’ll find these tips useful no matter what you’re editing. Whether you want to boost the blue sky in a landscape, draw attention to colorful clothes or change the color of anything you like, the HSL tool can help. We’ll go over the key features of the tool here, and you’ll find a full walkthrough of the technique in the accompanying video.
How to boost colors in Affinity Photo
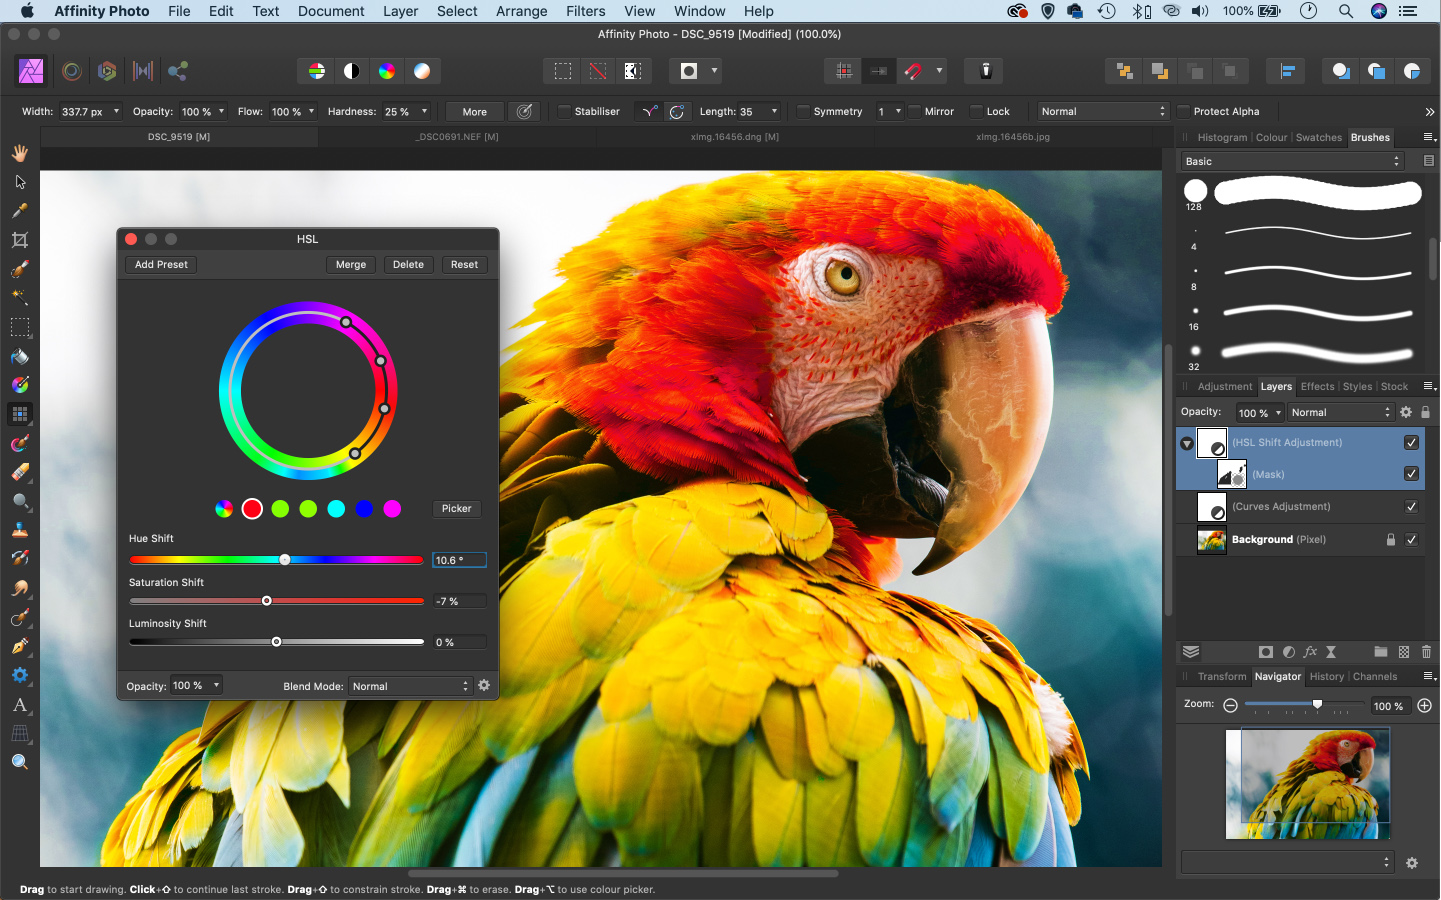
1. The HSL command
This powerful color control allows you to alter the hue, the shade of the color, and the saturation, the intensity of the color. You can also make colors lighter or darker with the Luminosity slider. (It affects the saturation, too.) If you need to undo any change you’ve made, then any slider in Affinity Photo can be reset by double-clicking it.
2. Color range settings
You can fine-tune the color range that’s being affected by dragging the four points within the color wheel. The two inner points enclose the color range that is completely affected, while the outer points control the fall-off between affected and unaffected colors. Adjust the points by dragging them, or drag the space between two points to move more than one.
3. Mask your color changes
You can use a mask to reveal or hide the effect in different parts of the frame. Click the Mask icon in the Layers Panel then grab the Brush Tool and paint black over areas to remove the color change. Alternatively, press Cmd/Ctrl+I to invert the mask to full black, then paint white to reveal it in the areas you want. Here, it is useful for removing a color cast that affects the beak.
4. Color ranges
When the multicolored color circle on the 5 As well as boosting colors by altering left is highlighted, your changes will alter all of the colors across the image, but you can also target tighter color ranges by clicking on the other circles. Here we can alter the saturation of the red feathers in the bird without affecting the intensity of the other colors in the image. If a wheel doesn’t cover the range you want, use the Picker button to click on any color in the image.
5. Pop with Curves
As well as boosting colors by altering Saturation and Hue, you can also make your images pop with a simple Curves layer adjustment. Plot three points on the diagonal curve line: one near the bottom, a second in the middle and a third near the top. Drag the bottom point down to darken the shadows, lift the top point up to lighten the highlights and fine-tune the midpoint to control the mid-tones.
6. Adjustment Layers
Adjustment Layers enable you to apply tonal and color adjustments to your image. These affect all the layers below them in the stack, so they’re a great way to tweak the tones without permanently altering the image below. What’s more, Adjustment Layers have plenty of other benefits – you can lower the opacity to tone down the effect, change the Blending Mode or paint a Layer Mask.
Capture beautiful macro photography
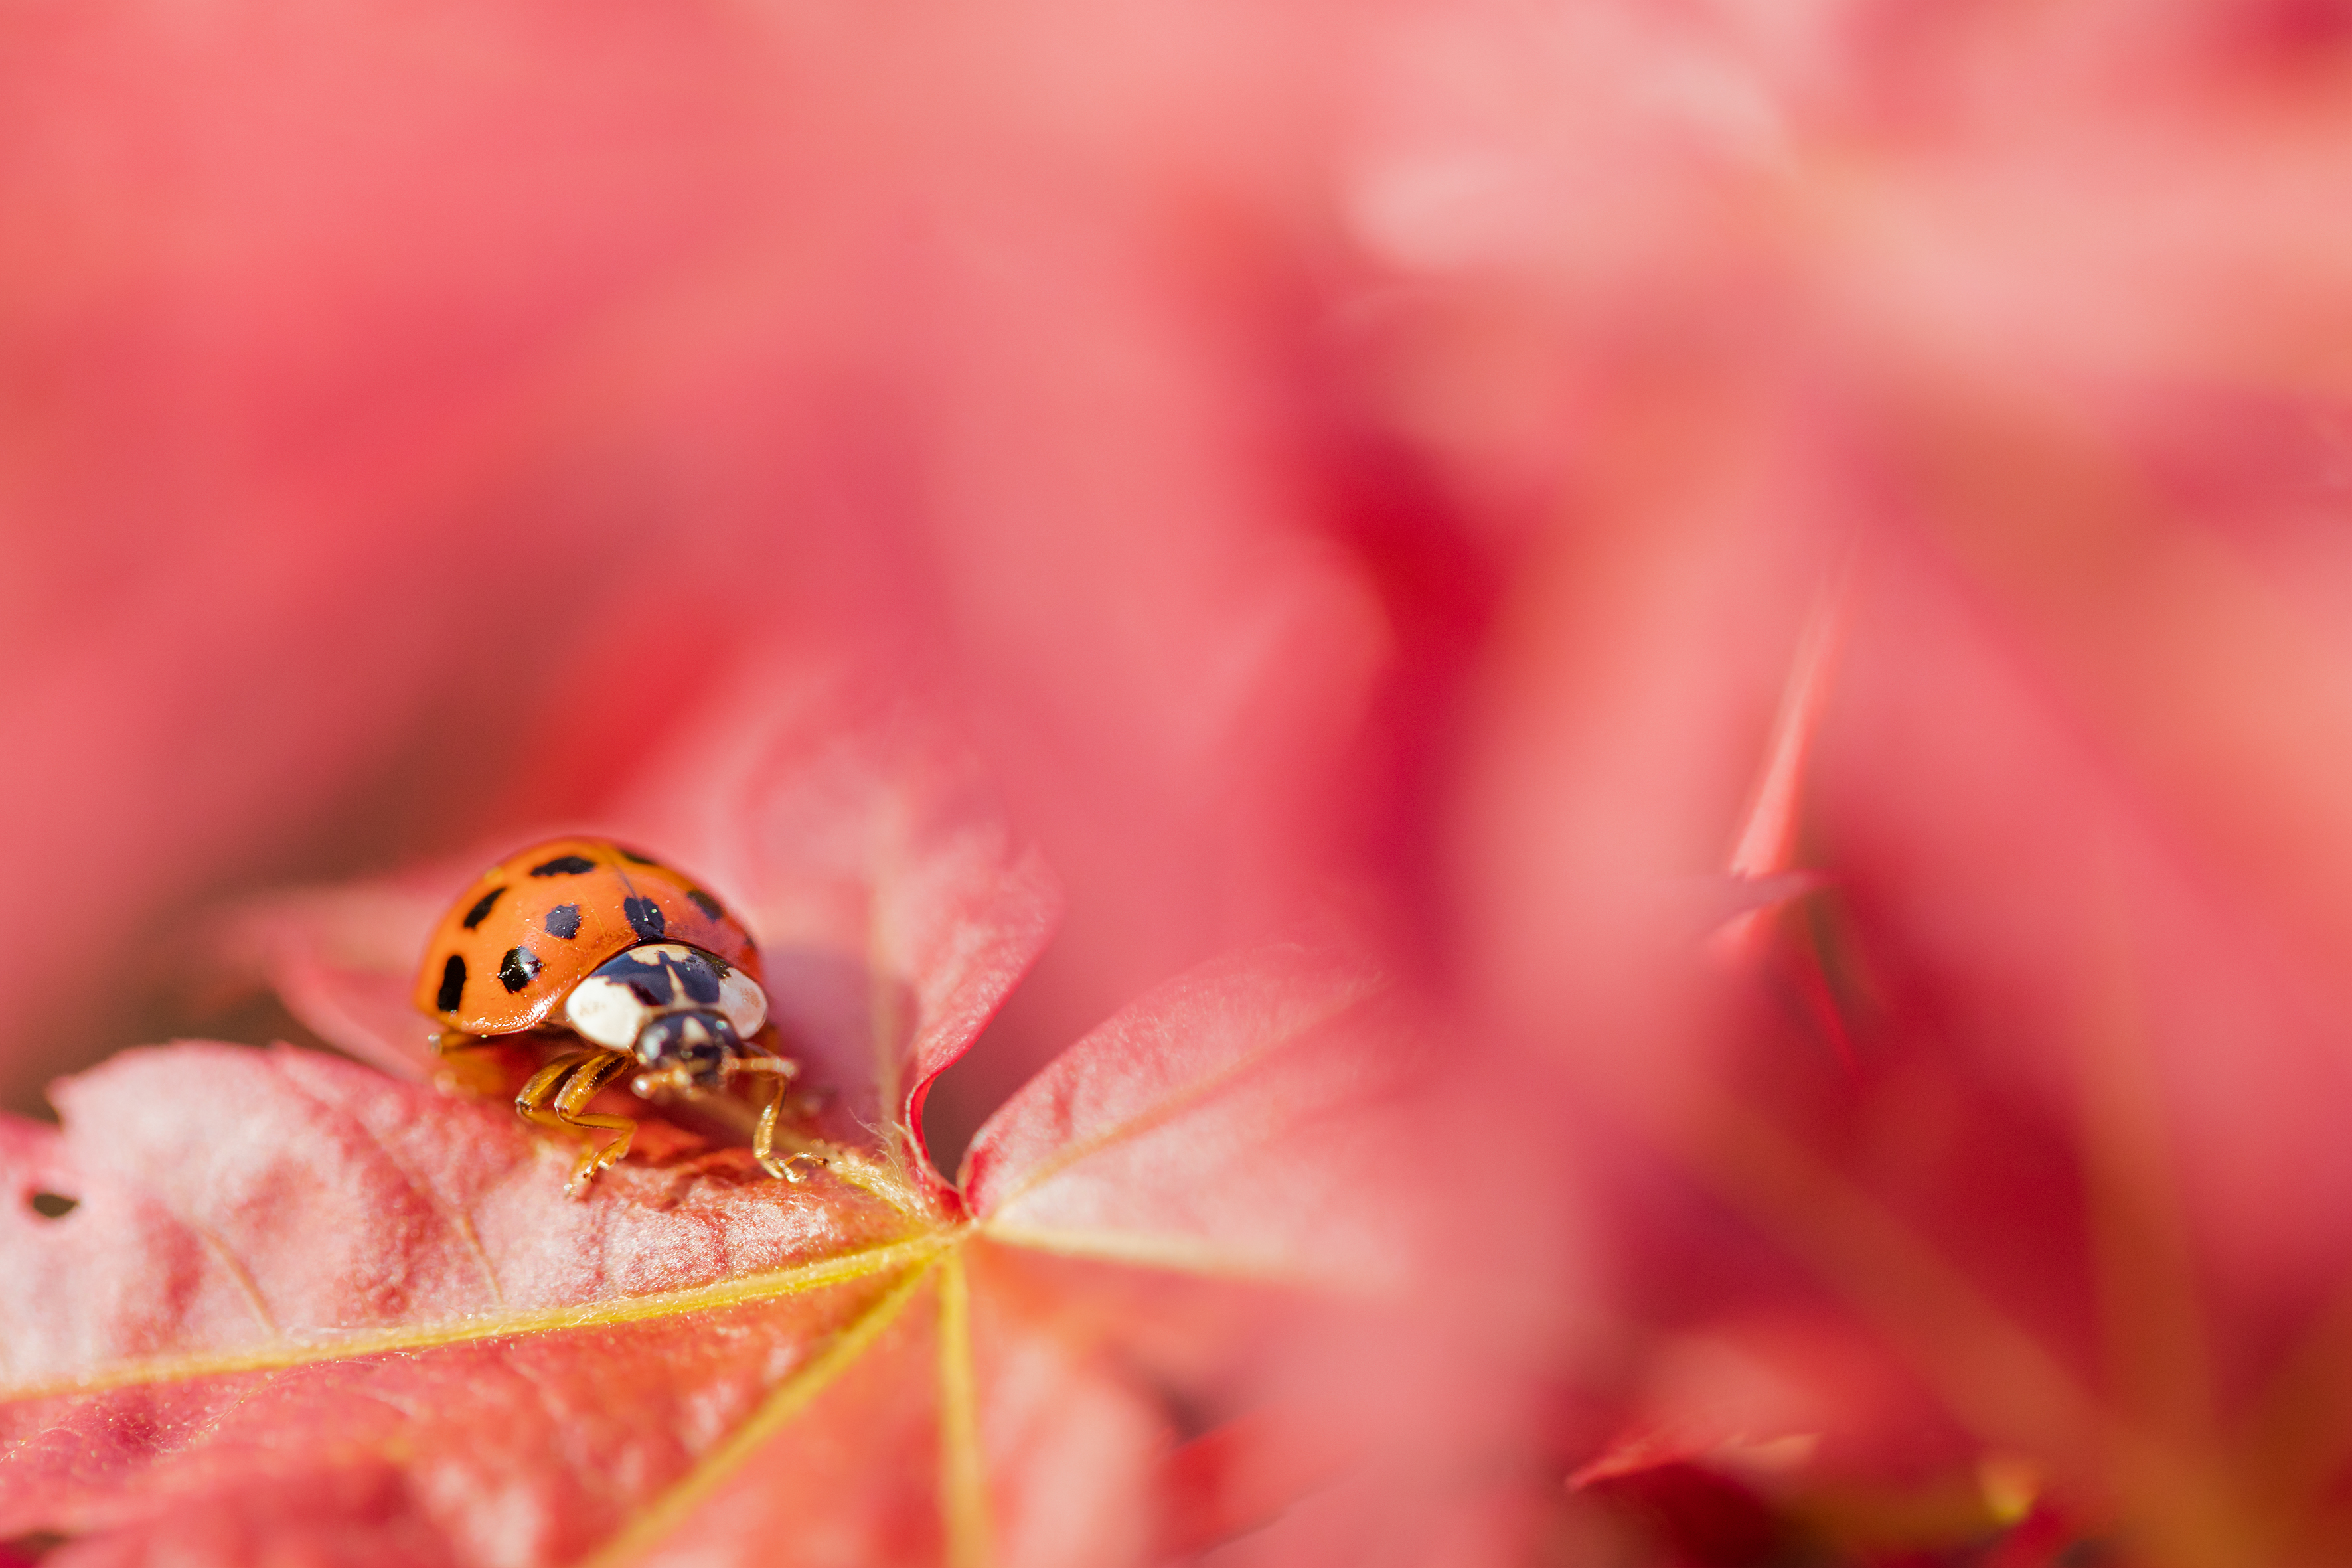
Macro photography is the perfect photographic genre to take advantage of Affinity Photo's editing tools – but how can you capture the best base image for your edits? We've put together our top tips on macro photography to help you get your best photo yet.
Get to grips with a macro lens
Many lenses allow you to focus close enough to fill the frame with larger subjects in your garden, but you need a true macro lens if you want to be get close enough to record a subject at a magnification ratio of 1:1, equivalent to life-size. Some macro lenses have a maximum magnification of 1:2 (or half-life-size), while there are a few specialist lenses that can capture subjects at even larger than life-size.
Macro lenses are available in a range of focal lengths, such as 50mm, 100mm and 180mm. Essentially, the longer the focal length, the farther you can be from the subject to get 1:1 magnification. If you’re photographing insects, frogs and other miniature beasts, a macro lens of 100mm or so allows you to keep your distance and means that you’re less likely to disturb them. It also reduces the chance of casting a shadow over your macro scene; when you’re working with short focal lengths, you may be need to position the front of the lens so close to the subject that you block the light. Some lenses have built-in LEDs to alleviate this problem.
Fine-tune the focus
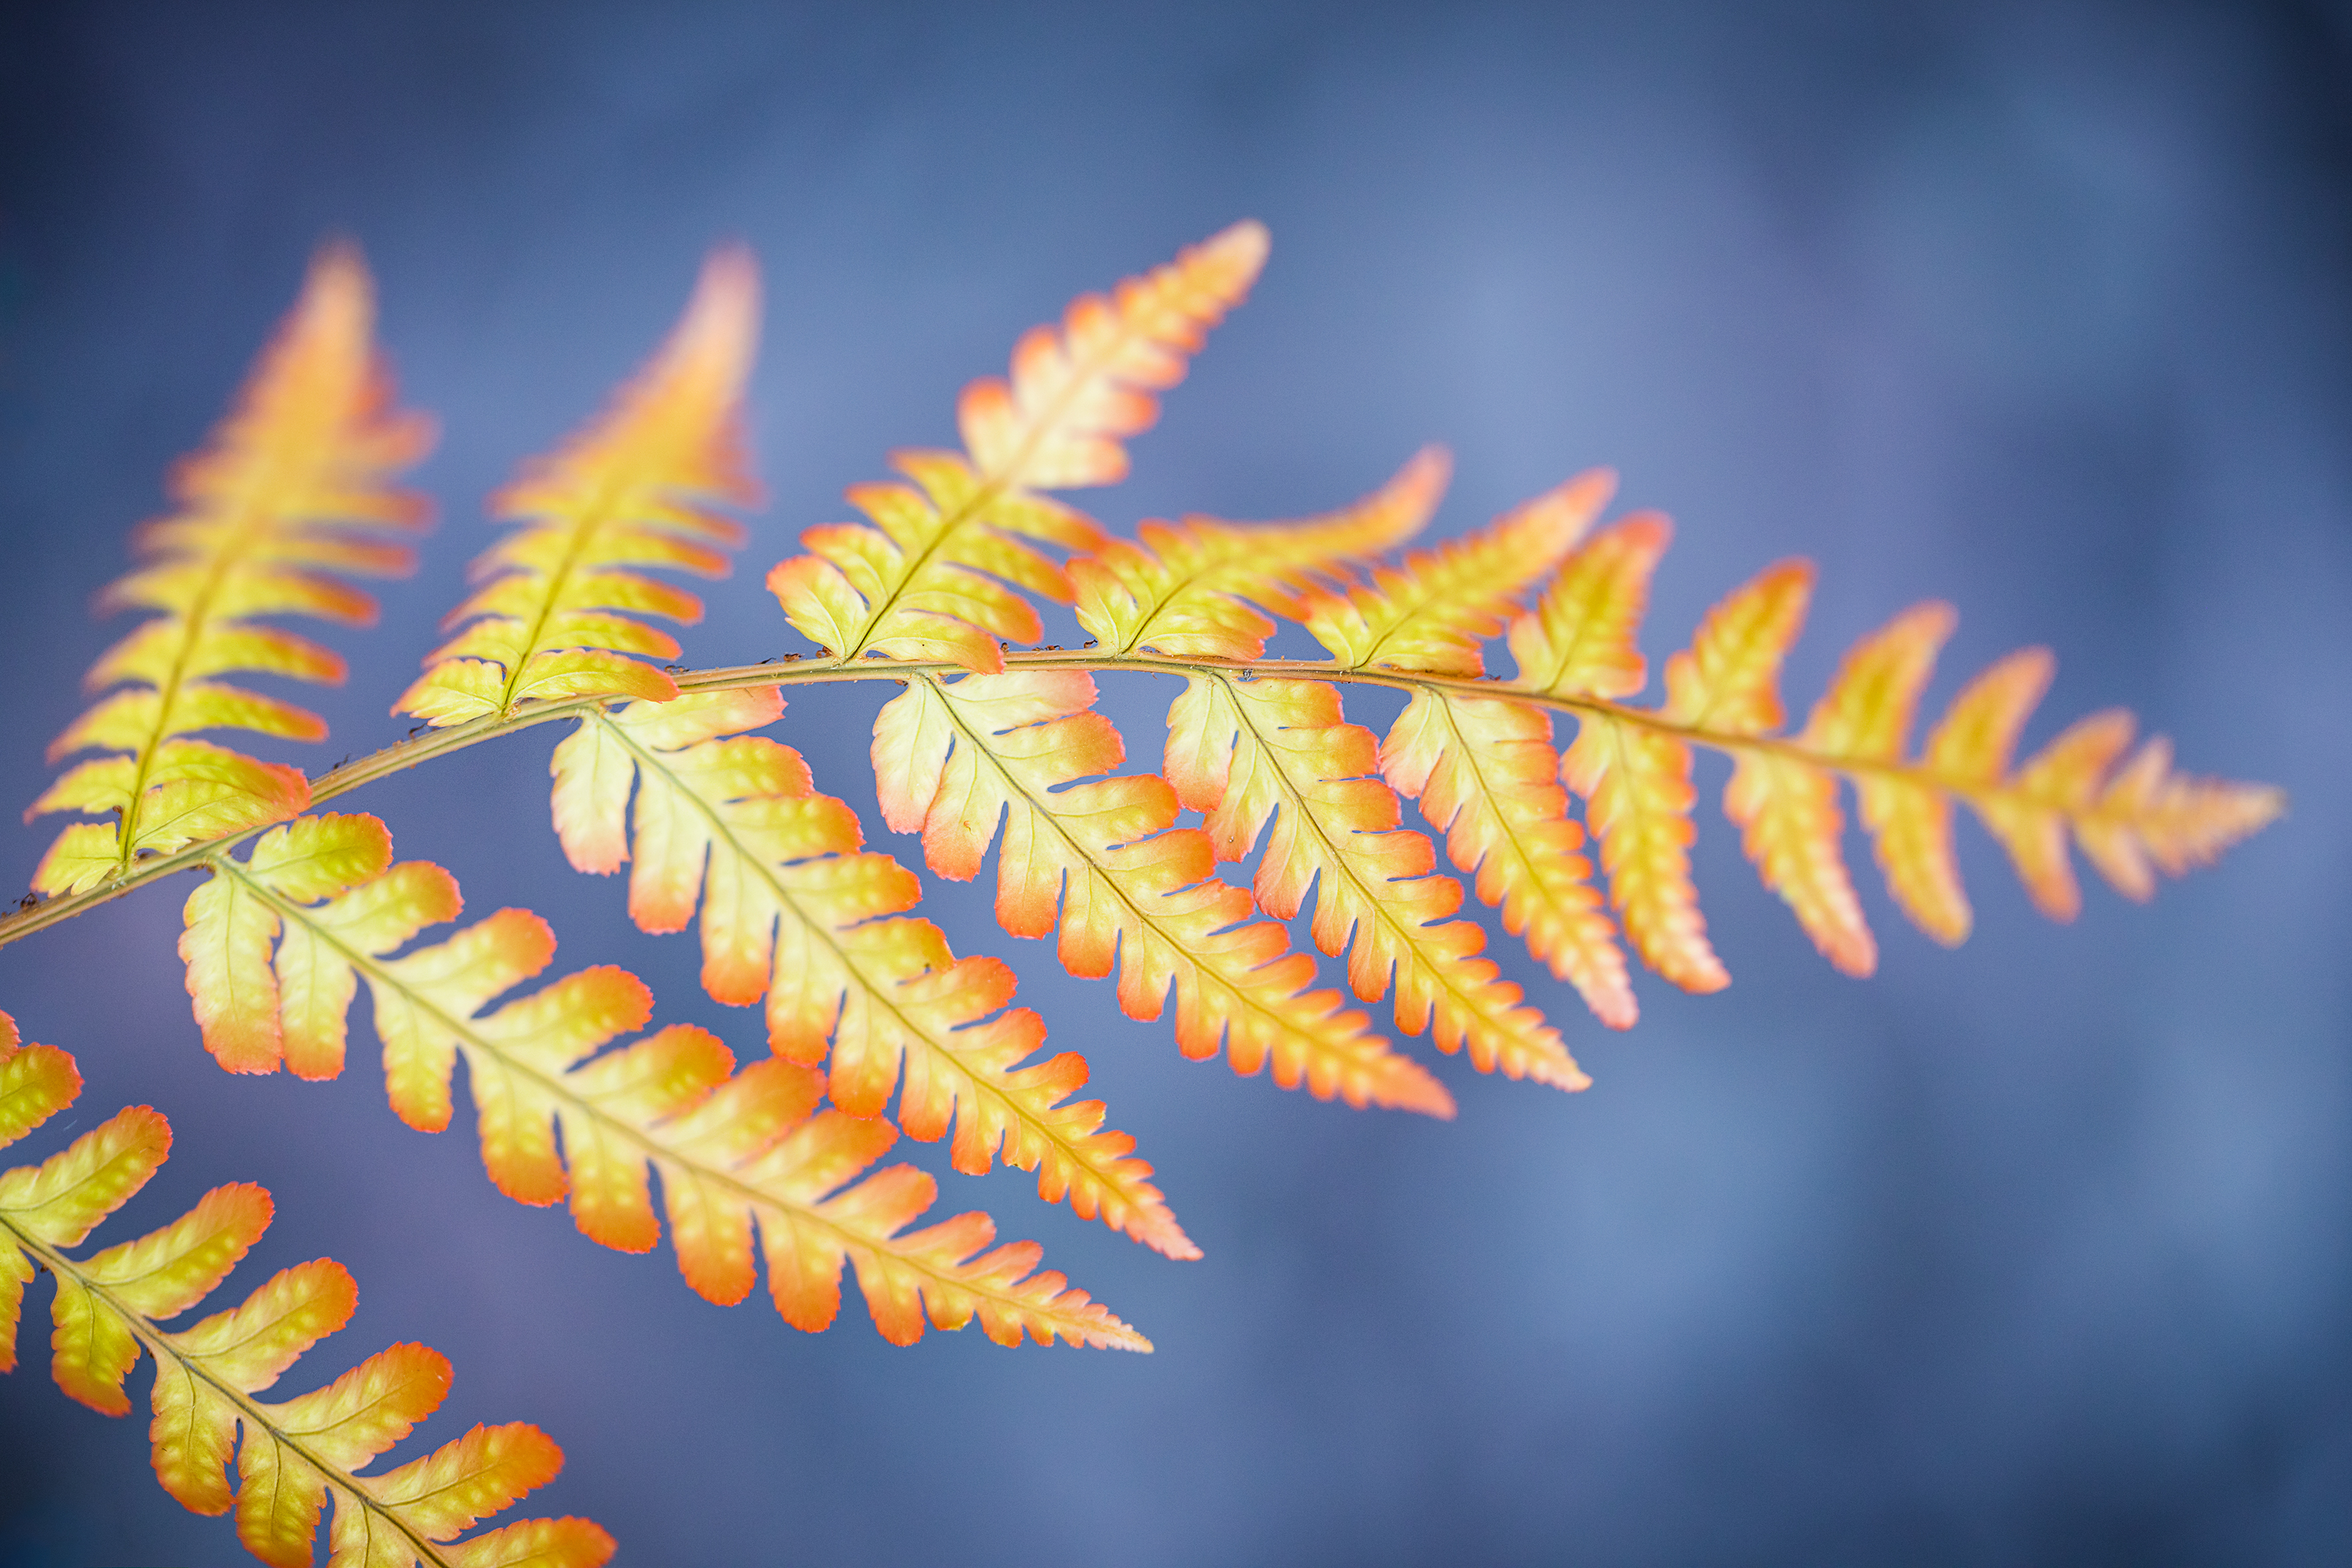
Using autofocus is certainly an option for macro work – particularly if you’re shooting handheld, when manual focusing can be fiddly. If you switch to continuous autofocus, the camera makes adjustments for any movement that you or the subject makes. You’ll need to manually select a focus point that corresponds with the most important detail, although even a single AF point can cover too large an area to be accurate when you’re dealing with fine details at such a large magnification.
Manual focusing, however, enables you to place the focus at precisely the point you want it, and there are in-camera focusing aids that can help with this. For example, your camera might offer ‘peaking’, which displays a color highlight on edges that are in focus. More common is the option to magnify the image on the rear screen, or in the electronic viewfinder of a mirrorless camera. It’s easier to do this if the camera is on a tripod, as you’ll need to focus slowly back and forth across the subject to find the sweet spot of sharpness before you take the shot.
Depth-of-field effects
You can only focus a lens at one distance at a time, but sharpness doesn’t start and stop abruptly at this point. An area in front of and beyond the detail you’ve focused on will also appear sharp. This area of apparent sharpness is called the depth of field, and there are a few factors that determine how far it stretches out from the point of focus.
Distance has a big impact, with depth of field becoming shallower as you move closer. As macro photography requires you to be pretty close to begin with, it’s the size of the aperture that has more of an impact on how sharp your photo looks. Narrow apertures (indicated by high f-numbers, such as f/16 and f/22) extend the depth of field and wide apertures (indicated by low f-numbers, such as f/2.8 and f/4) reduce the depth of field. Using a large aperture can be useful for separating a subject from the background and foreground. By getting close to foliage and selectively focusing on a subject beyond it, you can create a soft frame that makes the sharp subject really stand out
Avoid diffraction
Switching to a smaller aperture setting such f/22 or f/32 increases the depth of field – but it also increases diffraction. This happens where the straight light rays coming through the lens are bent out of alignment by the edges of the aperture blades. Diffraction occurs at all aperture settings; it’s just that the proportion of the incoming light rays that are affected shoots up as the aperture is ‘stopped down’. More of the image might look as if it’s been pulled into focus at a small aperture, but the details will appear noticeably softer.
Extending the depth of field as much as possible can be more important than ultimate sharpness when it comes to macro photography, but you can have the best of both worlds by using a focus- stacking technique. This requires a sequence of images to be taken at a moderate aperture, with the focus moved between each shot. The shots can be combined in software to give a more extensive depth of field.
Macro photography top tips
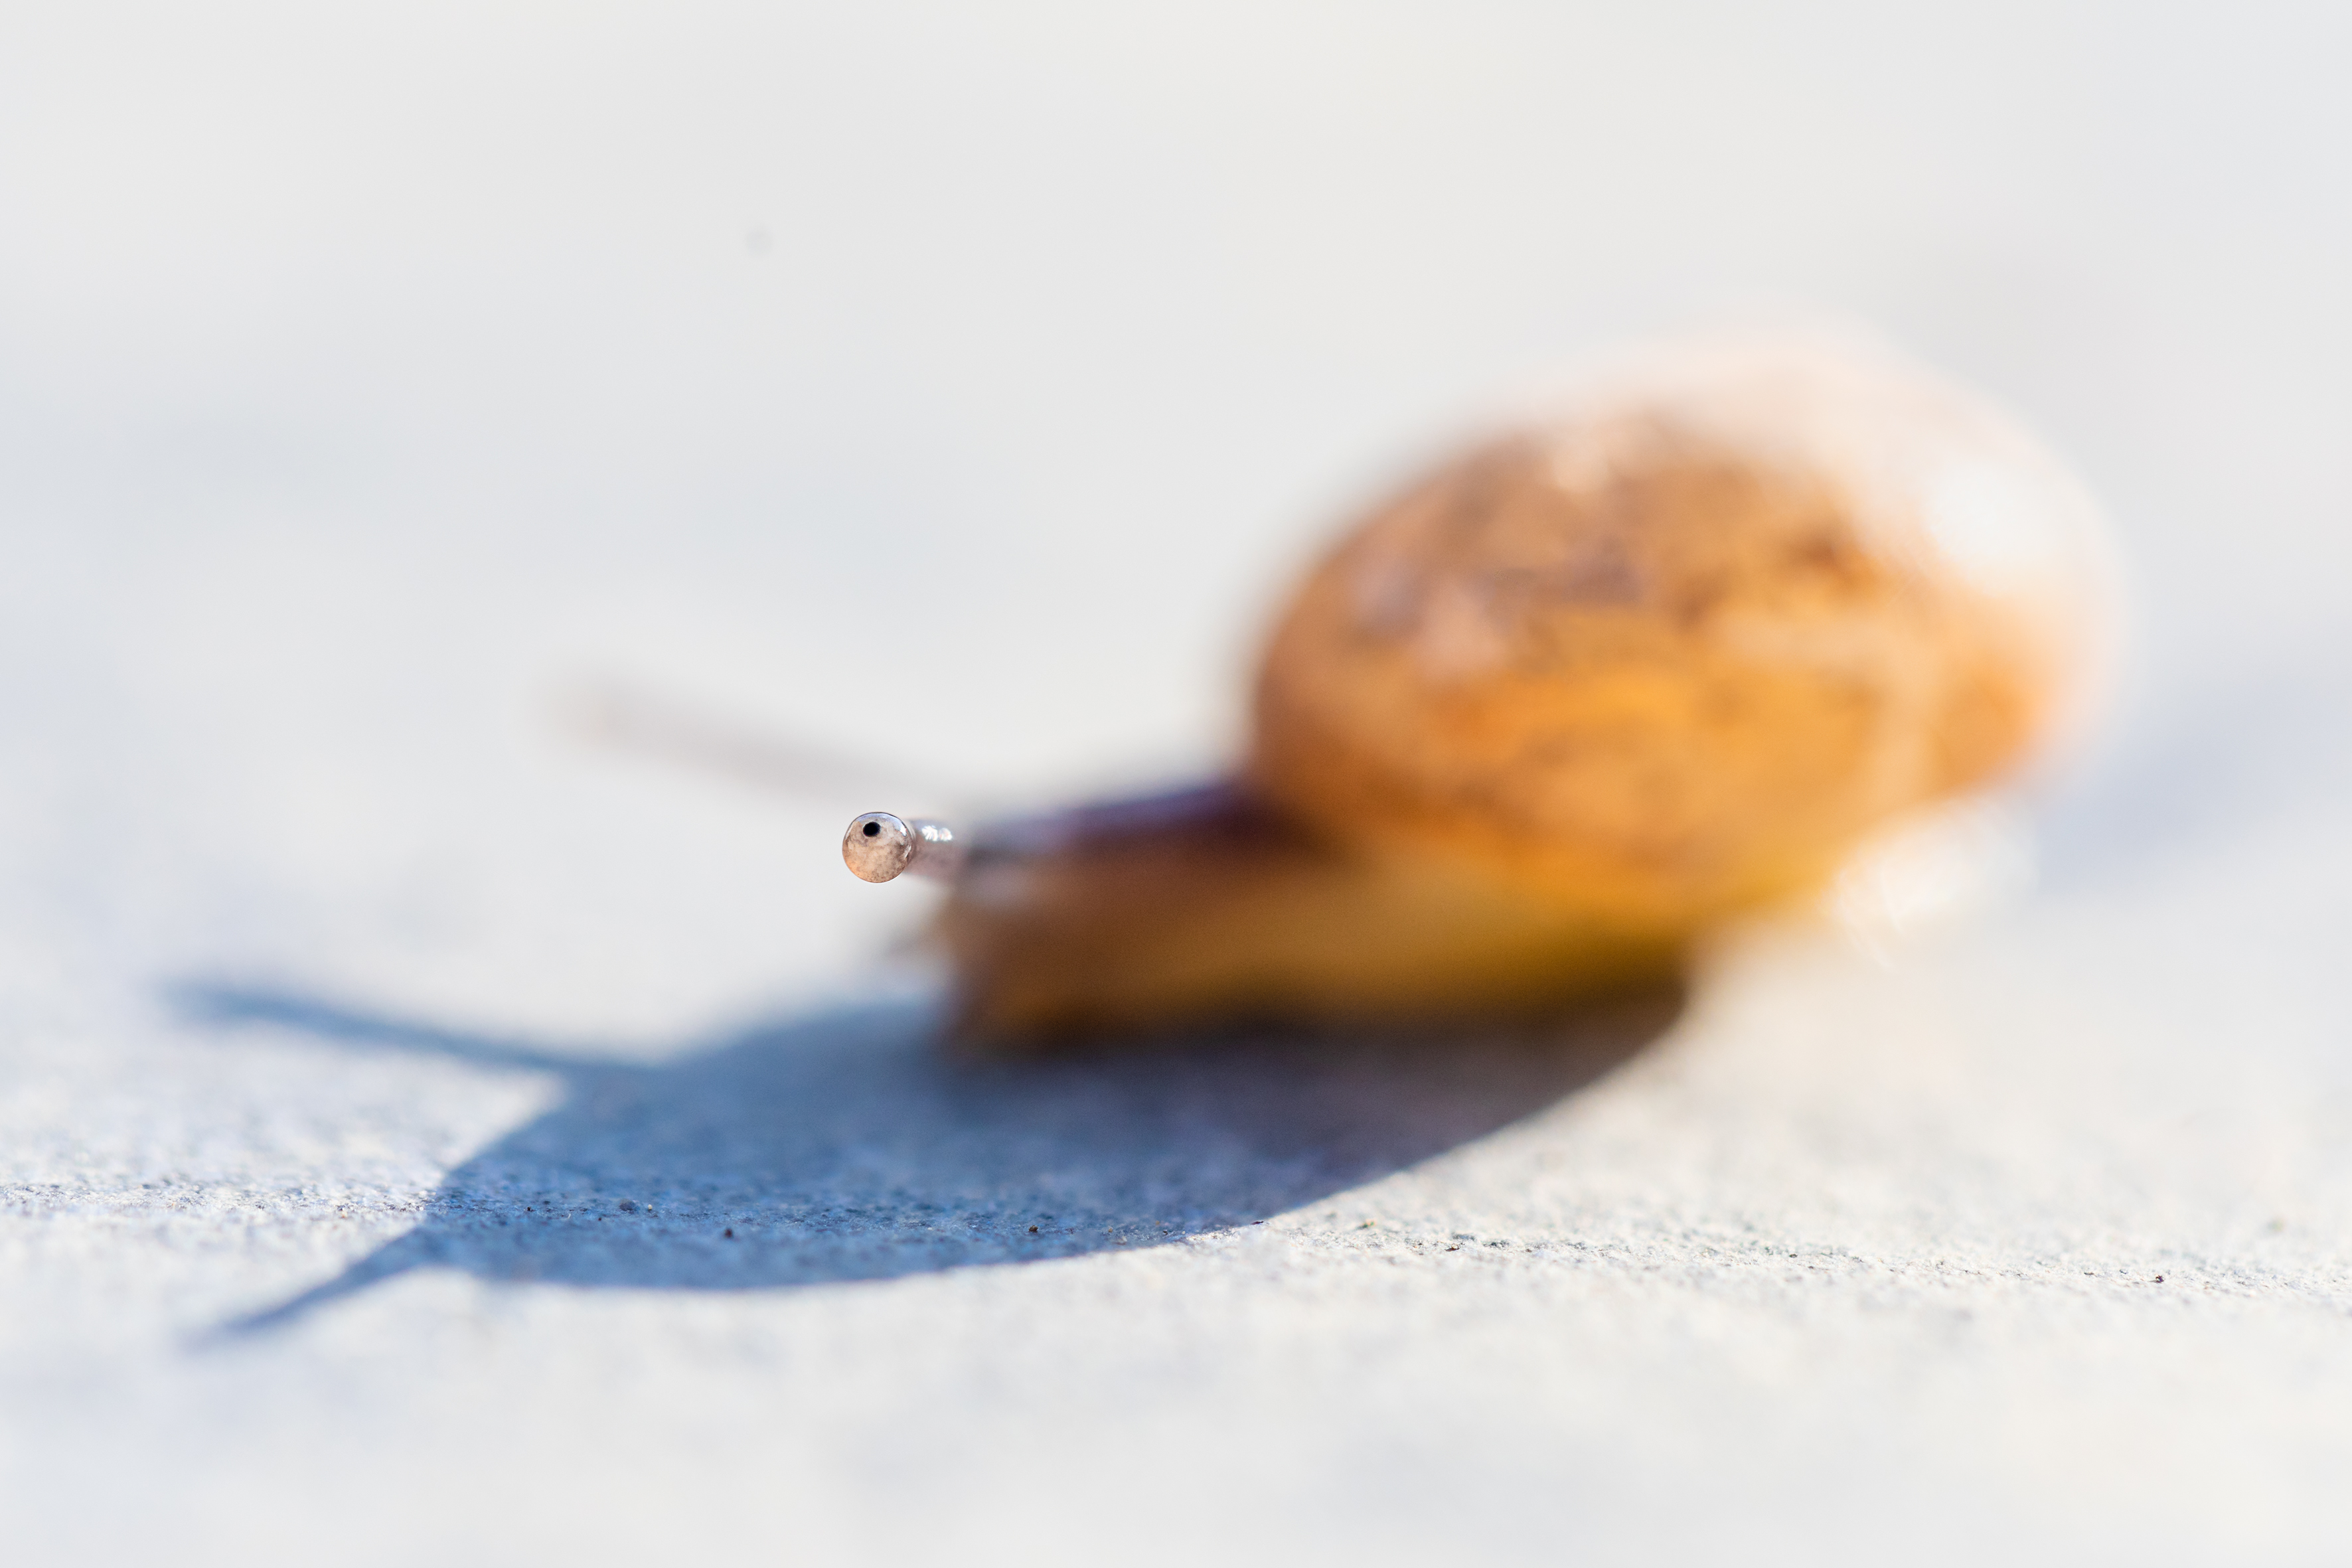
Set your alarm clock Not only can you make the most of the soft light at the start of the day, but the air is typically more still, so you won’t be trying to snatch shots of plants in between gusts of wind. You can also take advantage of early morning frost and dew to add interest.
Have fun with depth-of-field Although you’re able to record more detail with a narrow aperture, you can create more impressionistic shots by setting a wider aperture and selectively focusing on a specific feature. Using a wide aperture also lets more light into the camera, giving you faster shutter speeds that freeze moving plants and reduce camera shake.
'Garden' your shots Check the image on your camera closely and be prepared to remove broken blades of grass, decaying leaves, fallen pollen and other potential distractions.
Modify the light Use reflectors to brighten up the shadows in a plant portrait – a piece of kitchen foil, crumpled then flattened out, works well. A diffuser can also help to reduce contrast and glare on a bright sunny day, enabling you to capture more fine detail.
Get eye-to-eye with garden critters Get down to create more intimate shots that pull viewers into the small world. Keep an eye on the background, though, as it’s easy for distractions to slip in if you shoot at eye level, such as the picture to the right.
Reader challenge: Garden Macro
You can use a raft of techniques to add your own spin to shots for this shooting challenge. From black-and- white to intentional camera movement, and from multiple exposures to minimalism, there are many ways to make your work stand out.
As we’ve highlighted, you don’t need a specialist macro lens: many lenses allow you to focus close enough to capture garden subjects at a decent size, and you can add impact with careful lighting and creative framing.
You don’t have to do all the hard work in-camera either. There are lots of ways that you can enhance your close-up photos in editing software. You could try selectively boosting the colors), or applying a vintage color wash to the whole image. Perhaps try focus-stacking to add detail and depth, or why not go large with the small stuff and try shooting and building a panoramic macro image? We’re looking for artistic interpretation as much as we are detail and good technique, so we can’t wait to see your results!
To enter your best garden close-up shot, either email your entry to digitalcamera@futurenet.com, putting ‘Garden Macro’ in the subject line; or enter today at our Facebook page, look for the ‘Garden Macro’ post, and upload your entry into the feed.
By entering your image into this competition, you confirm that you own the copyright to the image, and agree that Digital Camera can publish your image in relation to the ‘Garden Macro’ competition. You retain full copyright of your image, and will be credited if published. The closing date is 11 December 2020. The winner will receive a copy of of Serif Affinity Photo for Windows or macOS worth £49/$50. Good luck!
Get the Digital Camera World Newsletter
The best camera deals, reviews, product advice, and unmissable photography news, direct to your inbox!
Digital Camera World is one of the leading authorities on camera and photography news, reviews, techniques, tutorials, comparisons, deals and industry analysis. The site doesn't just specialize in cameras, but all aspects of photography, videography and imaging – including camera phones, gimbals, lenses, lighting, editing software, filters, tripods, laptops, printers, photo books, desks, binoculars and more.
Whether you're using, looking to buy or trying to get the most out of a compact camera, action camera, camera drone, cinema camera, beginner camera or professional camera, Digital Camera World has a roster of experts with combined experience of over 100 years when it comes to cameras, photography and imaging.

