Camera cheat codes: How to shoot pixel-perfect portraits
VIDEO ABOVE: Cheat codes for perfect portraits
Getting the best photos isn’t just about getting the latest gear – it’s about knowing how to get the best out of your equipment, regardless of whether it’s the latest lens or a well-loved used camera.
Buying brand new gear won’t make your images any better, but buying the right gear can make all the difference. So together with MPB, which recirculates over half a million cameras, lenses and accessories every year, we’ve put together this guide to show you the tools and tricks you actually need.
When you know what you’re looking for, you can browse the extensive catalog of preloved equipment – and you can even sell your own used gear or trade it in towards your purchase. Not only can you get the features you need while saving a lot of cash, you can also extend the life of camera kit – and prevent perfectly good gear going unloved or even ending up in a landfill.
So don’t just rush out and buy the newest thing! We’re here to tell you what you need to get the shots you want, so you can shop smart, save big and support sustainably.
Here are the cheat codes you need to shoot perfect portraiture…
Face and eye detect autofocus
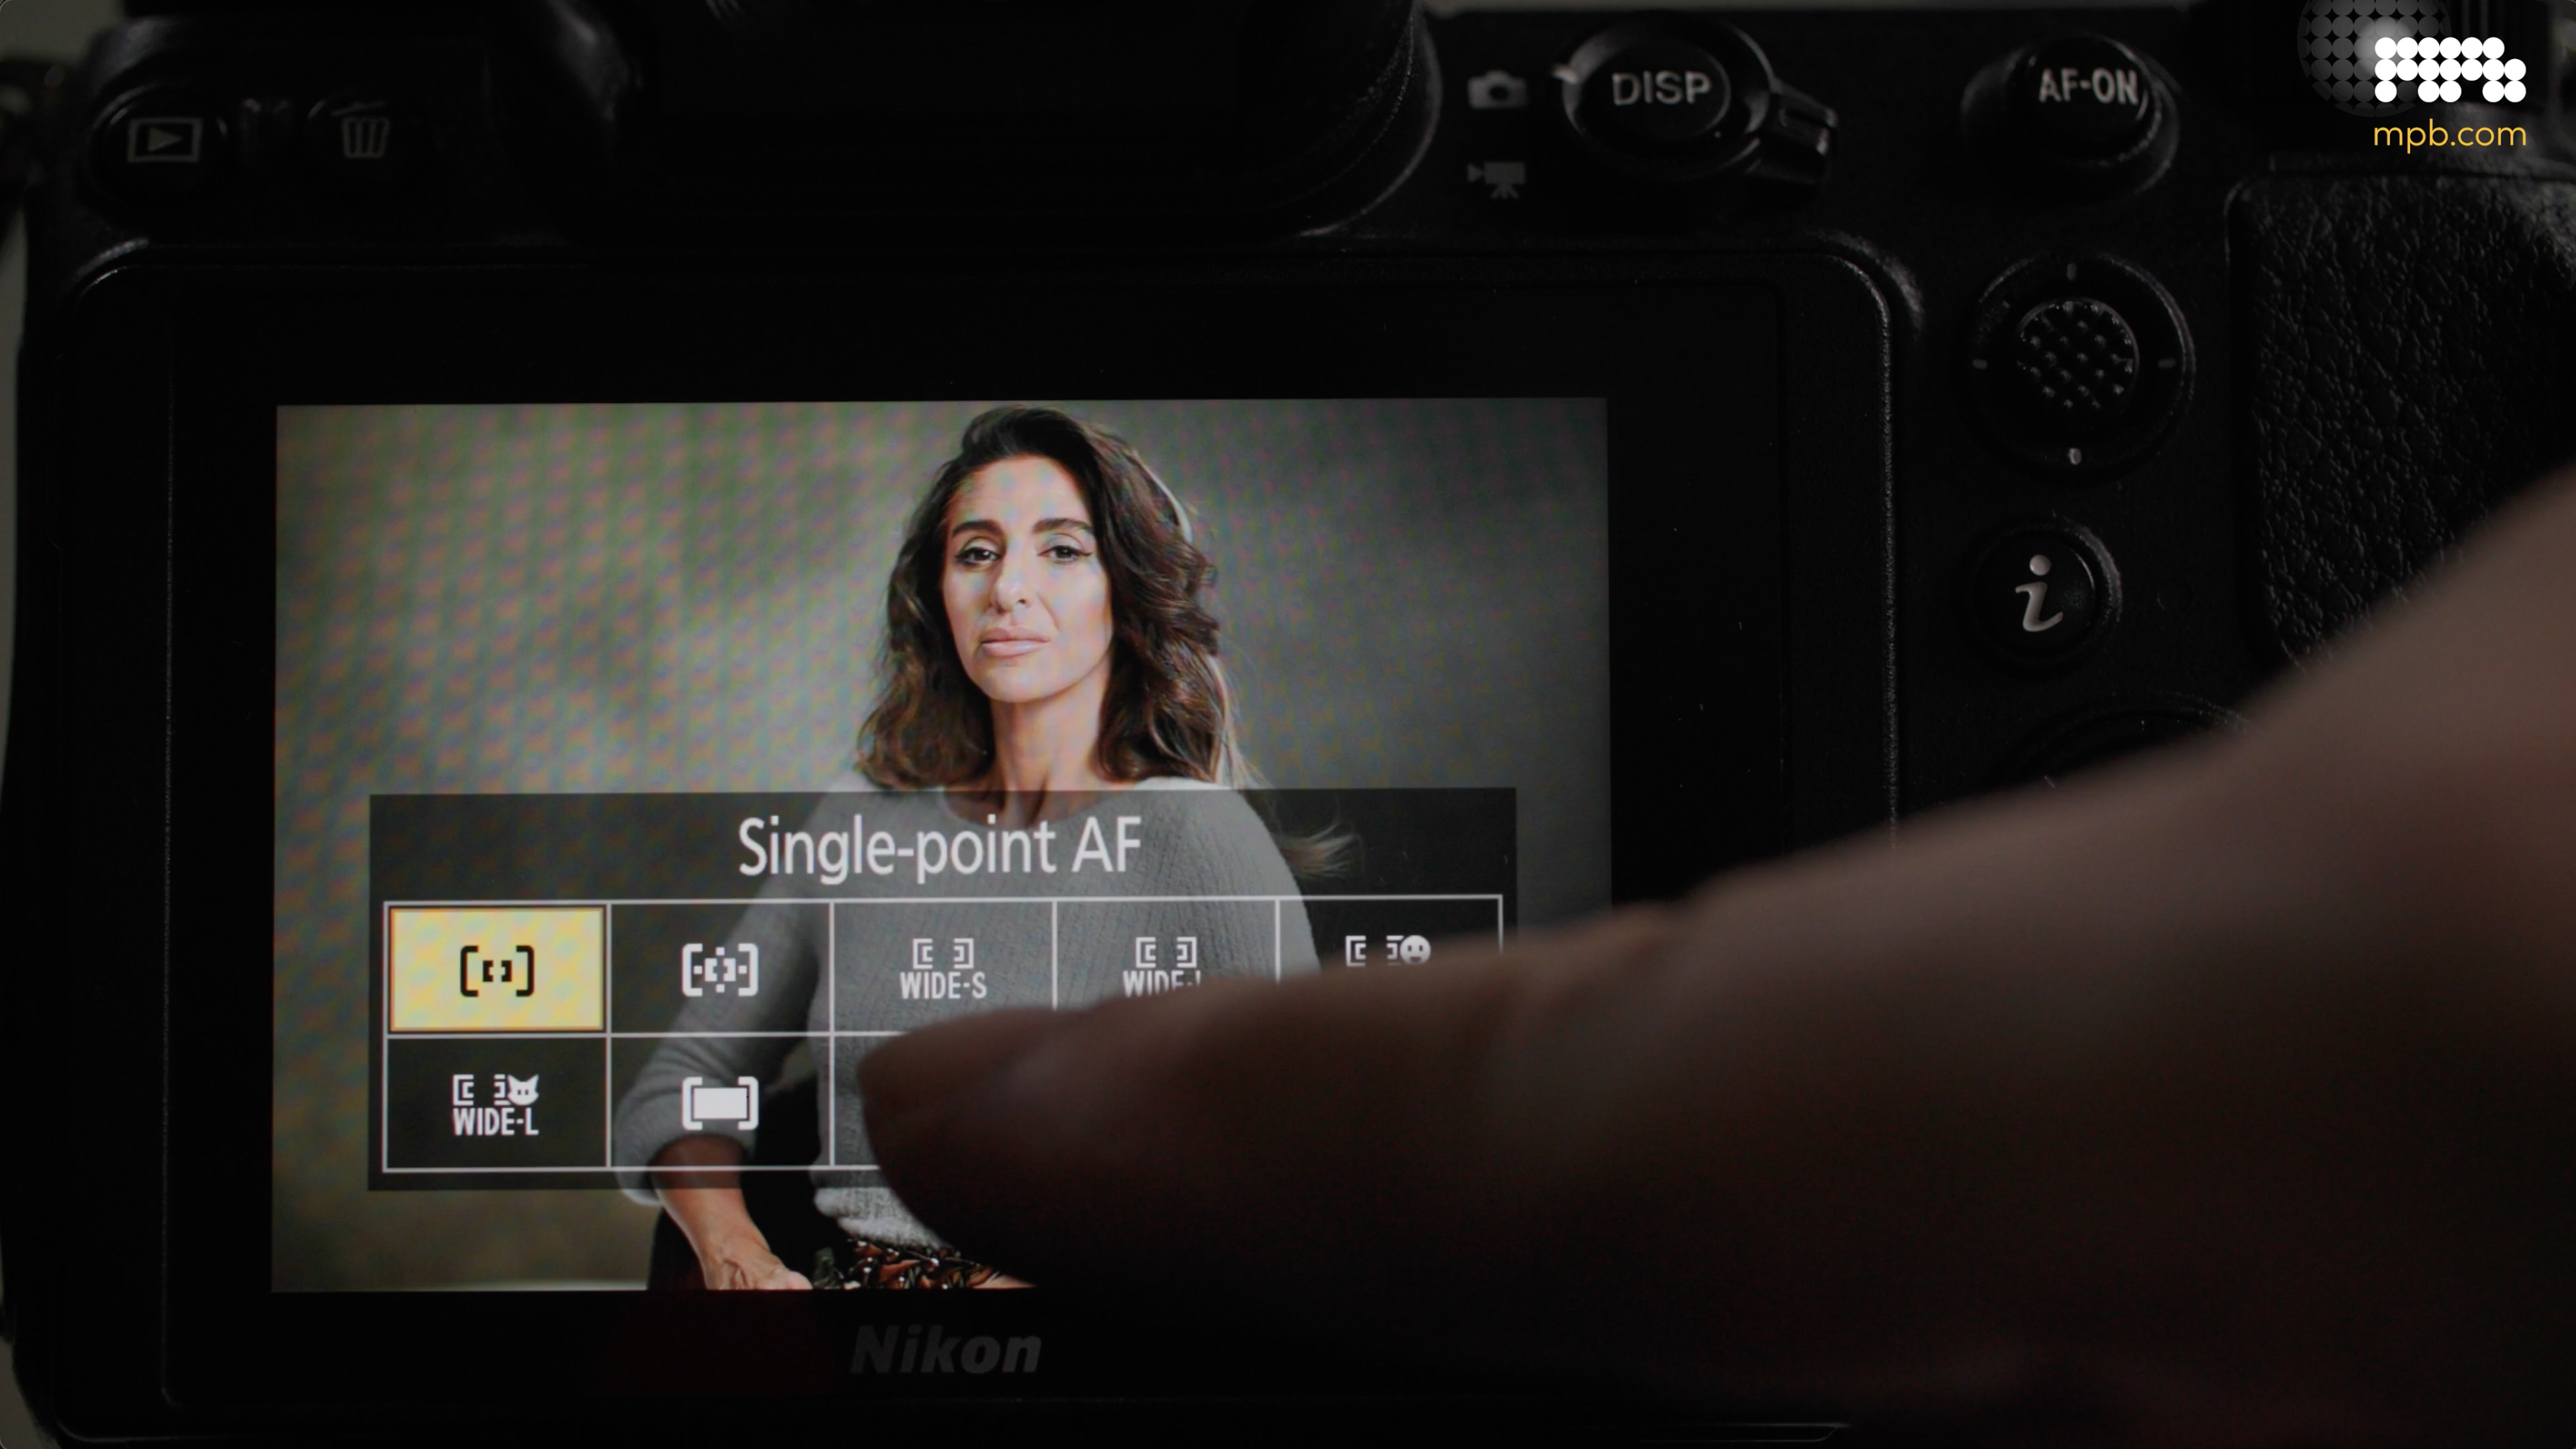
The eyes are the most important feature of your subject, so making sure that they’re sharp is crucial! A lot of modern cameras have face detection, which will get your camera’s autofocus system in the right ballpark, but picking up a model that also has eye detection will make sure that you get pin-sharp peepers every time.
In some cameras, such as the Nikon Z7 we’re using here, have eye detection built into their ‘People’ AF setting. Other cameras require you to manually turn on eye detection – and some even enable you to choose whether to prioritize the left or right eye!
Pick the appropriate focal length
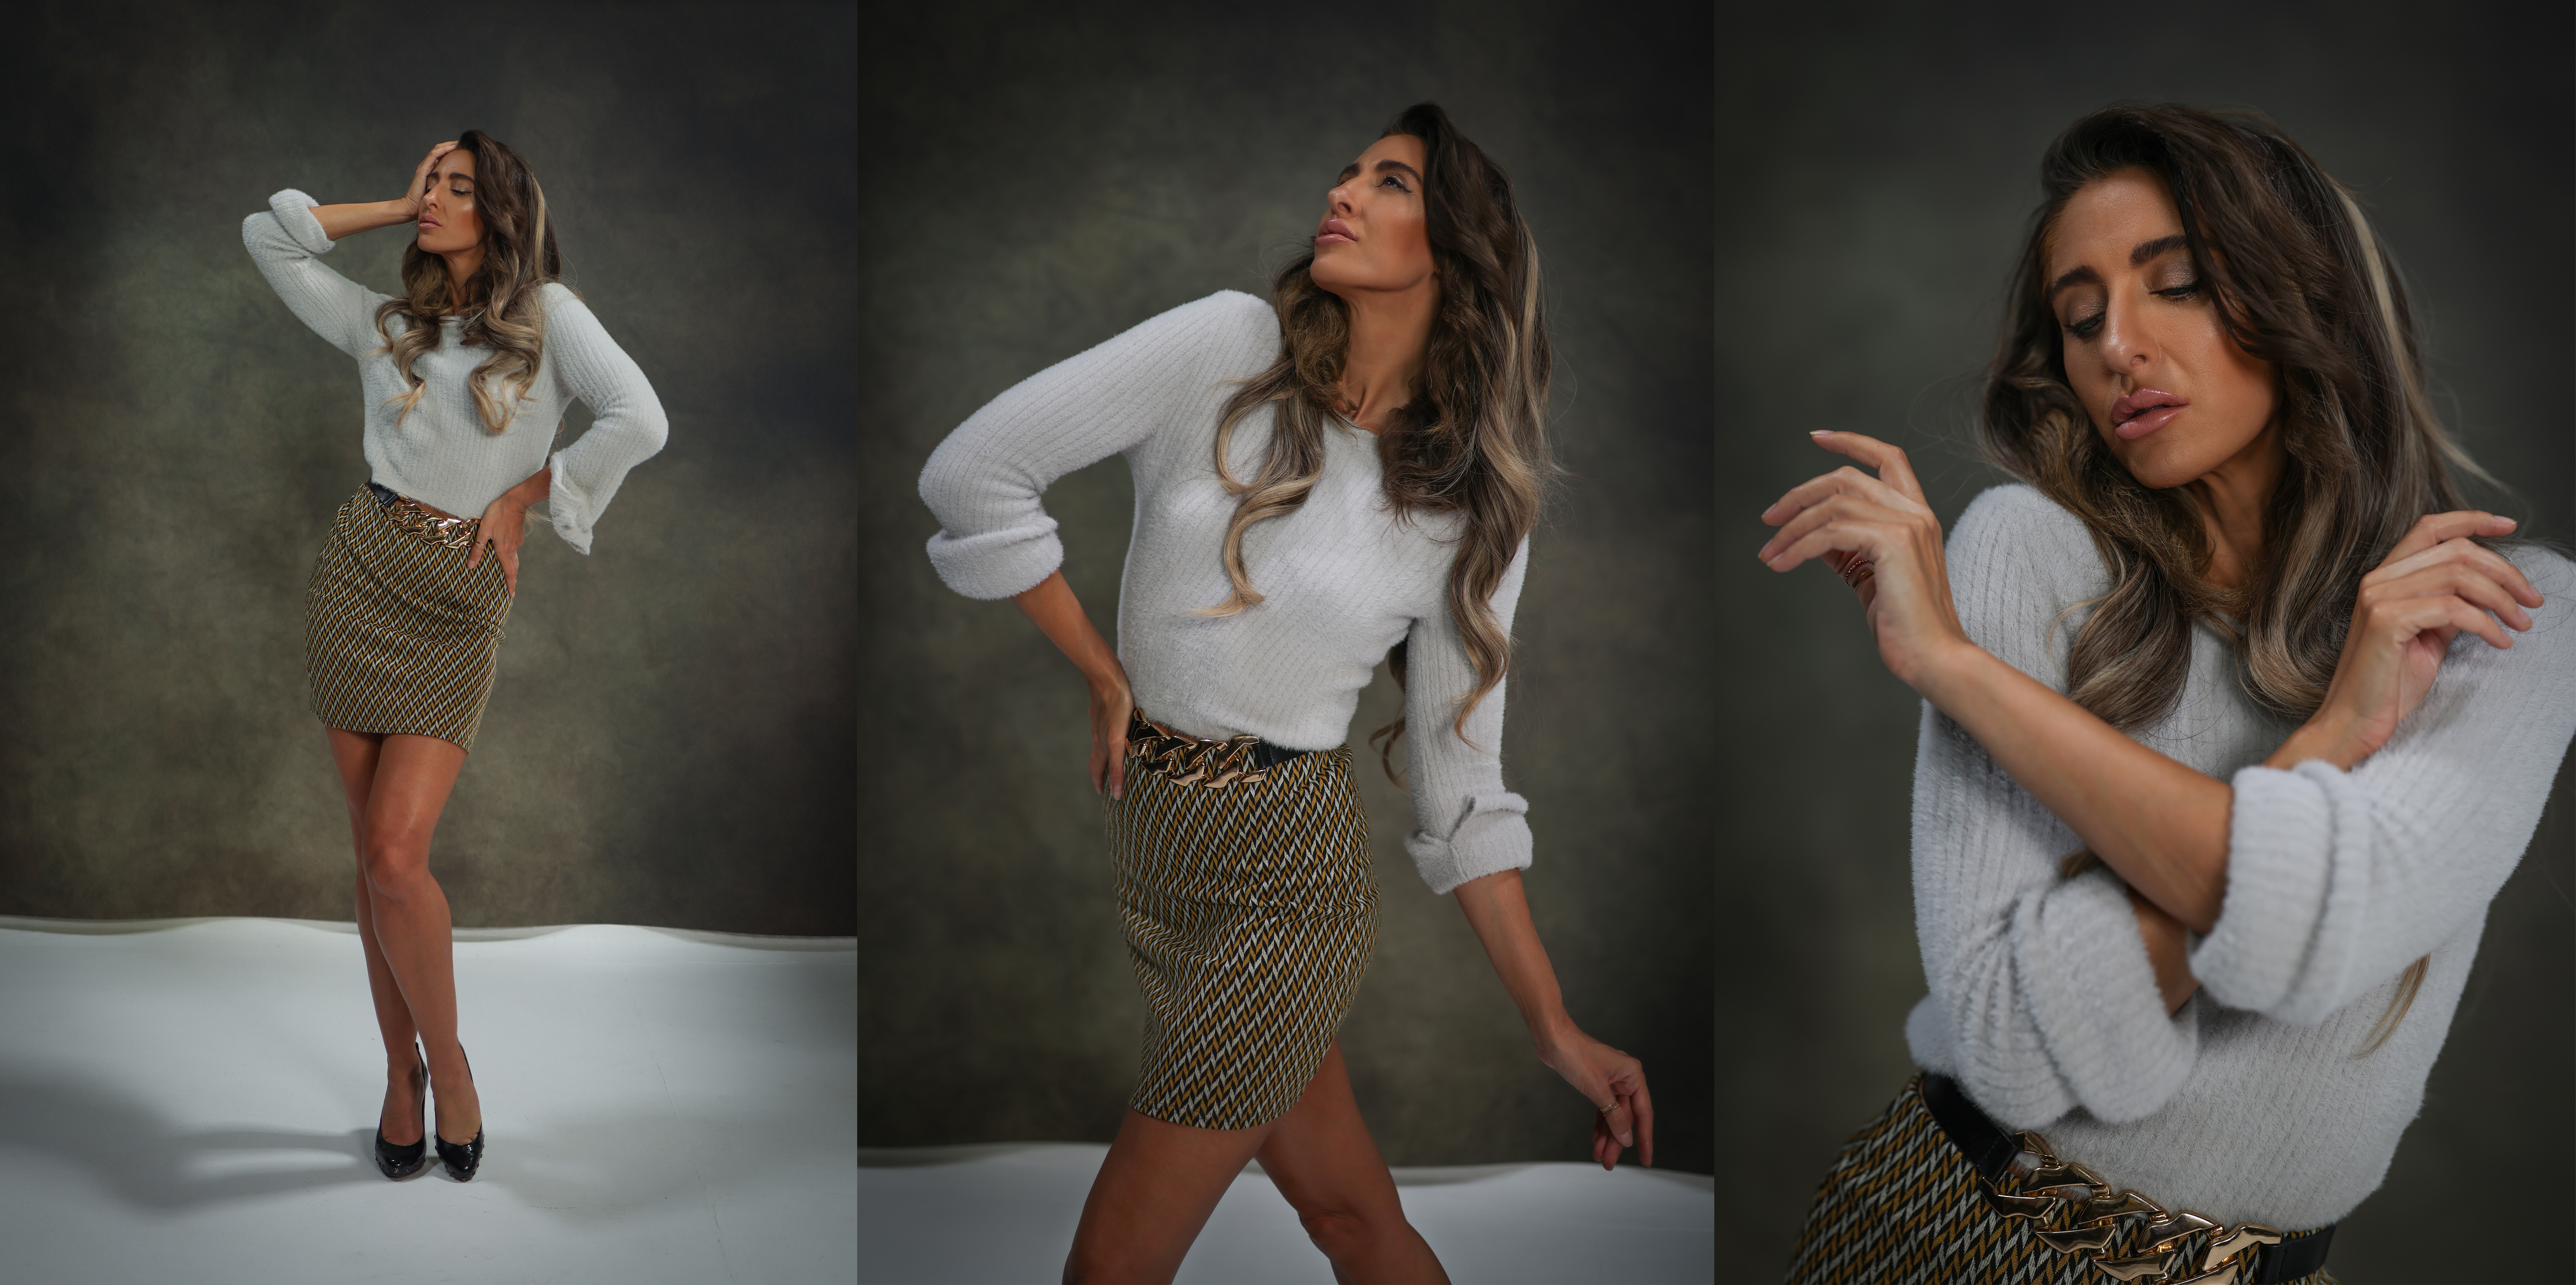
Choosing the right lens is crucial to get the most flattering people pictures. Wide-angle lenses introduce distortion, especially to faces, so you always want to use the longest focal length you can – this will flatter facial features, and also help you to separate your subject from the background.
If you’re shooting full-length photos, use a 35mm lens to fit the entire subject into the frame. For three-quarter or half-length shots, use a 50mm. However, while people say that 50mm is a great portrait lens (and it is, for torso shots!), you should use an 85mm or a 135mm lens for tight headshots to give the most pleasing results.
Shoot at the right height
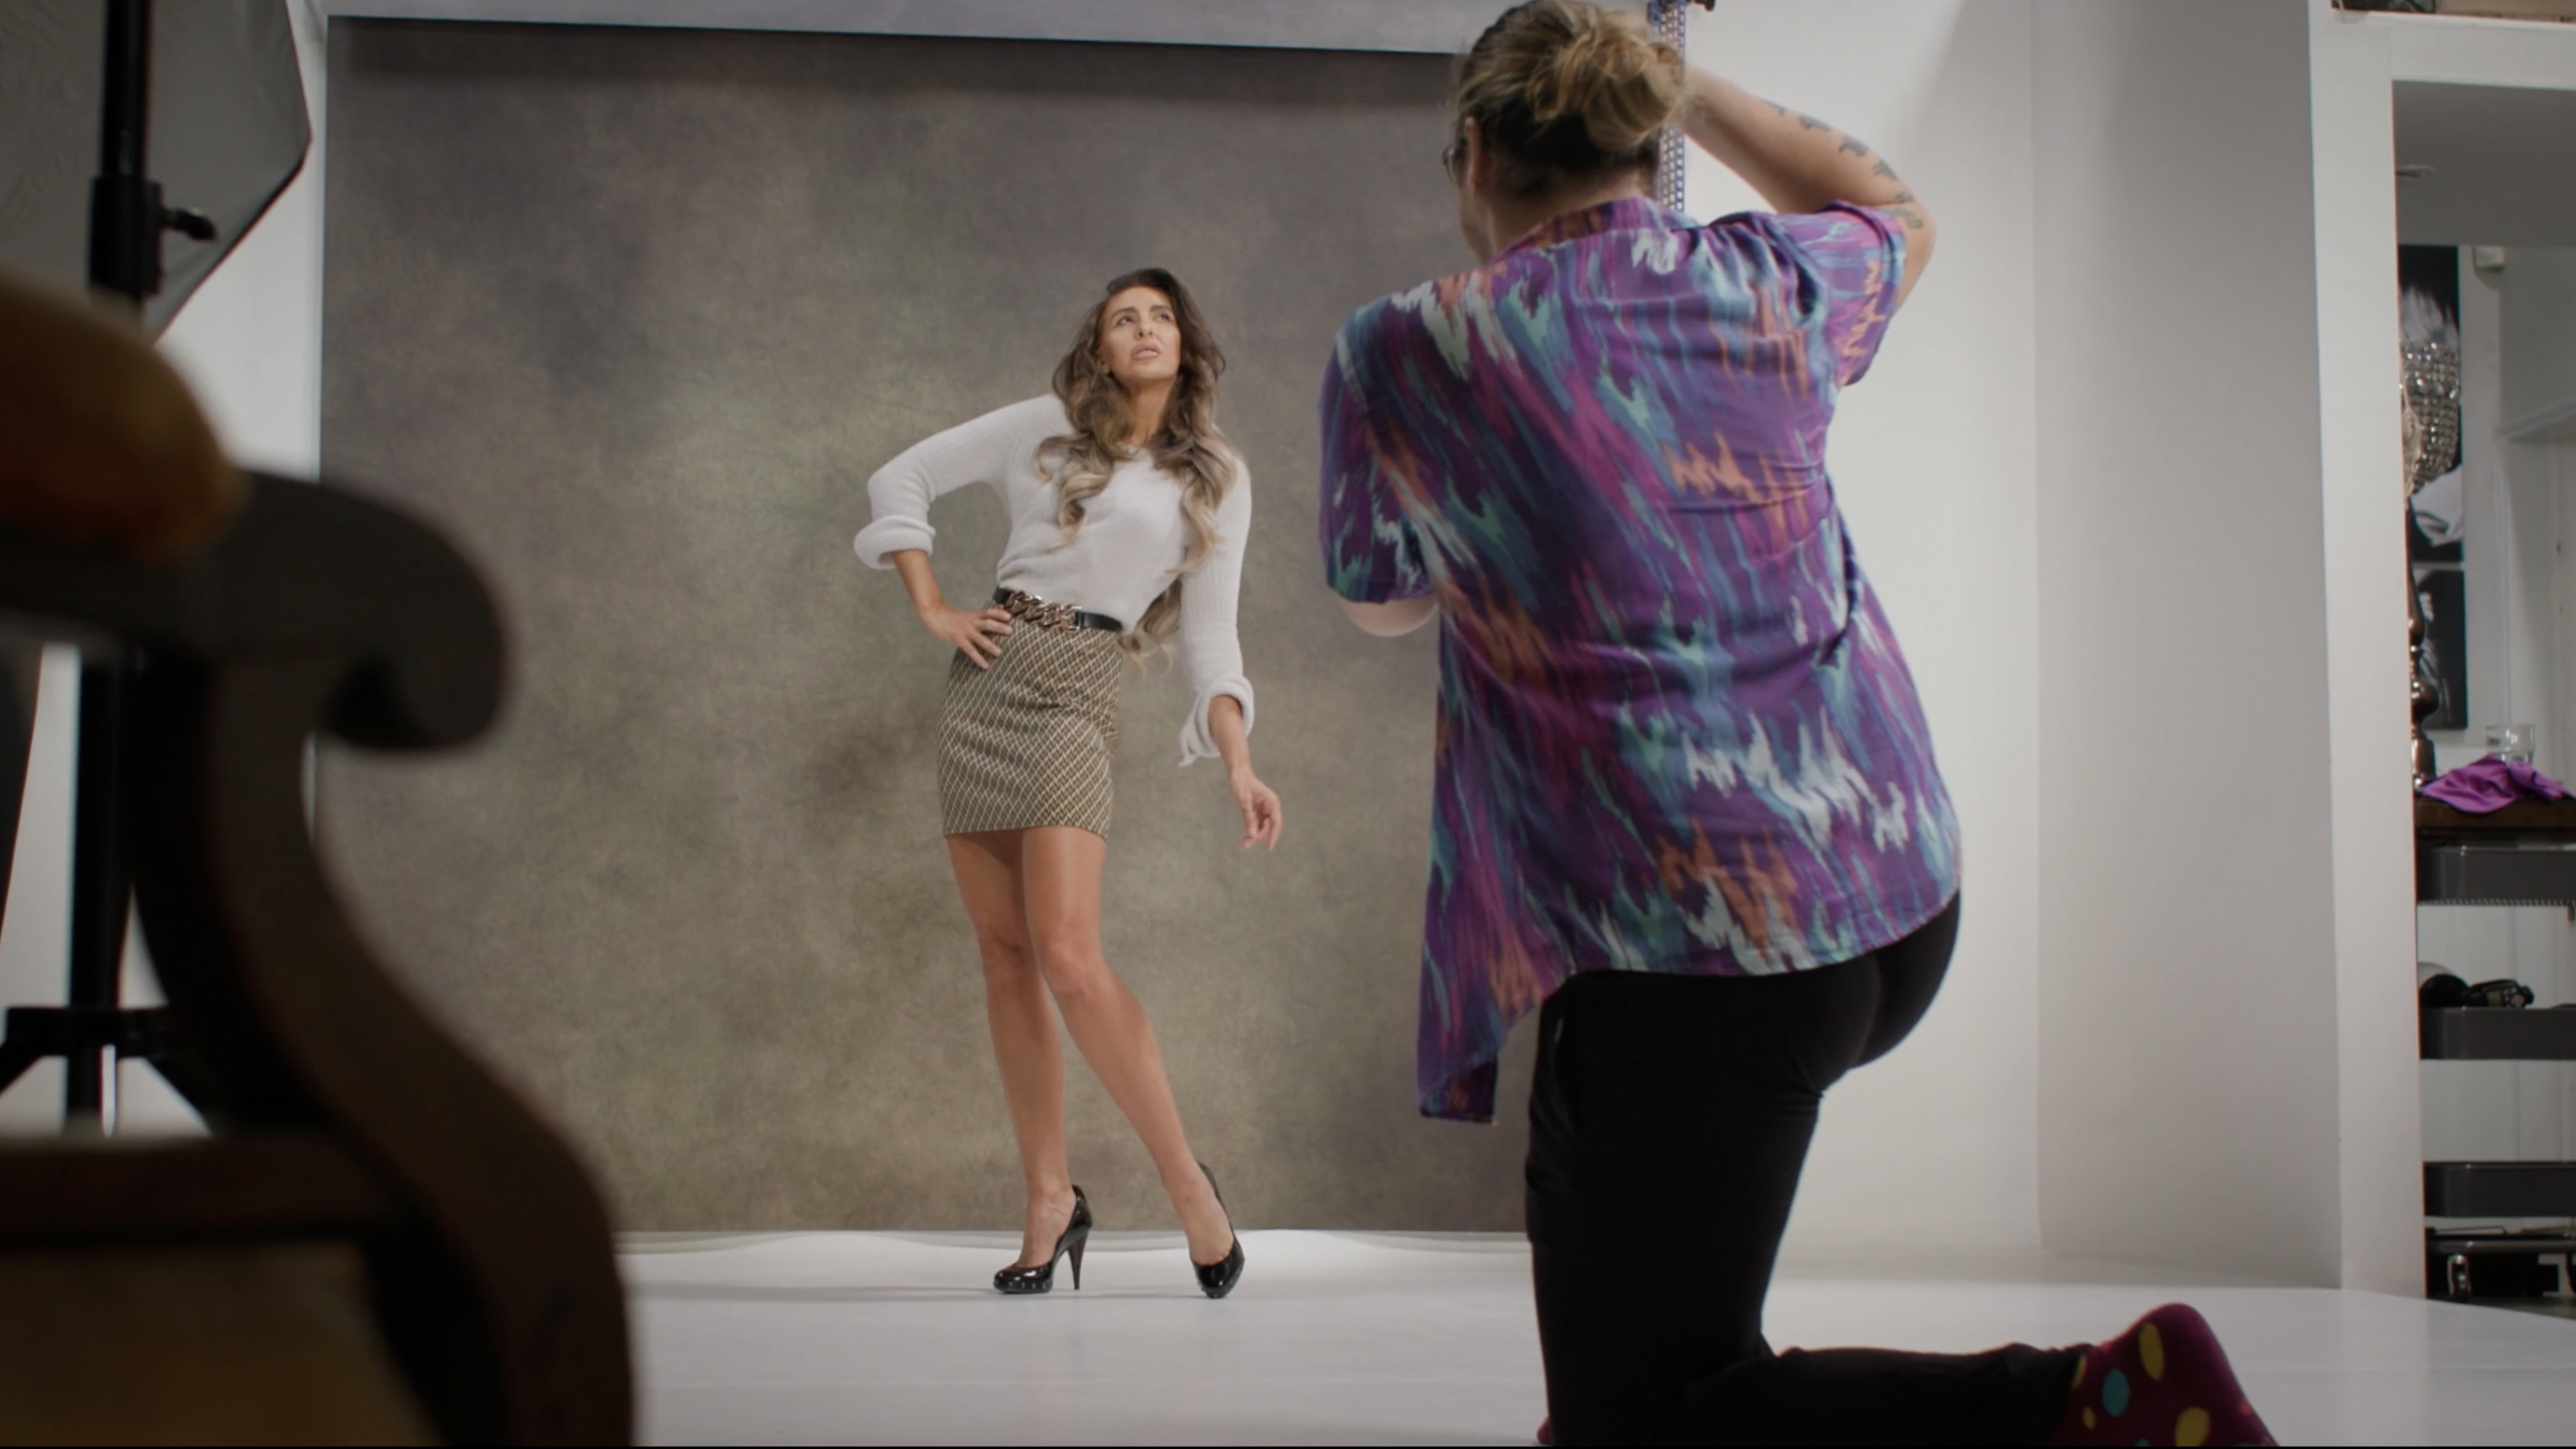
Just as using the wrong lens can cause distortion, so can shooting at the wrong angle. Shooting up or down onto your subject from slightly the wrong angle can make legs look stumpy of heads and bodies look out of proportion, so make sure to shoot straight on.
You want to keep your shooting plane aligned with the subject and your camera nice and central. So for those full-length shots, get down low and keep your lens in line with the subject’s navel; when shooting torso shots, keep it in line with their chest; and for headshots, make sure to point your lens at the subject’s nose.
Try a special effect lens!
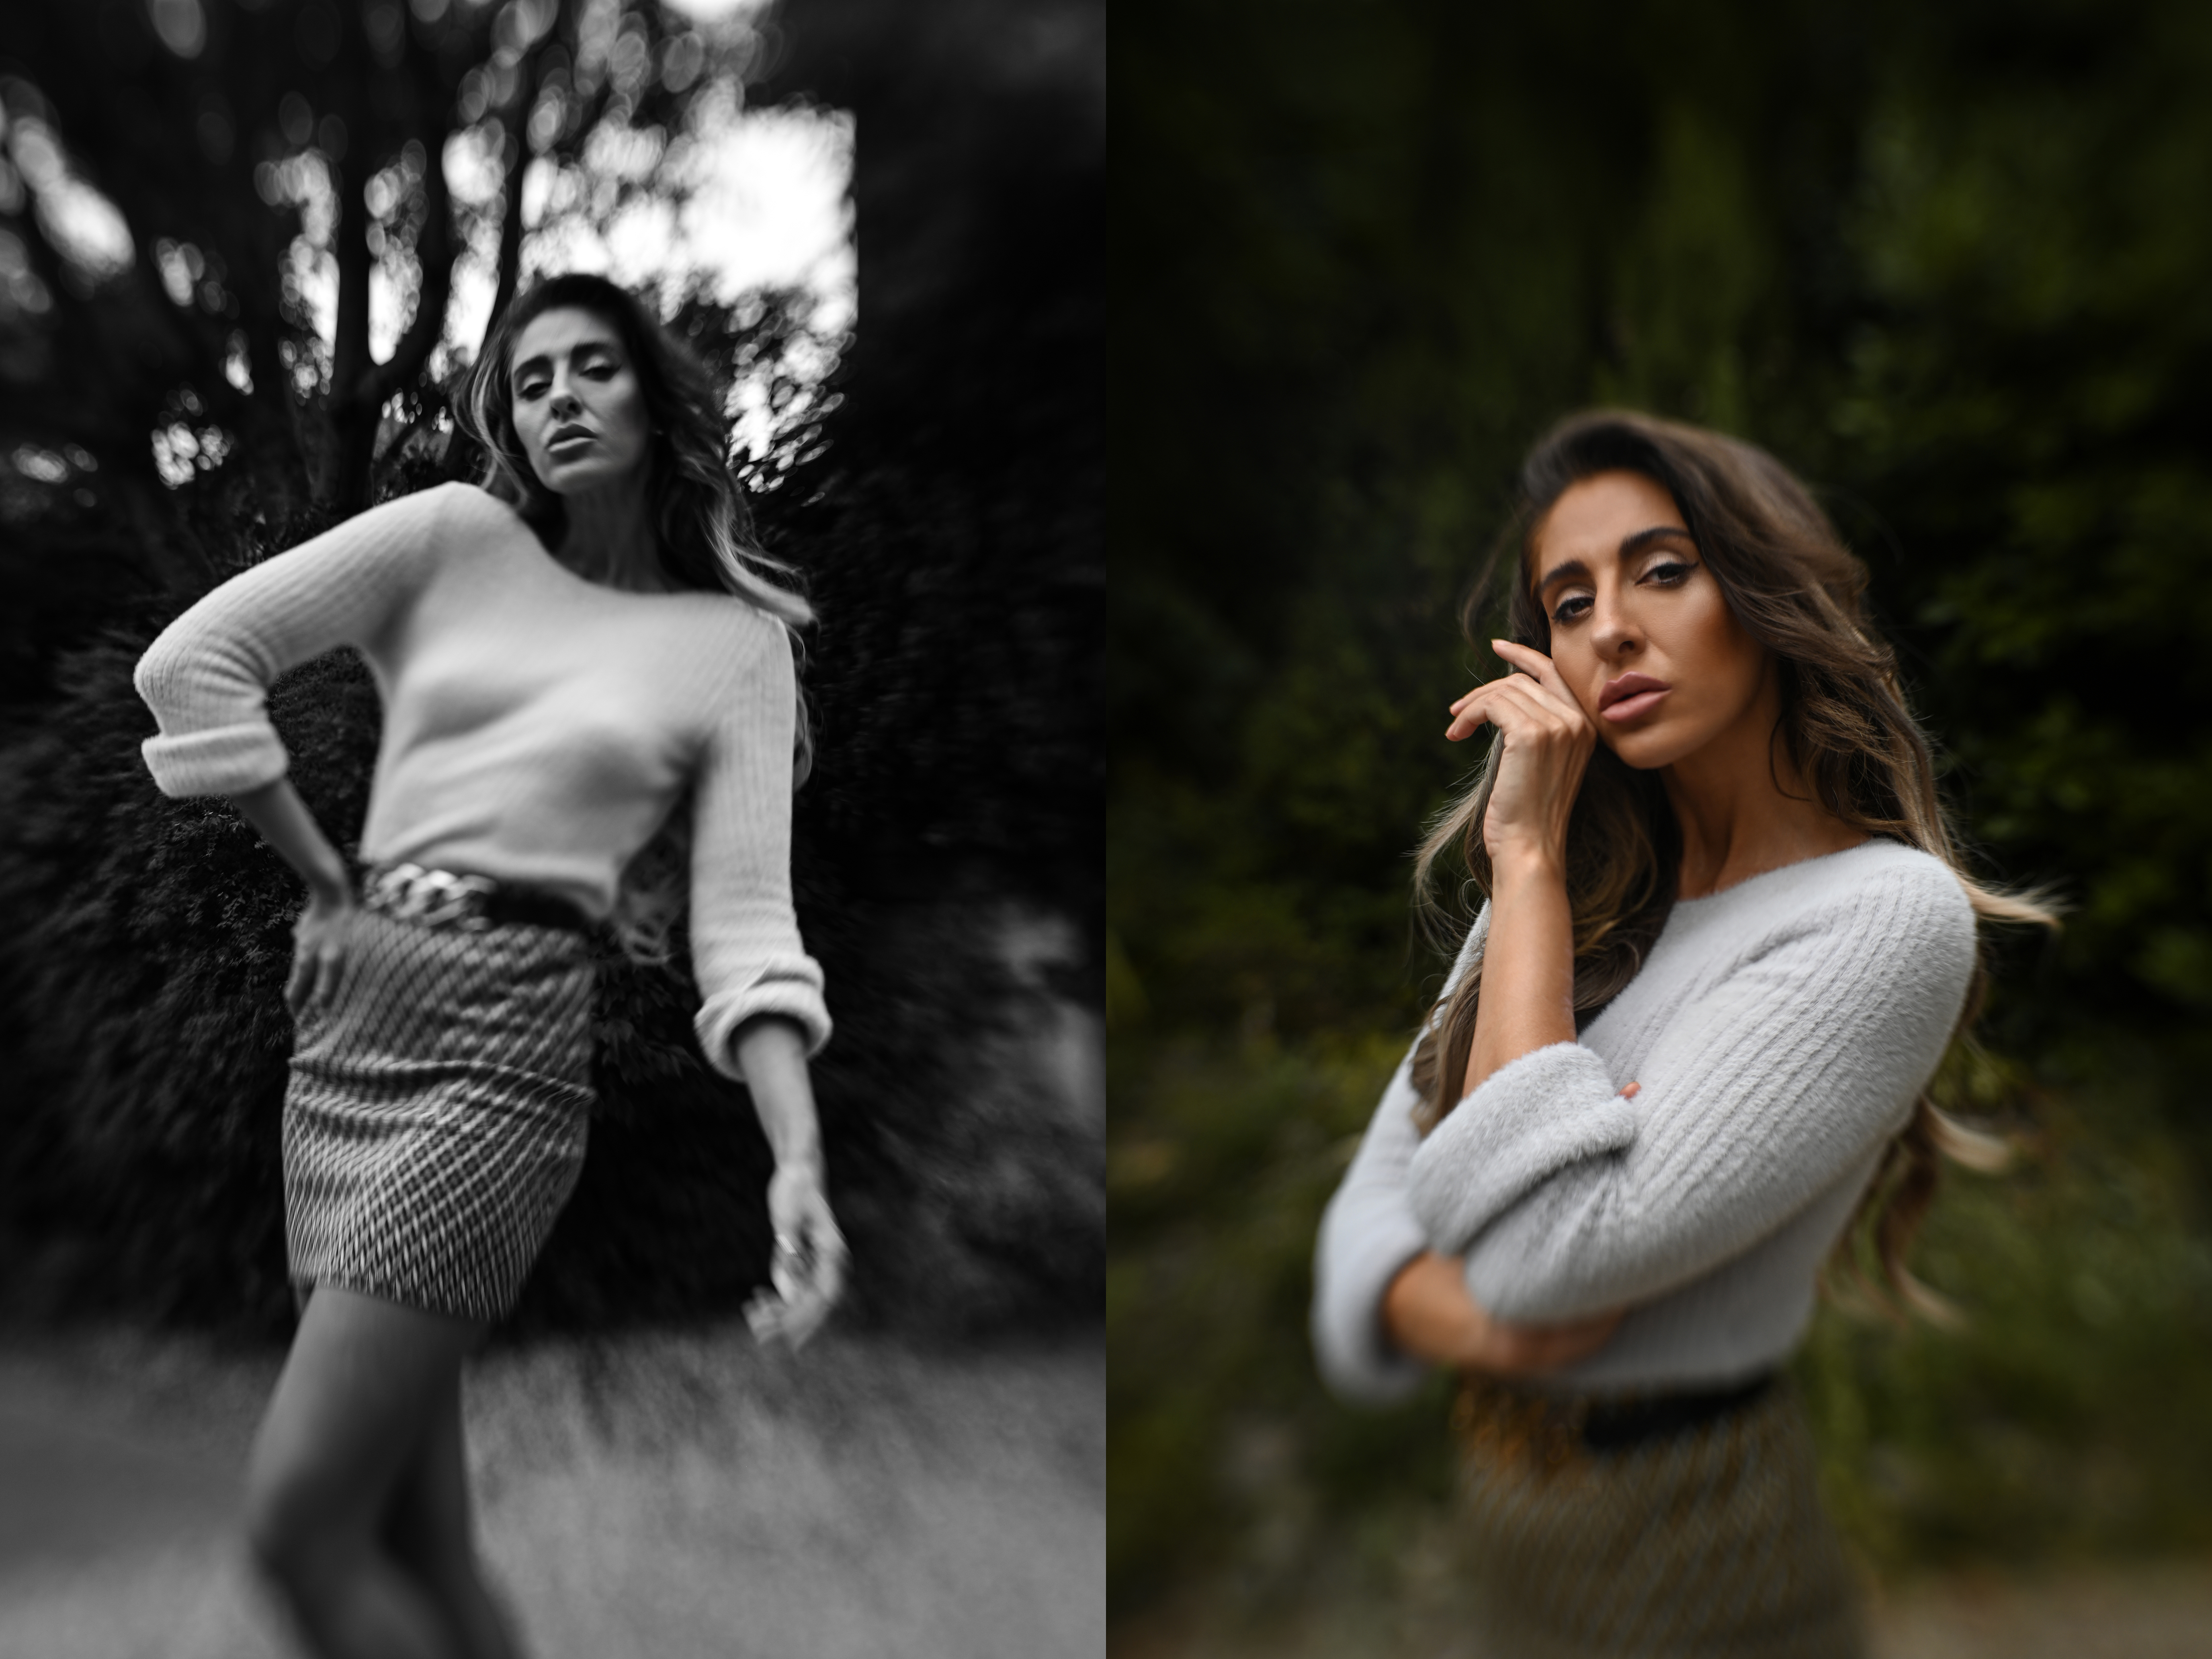
In many ways, your lens is like your camera’s paintbrush. There are some unique lenses with very special optical properties and characteristics, which can pack your portraits with bags of character and creativity.
A good example is this Lensbaby 45mm Sol lens, which enables you to shoot with selective blur and areas of defocus for some incredibly striking results… but they’re not to everybody’s taste! As a result, buying these kinds of specialty lenses at full price can be a real gamble – but you can buy used versions from MPB and experiment with your style without breaking the bank. And of course, you can sell or trade it back in if you don’t get on with it!
Use a fast aperture
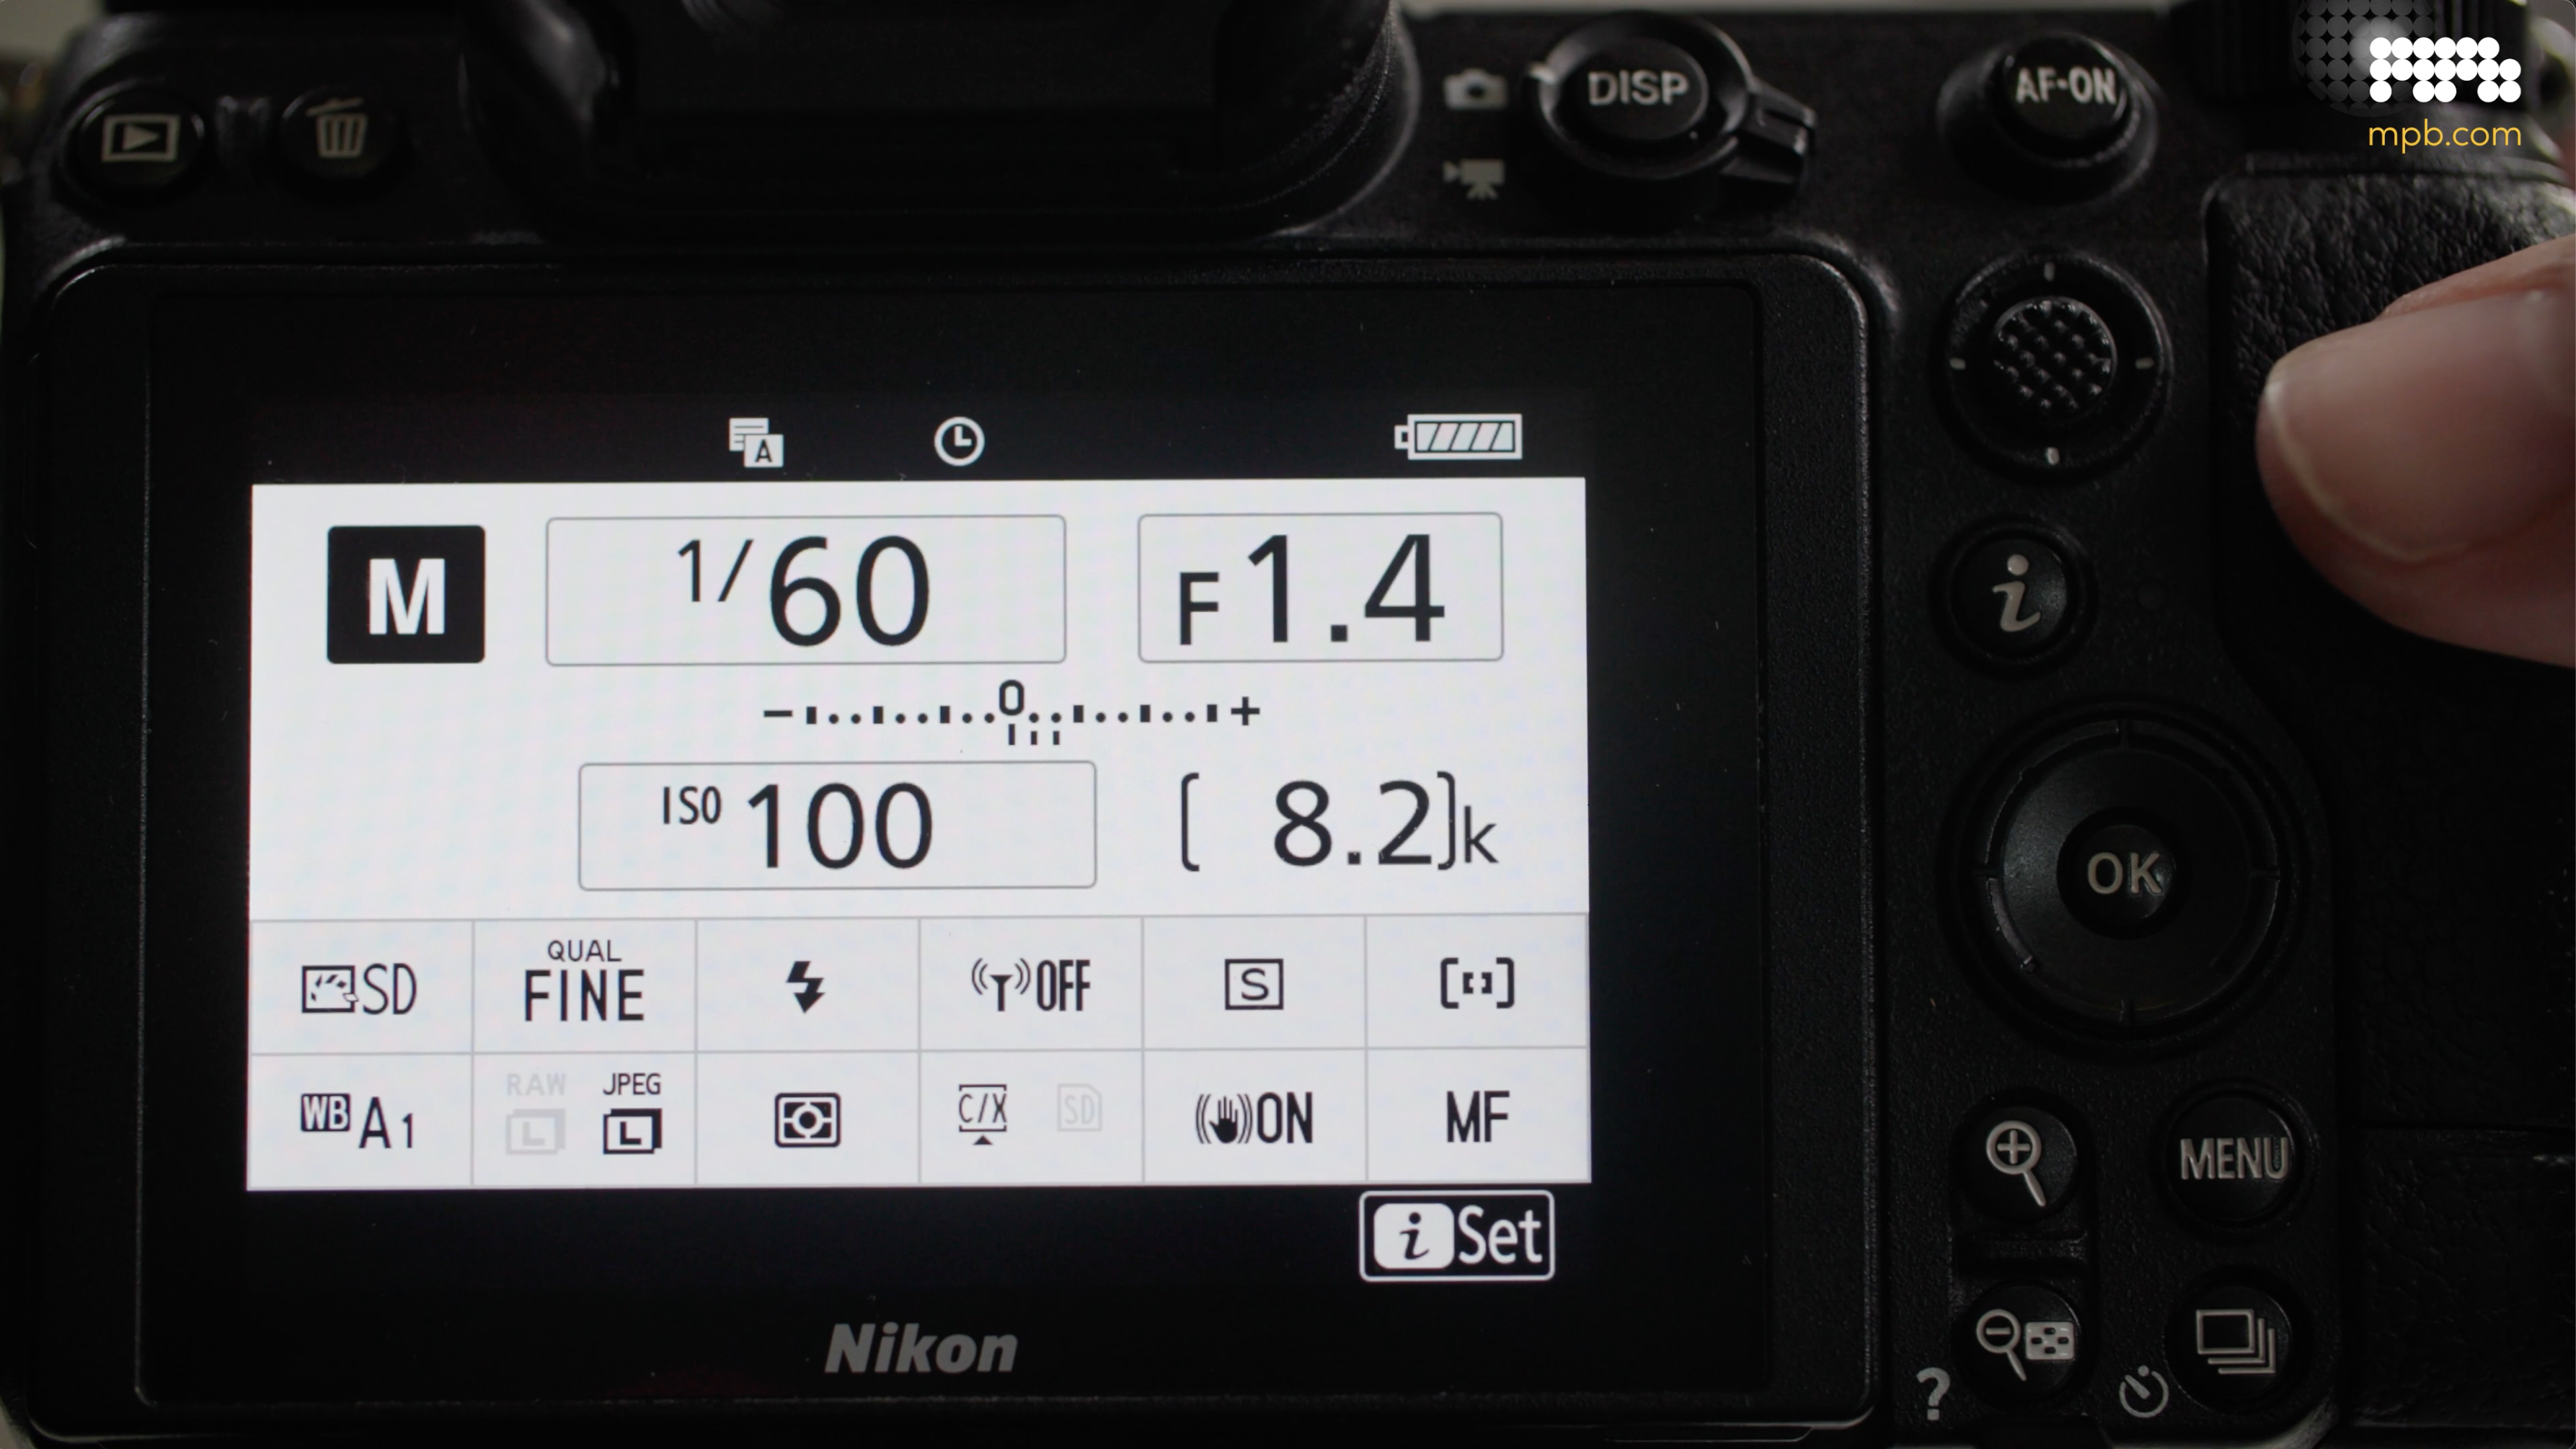
Most people want to achieve those cinematic portraits with a beautiful blurry background. The easiest qay to achieve this is by using a lens that has a “fast” aperture – which means a low f-number, such as f/1.8 or even f/1.2 – and shooting at its maximum or “widest” setting – which will make the aperture blades inside literally open wide.
This renders a shallow depth of field in your photograph, where only a narrow plane of the image is in focus. By focusing on your subject, this will render the background out of focus – but be aware that the shallower your depth of field, the trickier it can be to keep your subject in focus!
Create space from the background
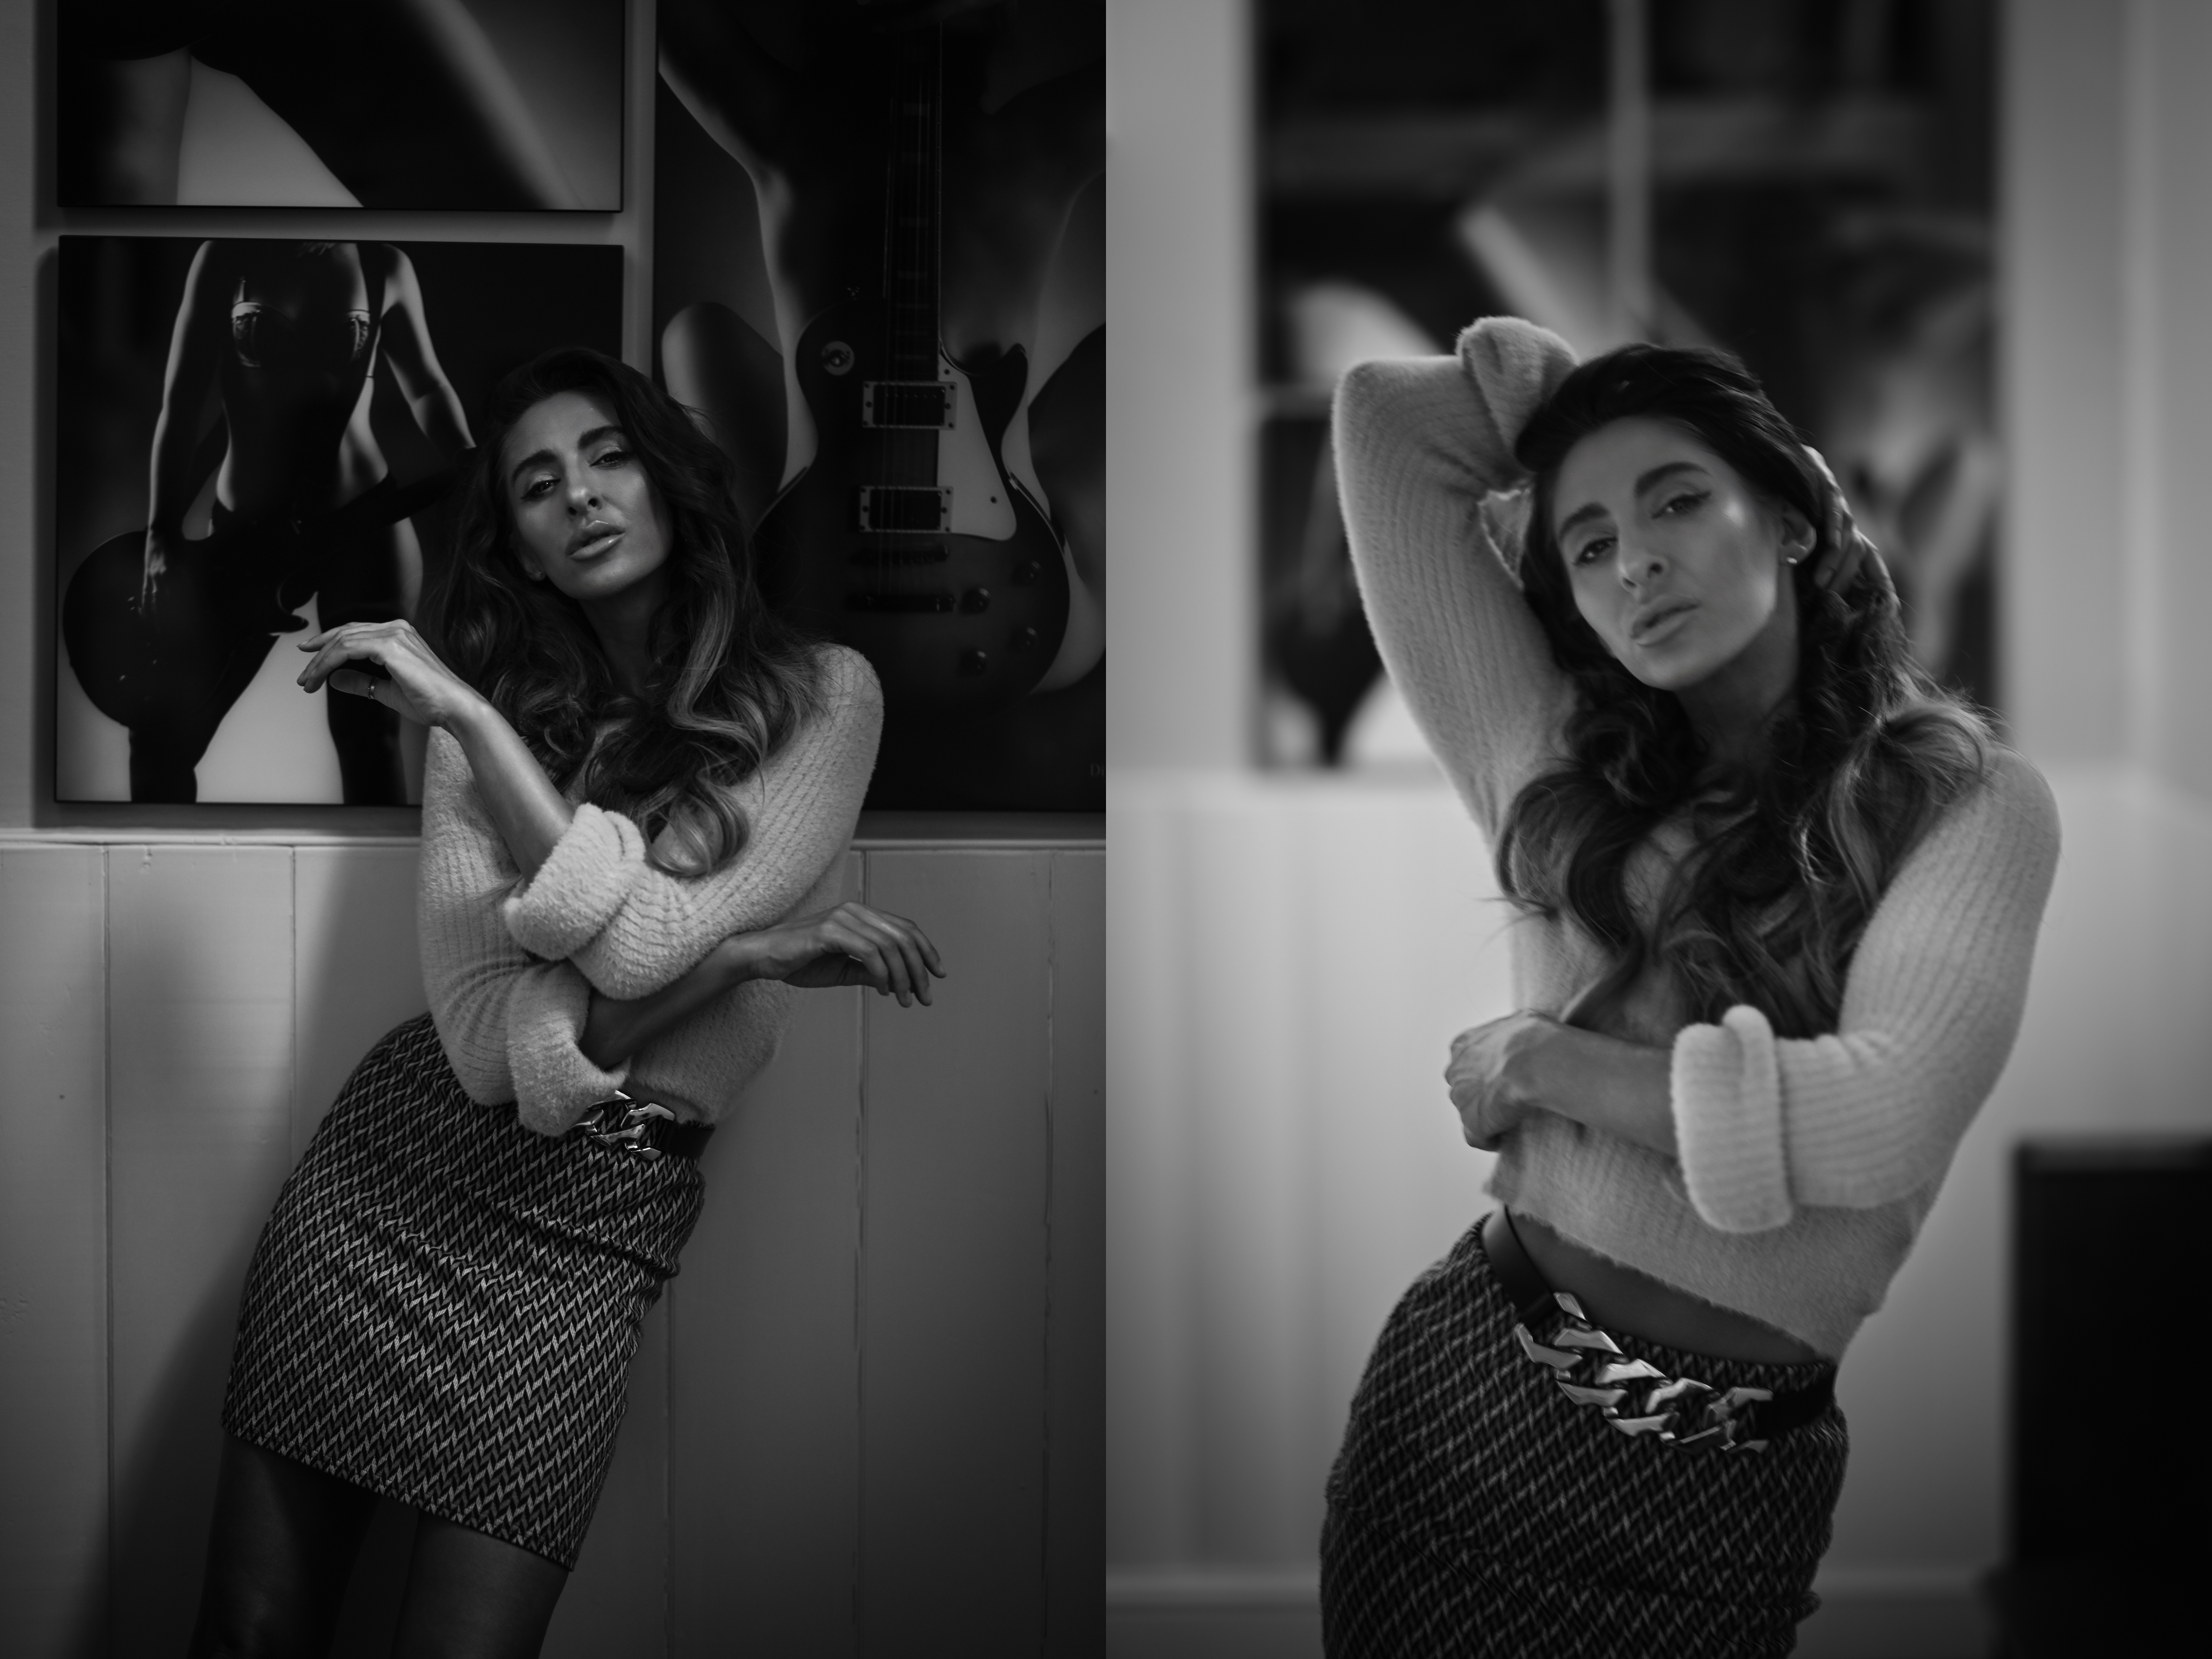
While using a long lens and a fast aperture are great ways to blur the background, neither of them will do the job if your subject is directly against it or too close to it. The further away your subject is from the background, the more out of focus it will become.
Even if you don’t have a lens with a long focal length or a fast aperture, this one trick can help you achieve those blurry backgrounds in your shots. Get the subject far enough away from the backdrop and it will start to blur, sooner or later!
Try supplemental lighting
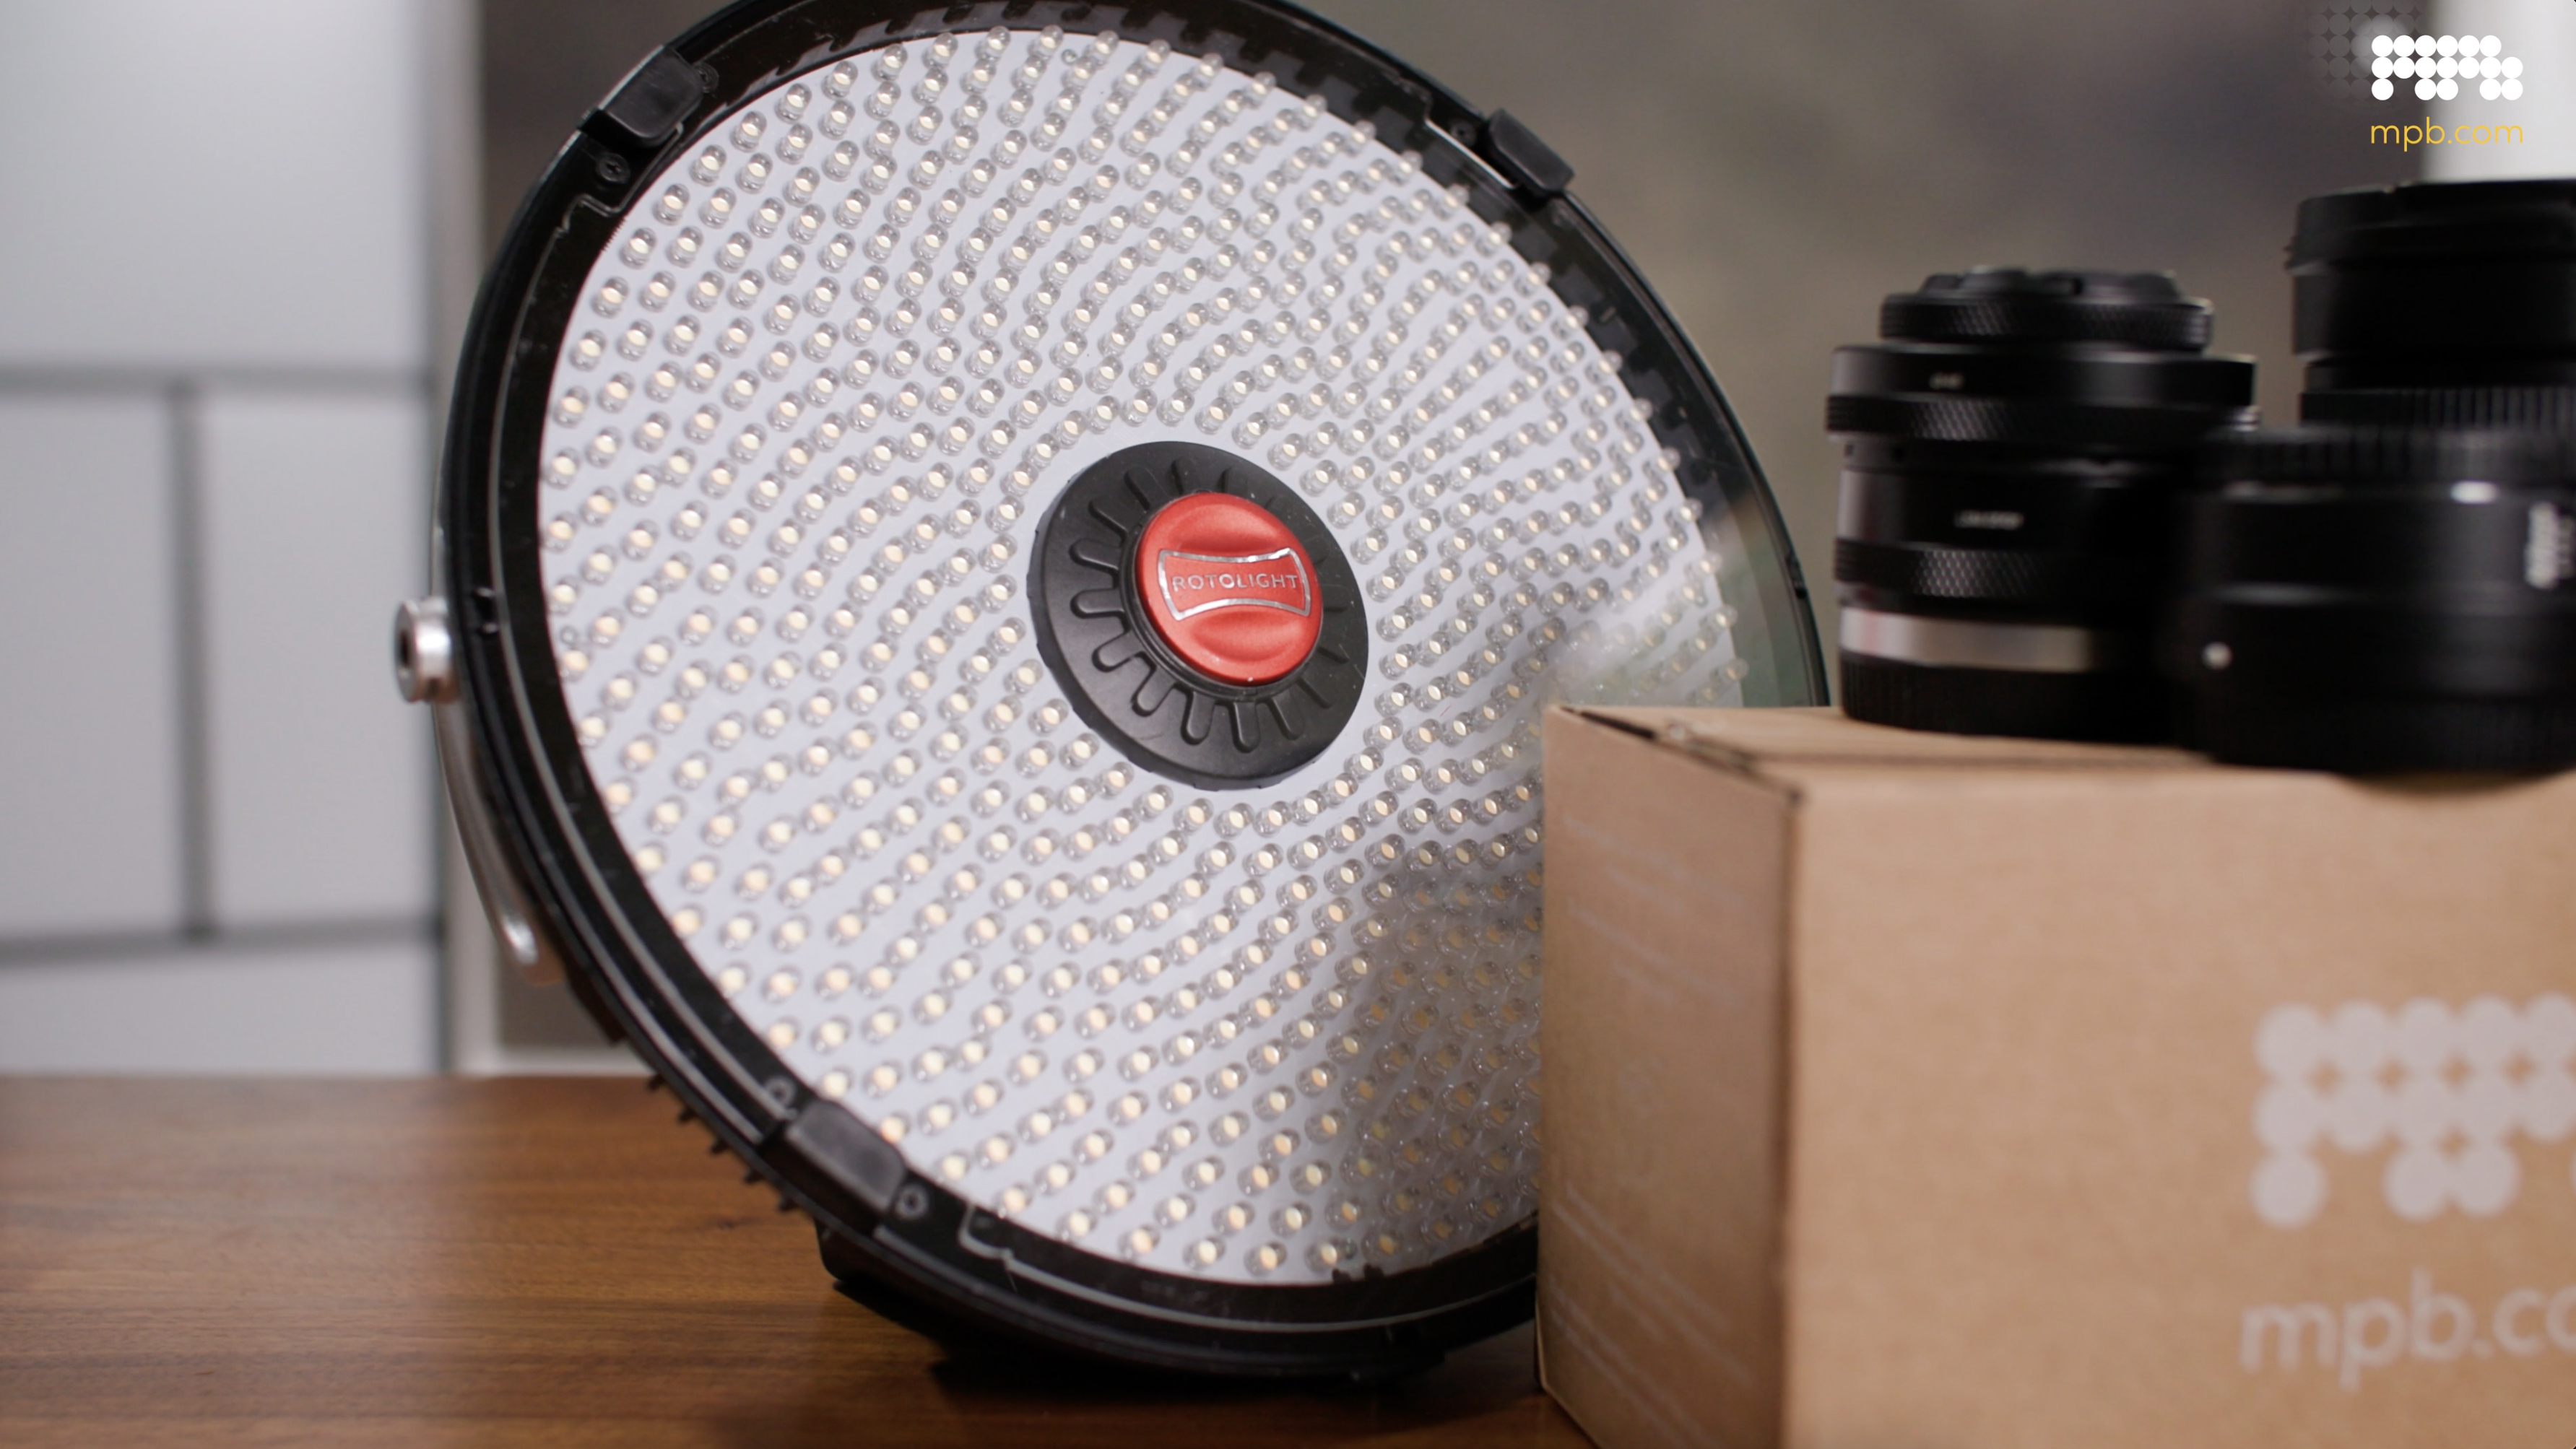
You can get some phenomenal results from working with natural light, but some days the sun just doesn’t want to play. If there isn’t much light available, or if you really want to get creative and elevate your portraits, try introducing some supplemental lighting. Strobes and flashguns have been the tools of the trade for decades, and you can use them to really sculpt your subject with light. However, they take time to master and can be tricky to learn
Continuous LED lights are another great option. With a high-power LED such as the Rotolight Aeos (which also offers flash functionality), your subject is lit continuously so you can see exactly what the light is doing. Unlike flash, where you need to check the results after taking the shot, here what you see is literally what you get. Buying pre-loved from MPB enables you to pick up multiple lights for the price of a single new one, so you can start getting extra creative!
To find out more about buying, selling and trading camera equipment, head over to MPB.
Get the Digital Camera World Newsletter
The best camera deals, reviews, product advice, and unmissable photography news, direct to your inbox!
Digital Camera World is one of the leading authorities on camera and photography news, reviews, techniques, tutorials, comparisons, deals and industry analysis. The site doesn't just specialize in cameras, but all aspects of photography, videography and imaging – including camera phones, gimbals, lenses, lighting, editing software, filters, tripods, laptops, printers, photo books, desks, binoculars and more.
Whether you're using, looking to buy or trying to get the most out of a compact camera, action camera, camera drone, cinema camera, beginner camera or professional camera, Digital Camera World has a roster of experts with combined experience of over 100 years when it comes to cameras, photography and imaging.

