Capture blooming brilliant flower shots with Affinity Photo
Affinity Photo is available on Mac, Windows PC and iPad with one payment and no ongoing subscription. Click here for more information!
Flowers and plants are perennial subjects for beautiful photos, but to make them look their very best, it helps to know a few editing tricks in Affinity Photo. In this project we’ll look at a range of tools and techniques – from essential edits such as sharpening to selective color boosts – that can be used to benefit almost every flower photo you open.
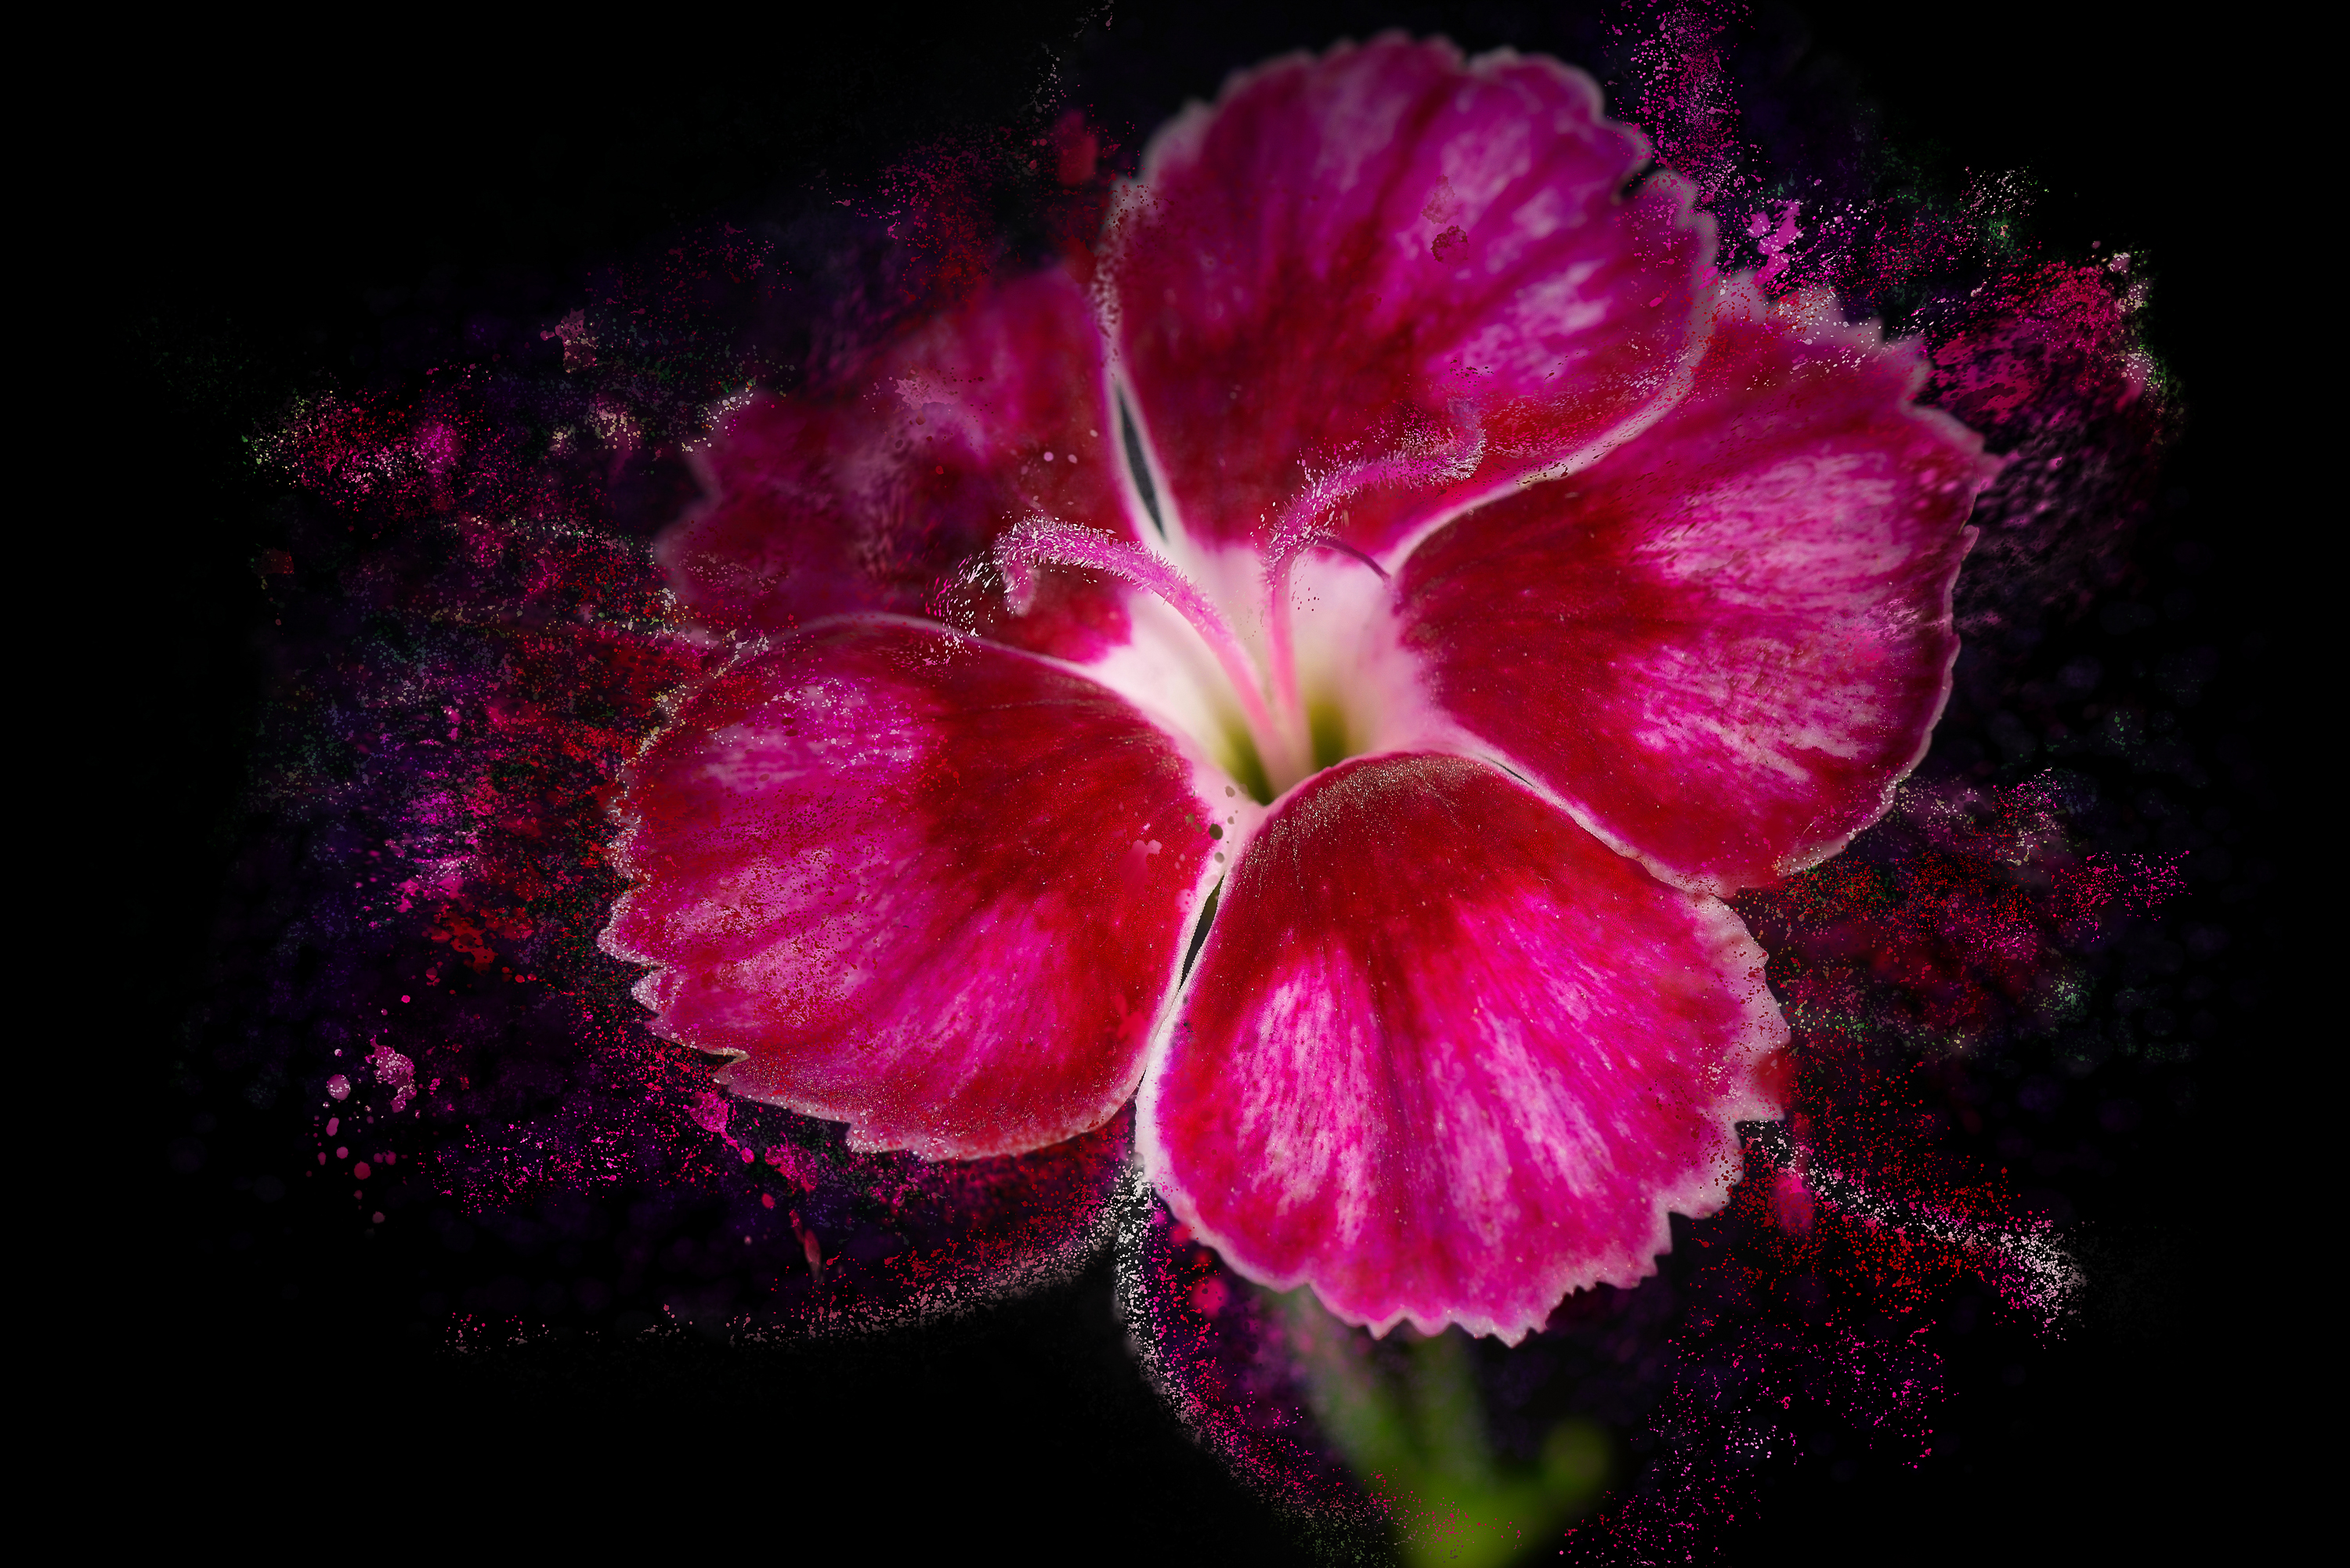
Once done, we’ll take our effect one stage further and add creative color sprays using Affinity Photo’s excellent array of brush tips. We can sample colors from the flower using the Brush and Clone Tools, then create all manner of spatters and sprays around the frame. Our edits and effects can each be applied to a separate layer, so we have ultimate freedom to go back and change a setting, or remove it completely at any stage. This ‘non-destructive’ workflow gives us license to try out different things and take our photos in all kinds of interesting directions, safe in the knowledge that we can retrace our steps whenever we like.
Get creative with your edits in Affinity Photo
Basic tonal adjustments
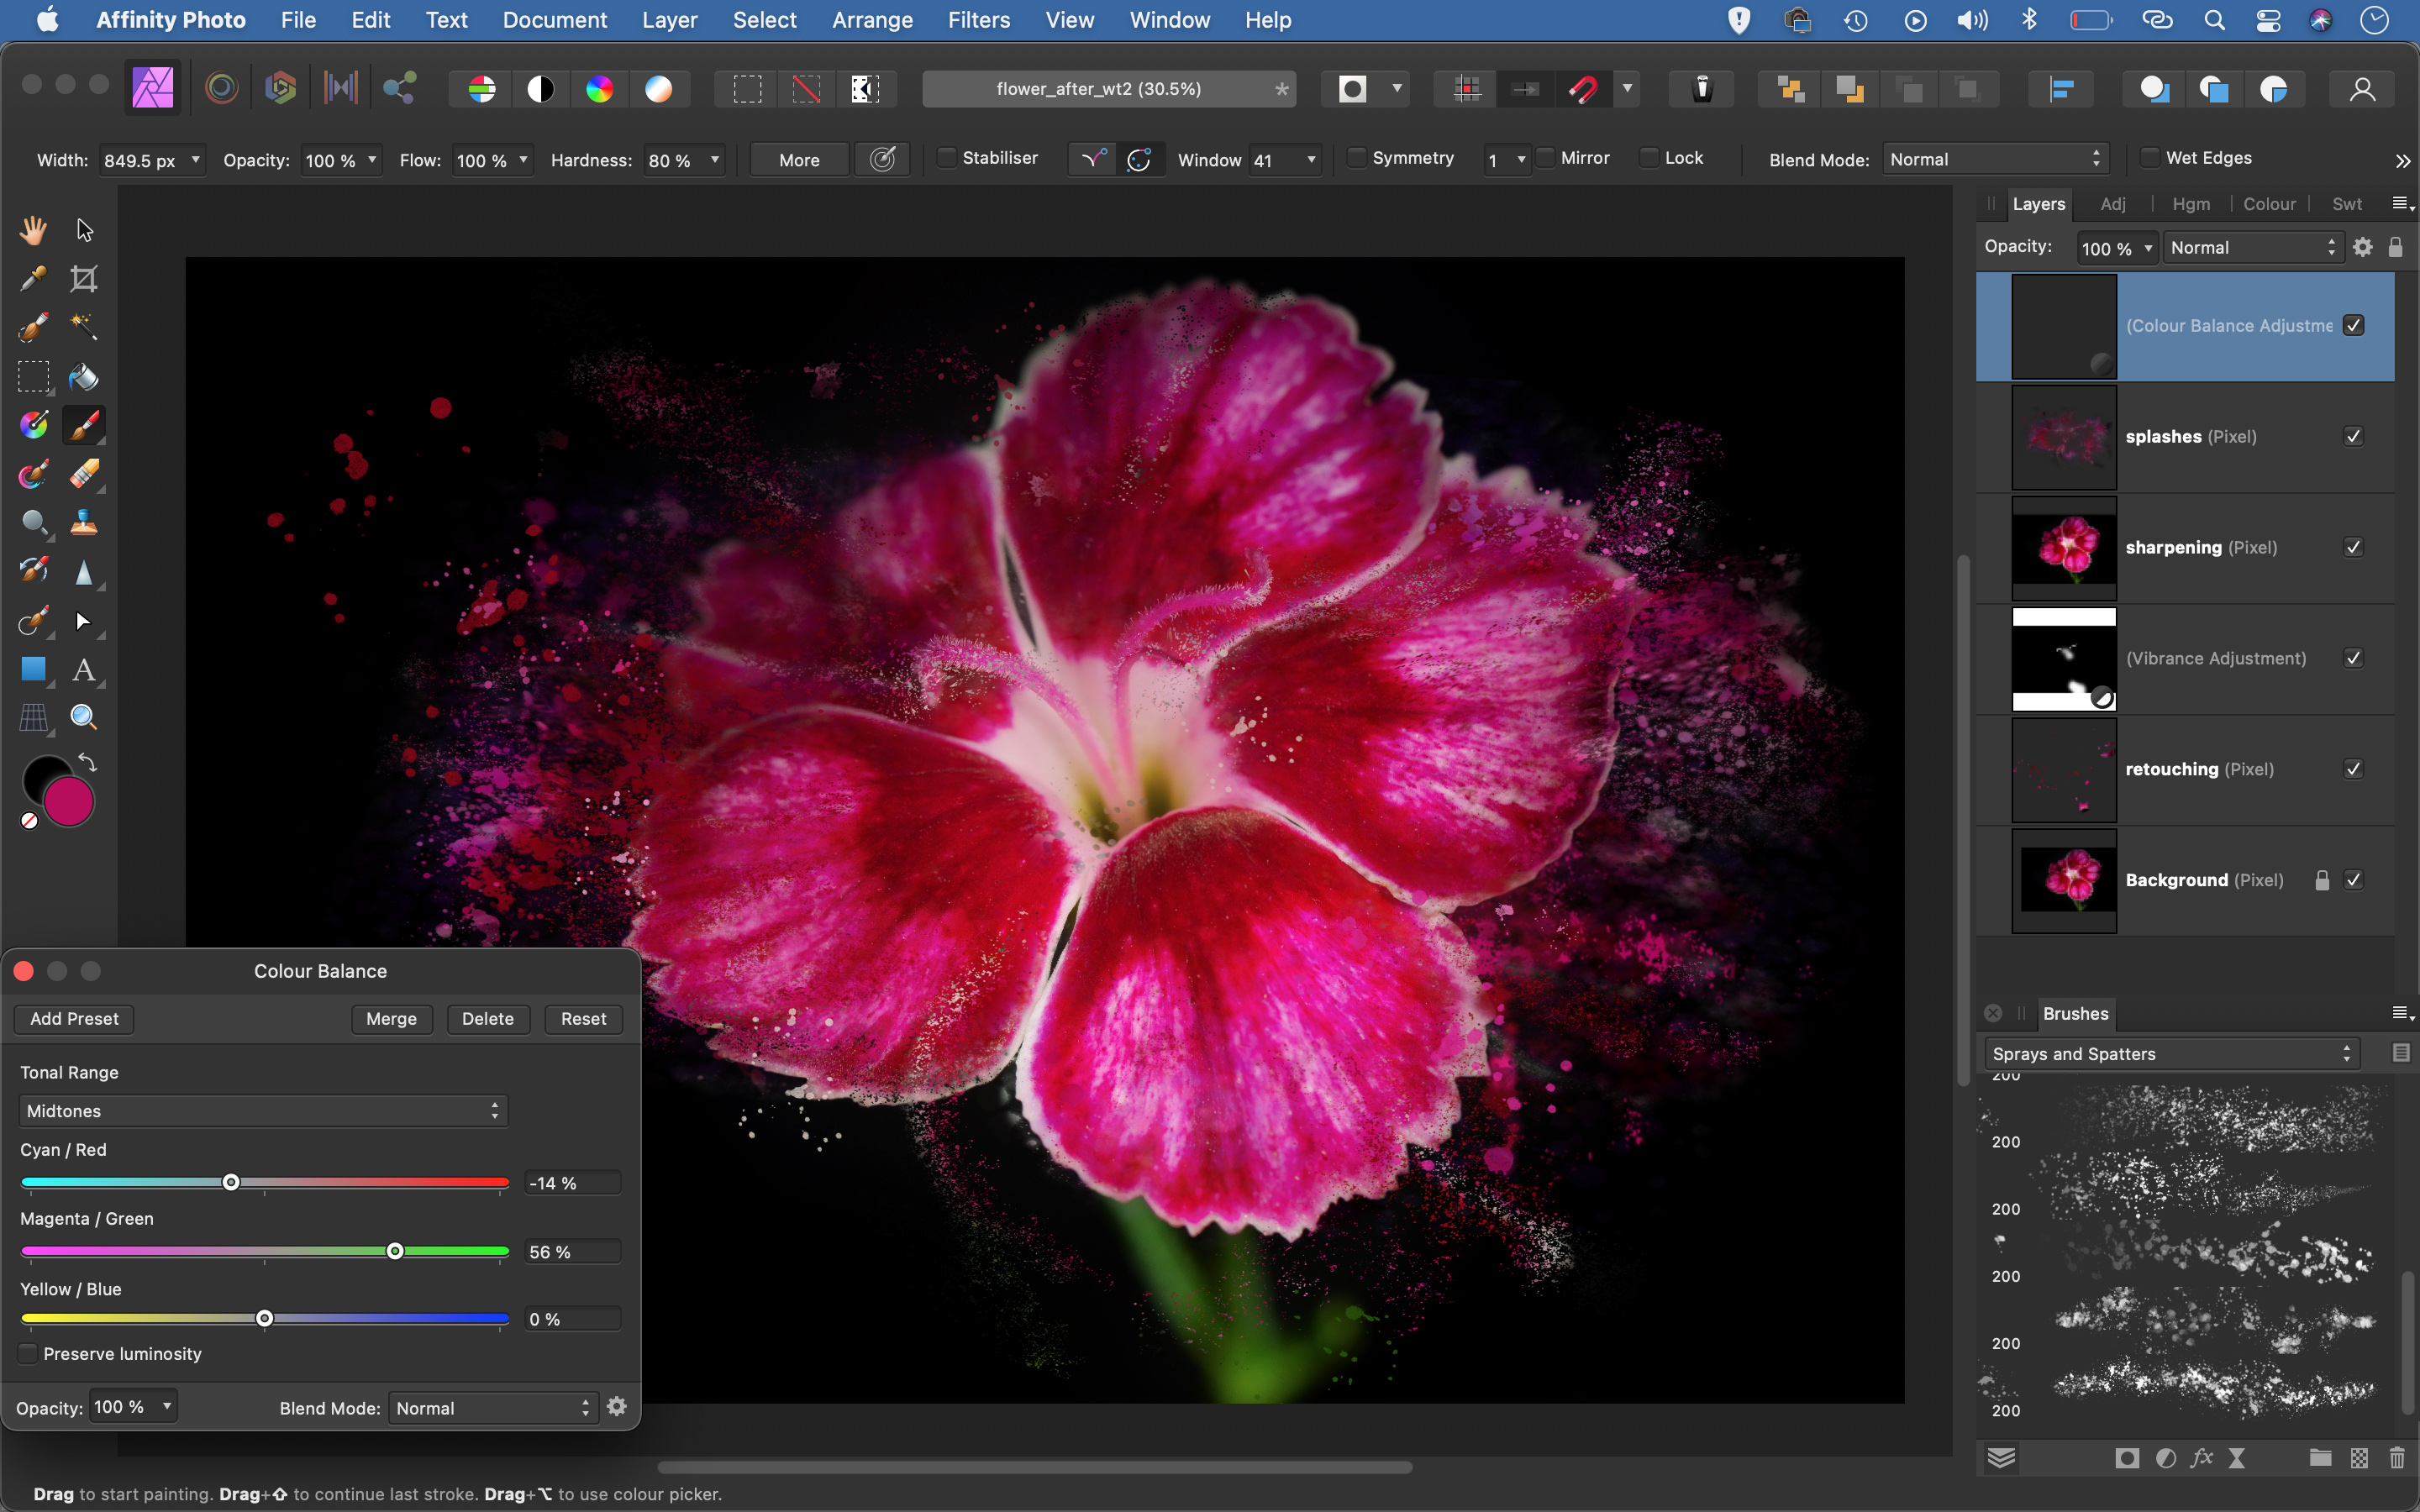
It’s best to shoot flower photos in raw, as the file format captures far more color data than JPEG – this gives you greater headroom when it comes to editing your flower photos. Once opened in Affinity Photo, the raw file appears in the Develop Persona. Here you can perform essential tonal tweaks, then head to the Photo Persona for further enhancements.
Tidy up the petals
Up close, flowers can be surprisingly messy: bits of pollen and other imperfections can distract from their beauty. Thankfully, Affinity Photo offers a host of retouching tools. Use the Inpainting tool to remove distractions, and use the Clone tool to tidy up. Both tools can be set to ‘Current Layer and Below’ in the options, so you can retouch non-destructively on an empty layer.
Make local color boosts
A selective color boost can help your flower photos pop. If you’ve shot in raw format, first boost Saturation and Vibrance in the Develop Persona. Then, in the Photo Persona, add a Vibrance Adjustment Layer, increase Vibrance and Saturation, then click Ctrl/Cmd+I to invert the mask and hide the effect. With the Brush Tool, paint in white to reveal the color boost.
Paint to sharpen
Flower photos almost always benefit from sharpening to crisp up delicate details. The Sharpen Brush is especially useful for flower photos: it lets us paint in sharpening just where it’s required. With flower images, we only really want to sharpen the in-focus areas. Merge a copy of all layers with Ctrl/Cmd+Shift+Alt+E, then paint with the Sharpen Brush set to Unsharp Mask.
Color Balance Adjustments
Sometimes flower photos are dominated by one strong color, like the pinks here. A Color Balance Adjustment Layer helps to shift the colors one way or another. It’s helpful both for removing color casts, and also for toning down dominant colors. Its greatest strength is in the option to balance colors in midtones, shadows and highlights independently of one another.
Creative splash effects
For a creative twist, try adding splashes and scattered colors. Grab the Brush Tool then go to the Brushes Panel (View > Studio > Brushes) and select a brush from the Sprays and Spatters set. Make a new layer, Alt-click to sample colors from the flower, then paint to add drops of color around the edges. Try using the scatter brushes in combination with the Clone Tool to scatter several colors at once.

Take your first steps into flower photography
The secret to good flower photography is timing. If you’re photographing flowers in the wild or in a garden setting, you’ll only get a limited period of weeks, or even days, when the subjects will look their finest. The time of day can also make a big difference. While some flowers open and close with the rhythm of the sun, it’s the wind that’s more of a problem for photographers. As the day warms and things start to move, attempting a sharp shot of a flower outdoors can be a lesson in frustration. The slightest puff of air can send tall flowers knocking like a metronome, Sometimes there’s nothing for it but to make an early start in (relatively) still air.
Flower photography can take on many forms, from scientific close-up studies to sweeping floral scenics. As a result, you can put any lens to good use. A standard zoom gives you plenty of creative options – even more so if it reaches beyond 100mm. Longer focal lengths are easier to compose with,
as they enable you to be more selective with the background. A dedicated macro lens is perfect, too, as you’ll have the option of focusing much closer for flower details.
Depth of field
Depth of field is an important consideration for flower photography. The closer you are to the subject, the less depth of field (or depth of sharpness) you have to work with, so the choice of aperture plays a key role. Narrower apertures, such as f/16 and f/22, increase the depth of field, while wider apertures reduce it. On the face of it, you might think you need a narrow aperture so that everything looks sharp, but the large degree of blur you get from working with a wide aperture can really suit the soft, delicate features of a flower – although you’ll really need to get your focus bang-on.
Whichever route you prefer, it’s usually a good idea to keep away from aperture extremes. Select the narrowest aperture (f/22, say), and details will look soft, despite the increased depth of field. Select the widest option (f/2.8, for example) and in-focus areas might not look as sharp as they do at f/4.
If you’re shooting wide shots of flower beds, the depth of field is less critical, and a mid-range aperture of f/8 may give you all the detail you need. Work in Aperture Priority or Manual mode so that you’re able to choose the aperture yourself, then experiment with the options to get the best result.
'Garden' the shot
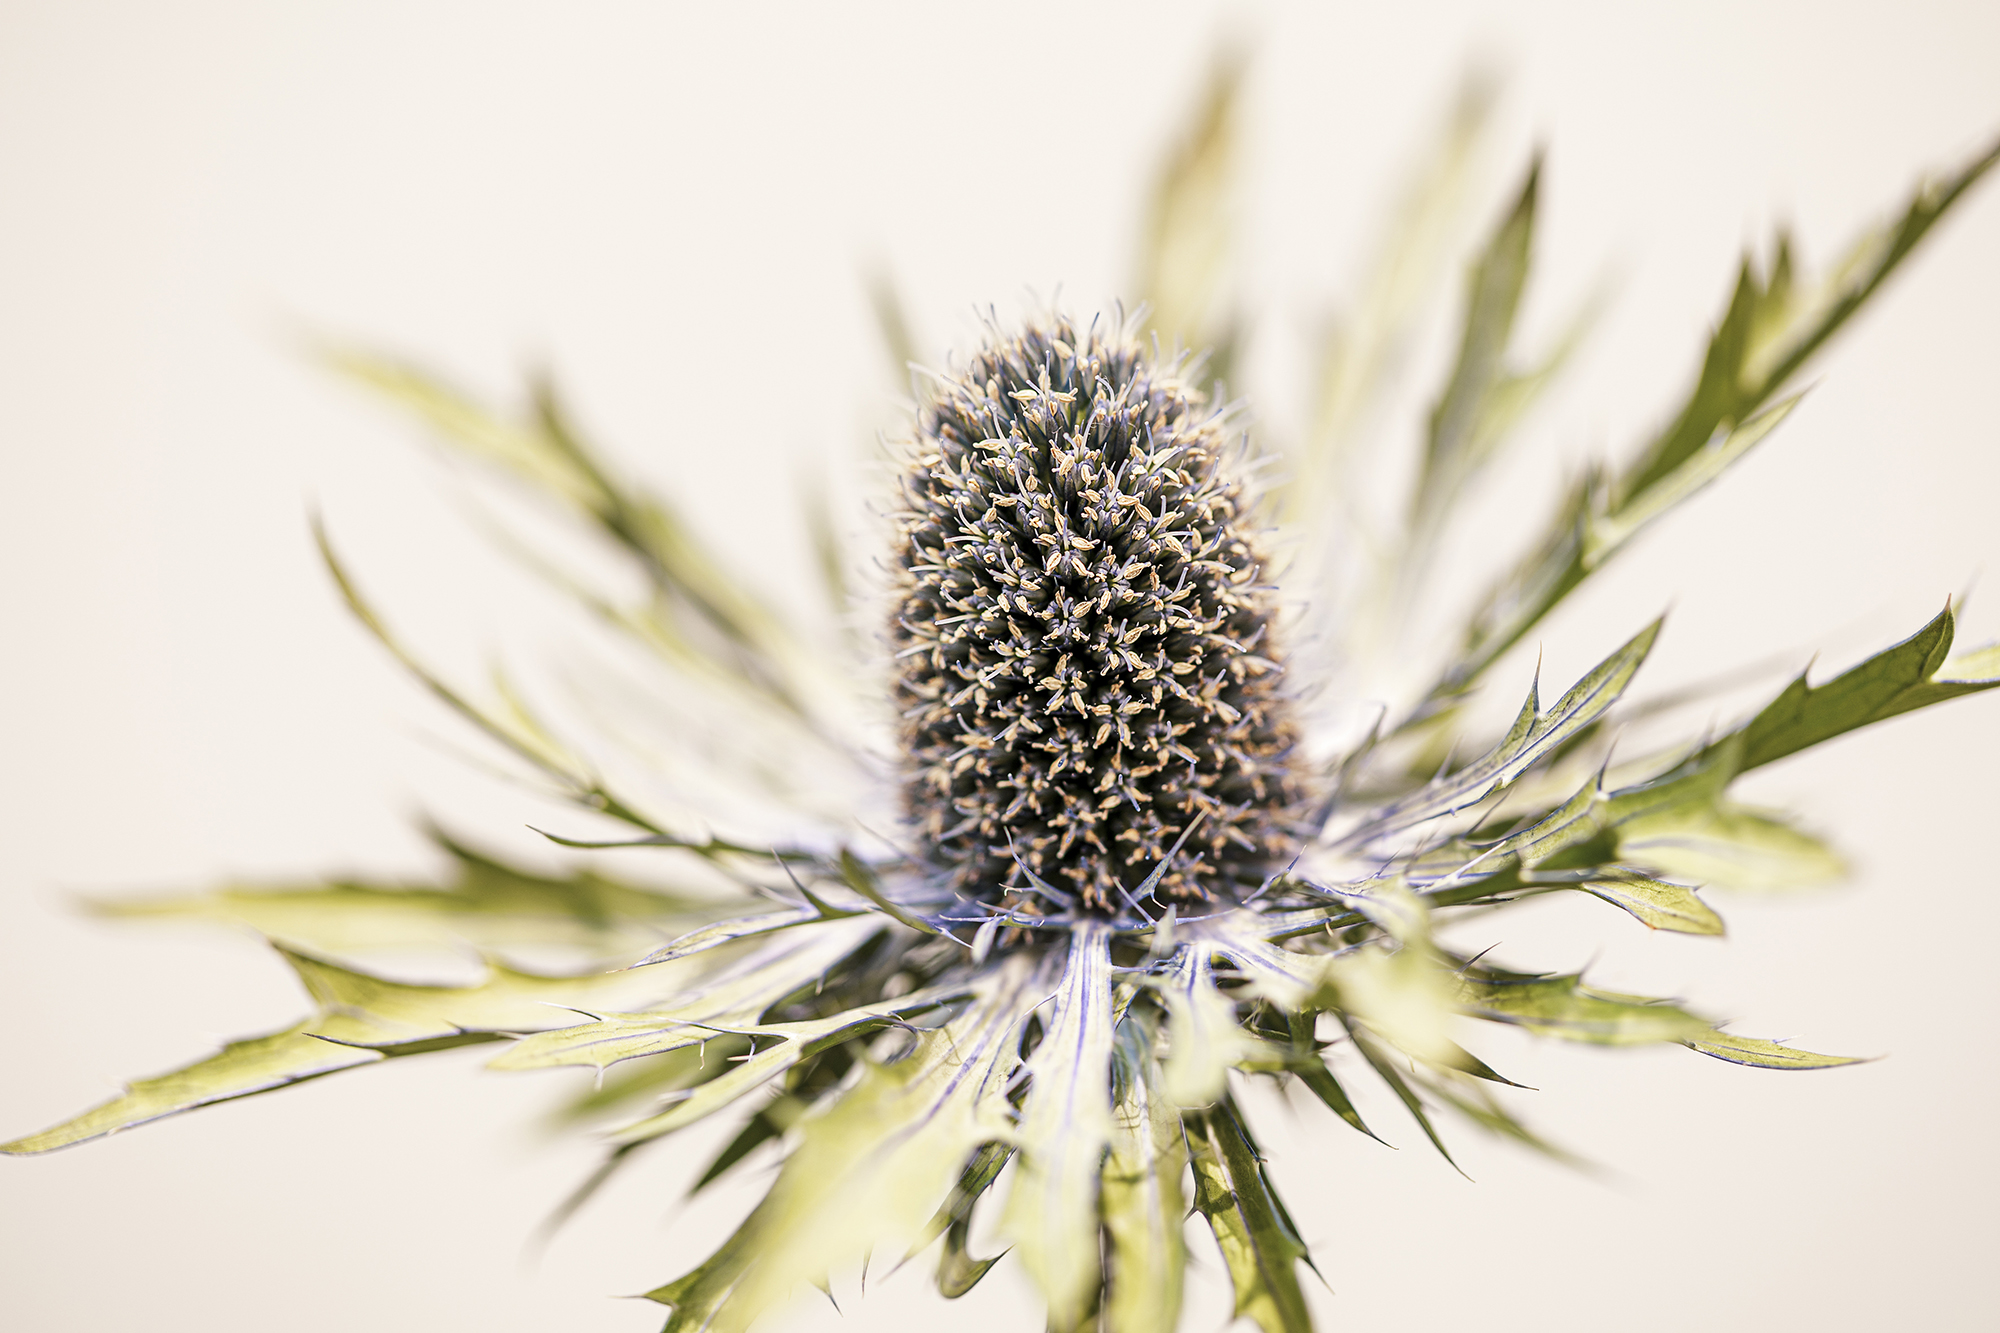
One of the problems of getting eye-to-eye with a flower to take its portrait is that you can end up pulling more of its surroundings into the shot. While this isn’t such a problem when you’re shooting cut flowers in a vase, where you have more control over the composition, it can be an issue when it comes to shooting plants in nature. The great outdoors is a messy place, and other flowers and blades of grass can ruin the background of your perfect specimen.
Using a wide aperture to reduce the depth of field doesn’t always help, as the distractions can continue to be discernible when they’re close to the flower.
‘Gardening’ your shot to conceal or remove the worst offenders is a common practice. We’re not talking about pulling up perfectly healthy plants here, but removing dead leaves and bending blades of grass out of the shot. Some things are hard to miss, and may only be obvious when you magnify the image. Watch out for spider silk, pollen dust and damaged petals, which can go unnoticed when you’re initially framing up a shot.
Shoot a 'group portrait'
While it’s relatively easy to control the elements in a portrait of a single flower, it’s more challenging to do this when you want to include multiple blooms in your shot. The good news is that it’s not always so important to seek out subjects that are in perfect condition, as it’s the overall impact that counts.
Formal gardens are a great place to get to grips with ‘flowerscapes’: they offer ready-made arrangements with an appealing blend of colors, textures
and patterns. The challenge is to frame them in a way that produces an equally compelling two-dimensional image.
One easy technique is to fill the frame into the corners, so that the flower bed appears to stretch beyond the image. Standing farther away and zooming in with a relatively long focal length allows you to ‘compress’ the scene, so that the flowers look more densely packed. Use a small(ish) aperture, such as f/8 or f/11, to ensure that there’s enough depth of field to bring plenty of the scene into focus, and check the frame for distracting patches of bare earth, or for very bright or dark elements that may draw the eye when viewers are looking at your picture.
Control the light
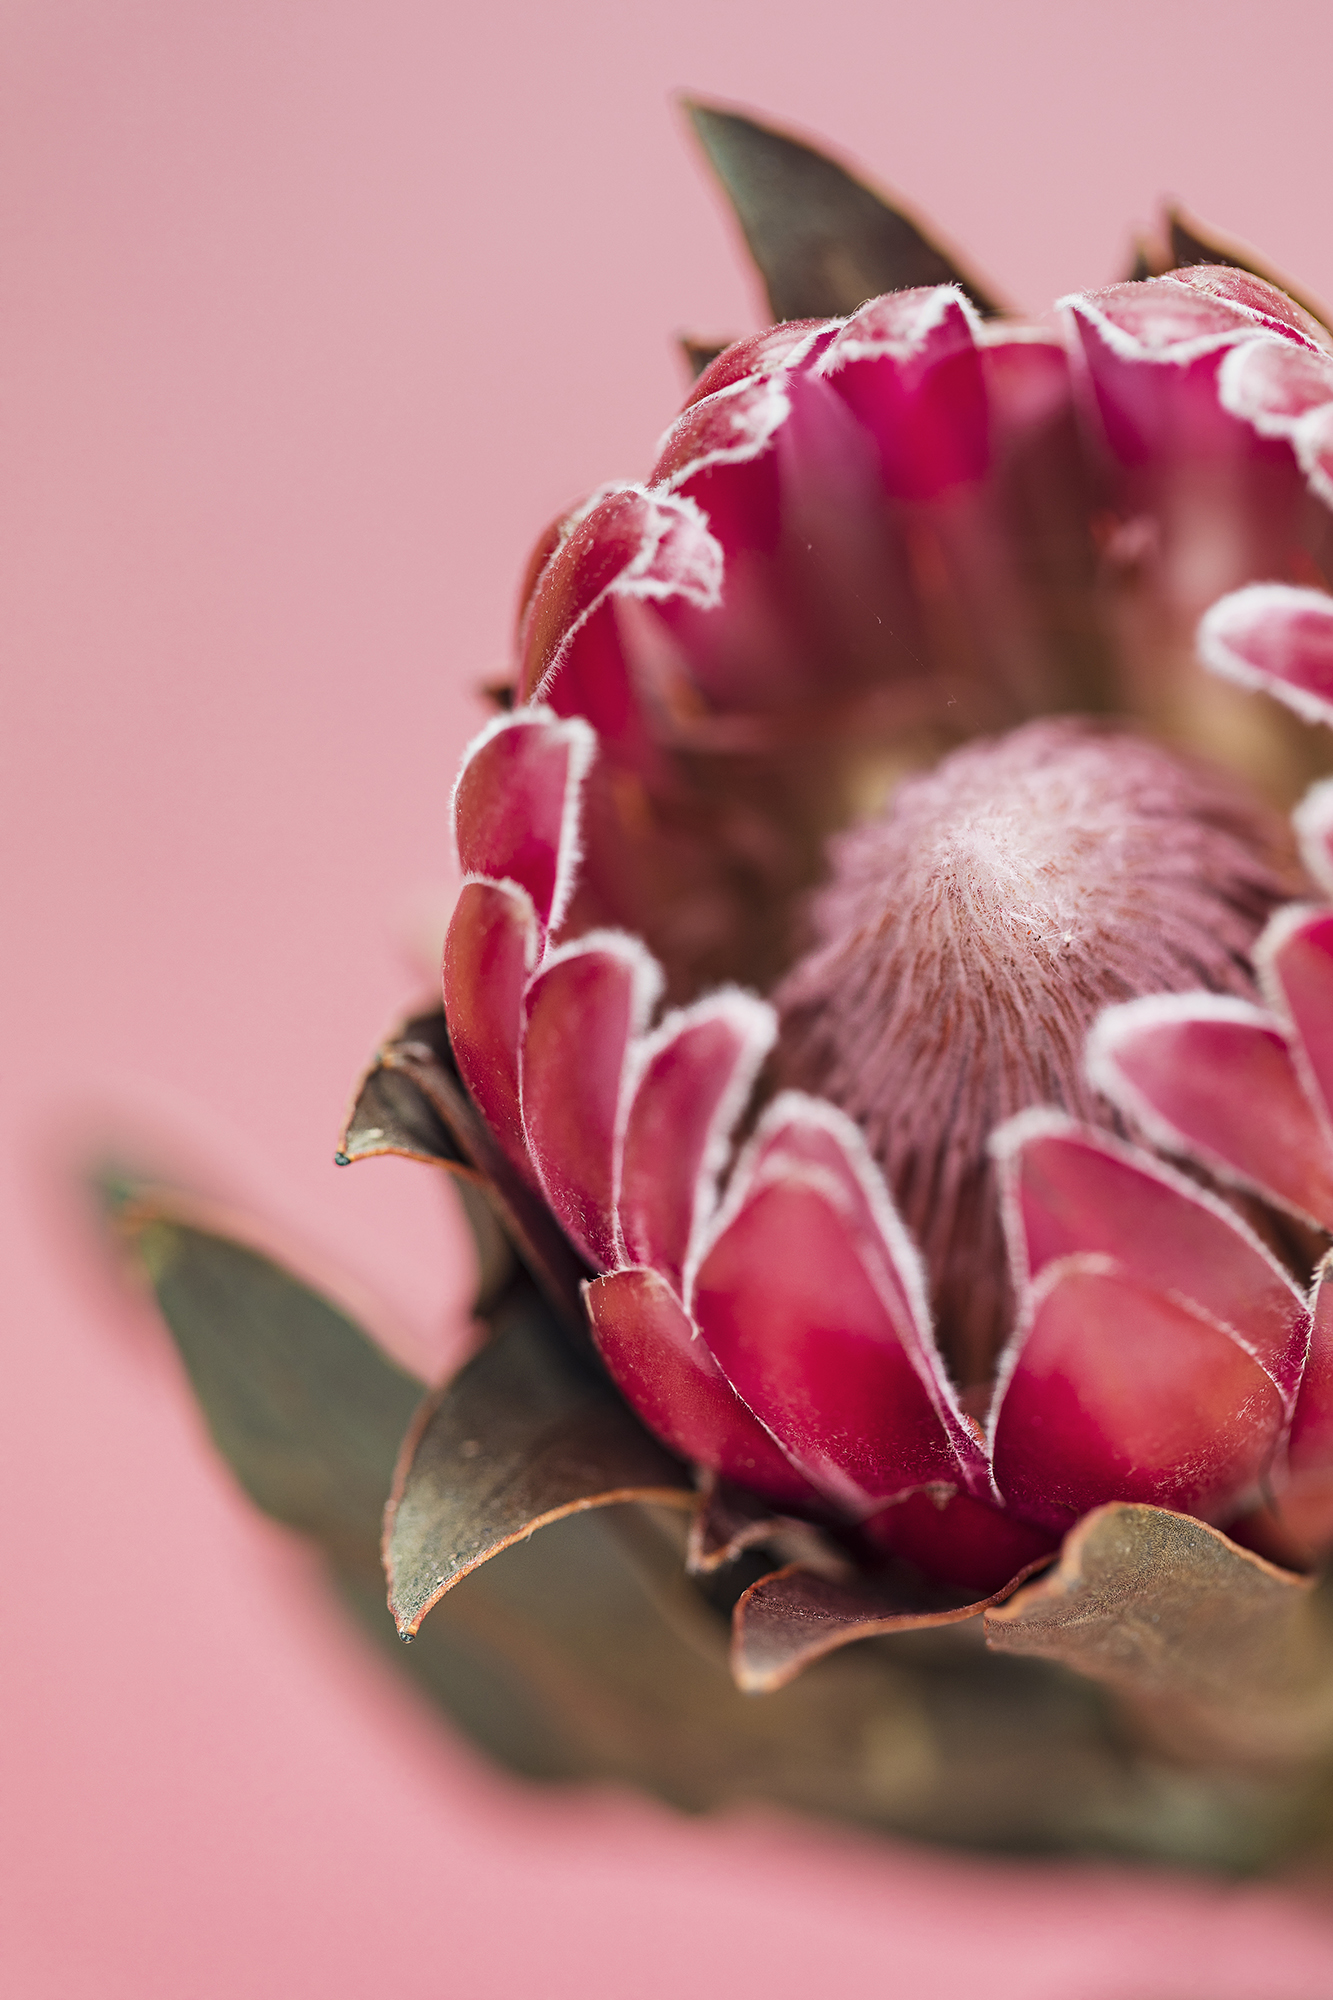
It’s not easy to take flattering photos of people in the middle of a bright, blue-sky day, and it’s just the same with flowers. High-contrast light can be employed effectively to backlight translucent petals, but to bring out more detail, it’s better to shoot in the soft light of an overcast day.
There are some ways in which the existing light can be enhanced. A simple reflector can be used to direct light into the nooks and crannies of a flower. A sheet of white material is easy to carry, folded up in the pocket of a camera bag, although a more rigid, fold-out circular reflector is easier to manage if you’re shooting handheld. A burst of fill-in flash can also have a similar effect. A flashgun that you can use remotely is more useful than a built-in flash unit, as you’ll be able to hold it in just the right position. A flashgun that gives you a high-speed sync option means that you’ll be able to use it in bright sunlight, too.
If you’re keen on close-up flower shots, a diffuser can be handy. Hold it over the subject to soften hard light, giving you flattering illumination regardless of the time of day. Finally, a polarizing filter is good to have for those moments where you want to reduce the shine on glossy petals and leaves, and to saturate the colors.
Floral details
Close-up shots of smaller details can have just as much impact as epic views of a field of flowers in full bloom. To get frame-filling shots, you’ll need a lens with a macro focusing function, or a dedicated macro lens itself. You can also make a normal lens focus closer by using a close-up diopter (which screws to the front
of the lens like a filter) or extension tubes, which fit between the lens and the camera.
When it comes to composition, keep it simple with basic shapes and lines, and use the rule of thirds as a guide to where to place the most important details. Look for ways in which you can combine details that display contrasting or complementary textures and colors, to help produce a more dynamic end result.
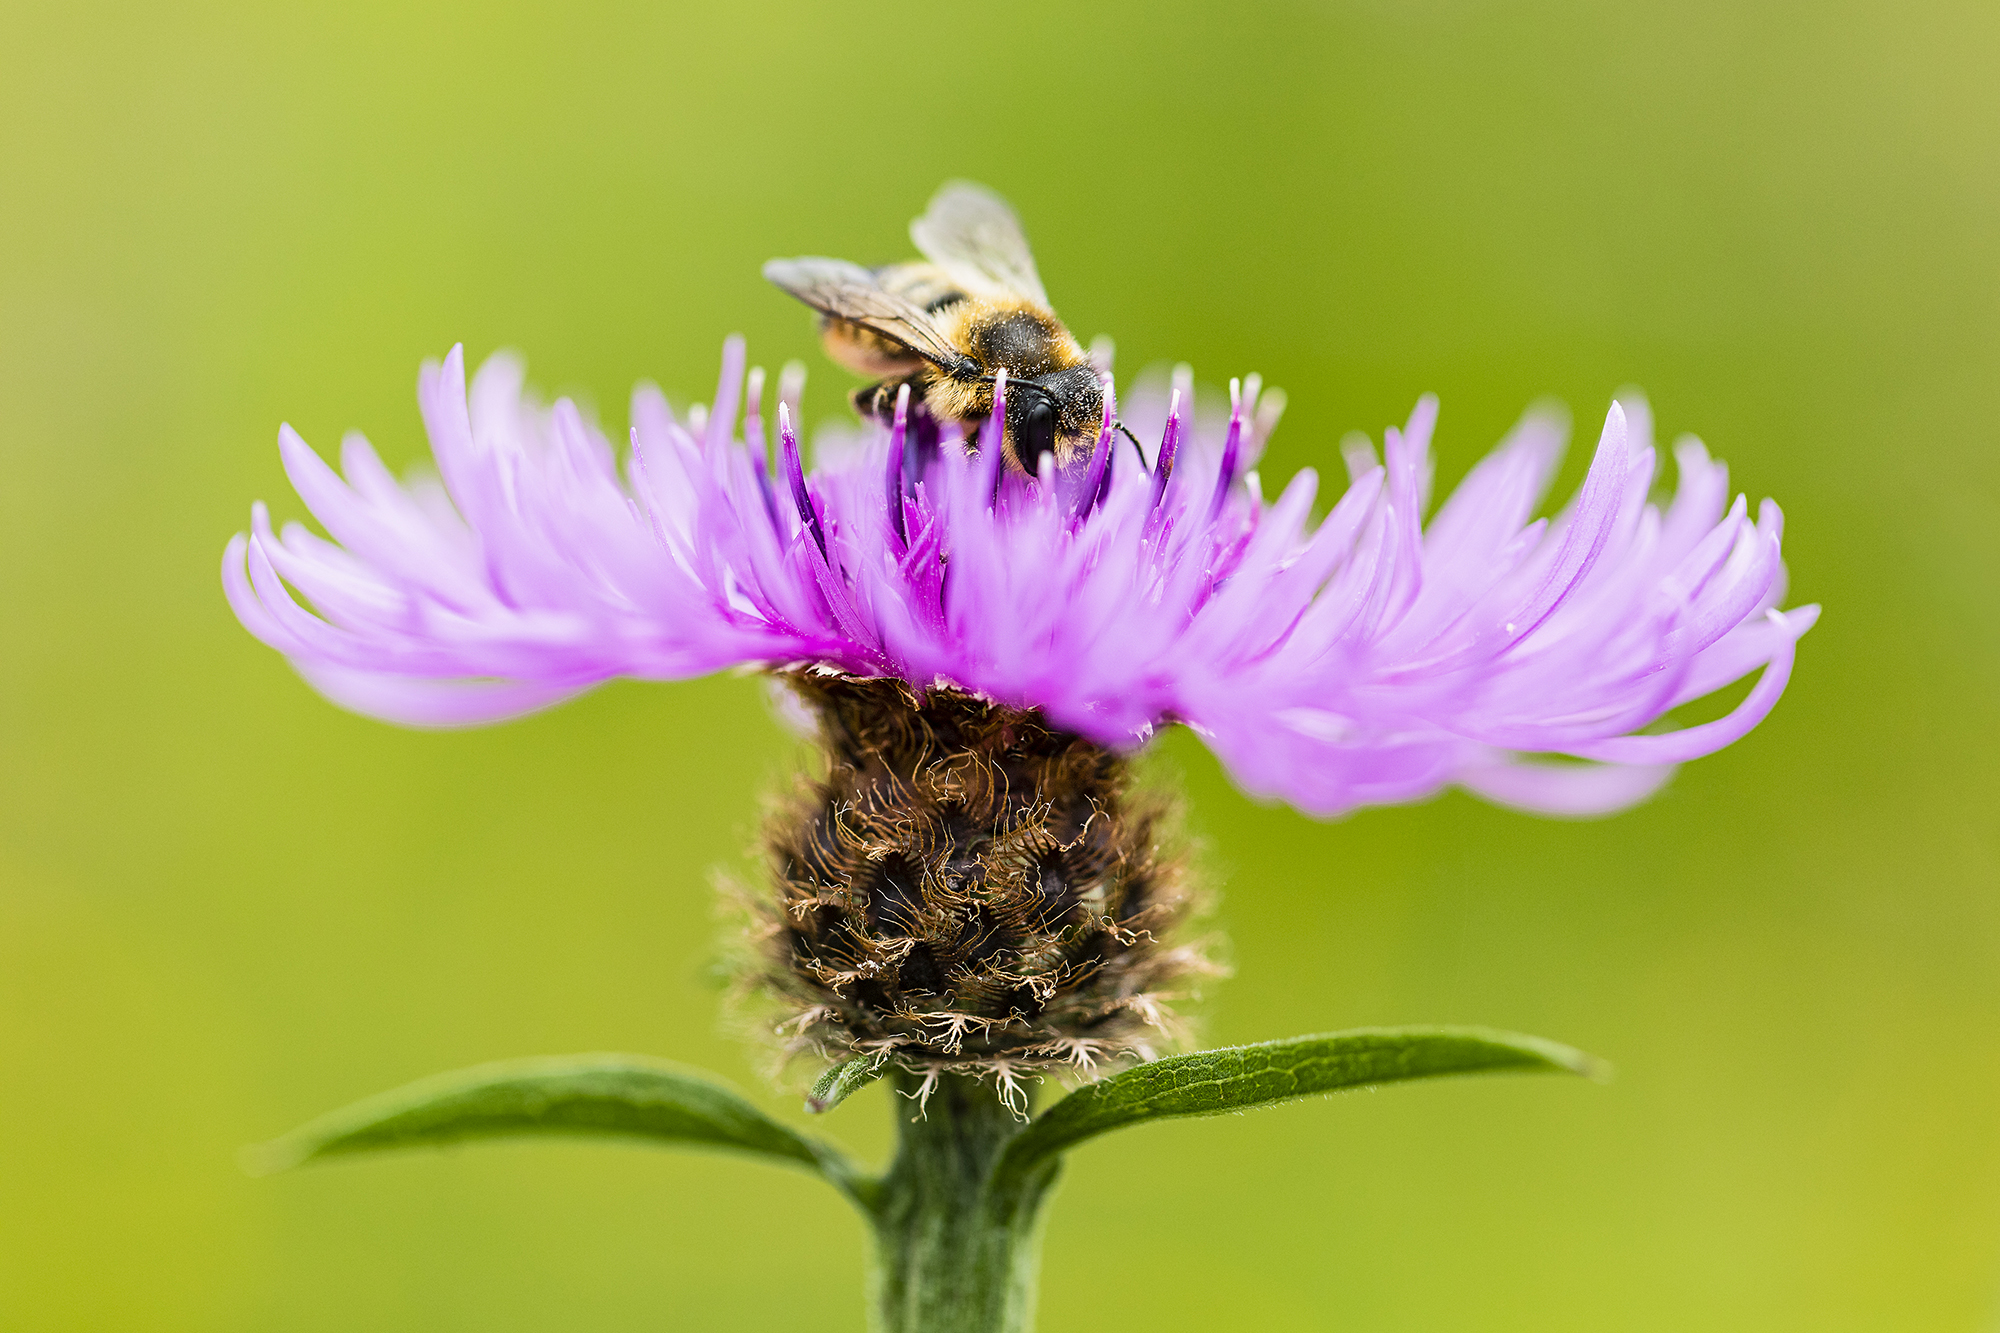
Flower photography tips
1. Experiment with the aperture
Some shots are more successful when more detail is recorded via a narrow aperture, such as f/16. Others have more impact when a wide aperture (like f/4) is used to give bags of blur. Try both to see which suits the subject better.
2. Use soft light
To reveal delicate features in flowers, shoot with soft, diffuse lighting. Bright, overcast days are great for this, but you can use reflectors and diffusers to enhance the existing light. Capturing a ‘flat’ image gives you more freedom to manipulate the contrast and colors in software.
3. Avoid breezy days
The slightest breath of wind can make tall-stemmed blooms bounce around and send a ripple across petals and leaves. Early mornings, when the air is cooler and more still, are usually more productive than later in the day.
4. Do some gardening
Once you’ve got past the initial delight that comes with finding the best specimen in the perfect light, be prepared to fine-tune the scene by removing dead leaves and gently moving distracting blades of grass and other plants.
5. Use the RGB histogram
This will show you if you’re going to lose textural detail in oversaturated petals. Shooting in raw will give you more flexibility to remedy any remaining color problems later in software.
Reader challenge: Flower power
This month, we want you to enter your best flower shot to be in with a chance of winning a copy of Affinity Photo. No matter whether this floral image features a single bloom, a bunch of them, or it an entire bed or field.
The creative approaches you can take are as wide and varied as the subject of this month’s challenge. You could go fun or fine-art portrait, color or black and white, close-up or far out, highly detailed or highly defocused. Perhaps you want to use a flower photo as the starting point in a more elaborate montage or other piece of digital art. Or maybe you’d prefer to try a creative in-camera treatment, such as motion blur or a zoom burst.
To enter your best flower image (one per reader, please), email your entry to digitalcamera@futurenet.com, putting ‘Flower Challenge’ in the subject line. Alternatively, go to our Facebook page at www.facebook.com/digitalcameraworld, look for the ‘Flower Challenge’ post, and upload your entry into the feed. By entering your image into this competition, you confirm that you own the copyright to the image, and agree that Digital Camera can publish your image in relation to this competition. You retain full copyright of your image, and will be credited if it is published in the magazine.
The closing date is 19 August 2021. The winner will receive a copy of Serif Affinity Photo for Windows or macOS. Good luck!
Get the Digital Camera World Newsletter
The best camera deals, reviews, product advice, and unmissable photography news, direct to your inbox!
Digital Camera World is one of the leading authorities on camera and photography news, reviews, techniques, tutorials, comparisons, deals and industry analysis. The site doesn't just specialize in cameras, but all aspects of photography, videography and imaging – including camera phones, gimbals, lenses, lighting, editing software, filters, tripods, laptops, printers, photo books, desks, binoculars and more.
Whether you're using, looking to buy or trying to get the most out of a compact camera, action camera, camera drone, cinema camera, beginner camera or professional camera, Digital Camera World has a roster of experts with combined experience of over 100 years when it comes to cameras, photography and imaging.

