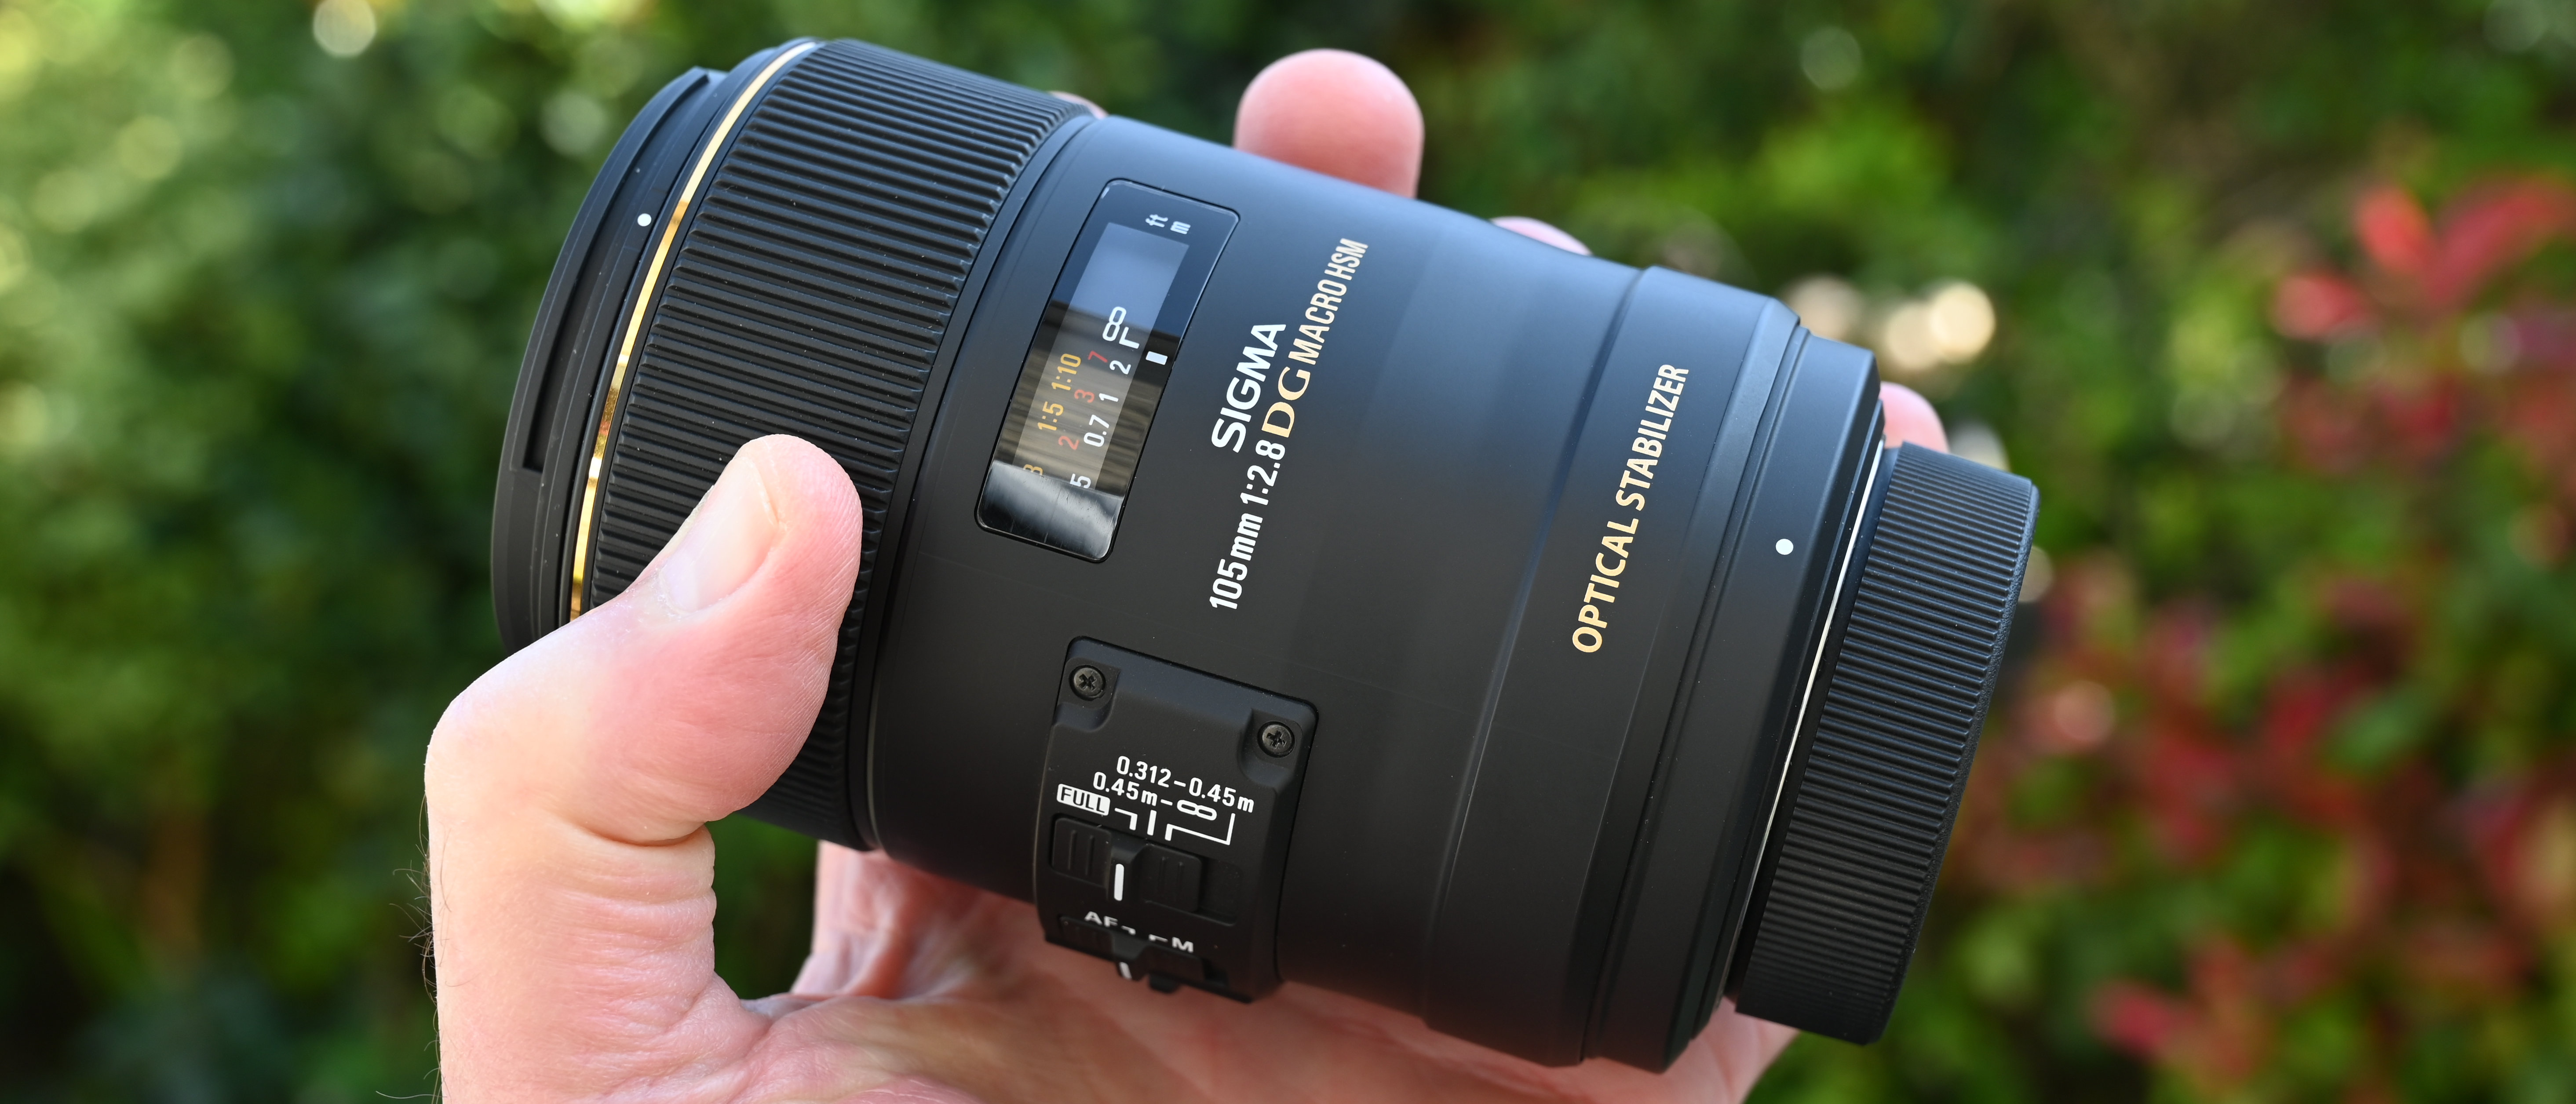
Capture creative depth-of-field in your photos
Learn to experiment with range of focus to control subject environment and context
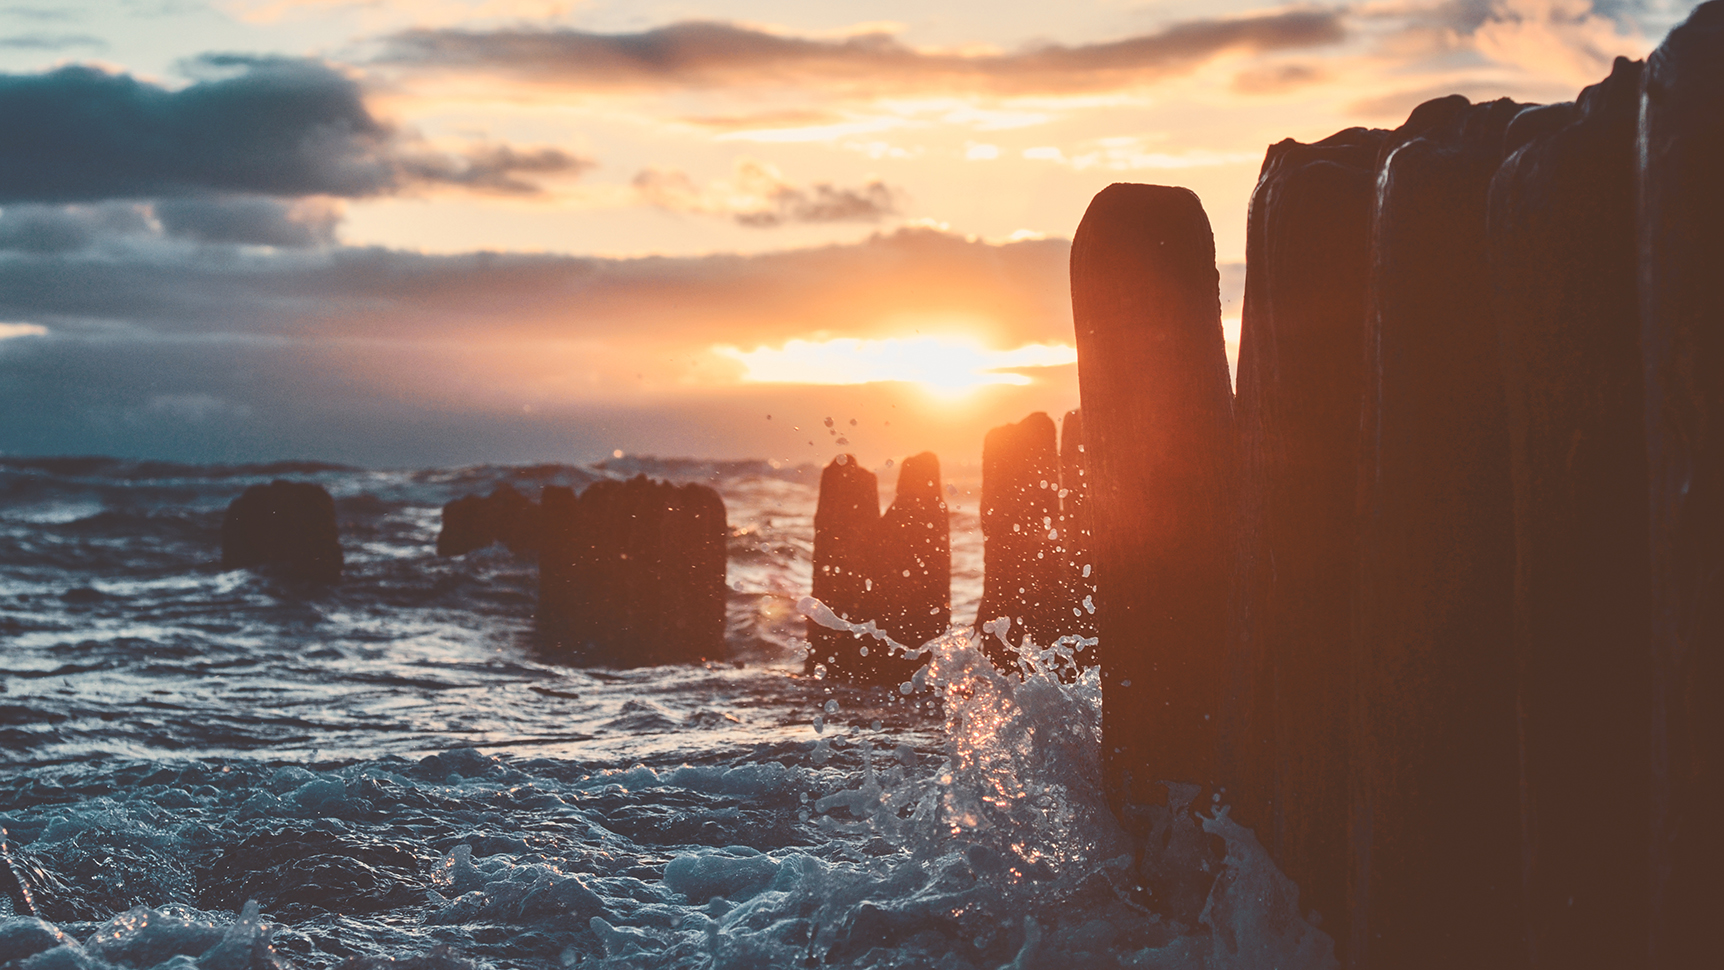
Above © Florian Kunde
Introduction
Controlling depth-of-field (DOF) is one of the first skills a photographer has to master. While it can be seen as simply a technical side effect of the necessity to control the amount of light entering the lens, via the use of an aperture, the range of focus within an image has a direct artistic impact on the effectiveness of the final frame.
It is essential therefore that the user of a camera understands how DOF alters the atmosphere of an image and how it can be used to direct the attention of the viewer.
Once these basics have been learned, it is possible to explore the vast opportunities for creative imagery that variable focus offers, so that professional trends in style can be applied.
Common errors that beginners often make, centre around the point of focus and how this relates to overall DOF across the composition.
The often overlooked contributor to DOF amongst these new photographers, is where in the frame the focus point is placed - if this is closer in the foreground, less of the far background will be covered, whereas focussing in the centre of the frame may mean neither foreground or background is rendered sharp enough.
However, this complex relationship between f/stop and focussing distance allows many approaches to every scene and subject, generating many ‘looks’ and freedom for experimentation.
Get the Digital Camera World Newsletter
The best camera deals, reviews, product advice, and unmissable photography news, direct to your inbox!
Here we will explore the many facets of DOF and how we can assess each subject to find the most appropriate and creative way to focus the scene.
While the mathematics behind DOF is complex, with practise it is possible to predict how composition, focal length and aperture can be combined to either restrict or extend context, defining where the viewer looks first and how they perceive the subject as part of its surroundings.
We will examine how focus can be used artistically in each of the main genres of photography, by overcoming common challenges and using a lack of fine detail to encourage an emotional connection with our audience.
Craft unique landscapes
Landscape photography is most often associated with the use of smaller aperture settings, in order to maximise depth-of-field as much as possible, for front to back sharpness.
This is an understandable approach, as often there is attractive detail in both the close foreground and far background, without which a scene can lack drama and impact.
The standard strategy to landscape and scenic imagery is to employ an f/stop of f/8 or above and use hyperfocal distance focussing, to accurately calculate how best to cover the whole frame with the zone of focus.
Read more: Why do small apertures have large f-numbers?
This tactic is not without its challenges, since the use of very small apertures can introduce a loss of fine detail, through the effect of diffraction, meaning the photographer must often have to find a suitable compromise between detail rendered through adequate DOF and detail lost through lens-induced blurring.
There are times therefore, when aiming for maximum focus depth is not the best approach and working with creative blurring is a better route to memorable, high quality photographs.
The effect of restricting focus in scenics is not a new style - in fact, on images captured using large format equipment, shallow DOF can be unavoidable, even at the minimum aperture settings.
Once these basics have been learned, it is possible to explore the vast opportunities for creative imagery that variable focus offers
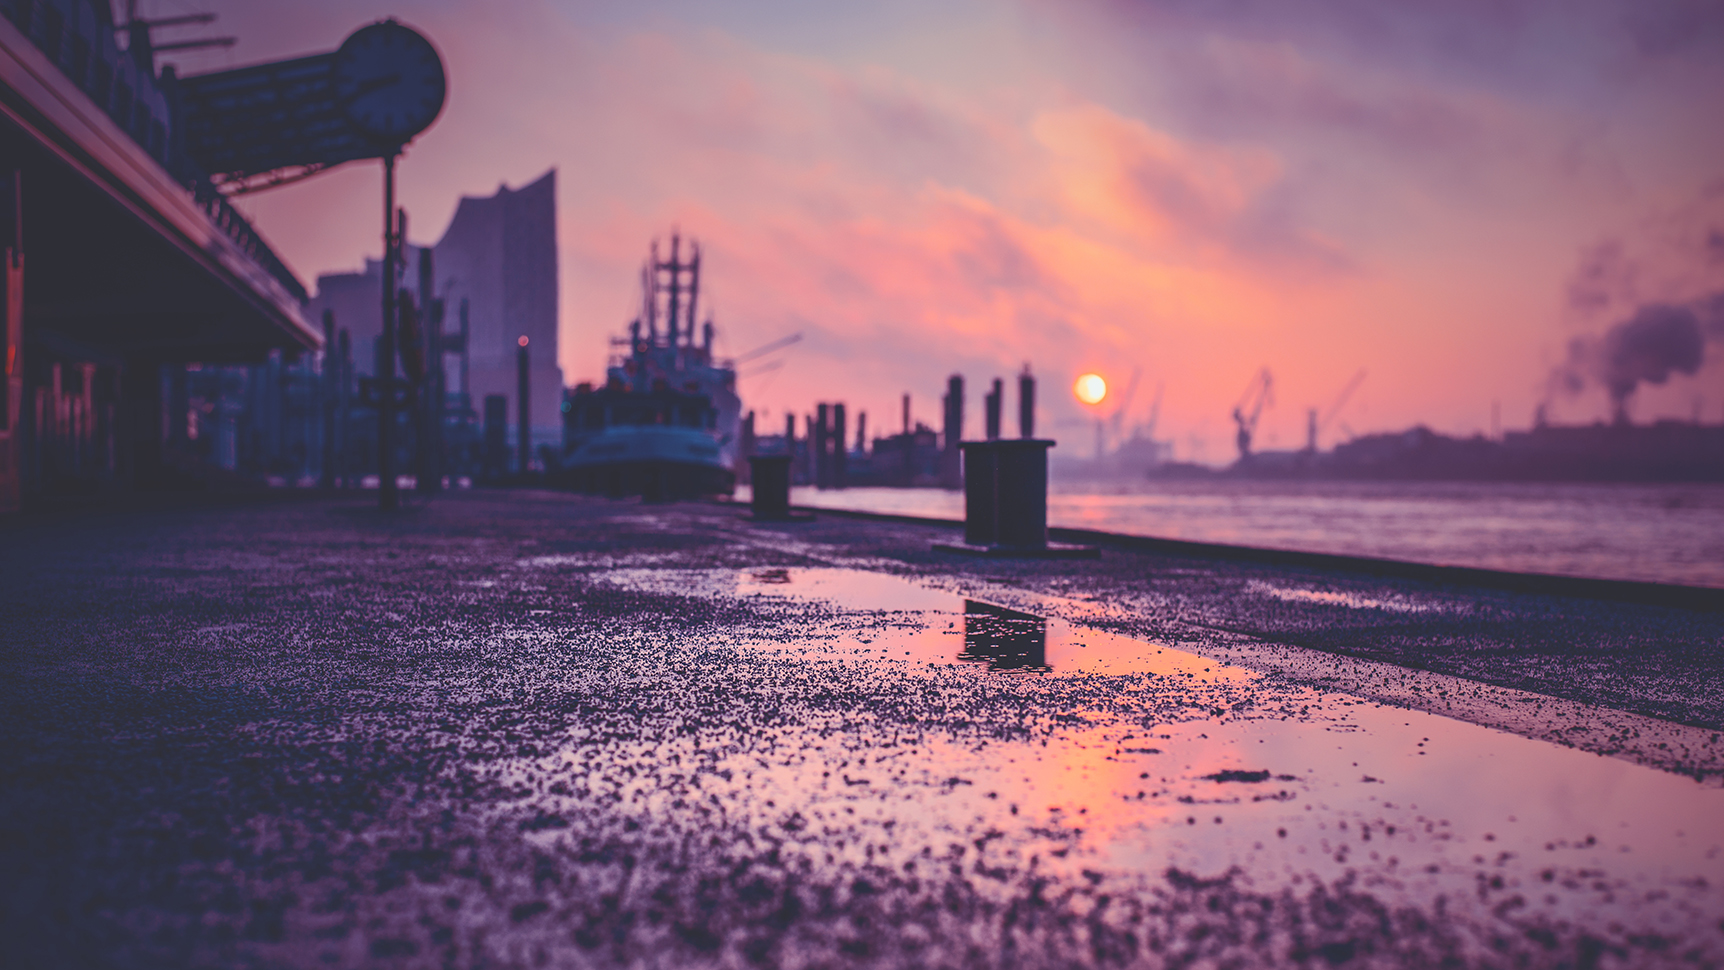
Although wider focal lengths tend to be employed for landscapes, showing a broad view of a location, narrower focus ranges can still be used to pick out individual areas of the fame, which deserve a greater share of the viewer’s attention.
Sometimes reducing extreme foreground and background sharpness, so that only an impression of features in these regions is conveyed, a fresher, more thought-provoking composition can be produced. Try shooting at f/2.8 to place extra emphasis on texture.
By combining this with a low perspective and wide lens, fine detail can be shown in the context of the scene as a whole, free from competing details in the background.
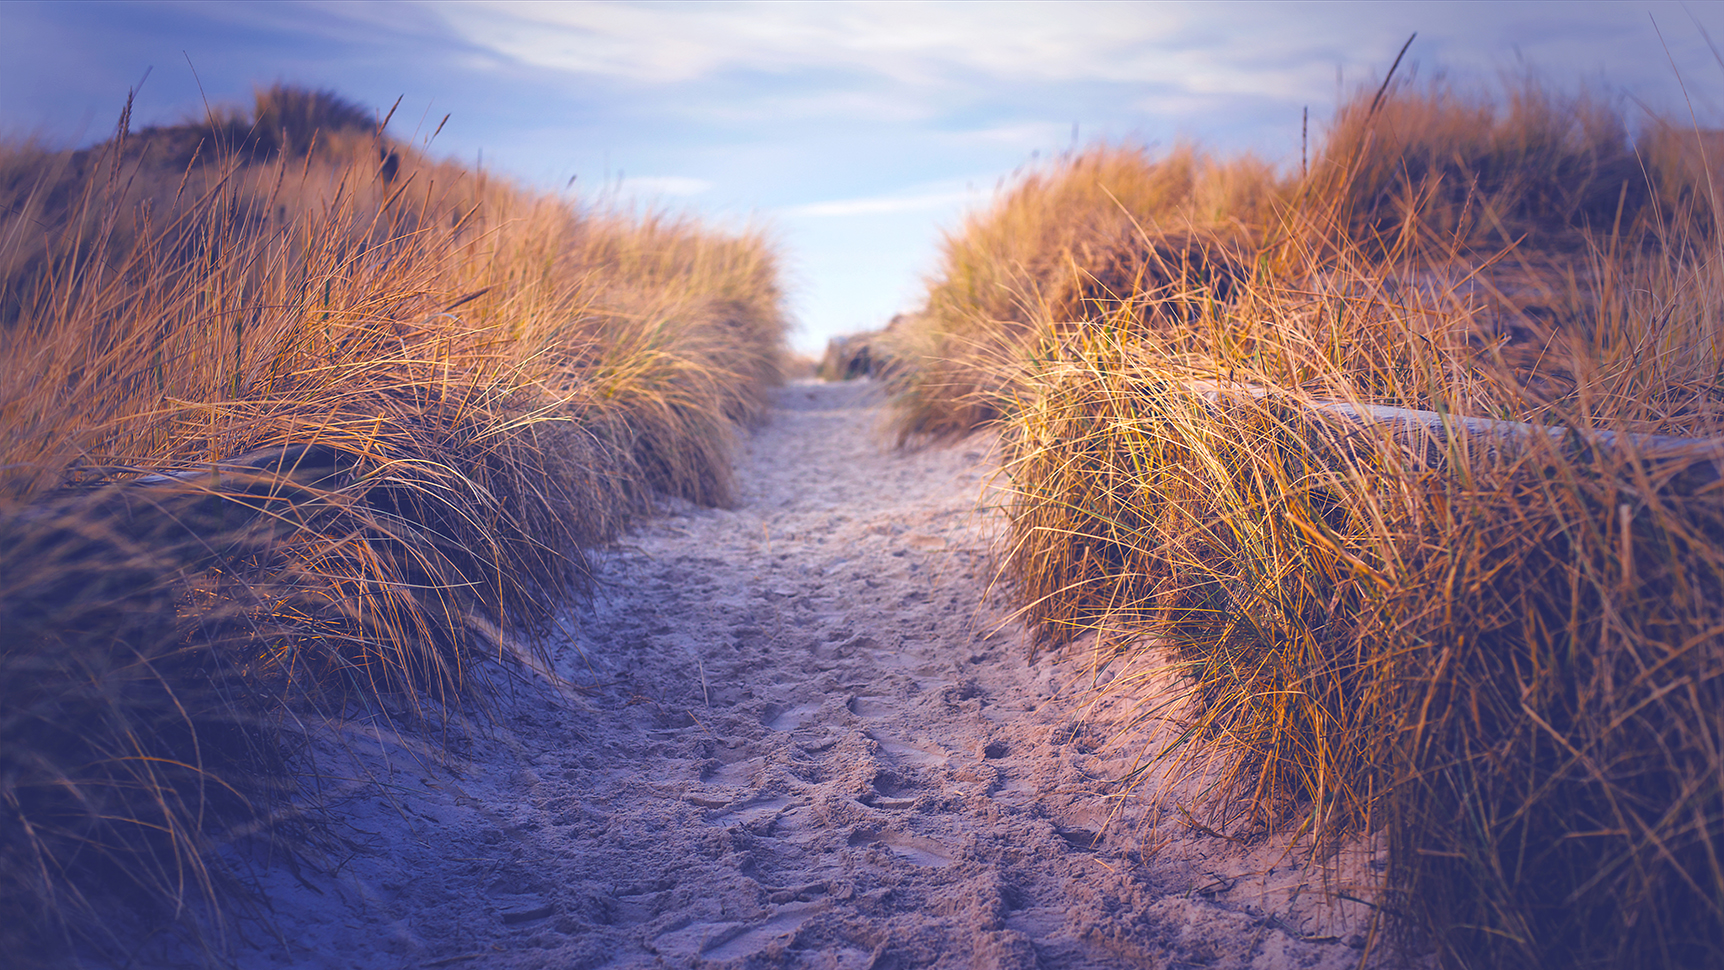
Above © Florian Kunde
Unlike portraits, landscapes very rarely have a single subject which is small enough and close enough to the camera to effectively stand out against a blurred background, whilst filling the frame.
When employing shallow DOF in a landscape, the main aim is to convey smaller, finer details of the scene, while showing it in the wider context of the environment. Appropriate choice of focal length and aperture is central to making the effect a beneficial addition to an image.
When shooting at a length of wider than 35mm, look to shoot at f/2.8 or greater, while using the closest end of the focussing distance scale. This will restrict focus to the foreground.
Alternatively find a strong detail element of the scene, such as an area of colourful vegetation or a tree and use a 100mm lens for longer, at an aperture of f/2.8 to f/4.
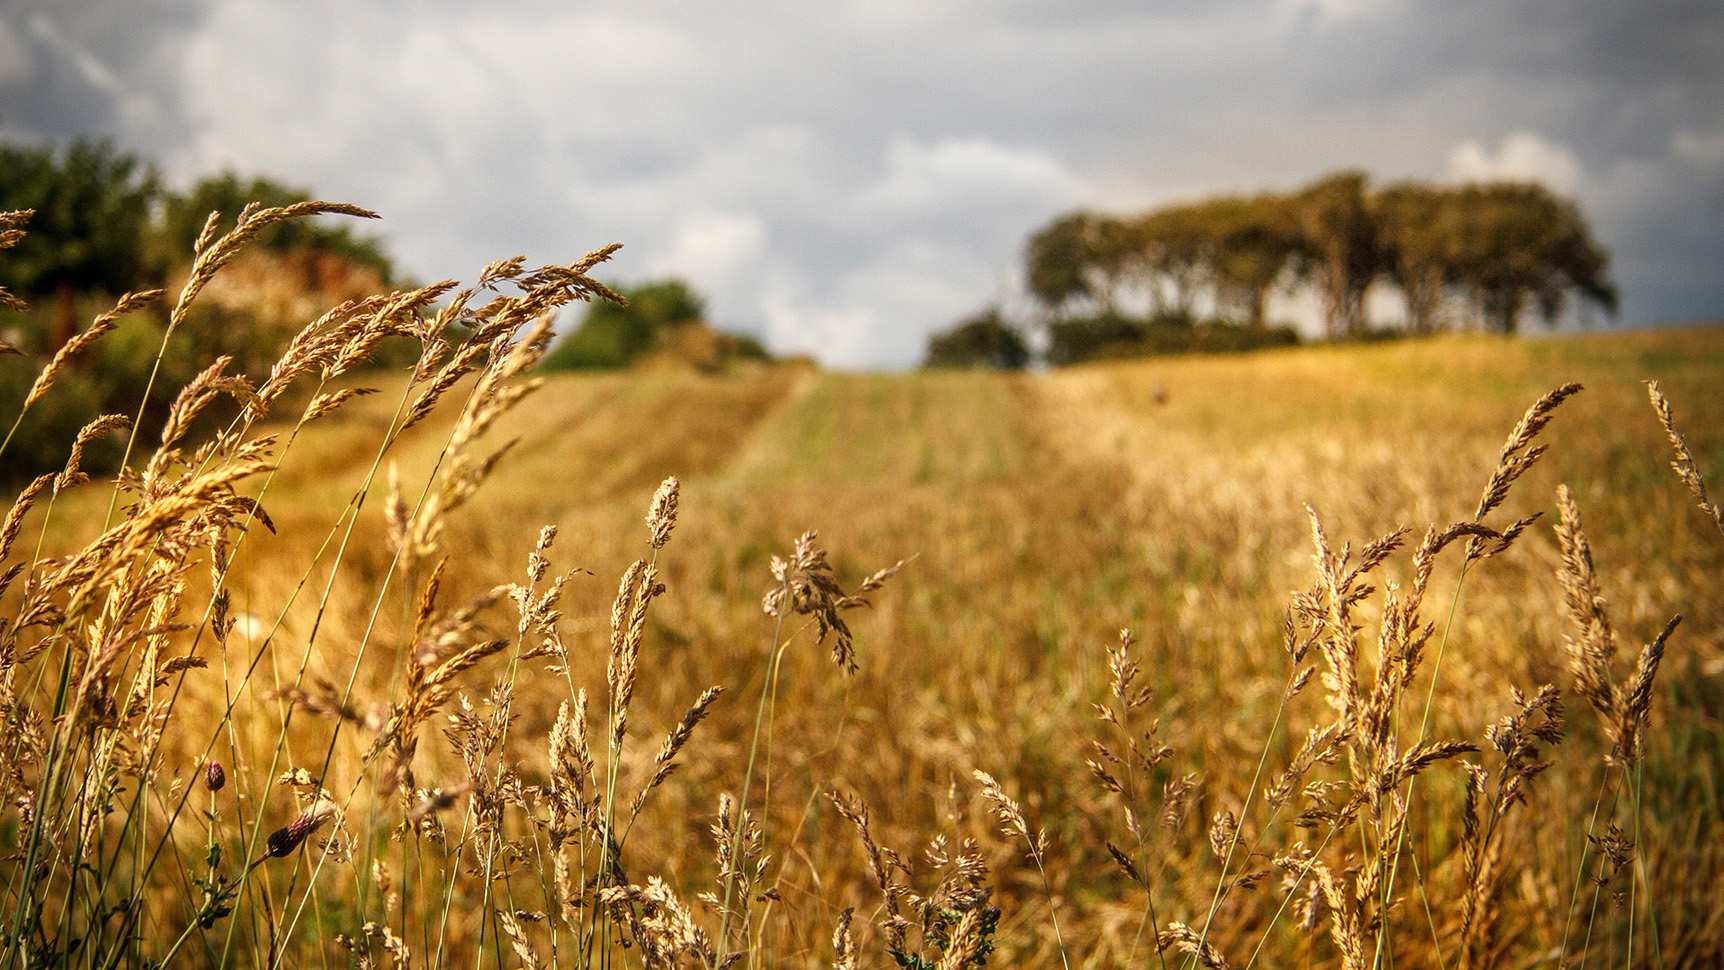
Another popular technique is to shoot into the light, which generates a strong glow when using large apertures. This is especially effective in the morning or evening, when the sun is at a lower angle and can be used to blend colour along the horizon with the sky.
This has the effect of rendering scene elements as impressionist-like shapes, which give the viewer a sense of the nature of the location, without detracting from the areas close to the camera.
Master DOF for portraits
Shallow DOF is married to the portrait genre, with diffusing backgrounds in shots of people, using wide apertures, representing one of the first techniques we learn as new photographers.
The critical components of a portrait photo are the eyes, so any technique which limits attention to that area of the frame is of benefit. How we use selective focus to this end is variable however, with much room for artistic input.
Read more: How to use the Aperture Priority mode
Altering the relative angle of the camera to the subject can greatly change the appearance of the final frame, as will the working distance between the lens and the subject.
One creative option is to embrace the emotional power of the eyes and isolate these using a tighter crop and ‘super’ shallow DOF.
Make use of a fast prime, with a maximum aperture of at least f/1.8, or even employ a macro lens, to use the very close focussing capabilities for sharpness that falls-off after only a few millimetres.
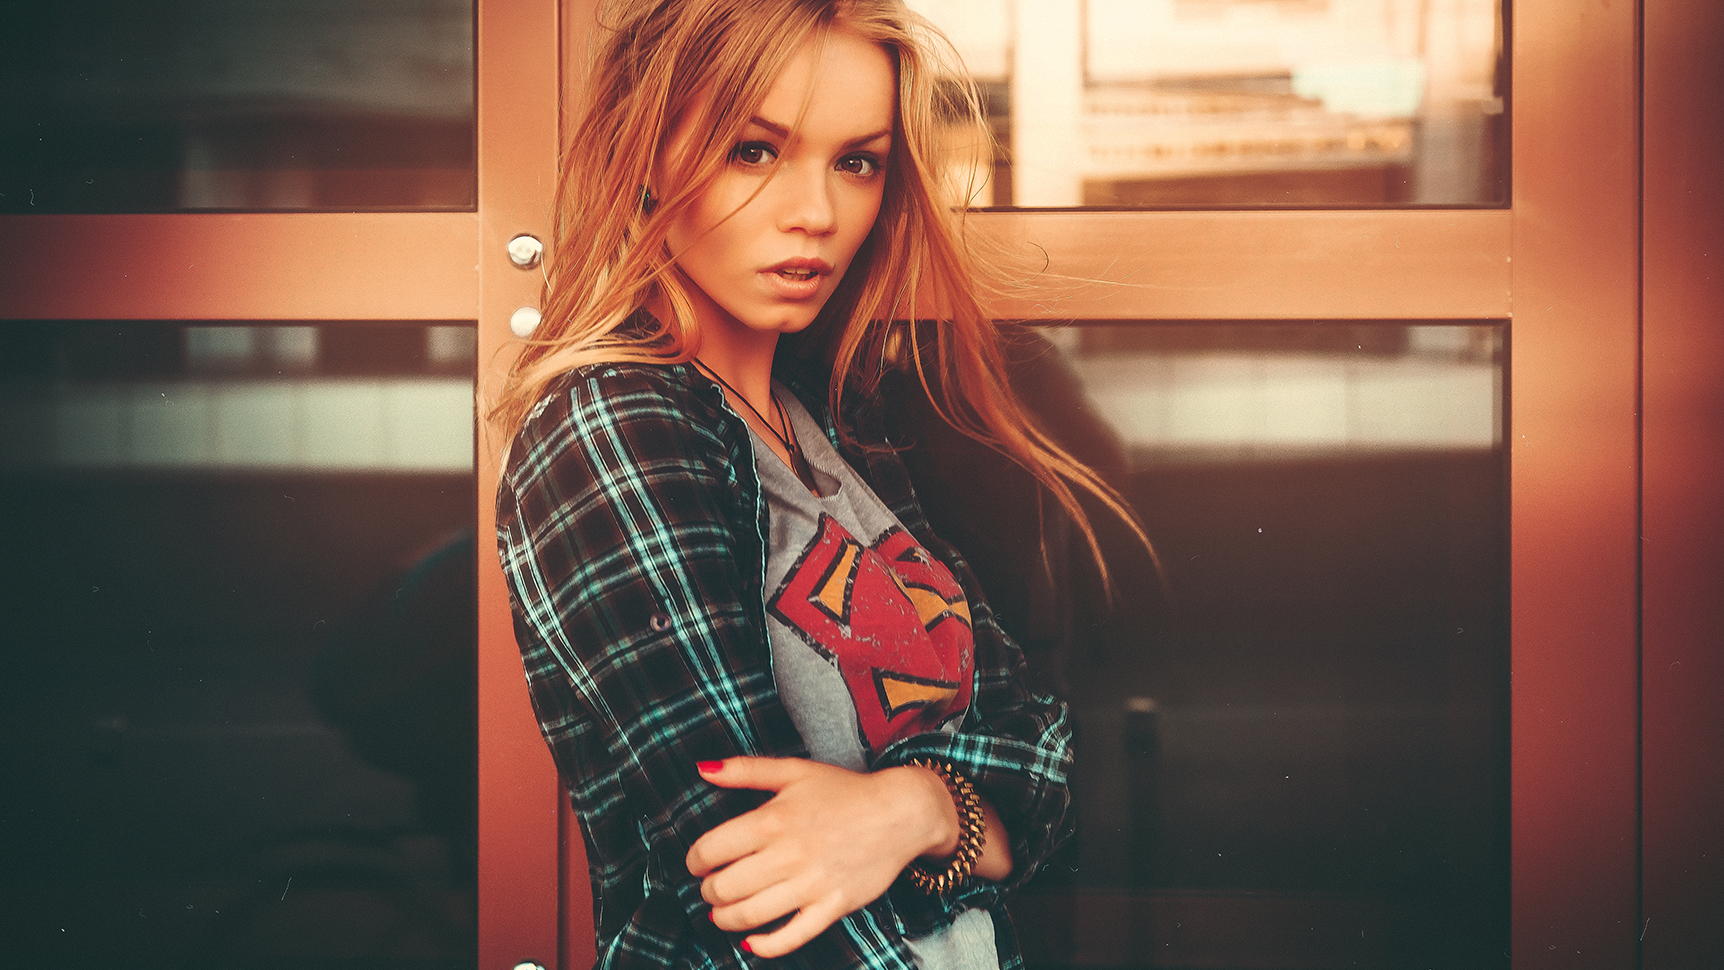
When combined with strongly directional lighting, this can be used to produce a very cinematic look.
Further to this, experiment with angling the camera to emphasise the fall-off in sharpness, moving down the subject’s body – standing in an elevated position and aiming the camera downwards, while your subject looks up towards the lens, produces a far more dynamic perspective than when photographing horizontally, from eye-level.
Alternatively use deep DOF to make a bigger feature of your surroundings. When out on location, find a uniform background, such as an array of trees or an expansive field and set your aperture to around f/11, using a focal length of between 20mm and 35mm.
This will render more of the middle-ground sharp, while leaving the far background discernible, yet unobtrusive. On a sunny day, underexpose the background by around 1 stop and add fill flash, for a moody style popular in contemporary environmental portraits.
Read more: Cheat sheet: Depth-of-field decisions
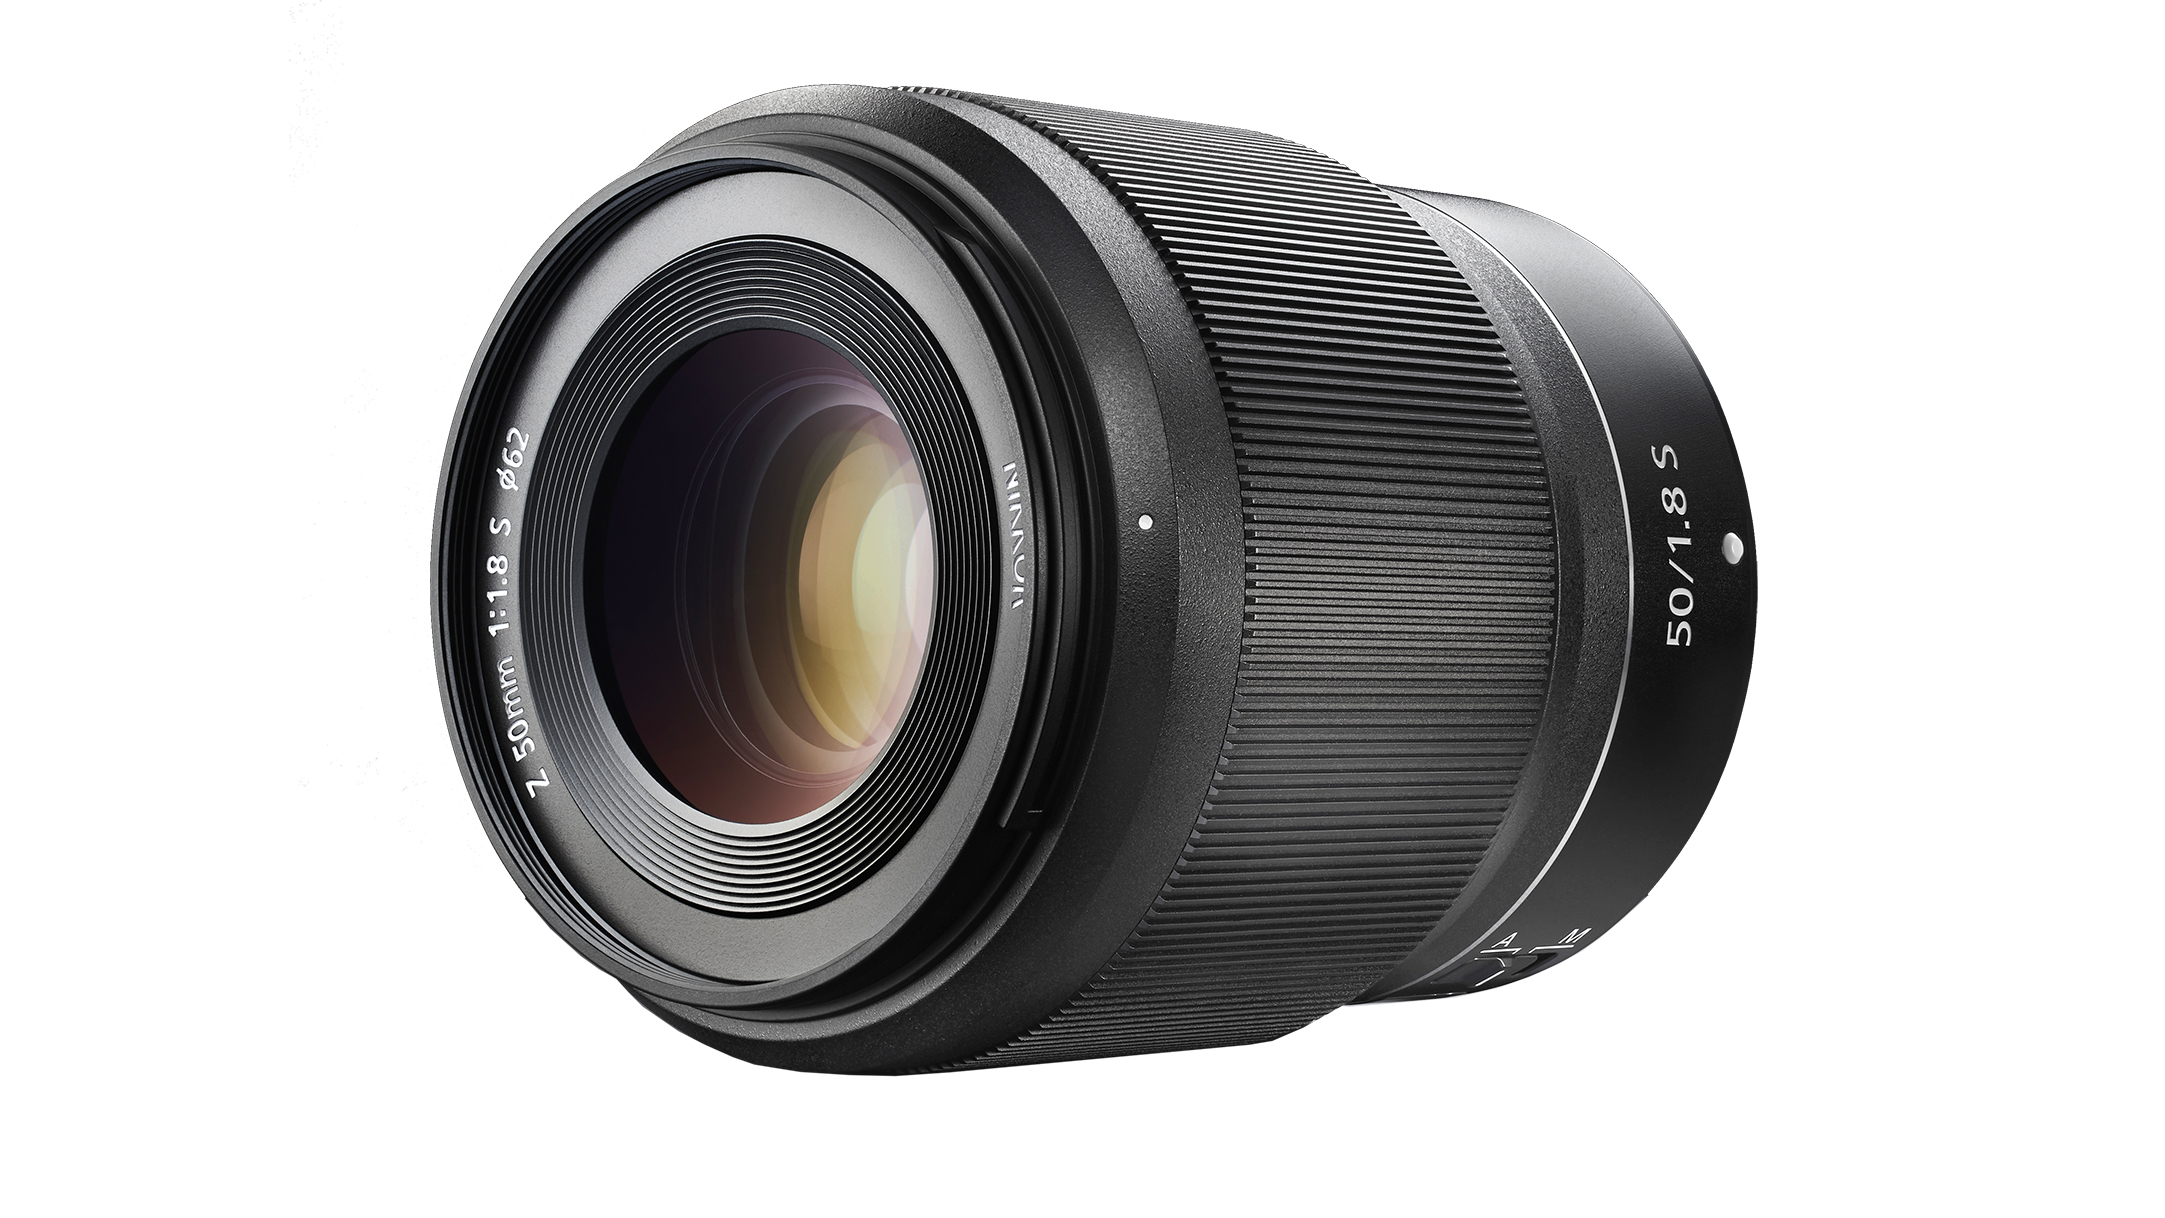
For super-shallow DOF, fast prime lenses are very popular professional tools. While 50mm f/1.4 lenses are generally smaller and more affordable, the 85mm focal length is more flattering for portraits, especially on full frame cameras and offers greater perspective compression.

When lighting your shots, consider how DOF will impact on the appearance of highlights and shadows. In shallow-focus images, avoid bright highlights becoming distracting areas of bleached colour and be aware that edge vignetting can be more prominent on low-detail areas.
Create depth in nature images
There are many occasions in photography when a genre becomes synonymous with a certain style, which becomes the ‘standard’ approach adopted by incoming photographers, yet is present for technical rather than artistic reasons.
Depth-of-field is a dominant example – while the blurring of backgrounds certainly has creative advantages and is often an intentional effect, in other cases it is merely a by-product of the need for wider apertures.
Nature and action photography most often requires the use of high shutter speeds, to freeze movement within the frame. E
ven in relatively good light, to enable the use of exposures of 1/1000sec and shorter, lenses will likely need to be used wide open or close to the smallest f/number, resulting in narrower focus. Therefore, it is helpful to know how to use this characteristic to best effect.
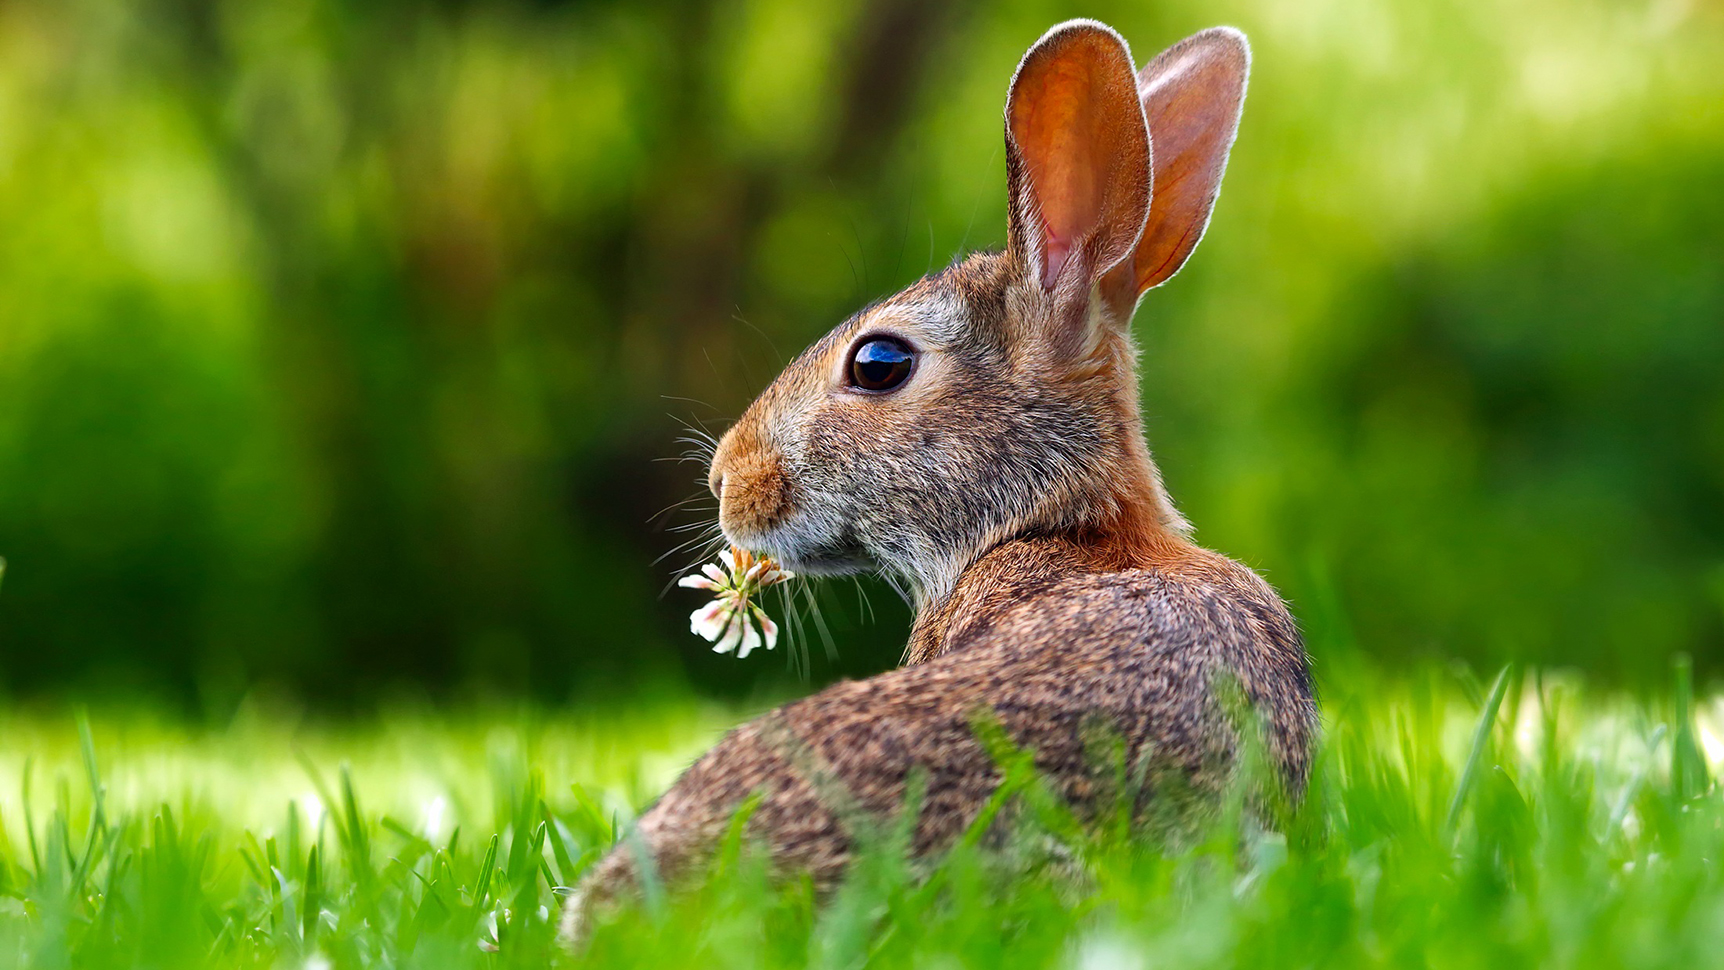
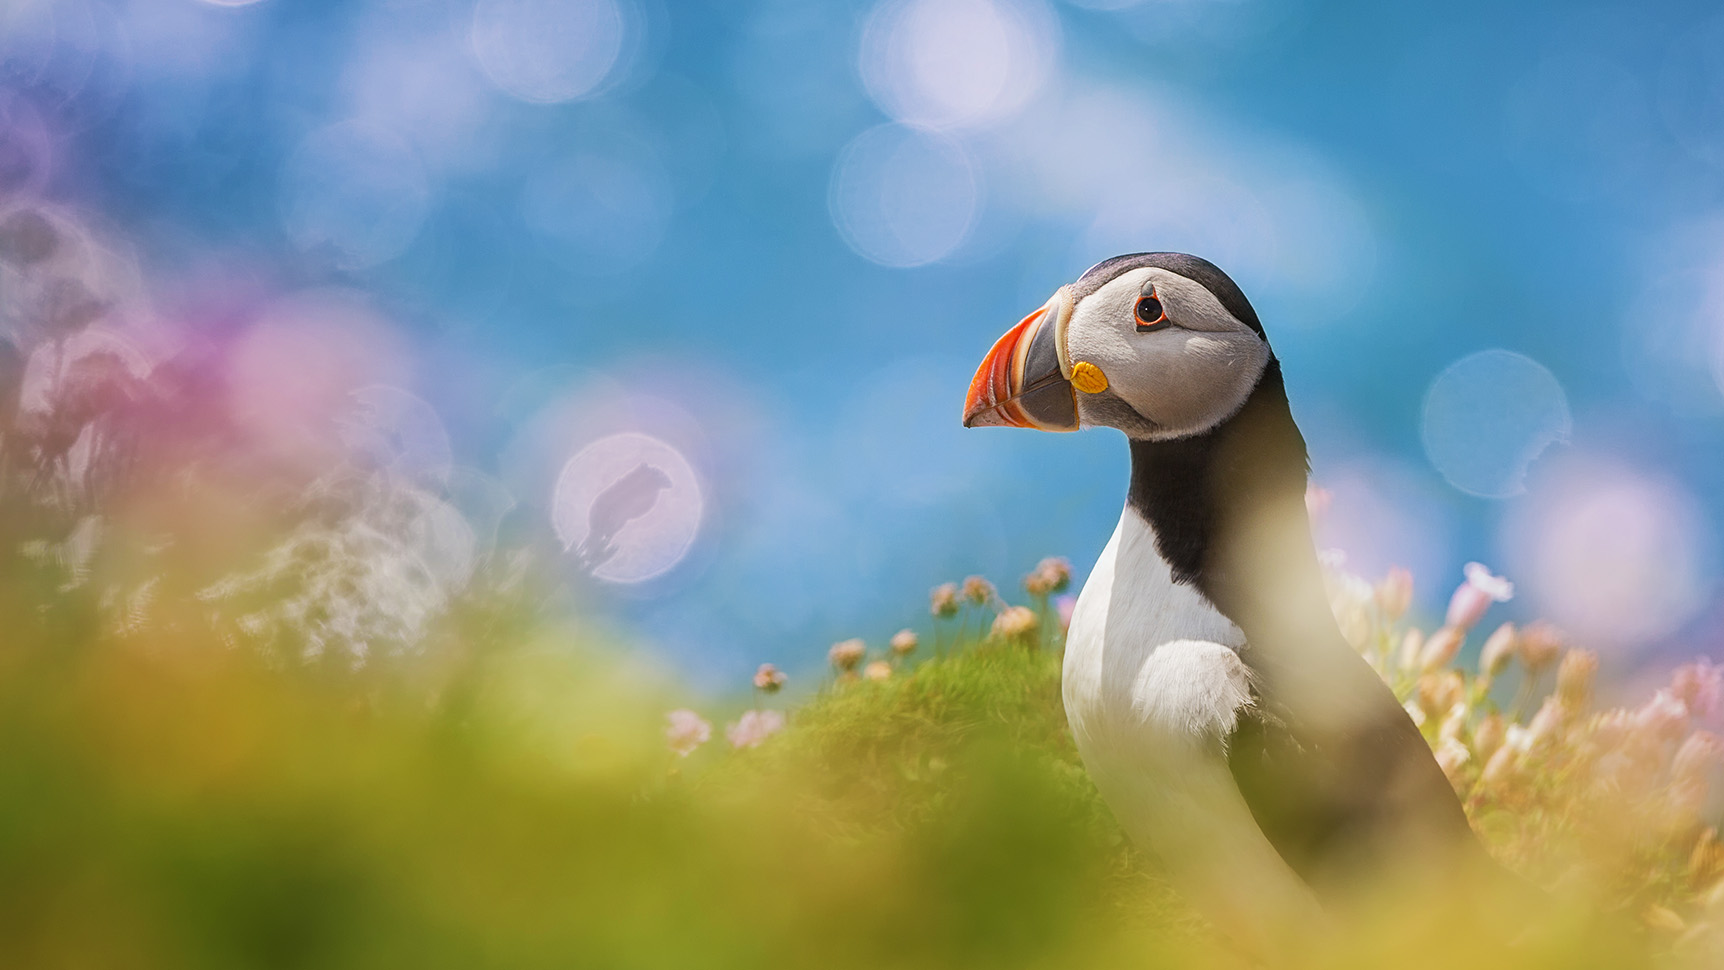
Focus fall-off does not have to be limited to areas behind the subject – by composing so that blurred close foreground elements, such as vegetation, overlap with the key zones of the frame, the diffused washes of colour these generate can introduce added energy and vibrancy to the image.
Such natural frames can also help to better convey the environment the subject is in, for a natural looking photograph that makes the viewer feel as if they are in-the-field themselves.
Working with colour is a technique widely adopted by professional photographers using creative DOF.
When something is rendered out of focus, detail is stripped away, leaving only colour and tone to work with. Alter focal length and play with subject distance, to discover how colours blend together as the apparent relative sizes of objects changes.
Try to bring complementary colours together by varying shooting angle.
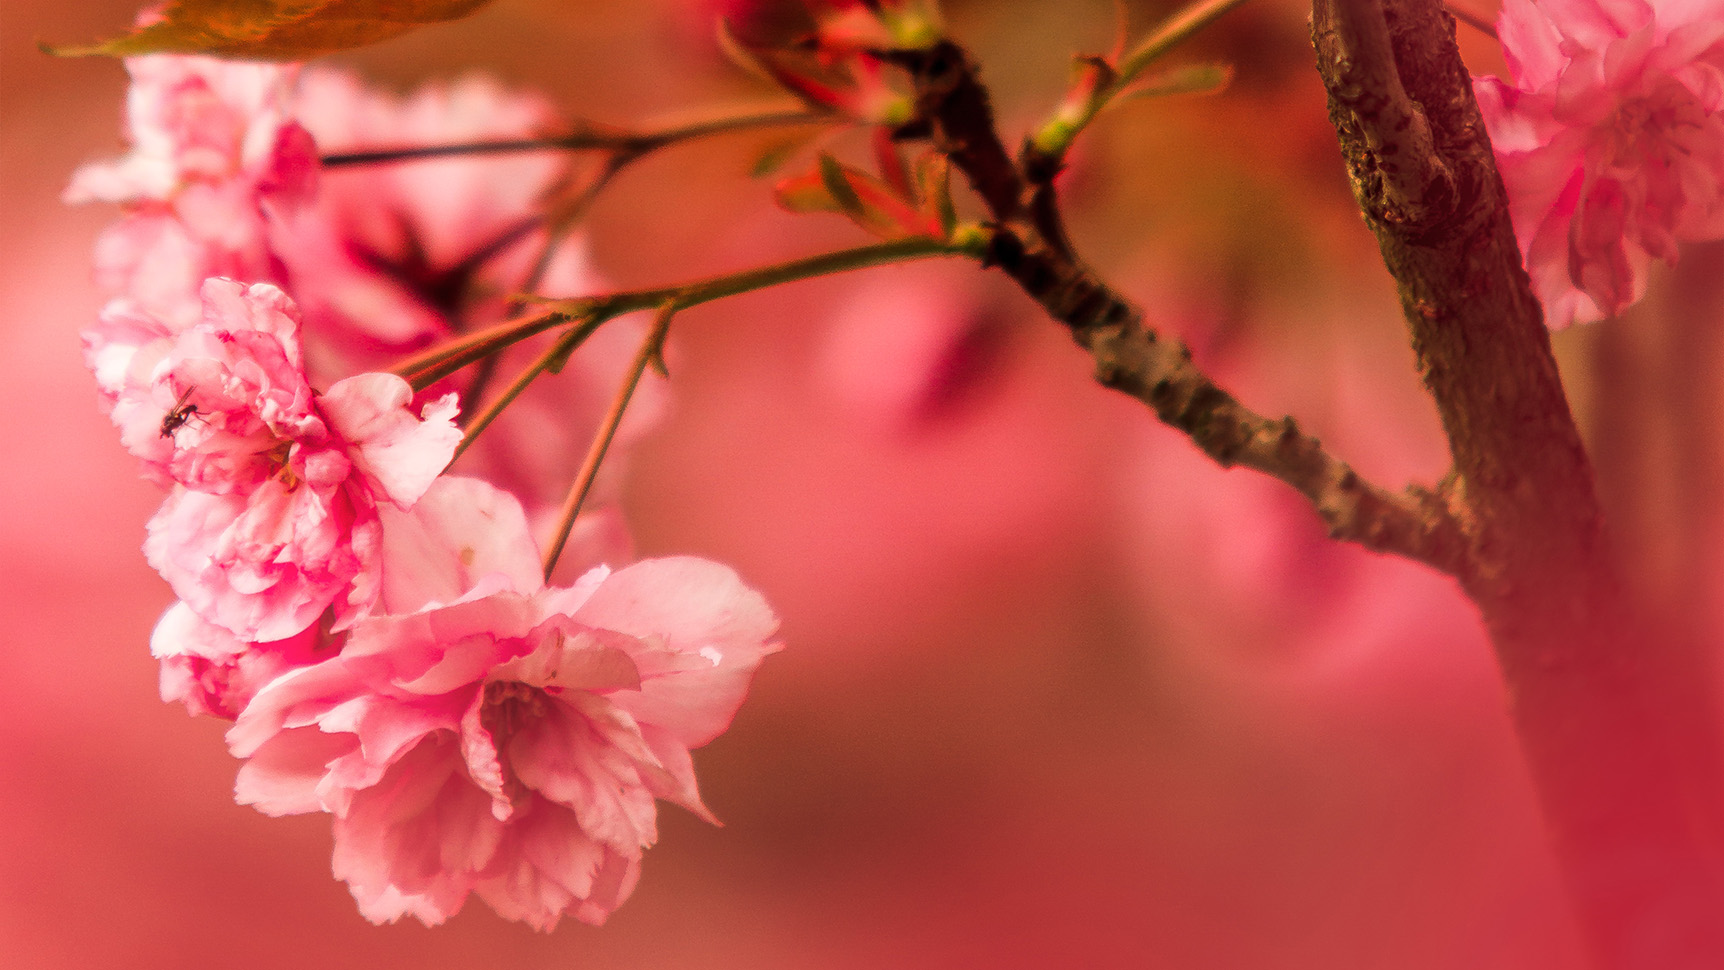
An advantage of using a long telephoto optic such as a 500mm, in consort with an aperture of f4, is that even in wider framed compositions the far background remains effectively blurred.
This is helped by the telephoto compression, which makes background elements appear larger in the frame and closer to the subject. Alter your shooting position to emphasize perspective, showing differing levels of detail, as the eye moves deeper into the image.
As the Editor for Digital Photographer magazine, Peter is a specialist in camera tutorials and creative projects to help you get the most out of your camera, lens, tripod, filters, gimbal, lighting and other imaging equipment.
After cutting his teeth working in retail for camera specialists like Jessops, he has spent 11 years as a photography journalist and freelance writer – and he is a Getty Images-registered photographer, to boot.
No matter what you want to shoot, Peter can help you sharpen your skills and elevate your ability, whether it’s taking portraits, capturing landscapes, shooting architecture, creating macro and still life, photographing action… he can help you learn and improve.
