Create electric traffic trail blends in Affinity Photo 2
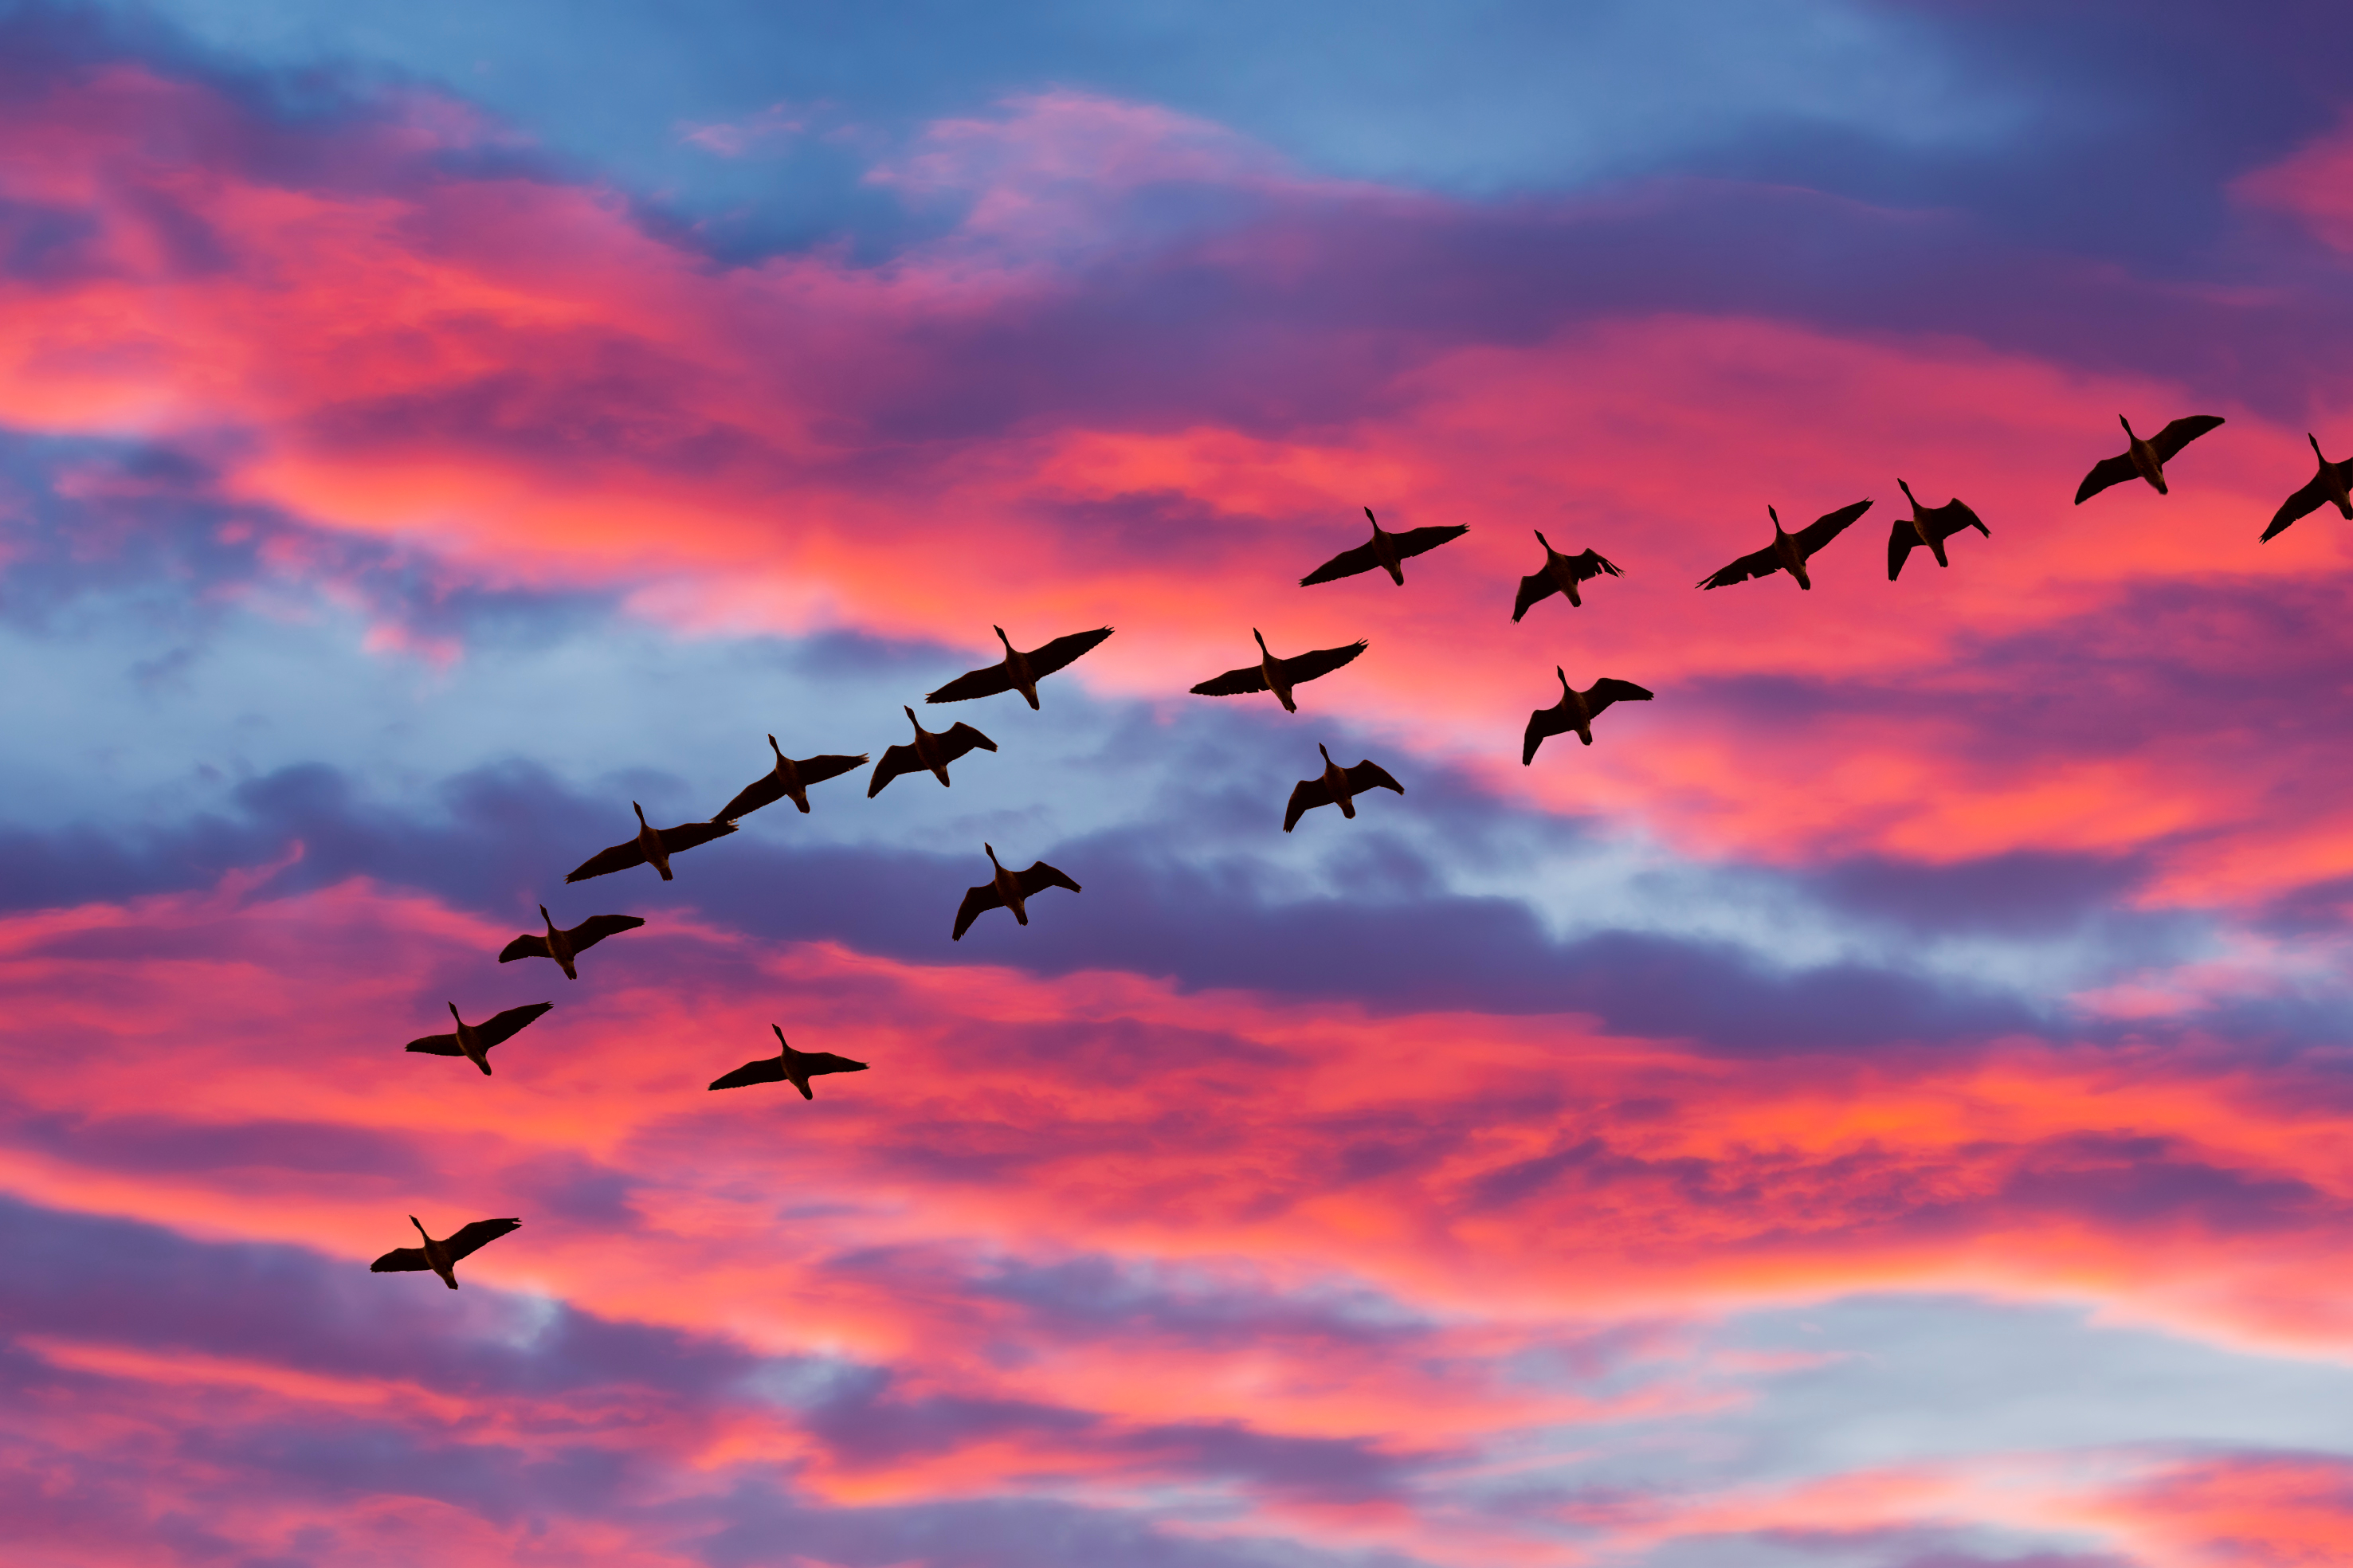
There's no need to put your camera away when the light levels drop. Here's our guide to the nuts and bolts of shooting at night. Plus, scroll down to discover an editing trick for amazing traffic trails in Affinity Photo 2!
In photography, too much light can be a frustrating thing to deal with. There’s generally more than enough light around at lunchtime on a clear summer day, for example, but it’s hard and concentrated, and generally requires a bit of intervention in order to make it work for a picture. But what about when there’s not very much light at all? How can you make the most of your camera in fading light or even in the middle of the night?
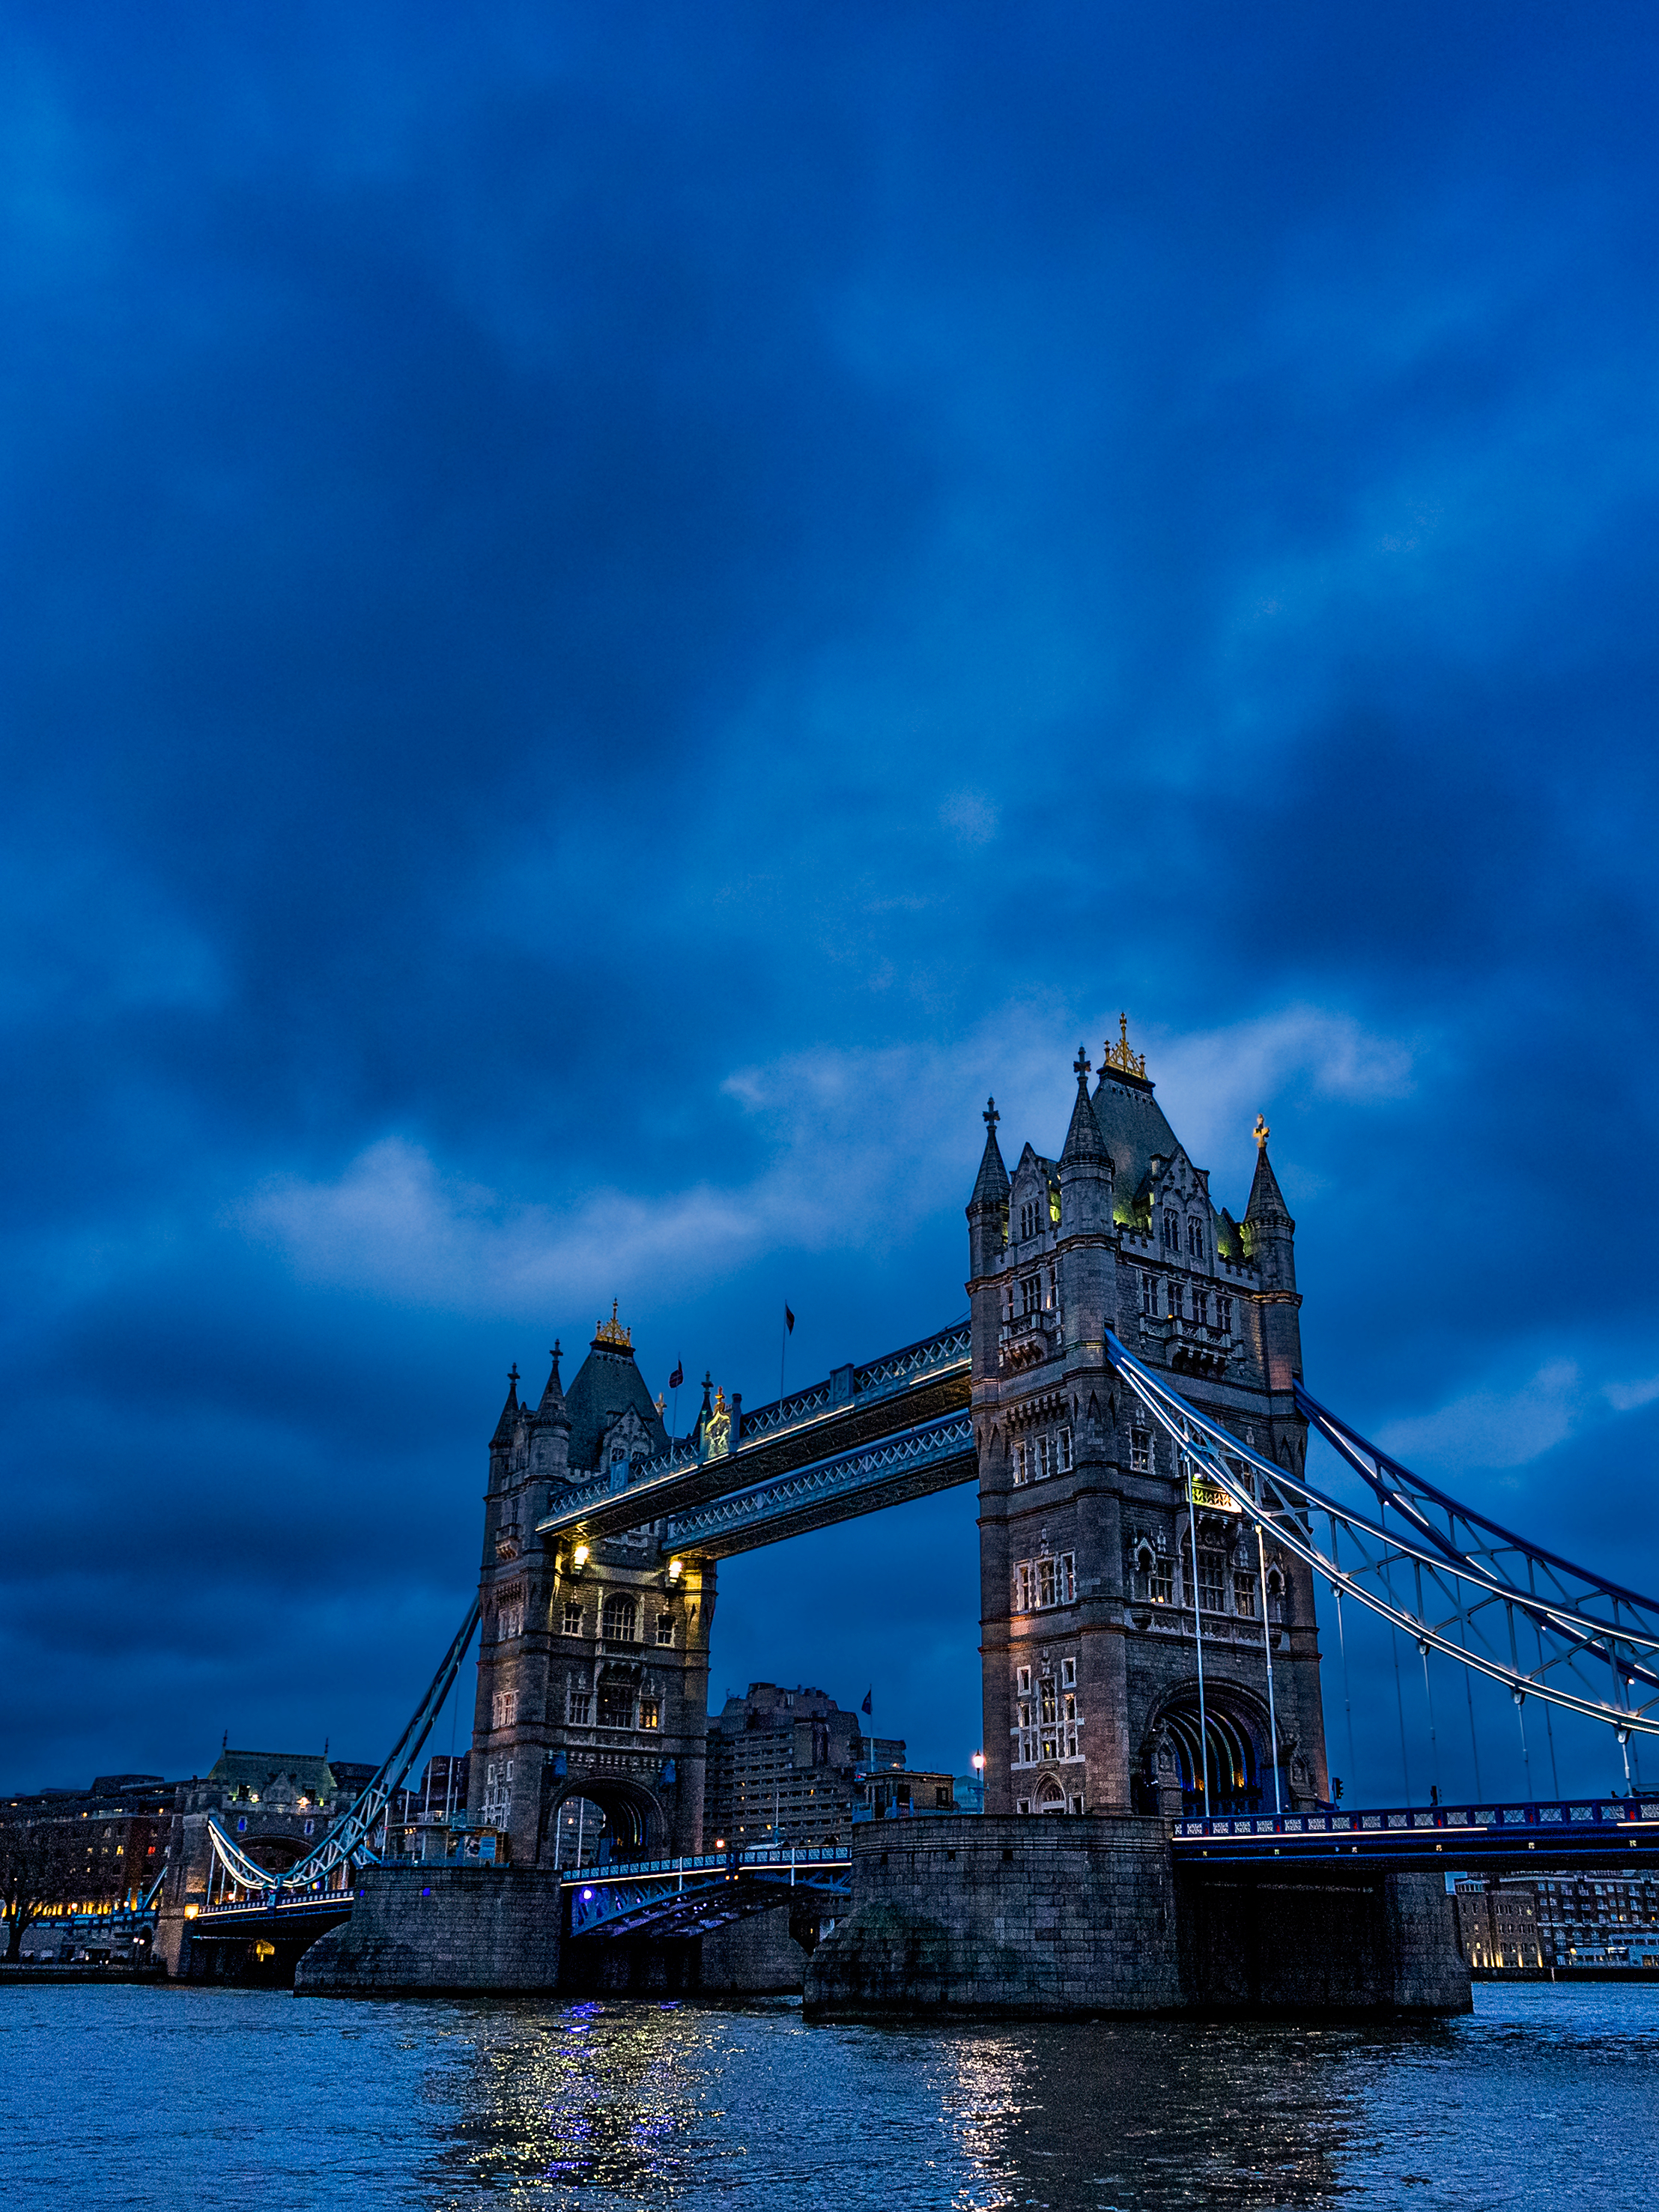
The good thing is that darkness rolls in quickly at this time of the year, so you don’t have to be up and out in the small hours. In fact, night photos don’t tend to look their best if they’re taken in the middle of the night. By shooting earlier, when there’s still some colour and brightness in the sky, you’ll be able to create more evocative shots, where the indigo-blue twilight hues provide a fitting contrast to the warm glow of streetlights, illuminated buildings and traffic trails.
Shooting when there’s less of a contrast between the subject of a picture and the surroundings makes it easier to record more detail. Another option is to shoot a sequence of pictures from the same position, varying the exposure each time. You can then blend the best bits of each shot in software.

Out now, Affinity Photo 2 is the brand-new version of the only fully-loaded photo editor integrated across macOS, Windows and iPad. The first choice of millions of creative and photography professionals around the world who love its speed, power and precision, Affinity Photo 2 has everything you need to edit and retouch images, create multi-layered compositions, beautiful raster paintings and so much more. It's also equipped with hundreds of time-saving tools and a completely redesigned UI to make your editing experience more seamless than ever. Affinity Photo 2 is available for a one-off payment with no subscription, or try the 30-day free trial.
One problem that there’s no escaping from is that low light levels lead to longer exposures. If you’re using a tripod to support the camera then camera shake won’t be a problem. Moving objects may still be blurred, though. If this is going to be a problem then you’ll need to use a faster shutter speed. You can do this by either opening up the aperture to let more light into the camera, or increasing the ISO setting to essentially make the camera more sensitive to the light that is available.
If you’re shooting handheld then an image-stabilised camera or lens can
give you more freedom when it comes to camera settings. Of course, this only helps to cut the motion blur caused by camera movement and won’t make a difference to any blur caused by subject movement. Using a short, lightweight lens with a fast maximum aperture such as f/1.8 or f/1.4 will help when it comes to both kinds of blur, though.
A tripod is handy for many types of night photography, although you’ll need to be careful where you position the legs so that they don’t turn into a trip hazard once it gets dark.
In busy locations, it’s preferable to ditch the tripod altogether and take advantage of image stabilisation and higher ISO settings. Regardless of whether you’re shooting with a tripod or not, it’s better to get to a location in daylight so that you can compose and focus a shot in time for dusk and twilight.
Shoot RAW when you’re taking pictures at night, as this will give you the most flexibility when it comes to processing your images. Noise can be an issue when you’re shooting in low light and using high ISOs, and the controls available in RAW processing software allow you to fine-tune the strength of the noise reduction. The in-camera options for dealing with noise can be rather blunt tools, smudging fine details and flattening textures at the same time as hiding the noise.
As well as dealing with noise and adjusting the exposure, RAW files enable you to adjust the white balance of an image. This is a particularly important aspect of low-light photography, where there may be a strong colour cast – such as the warm tones of sunset or the cool blue of night – you want to correct or enhance.
If you’re shooting a city scene then you’ll probably have many different light sources to deal with, but RAW gives you the option of trying different white balance settings later.
5 Low light photography tips
1) Use a large aperture
You might have to sacrifice some depth of field and use a large aperture such as f/2.8 or f/4 to let more light into the camera. This will allow you to use a faster shutter speed for sharper images and freeze the movement of stars across the night sky.
2) Increase the ISO
If you’re shooting handheld then you may not have any option but to increase the ISO in order to get a sharp shot. A higher ISO will allow you to record an image with less light, so you can use a faster shutter speed than you would be able to with a lower ISO. You may have to apply noise reduction to combat the increased noise at a higher ISO, though.
3) Avoid lightening shadows
If you brighten a dark high ISO image in software, you will make noise obvious, notably in the shadows. For important shots, use a range of exposures.
4) Experiment with white balance
Use one of the natural light presets such as Cloudy or Shade to boost warmth at dawn and dusk. Try the Tungsten/Incandescent setting to give twilight scenes a cool blue hue. Shoot RAW and you can fine-tune the effect later.
5) Look for colour in the sky
It’s much easier to create balanced and interesting exposures when there’s some colour in the sky rather than a cavernous black space. Set up in daylight so that you are able to frame your scene before the light fades.
Create traffic trail blends in Affinity Photo 2
Learn how to combine a sequence of night-time long exposures in Affinity Photo 2 and use simple layer tricks to perfect the results.
One of the great things about night-time photography is how we can create bold, vibrant highlights against the darkness. Shooting for traffic trails is a classic example. Here, we set up a tripod on an island in the middle of the street heading towards London’s Piccadilly Circus, then captured a series of 15-second exposures as the traffic passed by on both sides of the road (shooting in Manual mode with an f/29 aperture, ISO 100). This transforms the headlights and tail lights into vibrant blurred streaks, while the flashing lights become attractive dashed patterns.
However, the traffic trail effect can be difficult to control. Thankfully, from an editing perspective, one of the other great things about night-time photography is how easy it is to blend several frames together. As long as they’re in alignment, all we have to do is copy several images on top of one another, then use the Lighten Blend mode in Affinity Photo to combine them.
Then we can paint masks to fine-tune which parts of each layer are visible. With the simple tools and layer controls in Affinity Photo 2, this is easier than it looks.
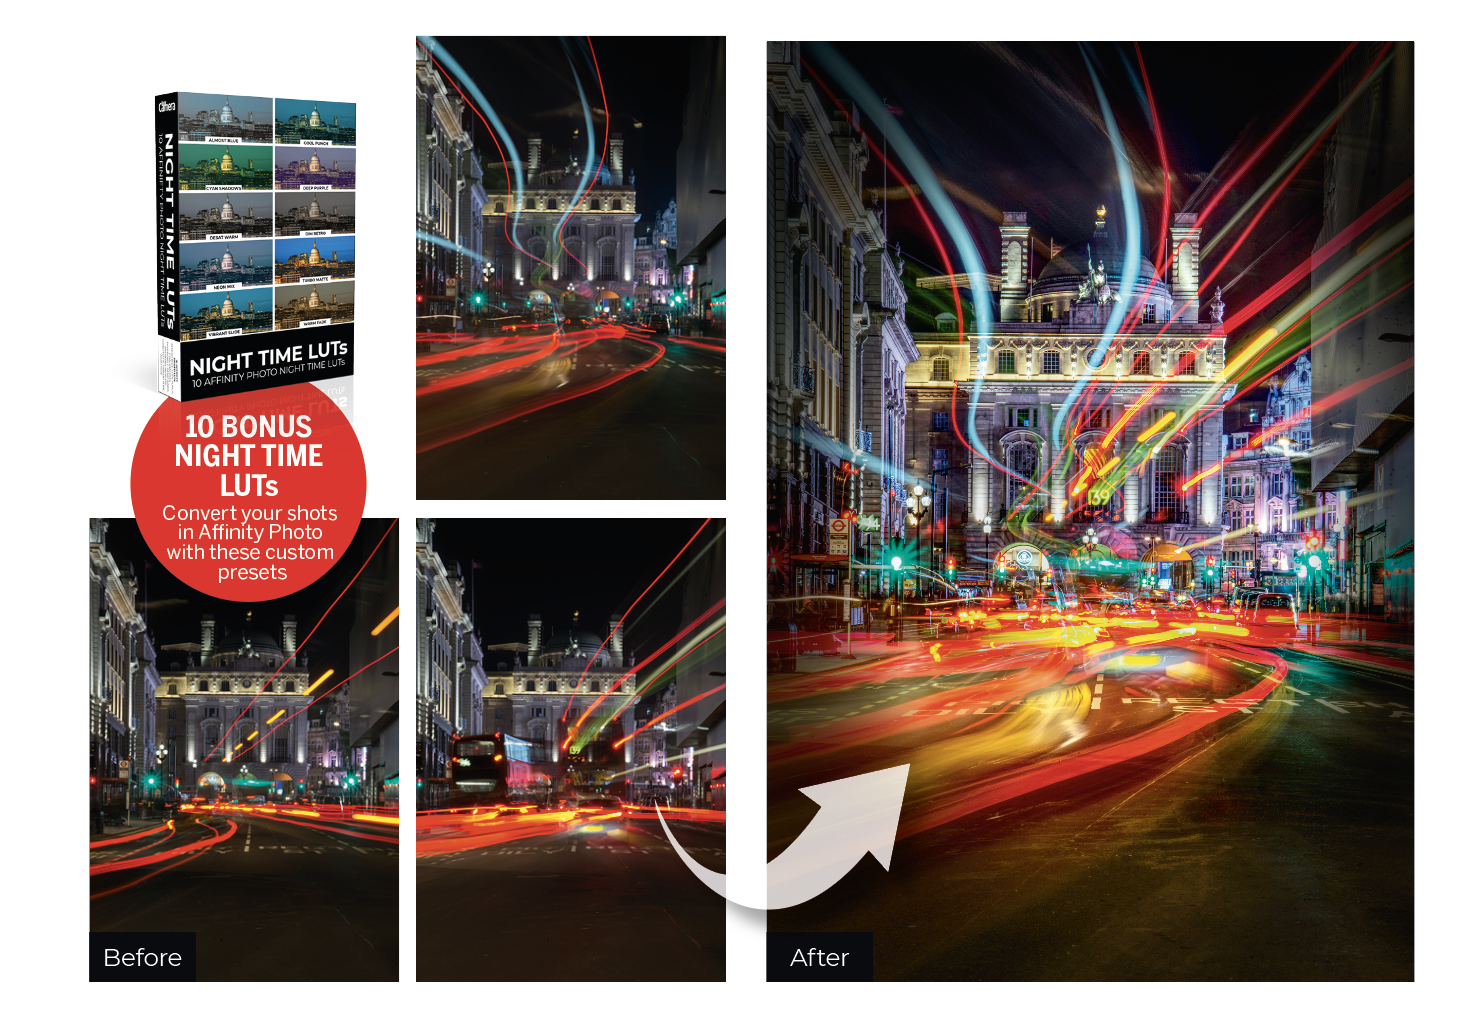
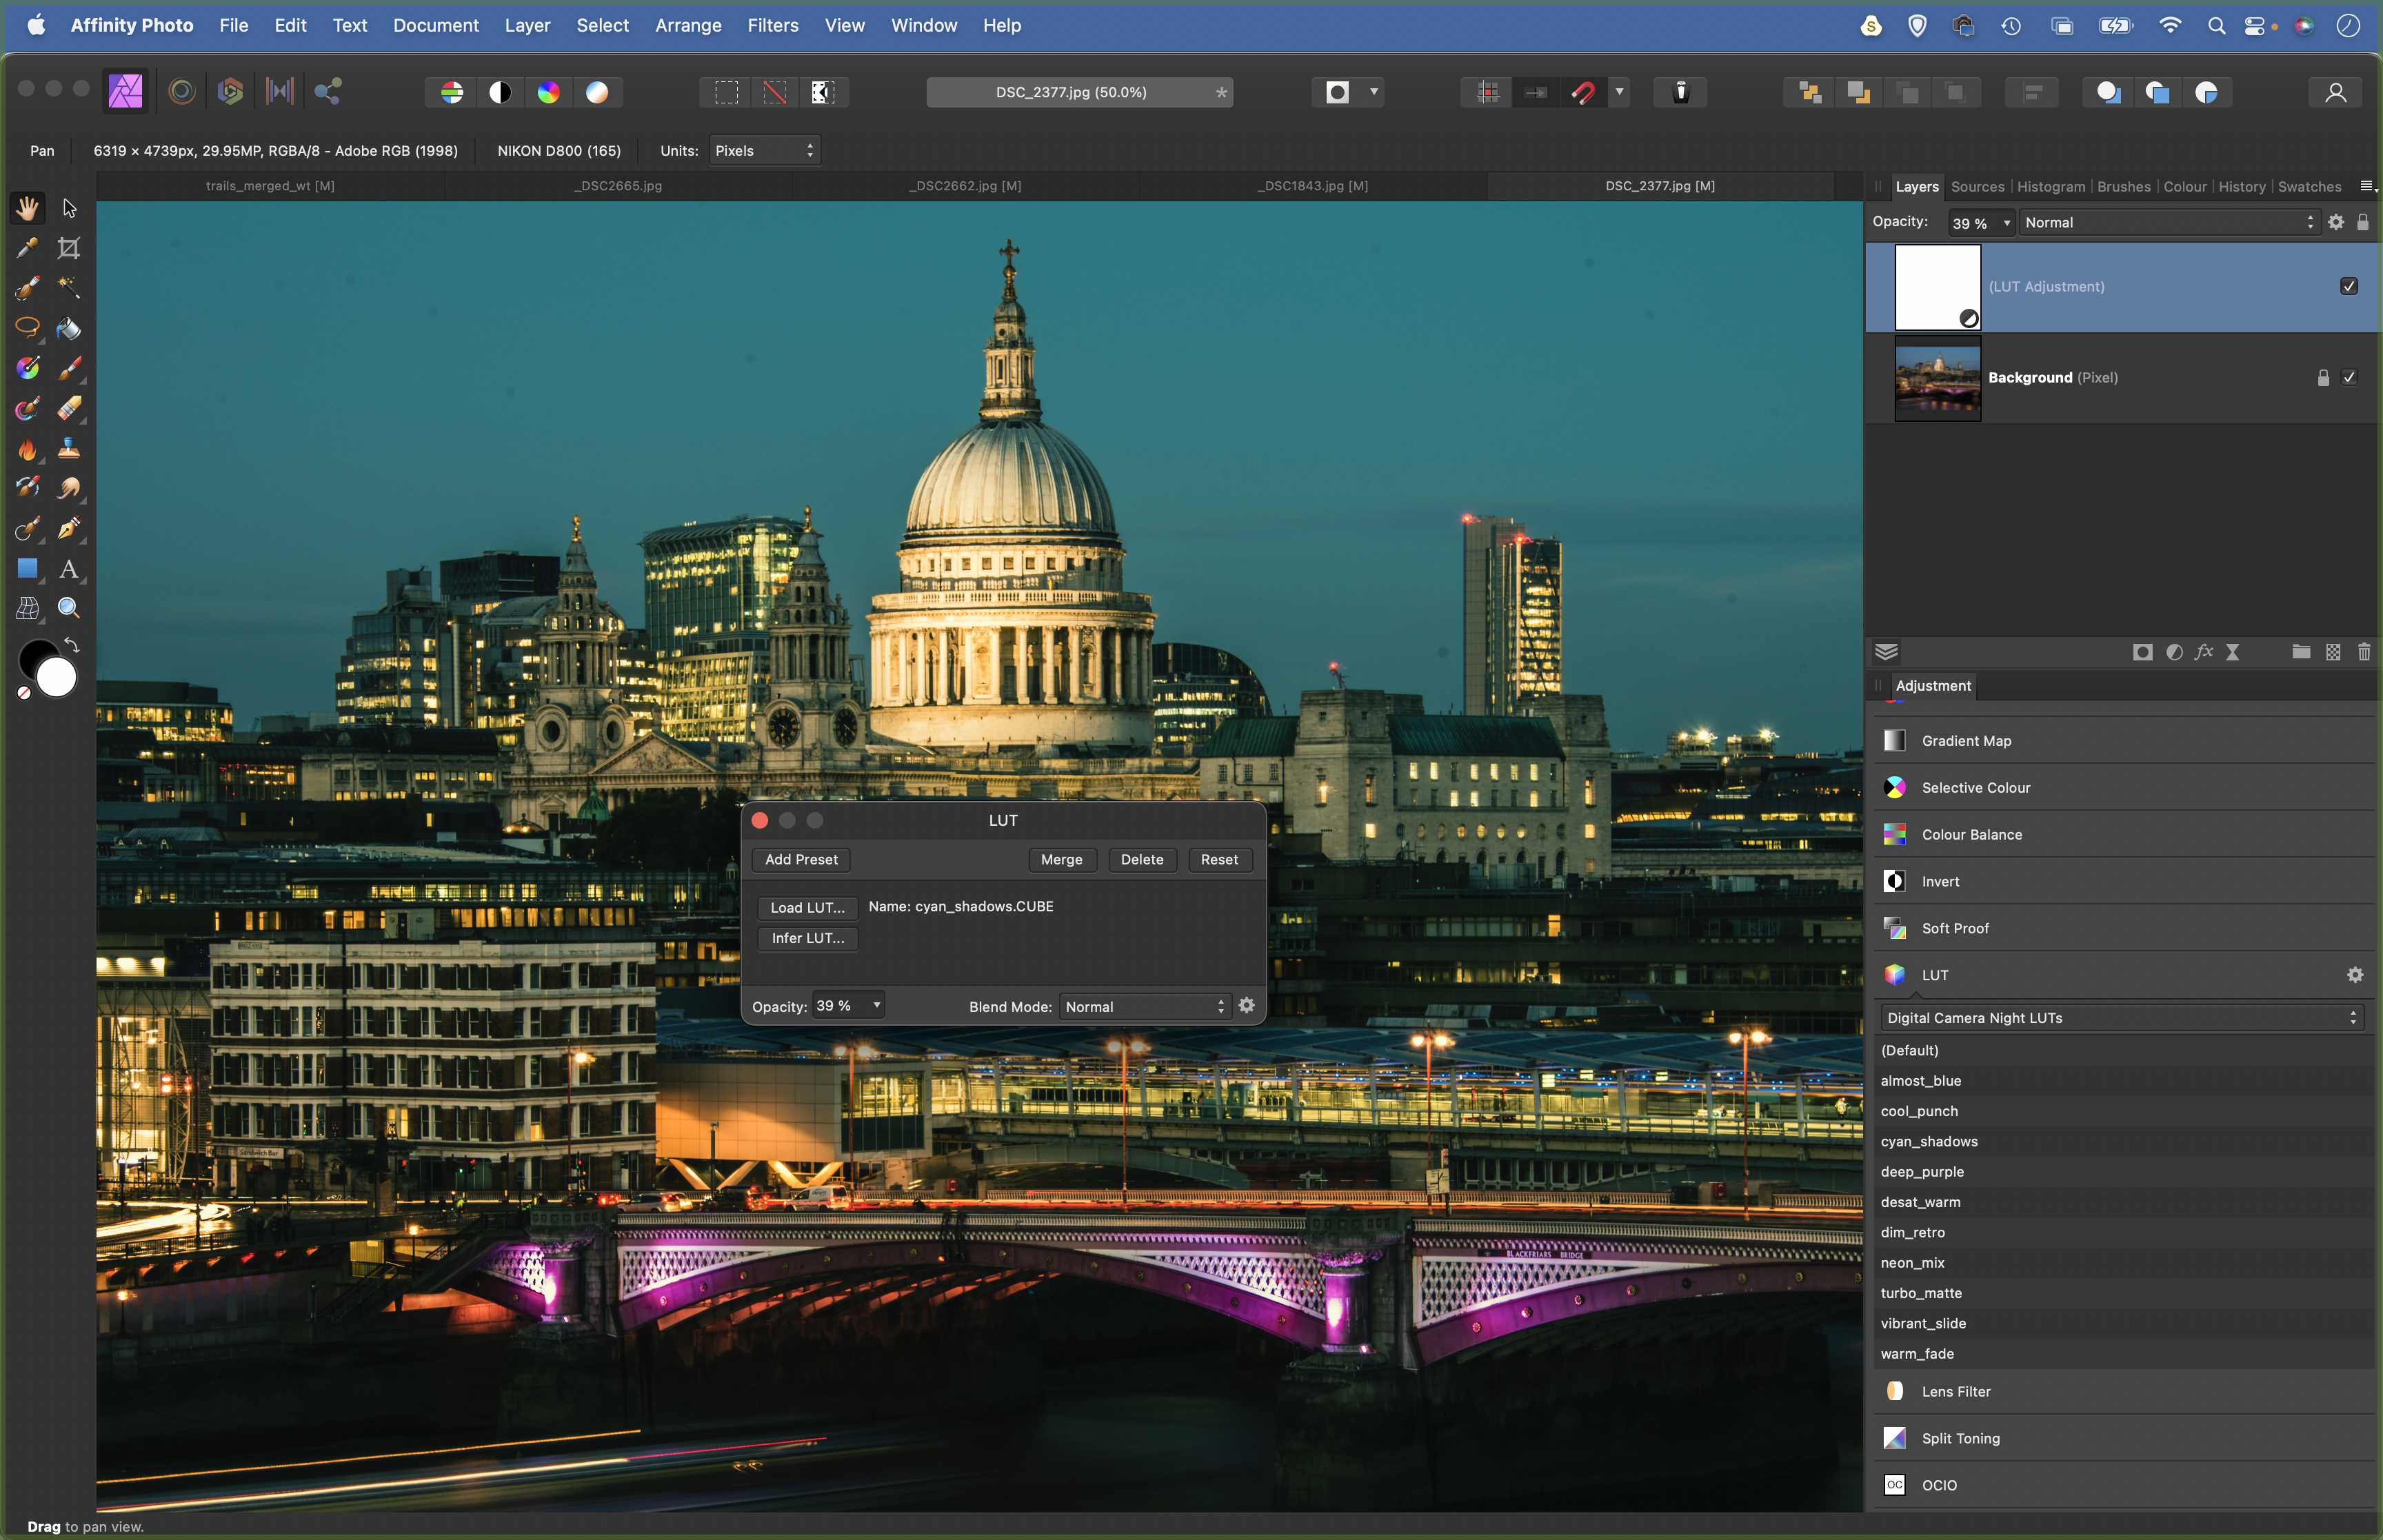
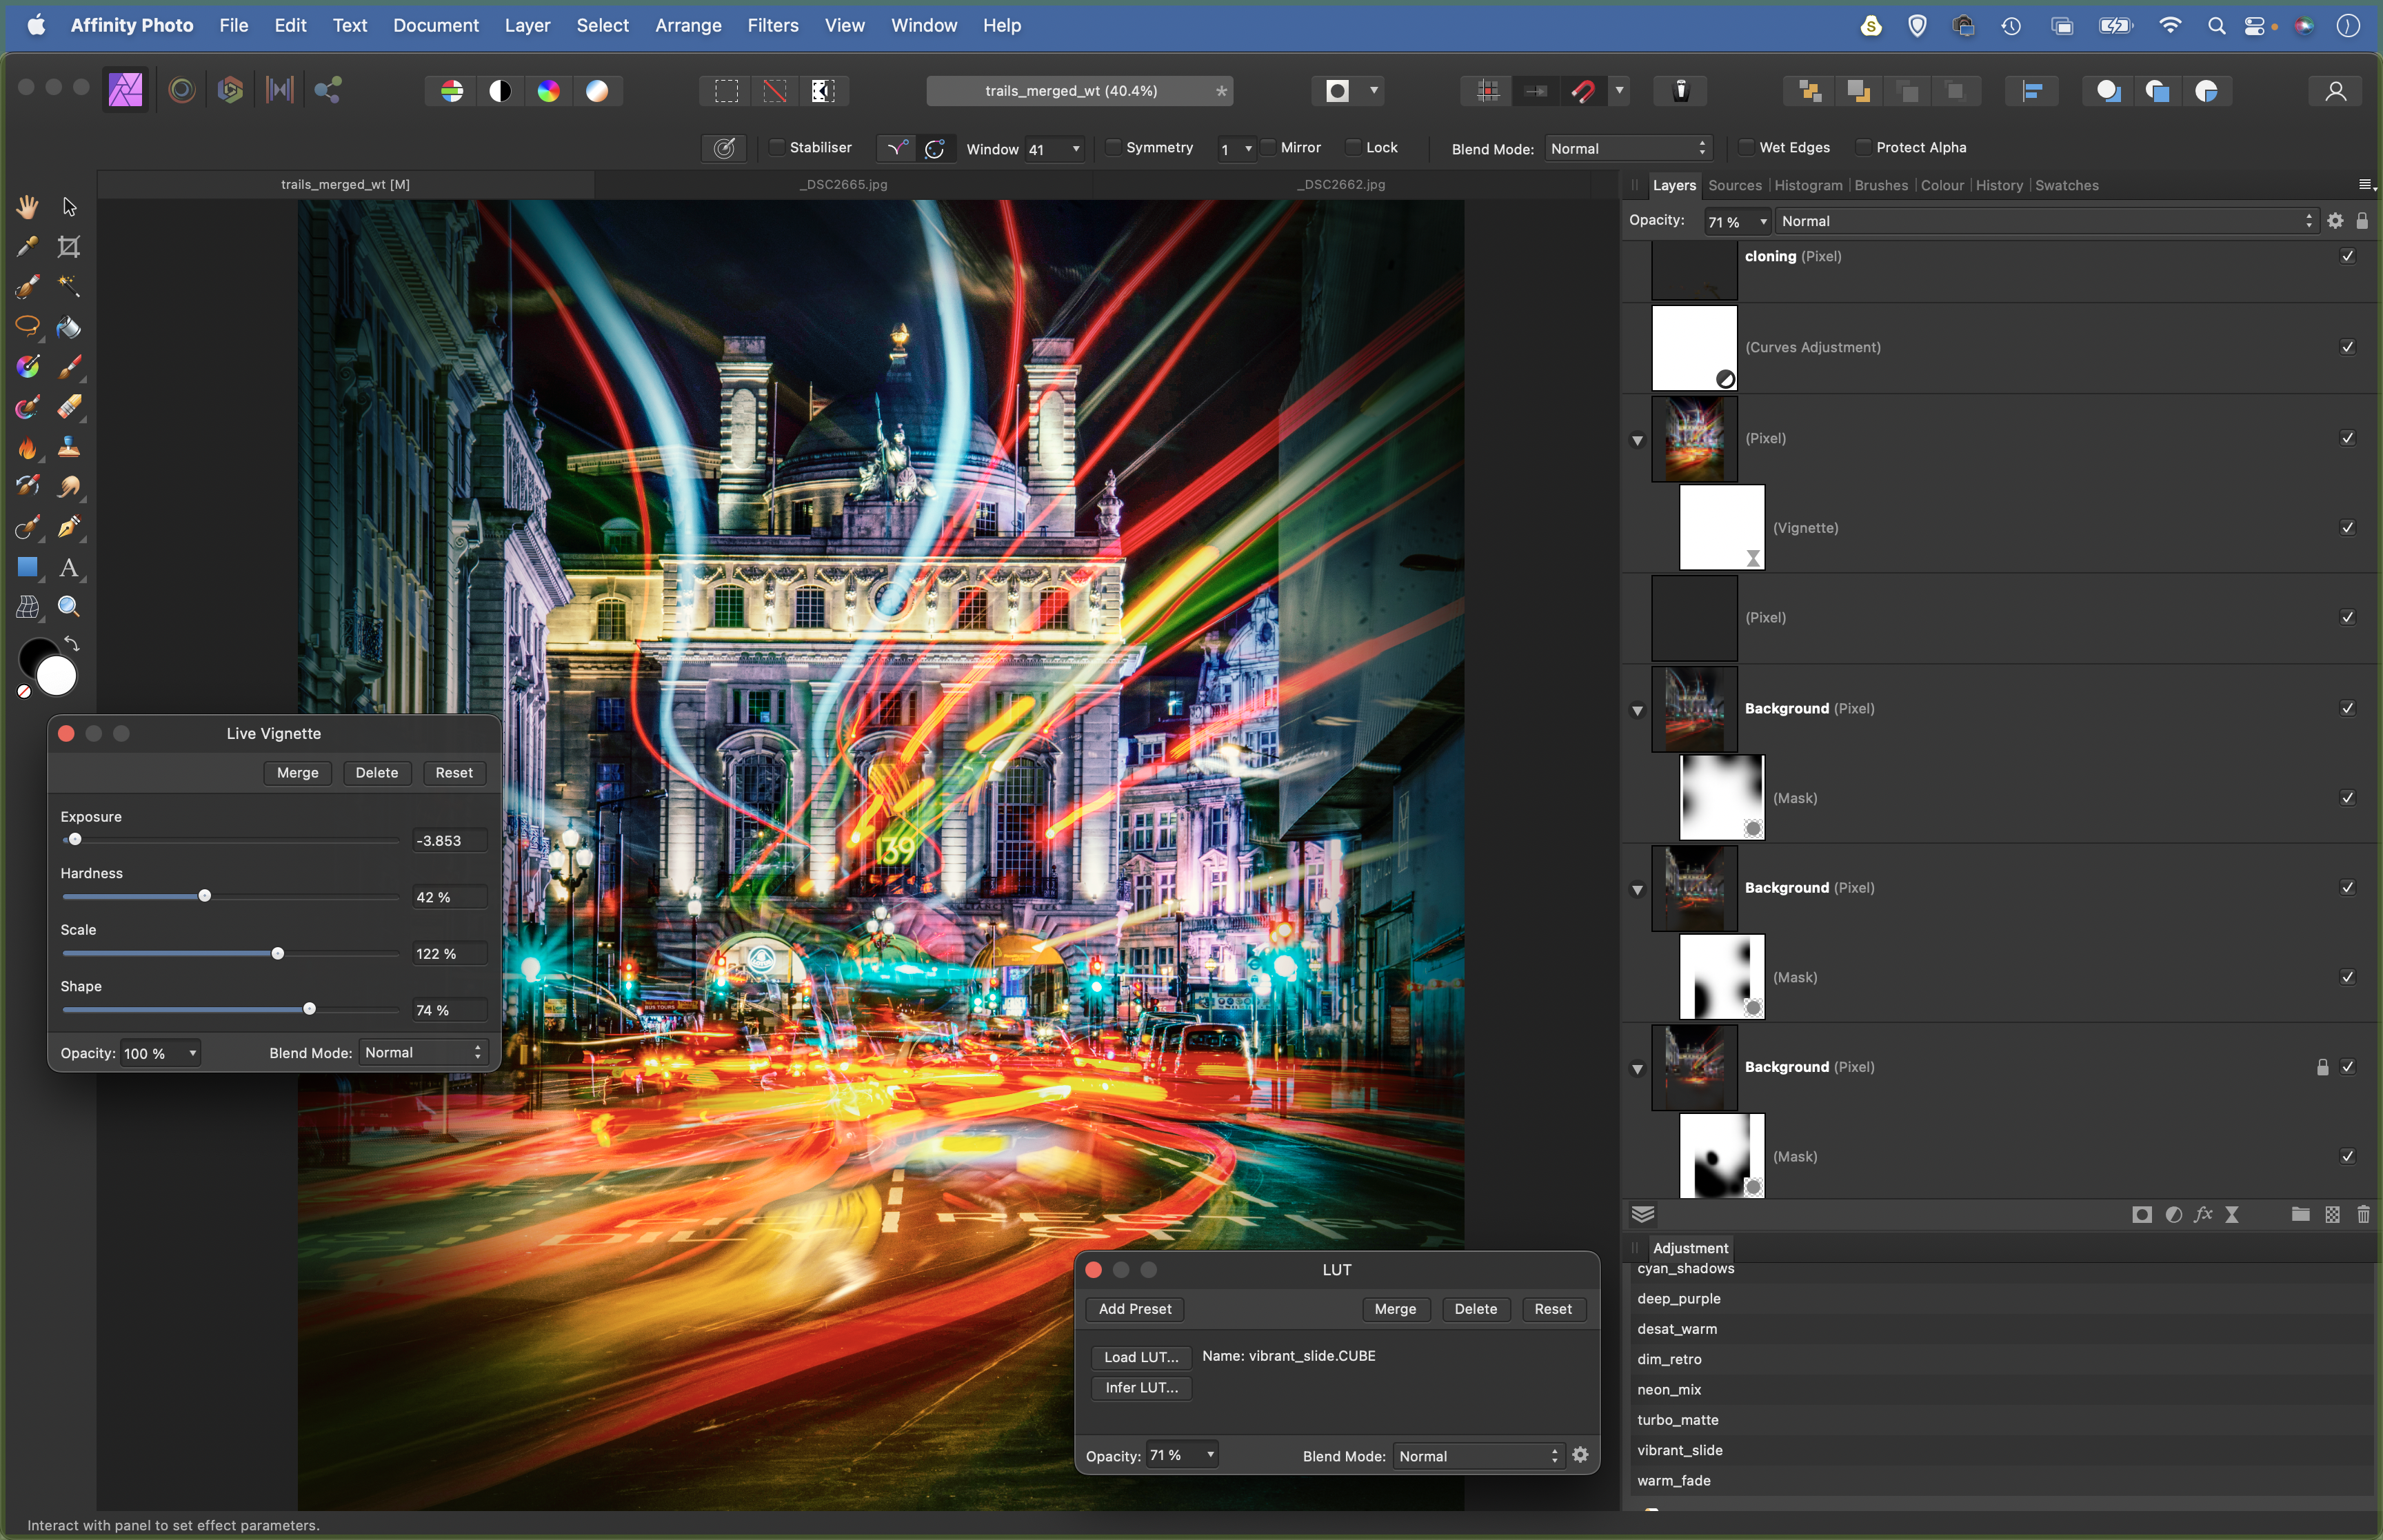
With one-click colour effects and tonal shifts, LUTs are a great way to style your image in Affinity Photo. We’ve supplied 10 free LUTs with the project files that will give you a range of different colour effects for your night-time photos (or any other images you wish to experiment on). Download your free LUTs here. To load the free LUTs, go to View > Studio > Adjustment to summon the Adjustment panel. Scroll down to the LUT section, click the cog icon and choose Import LUT Category, load in the ‘afluts’ file supplied, then click on each in the list to try them out. Here, we’ve used ‘Vibrant Slide’ LUT.
1) Copy, paste and align layers
Open the three start images (or your own sequence) in Affinity Photo. Copy and paste to bring the second and third images on top of the first. Next, check that the layers align. Click the Blend Mode dropdown in the Layers panel, choose Difference, grab the Move tool, zoom in on the buildings and use the arrow keys to nudge the layer. Misalignment will show in white – nudge until the details are black.
2) Blend with Lighten
The Lighten Blend mode is fantastic for night-time photography, or when you want to blend the lighter parts of a sequence of photos into one frame. Here, it lets us combine vibrant traffic trails into one bold scene. Cmd/Ctrl+click on the top two layers in the Layers panel to highlight them both, click the Blend Mode dropdown in the Layers panel and choose Lighten.
3) Mask the edges
Layer masks allow us to control which parts of a layer are visible or hidden. With our blend of three light trail images, masks allow us to fine-tune the results by hiding some of the messier light trails. Highlight the top layer and toggle the visibility to assess which parts contribute to the blend, then click the layer mask icon in the Layers panel and paint black to remove trails you don’t want to include. Repeat for the other layers.
4) Combine and tone
A great way to change tones is with the Tone Mapping Persona. First, highlight the top layer and press Cmd/Ctrl+Shift+Alt+E to merge a copy of all layers, then click the Tone-Mapping Persona icon in the top left. Once done, hit Apply on the top left to go back to the Photo Persona. If the effect is too strong, lower the layer opacity or paint a layer mask to tone it down.
5) Add a vignette
A centrally focused composition will benefit from a vignette to darken the edges. Go to Layer > New Live Filter Layer > Colours > Vignette. Drag down on exposure to darken the edges of the frame, use a low Hardness value to keep the transition gentle, and fine-tune the size of the vignette with the Shape and Scale sliders. Like all Live Filter layers, settings can be changed by double-clicking the layer in the Layers panel.
6) Clone to tidy
When blending several frames, there will be areas that need tidying. The best way to do this is to make a new empty layer at the top of the stack. Grab the Clone tool and go to the Tool options at the top. Click the Sample dropdown and choose Current and Below. You can clone on the empty layer while sampling from the layers below. Use the Inpainting tool to remove unwanted details.
Get the Digital Camera World Newsletter
The best camera deals, reviews, product advice, and unmissable photography news, direct to your inbox!
Digital Camera World is one of the leading authorities on camera and photography news, reviews, techniques, tutorials, comparisons, deals and industry analysis. The site doesn't just specialize in cameras, but all aspects of photography, videography and imaging – including camera phones, gimbals, lenses, lighting, editing software, filters, tripods, laptops, printers, photo books, desks, binoculars and more.
Whether you're using, looking to buy or trying to get the most out of a compact camera, action camera, camera drone, cinema camera, beginner camera or professional camera, Digital Camera World has a roster of experts with combined experience of over 100 years when it comes to cameras, photography and imaging.

