Edit your light trails to perfection with Affinity Photo
Raw editing is the essential first step in the editing process for any photographer who takes advantage of the raw format. It might require an extra step in the post-processing workflow, but the benefits of shooting raw are worth it: greater dynamic range, more colors, and multiple options for achieving the look you want. Just as essential are the right tools for the job.
One of the best ways to edit raw photos is in Affinity Photo, which is the only fully-loaded photo editor integrated across macOS, Windows and iOS. Affinity Photo gives you the flexibility to edit your images in any way that you like, whether you want to make some simple raw image adjustments or do some more extensive retouching. Plus, Affinity Photo is also available for a one-off price – no subscription required!
Using Affinity Photo, we process our raws within the Develop Persona. Offering a range of familiar tonal tools, lens correction settings, sharpening sliders and local adjustment tools, this dedicated raw workspace is a one-stop shop for making initial enhancements to your images. If you like, you can go on to take advantage of Affinity Photo’s other Personas for further edits, but often a few simple tonal edits are all that’s needed.
When you open a raw file into Affinity Photo, the program will automatically switch to the Develop Persona. In this tutorial we’ll explore some of the key features of this raw workspace, from sharpening and white balance fixes to powerful local adjustments. We’ll use these tools to improve our landscape shot here, but the same tools are likely to come in to play on almost every raw image you open in Affinity Photo.
Enhance your raw images with Affinity Photo
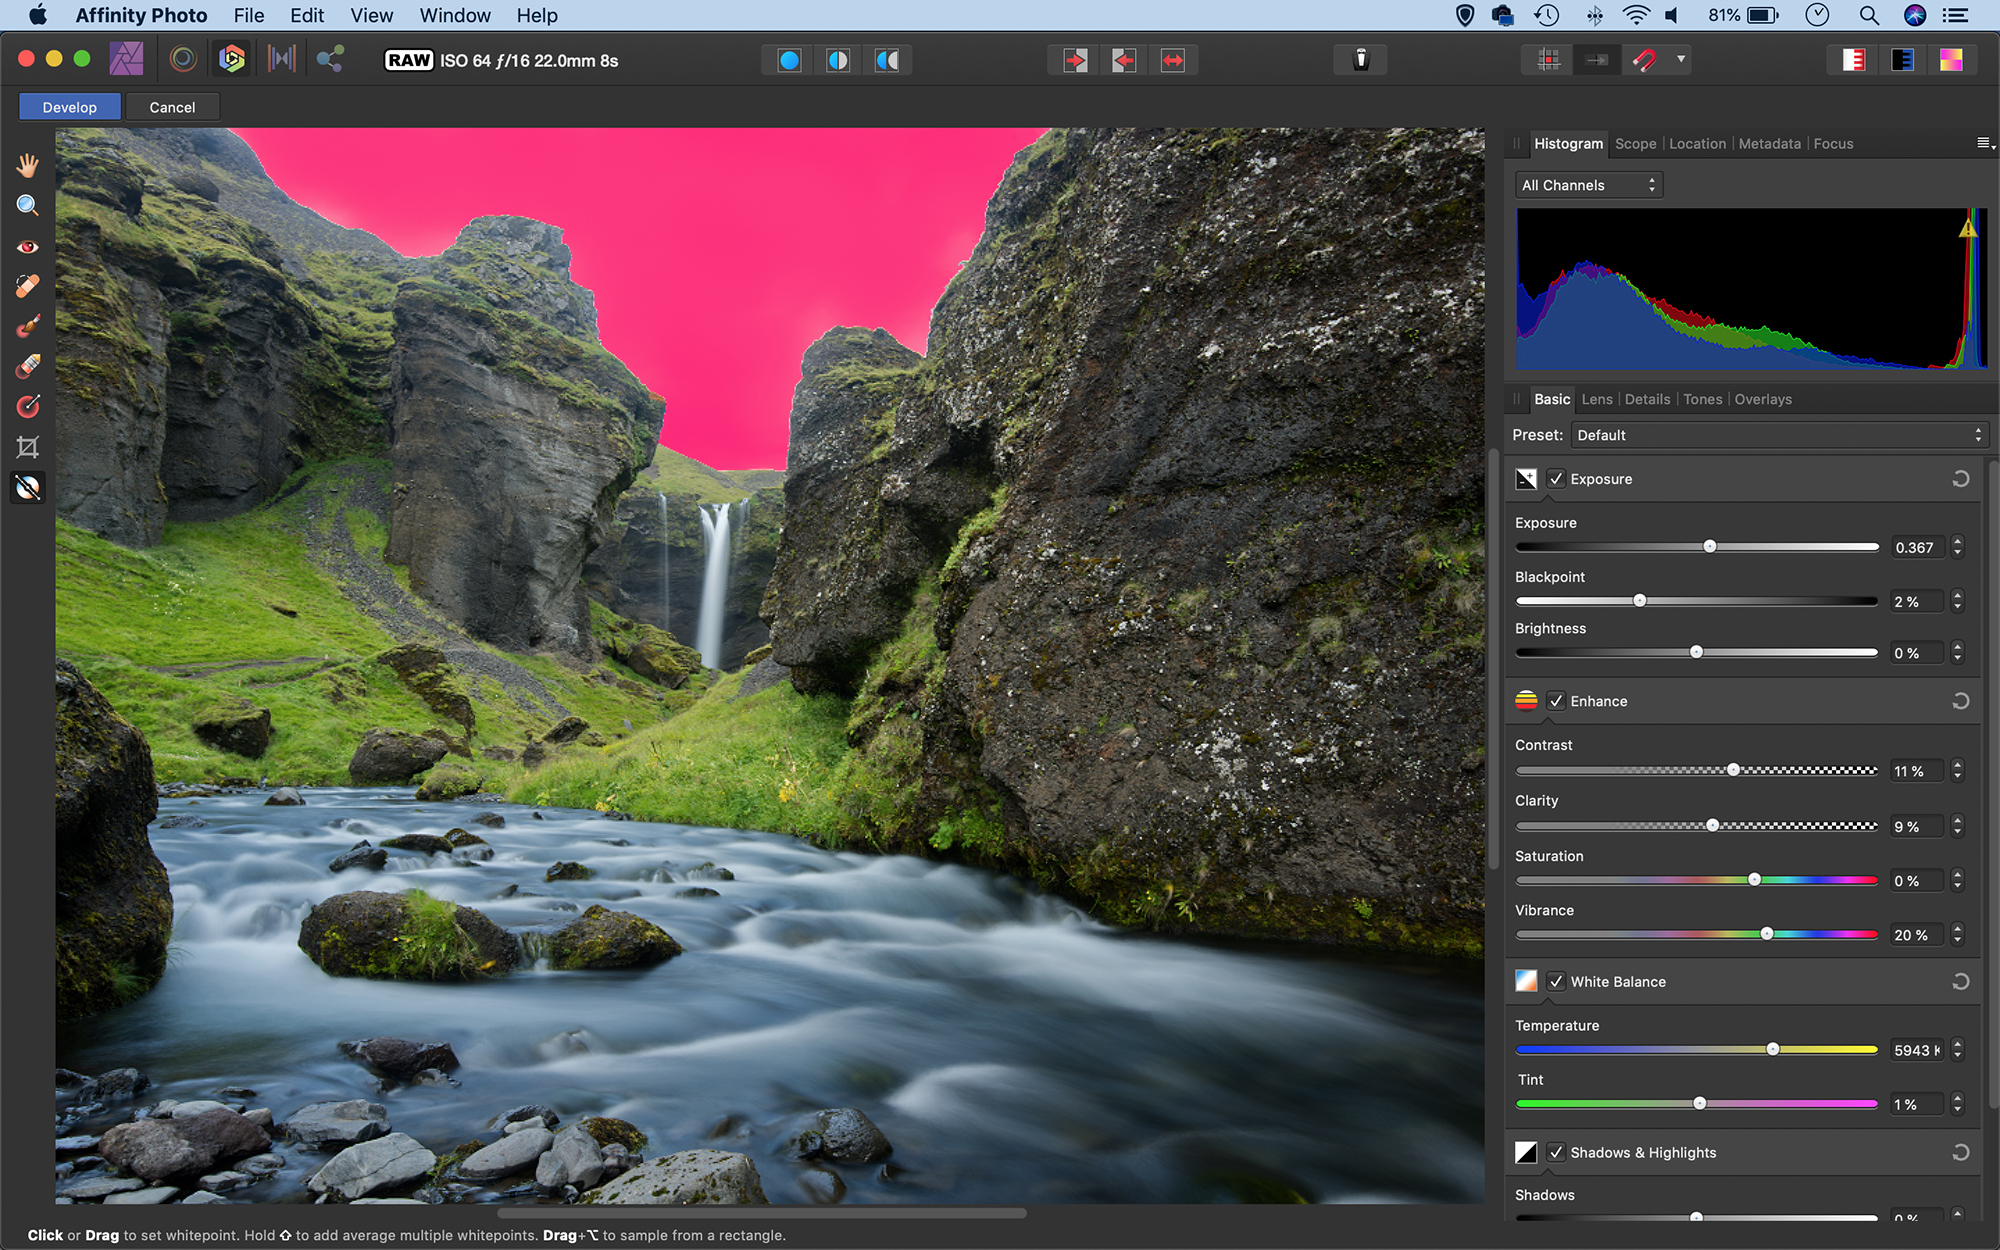
1. Boost color and clarity
It’s usually best to work your way down the Basic Panel, then move on to other panels. The Clarity control boosts mid-tone contrast – useful for enhancing detail in rocks and other surface textures. Use Vibrance and Saturation to strengthen colors. Vibrance targets the weaker colors, so here it lets us boost the blues in the water without pushing the strong greens too far.
2. Master Overlays
Overlays enable you to make local adjustments to areas of the image. Either drag a gradient with the Graduated Filter, or grab the Overlay Brush and paint to define an area. (Use the Erase Overlay Tool to fine-tune the area if necessary.) Tick ‘Edge Aware’ in the options to make the tool snap to edges in the image. Once done, go to the Basic Panel and adjust the tonal sliders to enhance the area.
3. Experiment in the Tones Panel
The Tones Panel offers a Curves Tool – useful for fine-tuning brightness and contrast or adjusting colors. You’ll also find excellent black-and-white conversion settings. These let you control the brightness of six color ranges during the black and white conversion. You can apply split-toning, too, by choosing colors to add to either the shadows or highlights, or both.
4. Enhance the details
Raw files tend to initially appear softer than JPEGs because they don’t have in-camera sharpening applied. Go to the Details Panel and tick Detail Refinement to sharpen the raw. Radius controls the size of the sharpened area (in relation to edges in the image) while Amount controls the overall strength of the sharpening. It’s usually best to keep Radius fairly low, then push Amount to enhance the detail.
5. Set white balance
One of the great benefits to shooting in raw is that you can change the white balance after the fact. Go to the White Balance Panel and use Temperature and Tint to alter the warmth. Alternatively, grab the White Balance Tool from the left toolbar and click on a point you know should be neutral and lacking in color, like the grey rocks here. Drag around the image to try out different points.
6. Make basic tonal tweaks
Drag your raw file into Affinity Photo and it’ll open into the Develop Persona. We can begin in the Basic Panel by using the tonal sliders to improve the tones. Here we’ve used the Exposure slider to lift the tones slightly, then dragged the Blacks slider to the right to deepen the shadows. If you don’t like the results given by a setting, you can double-click any slider to reset it to its default value.
Capture your light trails photo
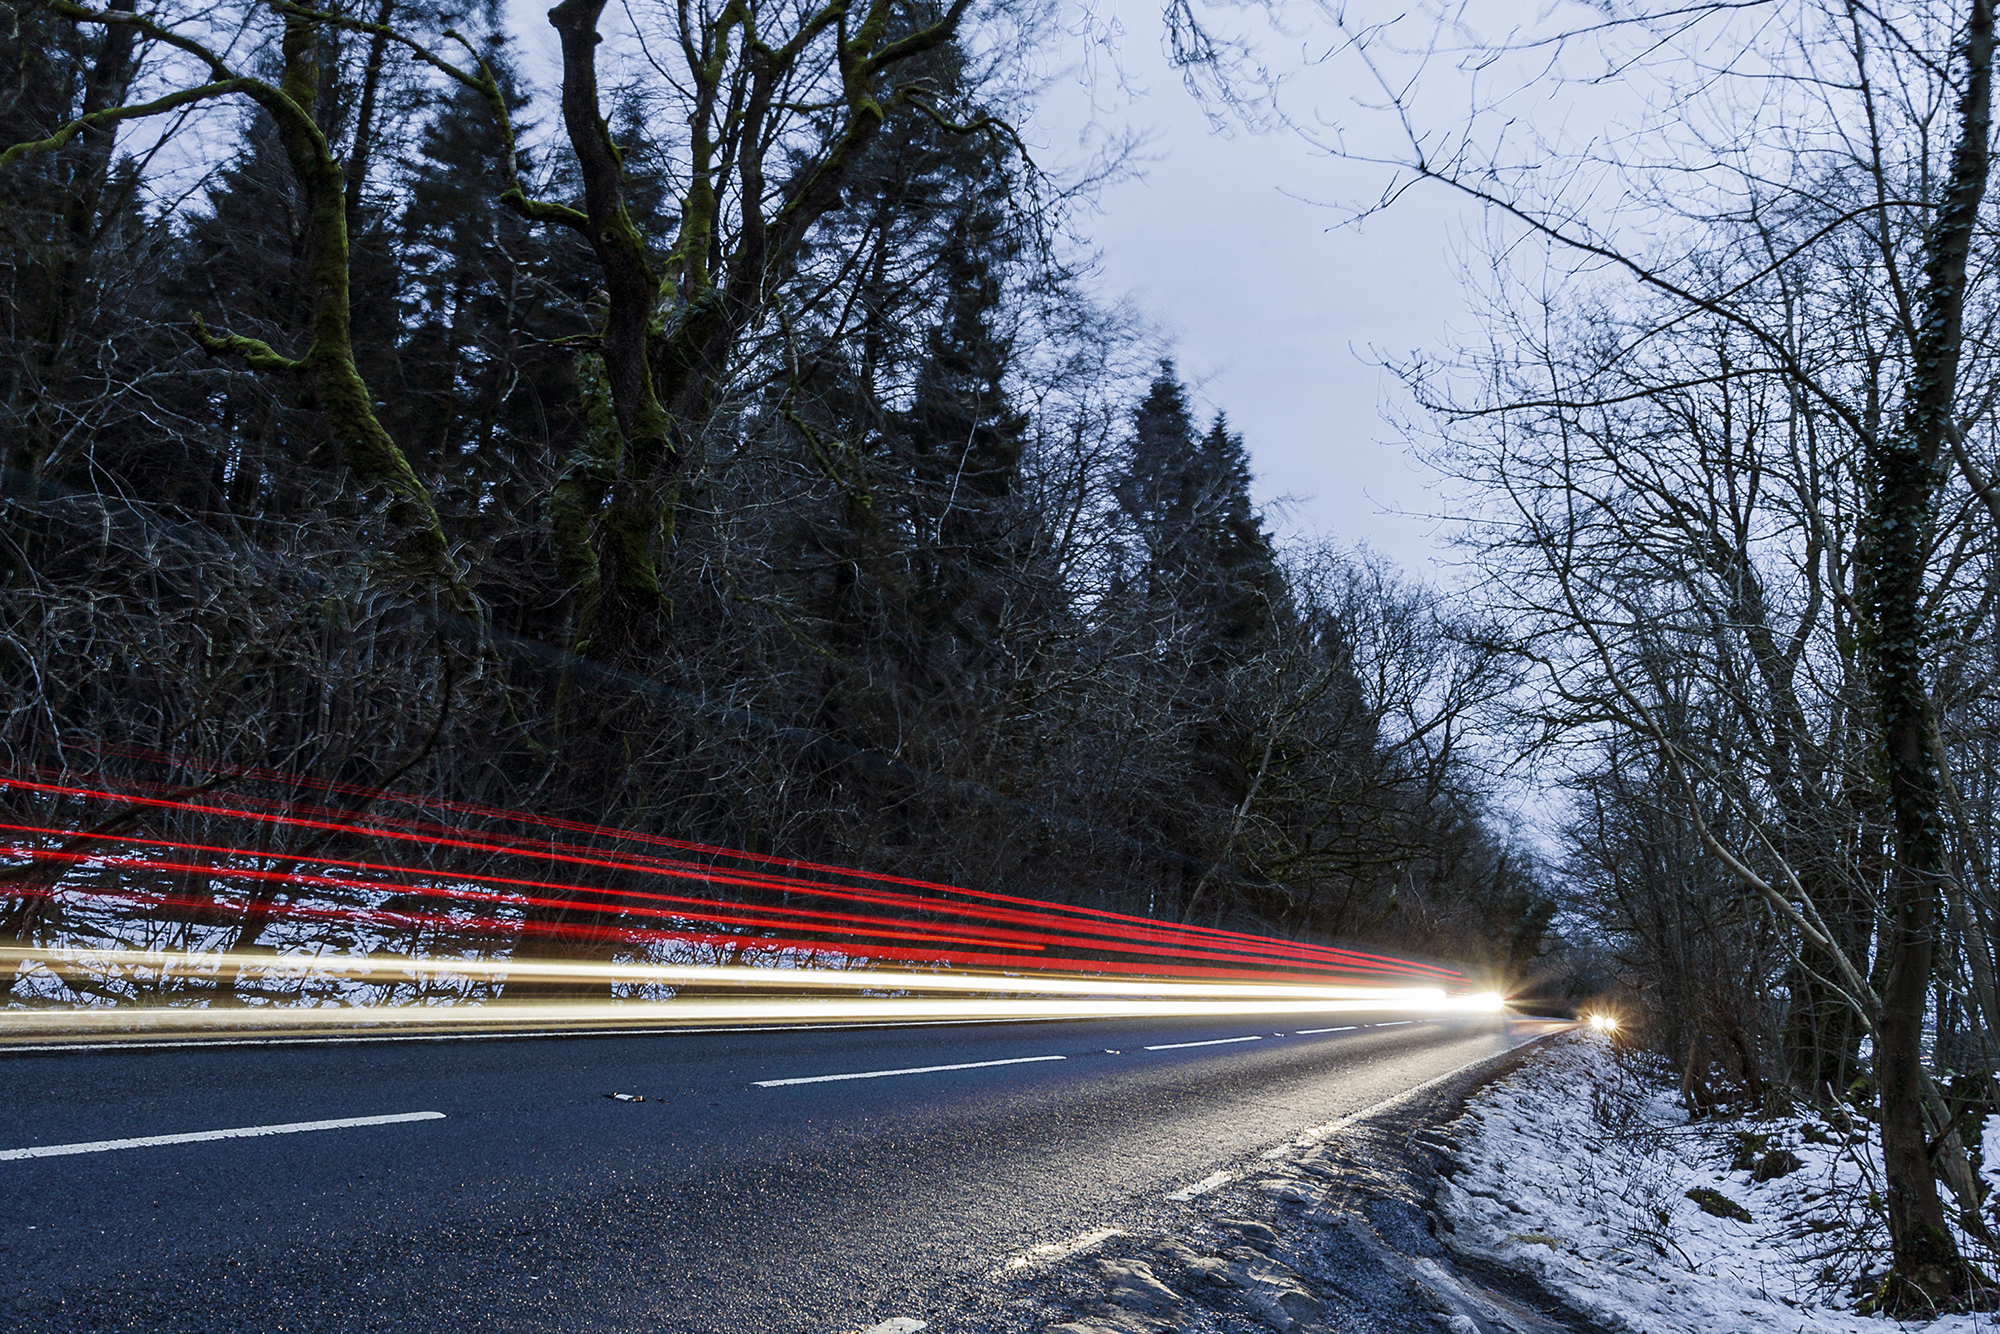
Shooting light trails is a technique anyone can try. You really don’t need a lot of equipment – any camera that gives you manual control over the shutter speed and a decent tripod to keep the camera stationary are pretty much it. The effect is simple to achieve: set a relatively long exposure on the camera, and any light source that moves while the picture is being taken will be recorded as a bright line.
Hit the ground running
For a classic take on light trail photography, head to a bridge above your nearest motorway or dual carriageway. The raised viewpoint will enable you to fill more of the frame with trails as the traffic streams from the foreground to the vanishing point. It also means you’ll be able to capture the white lines of oncoming headlights and red streaks from rear lights in the same frame, creating a pleasing visual balance.
It’s a good idea to set up your shot in daylight, so that you can make the most of the opportunity as twilight arrives. Shooting while there’s still some color in the sky makes it easier to create more balanced exposures which have detail in the sky and the foreground, as well as adding interest. Light trail shots taken in the dead of night can end up looking bottom-heavy – even floodlit buildings in the scene can appear lost when framed against a stark black background, so really go to town during the blue hour or at sunset.
To ensure that all the stationary elements of your image are sharp and the light trails are smooth, use a tripod and trigger the shutter without touching the camera. You can do this using the self-timer when traffic is moving at a predictable pace. When the timing of a shot is crucial, use a wired or wireless remote release. Take plenty of shots, so that you give yourself more options when it comes to choosing and editing your pictures.
Building up light trails
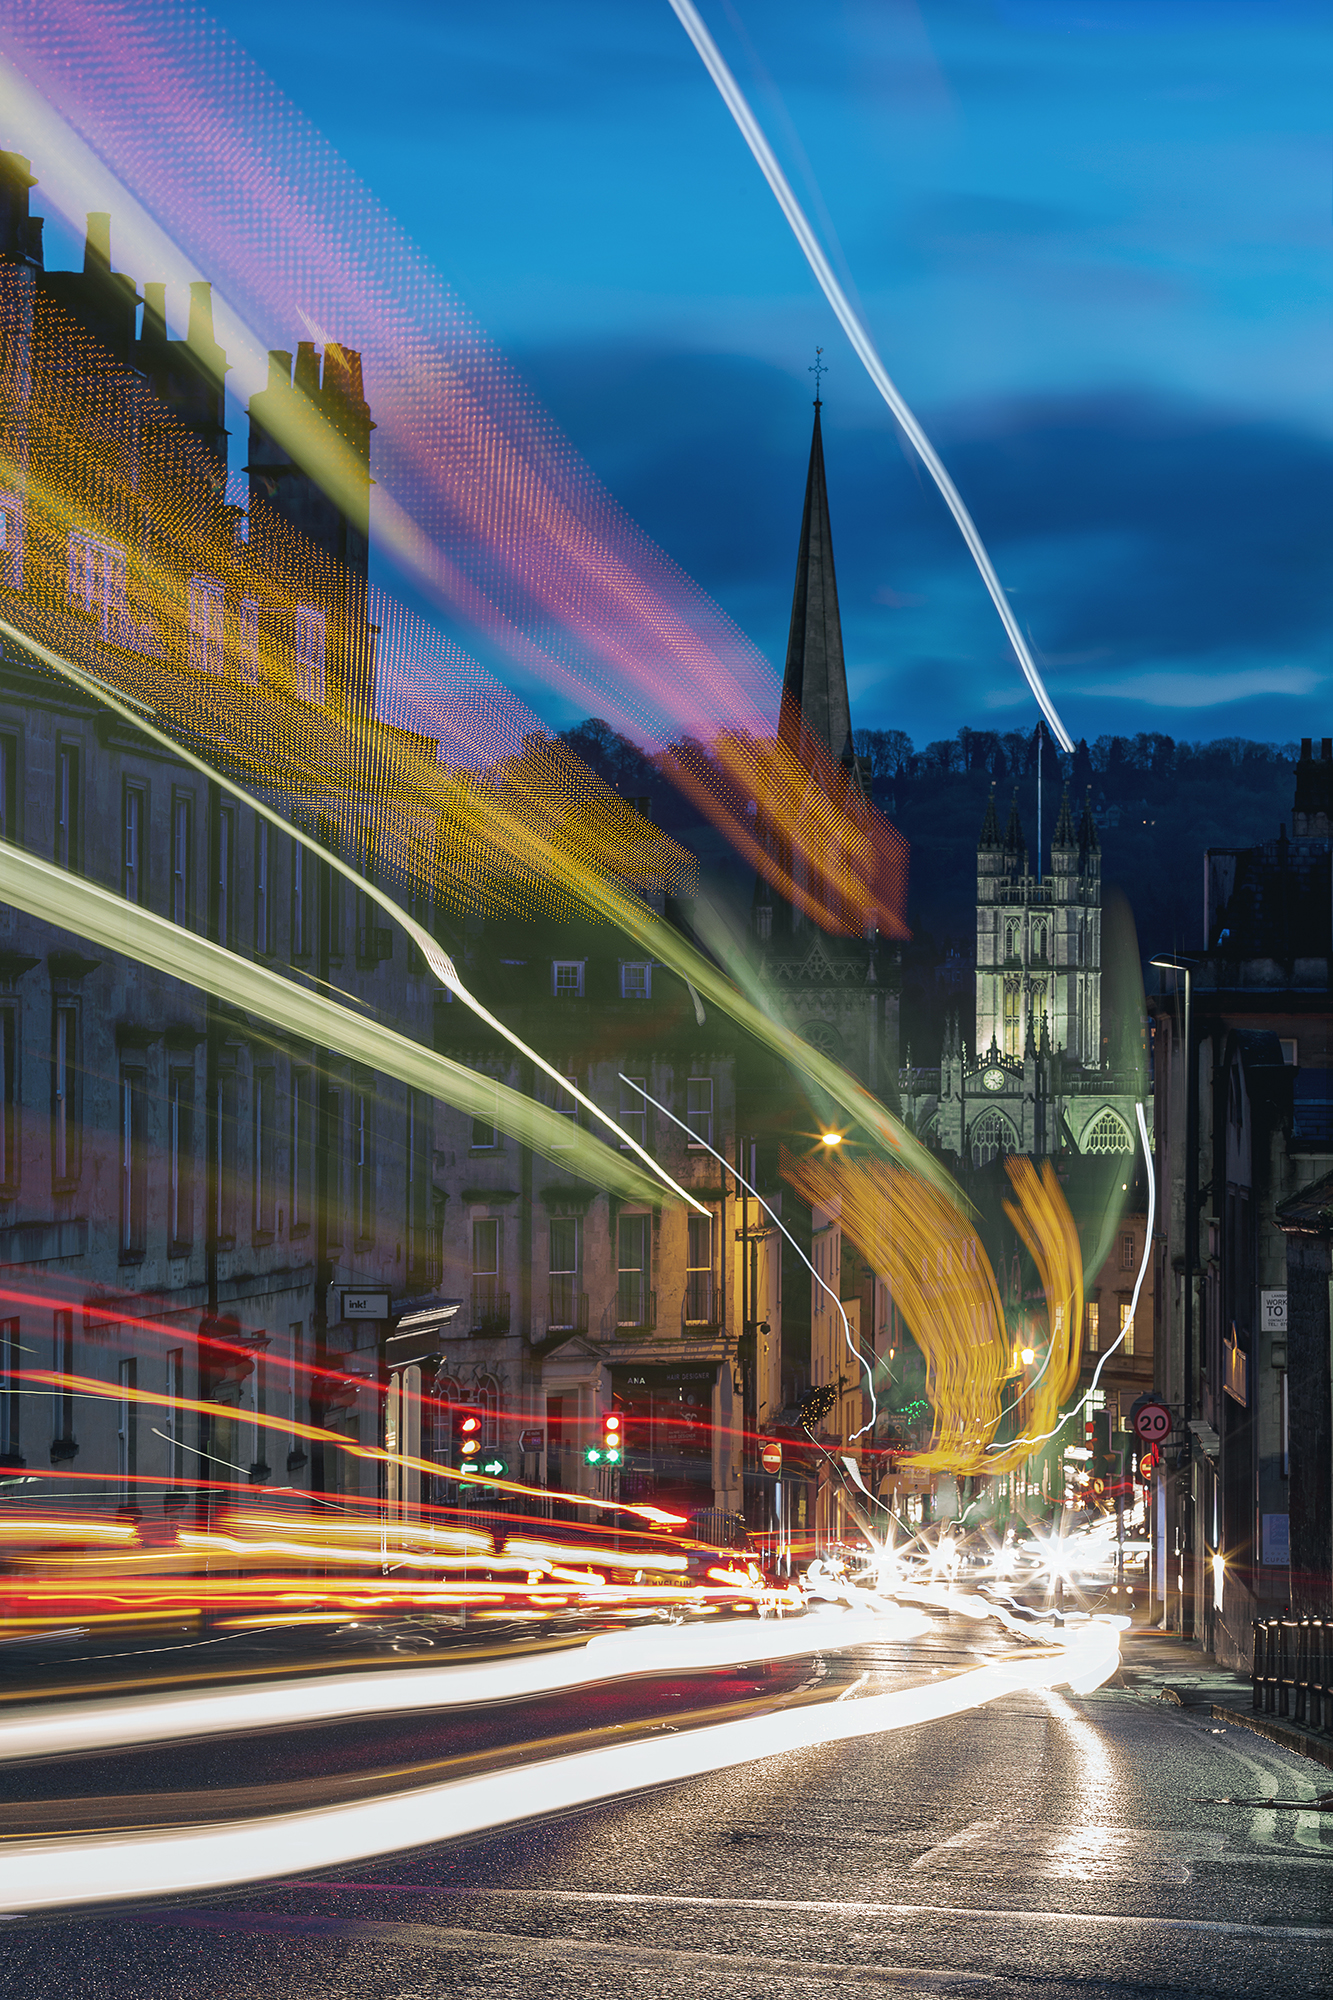
Unless you’re shooting a busy highway, the chances are that a single light trail exposure may leave the frame looking a bit sparse. For some shots, this will do just fine. However, you can combine several images to create a more densely packed result, with the help of editing software such as Affinity Photo. By adding each image as a separate layer then revealing the light trails from each layer, you can build up the effect. If you select the Lighten Blending Mode for each layer, you will show only the brightest elements from each image, while making use of masks will allow you to reveal only the light trails and other parts of the scene that you want to show.
If you do plan to combine images, you’ll definitely need a tripod to take the shots, so that it’s easier to align them in your software. In addition to focusing and setting the exposure manually, switch the white balance and image processing to one of the presets rather than leaving them set to automatic. This will reduce the amount of work that you need to do later to make the blend between the shots invisible.
Getting the light speed look
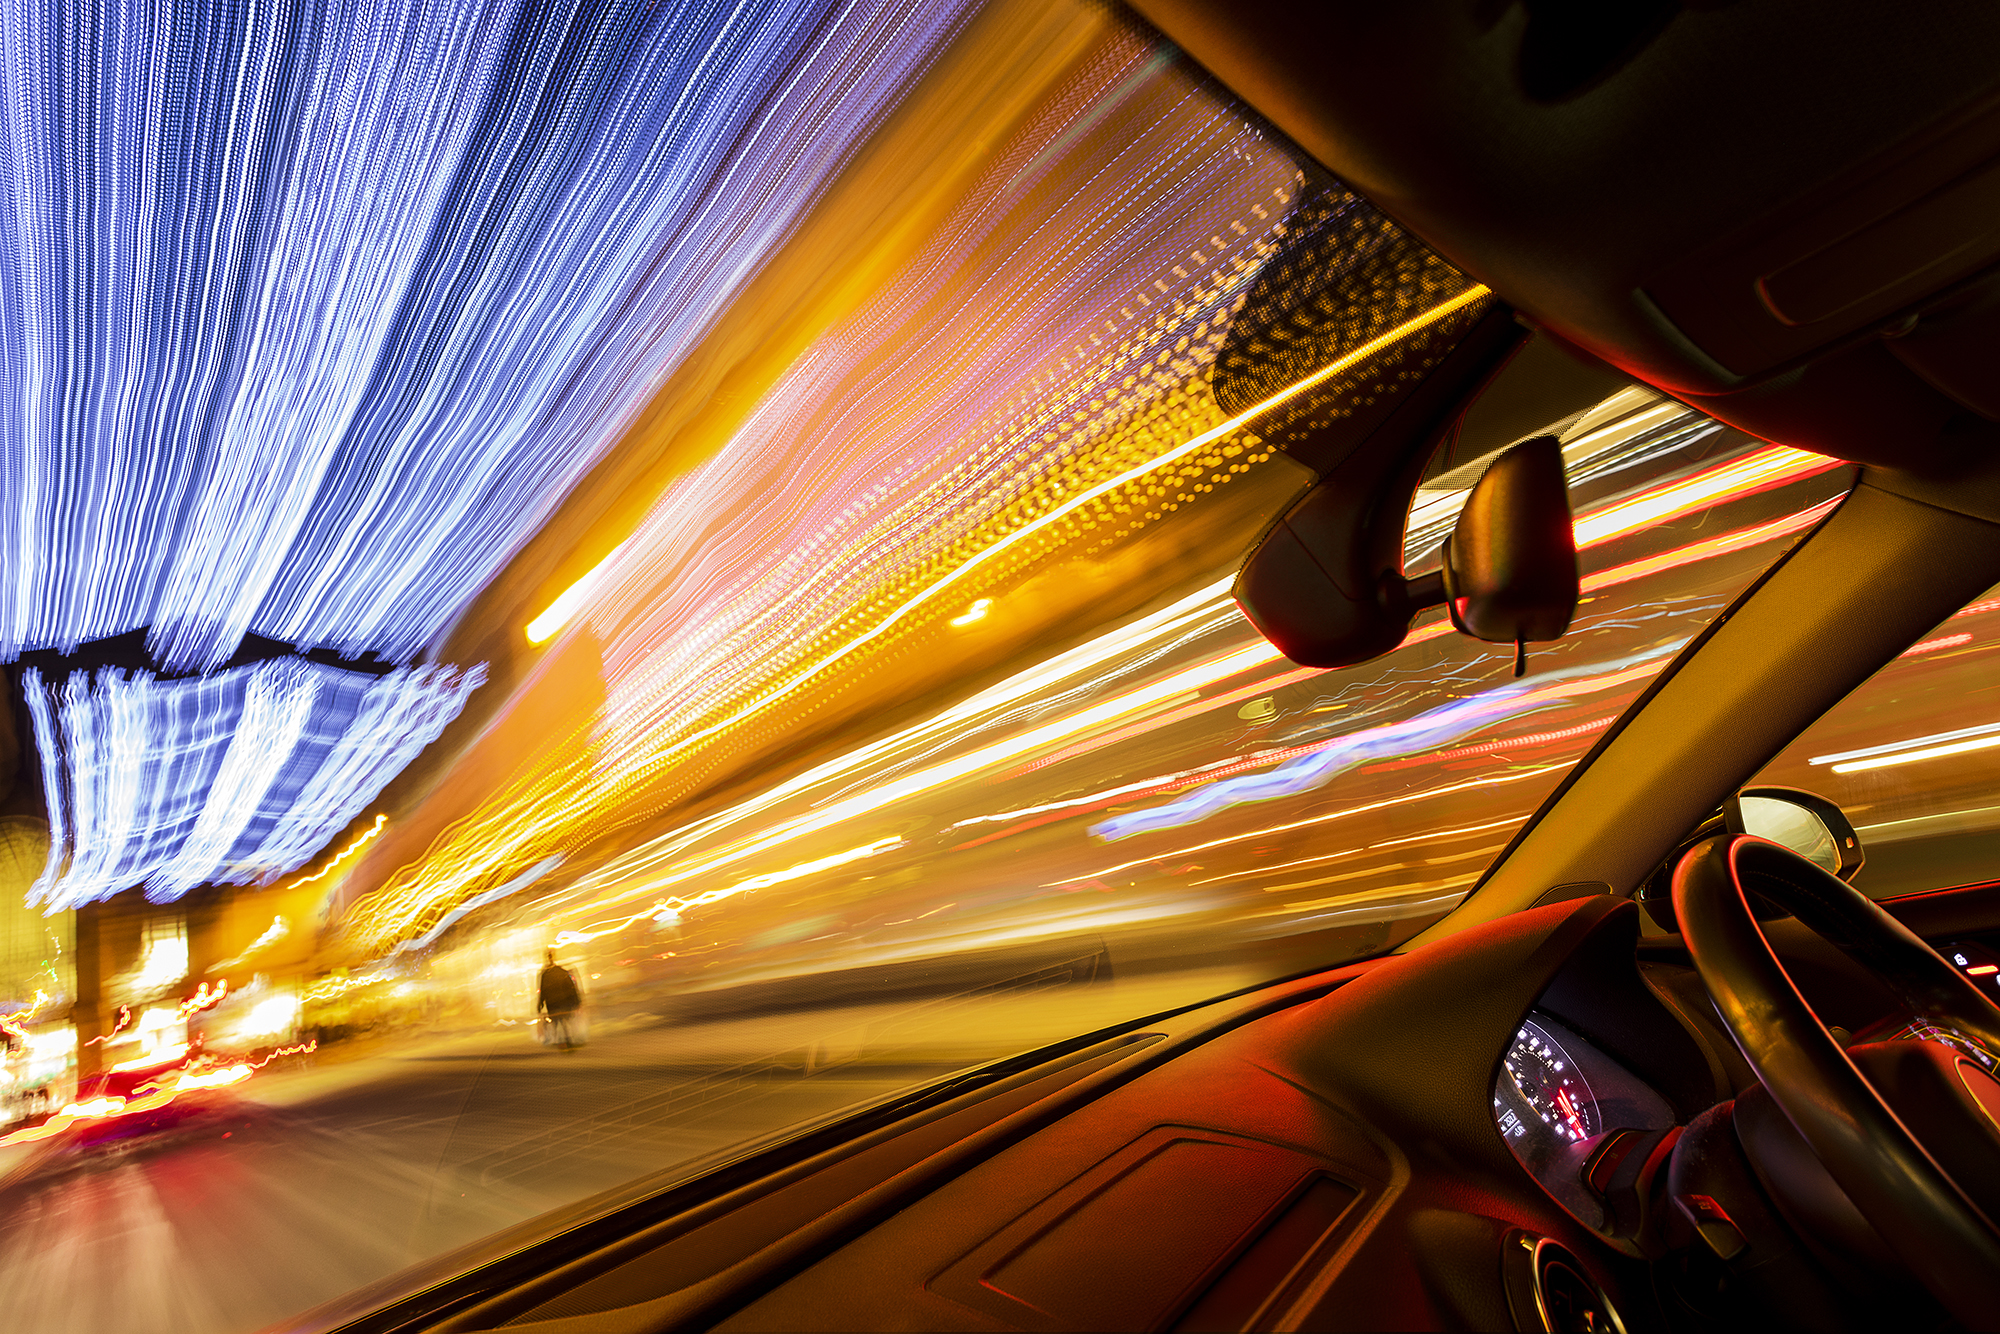
Although you can try this style of shot by holding the camera in the passenger seat while someone else drives, you can take a ‘selfie’ by setting up your camera on a tripod in the front passenger area or behind the front seats. Do this in daylight, so that you can frame the shot and manually set the focus. Preset your exposure in Manual mode too. You may need to do a few test runs first, to find the best balance of settings: I ended up using 5 sec at f/8, ISO 400 for this shot.
Obviously it’s important to make sure the camera and tripod are secure. I wedged one of the tripod legs between the front passenger seat and the door, with the other two locked into position in the footwell. You need to be hands-free with the shutter release, too. The camera I used has a built-in intervalometer, which I set to a one-second duration. This meant that once I’d pressed the shutter release – before setting off – the camera would take photos until the memory card was full or the battery was exhausted. If your camera doesn’t have this feature, some remote releases have a built-in intervalometer.
Drawing with light
You don’t have to rely on light trails created by other objects: you can produce your own at home or on location. All you need is a torch or light-emitting object that you can move during a long exposure. If you shoot in a darkened room and keep moving, you won’t be visible in the shots, so your light trails or sketches will seem to hang in the air.
You can use the light trail technique for all kinds of photography, but try honing your skills by using a simple still-life where every element is under your control. For added precision, use a small torch with the end removed to reveal the bare light source. Set a mid-range aperture, such as f/11, and an ISO of 200, with a shutter speed of 10 seconds or so to begin with, and be prepared to vary the shutter speed to adjust the brightness of the image.

Shooting the night sky
There are two approaches you can take with star trail photography: shoot one extremely long exposure (and hope for the best), or shoot a sequence of shorter exposures that can be stacked together in editing software. Doing it all in one long exposure of an hour or more can deliver the most pleasing result, but it’s prone to problems. The build-up of heat in the sensor can lead to higher levels of noise, and there are all sorts of factors that can ruin the end result. Any bright areas in the landscape can end up being overexposed, and if planes or clouds pass overhead, there’s going to be little you can do about it. There’s also the risk of the battery giving up mid-shoot.
Shooting a sequence of shorter exposures that can be combined later is often more convenient. To find the optimum exposure, set a shutter speed of 30 seconds, a wide aperture (such as f/4) and ISO 200. Take a test shot and if the results are too dark, increase the ISO. If your camera has an intervalometer setting, then you can simply dial in the number of shots according to how long you want your trails to be. Approximately 150-200 shots is a good starting point.
The type of star trails you end up with depends on where you point the camera. In the northern hemisphere, compose your image with Polaris in the centre for classic circular trails, or off to the side for more curved results.
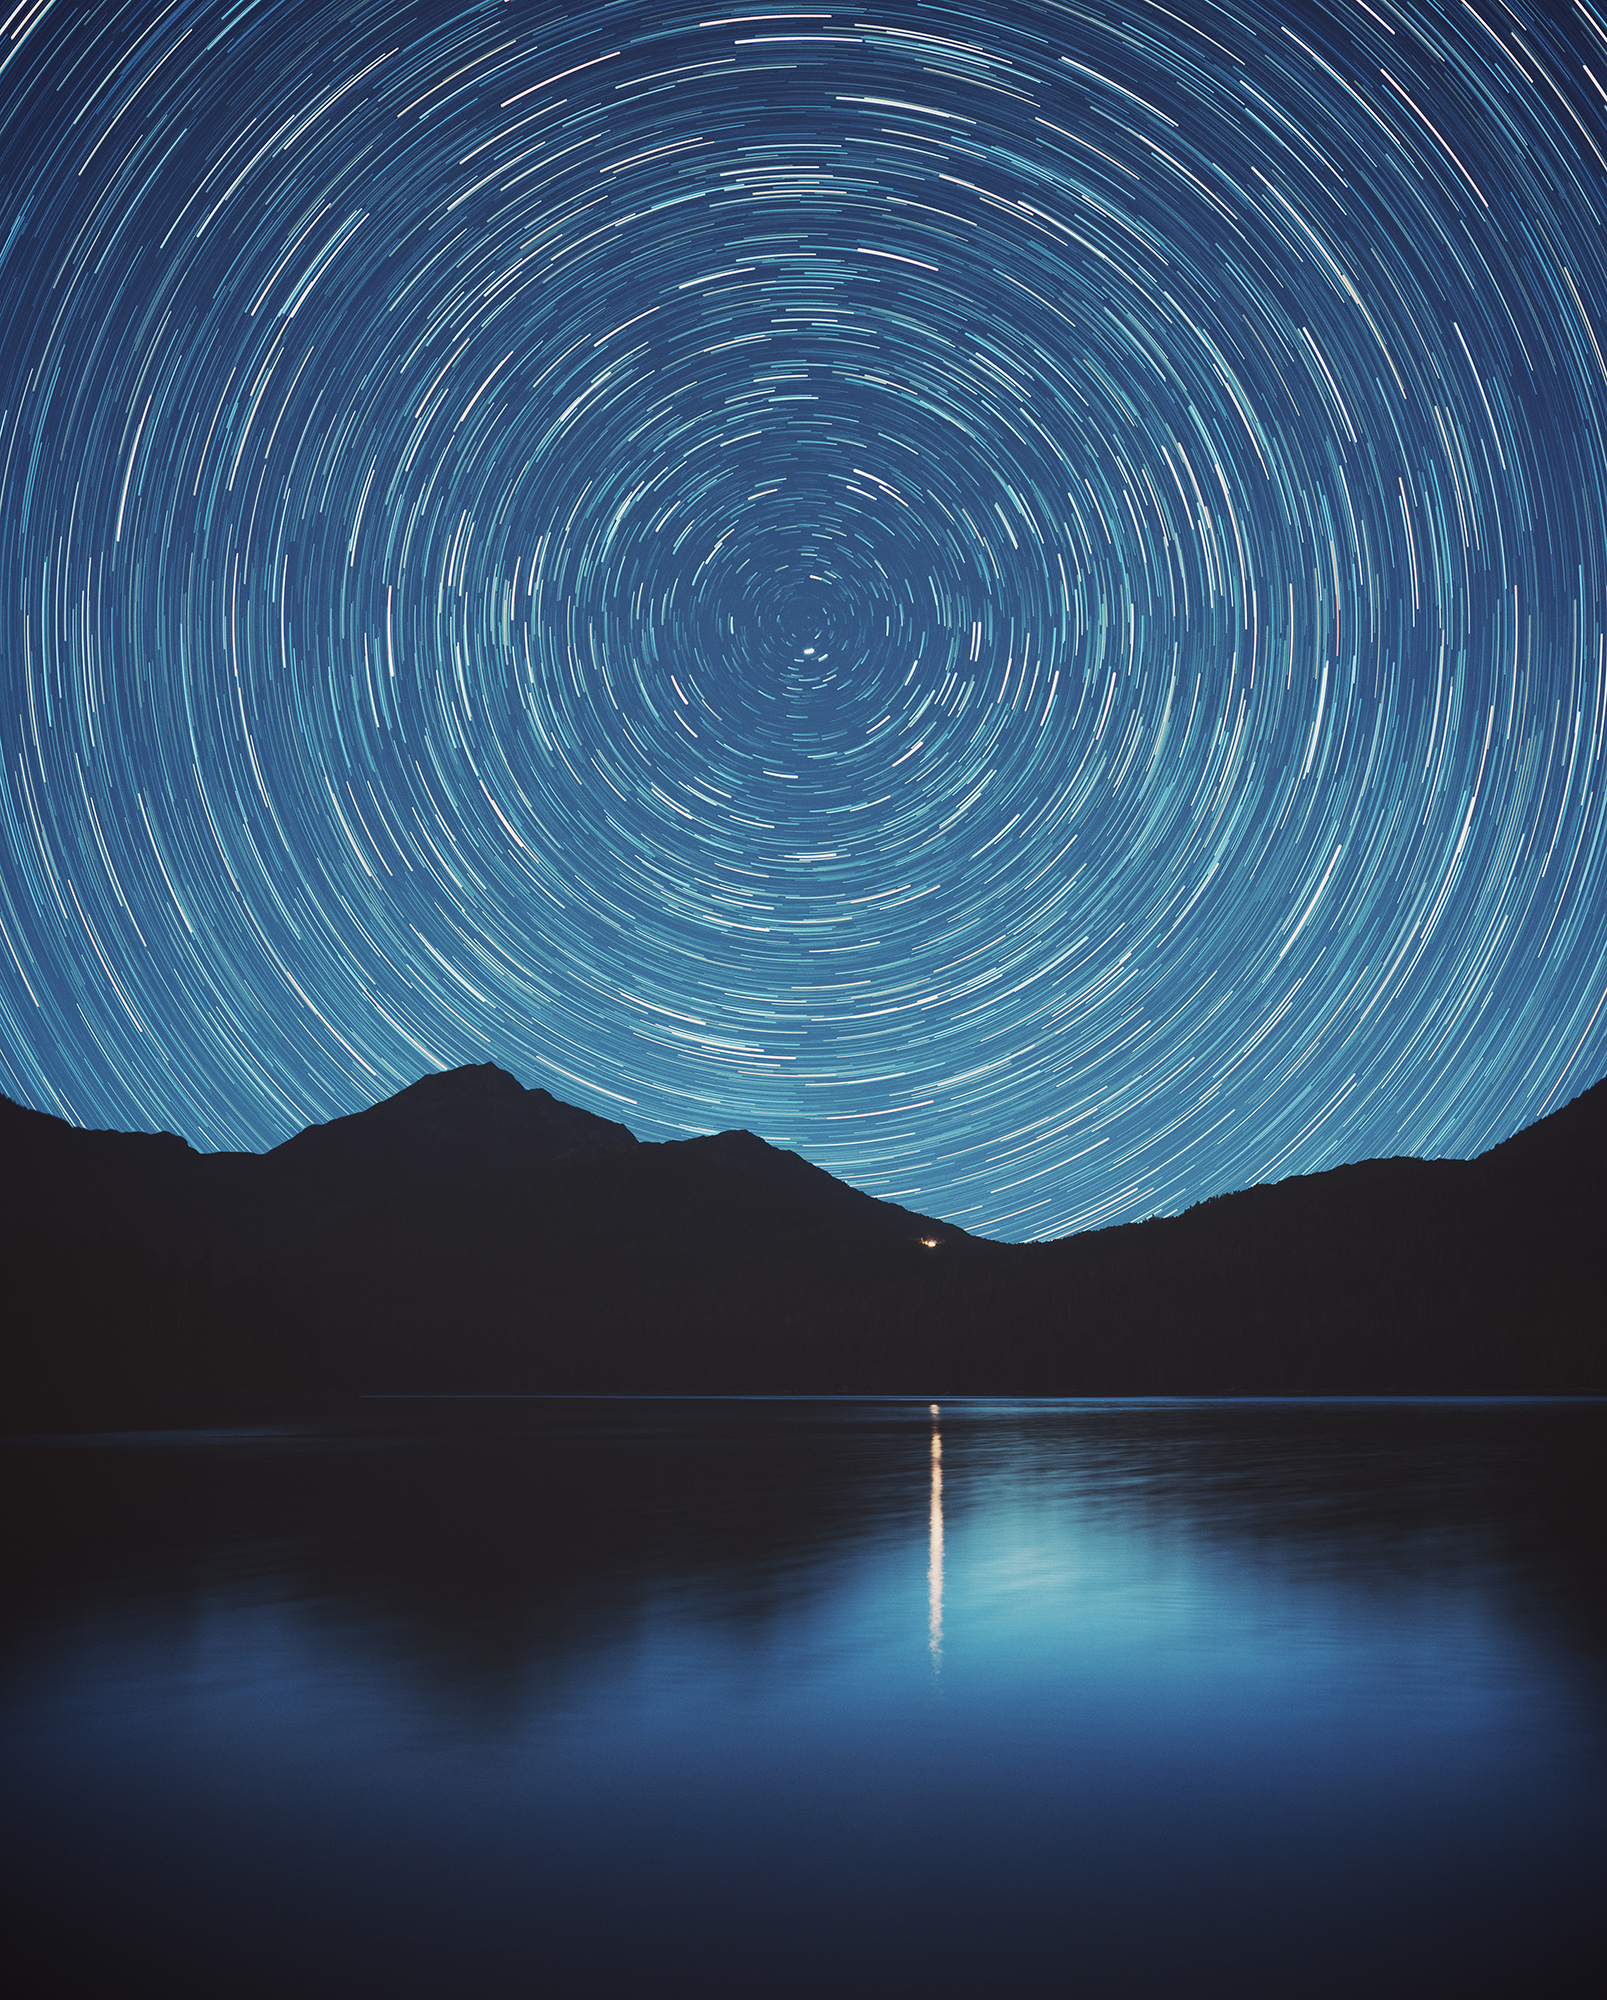
Light trail photography tips
1. Set the shutter speed first
When it comes to capturing light trails, the length of the exposure is the most important factor. Use the ISO and aperture settings to control the overall exposure, and shoot in raw so that you can fine-tune the brightness later.
2. Work out your timings
Use the time it takes for an object to move through the frame as a guide to how long the shutter speed needs to be. Think about the timing of the shutter release: if the object is already in the frame when you start the exposure, the trail will begin there.
3. Use other manual options
As well as setting the exposure manually, switch the lens to manual focus so that you can preset the focus on a stationary part of the scene you’re photographing. Select one of the manual white balance presets and picture settings, too, to cut down the post-production work.
4. Get some support
Double-check that the locks on your tripod legs and head are securely fastened before you start shooting. Switch off any image stabilization function, too: this may actually introduce blur with a tripod-mounted set-up.
5. Stack shots
Take a wide range of pictures so that you have the option of stacking shots in software. This technique is useful when you’re creating light trails with a torch, so you don’t have to do it all in one go.
Reader challenge: Light trails
This month we’re looking for your creative images of light trails. They can feature any subject, and can be created using a single long exposure or represent the end result of stacking several images in software. We’re looking for pictures that have a clearly defined trail element, as opposed to pictures that use the related-but-different light-painting technique – although you may want to combine both types of light work in a single image, of course.
To enter your best light trail shot (one per reader, please), email your entry to digitalcamera@futurenet.com, putting ‘Light trails’ in the subject line; or go to our Facebook page, find the ‘Light trails’ post, and upload your entry there.
By entering your image, you confirm that you own the copyright to the image, and agree that Digital Camera can publish it in relation to the competition. You retain full copyright of your image, and will be credited if published. The closing date is 4 February 2021. The winner will receive a copy of Affinity Photo for Windows or macOS. Good luck!
Get the Digital Camera World Newsletter
The best camera deals, reviews, product advice, and unmissable photography news, direct to your inbox!
Digital Camera World is one of the leading authorities on camera and photography news, reviews, techniques, tutorials, comparisons, deals and industry analysis. The site doesn't just specialize in cameras, but all aspects of photography, videography and imaging – including camera phones, gimbals, lenses, lighting, editing software, filters, tripods, laptops, printers, photo books, desks, binoculars and more.
Whether you're using, looking to buy or trying to get the most out of a compact camera, action camera, camera drone, cinema camera, beginner camera or professional camera, Digital Camera World has a roster of experts with combined experience of over 100 years when it comes to cameras, photography and imaging.

