Get richly detailed close-ups with Focus Merging in Affinity Photo 2
It's fun to explore the private life of flowering plants in close-up detail. We'll start with camera skills, but scroll down to discover an effective editing trick for stacking your final flower photos in Affinity Photo 2!
Flower photography can be a truly rewarding pursuit. As with autumn photography, you’ll need to seize opportunities as they arrive, as once insects and extreme weather have done their work, a flower will soon look past its best.
A lens that allows you to focus closely is an asset, but you don’t necessarily need a full-blown 1:1 macro lens unless the flowers that you’re photographing are small, or you want to capture detail shots. Many lenses come with a ‘macro’ function that allows you to focus at relatively close distances.
A tripod also comes in handy for close-ups, but it requires a slow and steady approach if you’re to avoid damaging other plants and risking the wrath of the formerly friendly gardener in your life. Size up the subject with a handheld camera before you set up the legs, paying close attention to what’s in the background of your shot – gardens are notorious for their distractions.

Out now, Affinity Photo 2 is the brand-new version of the only fully-loaded photo editor integrated across macOS, Windows and iPad. The first choice of millions of creative and photography professionals around the world who love its speed, power and precision, Affinity Photo 2 has everything you need to edit and retouch images, create multi-layered compositions, beautiful raster paintings and so much more. It's also equipped with hundreds of timesaving tools and a completely redesigned UI to make your editing experience more seamless than ever. Affinity Photo 2 is available for a one-off payment with no subscription, or try the 30-day free trial.
You can, of course, ditch the tripod and shoot handheld. This way you’re able to be a bit more spontaneous and free to quickly try out a whole range of compositions on the fly. You’ll probably need to open the aperture to a fairly wide setting and possibly bump up the ISO to a higher sensitivity if you’re to avoid the shutter speed becoming too slow for sharp handheld photography.
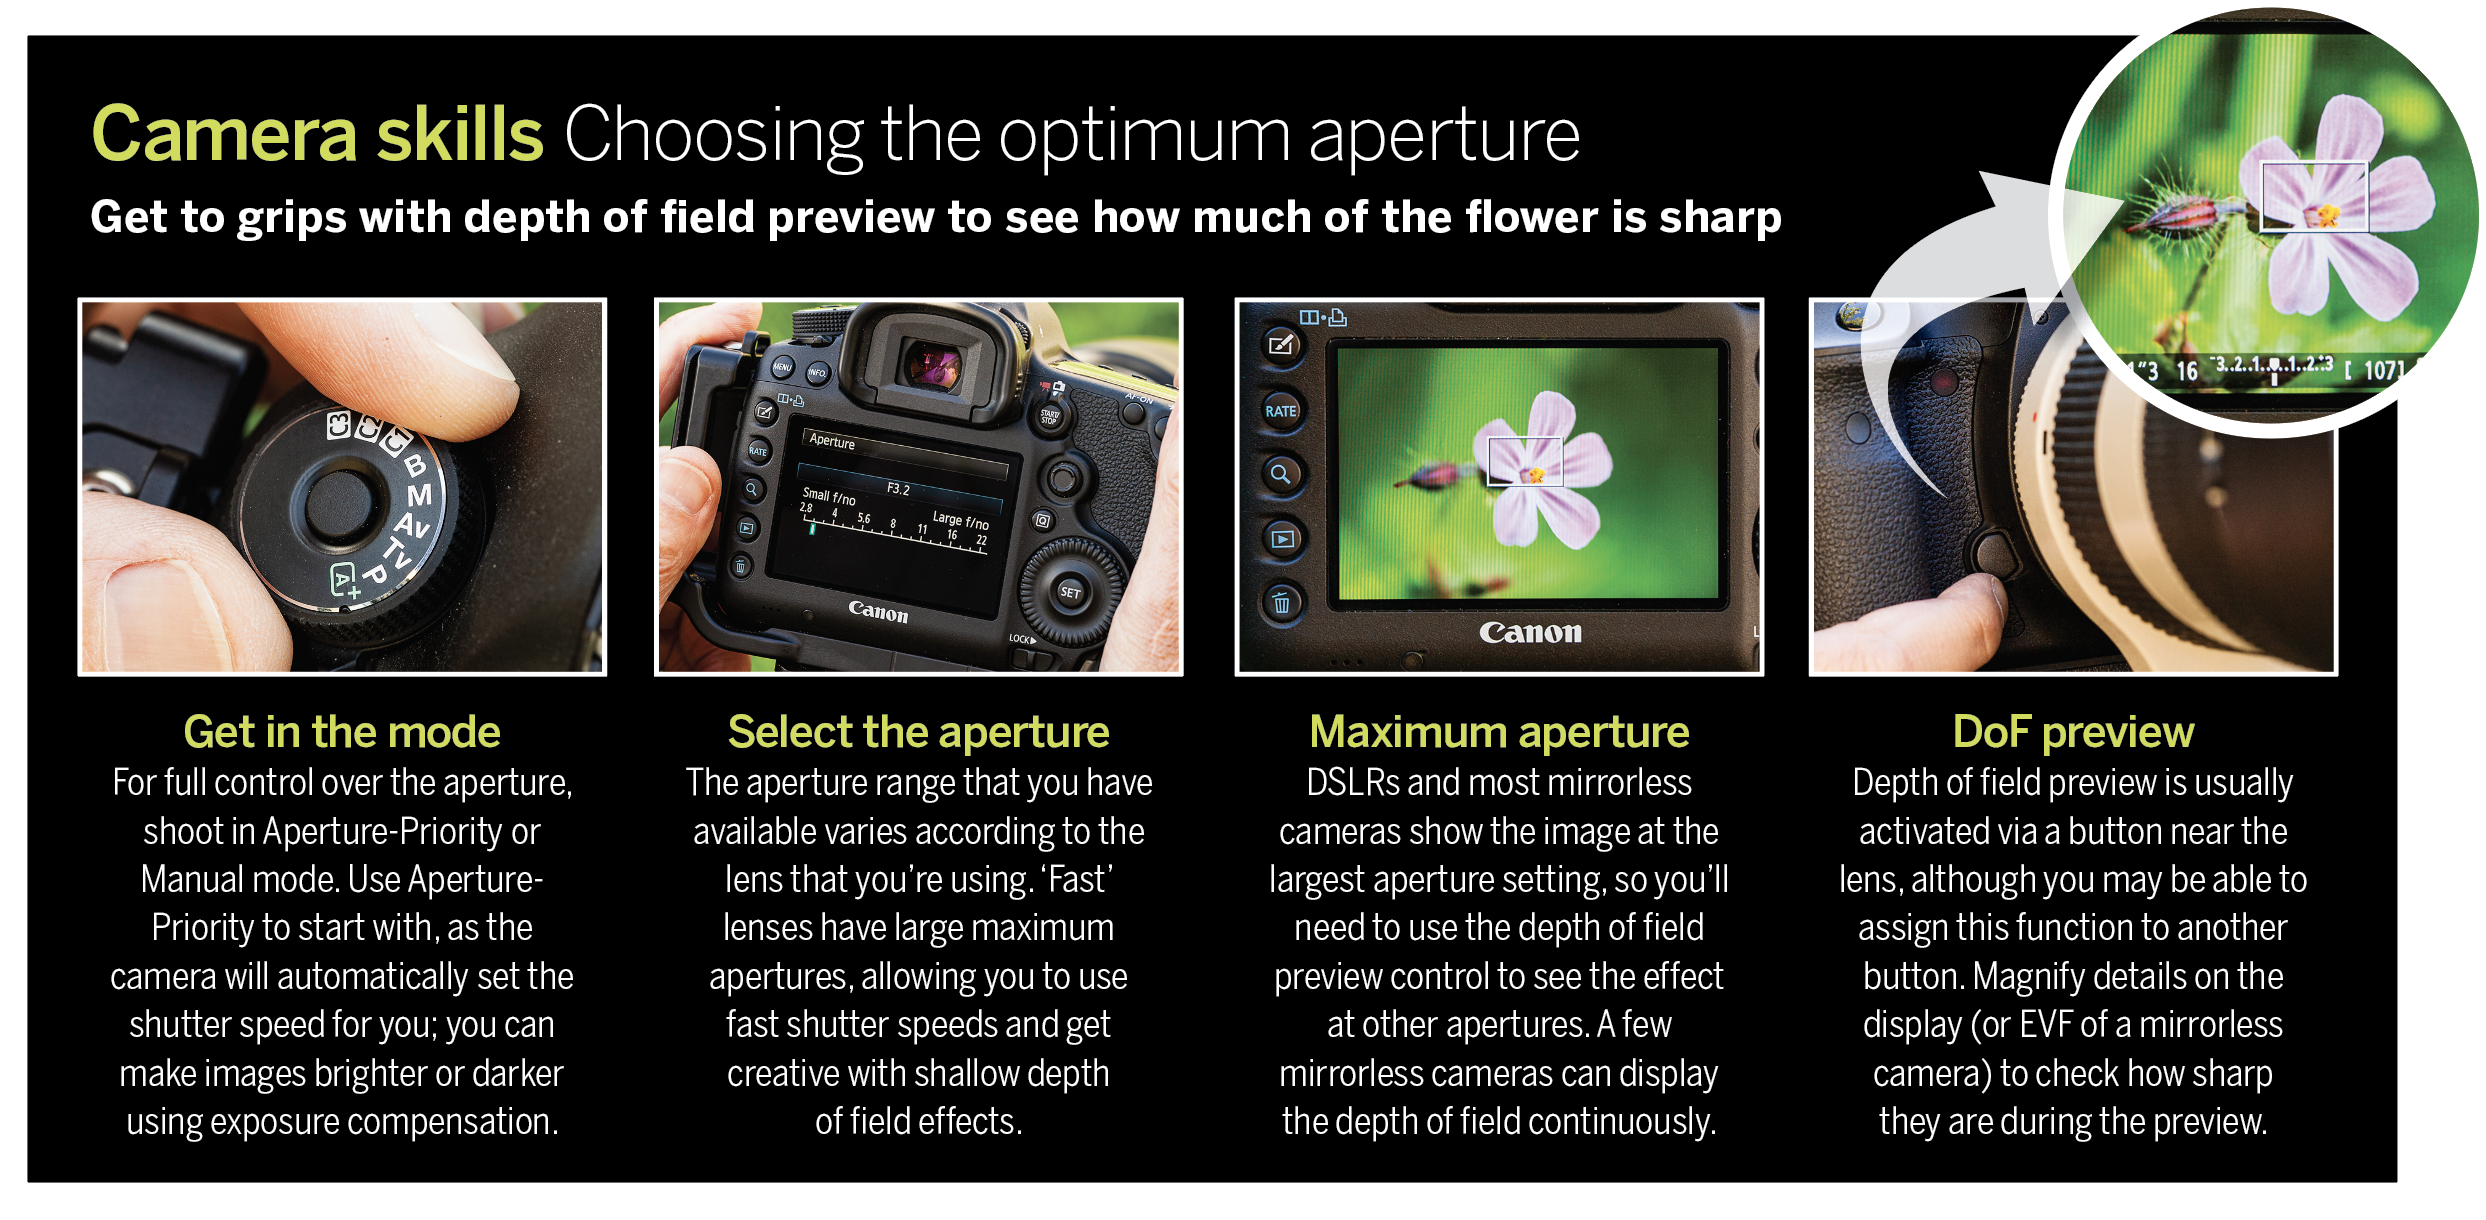
A lens or a camera with a built-in image stabiliser can certainly make the difference between a sharp shot and a soft one, but its effects will be reduced at close distances. Magnifying the Live View image so that you can focus on a small detail is the way to go when you’re dealing with extreme close-ups of delicate floral structures.
If you’re shooting with a DSLR, then there’s one other trick to maximising sharpness: mirror lockup. Not all cameras offer this function, but if yours does then it’s worth activating, otherwise, the vibrations caused by the mirror moving up and down can cause fine details to become soft.
5 flower photography tips
1) Check the background
As with portraits of people and animals, the background can make or break a flower shot. If details are far enough from the subject, you can throw them out of focus by using a relatively wide aperture, but watch out for strong changes in contrast or colour.
2) Magnify to manual focus
When you’re using a shallow depth of field, focusing errors will be obvious. So put your camera on a tripod and use the rear screen to magnify the most important detail so that you can focus on it with precision.
3) Keep an eye on the small stuff
Small blemishes, detritus and spider silk can draw attention in a close-up shot, although they can be hard to spot when you’re out shooting.
4) Make the most of calm days
Wind makes flower photography a frustrating experience. Windless days will give you more flexibility when it comes to choosing a shutter speed, so set your alarm clock on these days to take advantage of it.
5) Fine-tune the colours later
Shoot RAW files and use the tools in your editing software to adjust the white balance and overall vibrance, and even selectively tweak the hue and saturation
of individual colours.
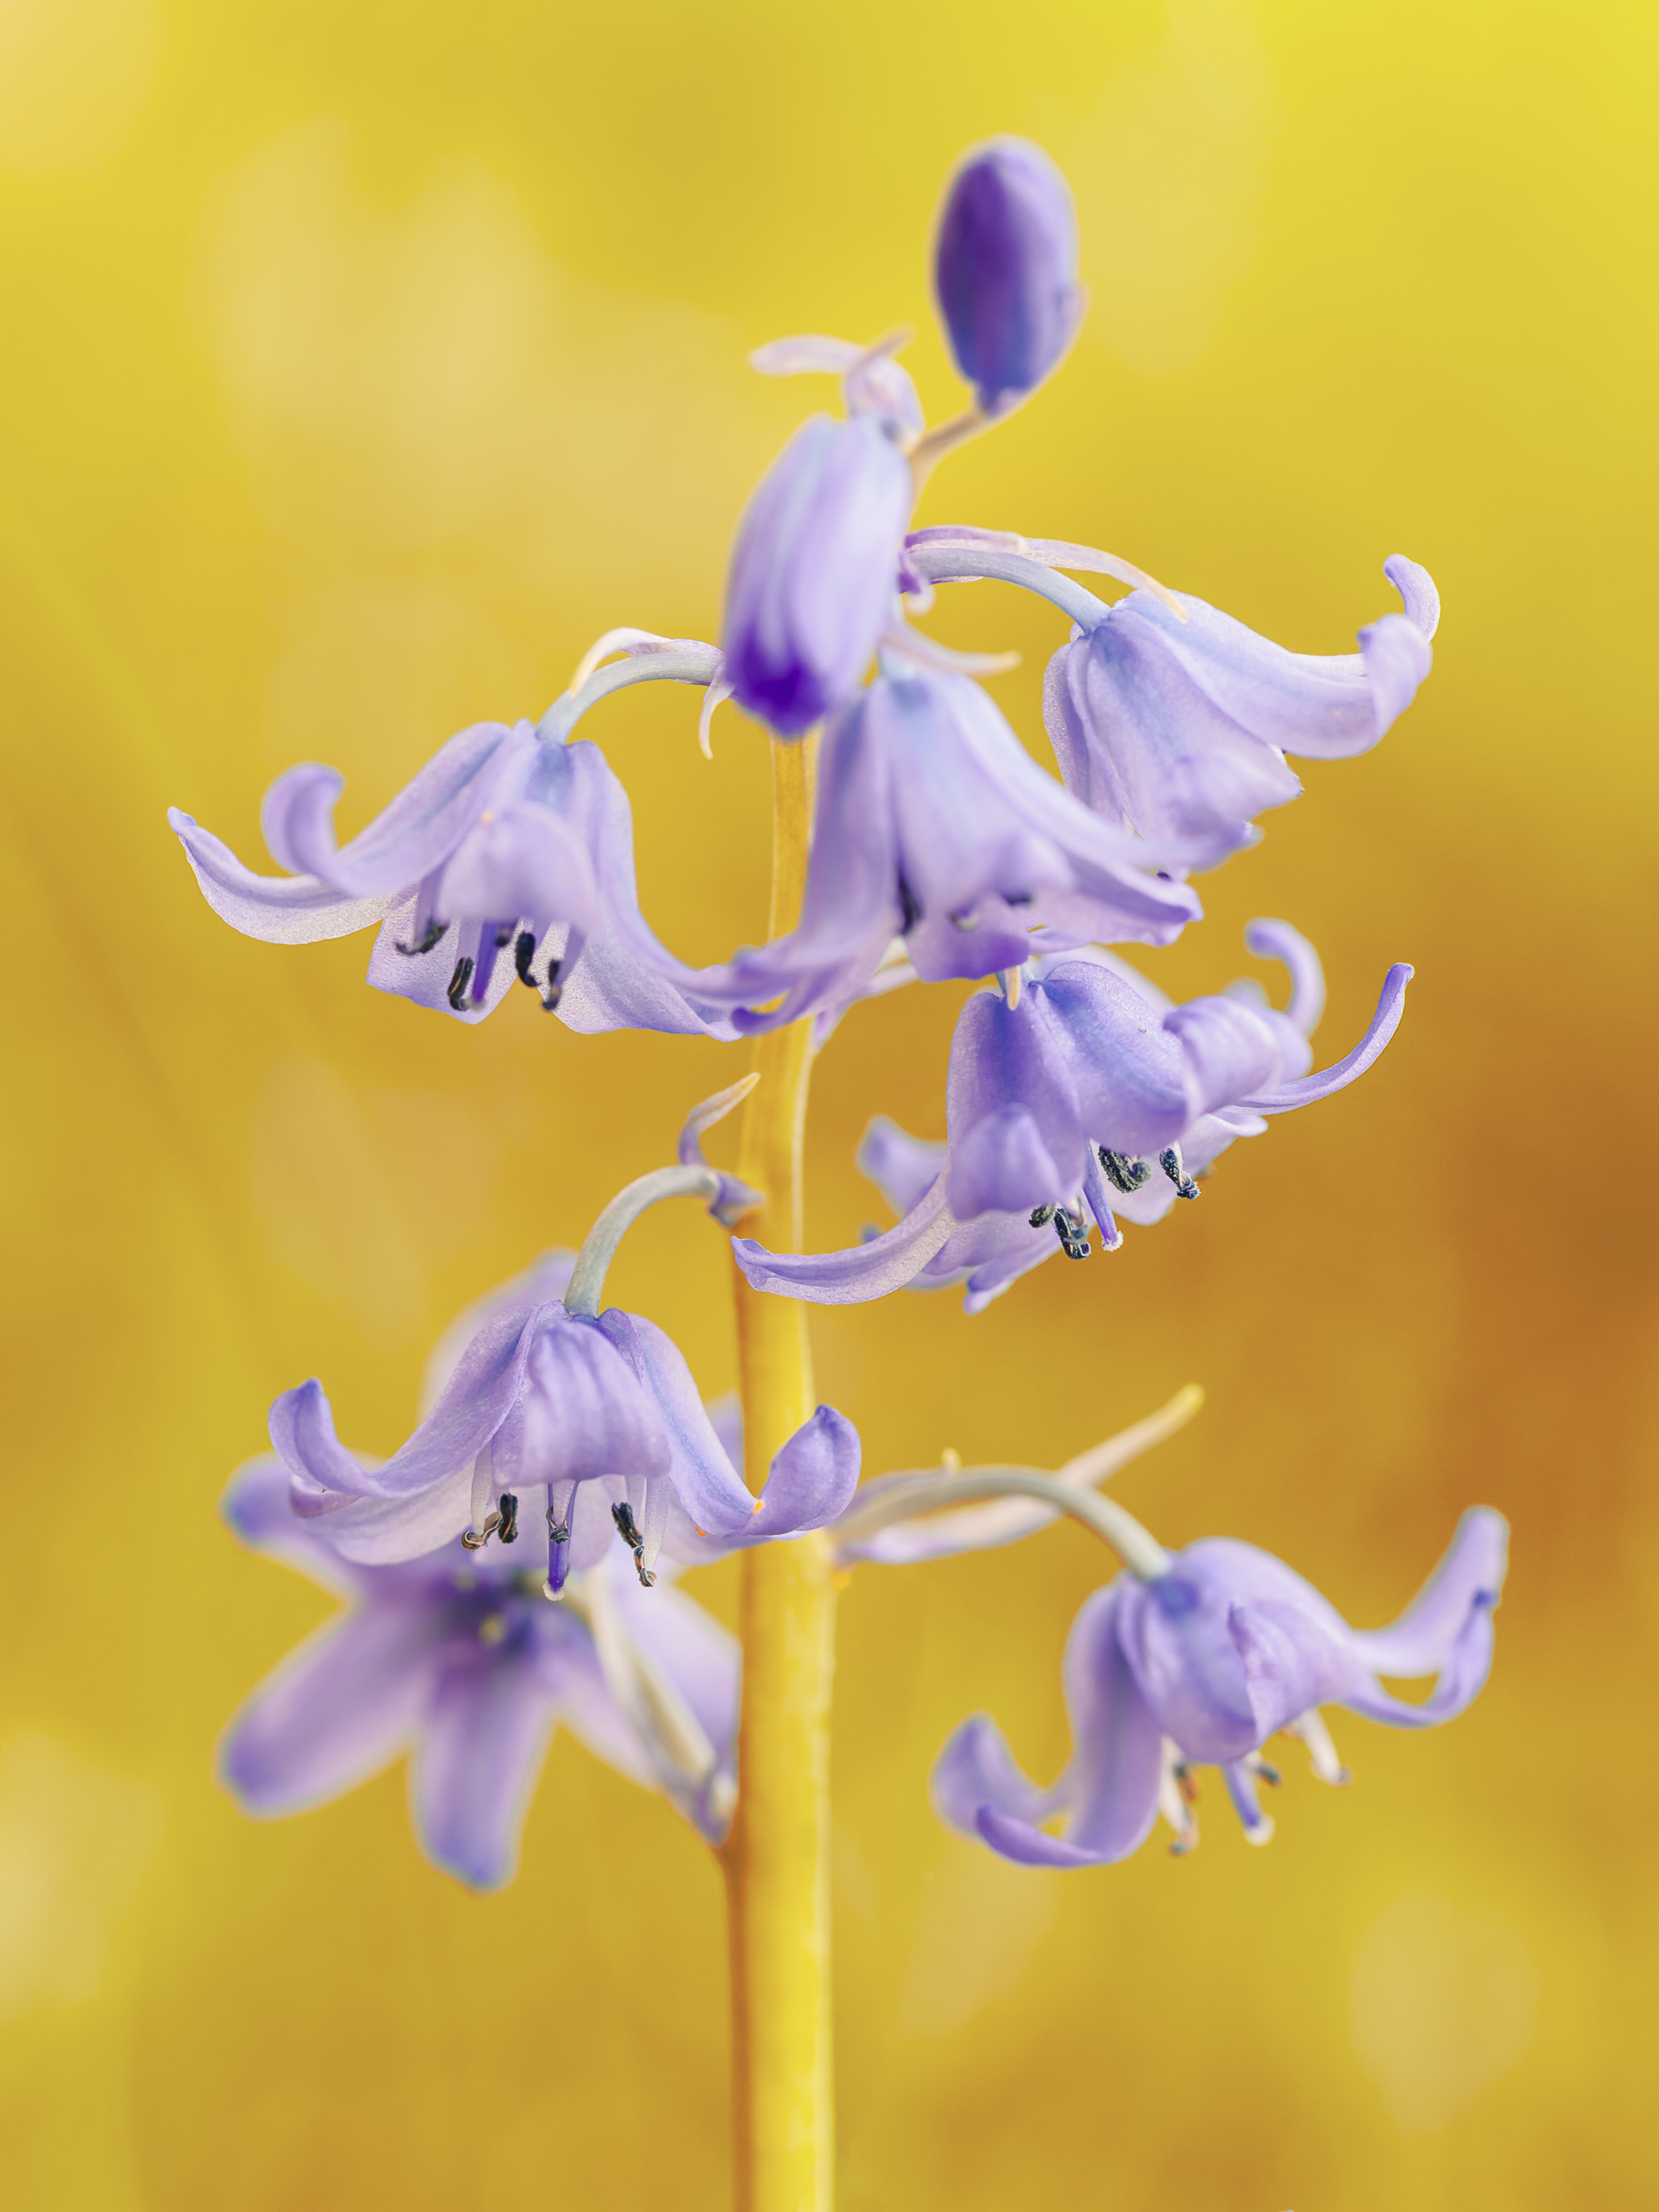
Shooting raw files will give you the most flexibility when it comes to processing your flower pictures. It will allow you to fine-tune the tones or change the vibrancy to add more punch in RAW software like Affinity Photo 2.
Master Focus Merging in Affinity Photo 2
Get to grips with this powerful Affinity Photo 2 tool and learn how to focus
stack for richly detailed close-ups.
Close-up photography lets you see the miniature world in incredible detail, but it can be a challenge for all sorts of reasons. First, you need the right kit, such as a macro lens, a tripod and possibly a focus rack. Then there’s the challenge of composing and framing tiny subjects. On top of this, one of the biggest difficulties is the limited depth of field.
The closer we are to a subject, the less the depth of field – the plane of in-focus details – will be. Of course, with macro photography, we usually need to get in very close to the subject, often with it right up to the front of the lens, so our depth of field will naturally be very shallow. Even when using narrow apertures like f/16 the sharp area may only stretch to a few millimetres.
As such, if we want a greater area of sharpness there’s only one option: we need to shoot for a focus stack. Essentially this involves using a tripod and shifting our focus point over several frames. Once done, we need a tool for combining all the sharp parts into one super-sharp image. And this is where Affinity Photo 2's fantastic Focus Merge command comes in.
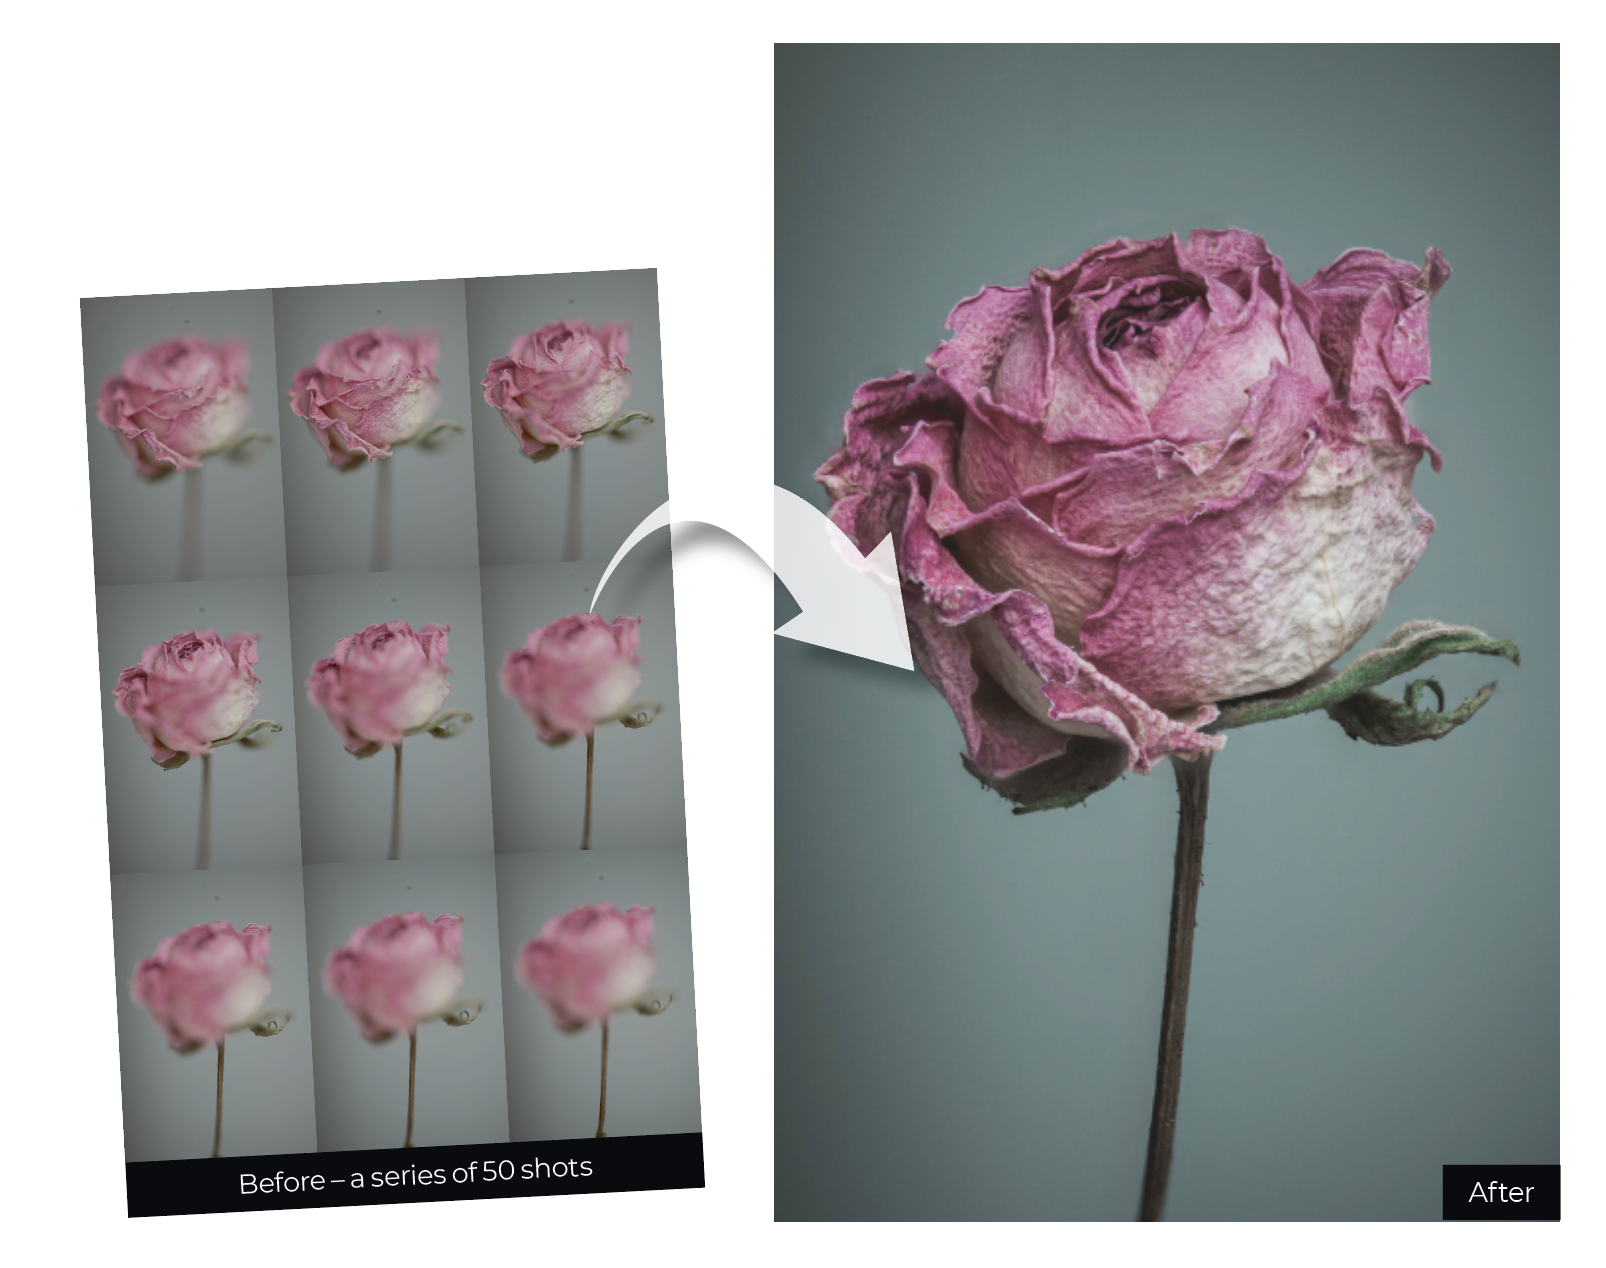
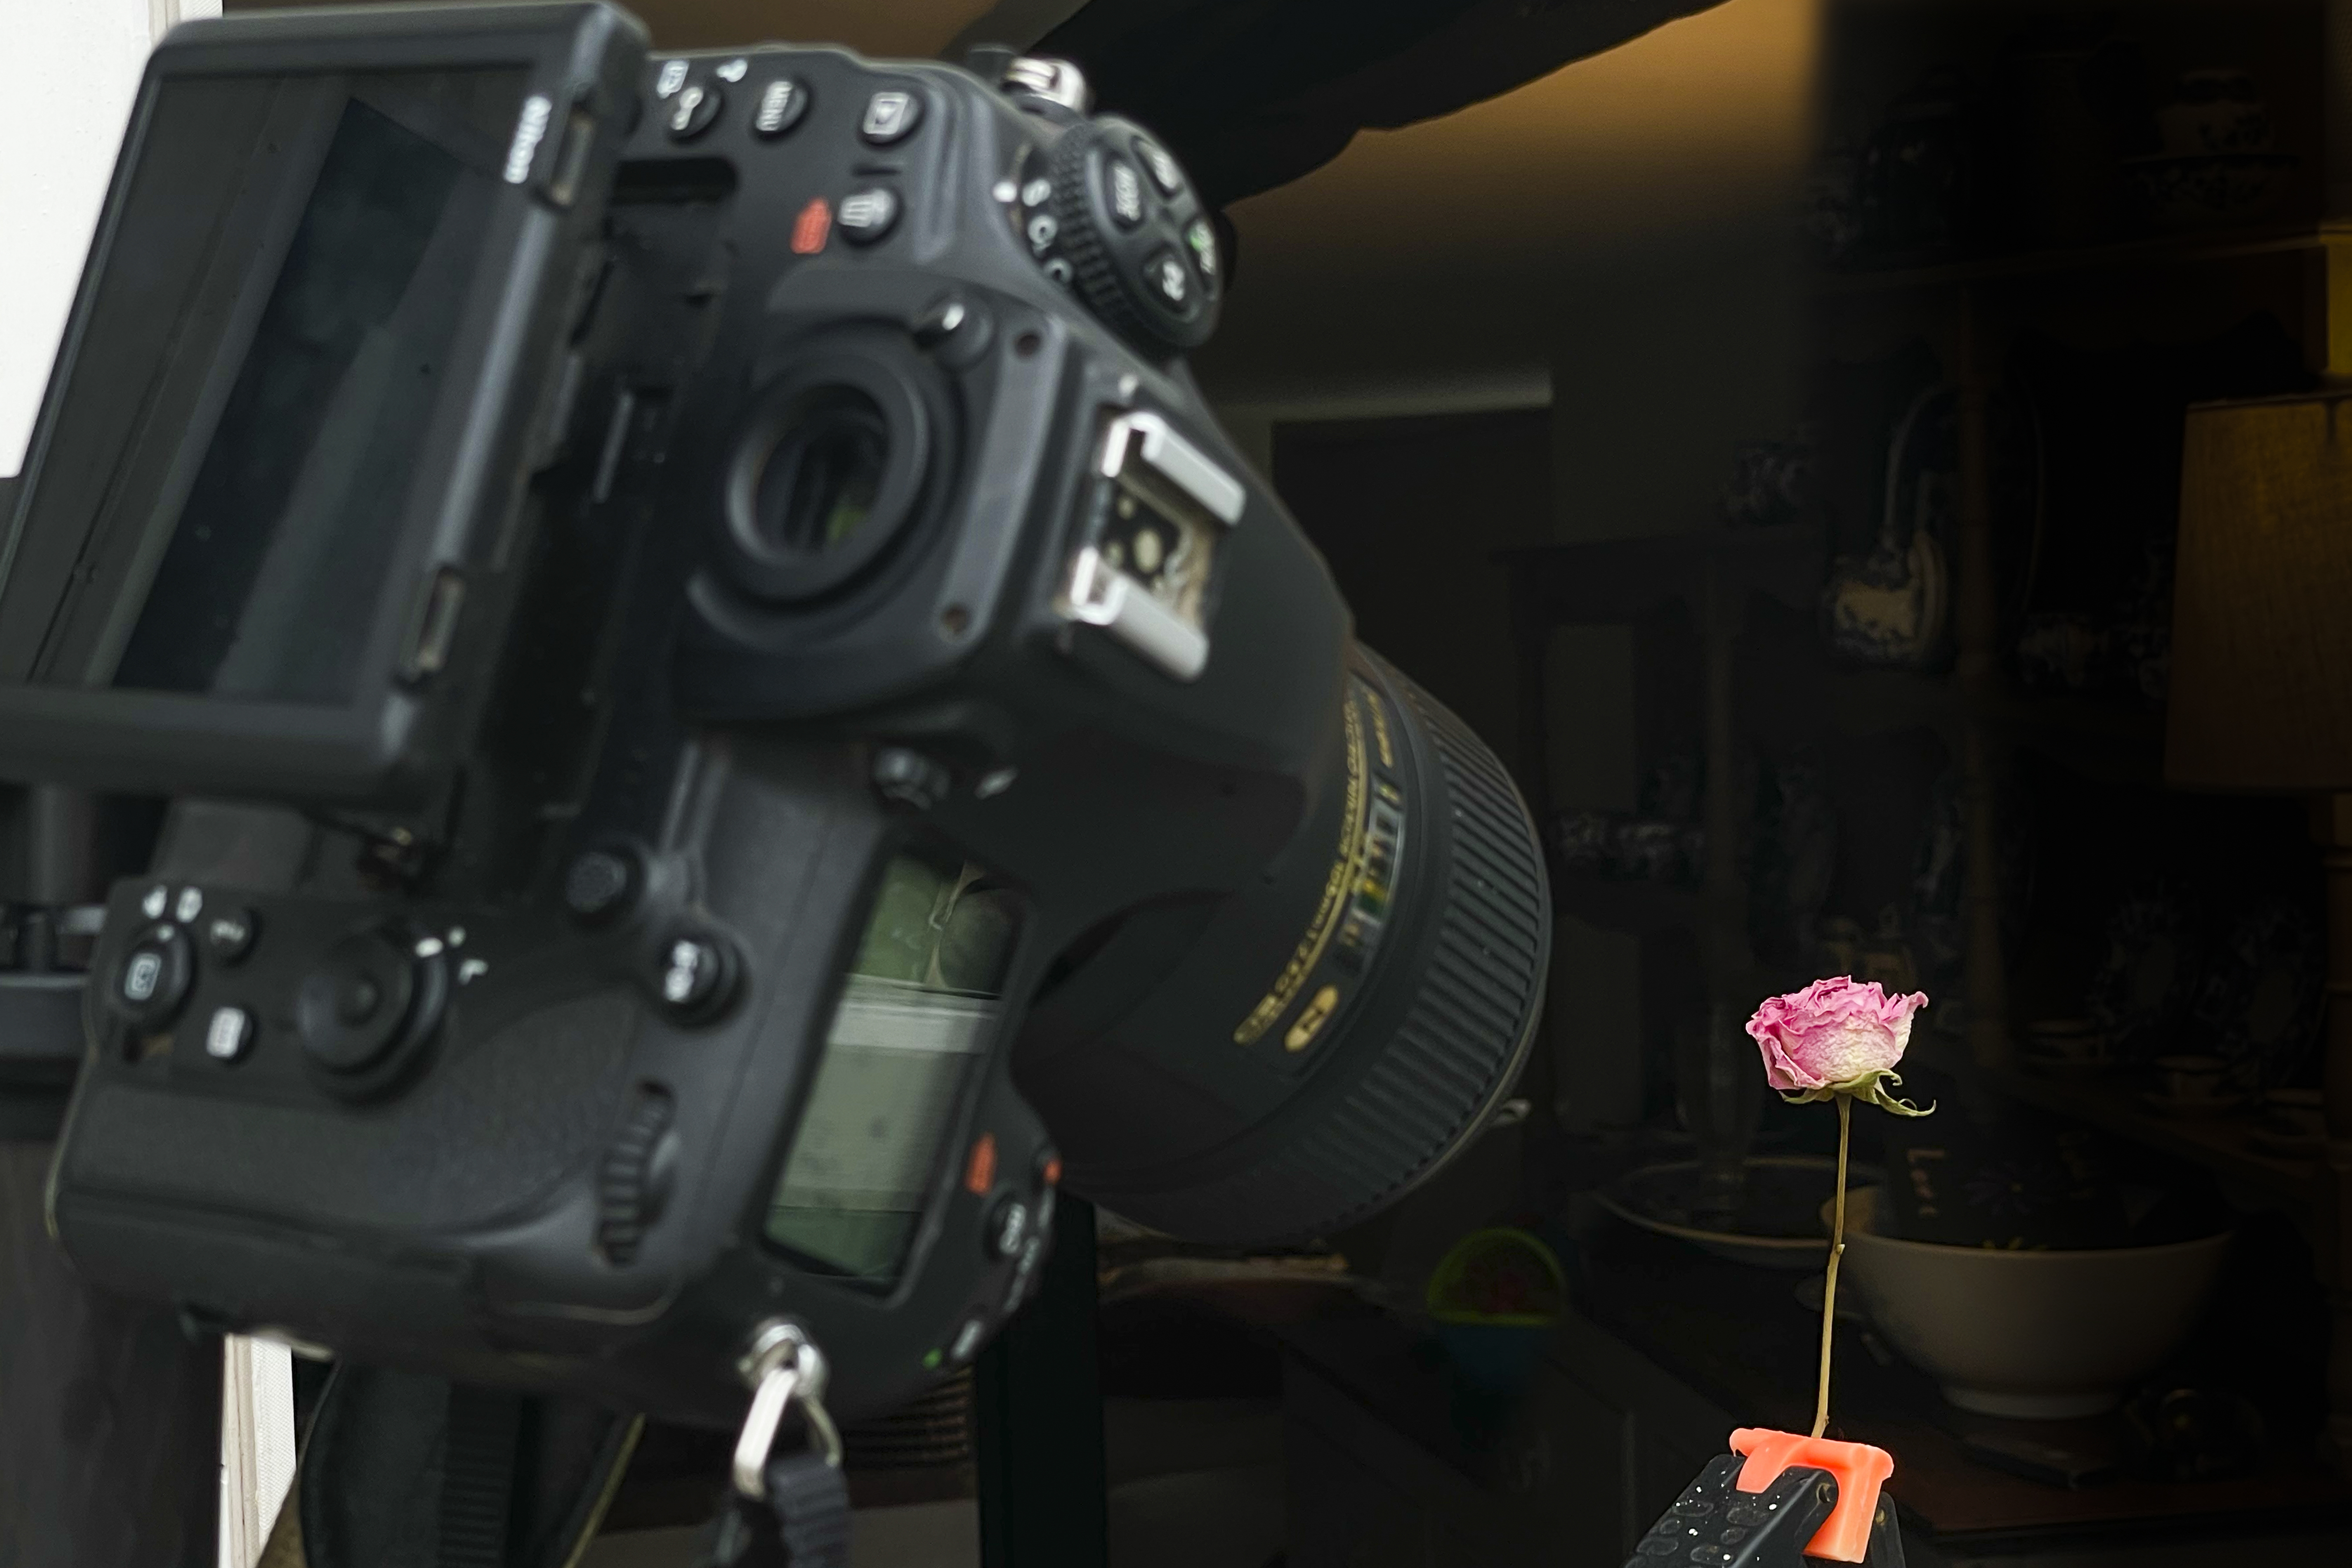
Many modern cameras have a built-in focus stacking feature that can automate this process, but if not you can do it manually. Use a tripod, switch to manual focus and begin by focusing on the point that’s closest to the camera. Fire the shutter remotely so you don’t disturb the camera’s position, adjust the focus ring slightly and take another shot, continuing until you’ve captured front-to-back sharpness across the subject. Use a mid-range aperture like f/11 and ensure your exposure stays consistent throughout.
1) Prepare your images
If you’re merging a lot of photos (we had 50 frames here) then consider resizing them to speed things up, as it can take much longer to merge full-res raws than resized jpegs. You can use Affinity Photo’s Batch command to convert raws to resized jpegs. Go to File > New Batch Job, then choose your folder of images, check the jpeg and choose a resolution.
2) Add your photos
To start focus stacking go to File > New Focus Merge. Click the Add button and navigate to your folder of focus stack images. Hit Cmd/Ctrl+A to select them all (or Shift-click between the first and last to select files), click Open then OK to begin merging. It’s great to see the process unfold over a few seconds, as the sharp areas are detected and combined into a depth map, then finally merged into a single sharp image.
3) Watch the edges
As your focus point shifts, the field of view will change slightly, as if zooming in or out. As such, the furthest focus point will reveal more detail around the edges of the frame, but these edges will be removed when the Focus Merge command aligns the sequence. Bear this in mind when composing, as you might find that important parts of the subject will be cropped. It’s best to compose your image while focused on the closest point.
4) The source panel
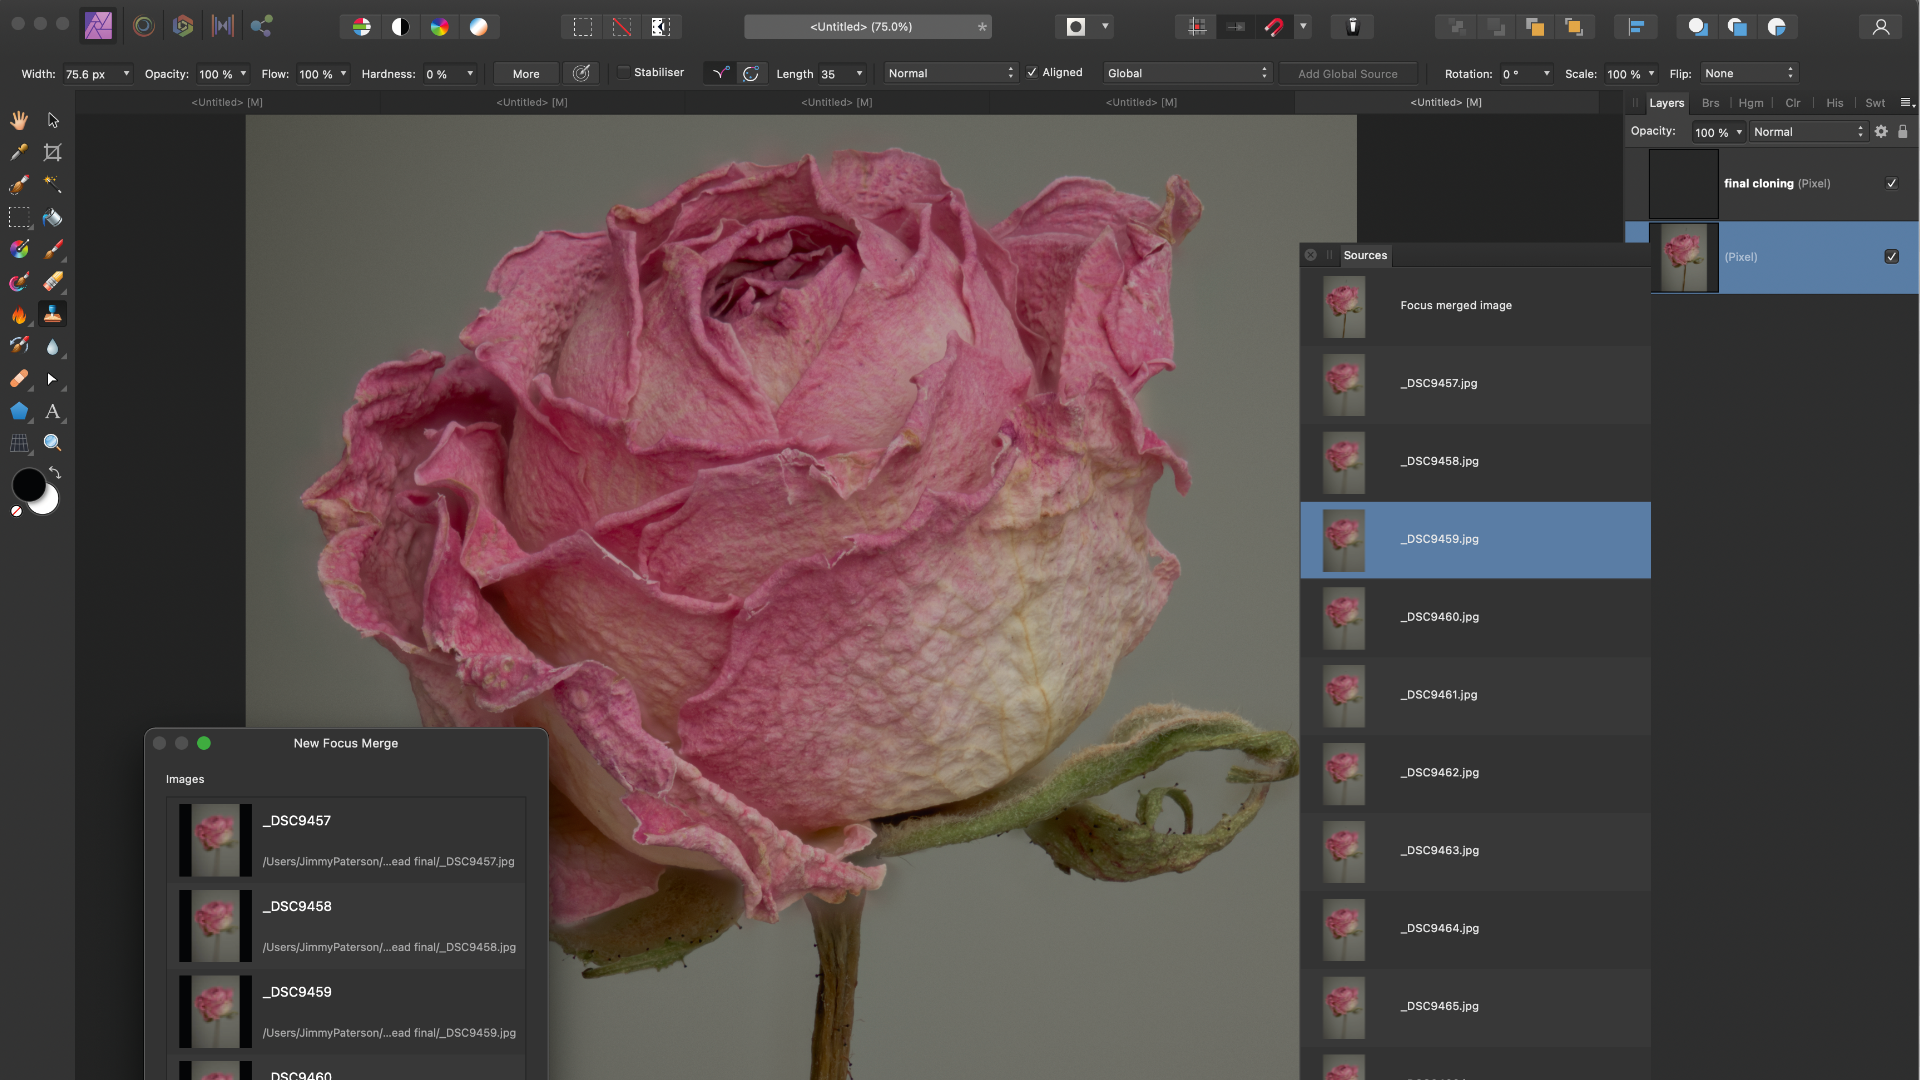
The Source panel houses a list of the images that make up your focus merge, which can show how good your merge has been. The top Source layer is your combined focus stack, but you can highlight any source layer, then click the eye icon at the bottom to toggle a view of the frames making up the stack. You can check to see if a sharper detail has been omitted.
5) Clone from source layers
You can clone from any Source layer into your finished image. Some details may look blurry; this usually happens with fine highlight details or overlapping petals. Check the Source layers and if you find a sharper detail you’d like to include, highlight the chosen layer, grab the Clone tool and toggle the Source Preview icon to return to a view of the merged image, then paint to clone the sharper details.
6) Final cloning
Some areas will be smudgy not because the focus merge tool has gone wrong, but because they have been obscured by blurry details. There will be no Source layer with sharper details to clone from, so we will need to copy sharper details from nearby. Go to the Layers panel, make a new layer and grab the Clone tool. Set it to ‘Current Layer and Below’. Alt-click to target an area and clone to tidy up.
Get the Digital Camera World Newsletter
The best camera deals, reviews, product advice, and unmissable photography news, direct to your inbox!
Digital Camera World is one of the leading authorities on camera and photography news, reviews, techniques, tutorials, comparisons, deals and industry analysis. The site doesn't just specialize in cameras, but all aspects of photography, videography and imaging – including camera phones, gimbals, lenses, lighting, editing software, filters, tripods, laptops, printers, photo books, desks, binoculars and more.
Whether you're using, looking to buy or trying to get the most out of a compact camera, action camera, camera drone, cinema camera, beginner camera or professional camera, Digital Camera World has a roster of experts with combined experience of over 100 years when it comes to cameras, photography and imaging.

