Get the vintage look in Affinity Photo
90-DAY FREE TRIAL:
Try Affinity Photo and get 50% off if you decide to purchase. Click here for more information!
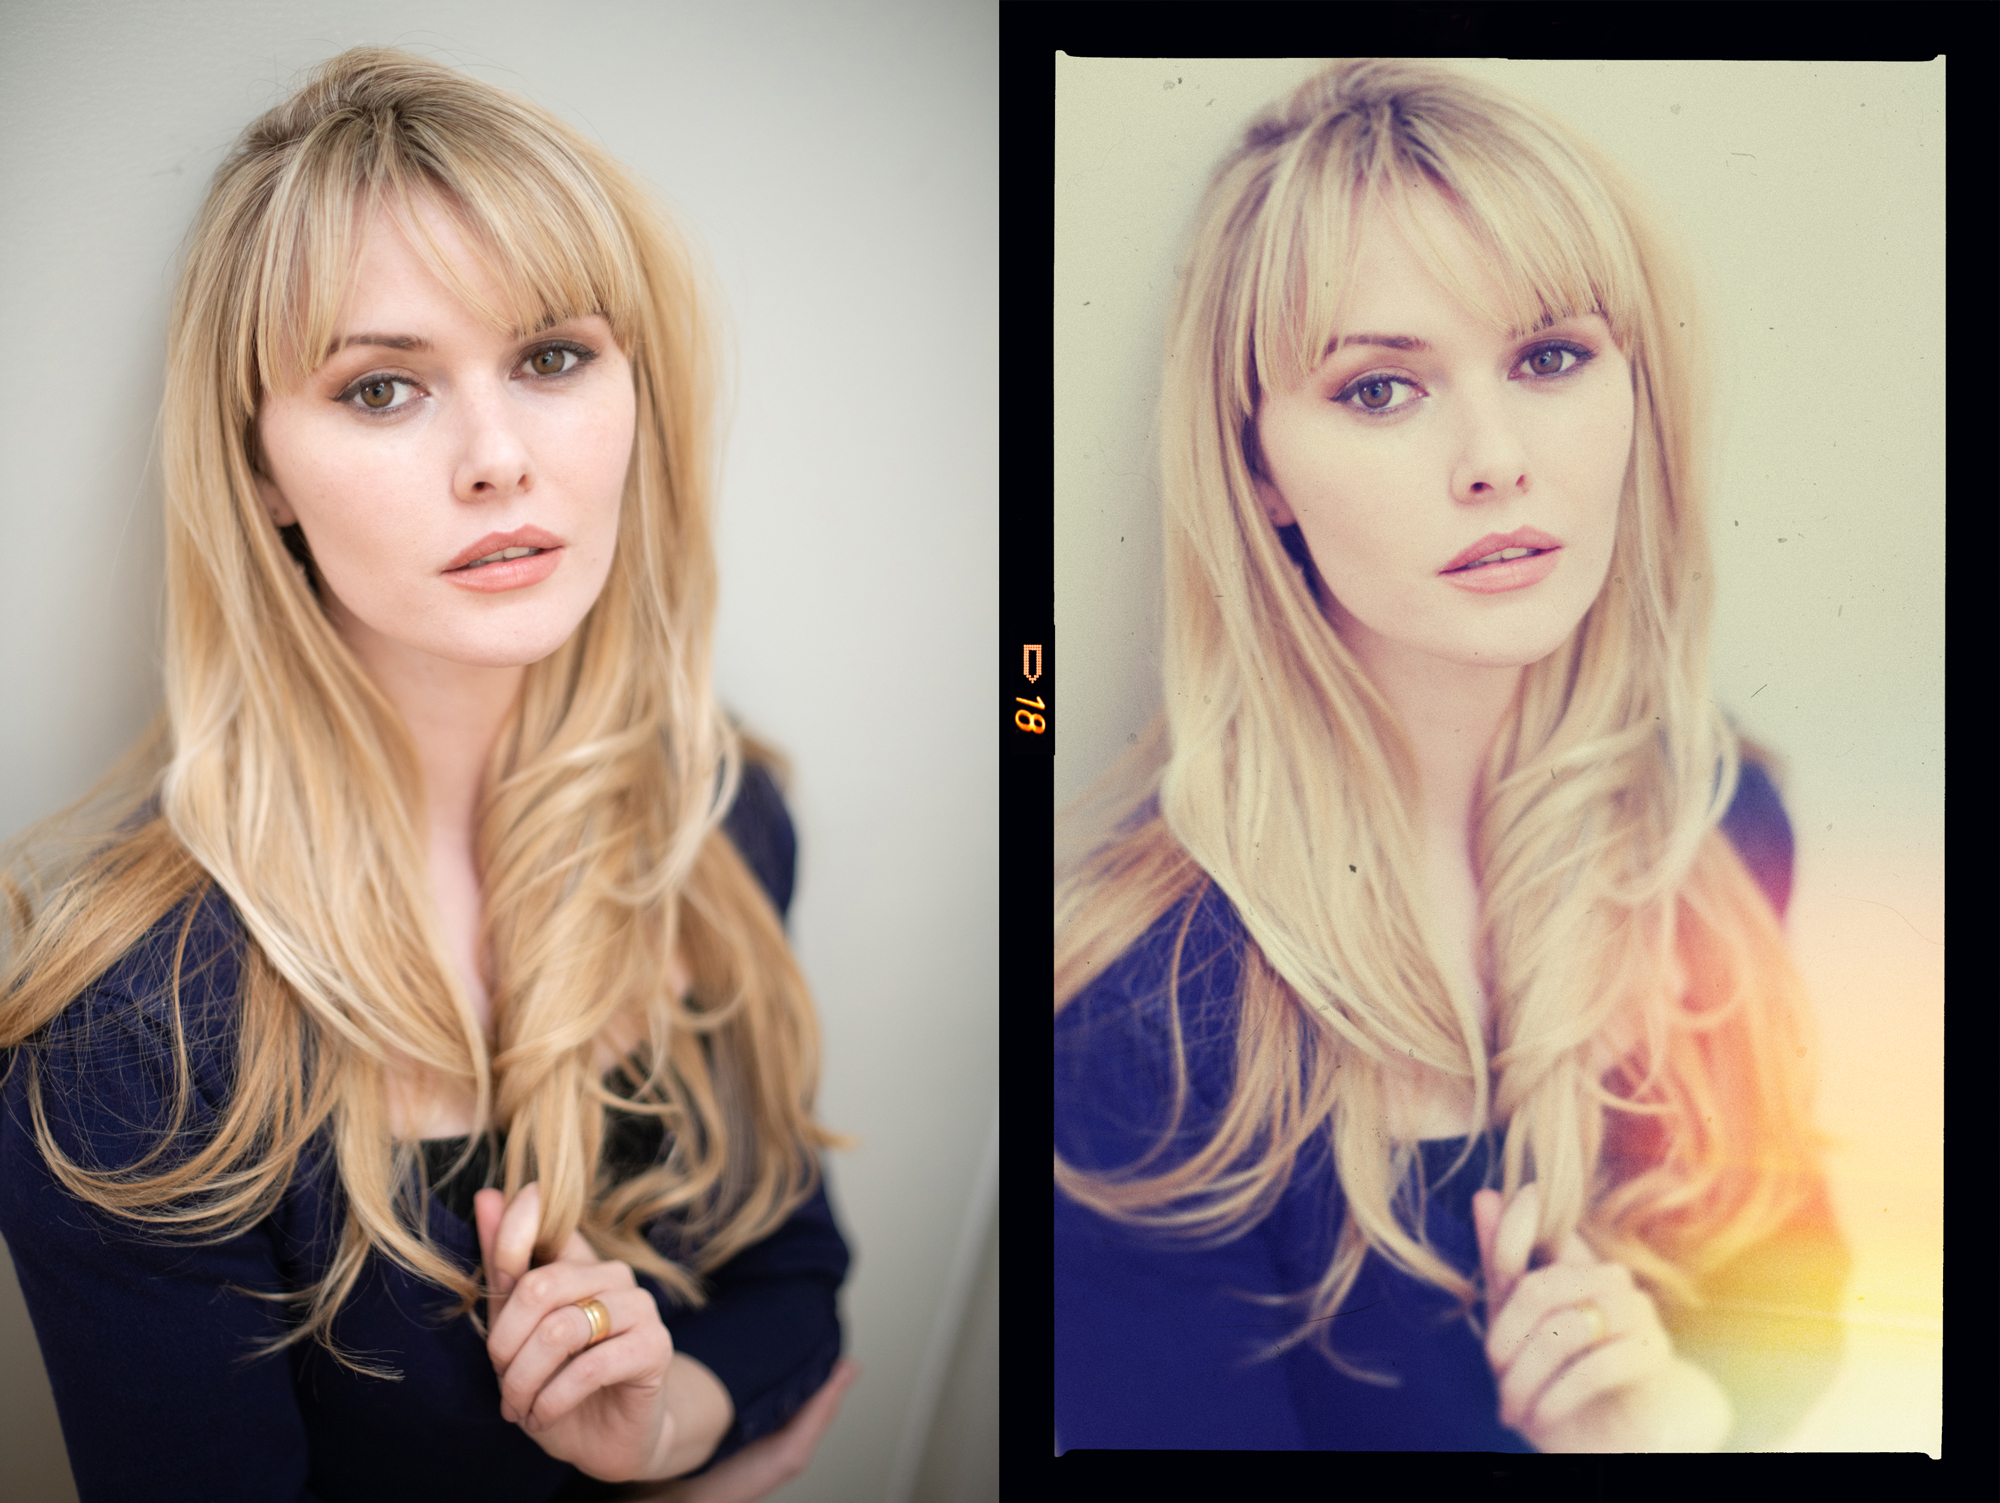
In an age when even the most basic camera is capable of producing high-resolution images of crystal-clear digital clarity, there’s a certain charm to old photos and faded prints with their skewed colors, blurry details and imperfections. Thanks to Instagram and the like, vintage effects and filters can be added with ease in a matter of seconds. But if you want greater control and more individuality to your retro image, then it’s worth spending the time to create your own bespoke treatments.
Affinity Photo offers a host of useful tools for custom retro effects. In this project we’ll look at six different techniques. You can choose either to add them all, or pick the effects that will work for your own images.
Each of these effects sits on its own layer in the Layers Panel, so you have complete control to tone it down (by adjusting layer opacity) or edit whenever you choose. Affinity Photo gives you a degree of control over the vintage look that goes way beyond what can be done with one-click filters and phone effects. You can mimic the look of classic film stocks, degraded prints or scratched old slides with ease…
Go vintage with Affinity Photo
Blurred edges
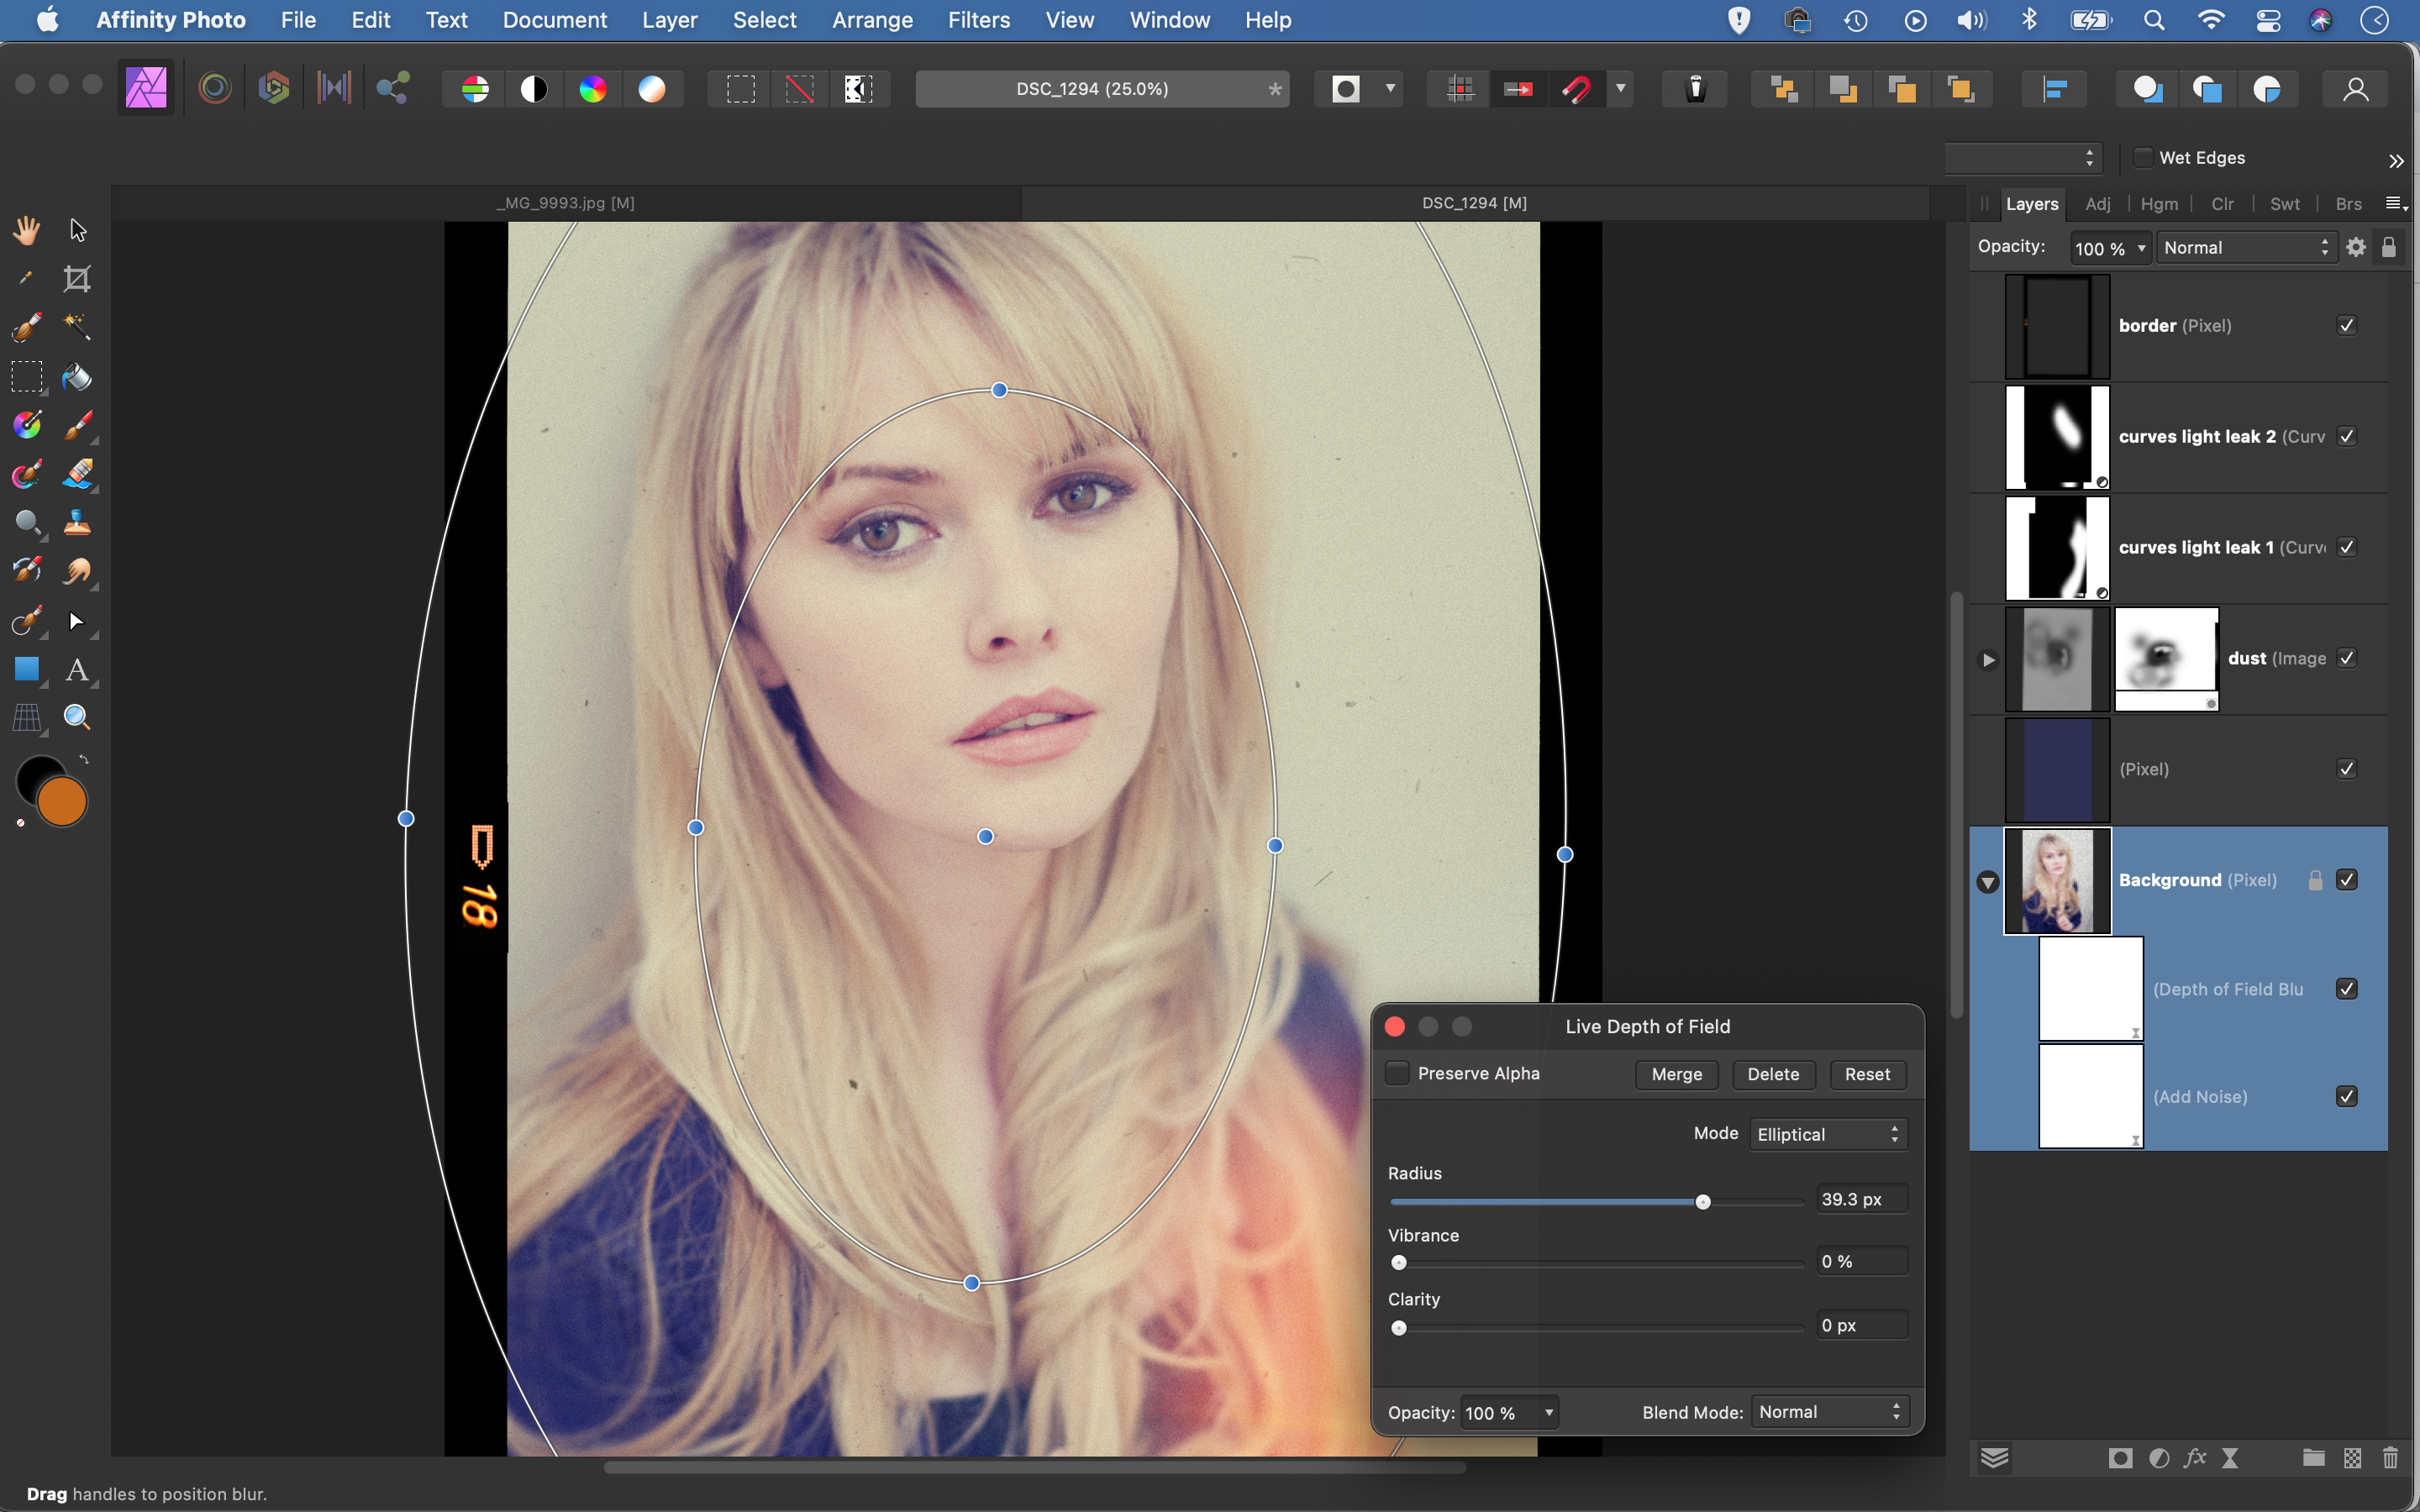
Old lenses would often be very soft around the corners of the frame. We can get a similar look with ease by using the Depth Of Field filter. This adds a circular blur effect, with sharpness in the centre and fall-off around the edges. Highlight the image layer, then go to Layer > Live Filter Layer > Blur > Depth of Field. Adjust the blur area to cover the image, then experiment with Radius to control the strength of the blur effect.
Light leaks
Old cheap cameras often had gaps around the body that could let light fog parts of the film, resulting in bright orange shifts. We can replicate the light leak look with a Curves Adjustment Layer. Go to the Red channel and drag the curve line up, then drag down on the Blue channel. Press Ctrl/Cmd+I to invert the Curves Layer Mask, then paint white to reveal the effect around the frame.
Retro color shifts
Make a new pixel layer, then go to the Blending Mode dropdown at the top of the Layers Panel and change it from Normal to Exclusion. Next, go to Edit > Fill. Choose a light blue color (we used R 76, G 72, B 244) then drag the layer Opacity slider down to around 25%. This will create a matte look, shifting the colors towards blue in the image shadows and yellow in the highlights.
Film borders
We’ve supplied an old-school border amongst the project files for you to use. Alternatively, if you have some old film then why not take a photo of it and make your own borders? Simply select the black areas with the Magic Wand tool, then copy (Cmd/Ctrl+C) and Paste (Cmd/Ctrl+V) the border onto your image. Once done,
use the Move tool to position and resize it to fit over the frame.
Grain filter
Live Filters are ideal for adding effects as you can fine-tune the strength afterwards to suit your image. A noise filter will evoke memories of old film stocks with their distinctive grain characteristics. Highlight the image layer, then go to Layer > New Live Filter Layer > Noise > Add Noise. Zoom in close to judge the strength of the effect, then increase the Intensity slider to control the noise.
Dust and scratches
We’d normally spend time removing bits of dust, but these little details add an extra dimension to our vintage effect. We’ve supplied a dust image for you to use, or you could make one of your own with ease by photographing a sheet of white paper. Copy the image of the dust into your own image then go to the Layers Panel and change the Blending Mode to Multiply.
Get creative with still life photography
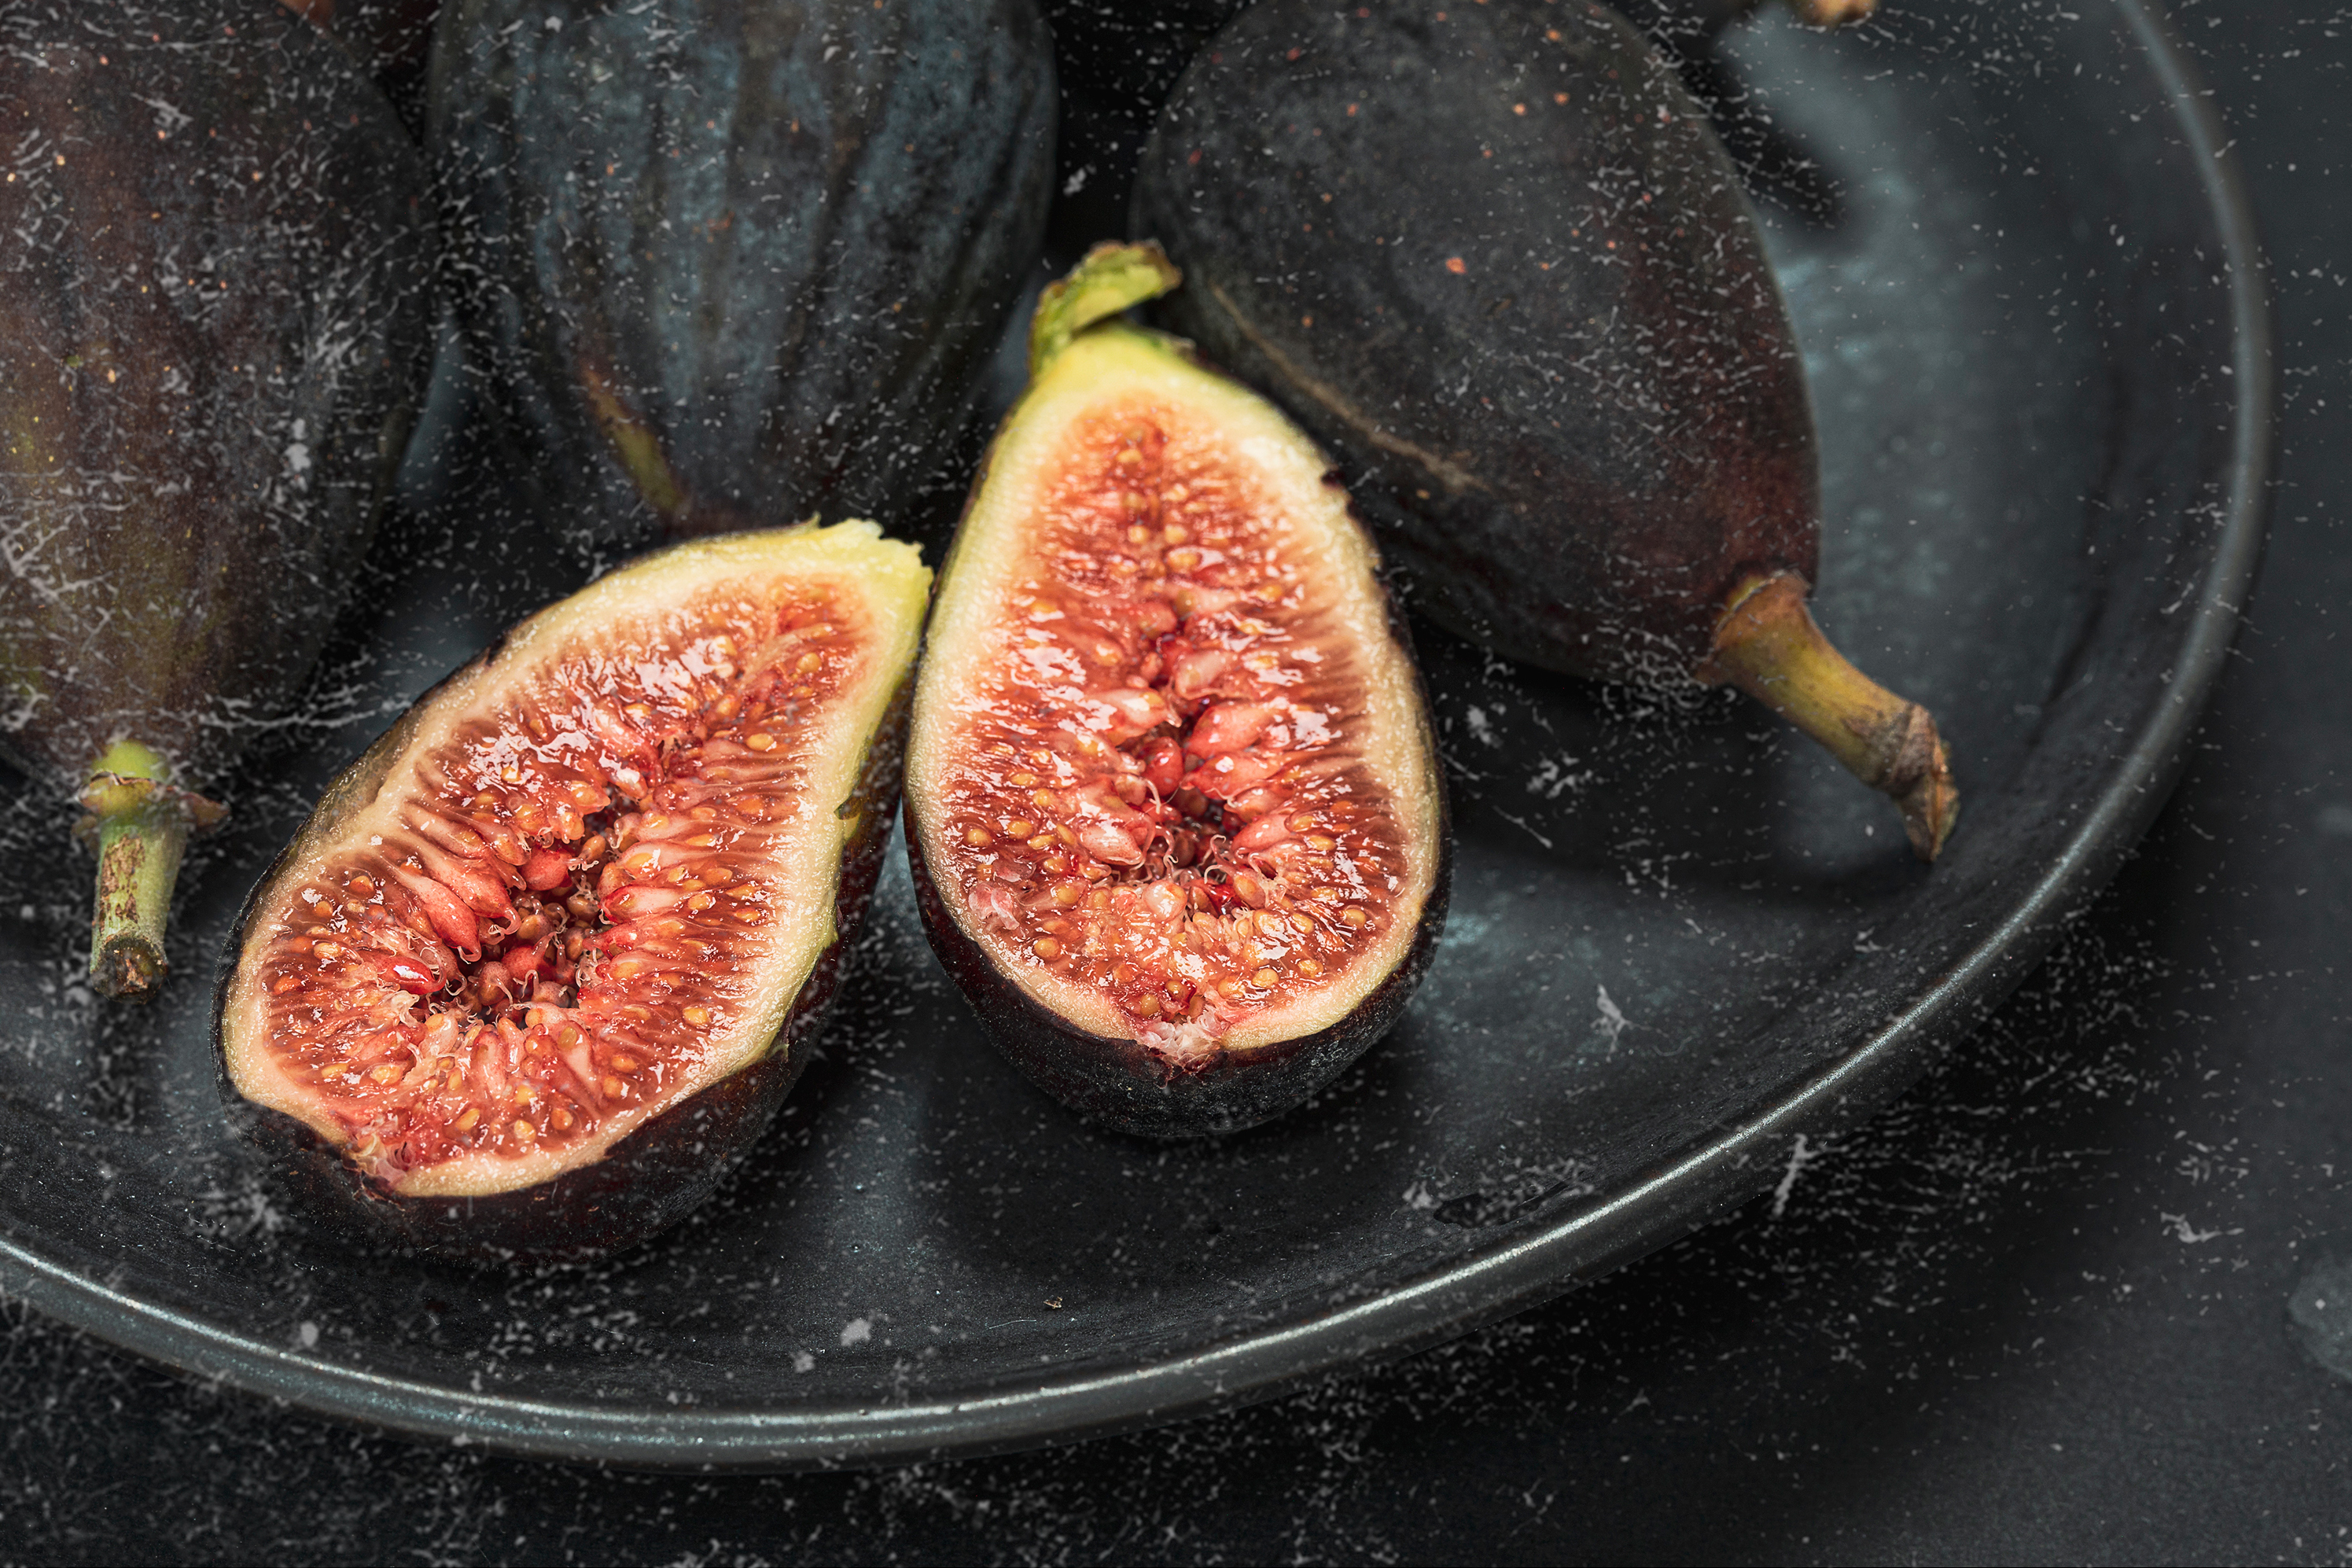
Still-life photography is the great leveler. While other genres of photography may require specific kit (you won’t get too far in wildlife photography without a telephoto lens, for example), you can essentially use any equipment to shoot a still-life. The big investment comes in the form of time in terms of how long it takes to come up with a concept in the first place, and the time required to refine the composition and lighting.
Modern still-life photography has become a broad church, encompassing everything from classic Renaissance painting-style arrangements of fruit and flowers to contemporary minimalism and quirky, humorous set-pieces. And the range of visual styles employed in the genre is just as rich and varied, with black-and-white and vintage treatments rubbing shoulders with vibrantly colored works and glossy product photography.
What kit do you need?
The beauty of still-life photography is that you don’t need much kit at all: any camera and almost any lens can be put to good work. You don’t need a great deal of space either. Having room to set up a tripod is going to help, as it will allow you to frame your still-life set-up with precision, as well as enable you to use the optimum camera settings.
A different selection of backgrounds will prove useful. For tabletop set-ups, a sheet of white card and some black velvet are going to be well-used assets, but backdrops with more vibrant colors and those with interesting textures can also come in handy.
A reflector or two is good to have around – you don’t need anything fancy, as a couple of sheets of white card or foamboard will be fine – and a flashgun or affordable LED light will allow you to carry on shooting into the evening.
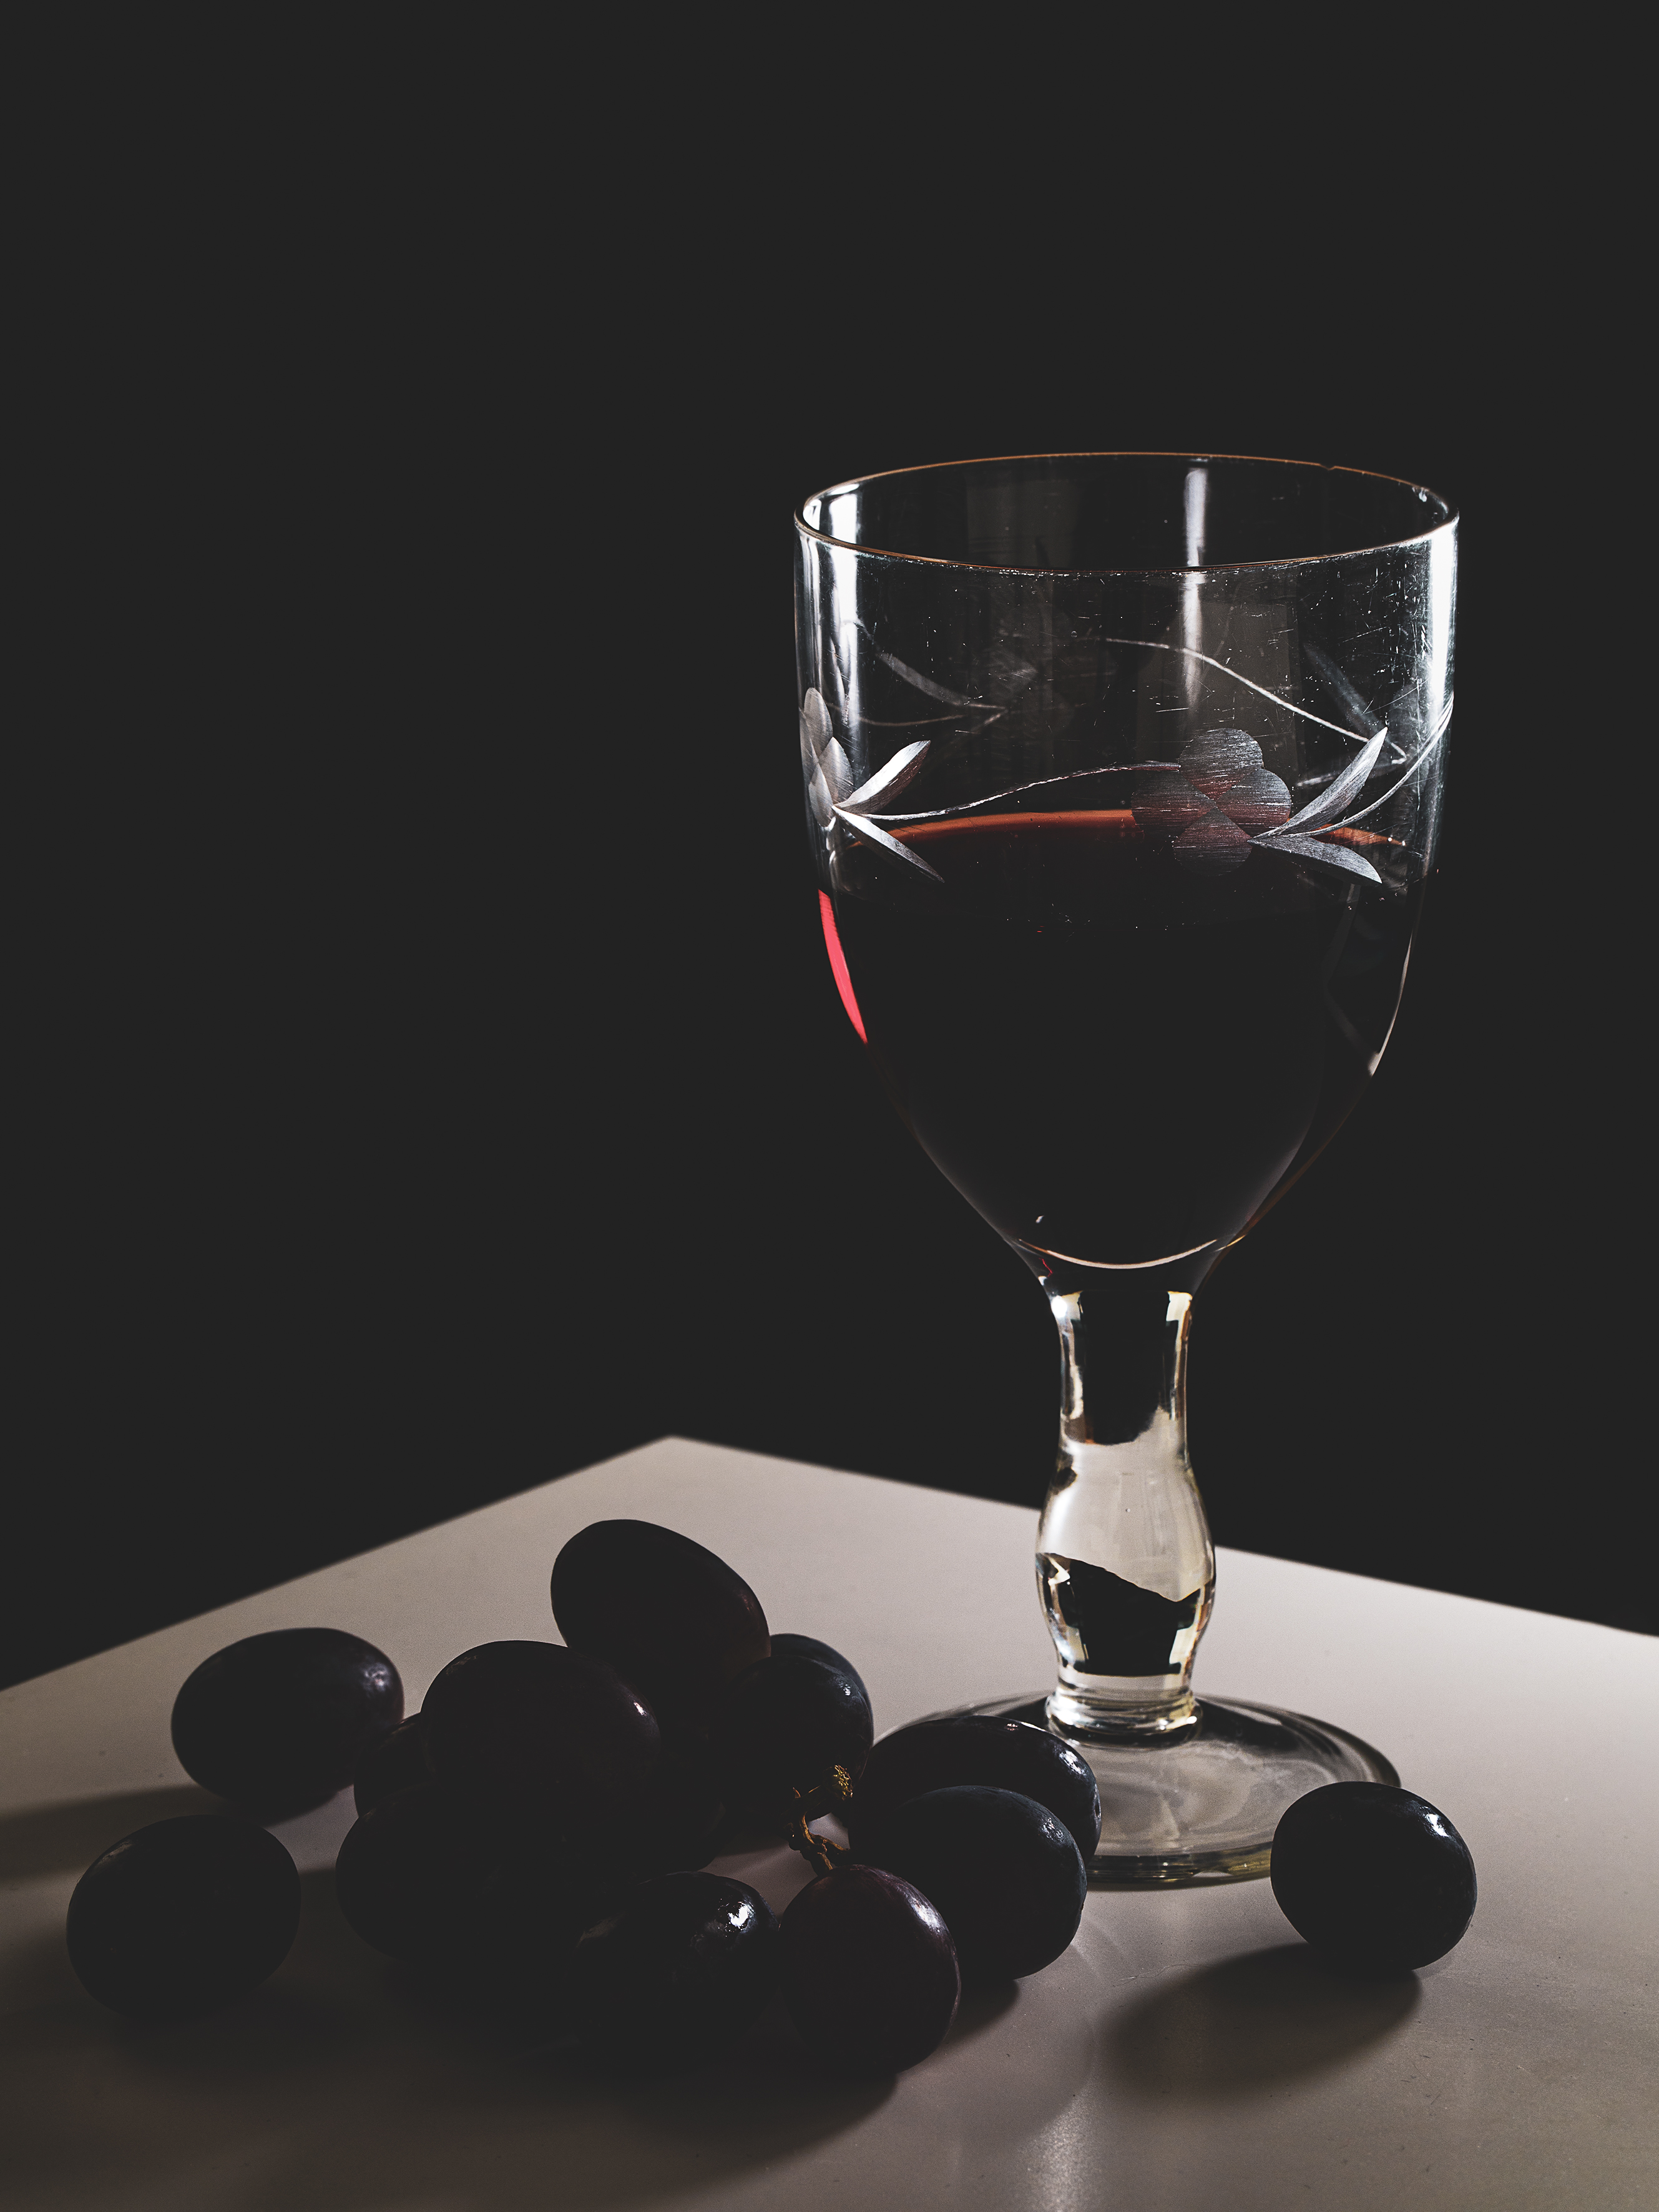
Controlling the light
Light from a window can be all you need to illuminate a still-life set-up. Tape tracing paper to the glass to diffuse the light, and use white card or scrunched-up kitchen foil to reflect light into the shadows. Alternatively, use a piece of black card to make the shadows darker for added contrast.
Artificial light, whether it’s an angle-poise lamp, an LED panel or a flashgun, will extend your shooting opportunities. Flashguns give you the most power-per-buck, and if you use a radio-triggered wireless flash system, you’ll have lots of freedom when it comes to positioning them. The trick is to diffuse the harsh flash light, whether that’s through a softbox, an umbrella or a similar accessory, or by bouncing the flash off a large sheet of white card. The latter is a good choice for shooting transparent and translucent objects, which tend to look their best when backlit.
DIY in-camera treatments
You can apply effects such as texture, grain and a vintage color palette in editing software, but it can be rewarding to experiment and take an in-camera DIY approach. For example, you can achieve a soft, hazy look by simply breathing on the front element of the lens and taking shots as the moisture evaporates.
To create selective areas of blur and sharpness, try dabbing Vaseline onto part of a clear filter. A less messy option, as shown here, is to simply wrap some clingfilm over the front of the lens. You can tailor the effect by leaving a gap where you want elements of the picture to be sharp, and by feathering the film around the edge to provide the blur.
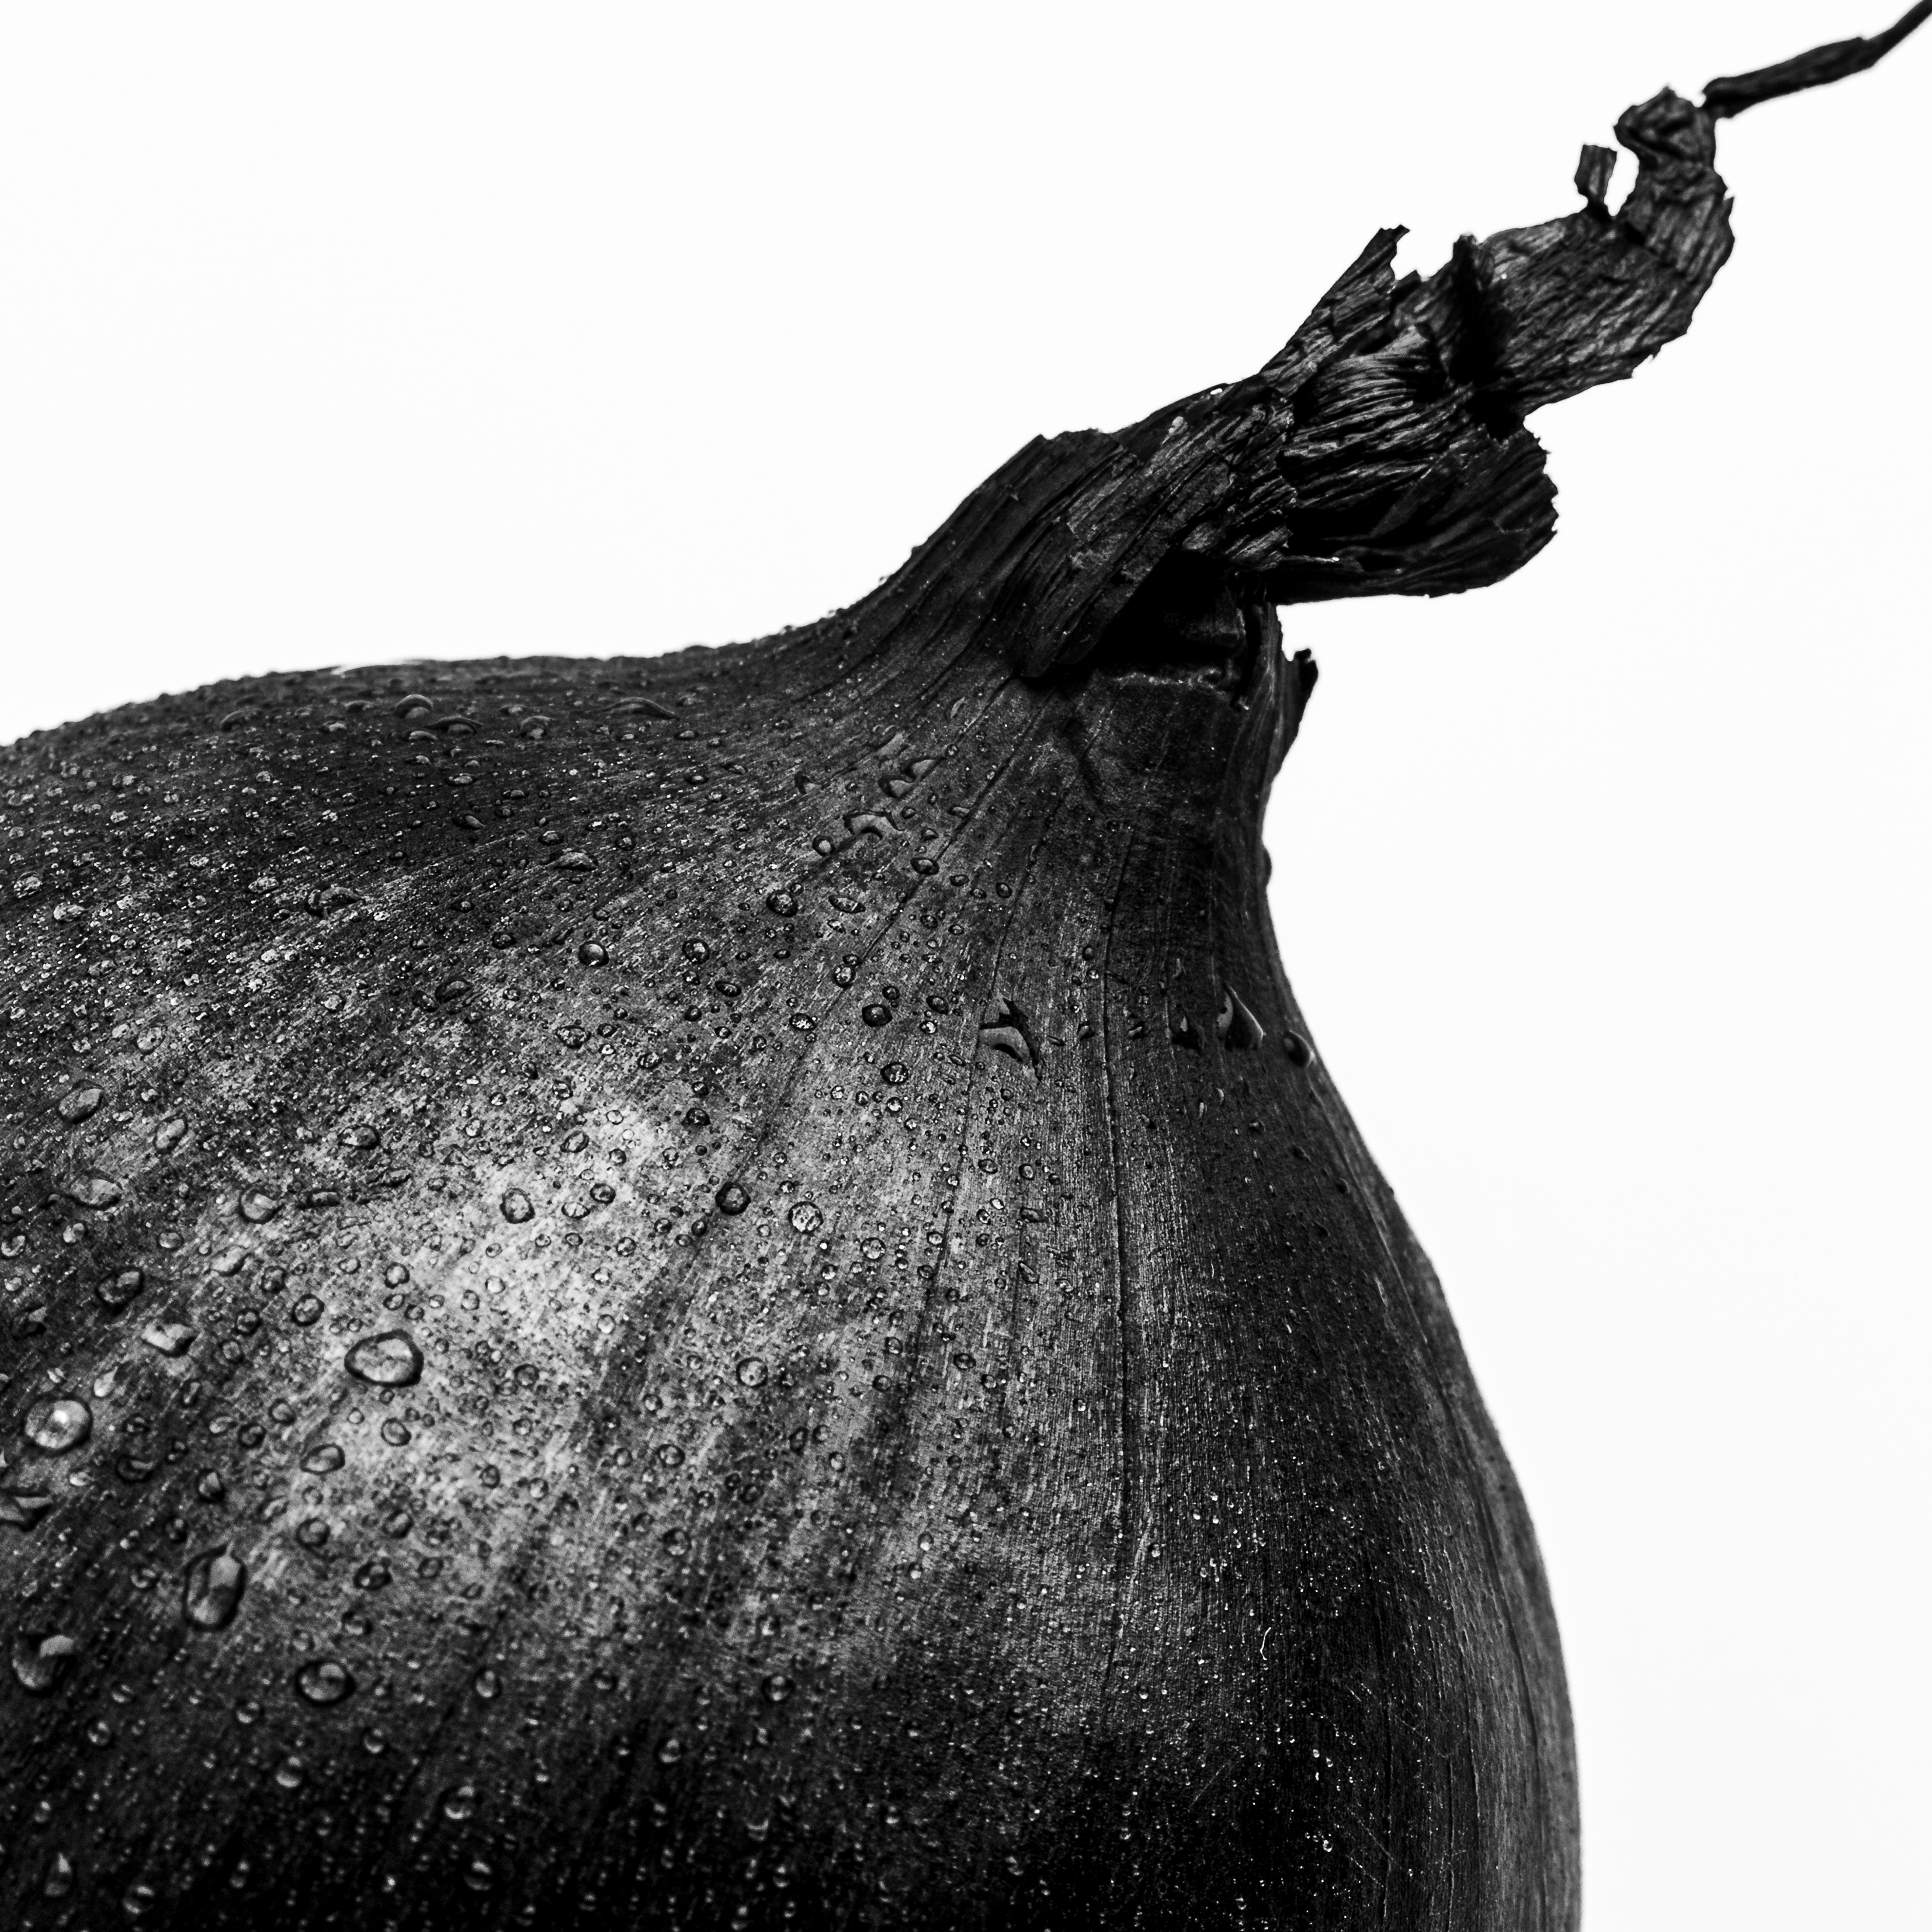
Convert to black-and-white
Although turning a color image to black and white doesn’t automatically tick the
‘fine art’ photography box, it does place greater emphasis on your lighting, and on the contrast, shape, form and texture of a subject, all of which can allow viewers to take in details of your still-life that they may not have done with the distraction of color intact.
Rather than shooting in black and white, it’s usually better to capture a color original and carry out the mono conversion in editing software. This way, you’ll be able to fine-tune the result and separate the tones.
Save your images as raw files so you can preview the mono image in-camera, while still retaining the color information you can use to create a stronger black-and-white conversion.
Add textures
Last issue, we looked at how you can create a multiple exposure by combining images as layers. Using the same technique, you can also blend textures with still-life images to enhance the latter’s mood. Place the texture layer above your main image in the layer stack, then use the dropdown Blending Mode menu to change how the texture is applied to the still-life. As well as adjusting the opacity of the texture layer, you can also apply a mask to hide the layer, then paint in where you want the effect to be visible.
Keep your eyes peeled for textures when you’re out and about on other shoots, and you’ll soon build up a texture library that you can take advantage of the next time you process a still-life.
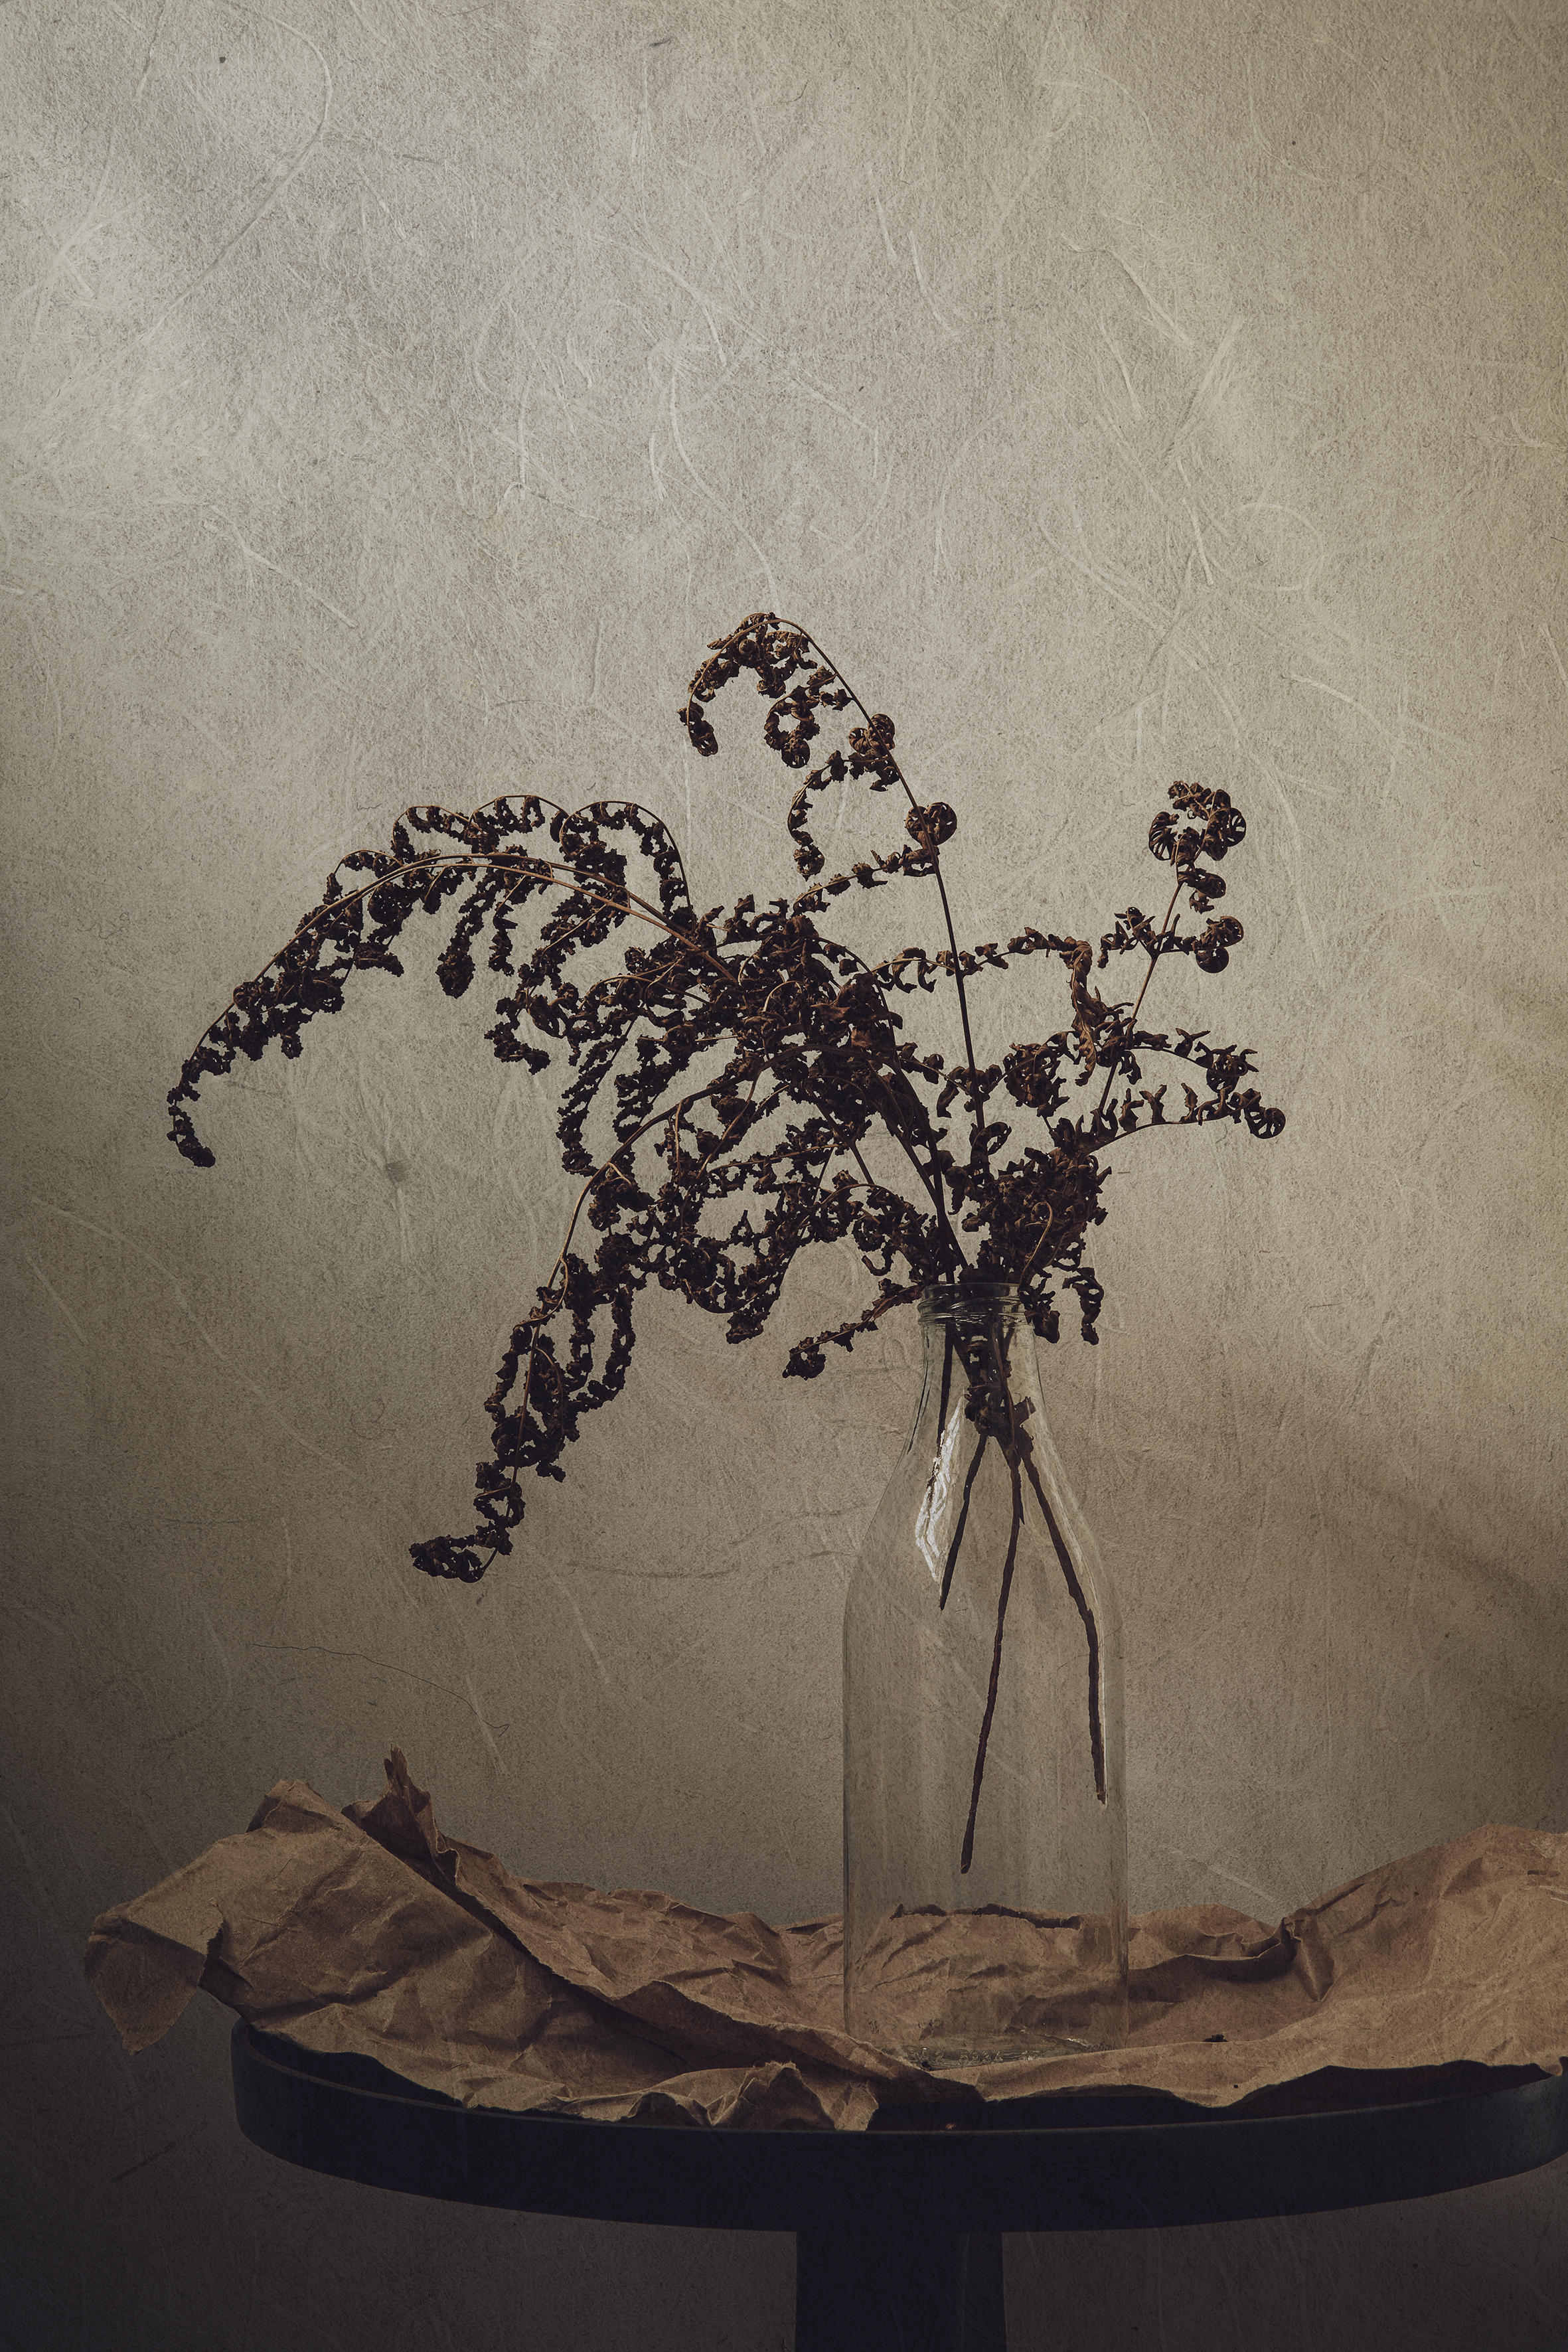
Fine art still life photography tips
1. Watch the light
If you’re planning on shooting still-life images at home, spend some time watching how the light moves around the rooms of your house throughout the day. You’ll then know where to set up when you want soft illumination, long shadows or a more spotlit effect, for example.
2. Use light modifiers
White card enables you to lift details in shadows in a subtle way, whereas mirrors and kitchen foil give you a ‘sharper’ quality. Alternatively, hold black card or foamboard on the shadow side to increase the contrast further. Triggering a camera’s self-timer gives you a free hand to hold the modifiers!
3. Have a concept
It doesn’t have to be a deep idea with layers of hidden meaning – just something that will bring some focus to your photos. Still-life photography is so broad that it can easy to get overwhelmed with options, so start with a simple structure and refine it.
4. Pay attention to the small stuff
The position of everything in a still-life needs to be set with precision. Would a small twist of an object help to separate it from other features? Are there any distracting bright spots? Are there dust or hairs that should be removed?
5. Have fun in the edit
From converting to black and white to applying presets, filters and textures, there’s plenty that you can do to make the most mundane of objects look moody and terrific in editing software.
Reader challenge: still life photography
This month, we want you to enter your best still-life shot for a chance of winning a copy of Affinity Photo. There are really no restrictions when it comes to the camera equipment you use – the only real restriction is how creative you want to be.
There is a variety of different subjects that can form the raw ingredients for your picture. You might choose to shoot food, flowers, everyday items from around your house, for example; or junk, antiques, found objects, toys; or something completely unexpected. Or perhaps any combination of the above!
To enter your best still-life image (one per reader please), either email your entry to digitalcamera@futurenet.com, putting ‘Still-Life Challenge’ in the subject line;
or go to our Facebook page at www.facebook.com/digitalcameraworld, look for the ‘Still-Life Challenge’ post, and upload your entry into the feed. By entering your image into this competition, you confirm that you own the copyright to the image, and agree that Digital Camera can publish your image in relation to this competition. You retain full copyright of your image, and will be credited if published.
The closing date is 22 July 2021. The winner will receive a copy of Serif Affinity Photo for Windows or macOS. Good luck!
Get the Digital Camera World Newsletter
The best camera deals, reviews, product advice, and unmissable photography news, direct to your inbox!
Digital Camera World is one of the leading authorities on camera and photography news, reviews, techniques, tutorials, comparisons, deals and industry analysis. The site doesn't just specialize in cameras, but all aspects of photography, videography and imaging – including camera phones, gimbals, lenses, lighting, editing software, filters, tripods, laptops, printers, photo books, desks, binoculars and more.
Whether you're using, looking to buy or trying to get the most out of a compact camera, action camera, camera drone, cinema camera, beginner camera or professional camera, Digital Camera World has a roster of experts with combined experience of over 100 years when it comes to cameras, photography and imaging.

