How to edit your photos for printing

Have you ever had an image printed and wondered why it looks different to the way it appears on your screen?
With the advent of modern computer displays, tablets and mobile devices, we’ve all become very used to editing our images to appear on screens – but this often bears very little resemblance to how the image truly looks, which is how it will appear when printed out.
So what is this disparity, and why do images so often look so different on the printed page than they do on a display? The answer is in the editing – and specifically in how and where you do it.
Whether you’re having your images professionally printed by a photo-finishing lab like our trusted partner CEWE or you’re printing them at home yourself, here are six key factors to be aware of when processing your images for print.
1) Screen brightness
This is the single biggest contributing factor to images looking different upon being printed. With the advent of LCD screens, our relationship to image brightness has changed dramatically. The reason is simple: LCD screens are backlit to a powerful degree.
The same is true of your camera screen. Sometimes you’ll take an image on your camera, and it looks different (or even “better”) than it does on your computer screen. And it’s all because LCD screens (especially smaller ones) are self-illuminated, whereas paper prints obviously require external illumination. And nothing short of spotlights can blast your printed pictures with the same degree of illumination!
Almost all of us have our screens set too brightly. So the first thing you need to do when editing your images is to be mindful of the brightness of your screen – otherwise, they will be artificially brightened by your display and appear “underexposed” upon printing.
2) Editing environment
Of course, there’s a reason that many screens are too bright: we have to crank up the brightness to overpower the lighting in our environment, whether that’s the aggressive ambient illumination in an office space or the sunlight streaming in through a window.
This is exacerbated by the fact that many screens automatically adjust their brightness depending on the lighting conditions in which they are being used. So if you are using a laptop, tablet or phone with this feature, go into your setting now and disable it!
The best thing you can do when it comes to processing your images is to have a specific editing environment, with consistent and controlled lighting conditions. Ideally, you should reduce the room lighting as much as possible, working in darkness if possible. If you do have to contend with intrusive light from windows or overhead, it’s worth investing in a monitor hood to shield your screen.

3) Colour calibration
Next to brightness, colour is the second-biggest source of disparity between what photographers see on their screens and what they see on their printed images.
Again, a huge part of this is down to the screen itself; like the brightness, many of us simply don’t have our settings correct when it comes to colour. We’ve all had the experience of looking at a photo on one person’s phone and then the colours being completely different when looking at it on someone else’s.
And, as was the case with auto brightness, some screens automatically adjust colours for us depending on where and when we’re using them – such as the “night mode” that many phones and devices enable in the evenings, to reduce the amount of blue light our eyes receive prior to sleeping. So, as before, make sure that setting is disabled!
The single best thing you can do is invest in a monitor calibrator. This is a device and accompanying piece of software that calibrates your screen to make sure that it is displaying hue and saturation correctly. Use it on every screen you work on to ensure consistency across all your devices.
4) Colour space
The colour space in which you shoot your images is something else to be aware of. Most cameras default to shooting in sRGB, which is best suited for images intended to be displayed electronically. Its counterpart, AdobeRGB, is the preferred space for printed images, as it offers superior rendition.
These days, however, sRGB is perfectly fine to use for printing in most cases. If you’re using a photo finisher or lab to print your photographs, check with them to see if they have specific requirements.
Likewise, top-end printing and publishing services typically prefer CMYK images to RGB (our sister print publications, such as Digital Camera magazine and Digital Photographer, are sent to print with CMYK files, for example). Like sRGB, though, RGB images are very commonly accepted these days – but it’s worth double-checking to be sure.

5) The medium
Different prints have different properties! This is something to bear in mind when processing your images – and, if you can, something to think about at the point of capturing them as well.
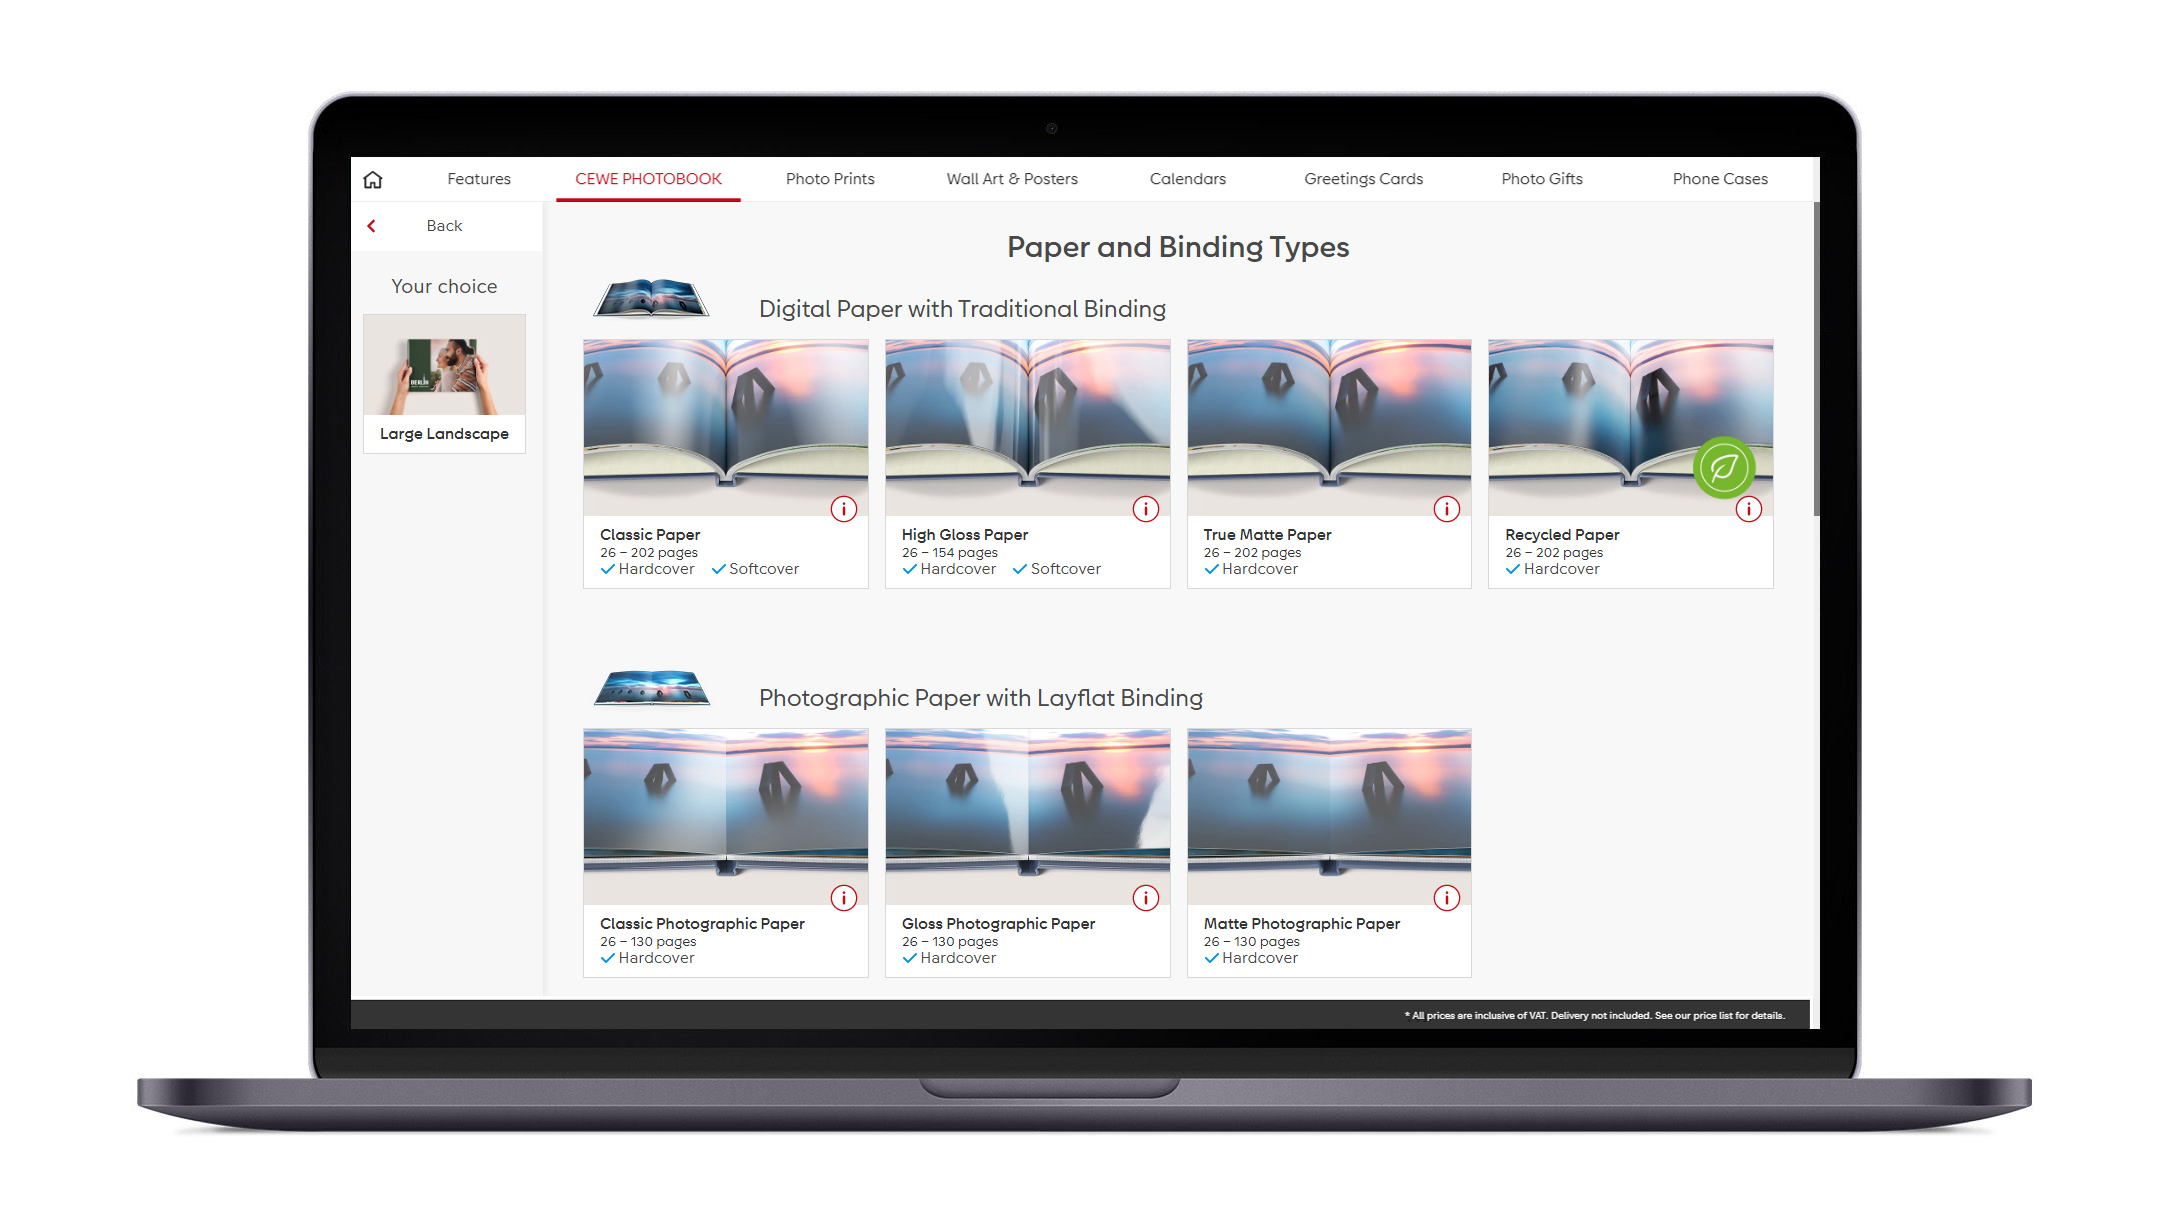
There will be profound differences in how your images look depending on whether you print them on matte paper, glossy paper, fine art paper and so on. Furthermore, if you are printing on a non-paper medium – such as aluminium or canvas – there will be further differences in how the blacks, colours and luminance of your images are rendered.
It’s best to decide in advance what kind of medium you want to print your images on, to make sure that they are a good match for one another. You might love the idea of making a metal print of your favourite photo, but if they aren’t suited for one another you may end up very disappointed with the reality.
6) The printer
All the careful, considered editing in the world won’t mean anything if you use the wrong printer! All that work will be for naught if you don’t use a good-quality printer, which will let you down at the final hurdle.
If you’re printing your own images at home, we obviously advise you to check out the best photo printer so you can trust that what you see on your (properly calibrated) screen is what you will see on your prints.
The same is just as true if you are using a lab or photo-finishing service to print your images. Sure, the cheap-as-chips online printing company that pops up on Instagram might offer amazing prices, but do you trust them to produce amazing prints?
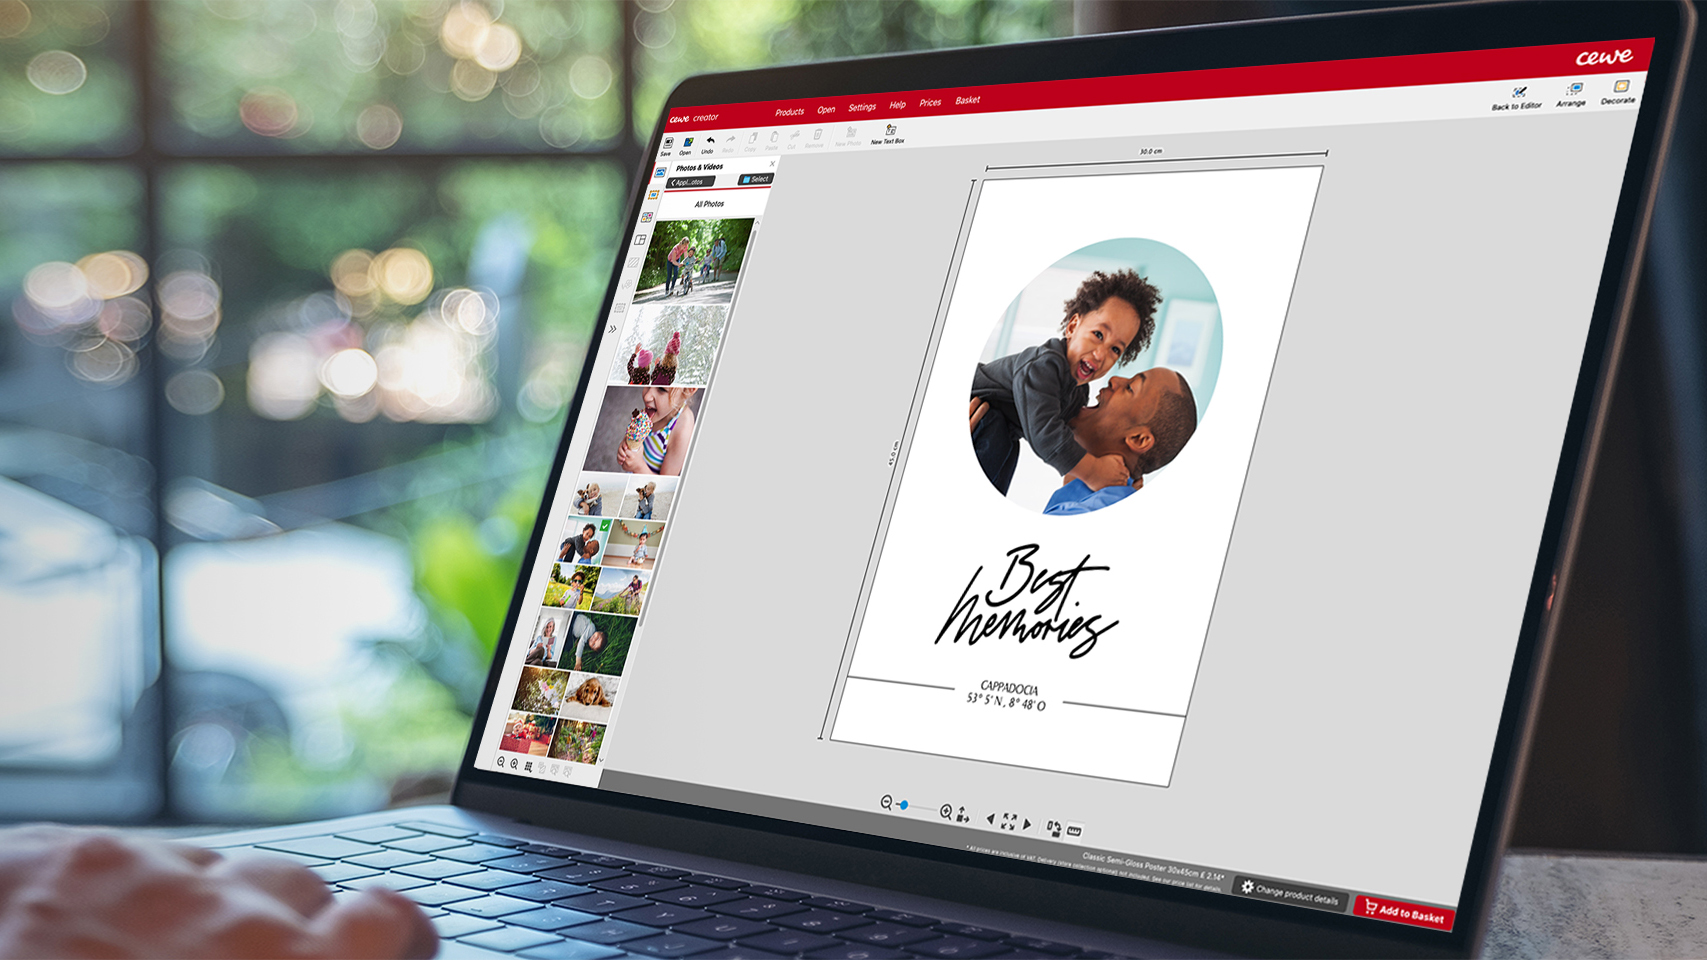
Do your research, and only let reliable print houses handle your precious photographs – otherwise you’re just short-changing yourself. Our trusted partner for print services is CEWE, Europe’s leading photo printing company. It supplies award-winning products to retailers in over 20 countries, delivering everything from the CEWE PHOTOBOOK and Calendars to prints and wall art to all manner of photo gifts.
Get the Digital Camera World Newsletter
The best camera deals, reviews, product advice, and unmissable photography news, direct to your inbox!
Digital Camera World is one of the leading authorities on camera and photography news, reviews, techniques, tutorials, comparisons, deals and industry analysis. The site doesn't just specialize in cameras, but all aspects of photography, videography and imaging – including camera phones, gimbals, lenses, lighting, editing software, filters, tripods, laptops, printers, photo books, desks, binoculars and more.
Whether you're using, looking to buy or trying to get the most out of a compact camera, action camera, camera drone, cinema camera, beginner camera or professional camera, Digital Camera World has a roster of experts with combined experience of over 100 years when it comes to cameras, photography and imaging.

