How to use portrait lighting effects with the iPhone 11 Pro
Natural, Studio or High-Key Mono: how to decipher the iPhone 11 Pro's portrait lighting effect options
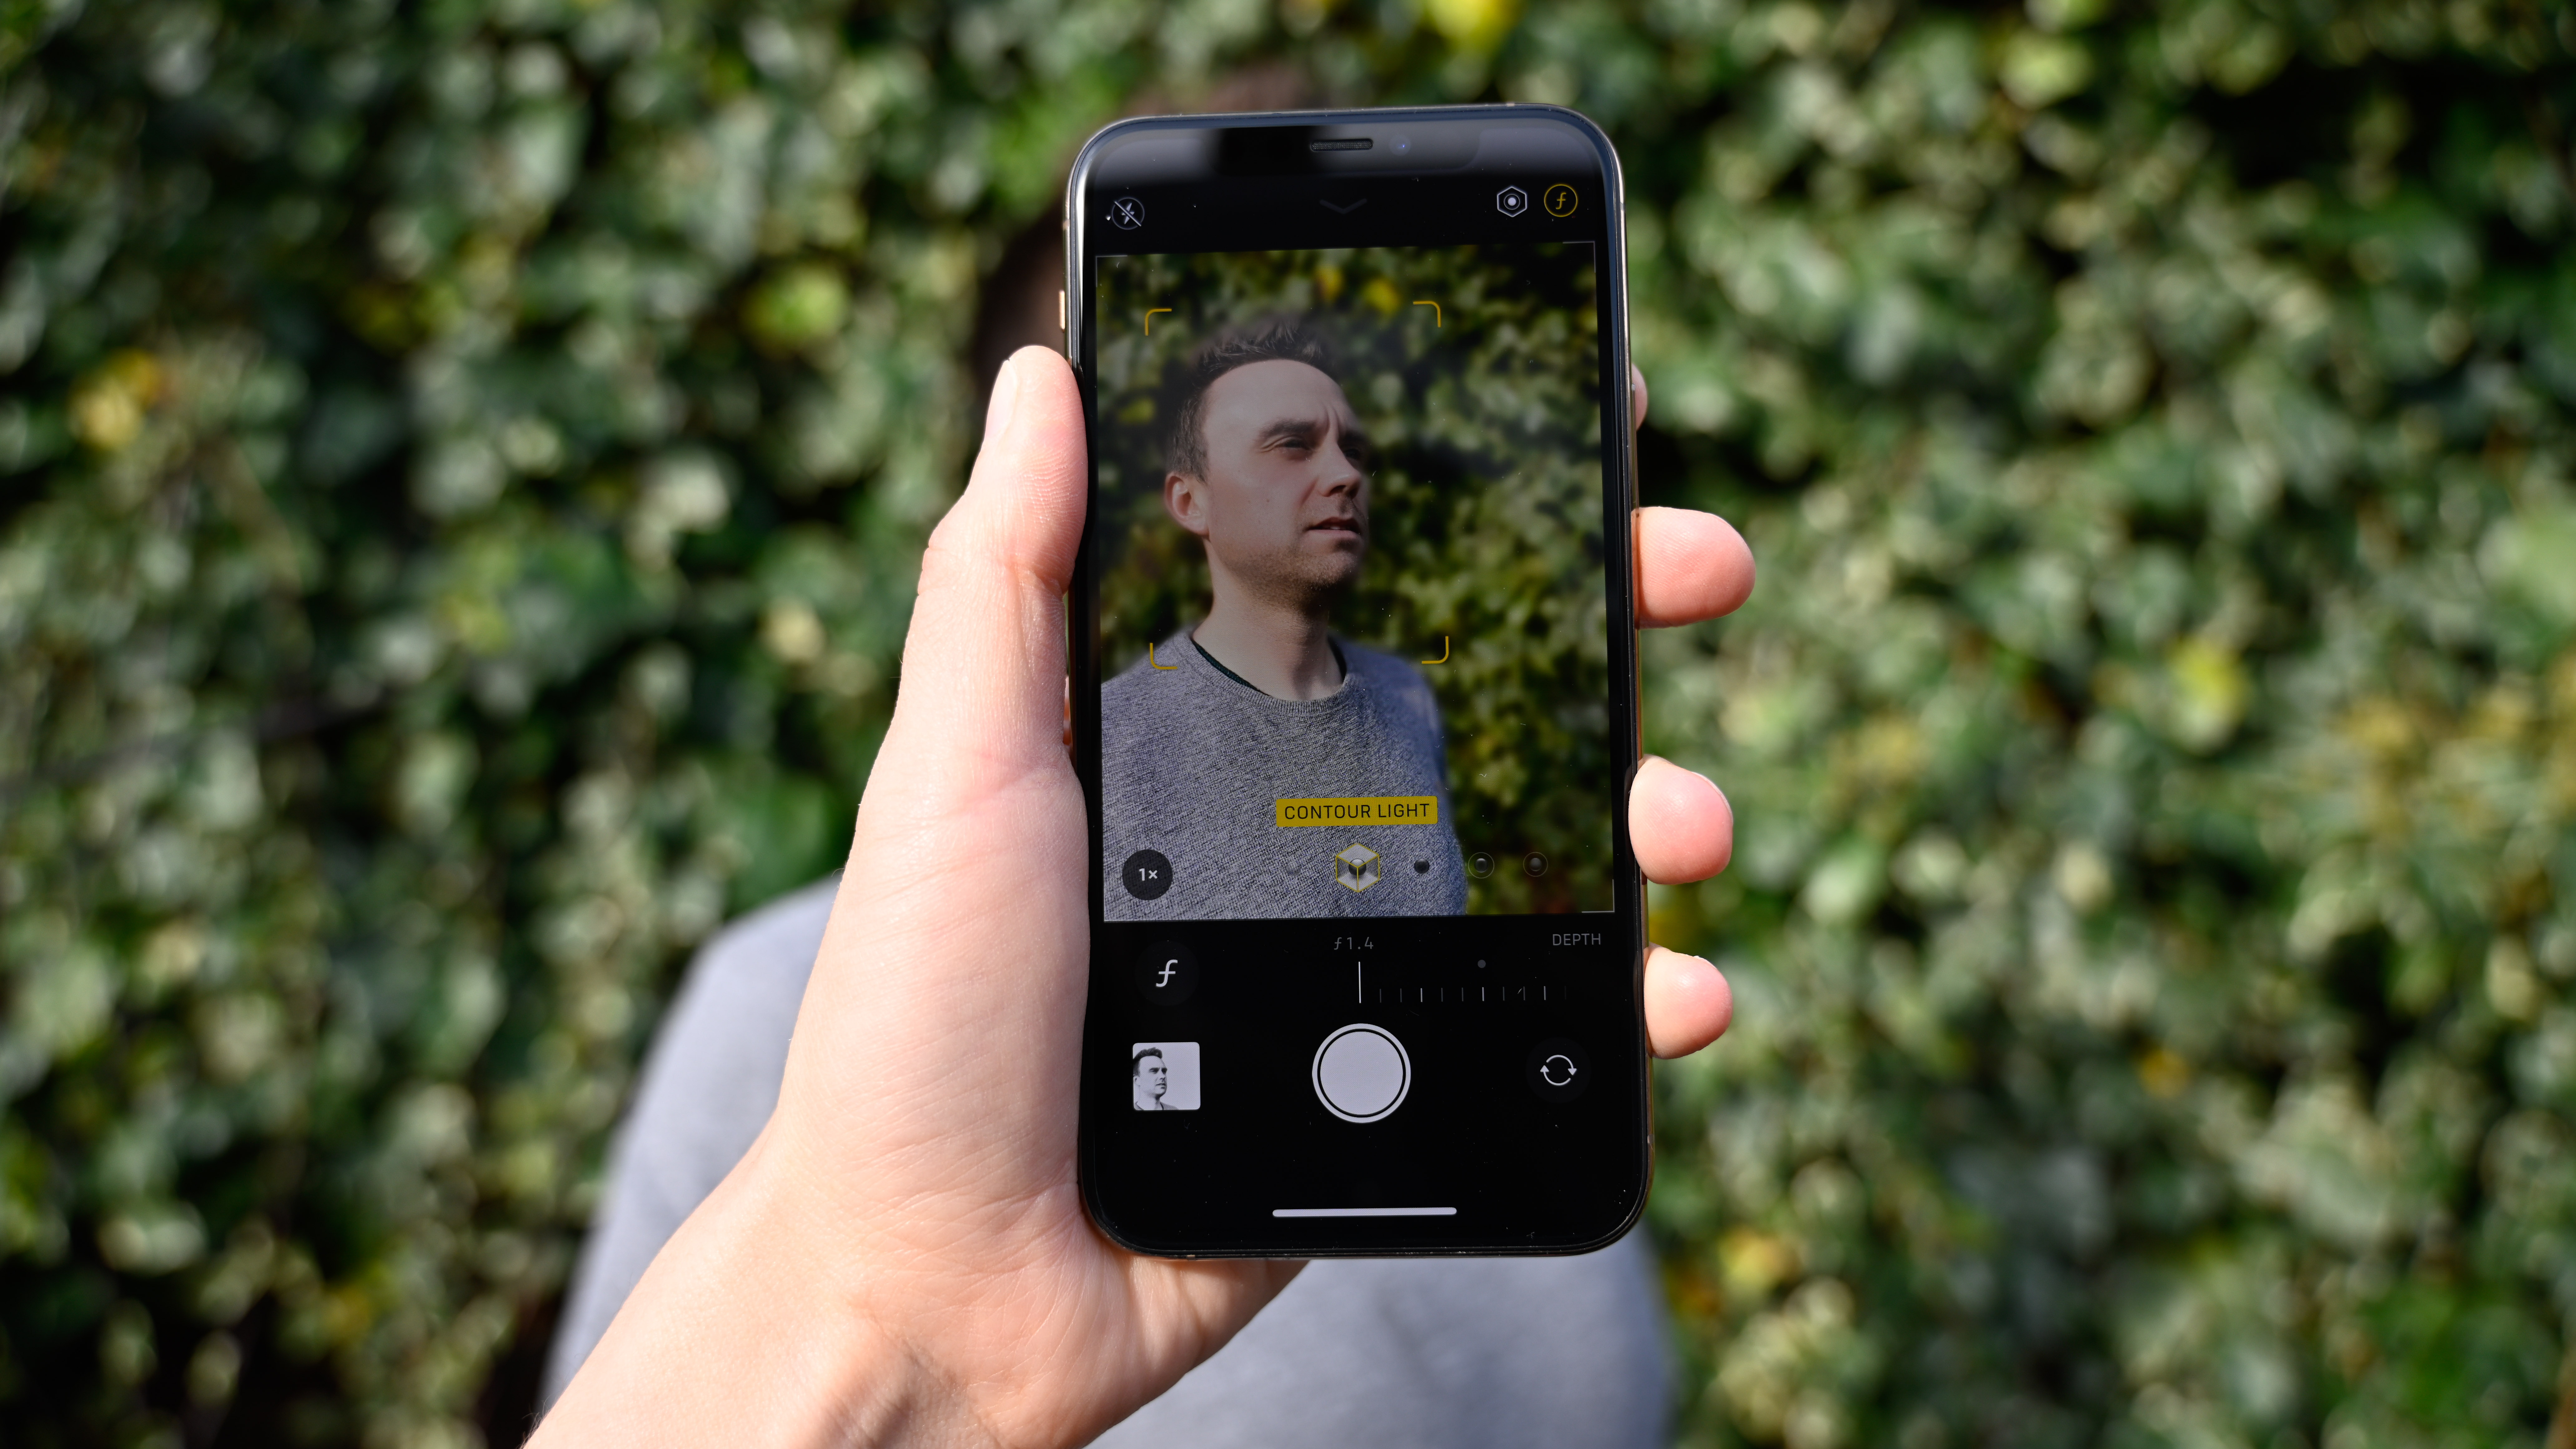
One of the best things about the Apple iPhone 11 Pro is the quality of the onboard camera, and in particular, how well it shoots convincing blurred backgrounds with the Portrait mode.
If you’ve ever used it, you might have noticed a set of options appearing at the bottom of the screen which refer to the “lighting” settings which you can choose between.
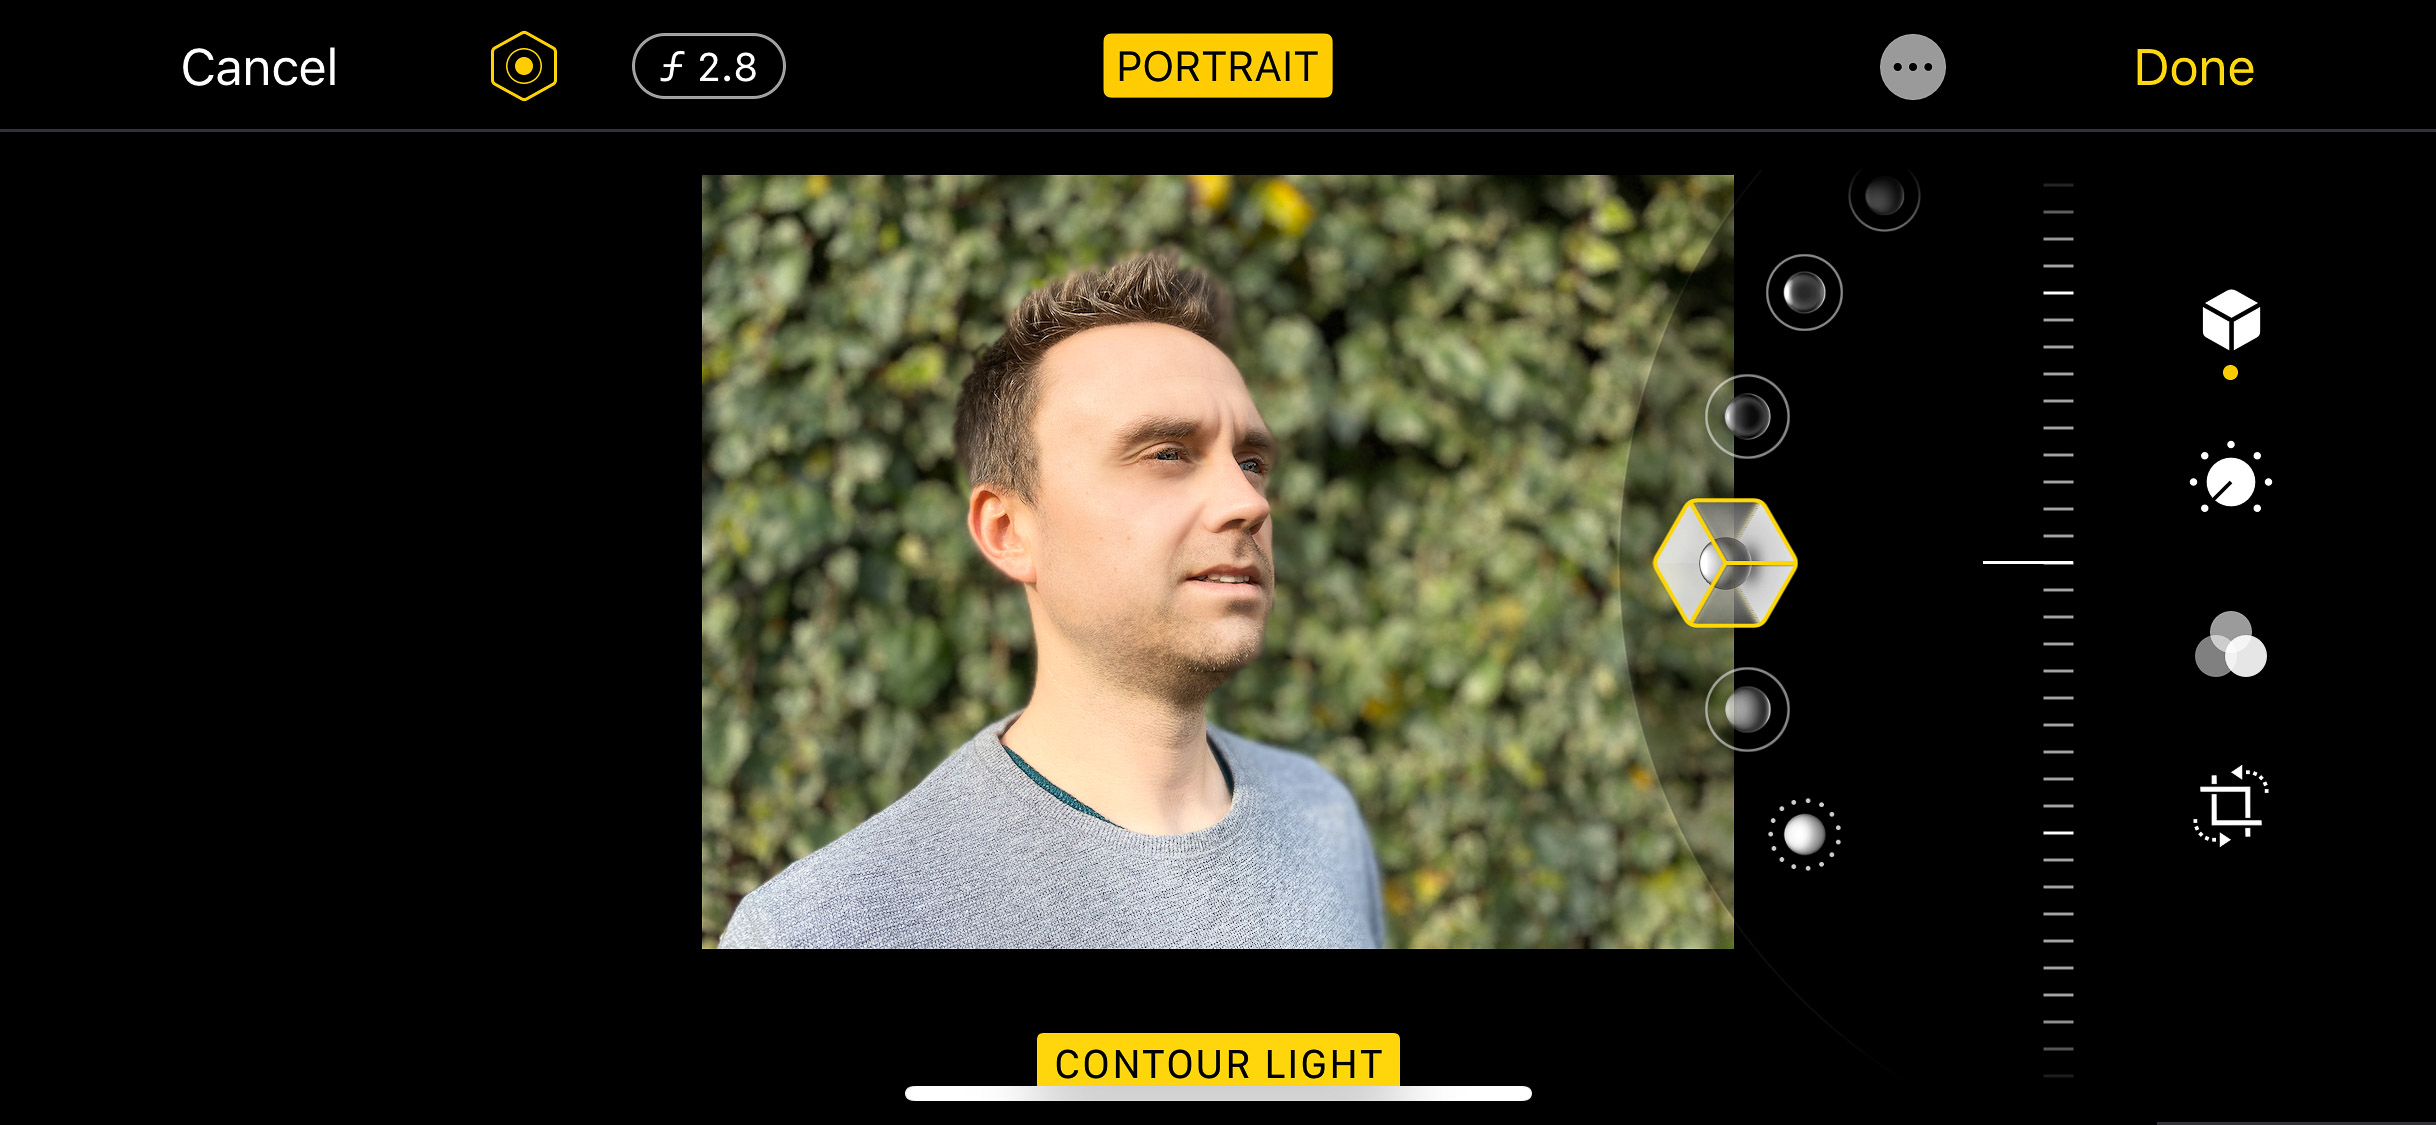
In this piece we’ll go through each one to see exactly what they do and how they work, and also good times to use them. The best thing we can suggest is to experiment with all of them to find the effect you like best.
• See more mobile photography tips
You’ll see the effect previewed in the app as you’re taking the picture - which can help you decide if it’s the right one for the subject.
It’s also good to note that no matter which lighting effect you choose, you can choose a different one in editing - so if you decide you don’t like it, you can simply swap it out. Happy days.
iPhone 11 Pro Portrait Mode Lighting Effects: what are they and when should you use them?
1: Natural Light
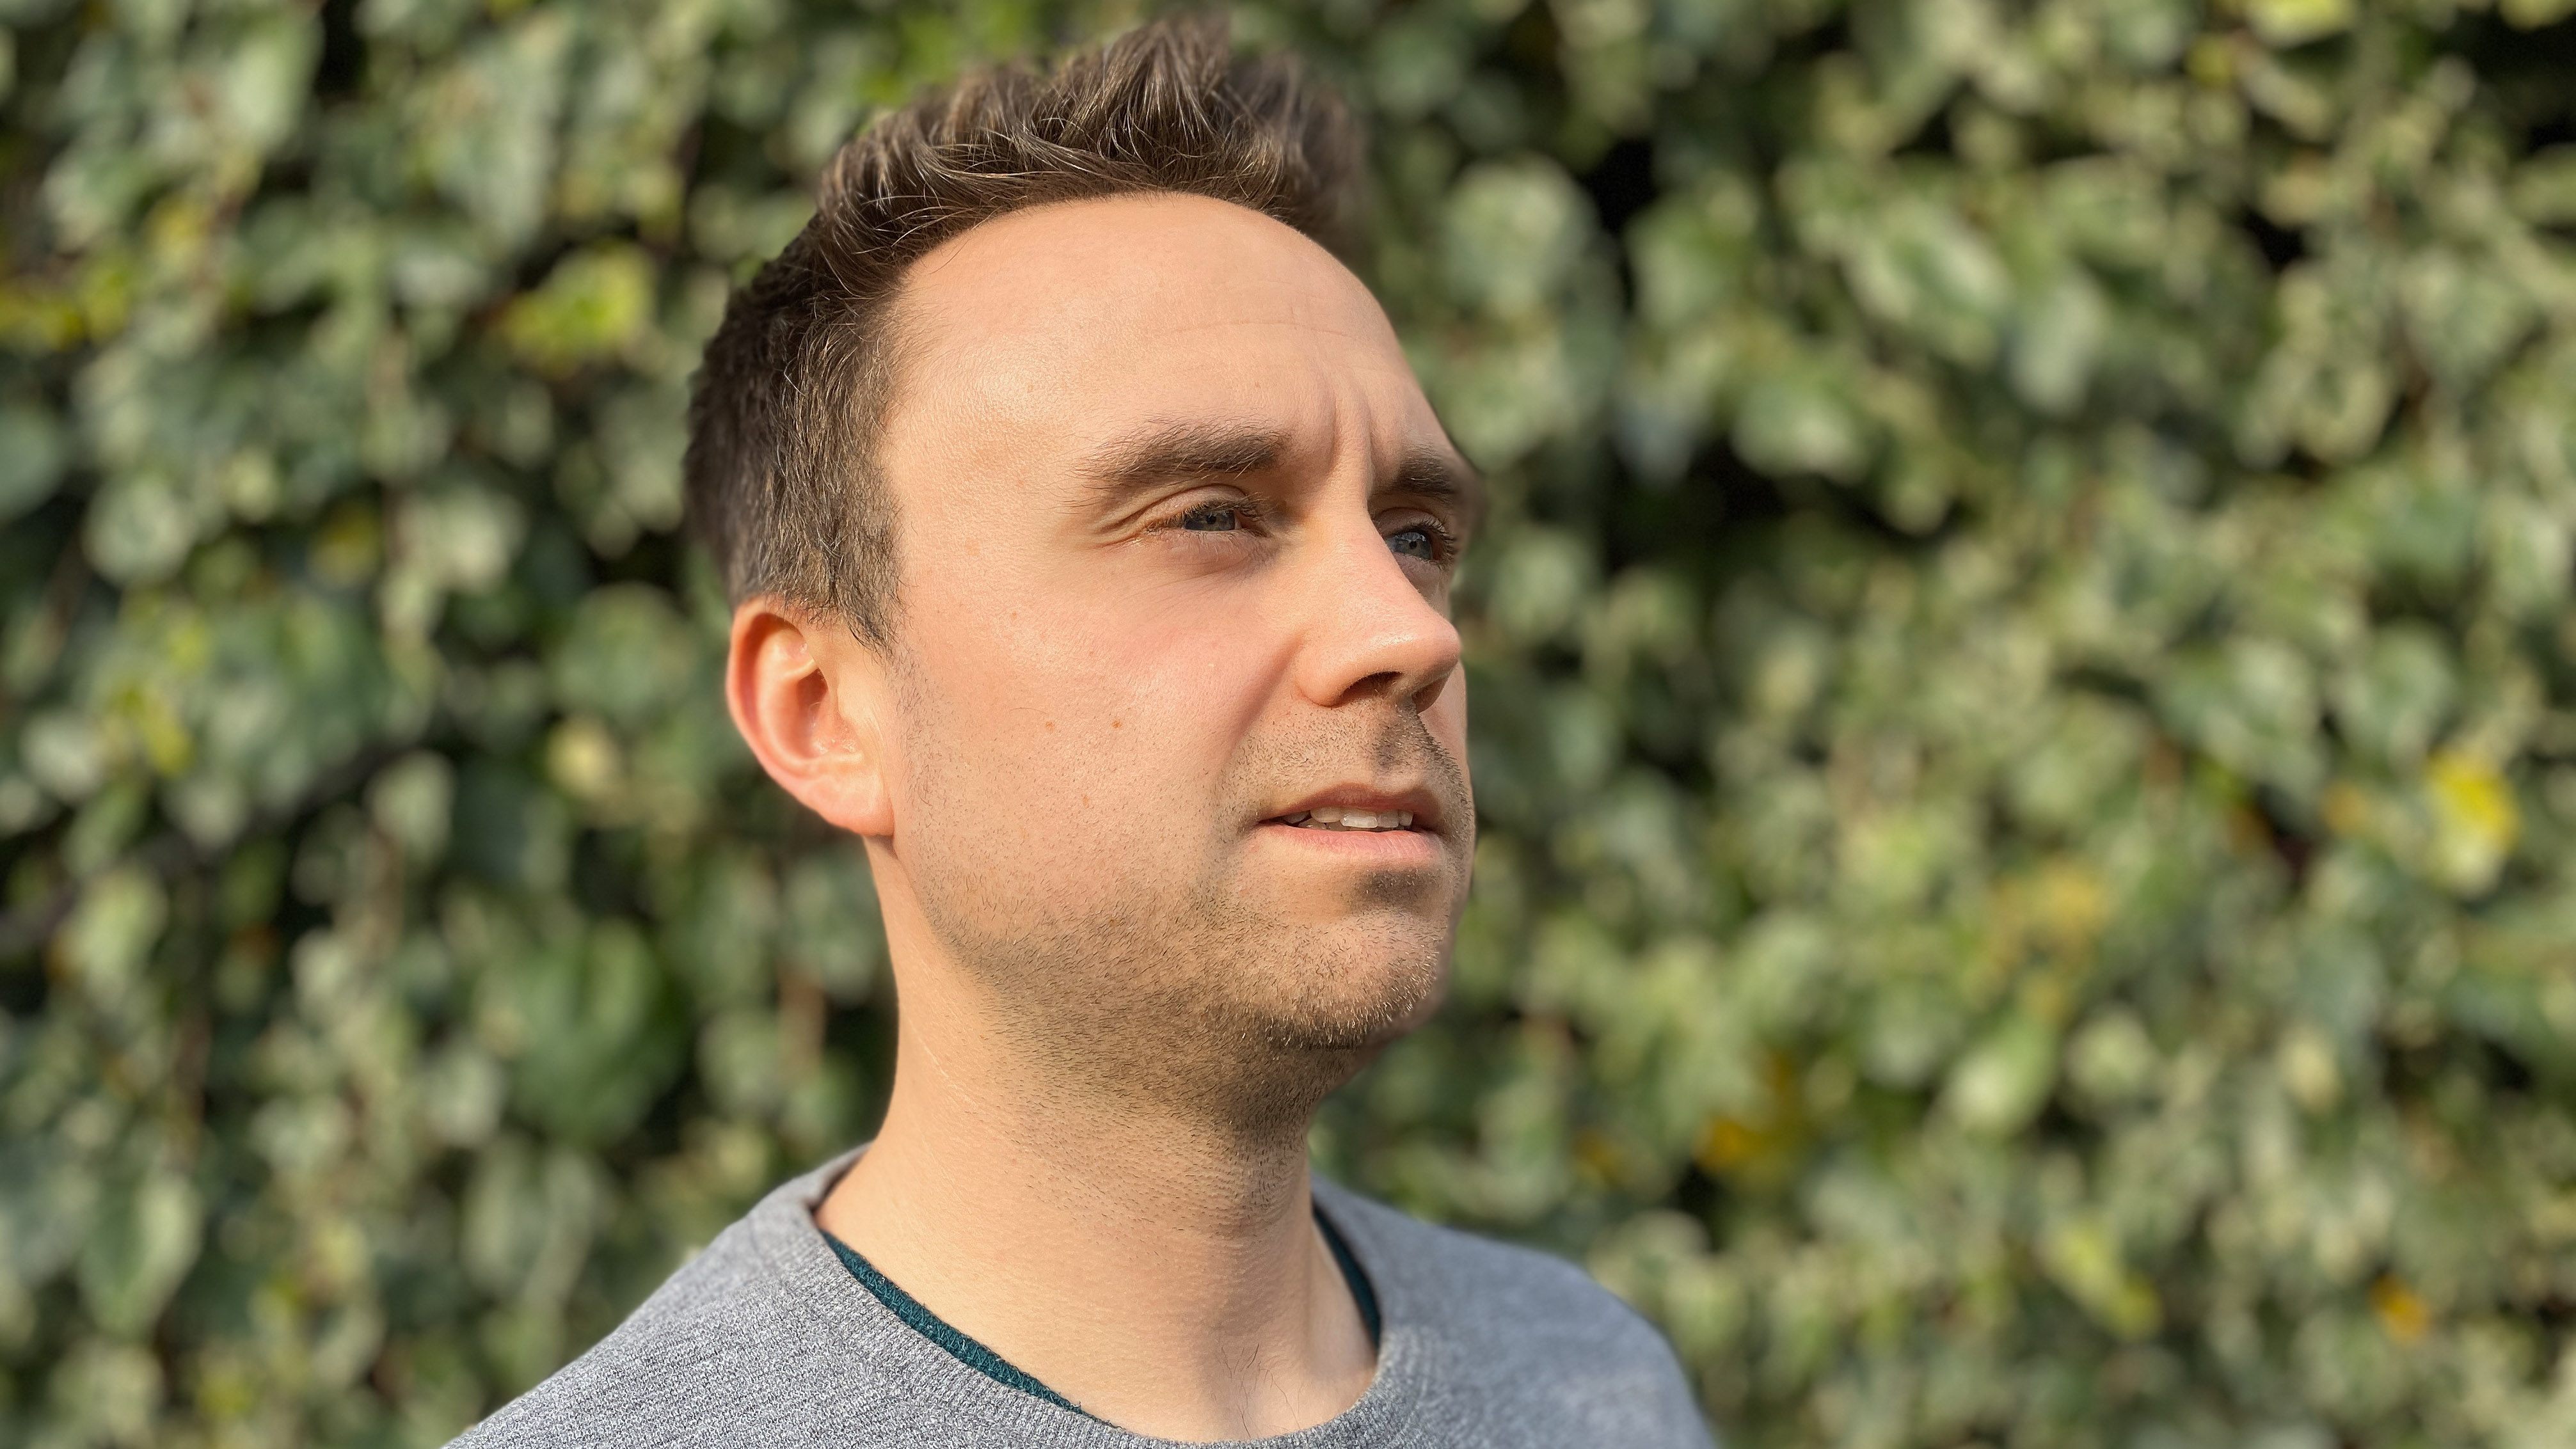
This is the default option and is designed for a classic look as if you were shooting outside. This is a “lighting effect” which is best used for everyday scenarios when you’re not trying to be overly creative and just create a simple portrait. It works well in a range of shooting scenarios, both indoors and outdoors. It’s also good for non-human subjects, such as pets.
Get the Digital Camera World Newsletter
The best camera deals, reviews, product advice, and unmissable photography news, direct to your inbox!
2: Studio Light
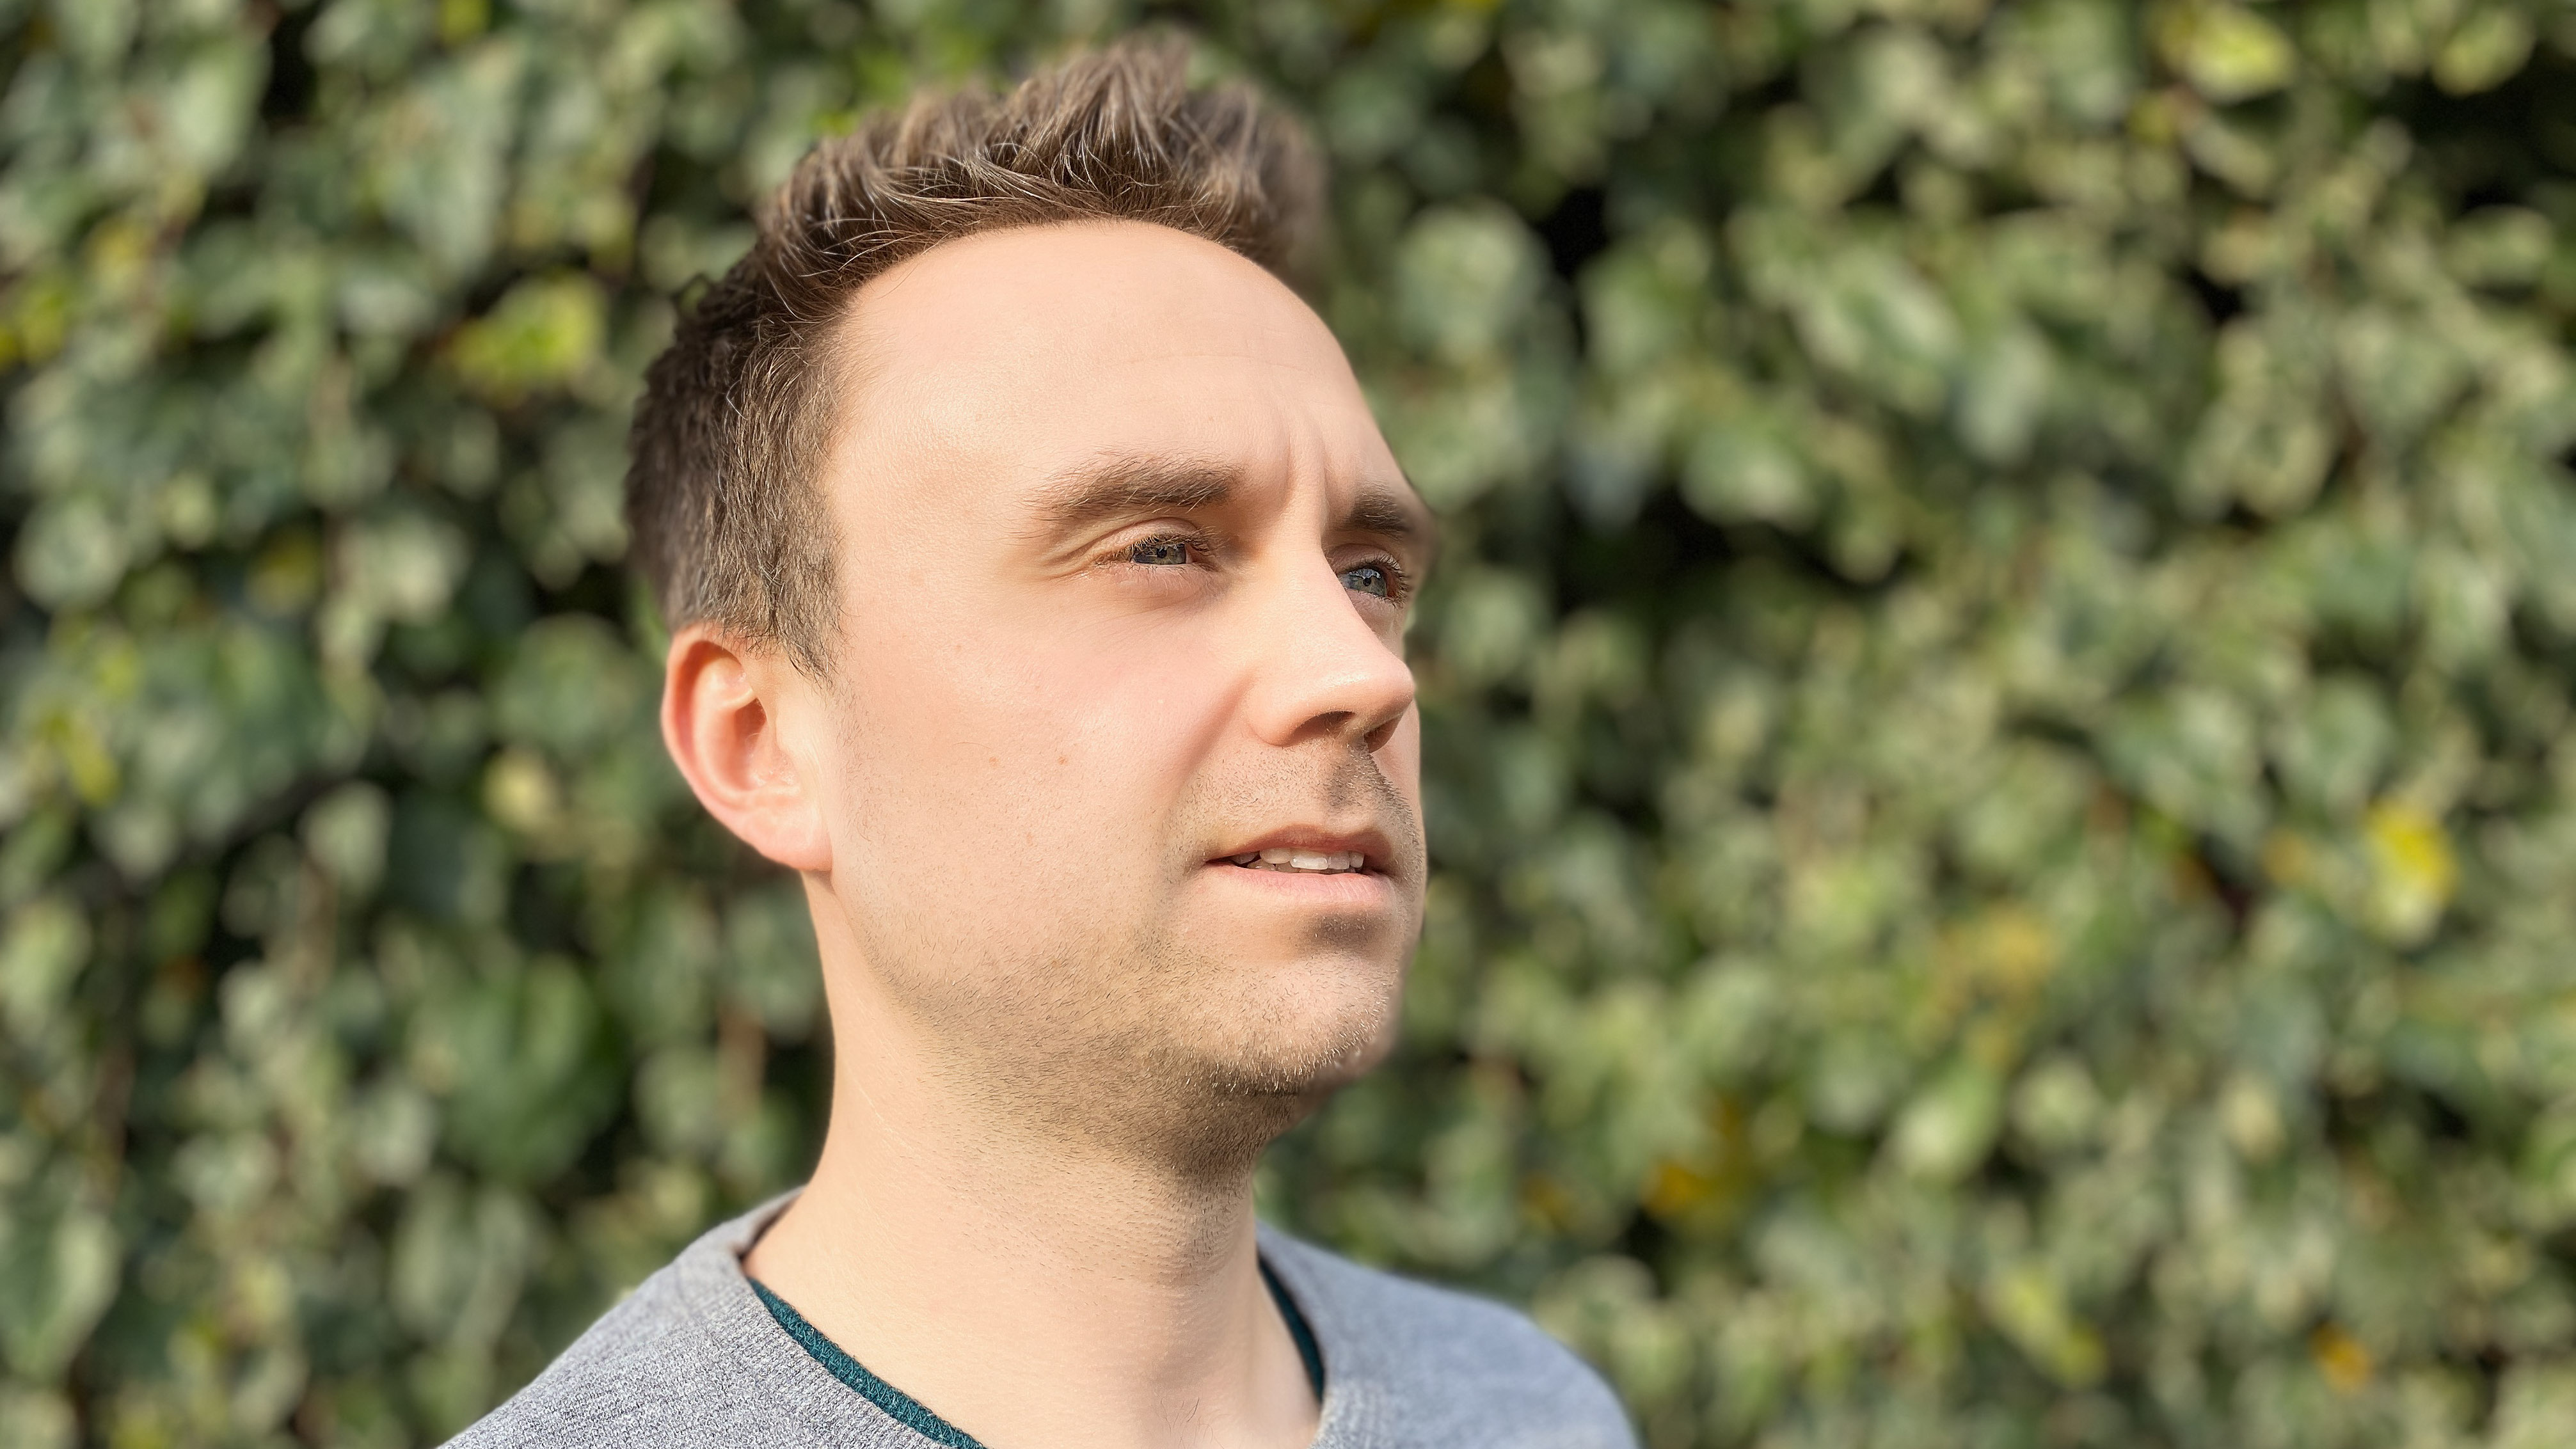
Apple says that this lighting effect is designed to brighten facial features, and it does a pretty good job of that. Just like you’d find with studio portrait lighting, it’ll bring out the key features of your subject’s face - working particularly well with human, rather than animal subjects.
3: Contour Light
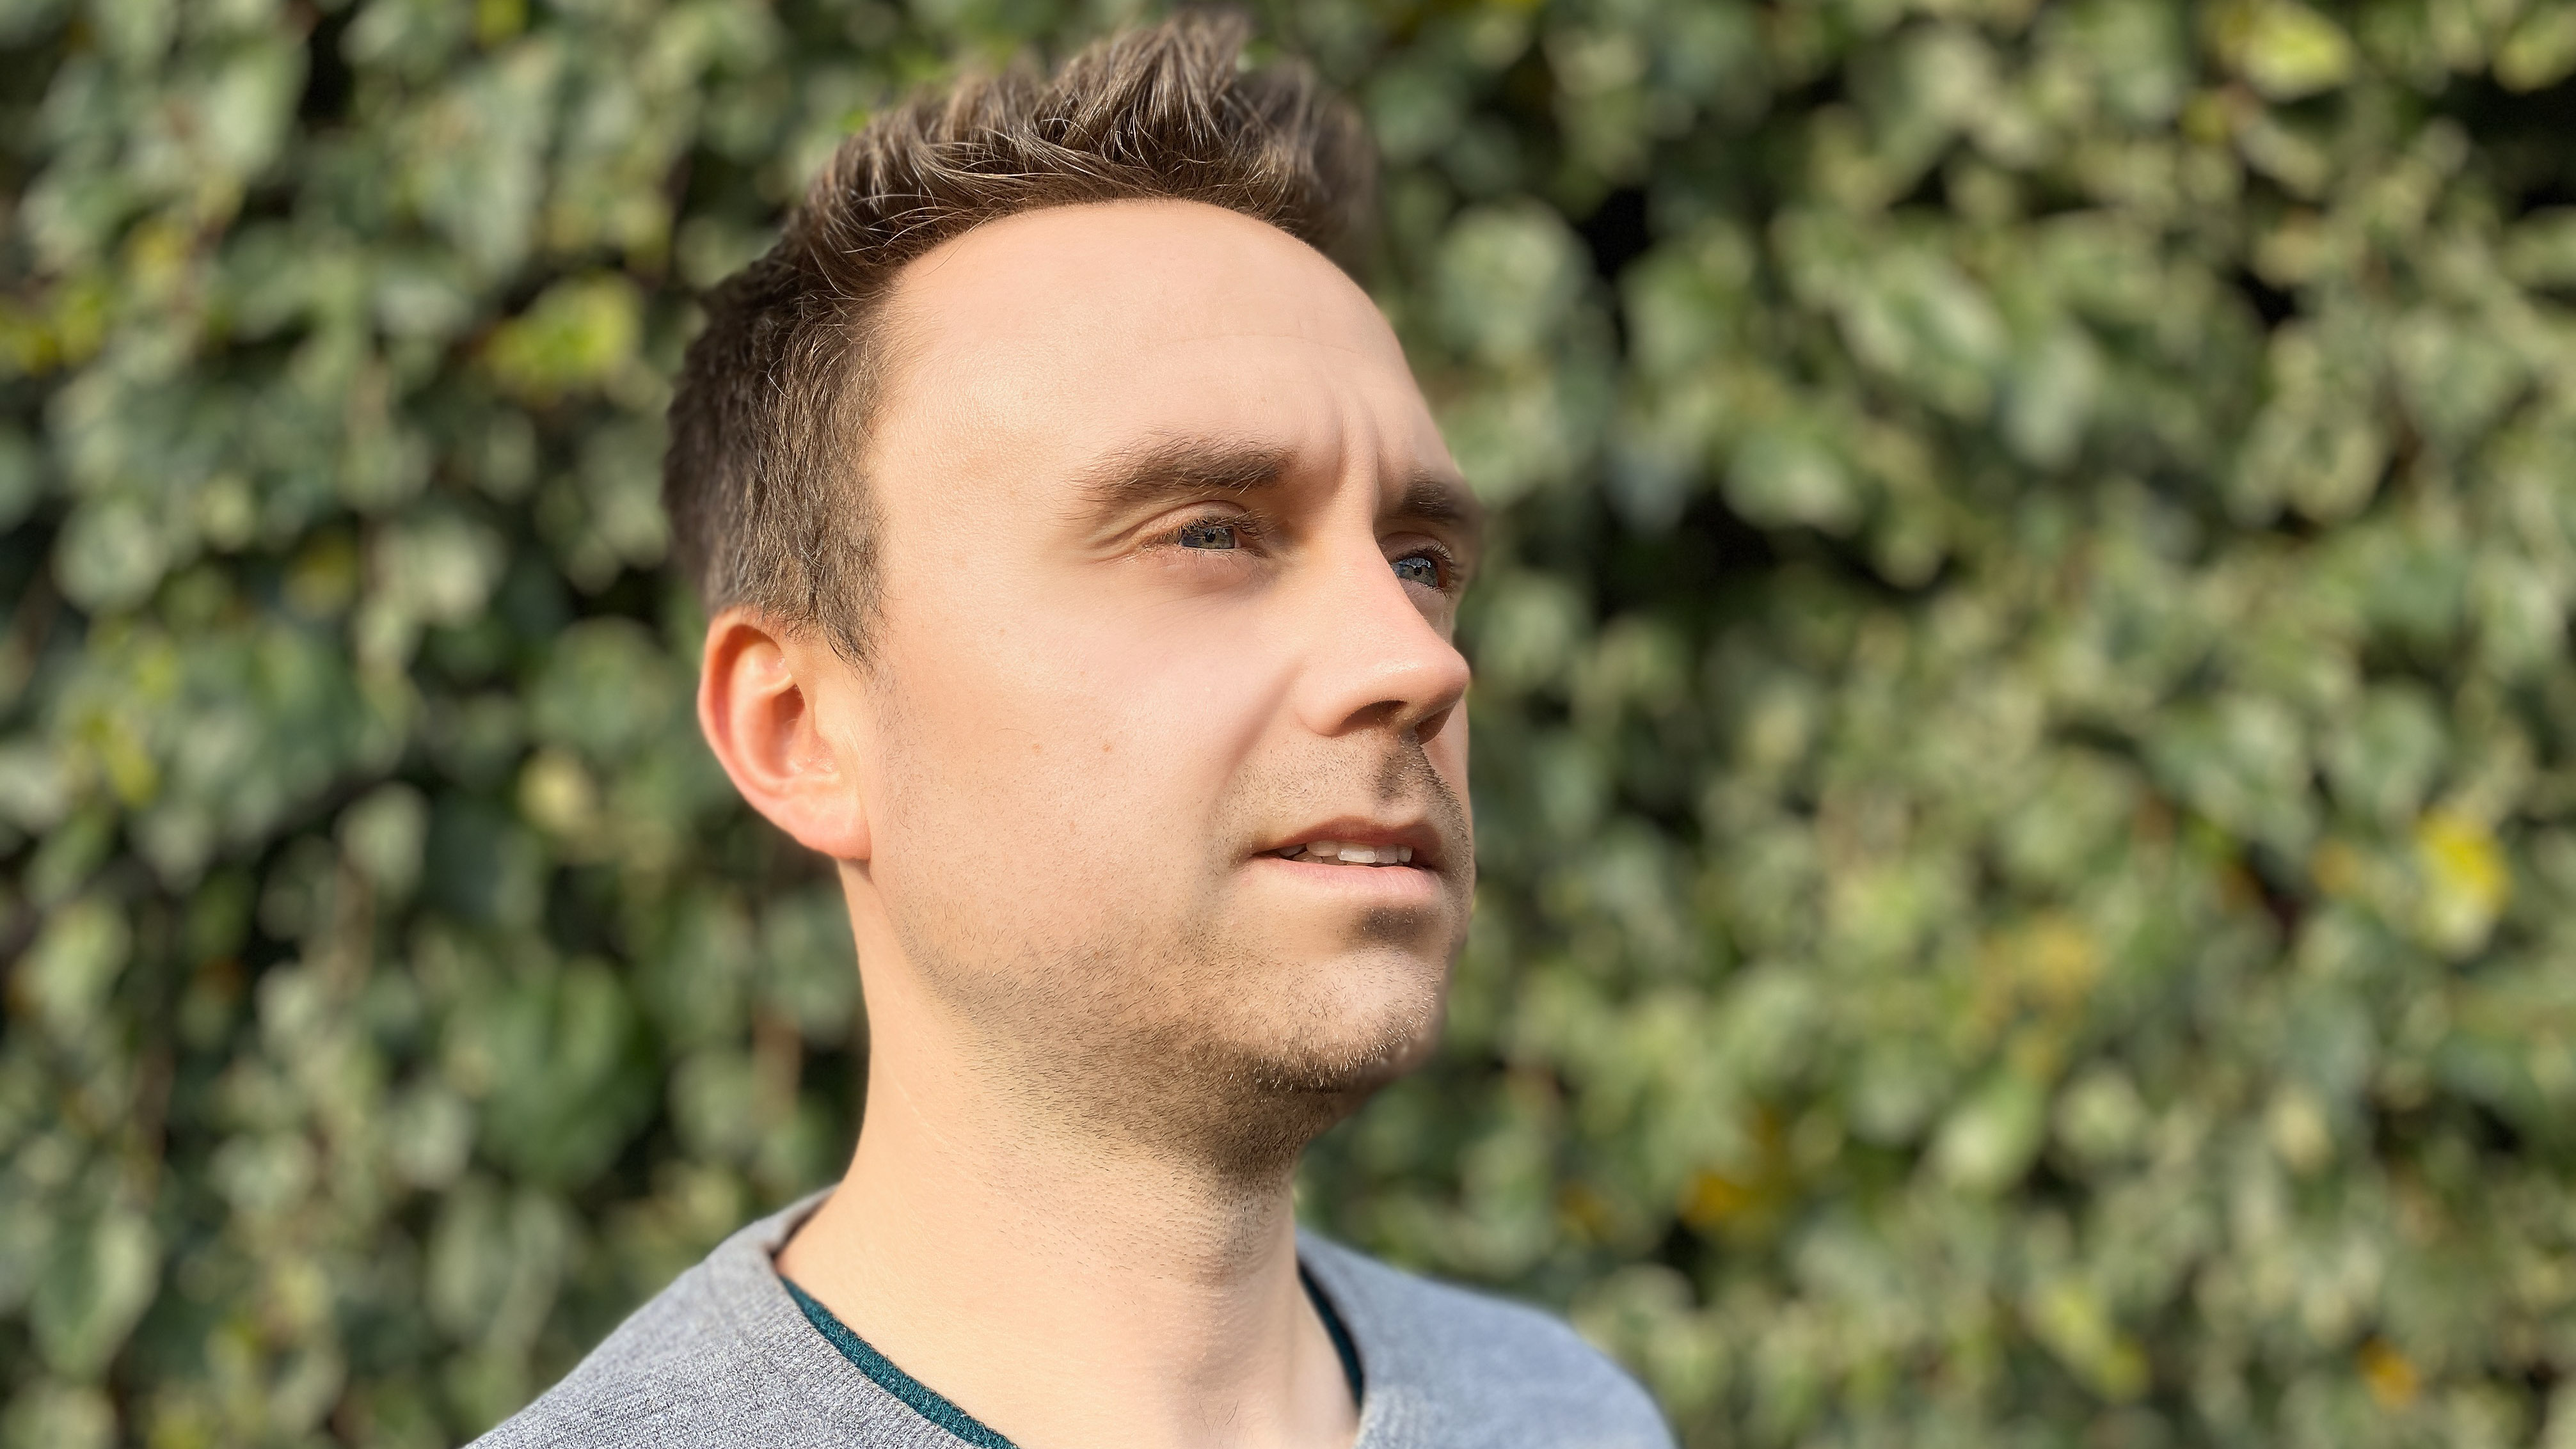
This one is a little similar to the Studio Light setting, but is designed to be more dramatic than the standard studio light. It’s can be quite a harsh effect which works well with some portrait subjects, but not others - this one is worth experimenting with to see if it flatters your subject or not. It also works well with still life subjects to highlight details as much as possible.
4: Stage Light
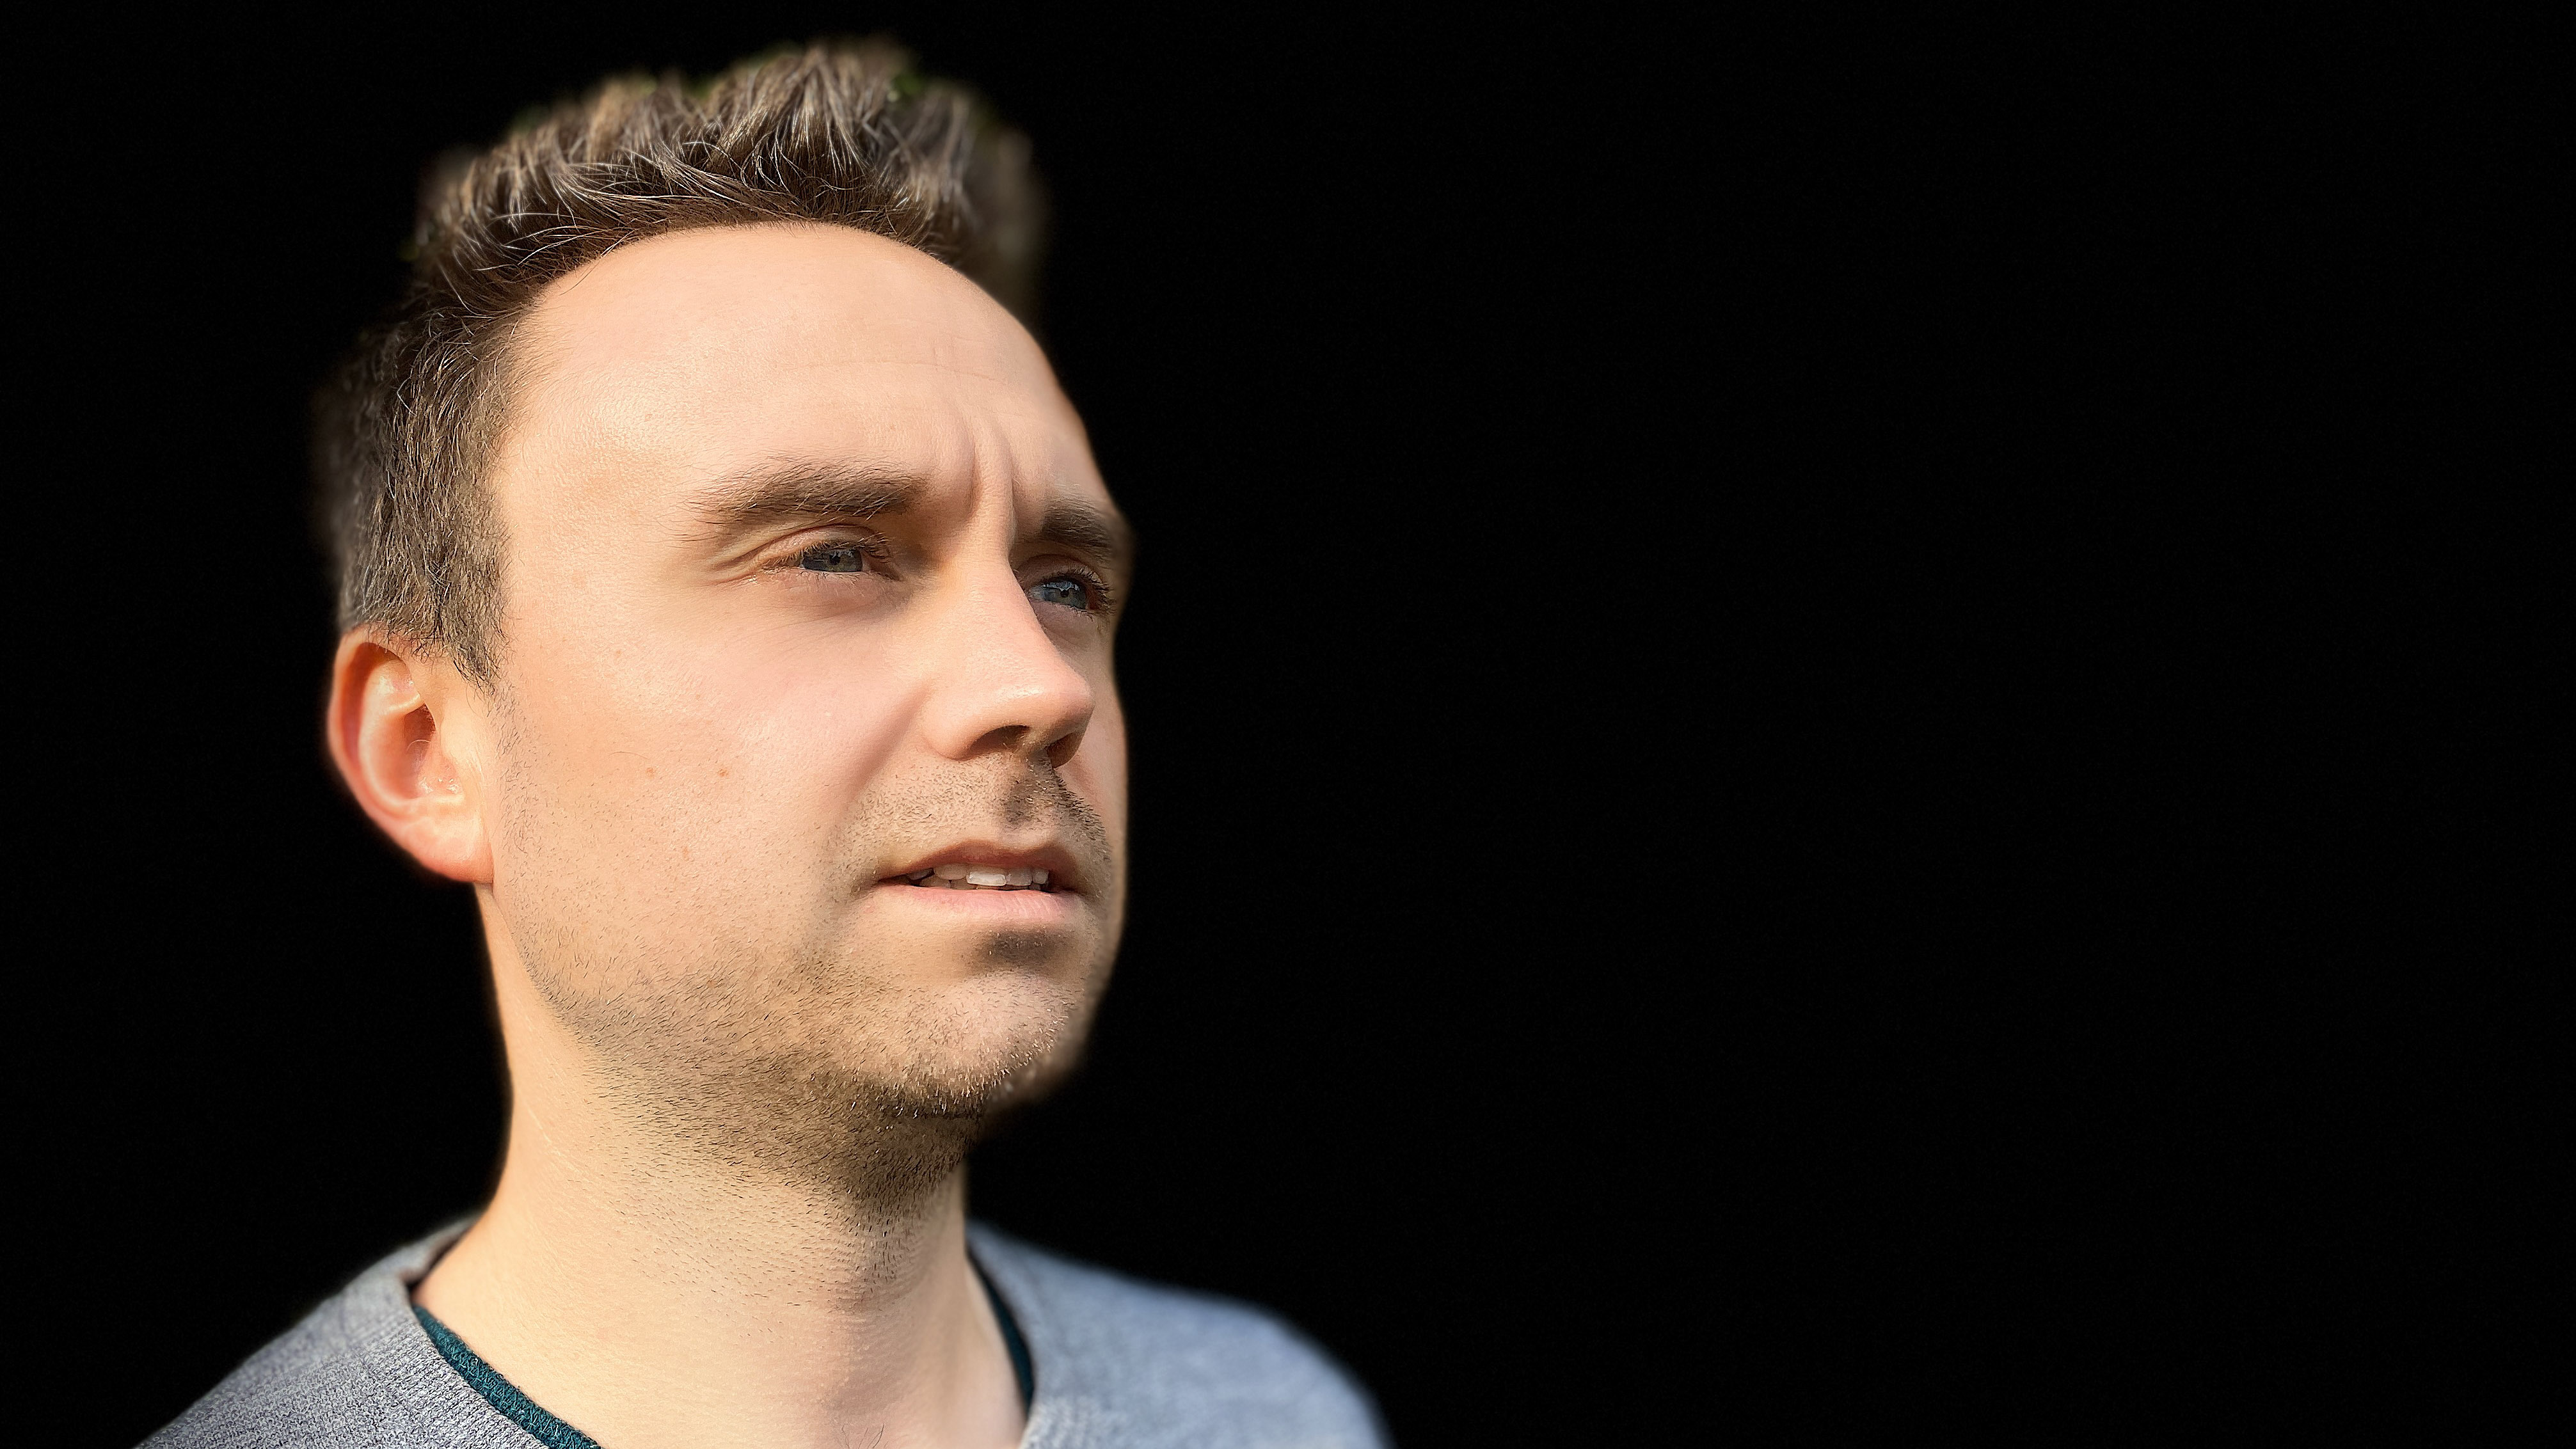
A bit of a marmite effect - some people love the stage light effect, some people hate it. What it does is completely isolates your subject, to create a black background. Apple describes it as “isolating your subject in the spotlight”, but to us it simply looks a little strange. However, you might find it fun for those times when you want to concentrate on nothing but a face and don’t want any background context.
5: Stage Light Mono
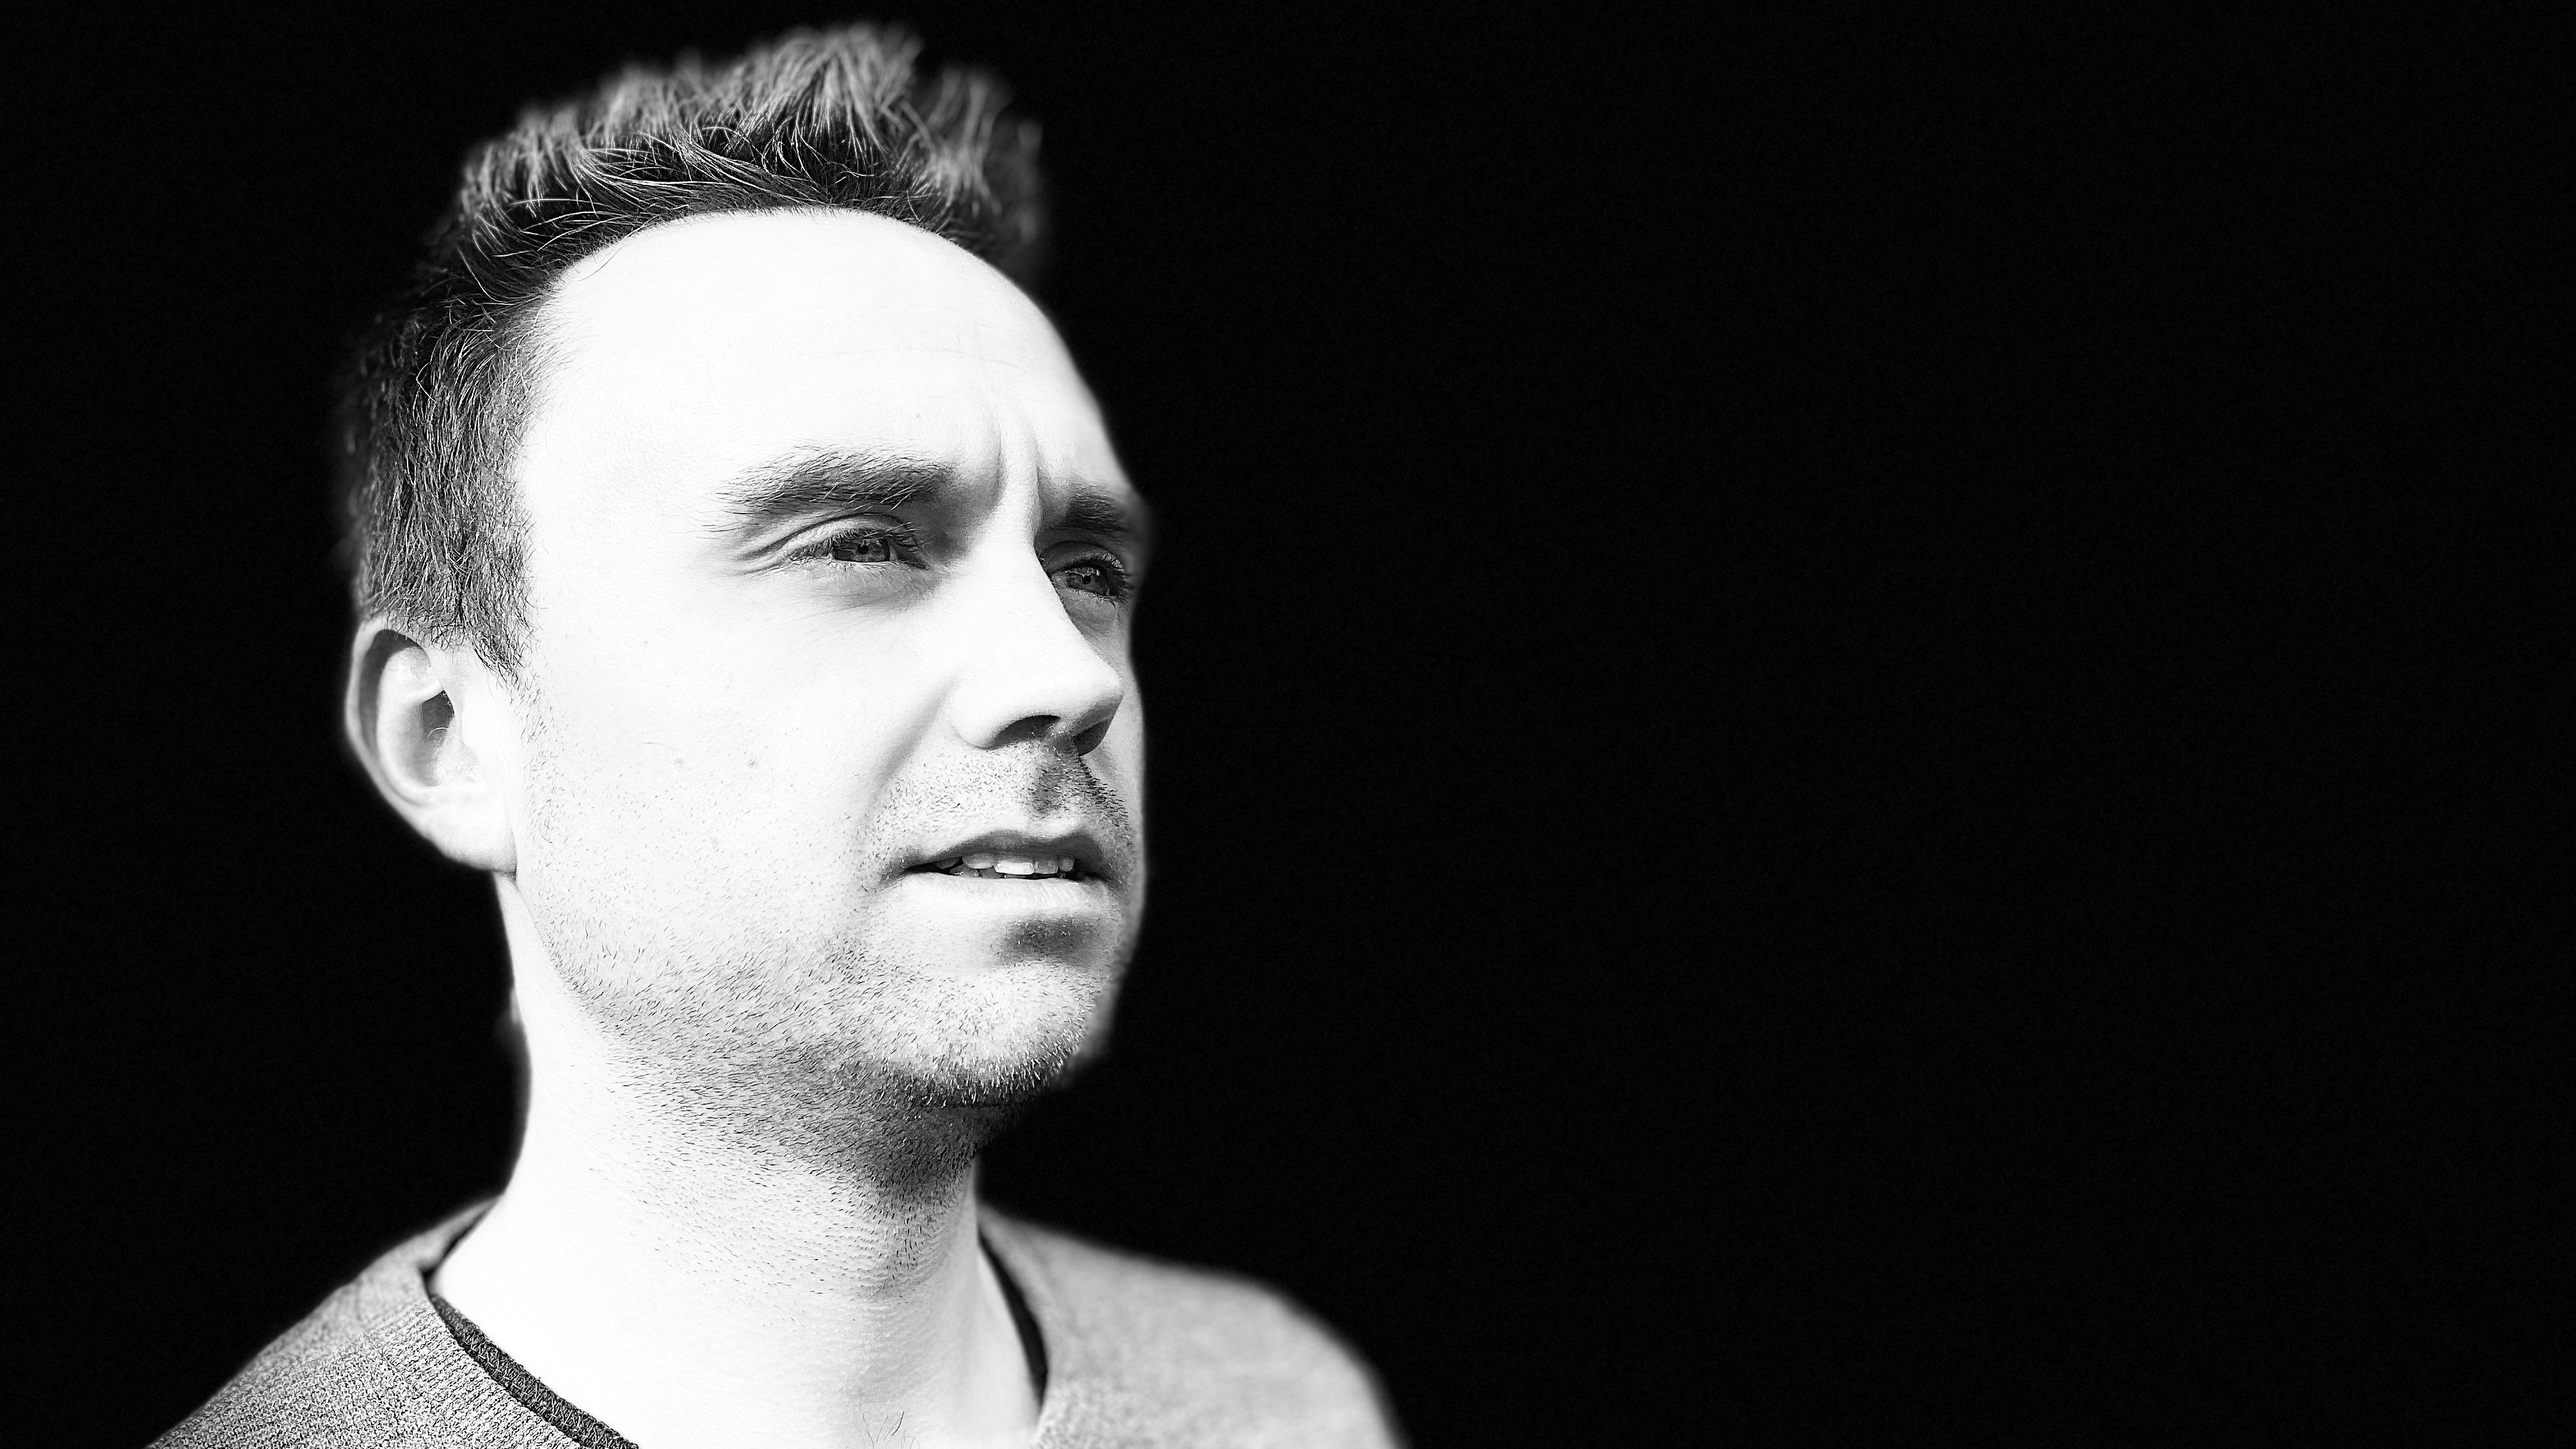
This is the same as the above, only it’s in black and white (which Apple describes as “classic”). It has a similar effect as you might see in an actor’s headshot - which again can be quite fun to play with if you like that kind of thing. Note - neither of the Stage Light effects work with non-human subjects.
6: High-Key Light Mono
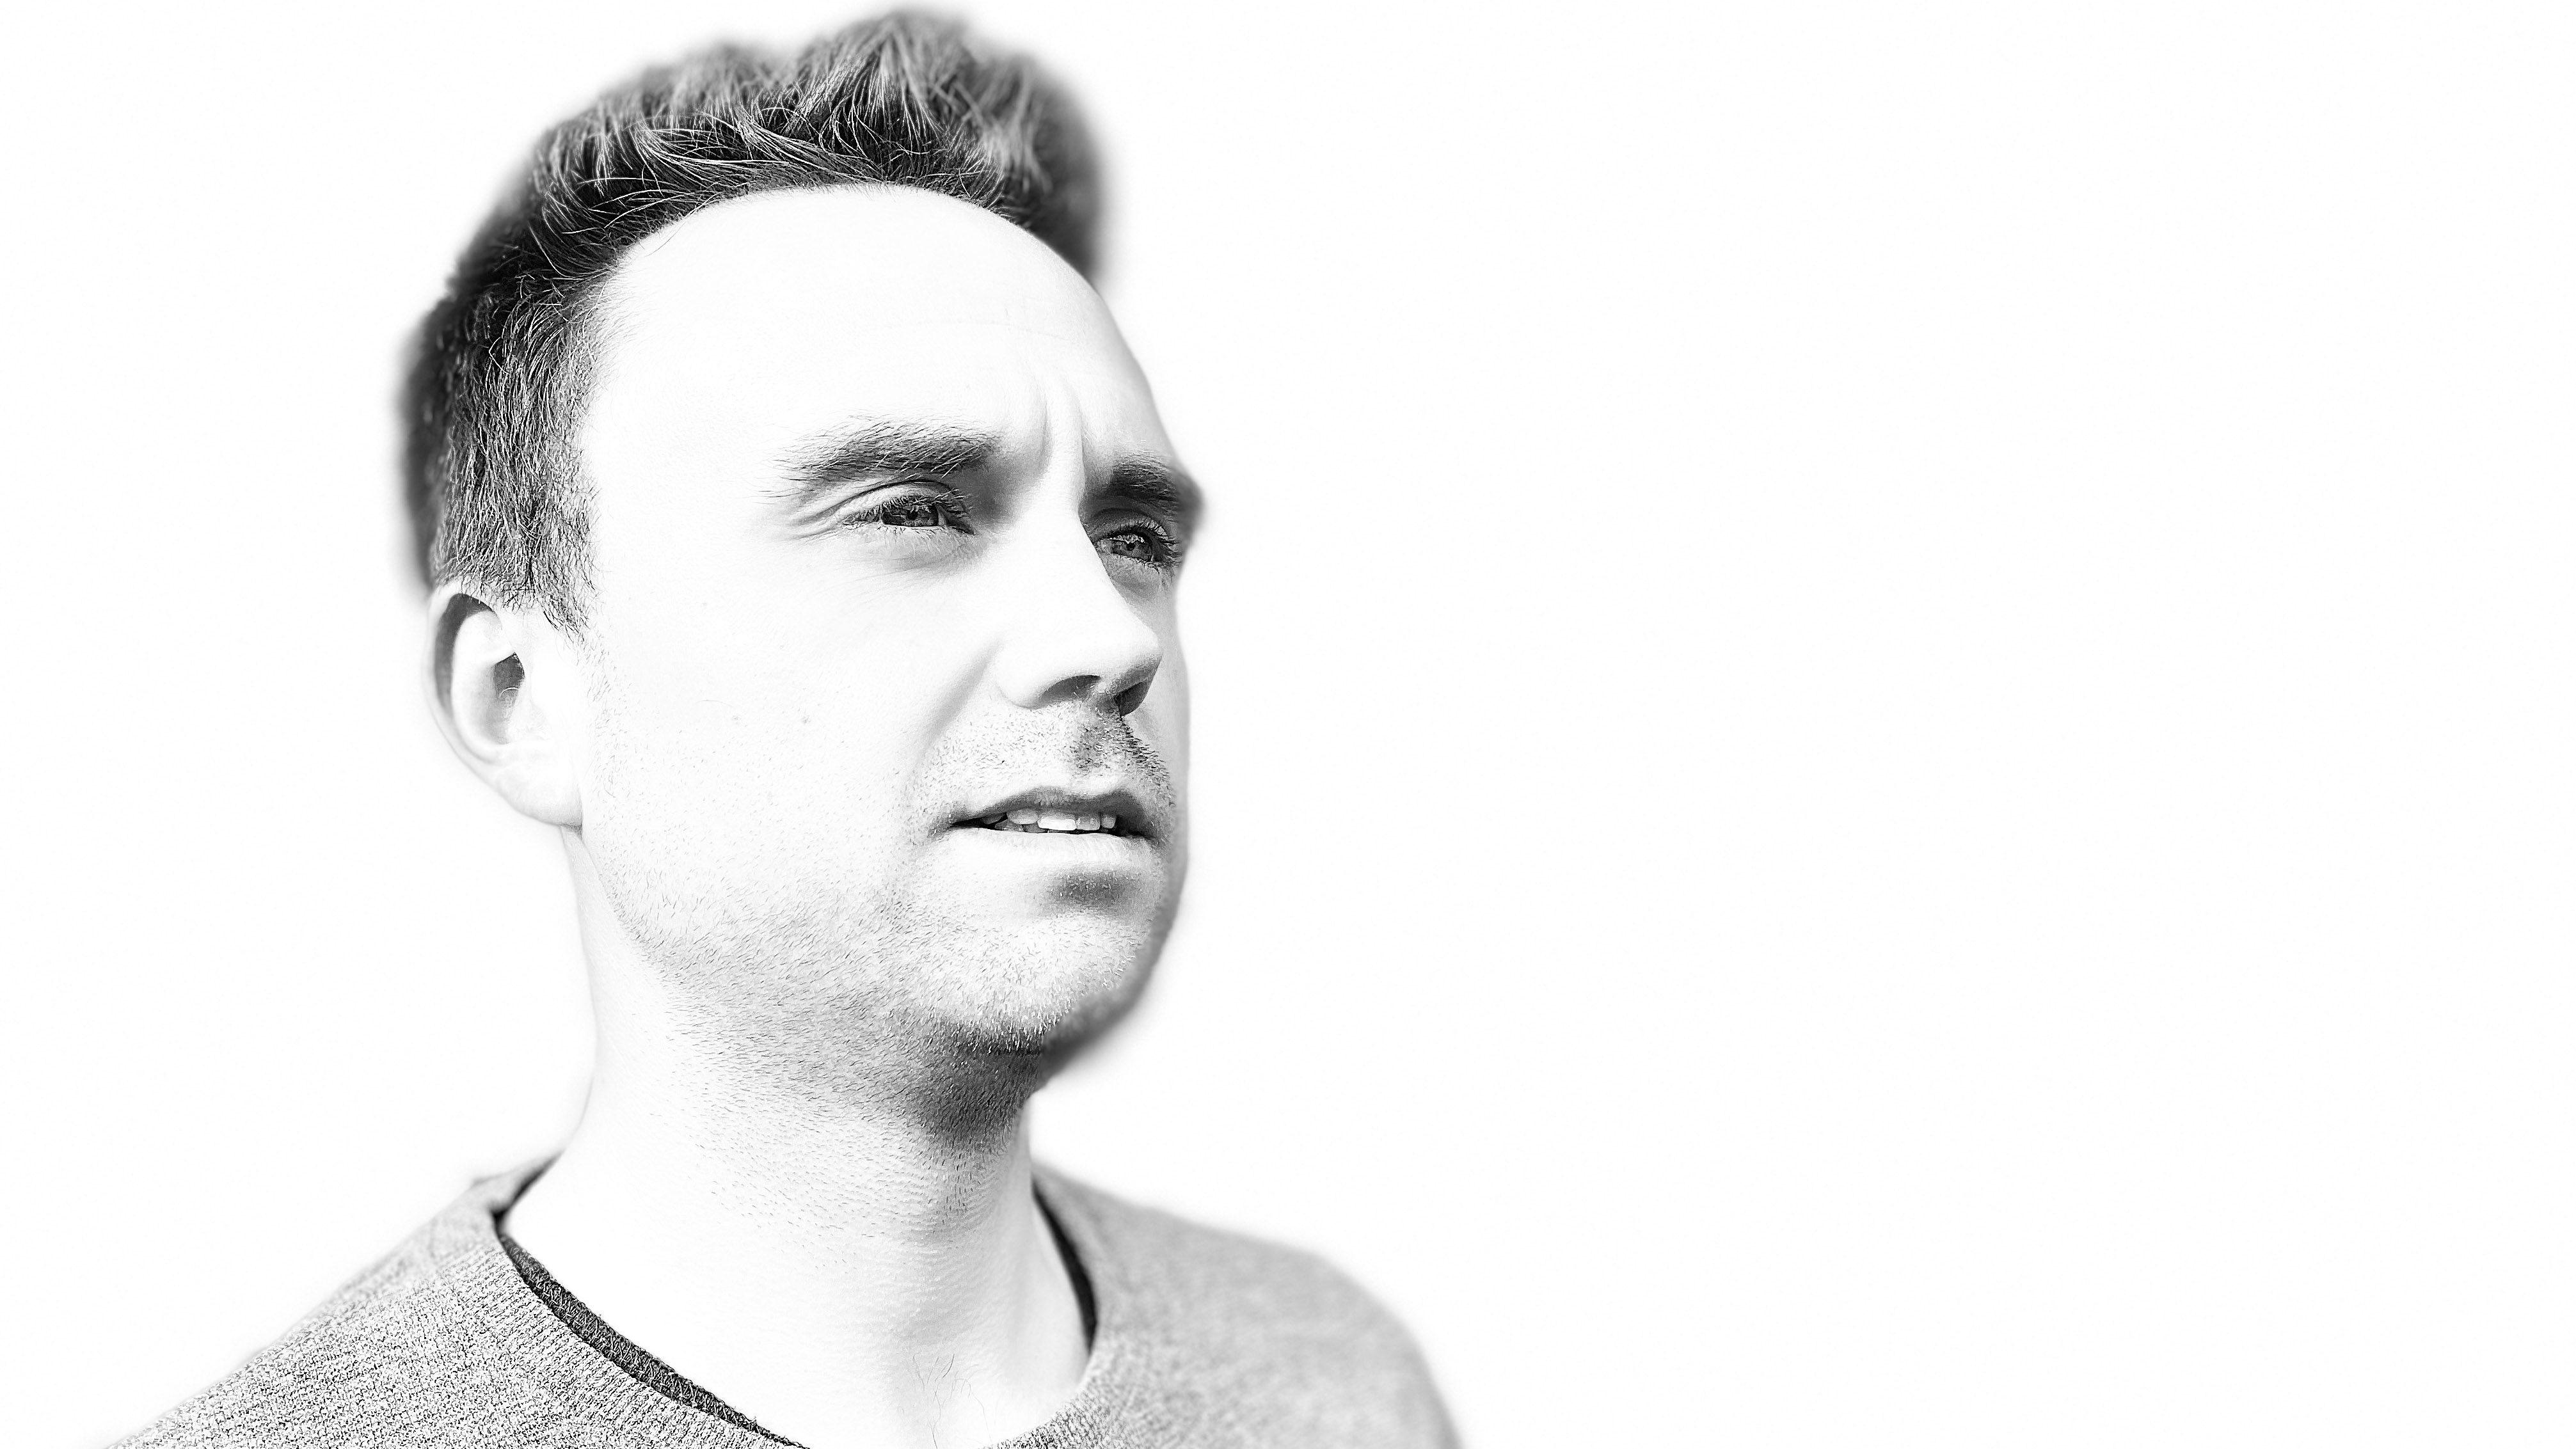
A new effect for 2019, this is very similar to the Stage Light effect, only the background is white, rather than the background. This is a lot more appealing than the other modes, and can actually make for some really interesting portrait effects that look very good when used with particularly photogenic subjects. Again, however, it doesn’t work non-human subjects.
Read more:
• iPhone 11 Pro ultra-wide camera review
• These are the best camera phones you can buy right now
• Which is the best iPhone for photography? Find out here
Amy Davies has been writing about photography since 2009, and used to be a colleague on Digital Camera magazine and Techradar.com. She now works as a freelance journalist writing for nclude Amateur Photographer, Stuff, Wired, T3, Digital Photographer, Digital Camera World, TechRadar, Trusted Reviews, ePhotozine and Photography Blog. She has an undergraduate degree in journalism and a postgraduate diploma in magazine journalism, both from Cardiff Journalism School.

