Huawei P30 Pro camera tips and tricks: great ways to improve your images
How to get the most from the Huawei P30’s stunning camera
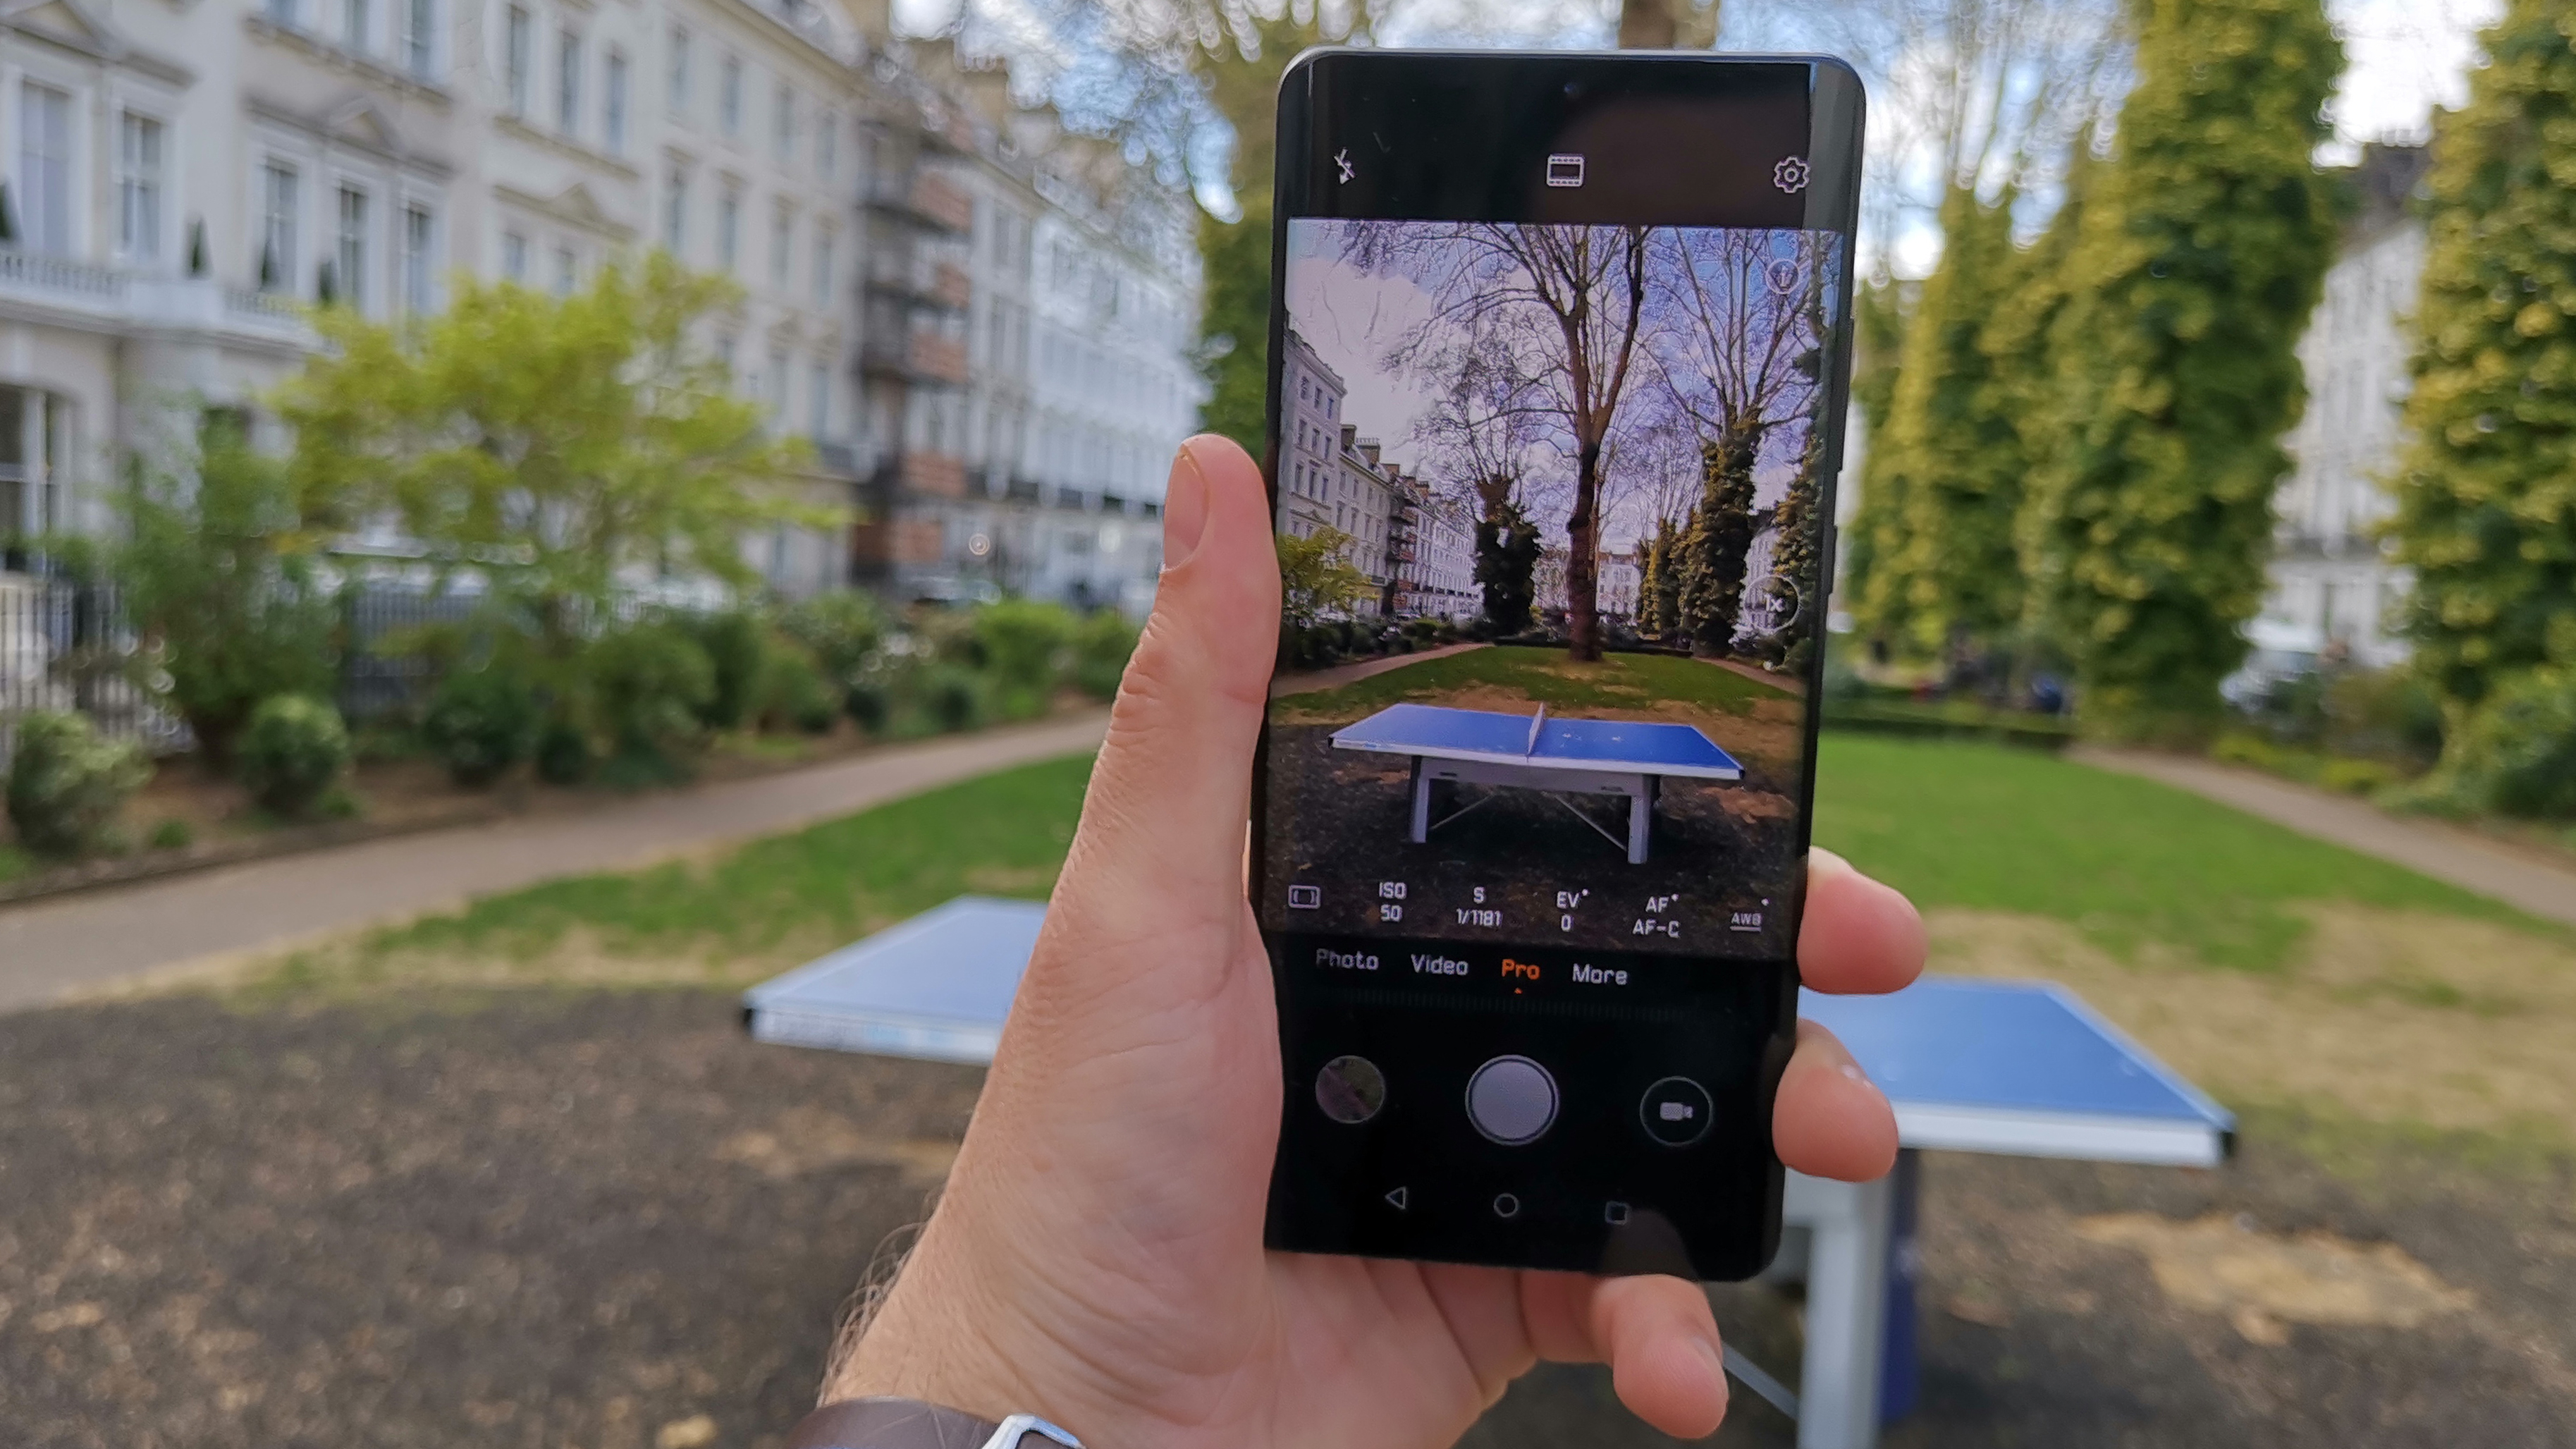
The P30 Pro is a smartphone which has fantastic picture-taking capabilities - that is why we have developed this Huawei P30 Pro tips and tricks guide to make sure you get the most out of the device.
It's a phone that follows on from the super-successful P20 Pro last year and, as you can see from our Huawei P30 Pro review, builds on some of the specs featured in the Mate 20 Pro which debuted in the latter half of 2018. It's so good, it's currently top of our best camera phone guide.
Collaborating with Leica for its camera tech, it seems that each new Huawei release brings with it another pioneering step forward in just what is possible in the smartphone world. Not content with a triple-lens camera line-up, the P30 Pro now boasts four different optics.
The main 27mm (equivalent) lens has a 40 megapixel sensor behind it, which has seen its construction reconfigured to RYYB (the standard is RGGB) to offer better light-collecting capabilities. Gone is the monochrome sensor of the Huawei P20 Pro, instead replaced by a wide-angle lens that we saw on the Huawei Mate 20 Pro - with that you get a 16mm equivalent. Completely new for this model is a 5x optical zoom lens which makes uses of folded optics to bring you 125mm (equivalent).
As for the fourth lens - that’s a new TOF or Time of Flight camera. It throws out infrared light into the scene, measuring how long it takes for it to return to the device to more accurately recreate shallow depth of field effects.
An extremely well-featured camera app is featured on the Huawei P30 Pro - as we’ve seen before on previous models. There’s also Artificial Intelligence, manual controls and raw format shooting to get to grips with.
So if you’re wondering how to make the most of your brand new camera phone whizz - check out these Huawei P30 Pro camera tips and tricks below.
Get the Digital Camera World Newsletter
The best camera deals, reviews, product advice, and unmissable photography news, direct to your inbox!
1. Get to grips with Pro mode
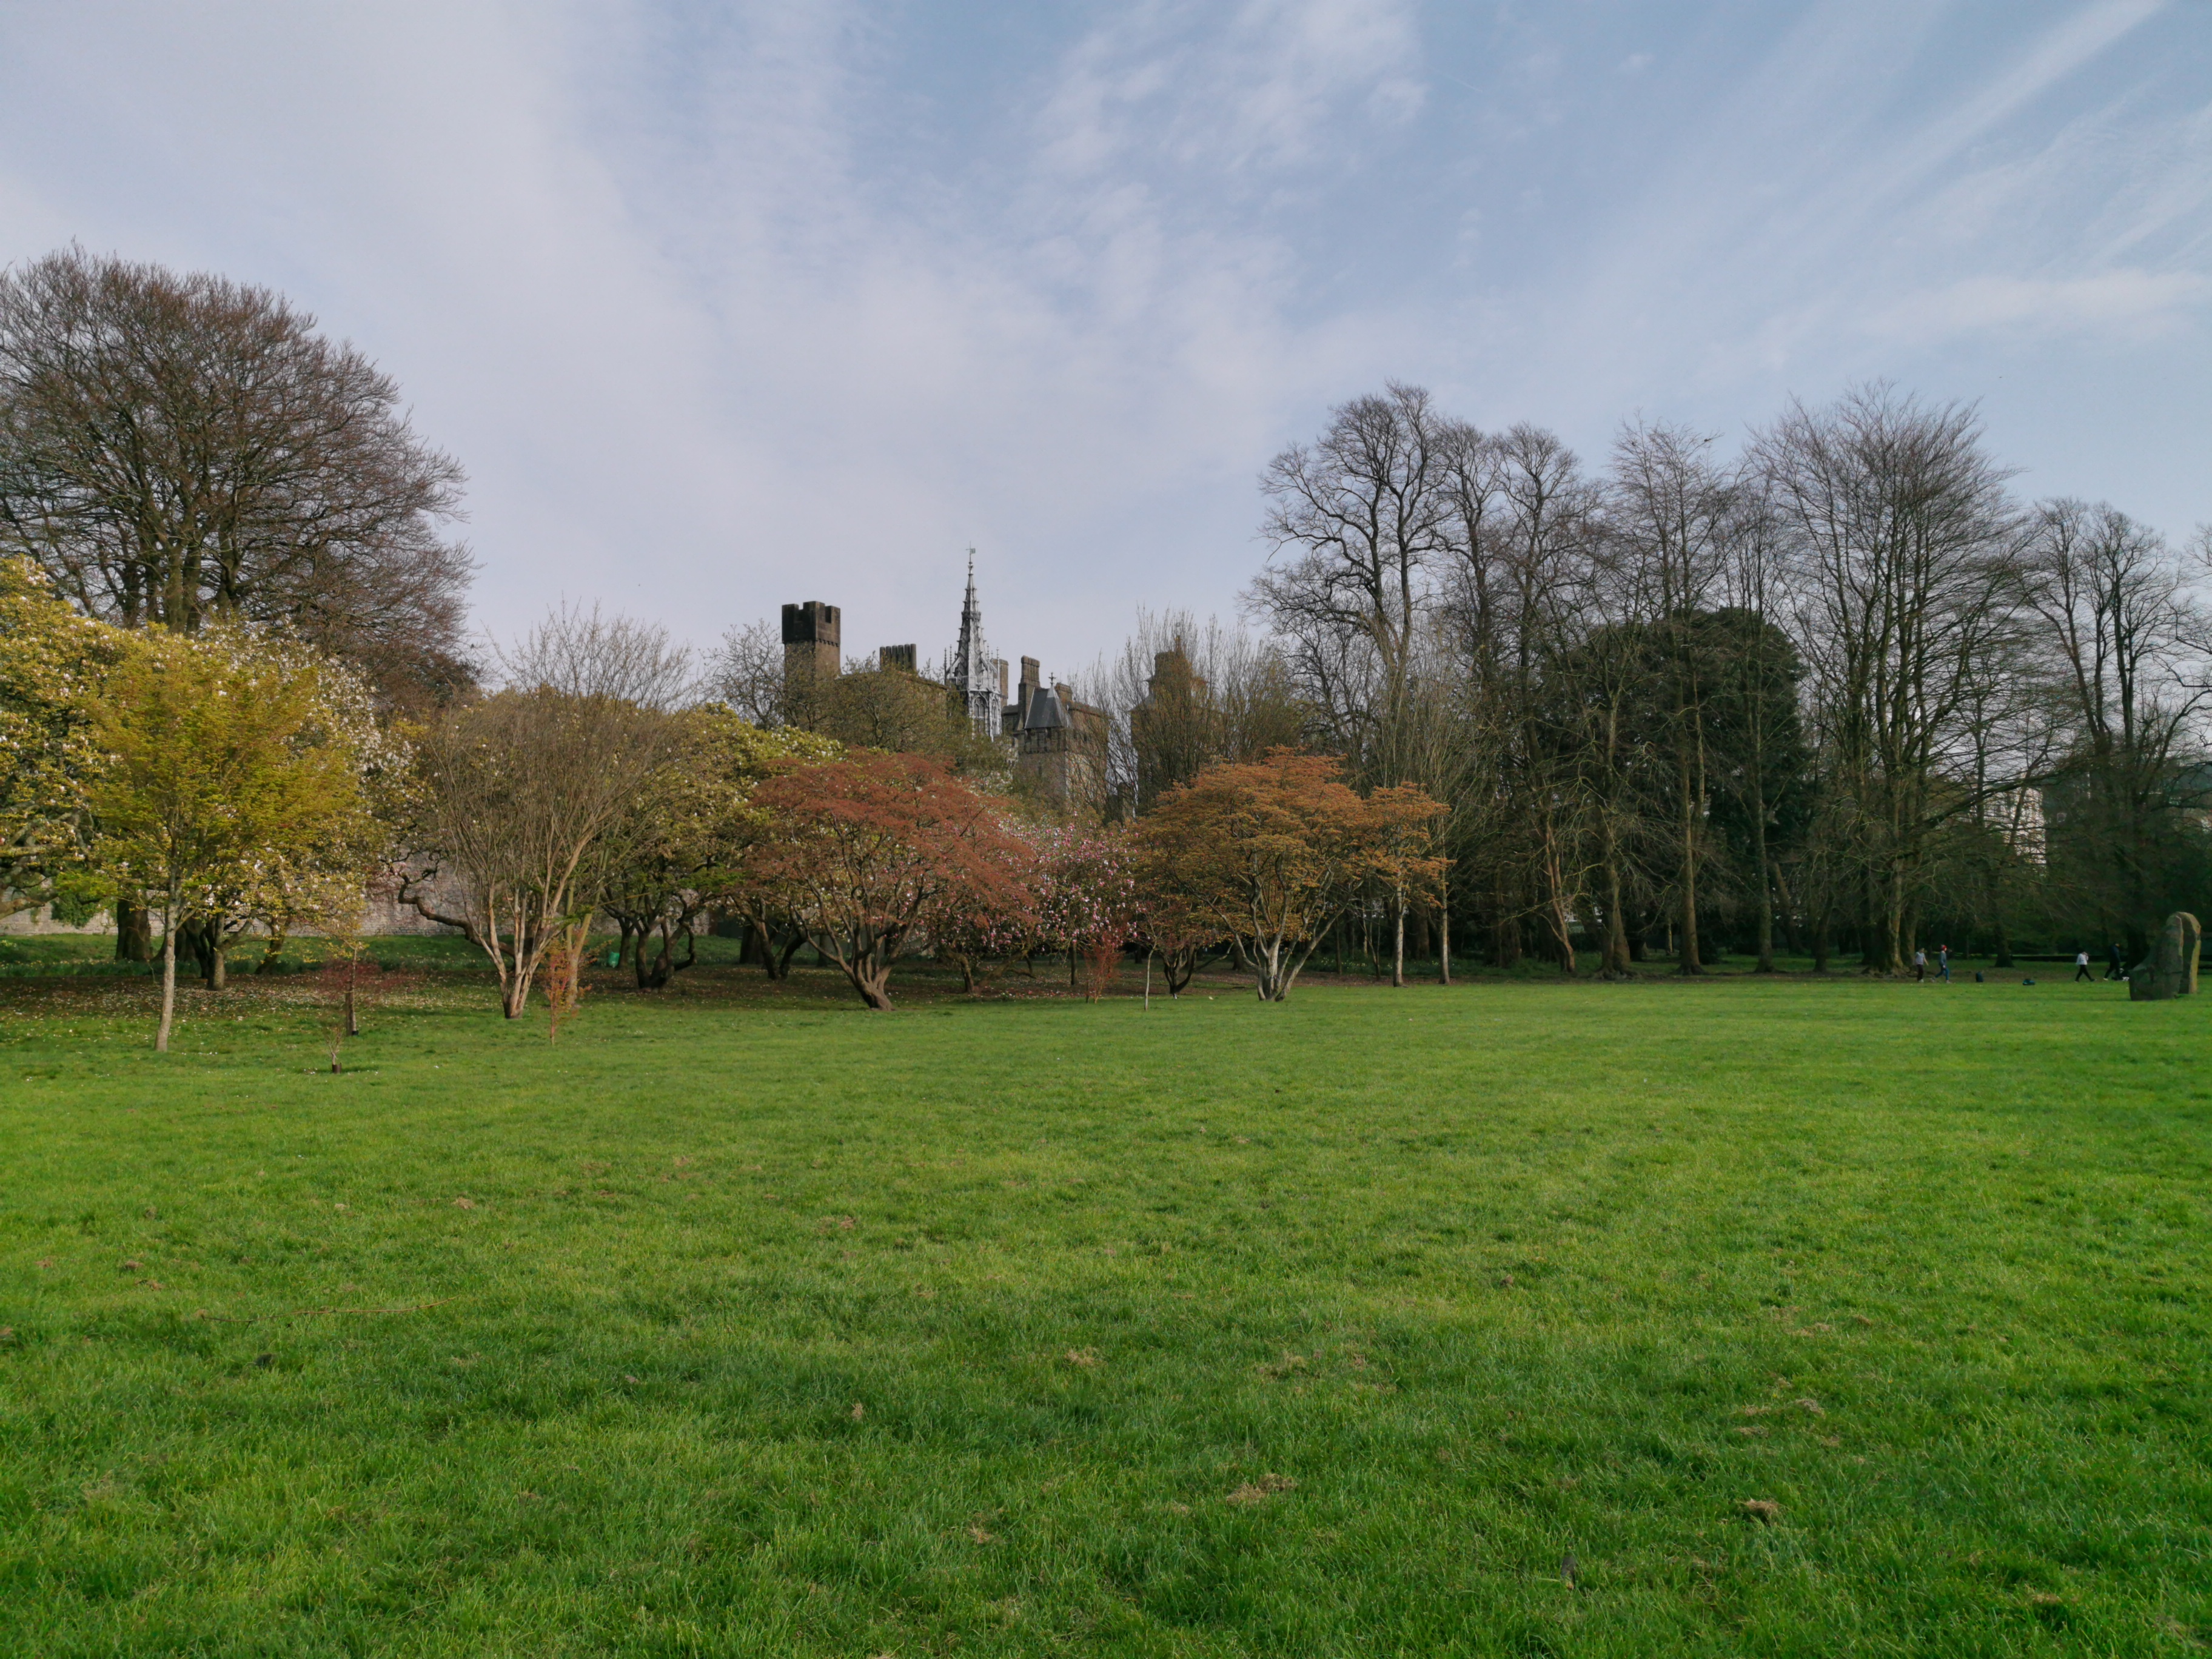
One of the things we like best about Huawei’s native camera app is the extremely versatile Pro mode. Use it to take control of parameters such as ISO, shutter speed, exposure compensation, AF mode, white balance and metering.
While the P30 Pro is fantastic at getting things right in fully automatic mode, by using the Pro section, you can tweak things to ensure the output matches your vision.
This is also where you’ll find the extremely handy Horizontal level, which comes in useful when shooting landscapes to ensure those horizons are straight - it’s especially worth breaking it out when working with the wide-angle (16mm) lens.
For those who like to tweak their images in post-production, Pro mode is also where you’ll find the option to shoot in raw format. It’s the “universal” DNG format, meaning it can be opened in a wide variety of programs. Find it in the resolution area of the settings page (cog icon).
2. Break out the big zoom


The big new feature of the P30 is the 5x optical zoom. Huawei manages this feat of engineering by using what is known as a “periscope” lens - folded optics which fit neatly into the space available to get you closer to the action.
But don’t discount going one step further - the 10x zoom is “hybrid”, making use of both optical and digital zooming technologies to get you even closer to the subject. It works remarkably well and is worth considering for those times when you can’t physically move within reach.
3. Consider cropping

There is one downside to the new 5x optical zoom. It leaves you with a pretty big gap between the standard (27mm) lens and the telephoto option (125mm). What happens if you want 3x, 4x or 5x the zoom?
You can rely on digital zoom directly in camera, but another way around it is to shoot at the maximum resolution of 40 megapixels (by default the P30 Pro outputs at 10 megapixels) and crop later. By shooting at the super-high resolution, even fairly extreme crops shouldn’t suffer too much from a drop in pixel count.
Tap the cog icon to change the photo resolution to 40 megapixel. Note - you’ll have to exit the 40 megapixel option if you want to use either the wide-angle or the 5x zoom lens again.
In the example above, the cropped version of the image is still 5345 pixels wide - more than enough to make a fairly large print.
4. Switch on HDR
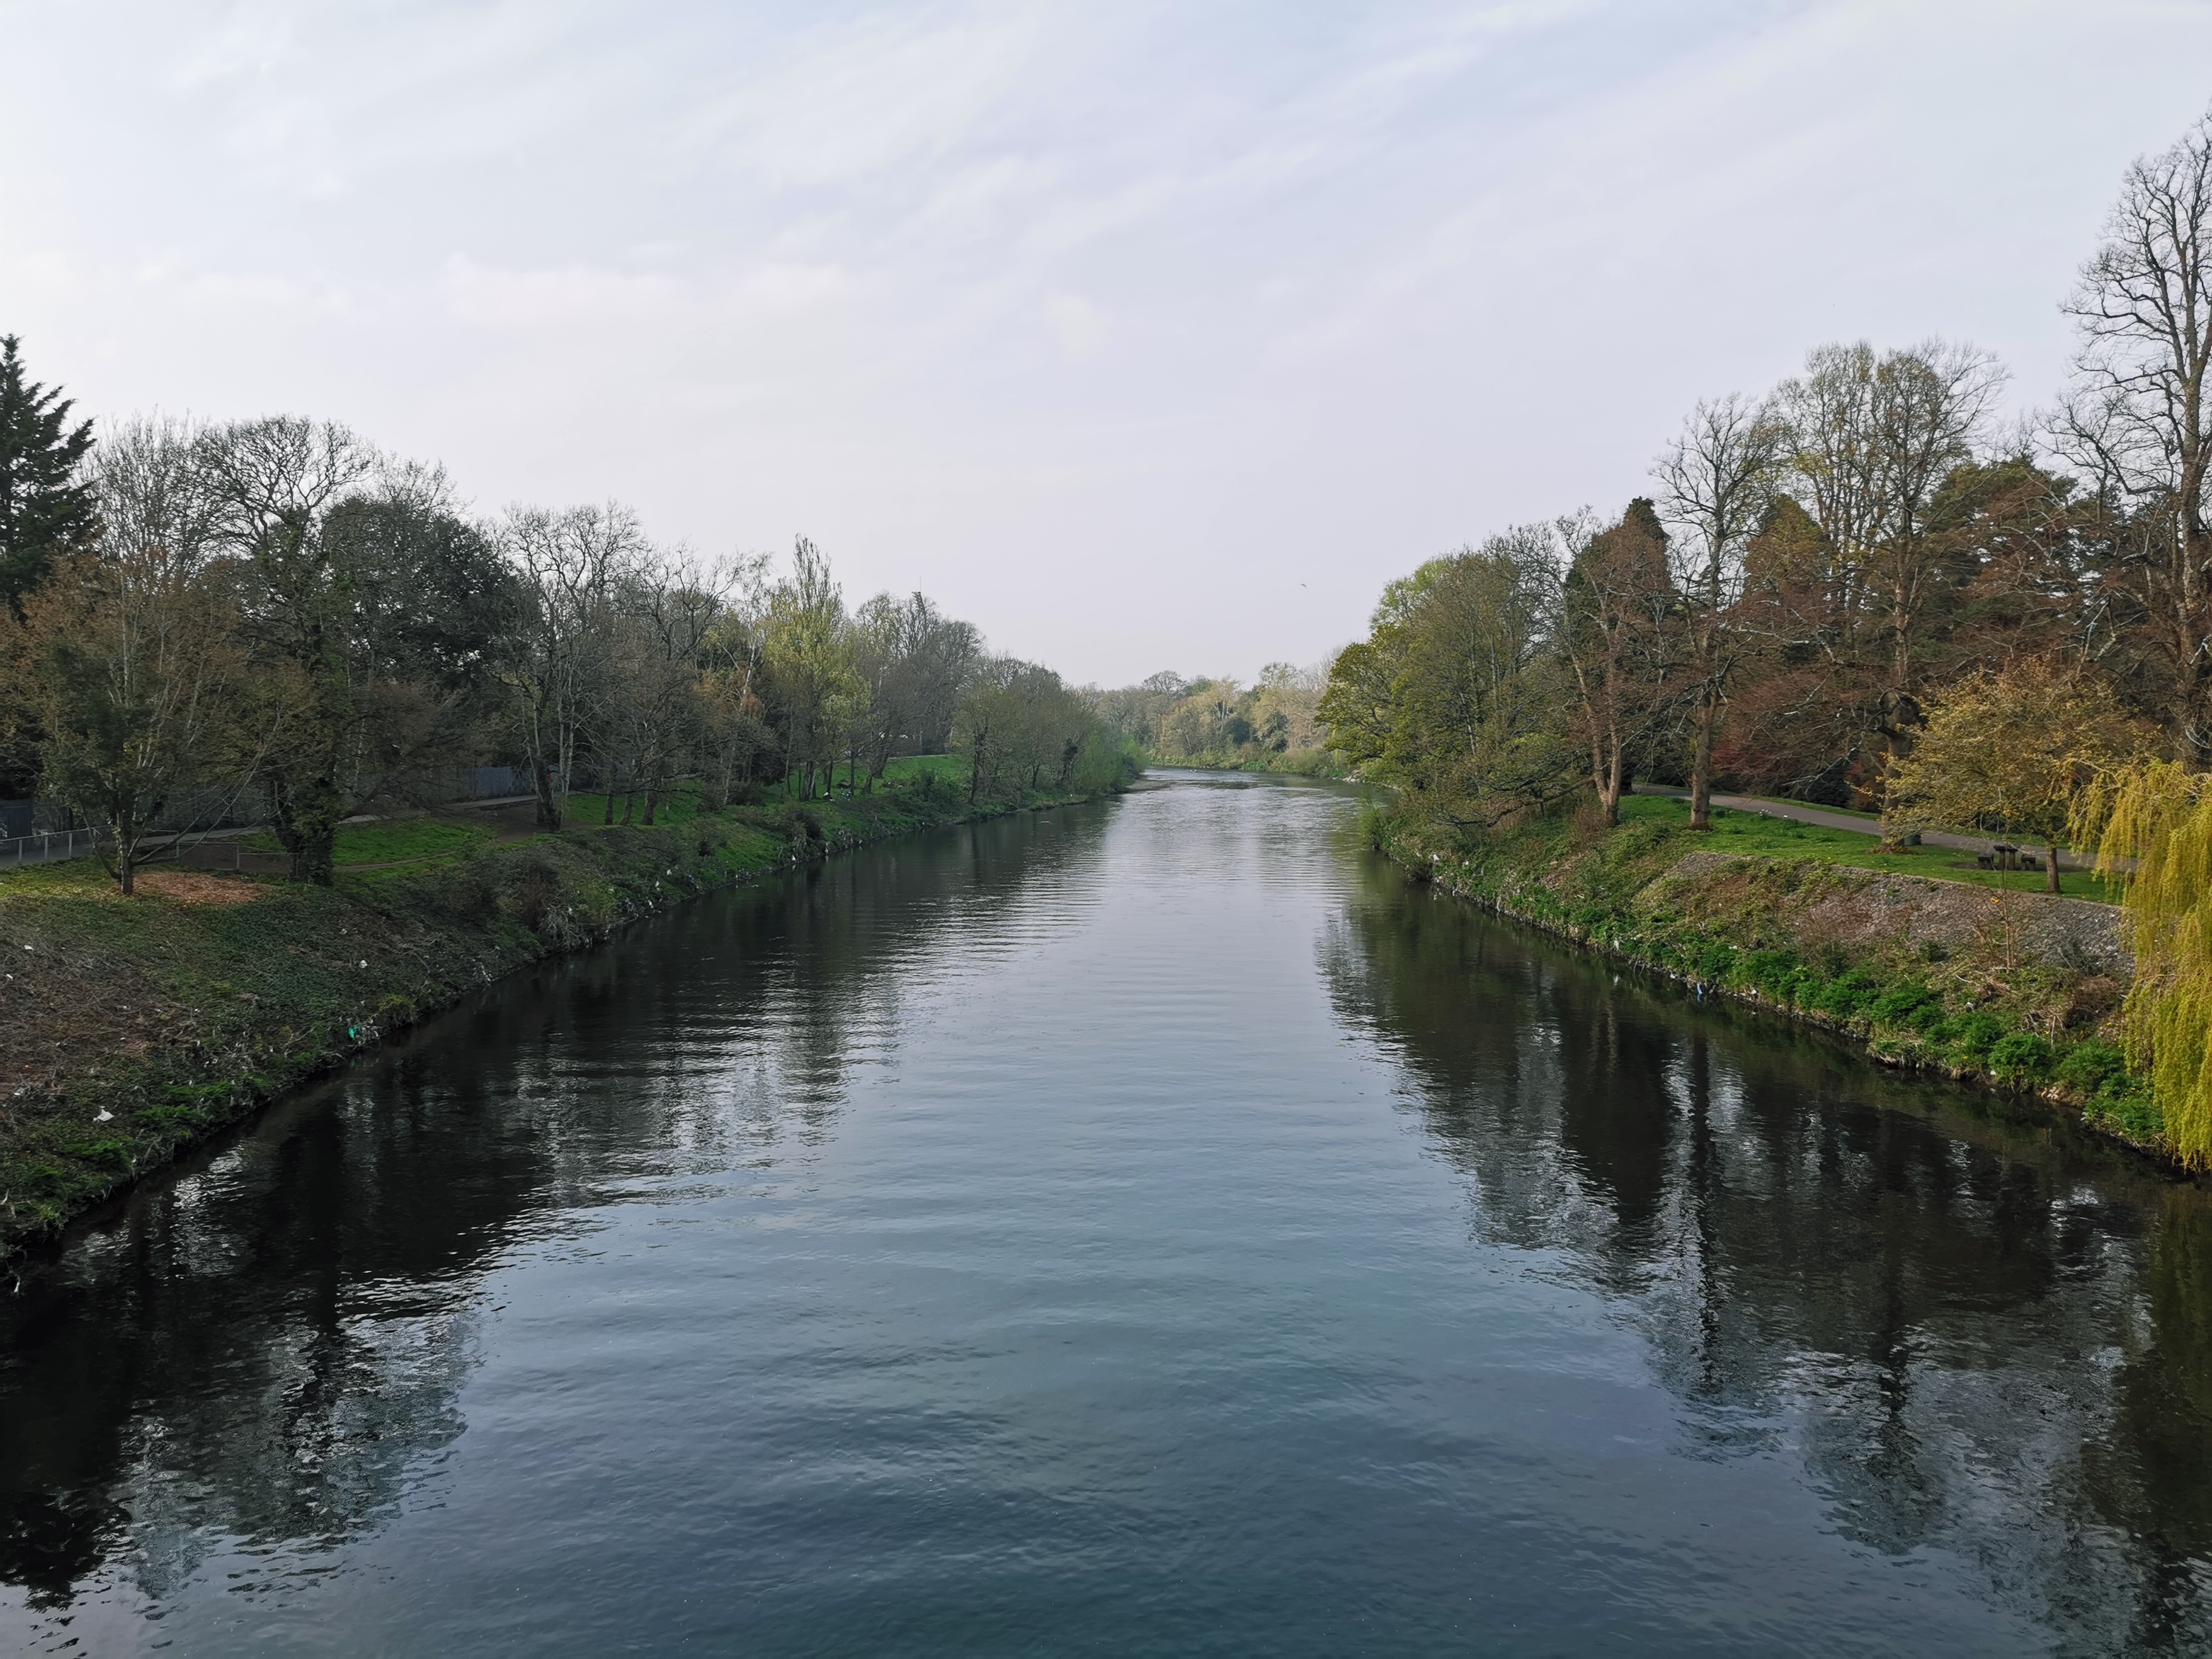
If you’re shooting something with areas of high contrast, switching on HDR can help to retain details in both the shadows and the highlights.
It can tend to look a little bit fake at times, so it’s probably best to use it sparingly. It’s a little bit of a hidden option - you’ll need to swipe along to the “More” tab and choose it from there.
Luckily it’s easier to turn it off when you’re done - just quickly tap the “X” next to the word “HDR” and you’ll be straight back to normal shooting.
5. Switch off Master AI
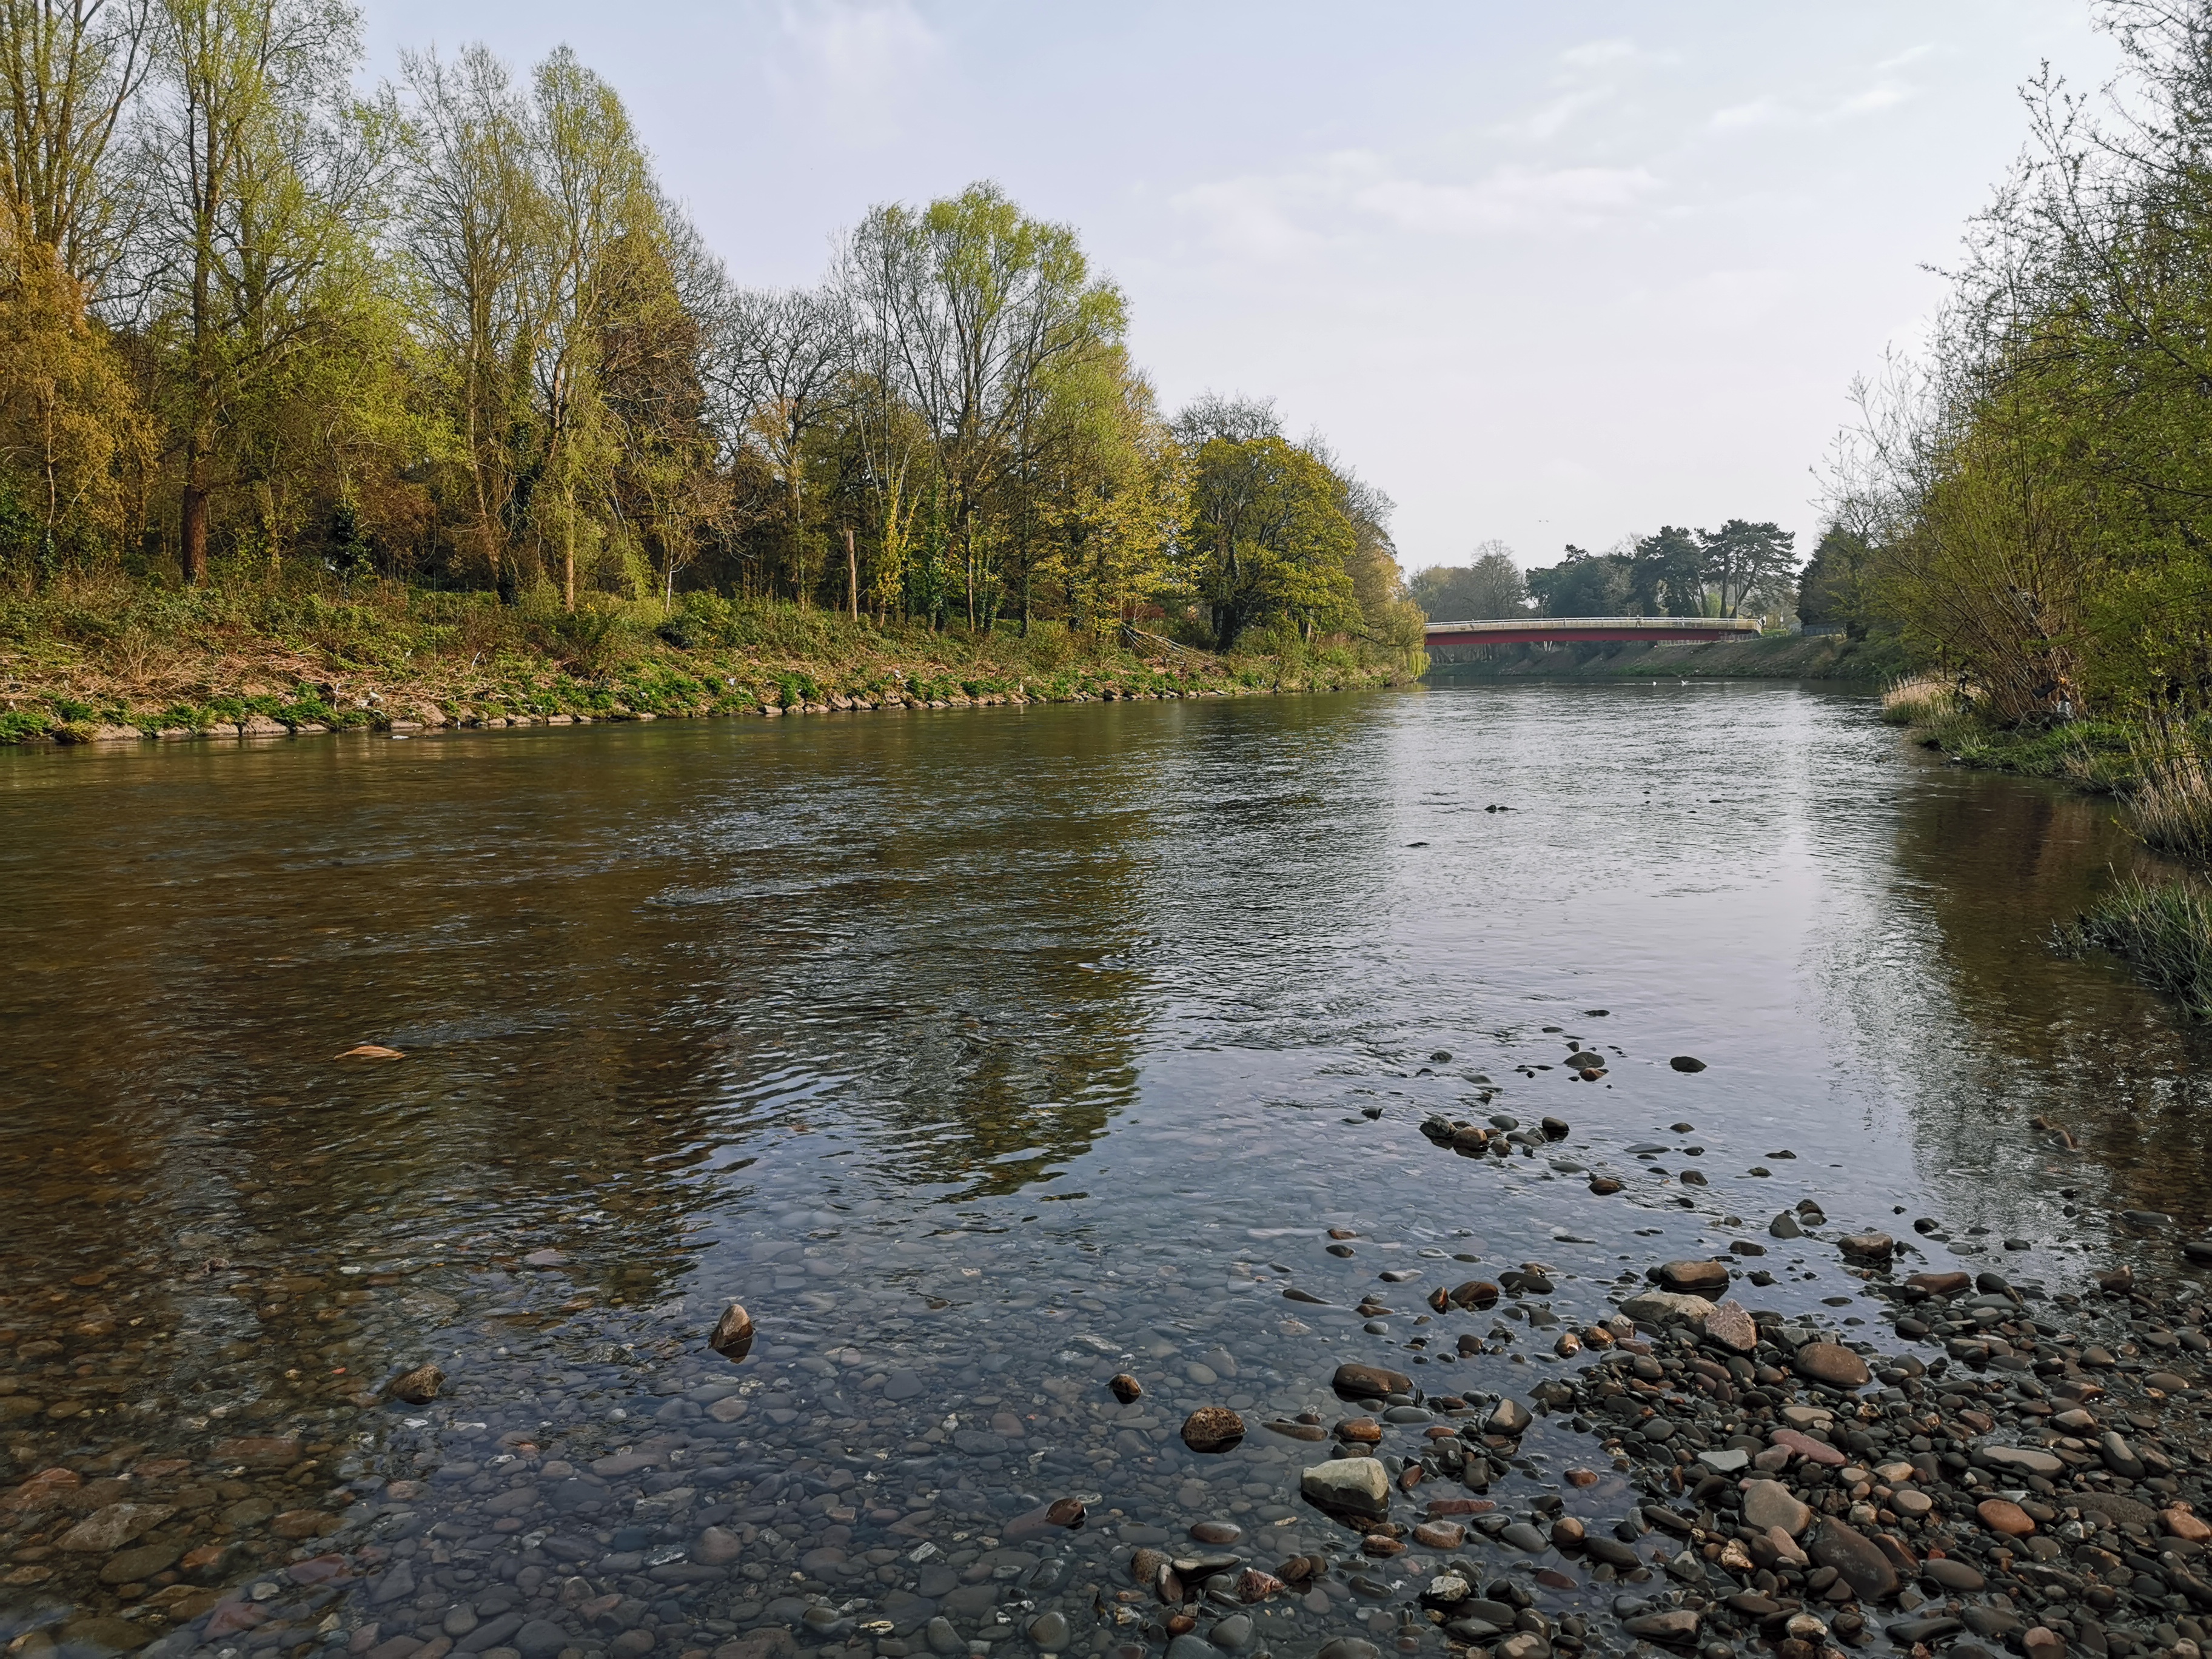
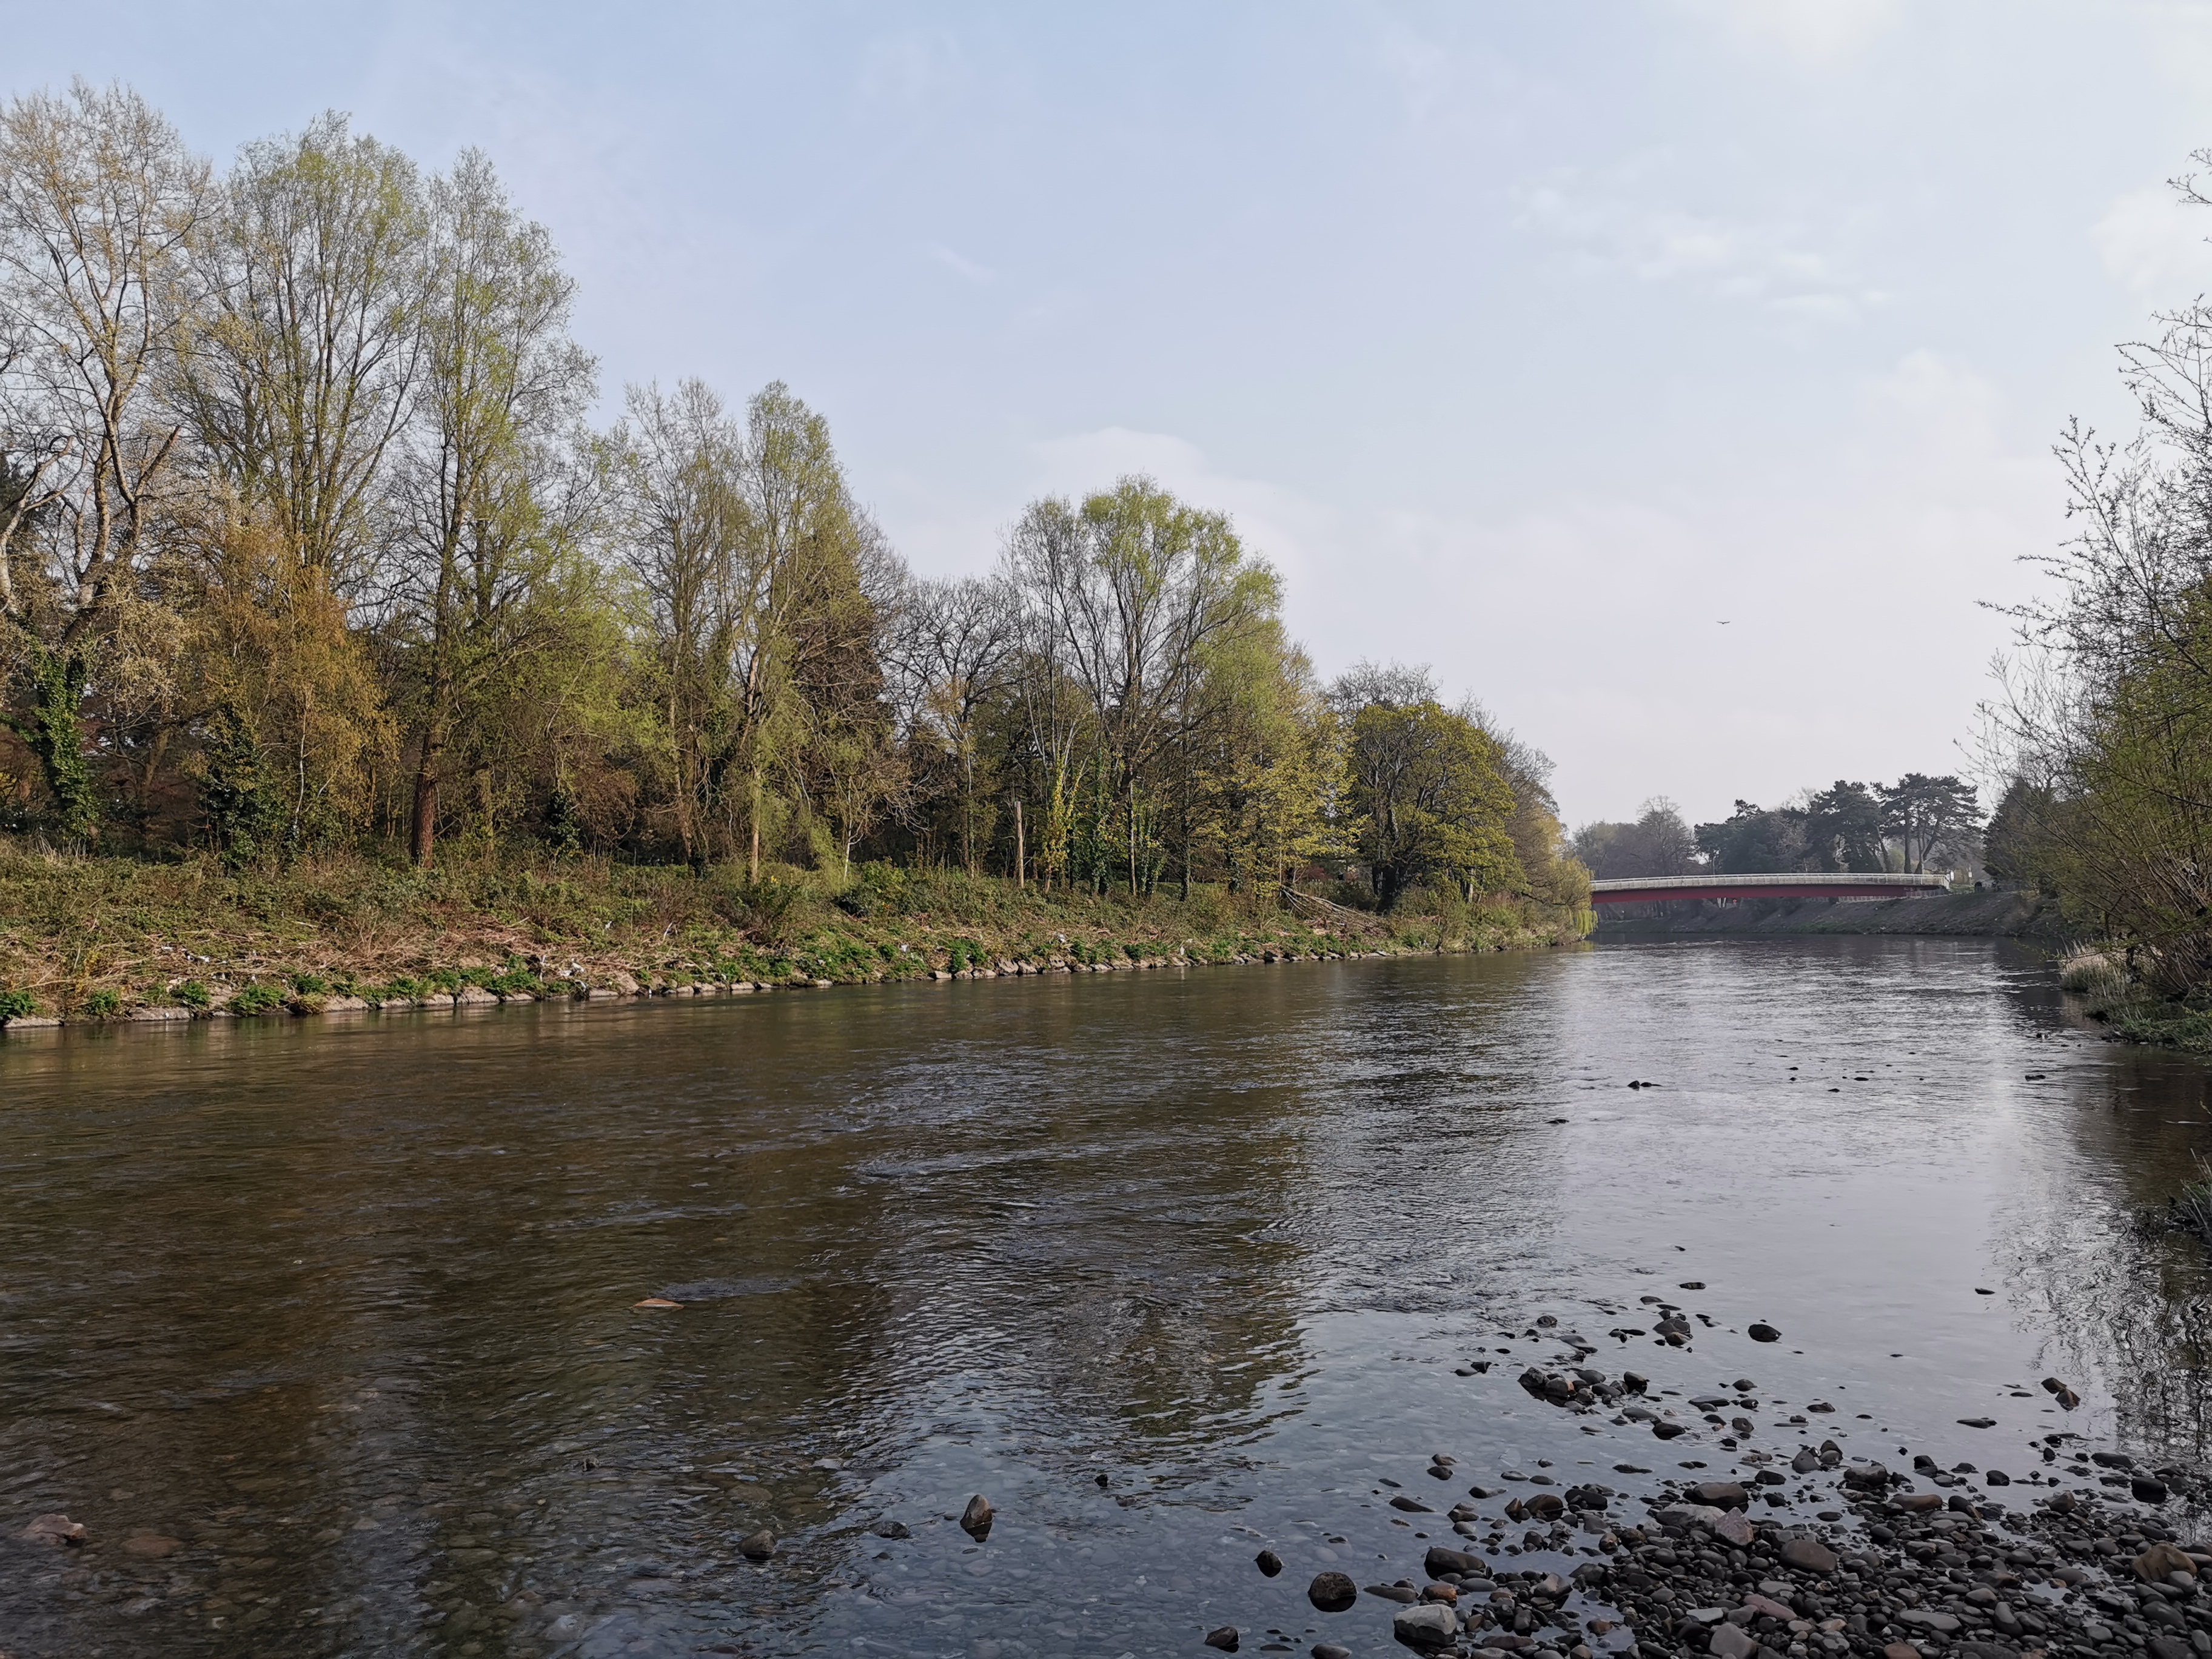
Artificial Intelligence does a great job of detecting whatever it is you’re photographing and adjusting photographic settings accordingly. However, there are times when the results are a little bit over the top when all you crave is something more muted.
We’ve advised switching off AI before, but with the P30 Pro, Huawei has made this even easier with a new direct access icon at the top (or left if you’re holding the phone in landscape orientation). Simply tap AI to switch it off - and switch it back on again - at your whim.
6. Experiment with Mono

The dedicated monochrome sensor was one of the best things about the P20 Pro. It was capable of producing some stunning results. It’s been removed to make way for a wide-angle lens, which is probably the better option for most photographers - the good news is that it’s still possible to shoot in monochrome right in the native camera app.
It’s also been shifted to the “More” tab, but once in it you’ll find that you’ve got four different options - Normal for just pointing and shooting, Aperture for creating shallow depth of field effects, Portrait for people shots and Pro for taking control of additional parameters (you won’t be able to shoot raw in this mode though).
Although the P20 Pro was probably a touch better at producing monochrome images, you’ll be hard pushed to spot the difference unless you take the same photo with both models at the same time and really scrutinise the differences.
7. Utilise super macro mode

Making use of the super wide angle lens, super macro mode is perfect for getting as close as is possible to your subject.
It couldn’t be easier to use either - in normal Photo mode, and with AI switched on, just position the camera extremely close to your subject. You should see the words “super macro” appear at the bottom of the screen. The detail rendered in this mode is fantastic and is a real bonus for smartphone shooters.
8. Create shallow depth of field effects

Aperture mode is ideal for creating shallow depth of field effects that mimic the look of shooting with a DSLR or CSC.
It’s extremely simple to use - just swipe to the Aperture mode, tap to focus on your subject and tap the shutter button. By default, the “aperture” is set to f/4, but you can adjust the level from f/0.95 - f/16.
There’s also an additional trick that you can try if you didn’t quite like the effect produced. Head to the photo in your library, and tap the aperture icon. Now you’ll find that you can choose an entirely different focus point, as well as adjust the aperture itself.
9. Choose your bokeh
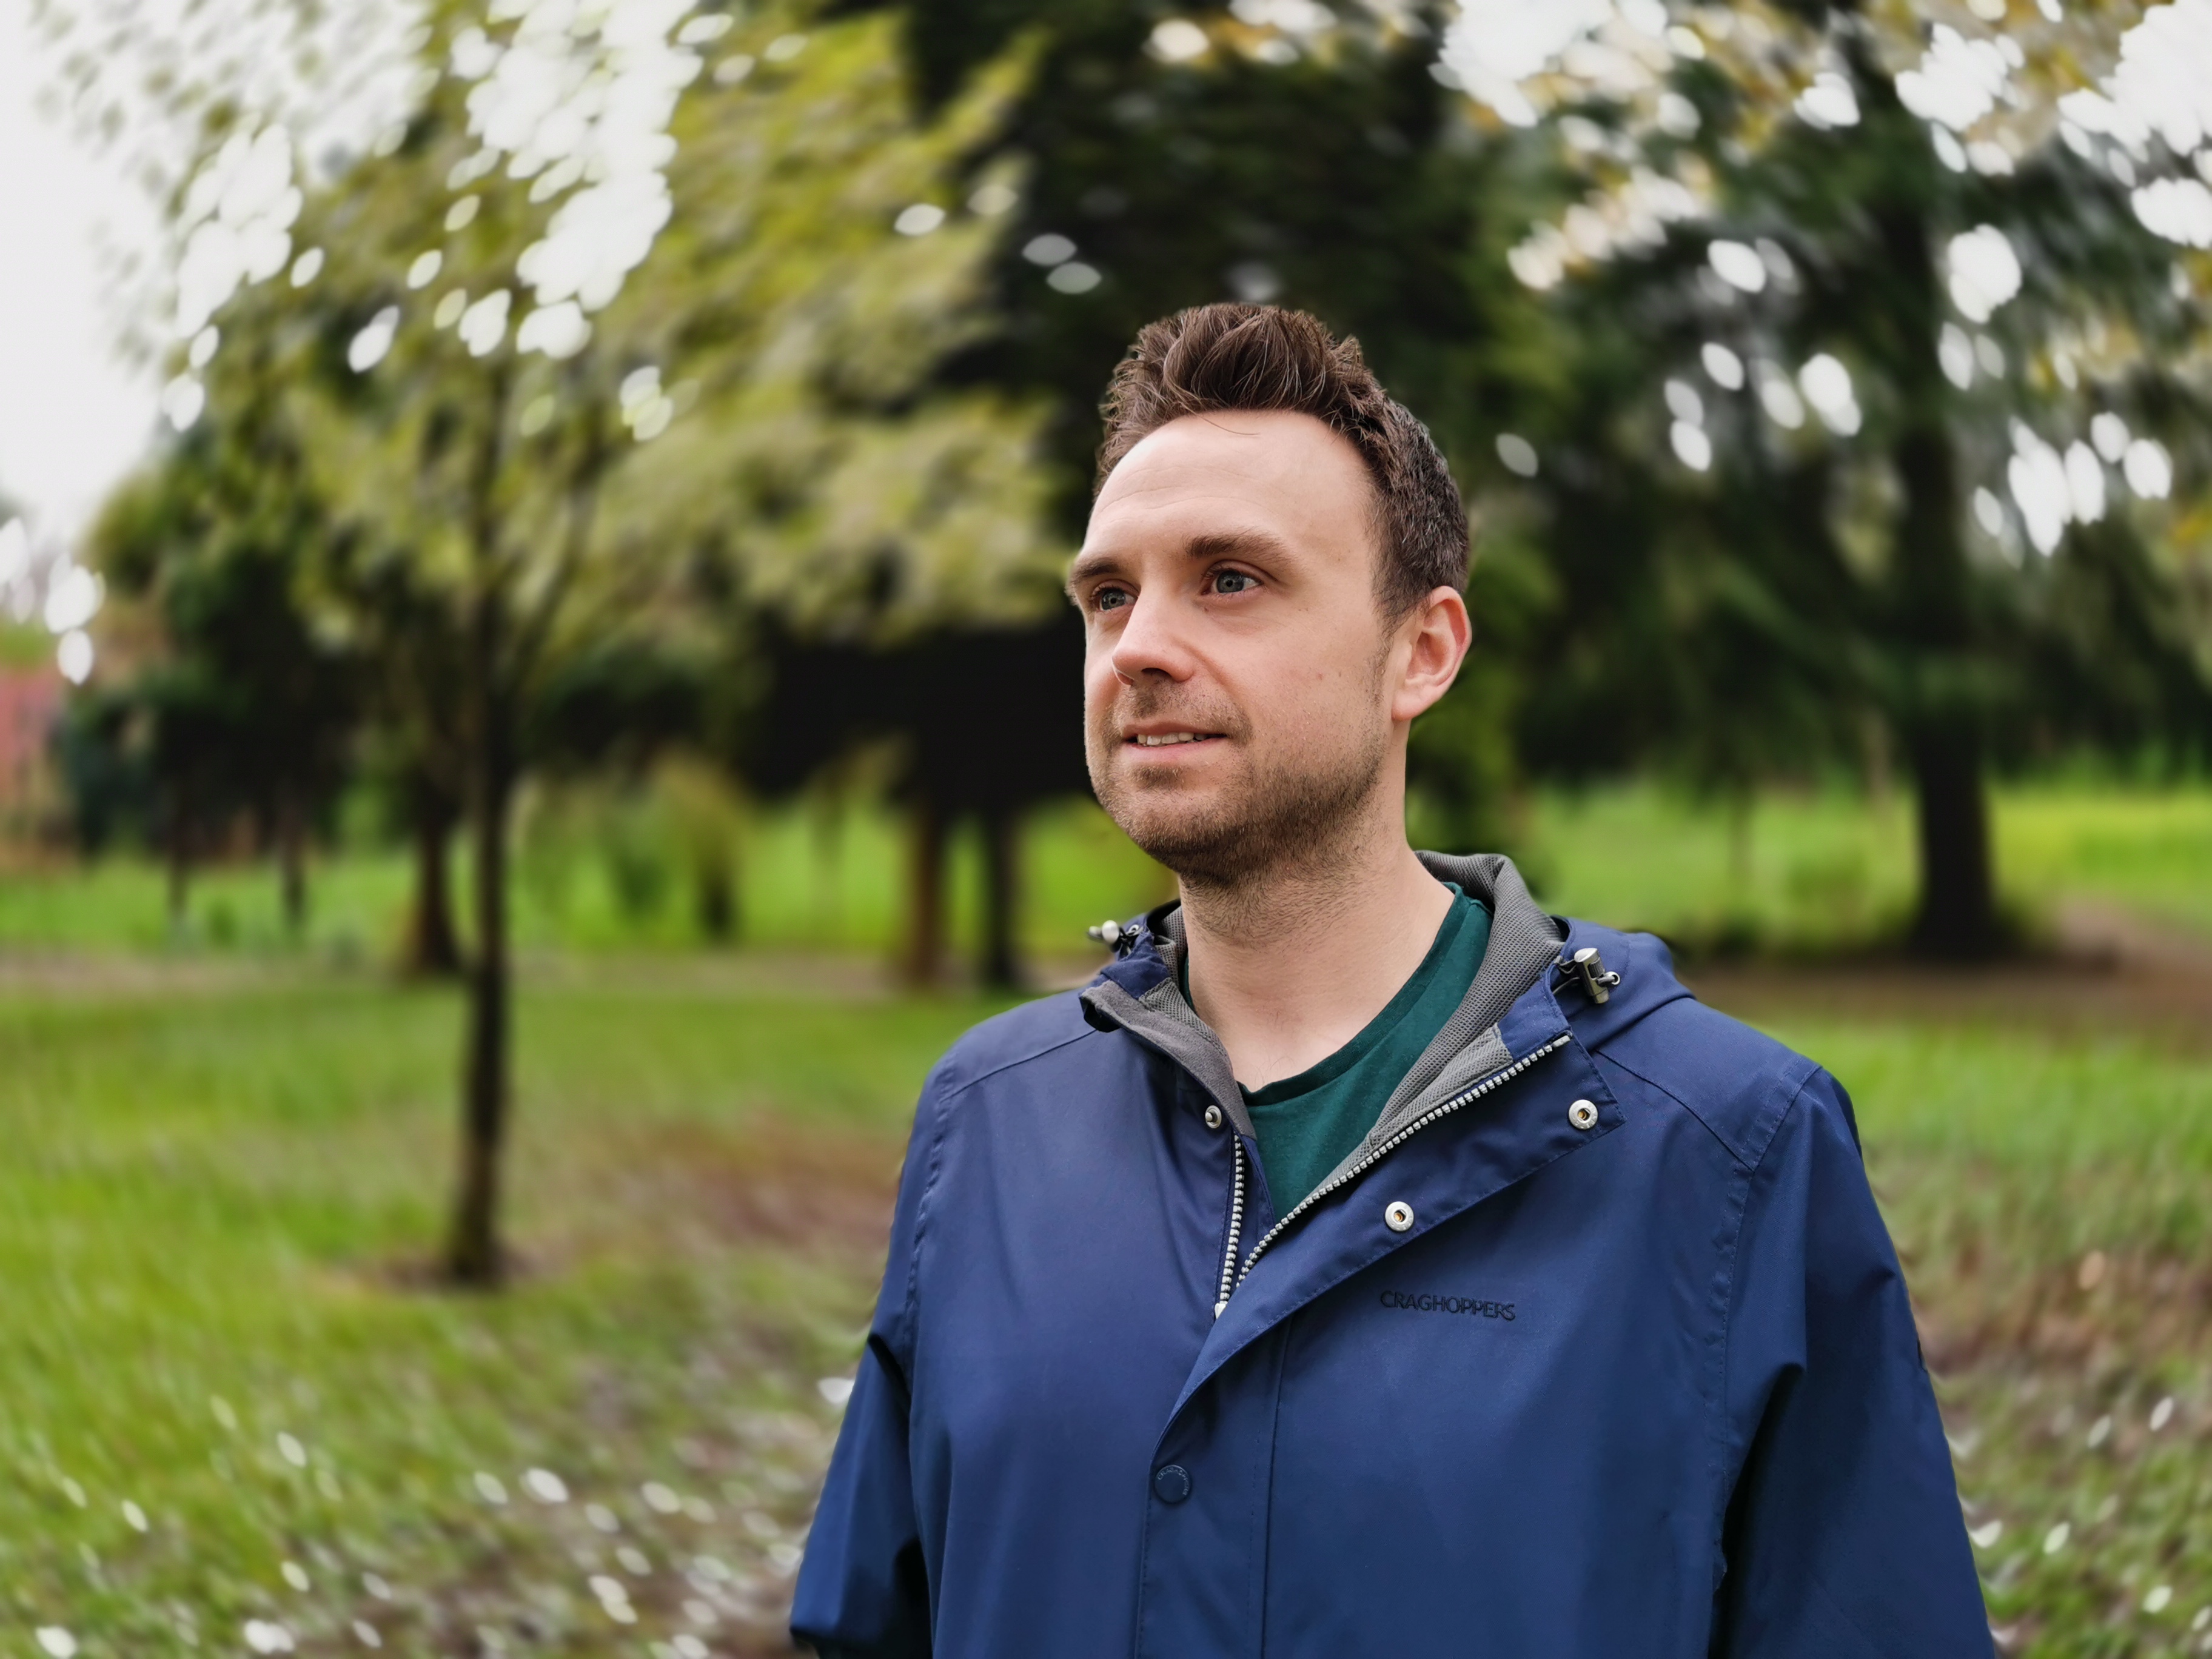
For posed people shots, Portrait mode is a great option since it gives you the choice between different background “bokehs”. This is something we saw with the Mate 20 Pro, with a few new options being added for the P30 Pro.
In Portrait mode - tap the circular icon, and you’ll see a range of different options available. Some of them are a little gimmicky - like the hearts option - but they’re fun none the less. Others such as circles and swirl are a bit more “realistic” if you like, and are certainly worth experimenting with.
10. Low-light options

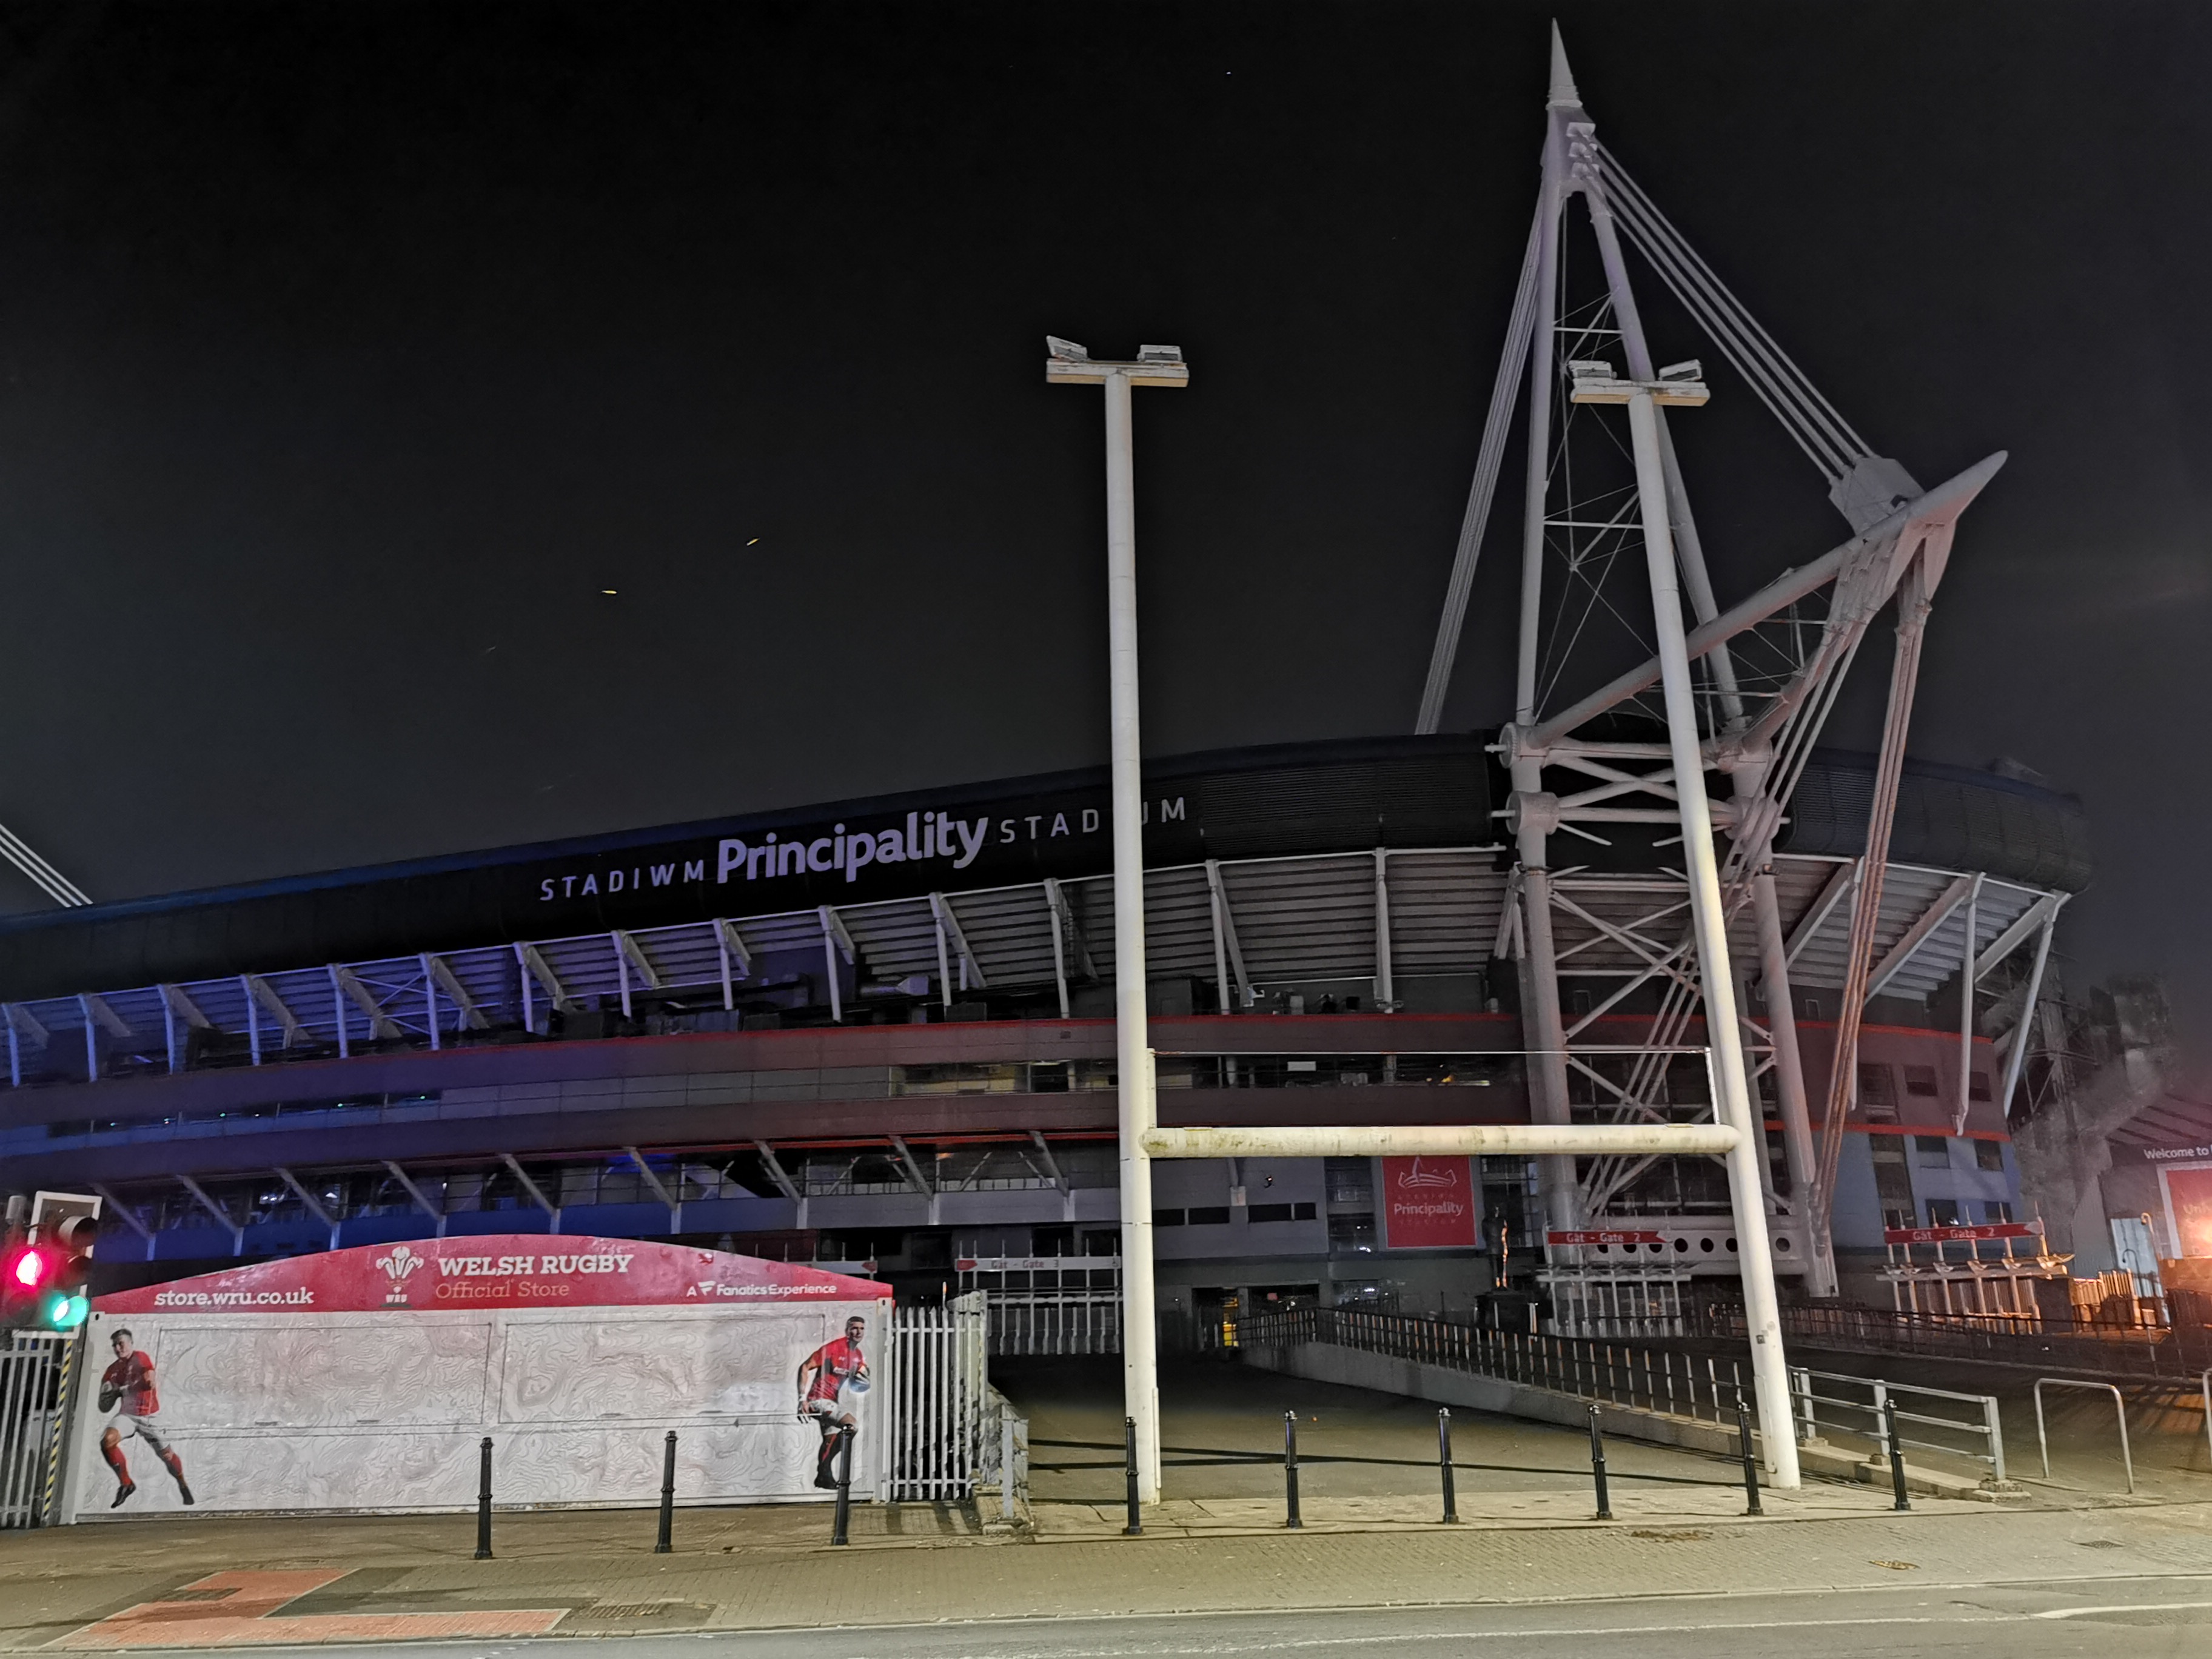
Another fantastic element of the P20 Pro, and the subsequent Mate 20 Pro was just how well it handled low light situations thanks to the “Night” mode.
This works by merging together a series of short exposures together to create the effect of a longer exposure - all handheld and merged together with the magic of artificial intelligence.
That’s still available here on the P30 Pro and can be used for great effect. However, the sensor has been improved to the point where shooting in almost complete darkness still results in some good results - without the need for Night mode to be activated.
If you’re trying to take a picture quickly - or of a moving subject - it’s worth avoiding Night mode and just seeing how well the sensor copes on its own.
- Huawei Mate 20 Pro camera tips and tricks: brilliant photography ideas
- OnePlus 6T camera tips and tricks: get the most out of the phone's great camera
- 10 fantastic iPhone XS and iPhone XS Max camera tips and tricks
Amy Davies has been writing about photography since 2009, and used to be a colleague on Digital Camera magazine and Techradar.com. She now works as a freelance journalist writing for nclude Amateur Photographer, Stuff, Wired, T3, Digital Photographer, Digital Camera World, TechRadar, Trusted Reviews, ePhotozine and Photography Blog. She has an undergraduate degree in journalism and a postgraduate diploma in magazine journalism, both from Cardiff Journalism School.

