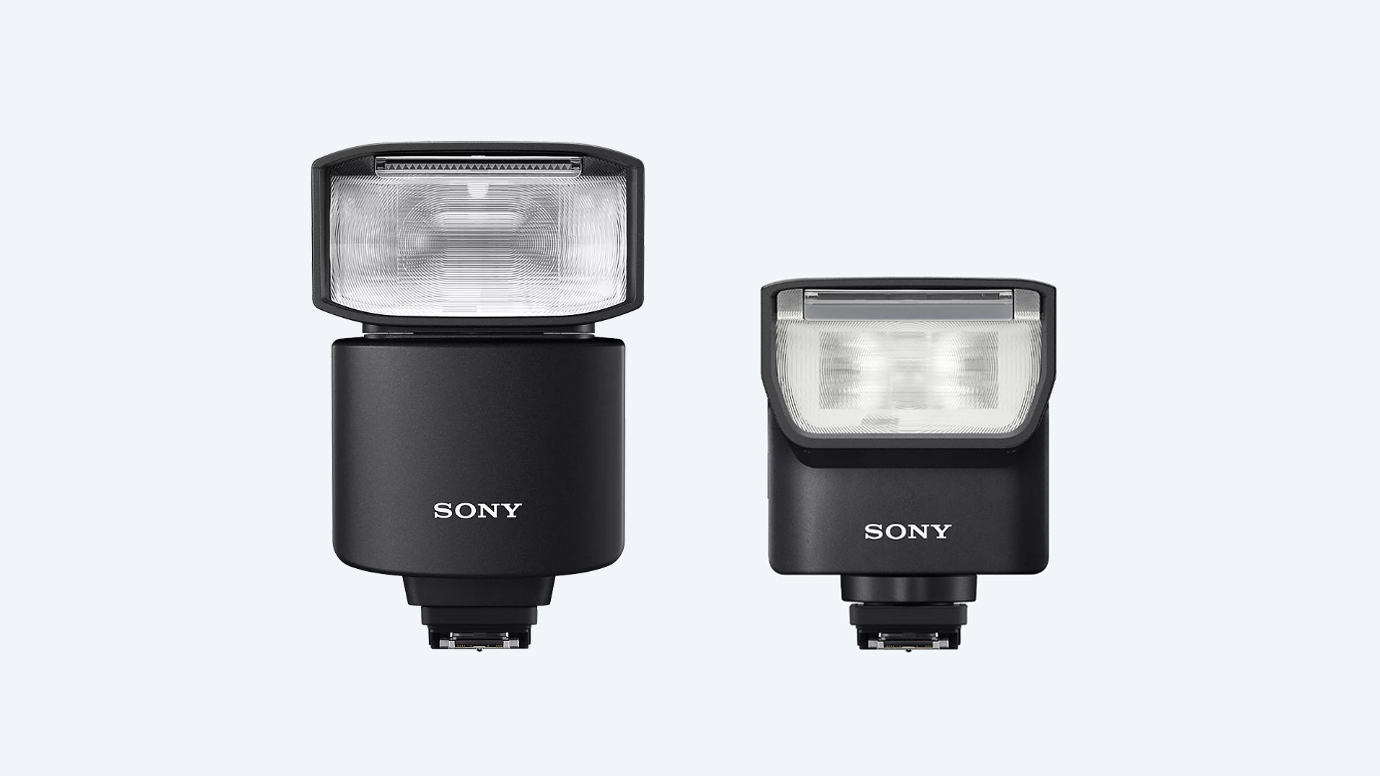
I did my very first newborn baby photo shoot, and it didn't exactly go to plan
What's the saying? Never work with children or animals. I had a shoot with my nephew and things went a bit wrong...
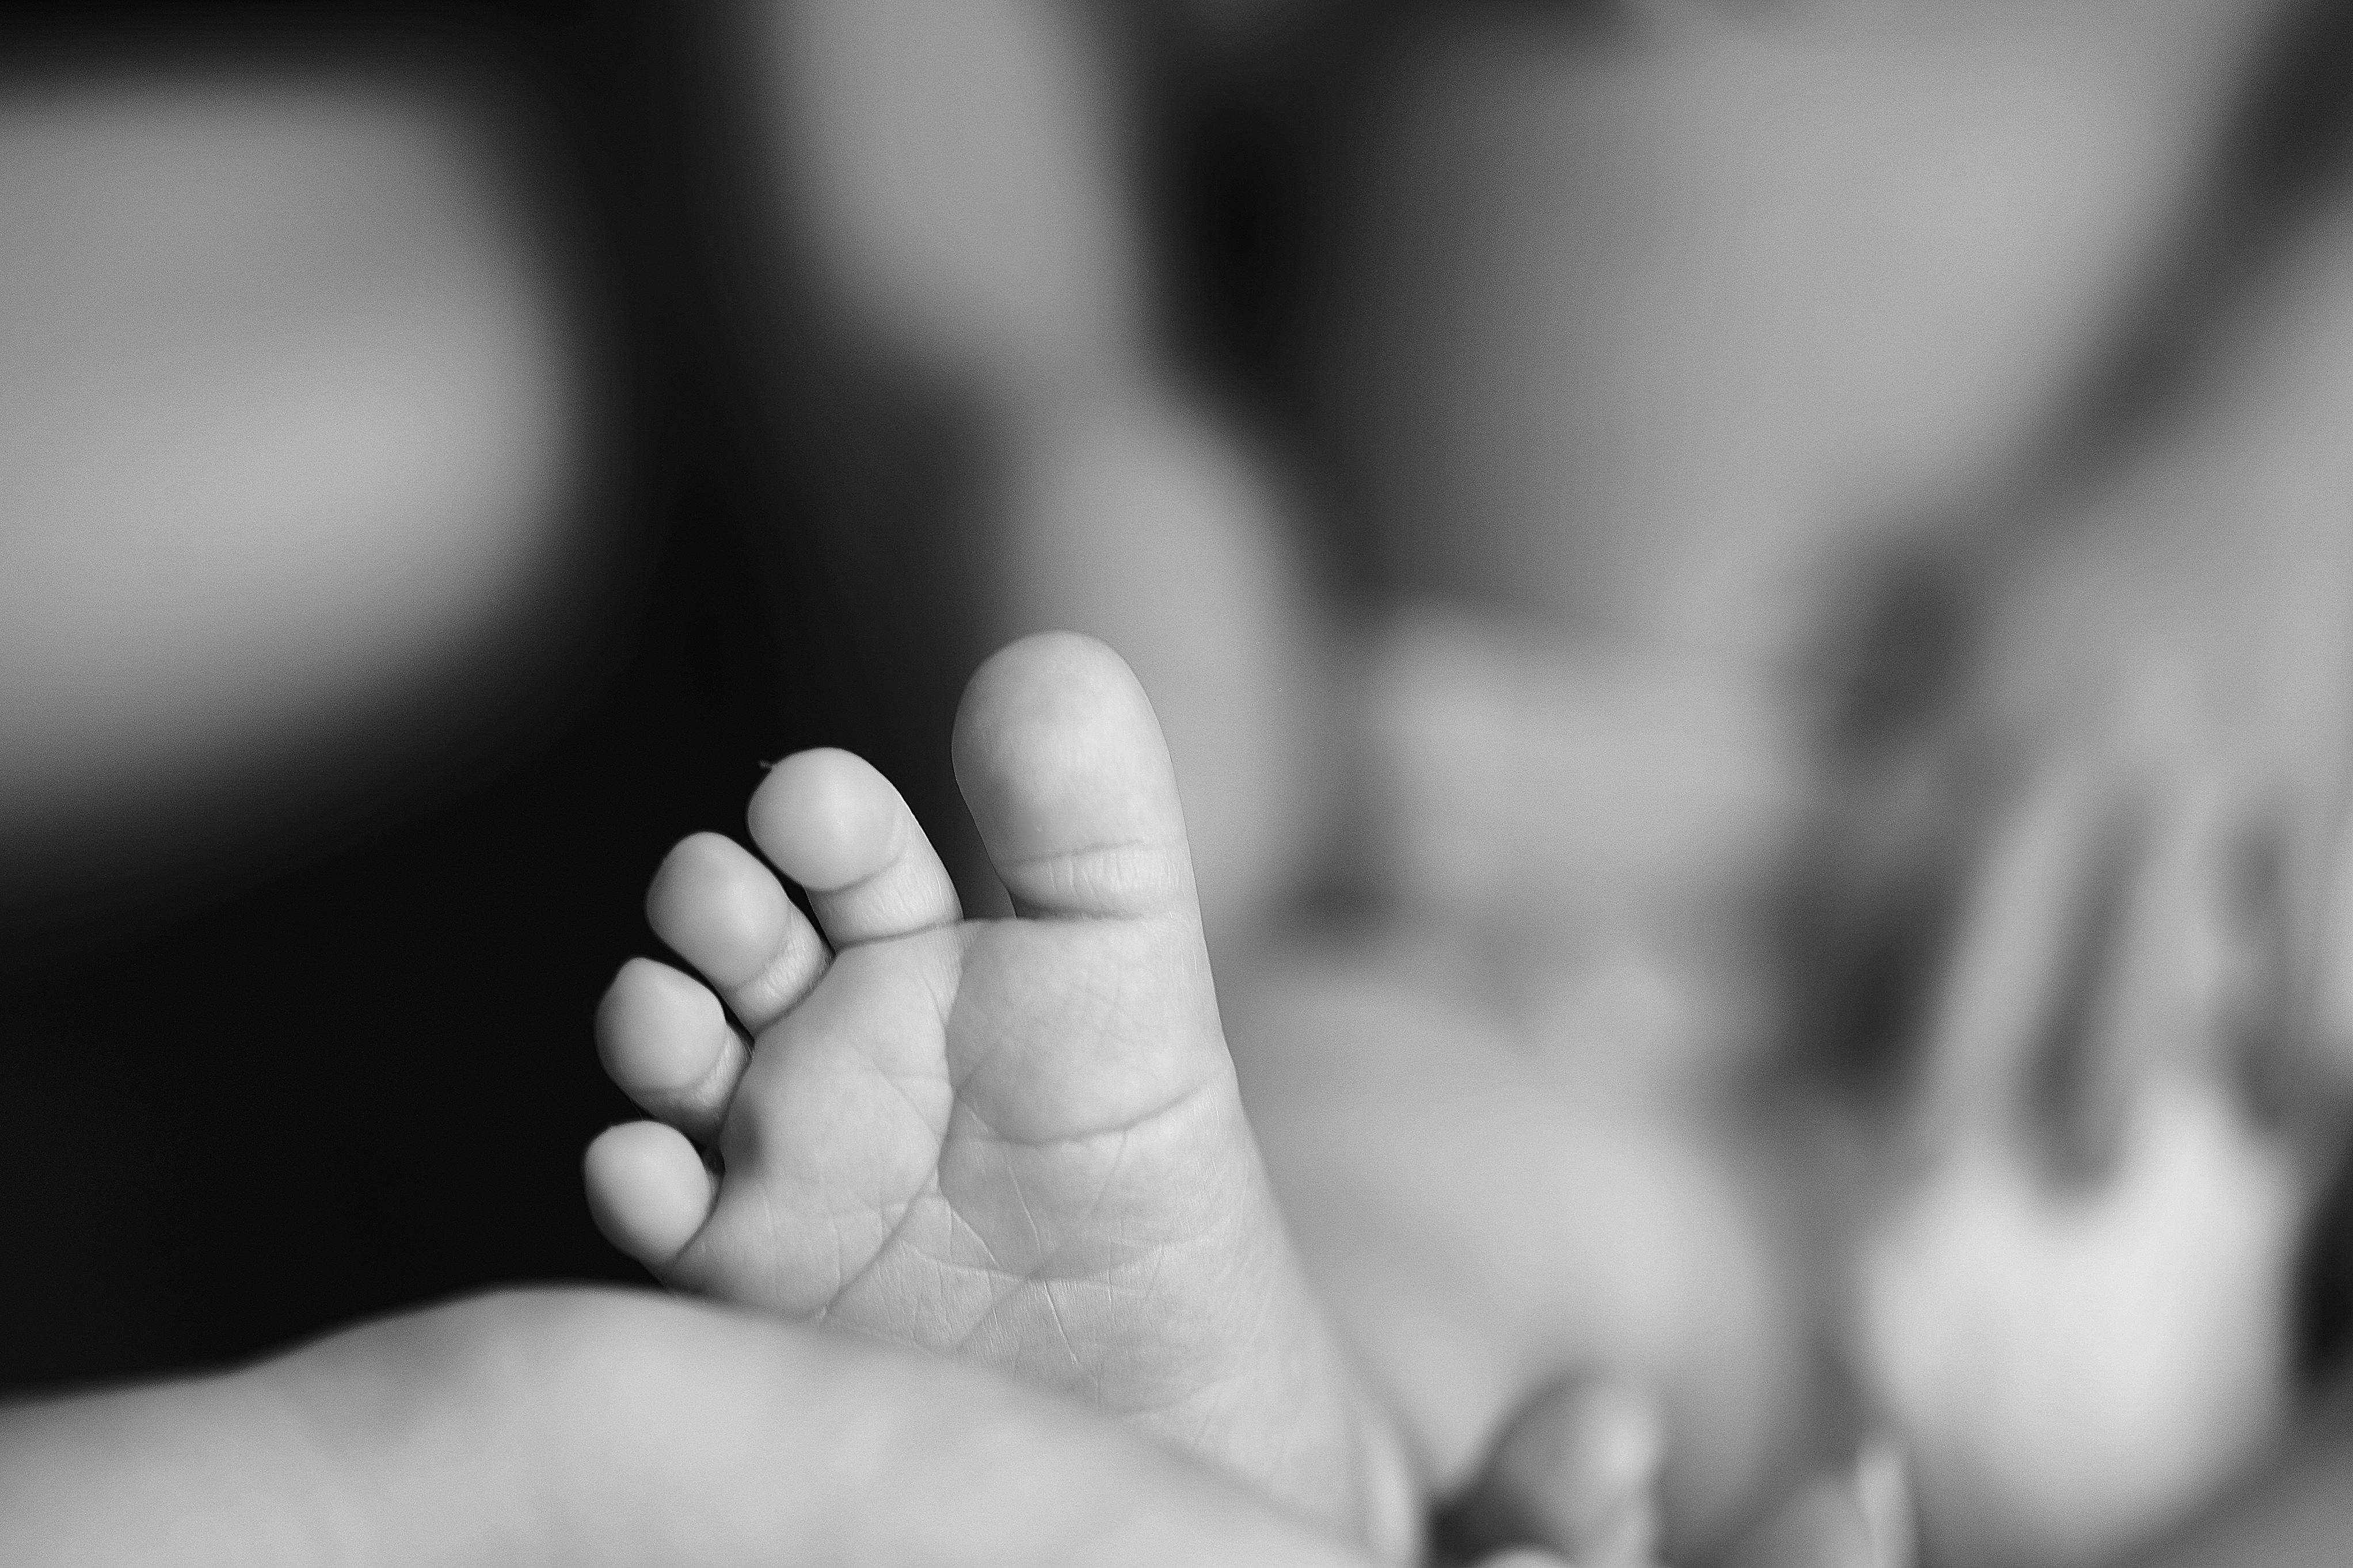
Newborn baby photography is a highly sought-after service that many families find desirable, with images captured of their newest addition to treasure forever. Despite being so popular, many photographers have never considered or attempted this type of shoot, myself included, and perhaps it's for a good reason.
I consider myself to be an extremely patient person, always willing to work a little harder and adapt to tricky situations, but this shoot with my three-and-a-half week old nephew was challenging to say the least, and a word of warning: projectile vomiting is something to be expected and prepared for.
• Interested in the best baby camera monitors?
I don't know about other photographers, but I personally do not charge friends and family for shoots, seizing the opportunity in my spare time to practice a different style that I wouldn't normally consider, and it usually allows me to take my time during the shoot without the added pressure of having to be professional, or getting images edited and delivered in a timely manner.
This of course has its downsides – with a few awkward conversations needed reminding relatives how copyright works, and reiterating how providing me with credit and a nice review on social media can help my business through word of mouth, and it wouldn't kill them after having a free shoot.
A few occasions have also cropped up with family members having mugs printed and canvases made of images I've taken, without my knowledge, that have resulted in blurry and pixelated prints that could have been easily avoided had they simply asked me for a higher-res version of the image, boasting a greater dpi for printing.
It can certainly be easier working with a paying client over family, but not charging for shoots when things don't go to plan can also sometimes work in your favor, especially in instances when a refund may have been necessary. The shoot with baby Hayden (or little H as we call him) got off to a regular start, and after he had been fed, burped and winded, we were ready to go!
Get the Digital Camera World Newsletter
The best camera deals, reviews, product advice, and unmissable photography news, direct to your inbox!
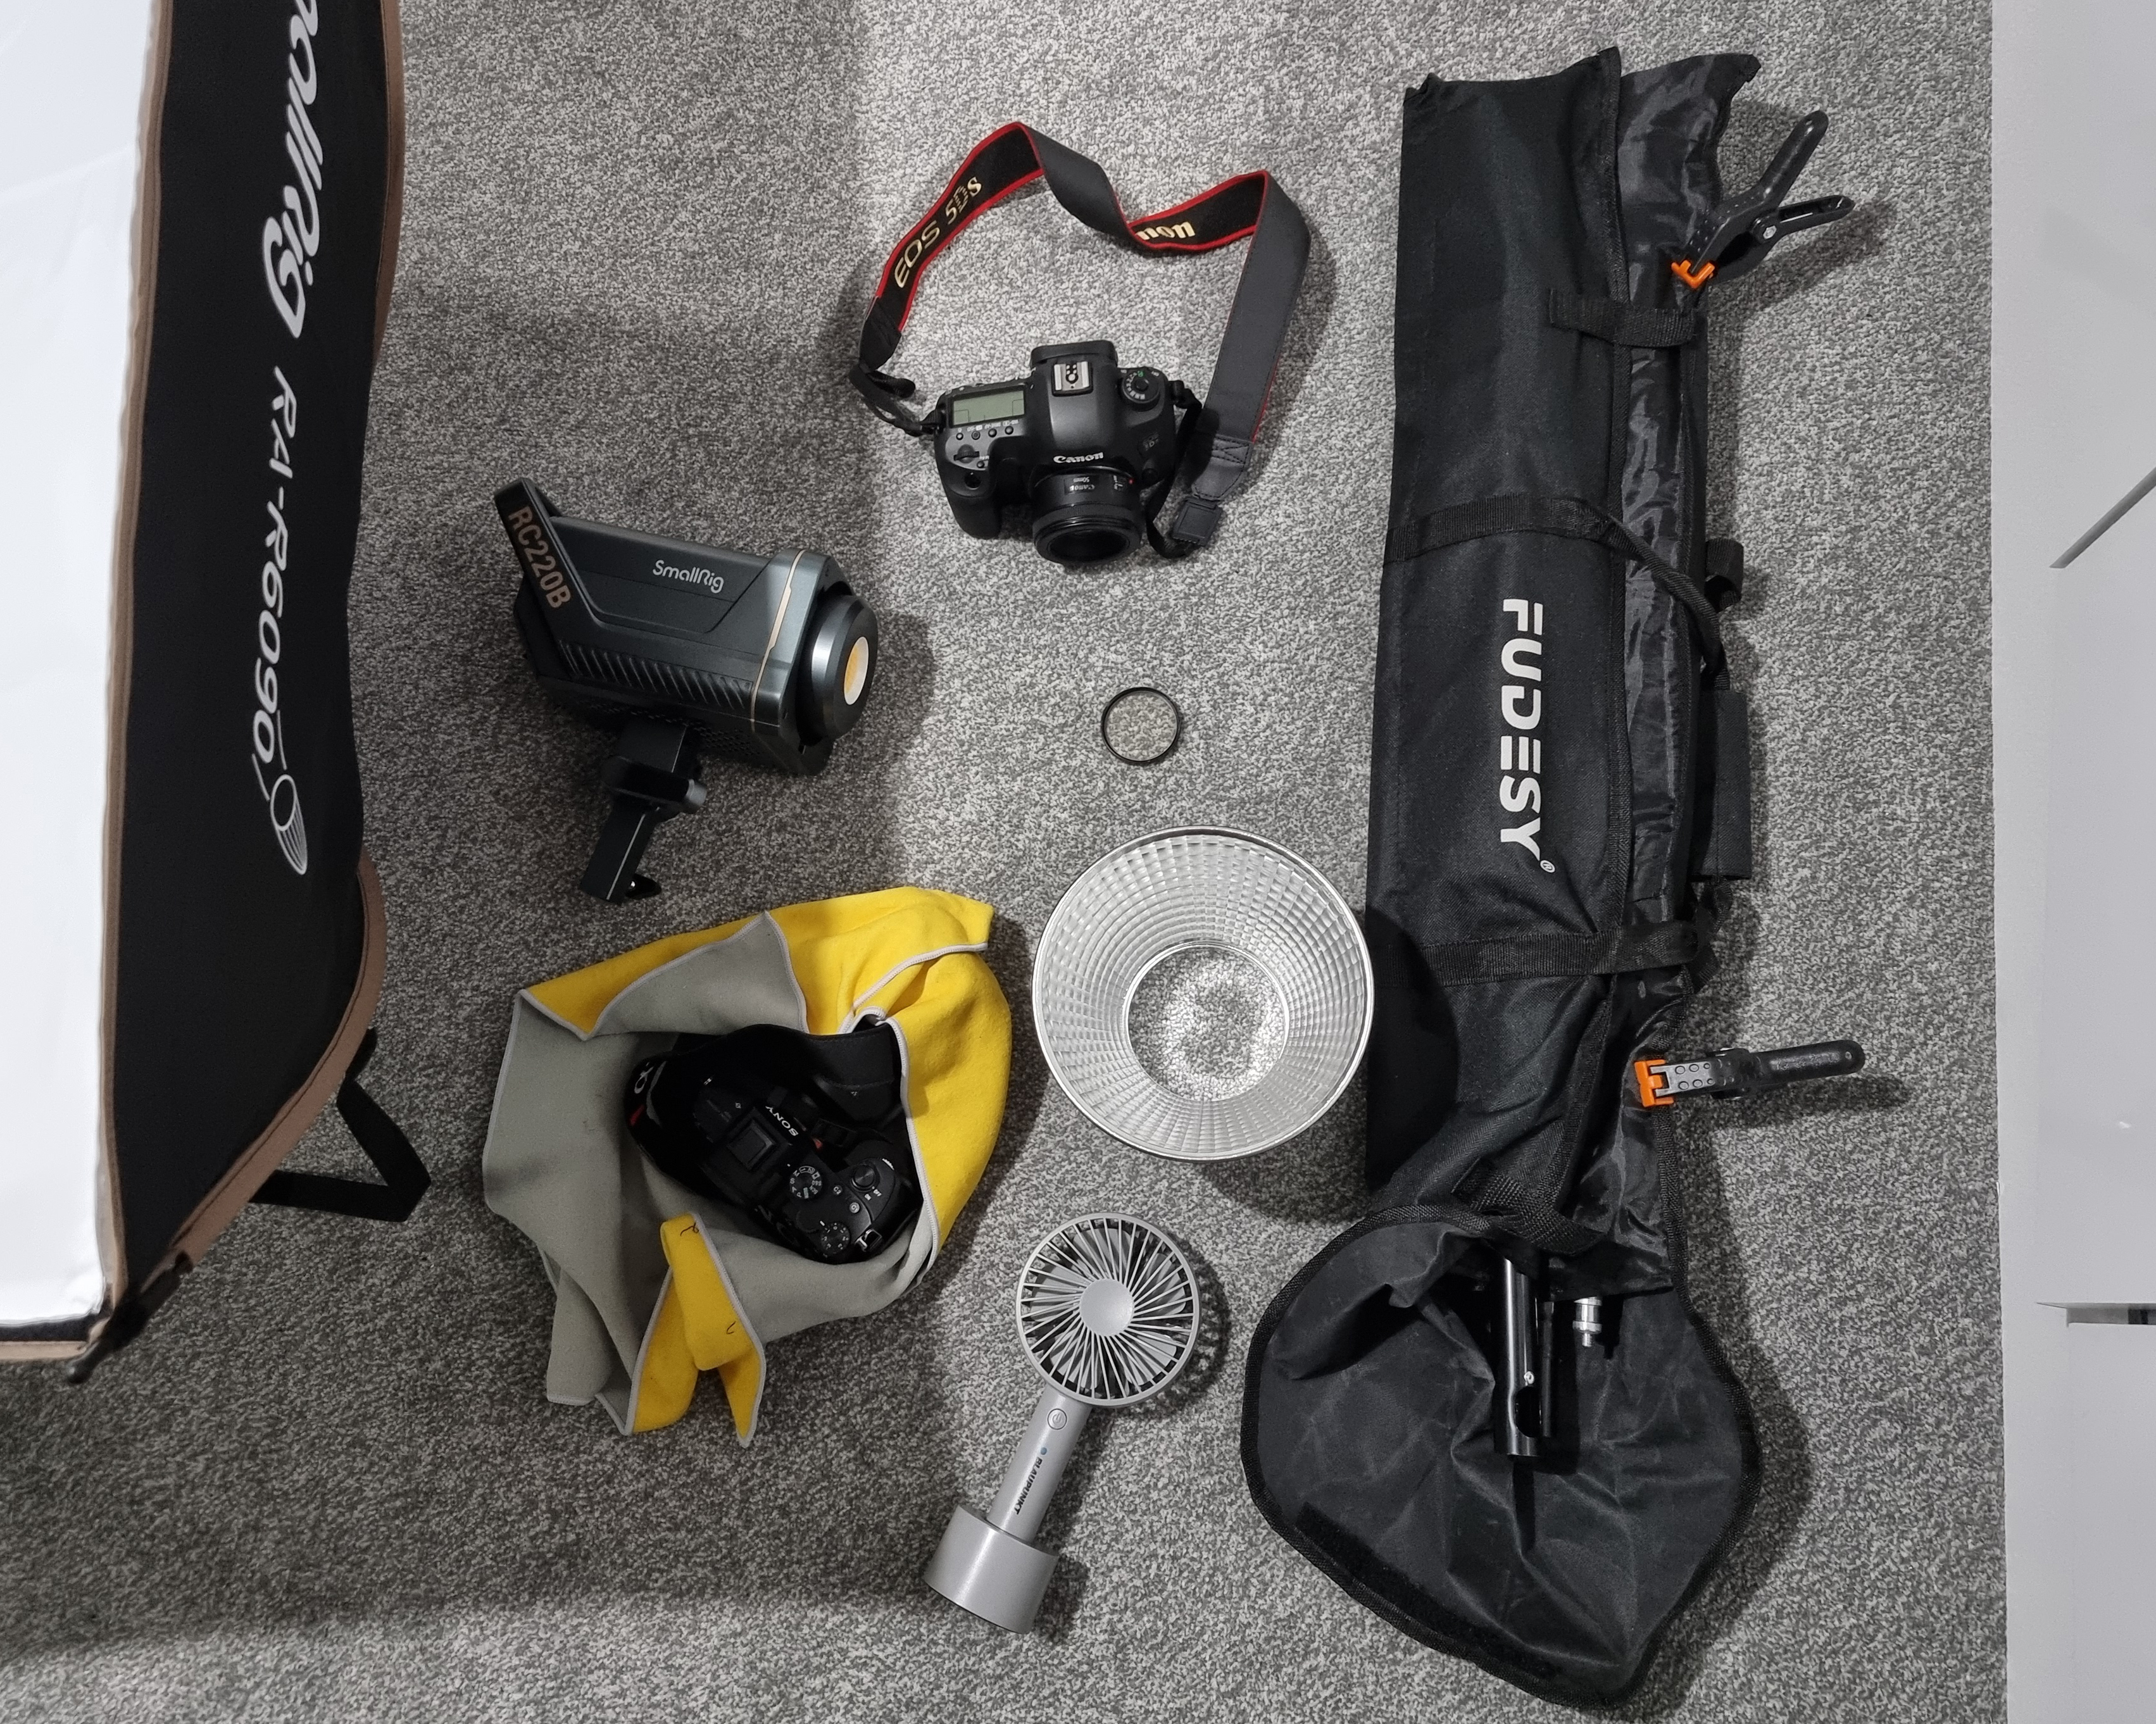
The equipment and setup used for this shoot was pretty simple, consisting of my two cameras: a Canon EOS 5DS paired with a Canon EF 50mm STM, and my Sony A7III paired with the Sony FE 90mm f/2.8 Macro G OSS. I also had a microfibre cloth, Nitecore Stick-it Wrapper, a portable handheld fan, a Fudesy light stand and backdrop setup kit from Amazon, and the SmallRig RC 220B video light that I used for the very first time and reviewed during this shoot.
I set up the RC 220B in normal mode using around 45% intensity at 6500k, and had the light positioned behind me while I sat on the floor, attached to a light stand, and adjusted the beam to be angling downwards towards little H to create the perfect look of natural daylight that wouldn't be too overpowering for his newborn eyes.

What did I learn on my first baby shoot?
The first rule as I learned with newborn baby shoots – make sure the room temperature is bearable enough for the baby. We planned the shoot pretty late in the evening last weekend, around 9PM, hoping it would be much cooler given the heat wave that the UK has been dealing with - but without any indoor air con it didn't make much of a difference to the humidity, despite it beginning to go dark outside.
We had Hayden in just a nappy/diaper to begin with, as the flat at the time was on the slightly warmer side, even with all doors and windows open. This meant that we couldn't dress Hayden in a few of the onesies and outfits his mum had planned, as he was already starting to overheat a little just from being in her arms for a prolonged amount of time, and with the heat from the SmallRig light.
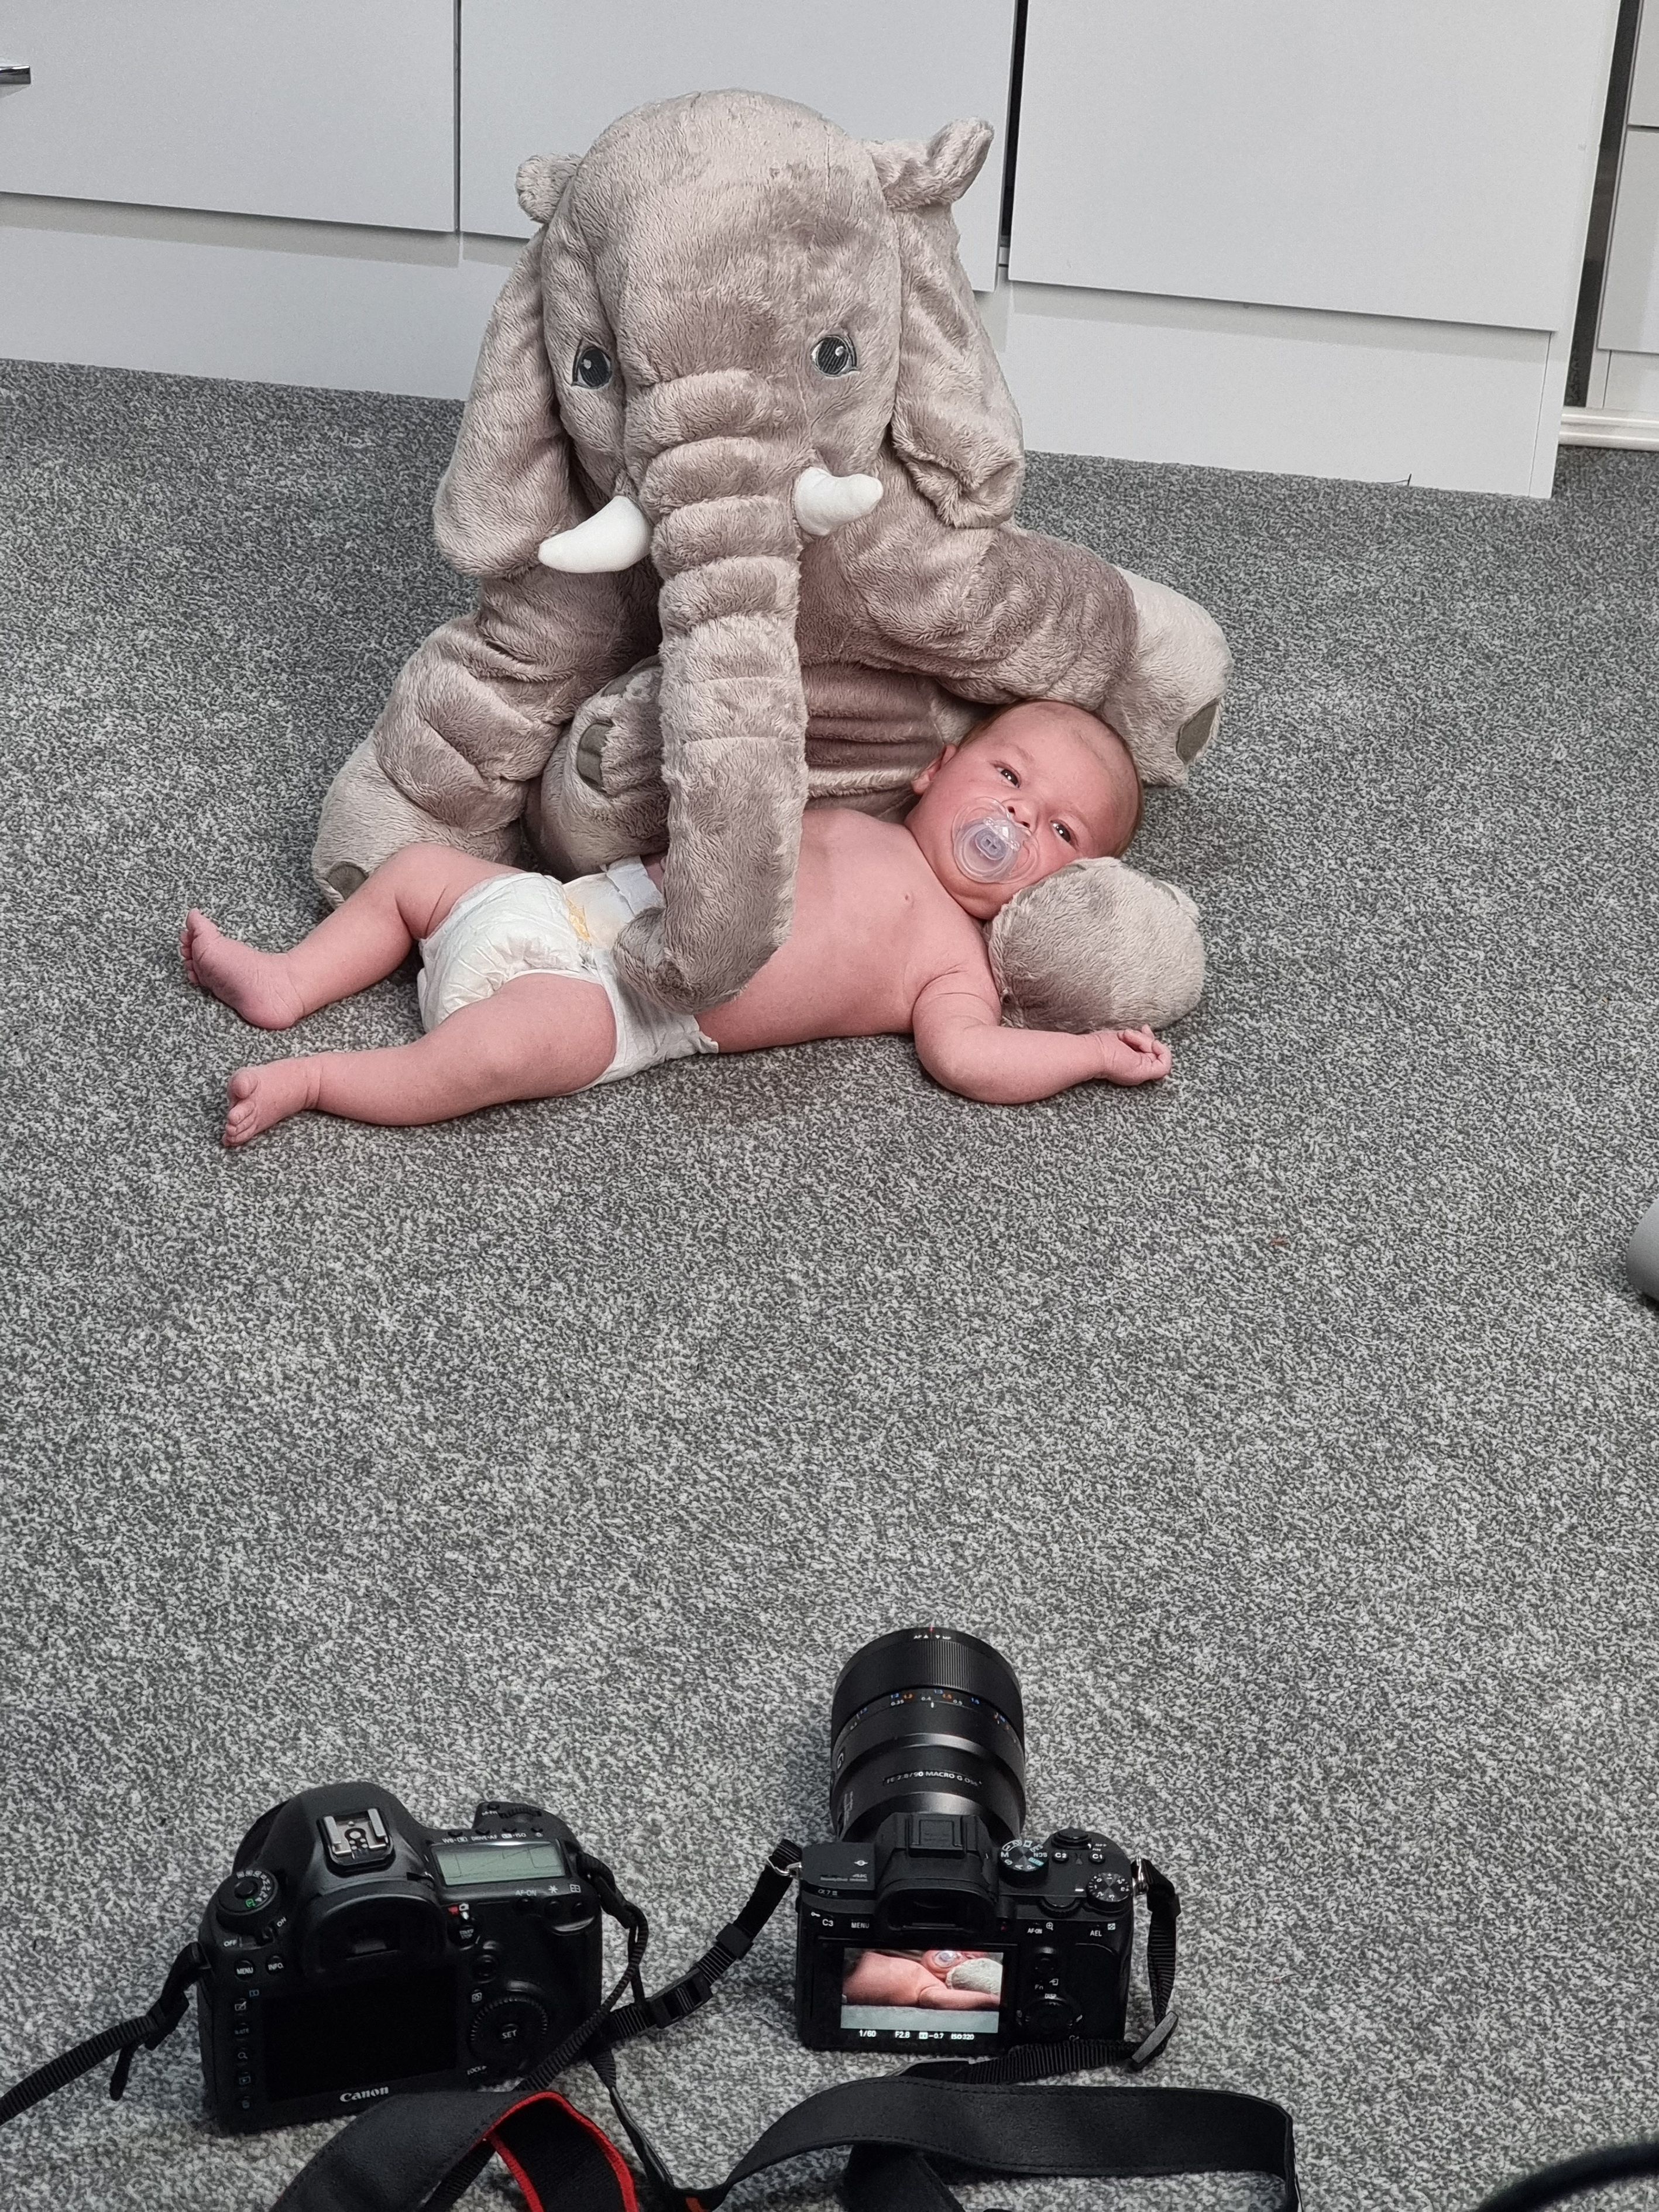
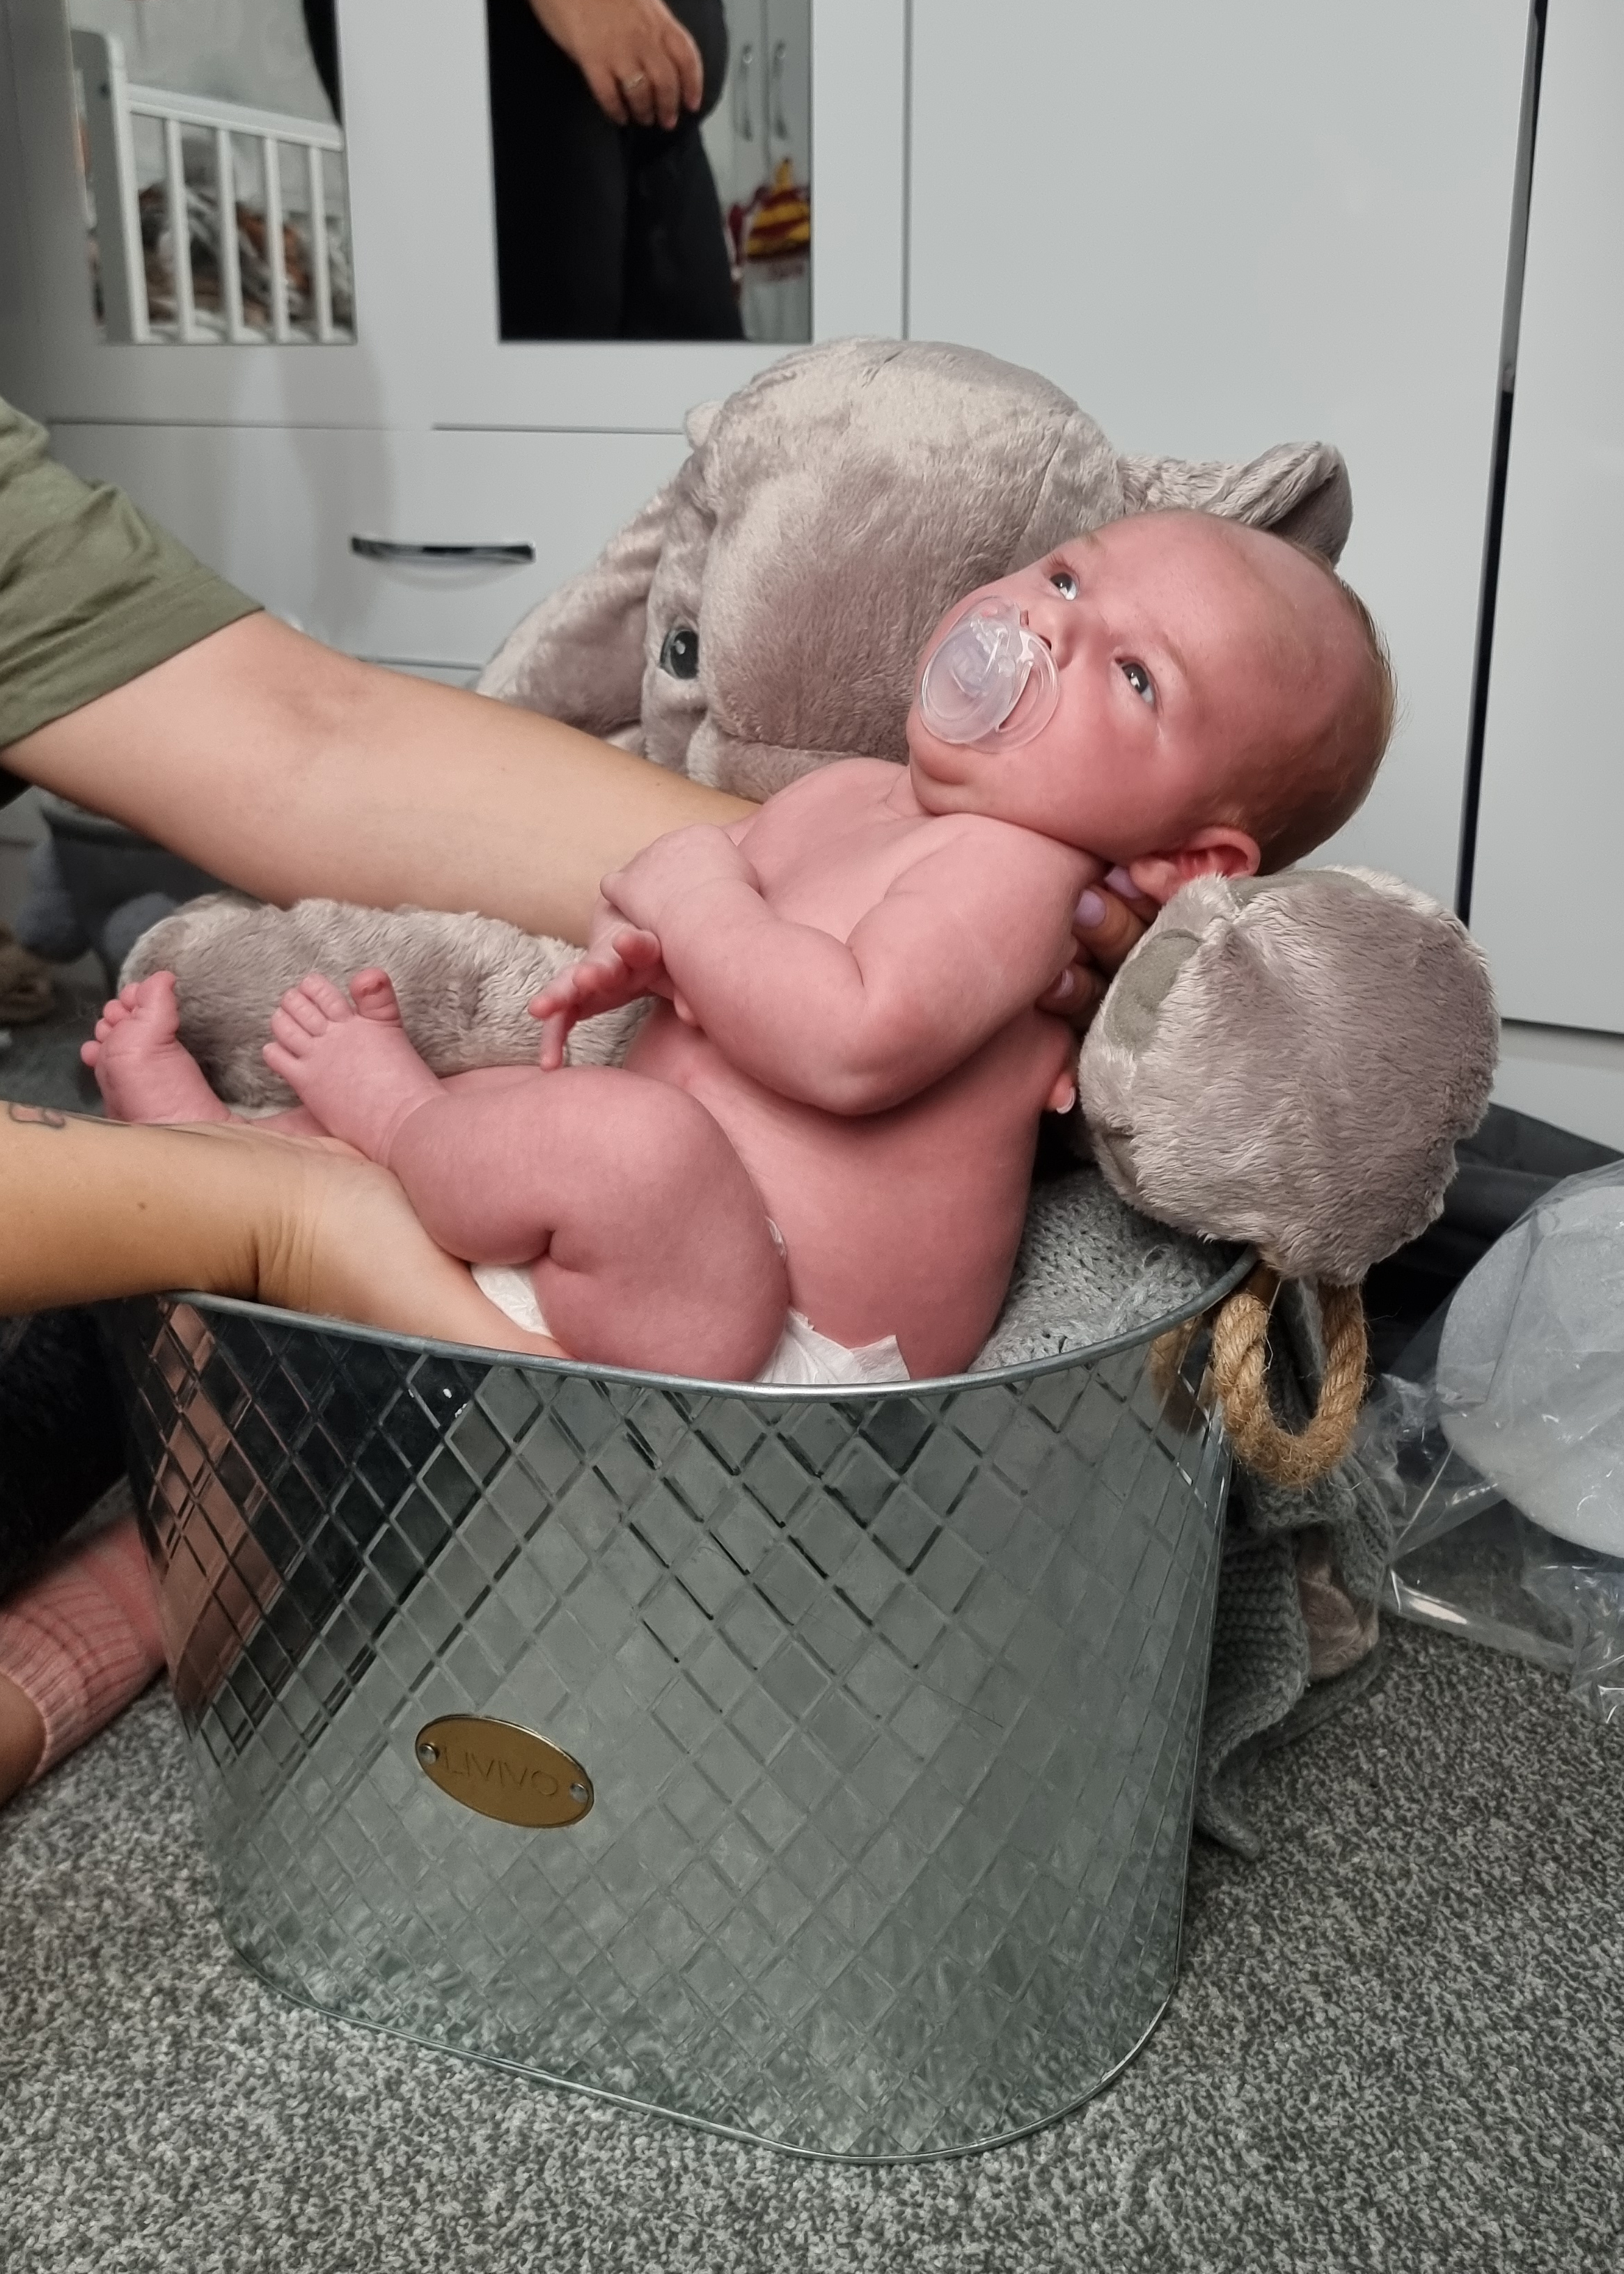
As for the scenery and background, we attempted to replicate the trend of having a newborn placed into a soft and safe basket/bucket with a blanket. I quickly learned that this wasn't going to work, as Hayden's heavy head meant he couldn't be propped upright fully without swaying over to one side a little, and he was in no mood to be placed into a certain position or laid down gently to keep still.
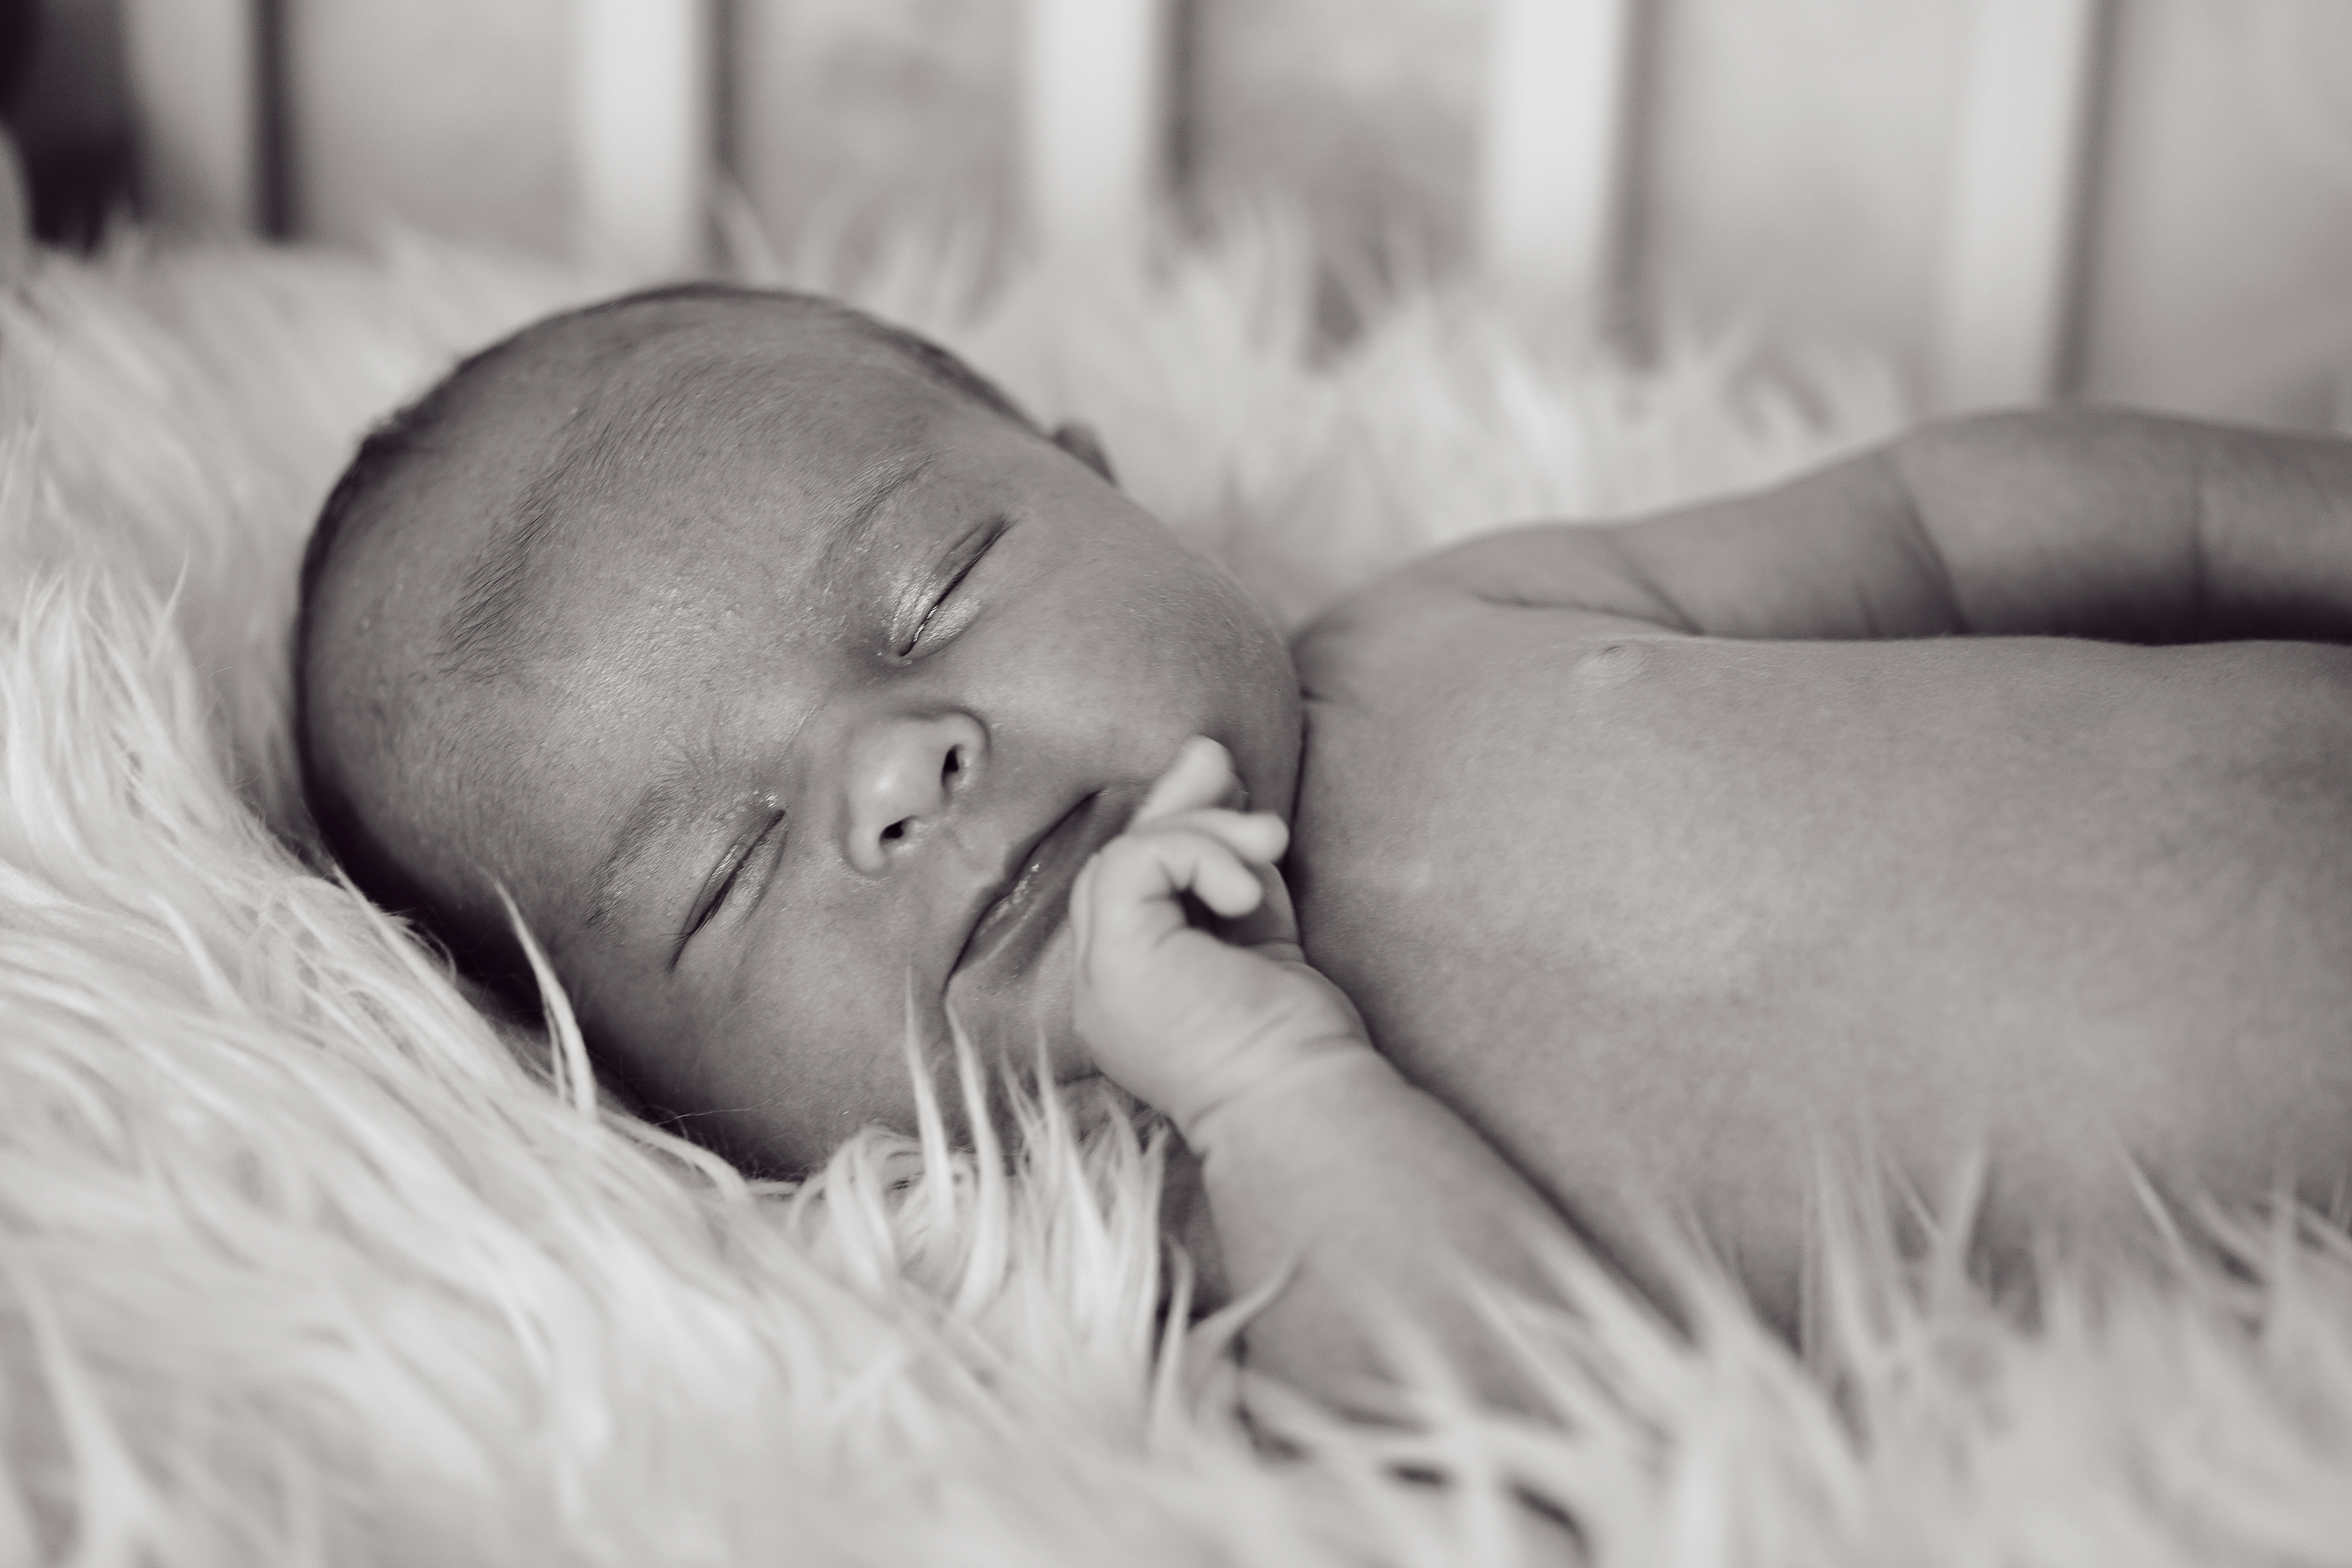
Editing your images to Black and White in post-processing is also a great way to save some of the images that didn't necessarily turn out how you planned, though some photographers have mixed opinions on whether doing this is really the saving grace that it's made out to be, or is it just a cop out?
• Read more: You can't just make an image black and white and expect it to work
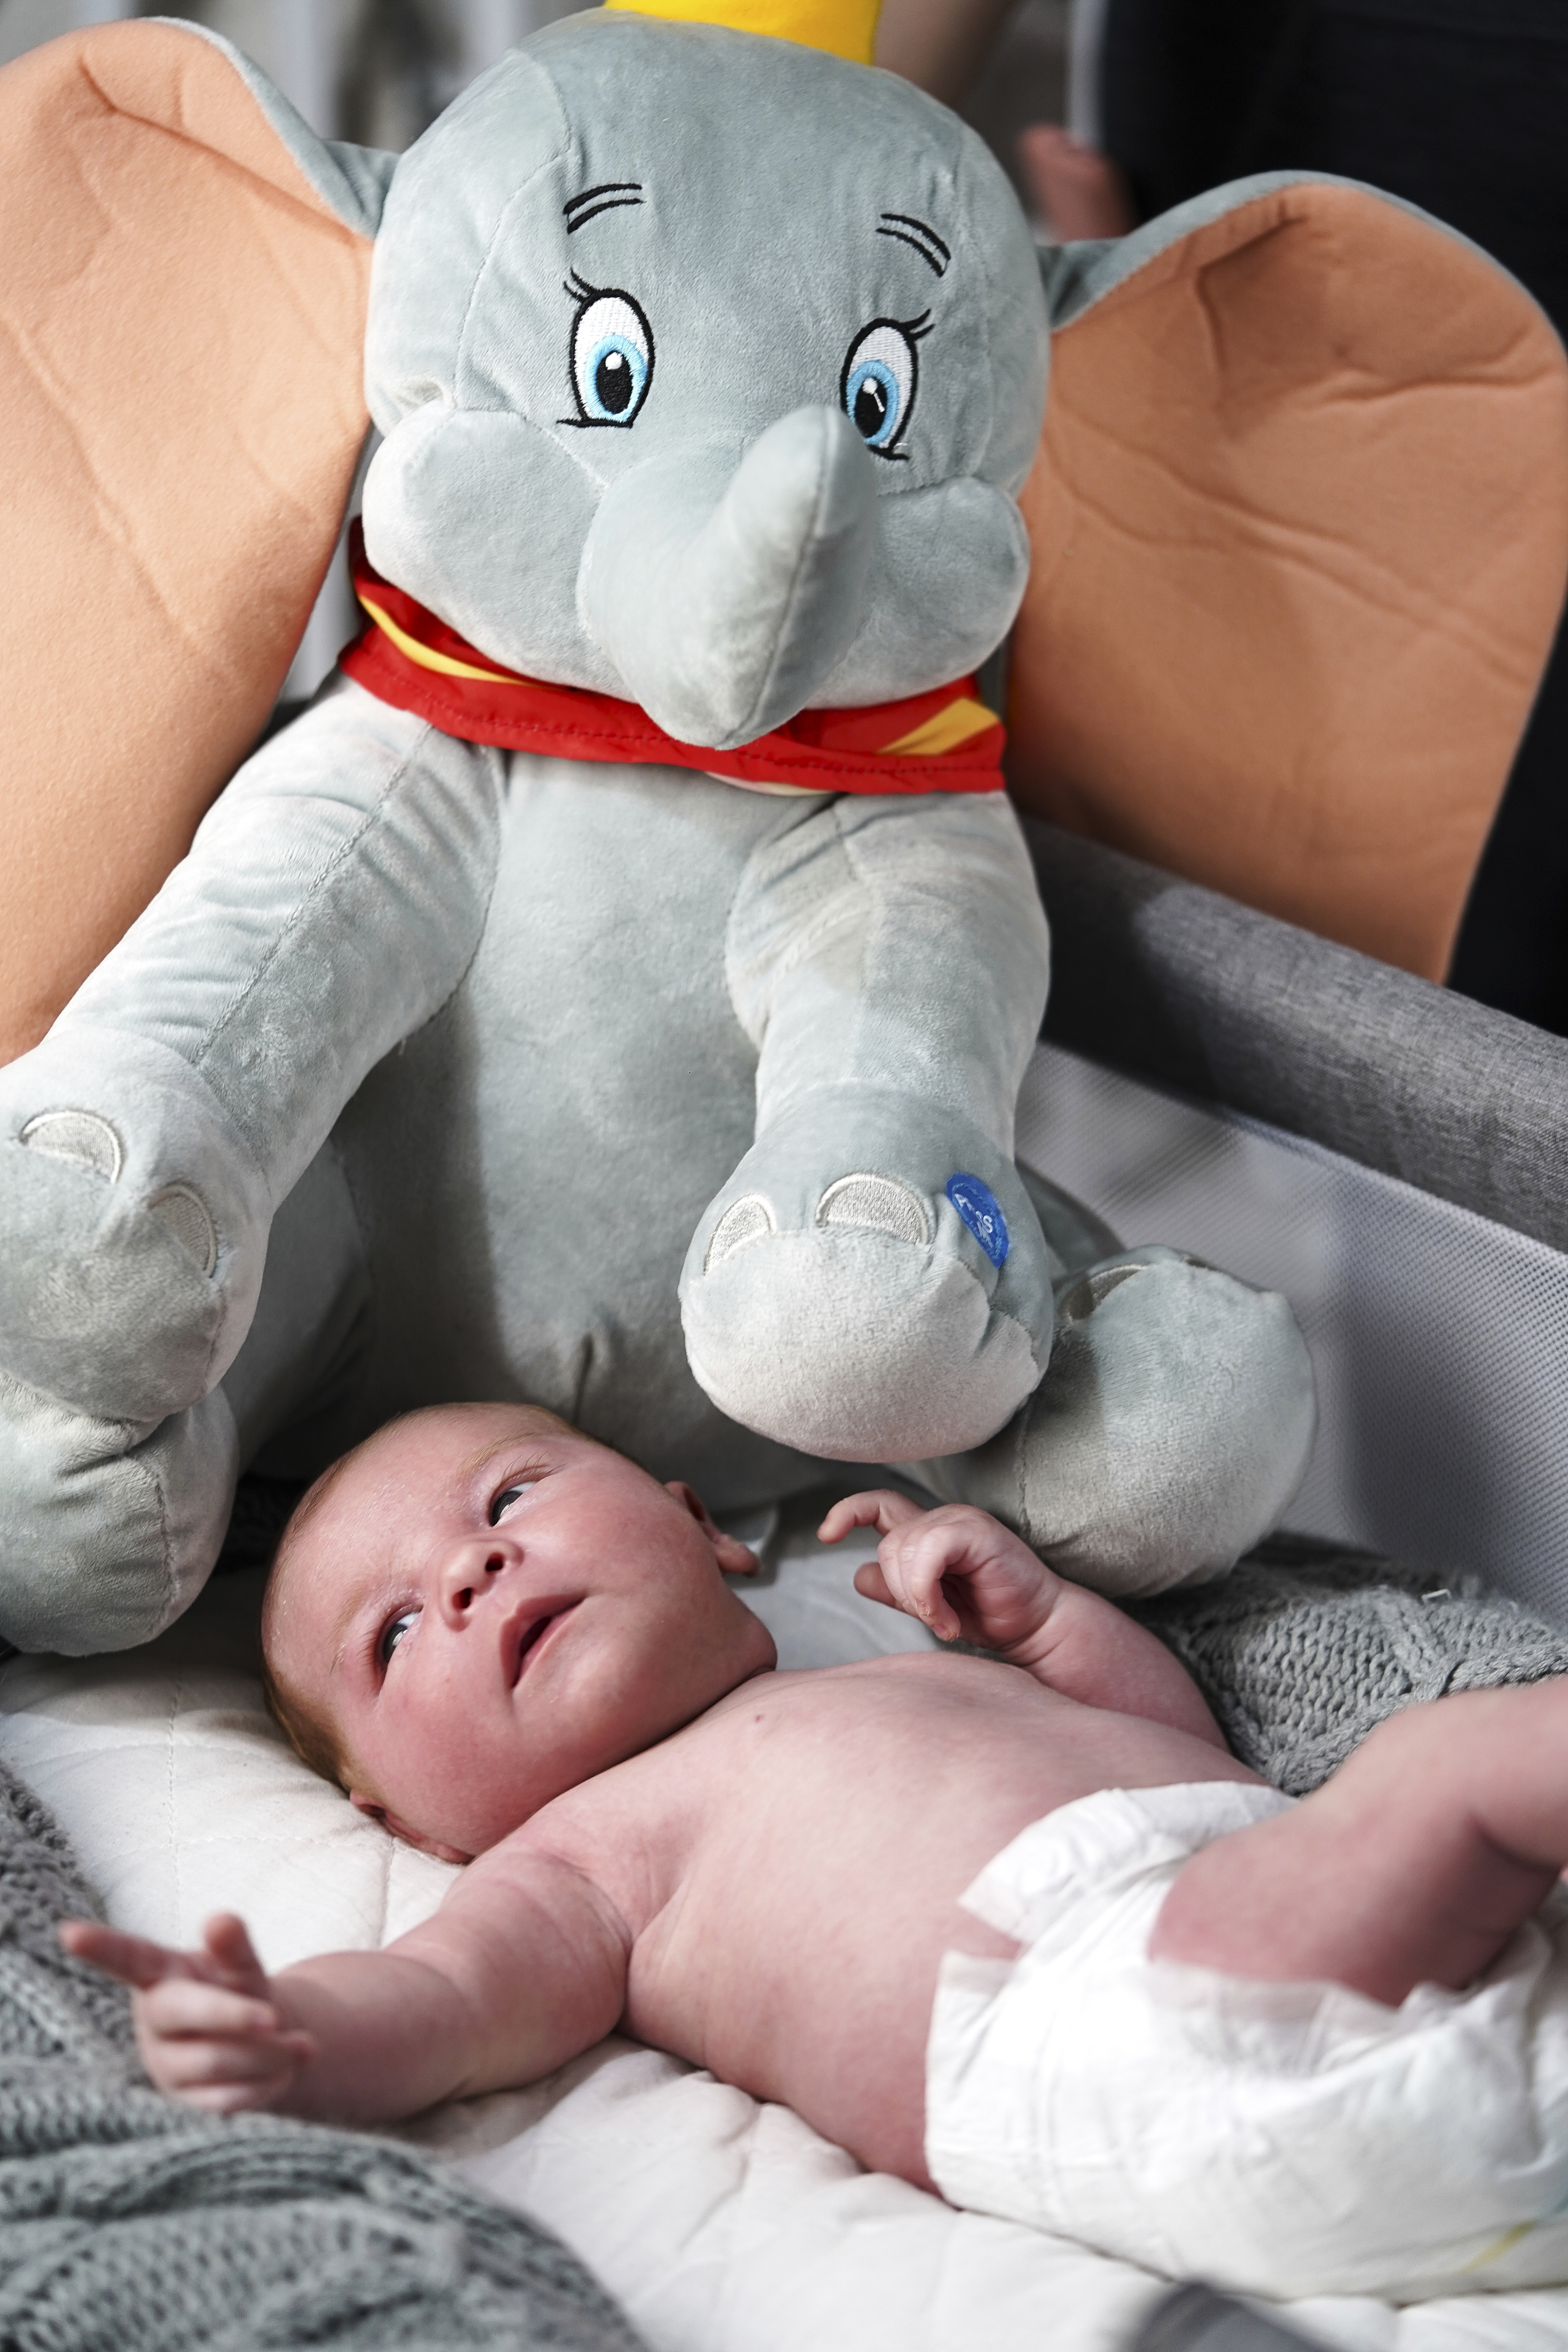
By this point around 5-10 minutes into the shoot, everything seemed to be going relatively smoothly, despite the super warm temperature and positioning of Hayden – minor issues that we swiftly dealt with. However, as we ditched the bucket idea and placed Hayden on the soft carpet next to his trusty stuffed elephant friend, the tantrum of all tantrums began to break out.
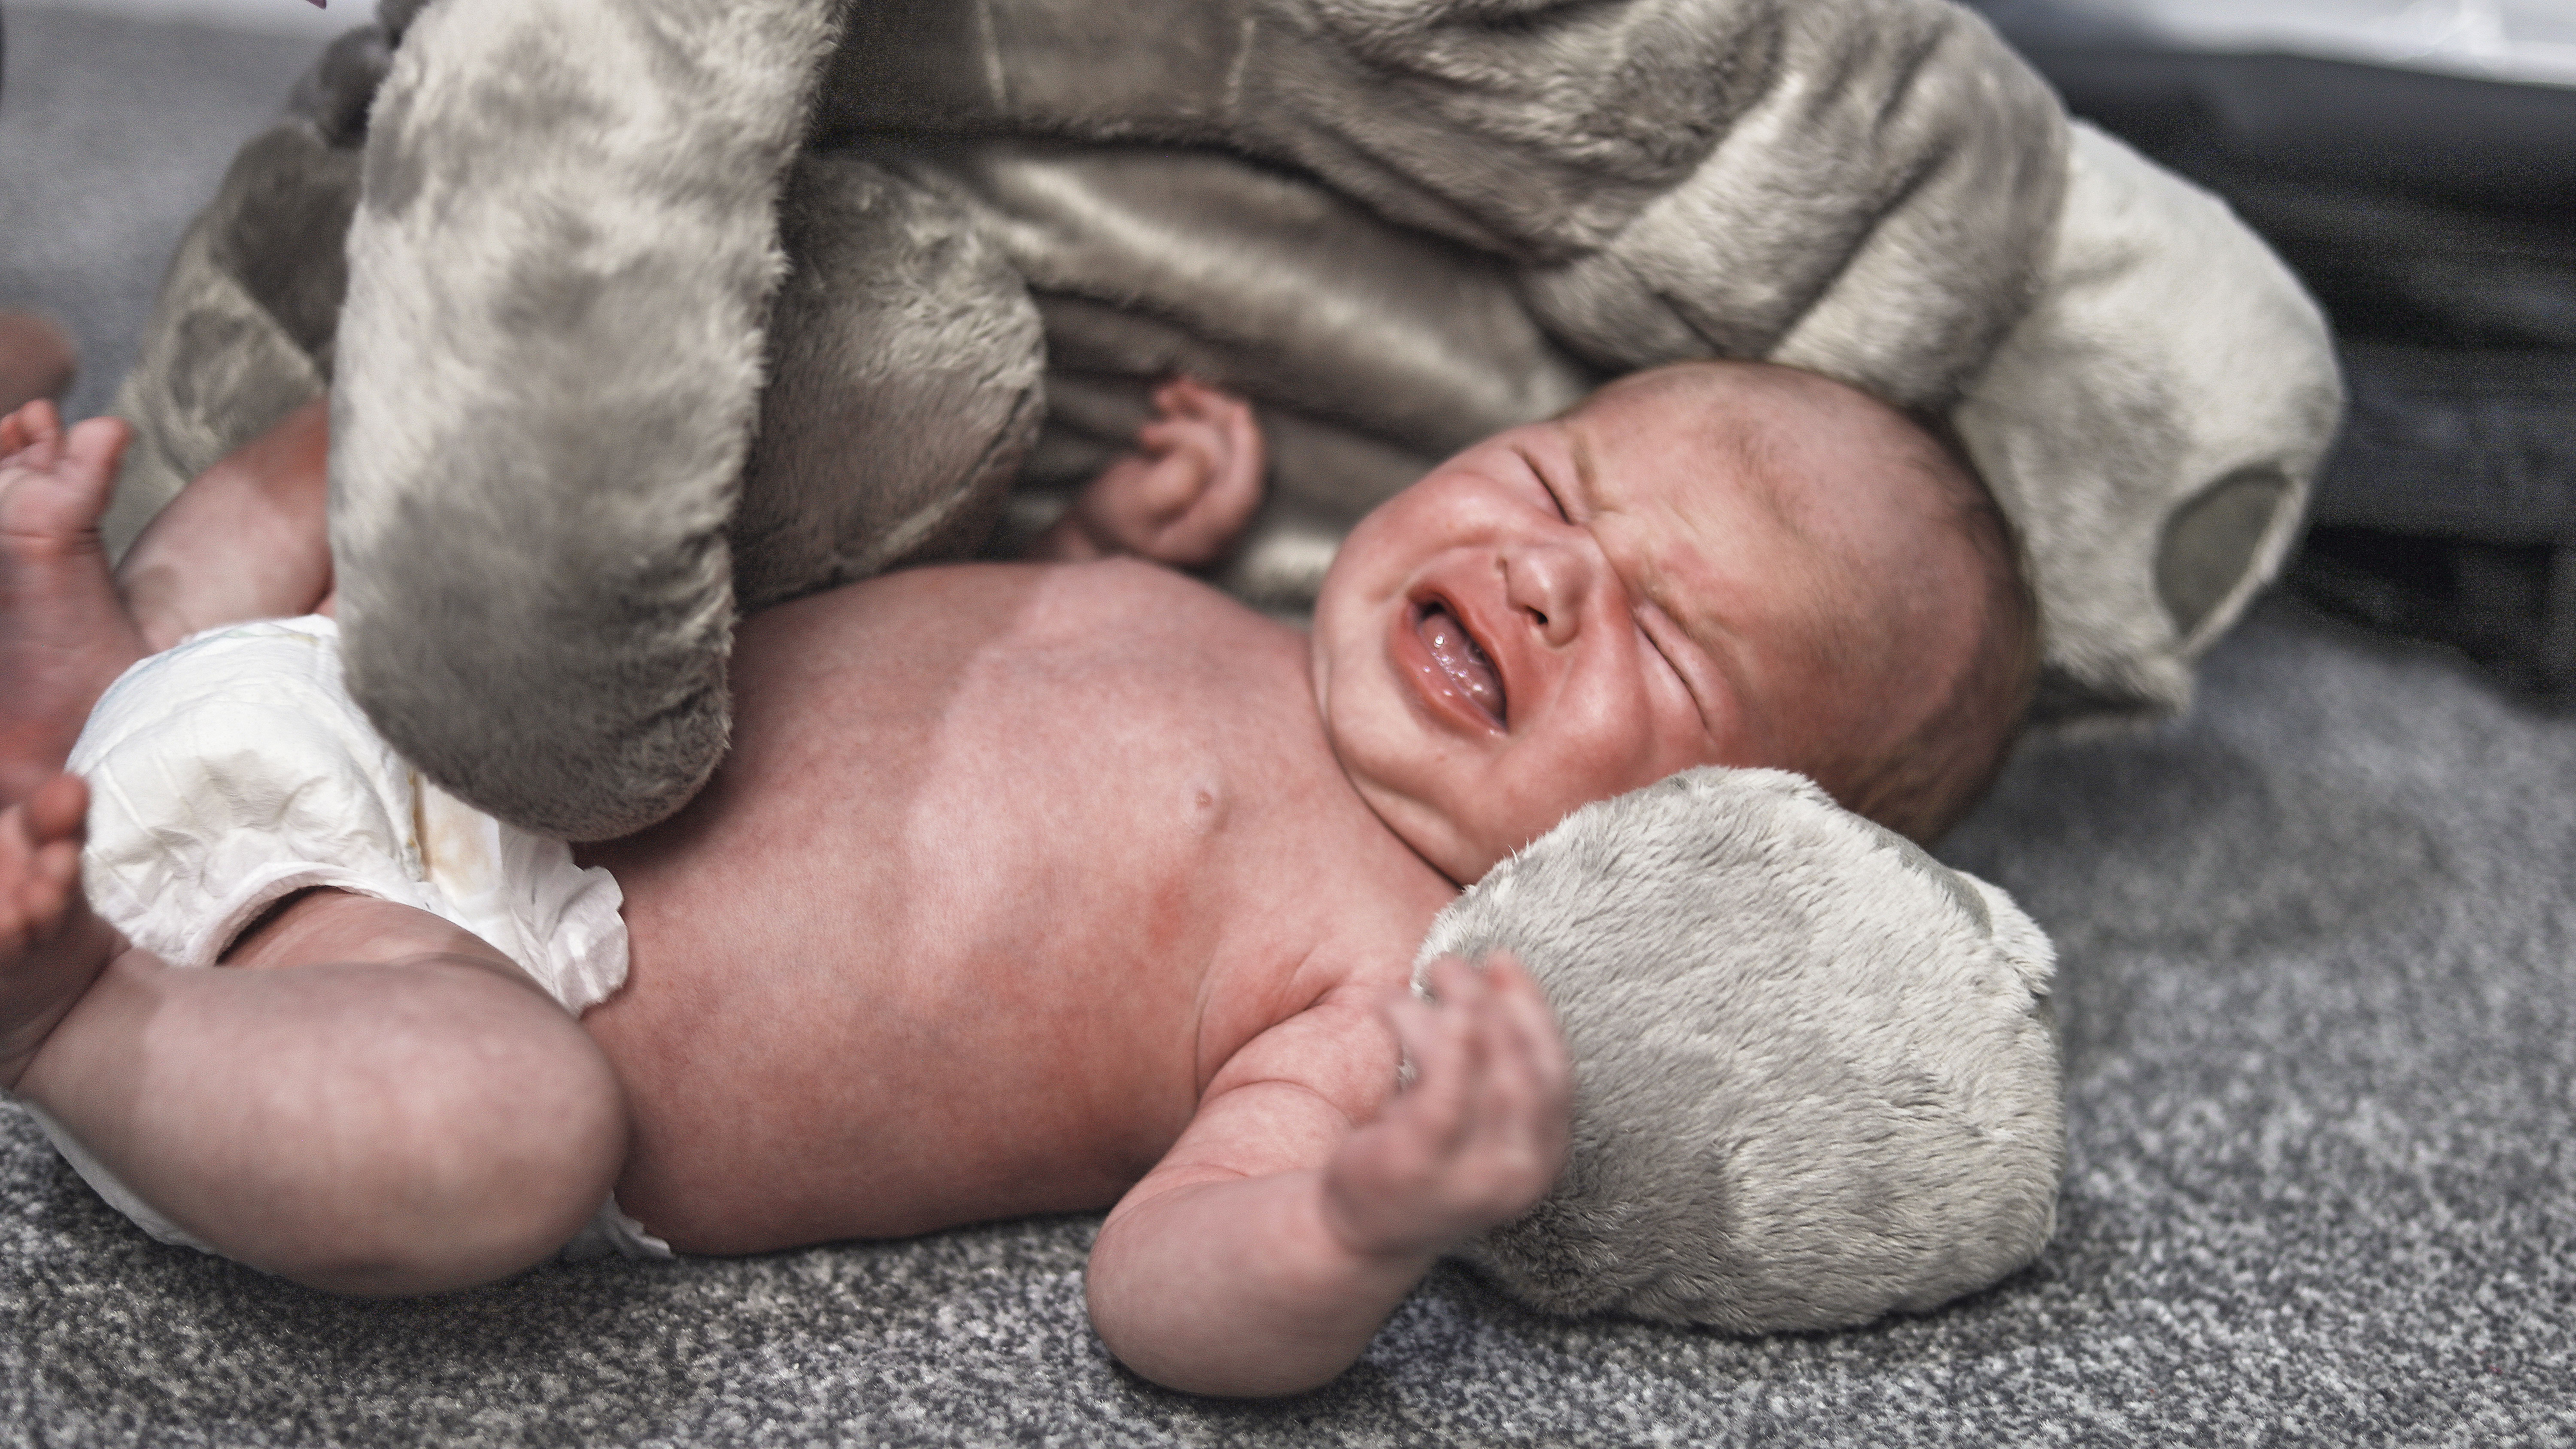
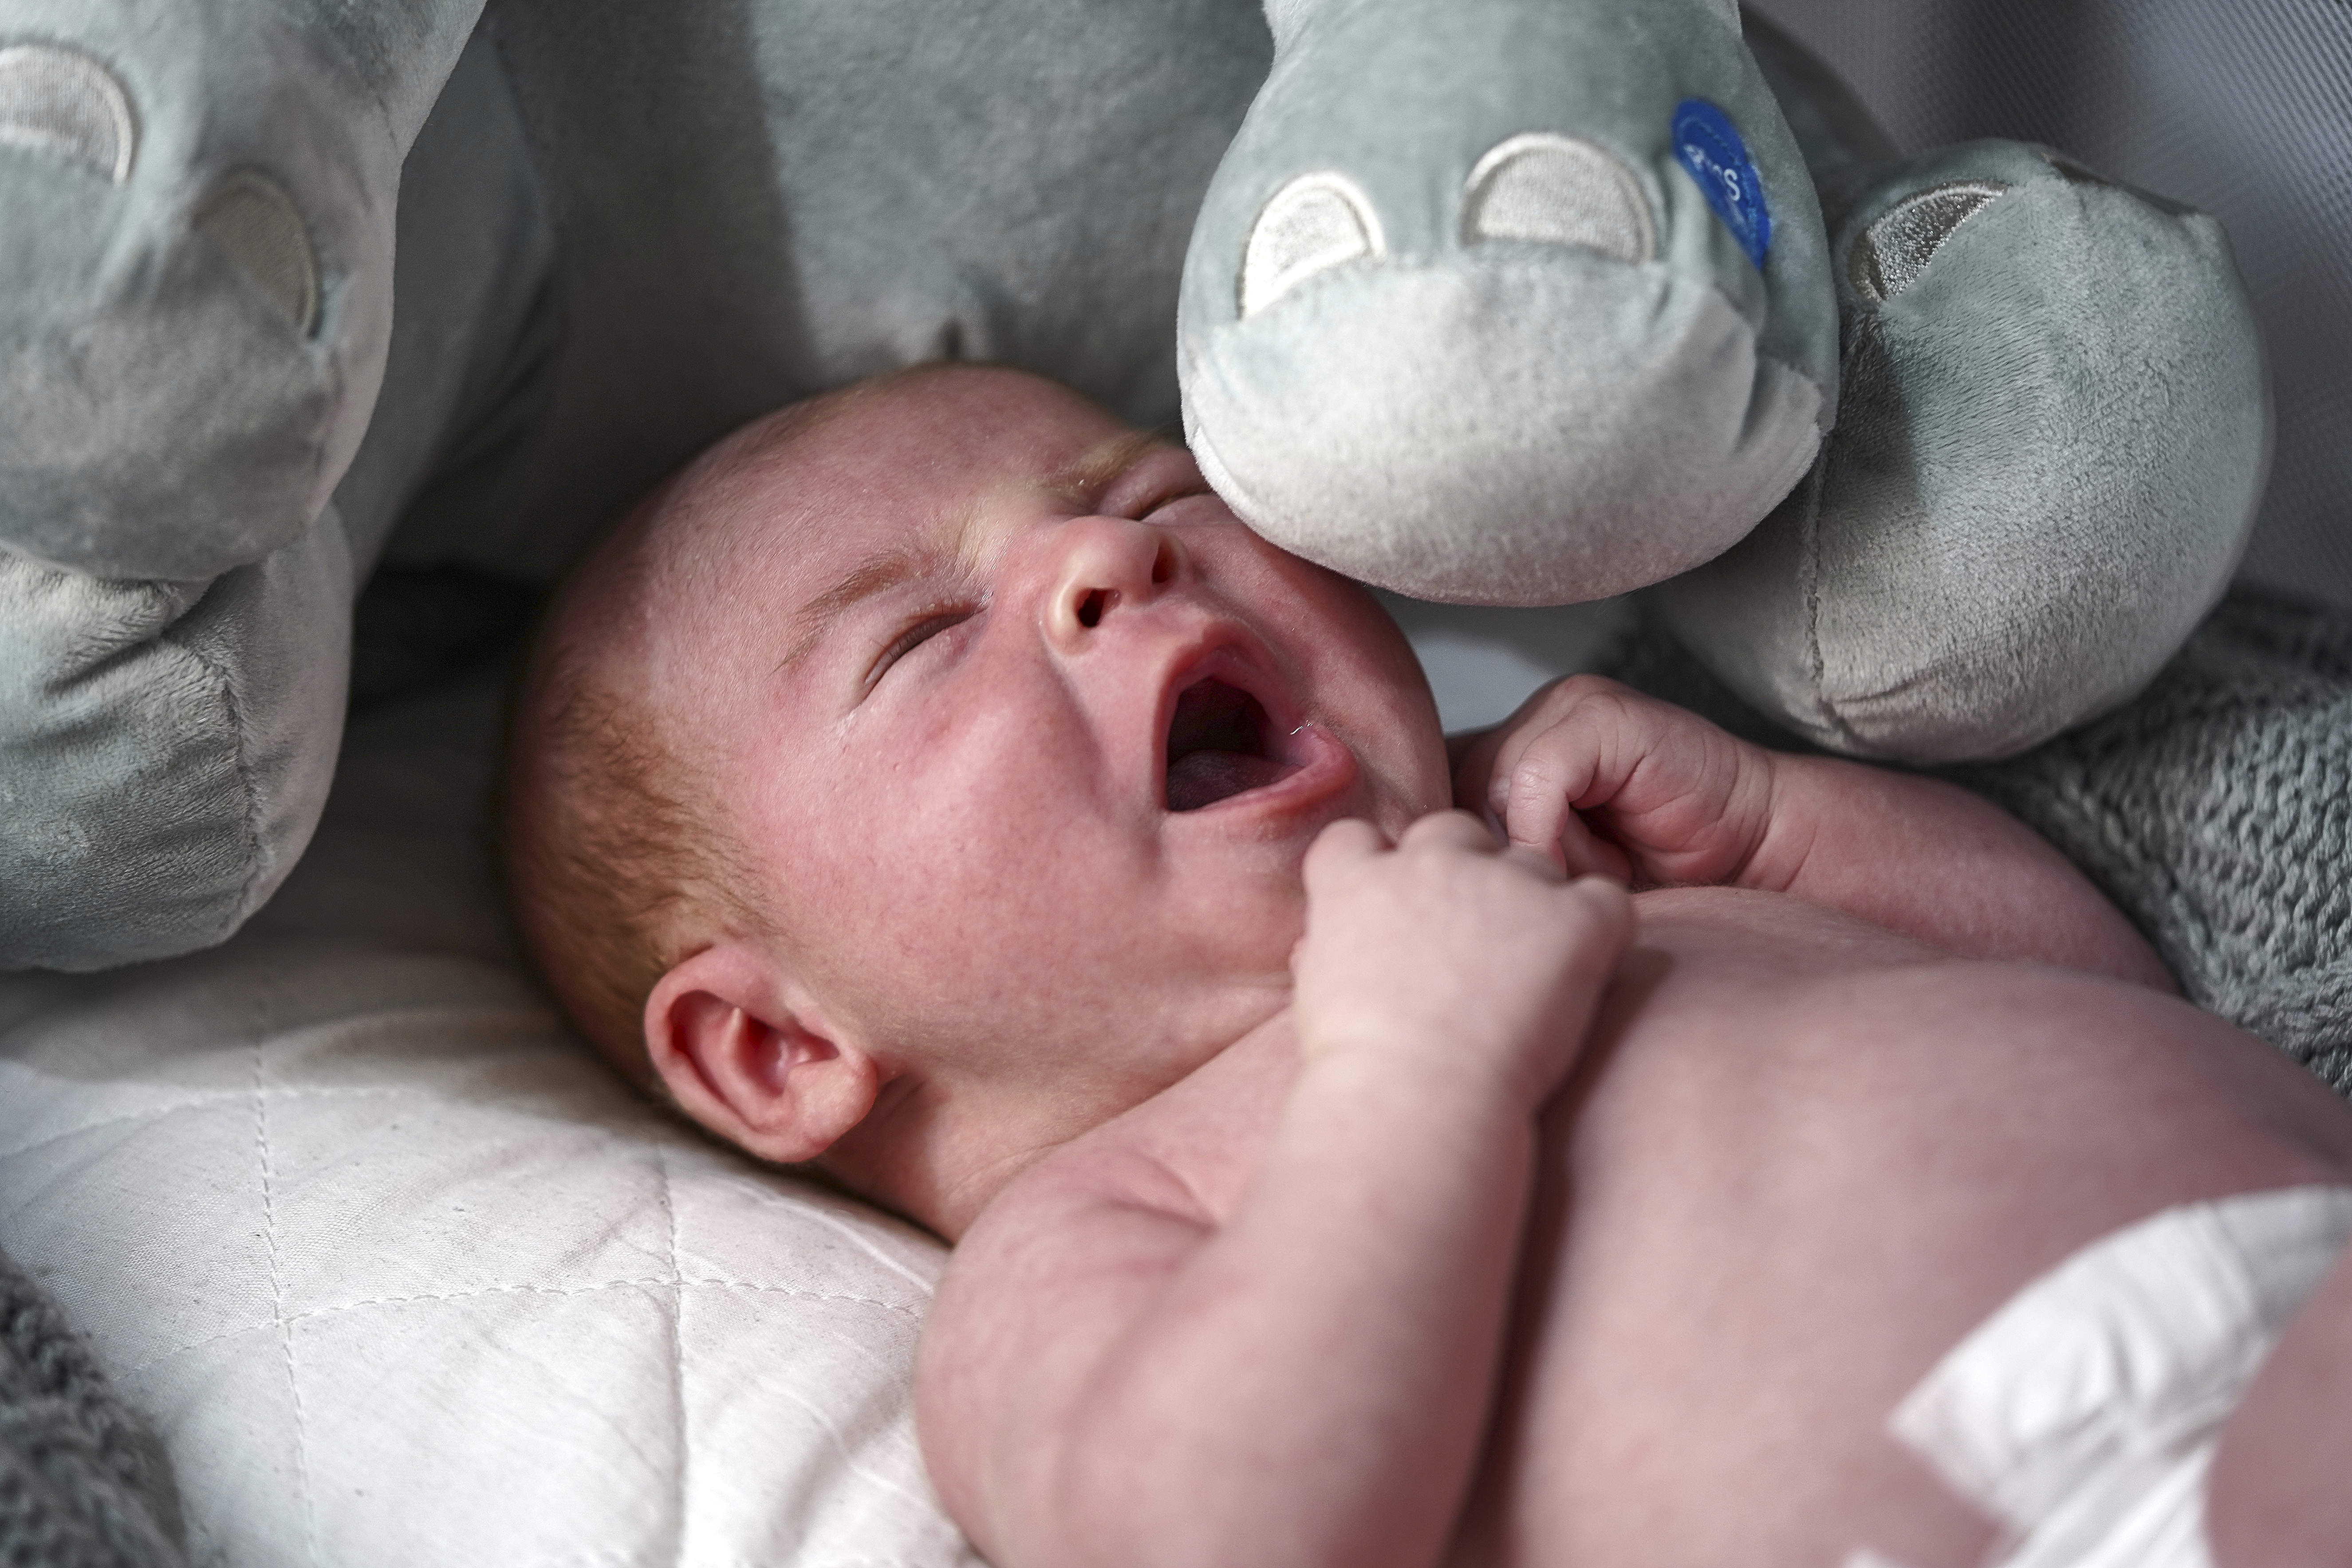
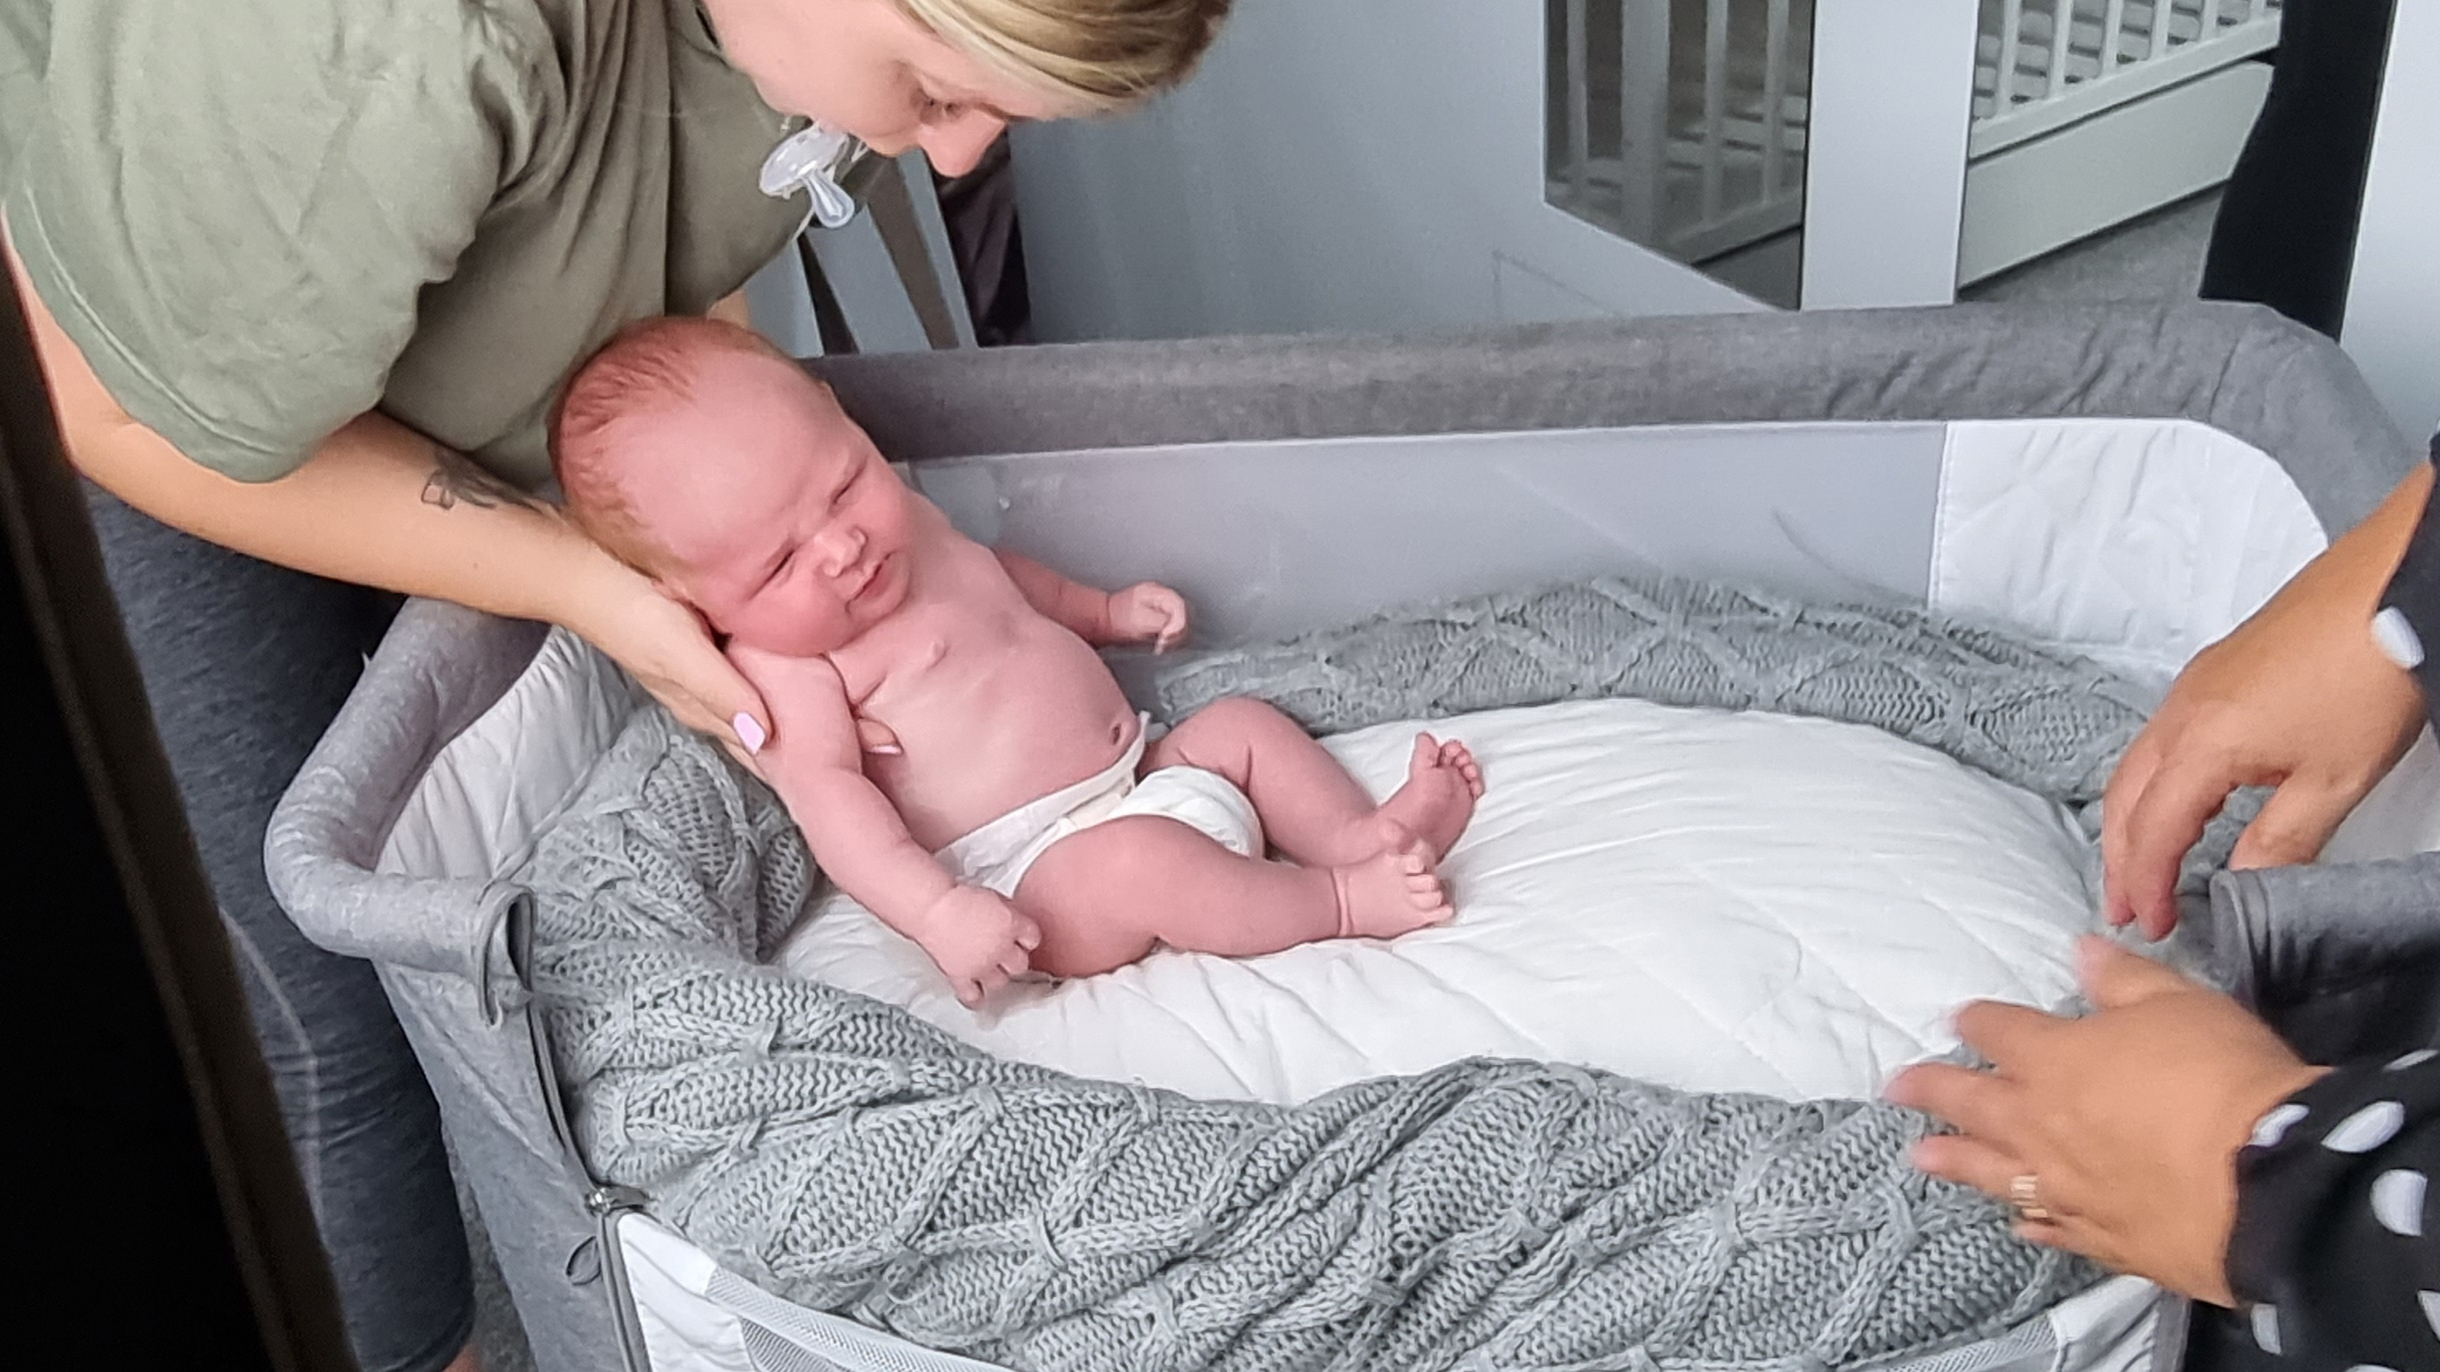
Now, being the nature of a family shoot in an environment I was already familiar with, and with Hayden's mother on standby, this wasn't such a big deal. Although if this were a paid shoot with a limited time frame or if i'd have had another shoot lined up afterwards I would've been freaking out.
It took almost 40 minutes to get Hayden to calm down, with multiple trips to the colder balcony for fresh air and musical Mickey Mouse playing rockabye baby on loop helping to lull him into a calm state.
Then the vomiting came, and believe me it didn't look even remotely real. We're not talking a cute little oopsie or a milky hiccup, this child was projectile vomiting like you would see in a cheesy comedy movie with Kevin Hart or Adam Sandler.
This of course meant that poor Little H needed a bath, and his moses basket that we never really had the chance to use also needed a deep clean.
The take away from this should be to quote a day shoot (or minimum of 3 hours give or take) for a client wanting newborn photos, unless of course you're an absolute pro at newborn baby photography, like Karen Wiltshire, and not a complete newbie to the genre like I was.
Extra time can allow for regular breaks, feeding, cleaning, winding, and any unpredictable tantrums that may occur during the shoot, though factors like temperature, time of day and the baby's own schedule should also be taken into account when shoot planning to reduce the amount of wasted time.
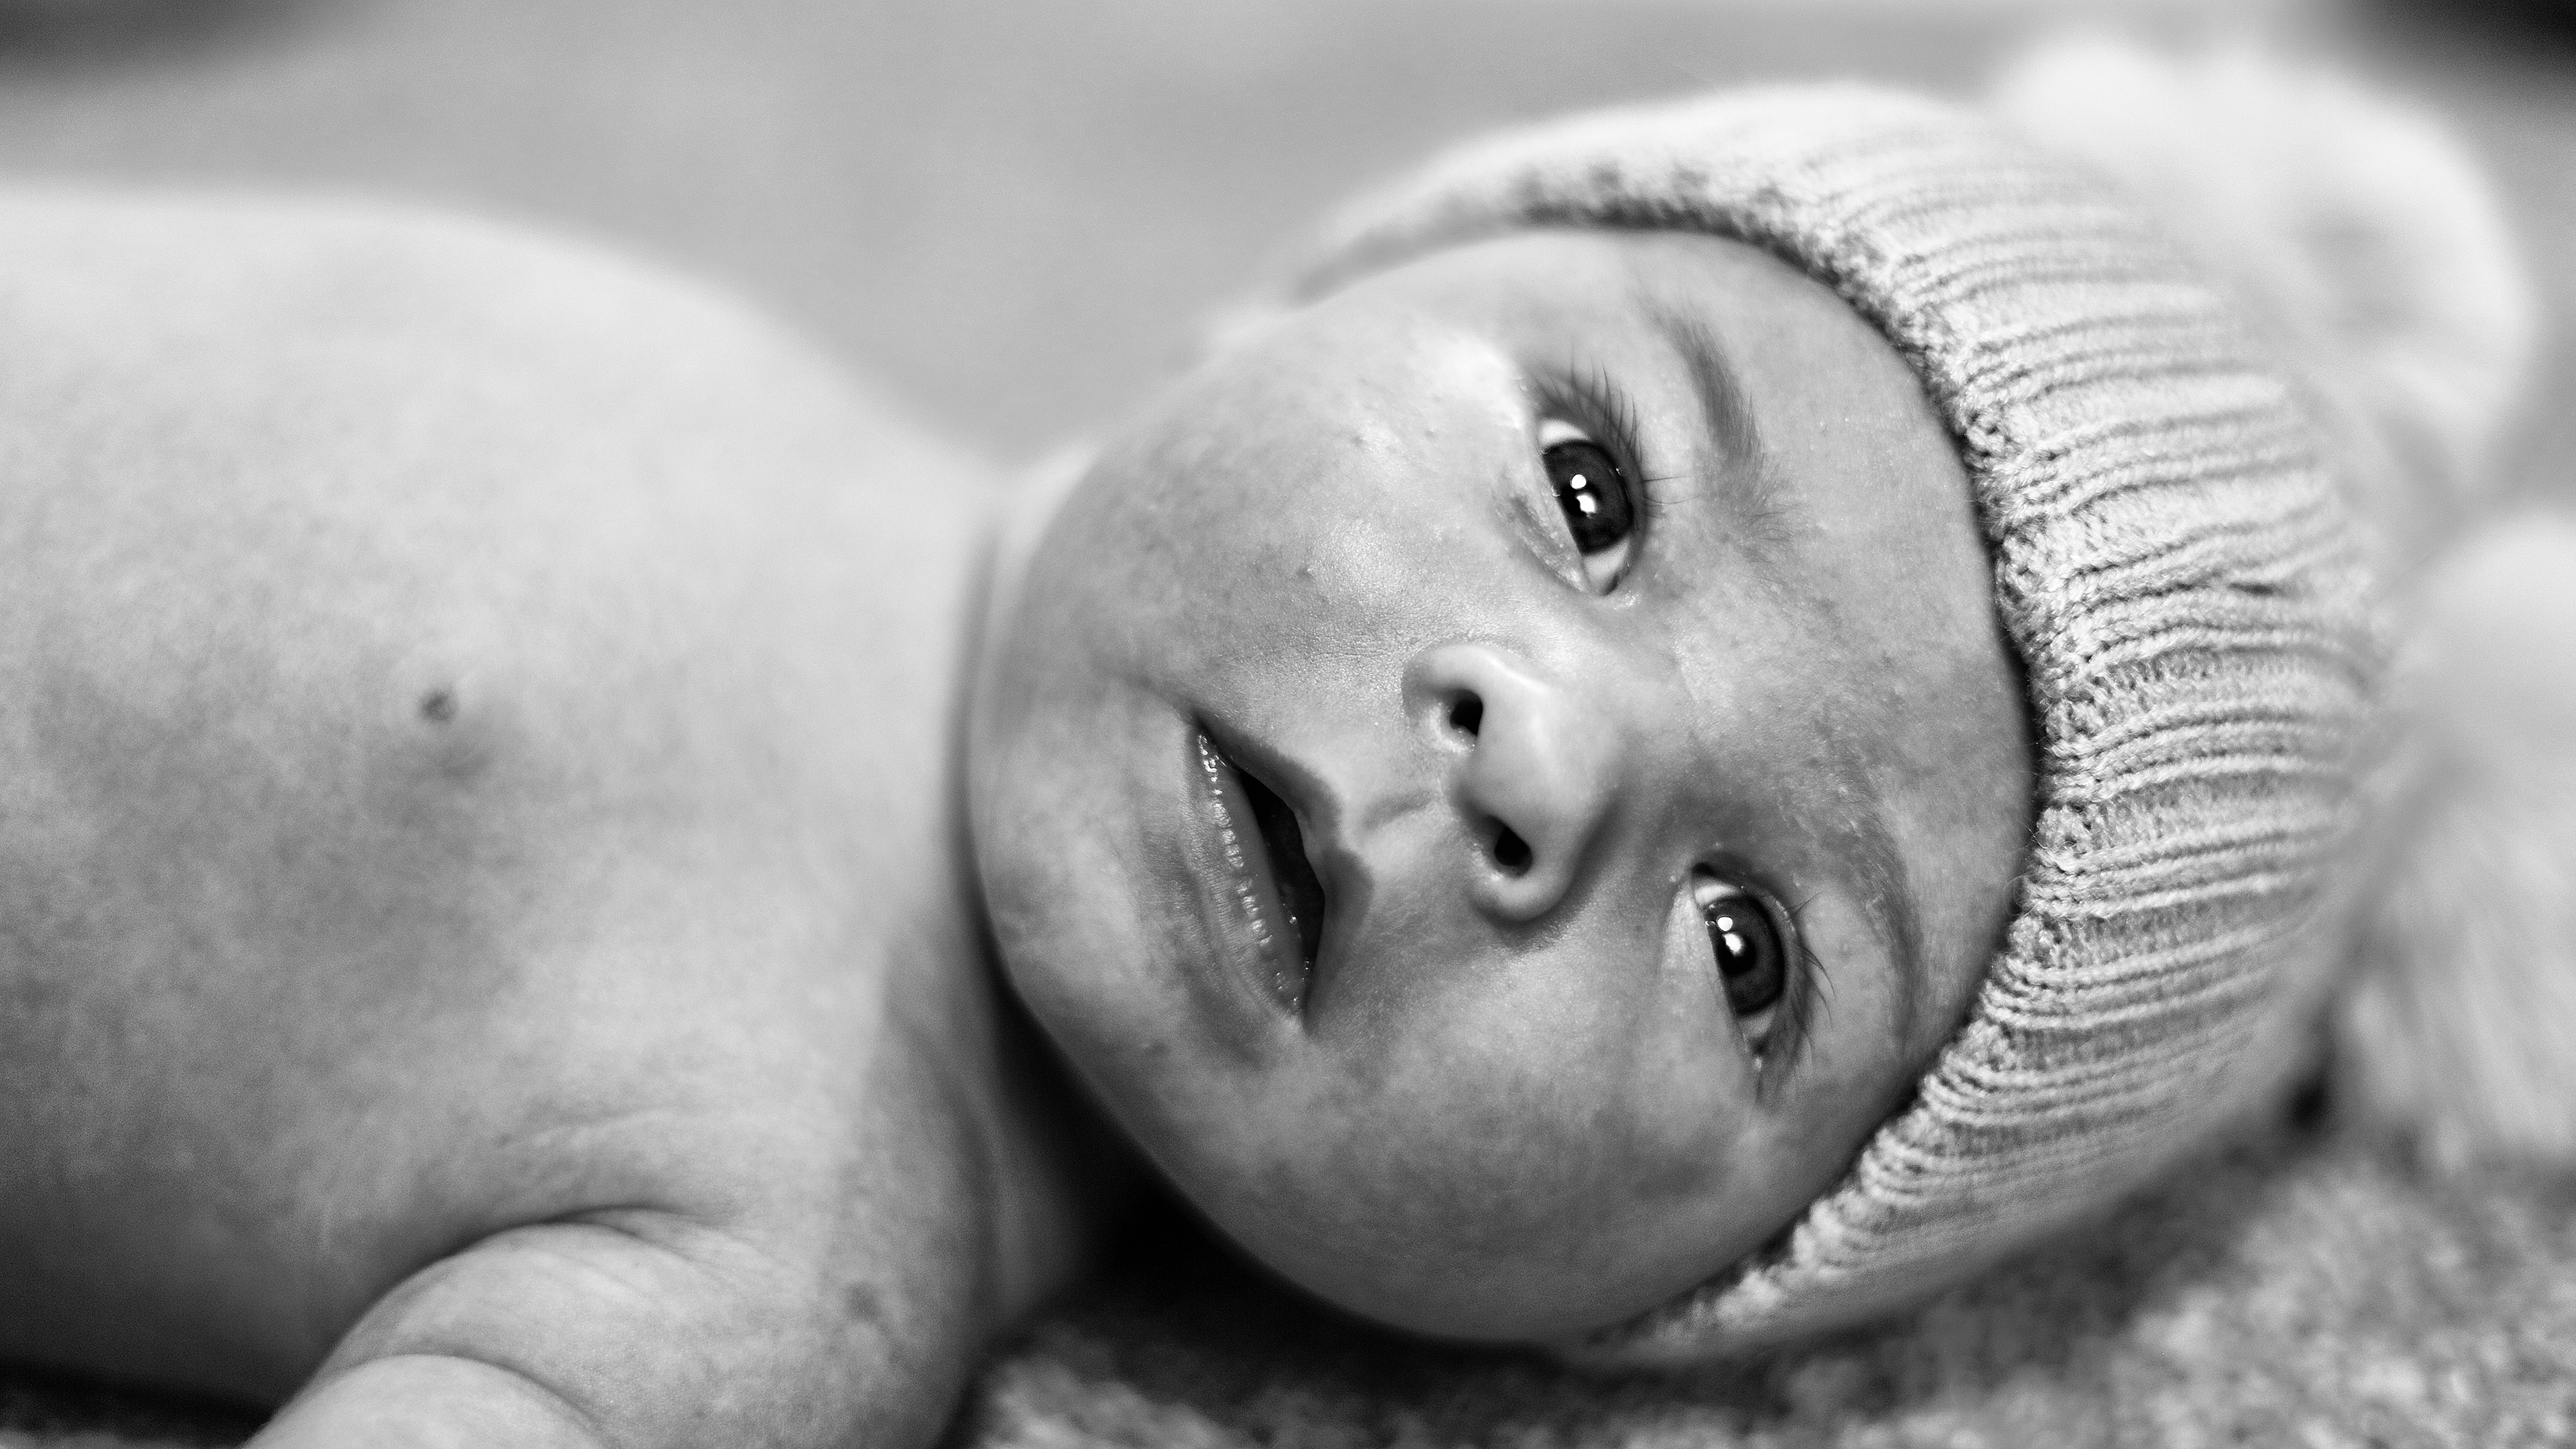
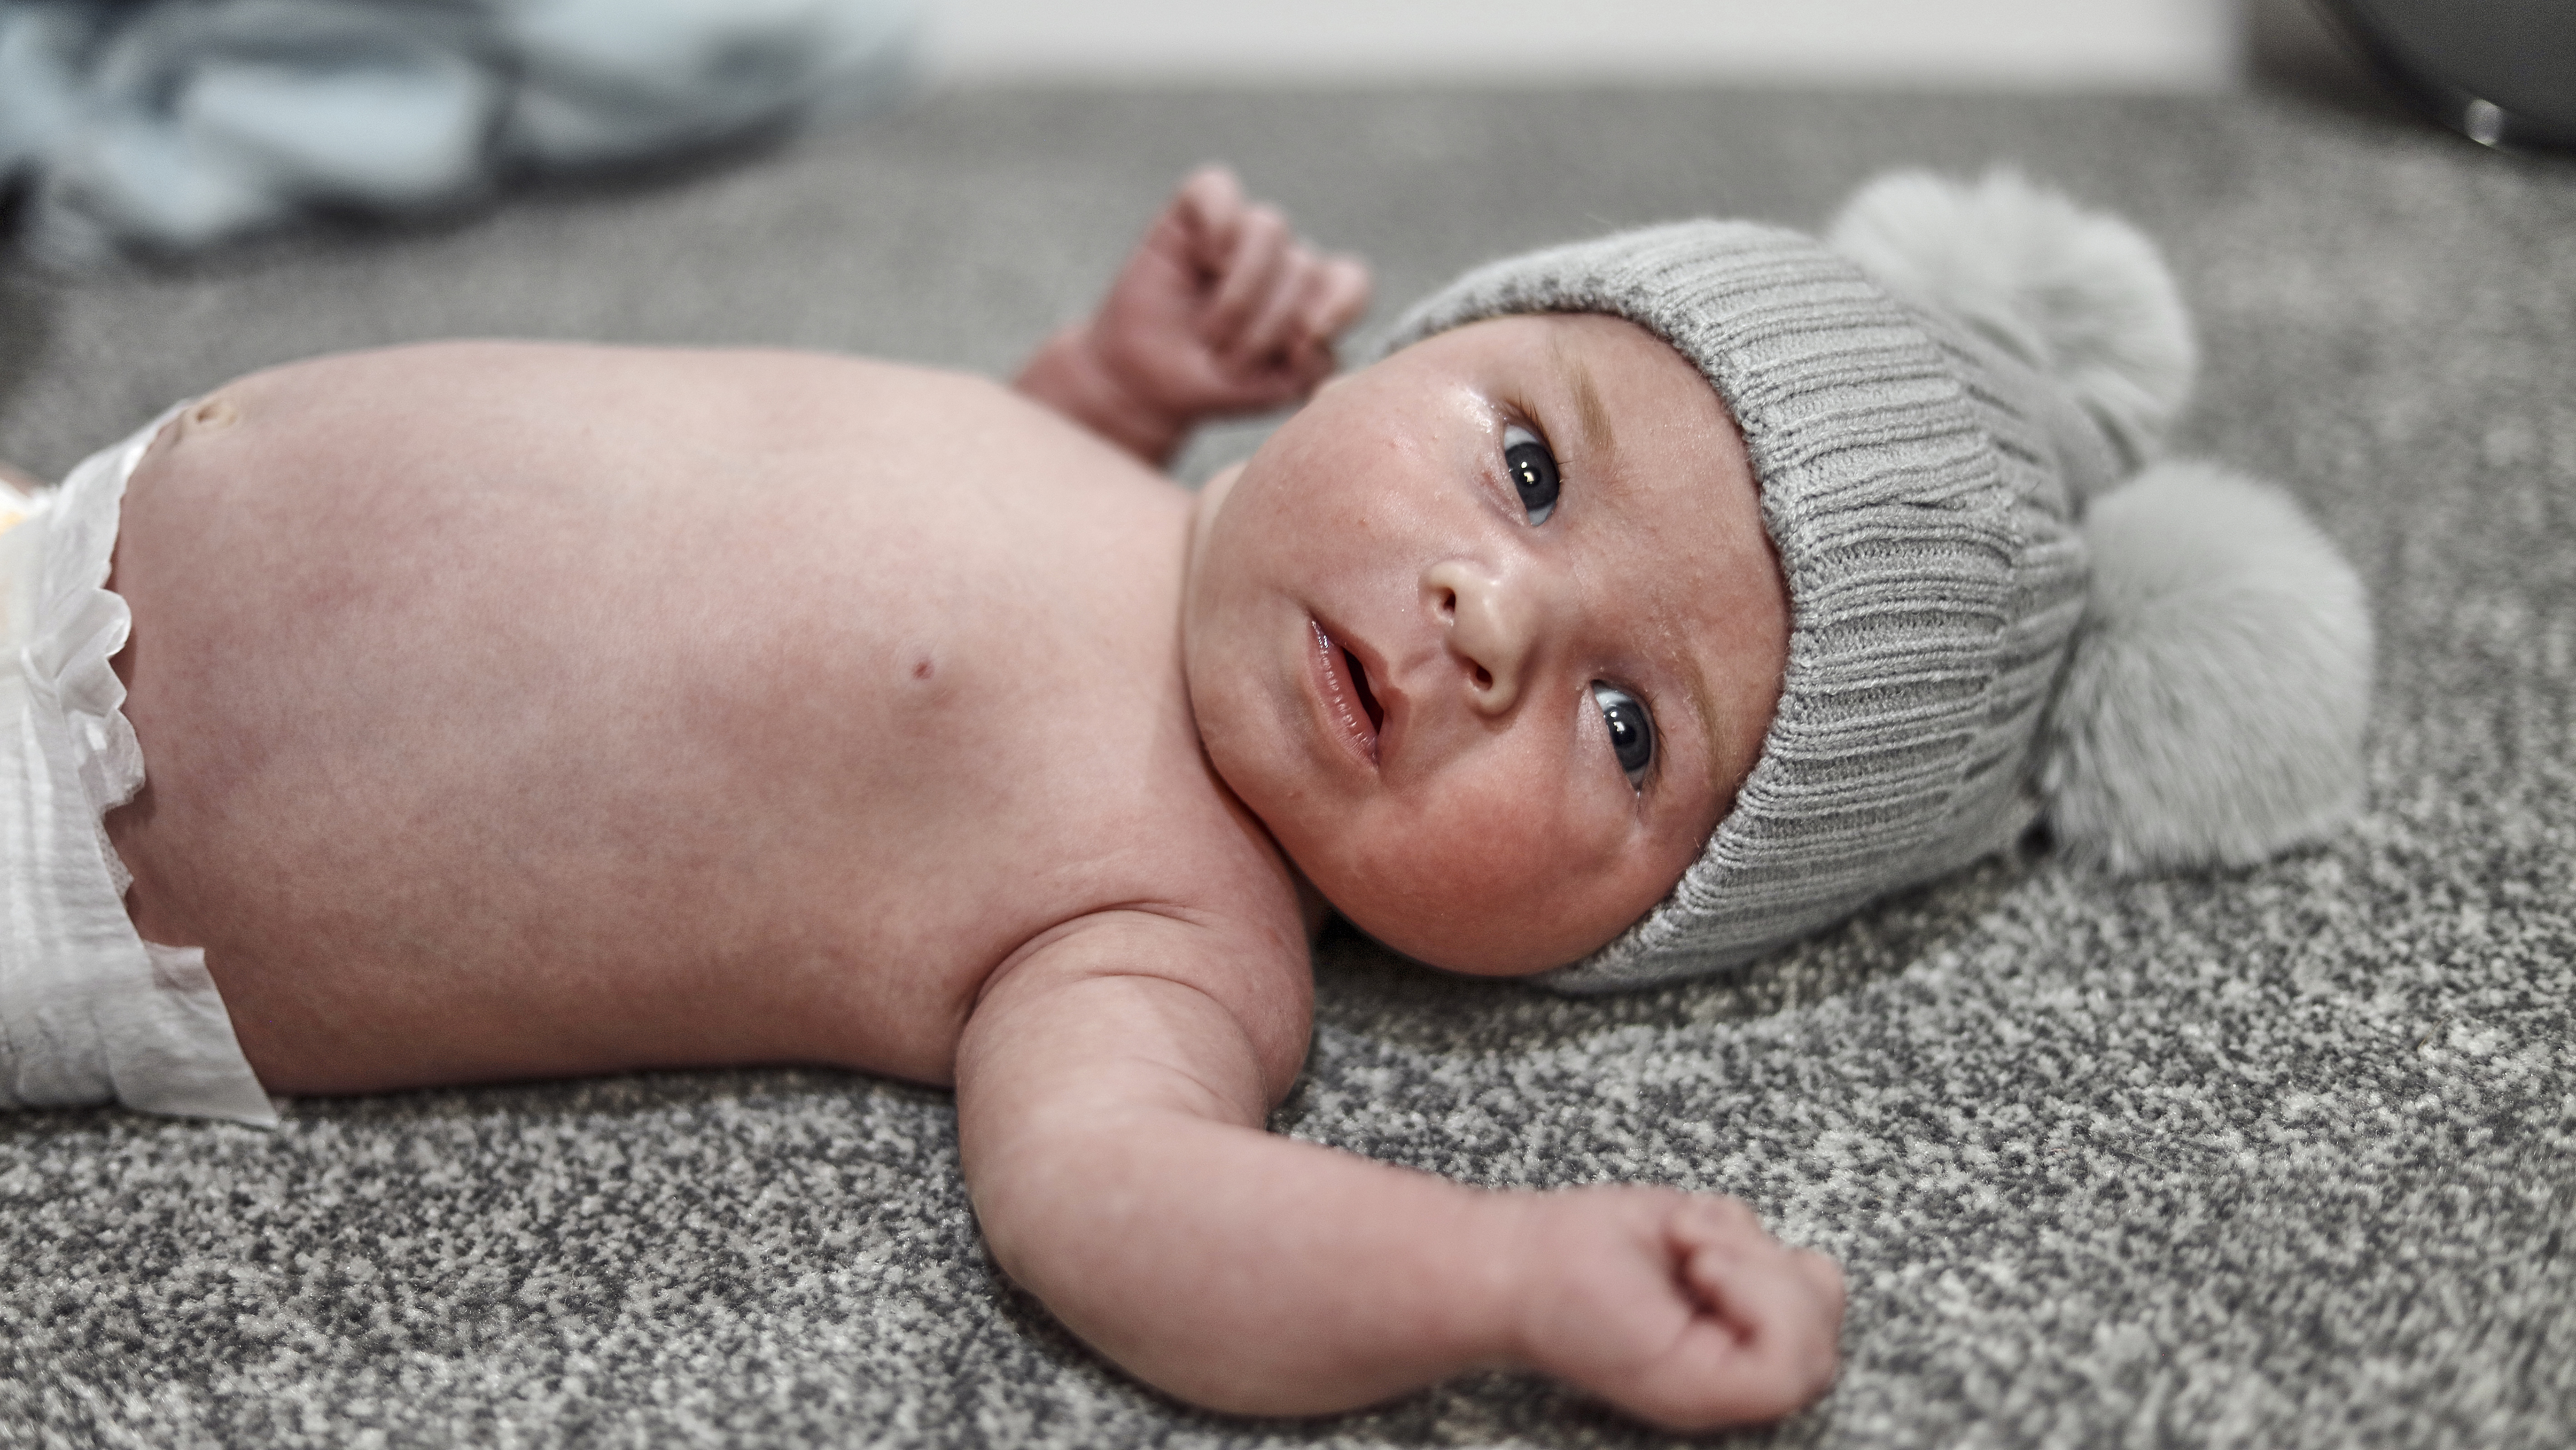
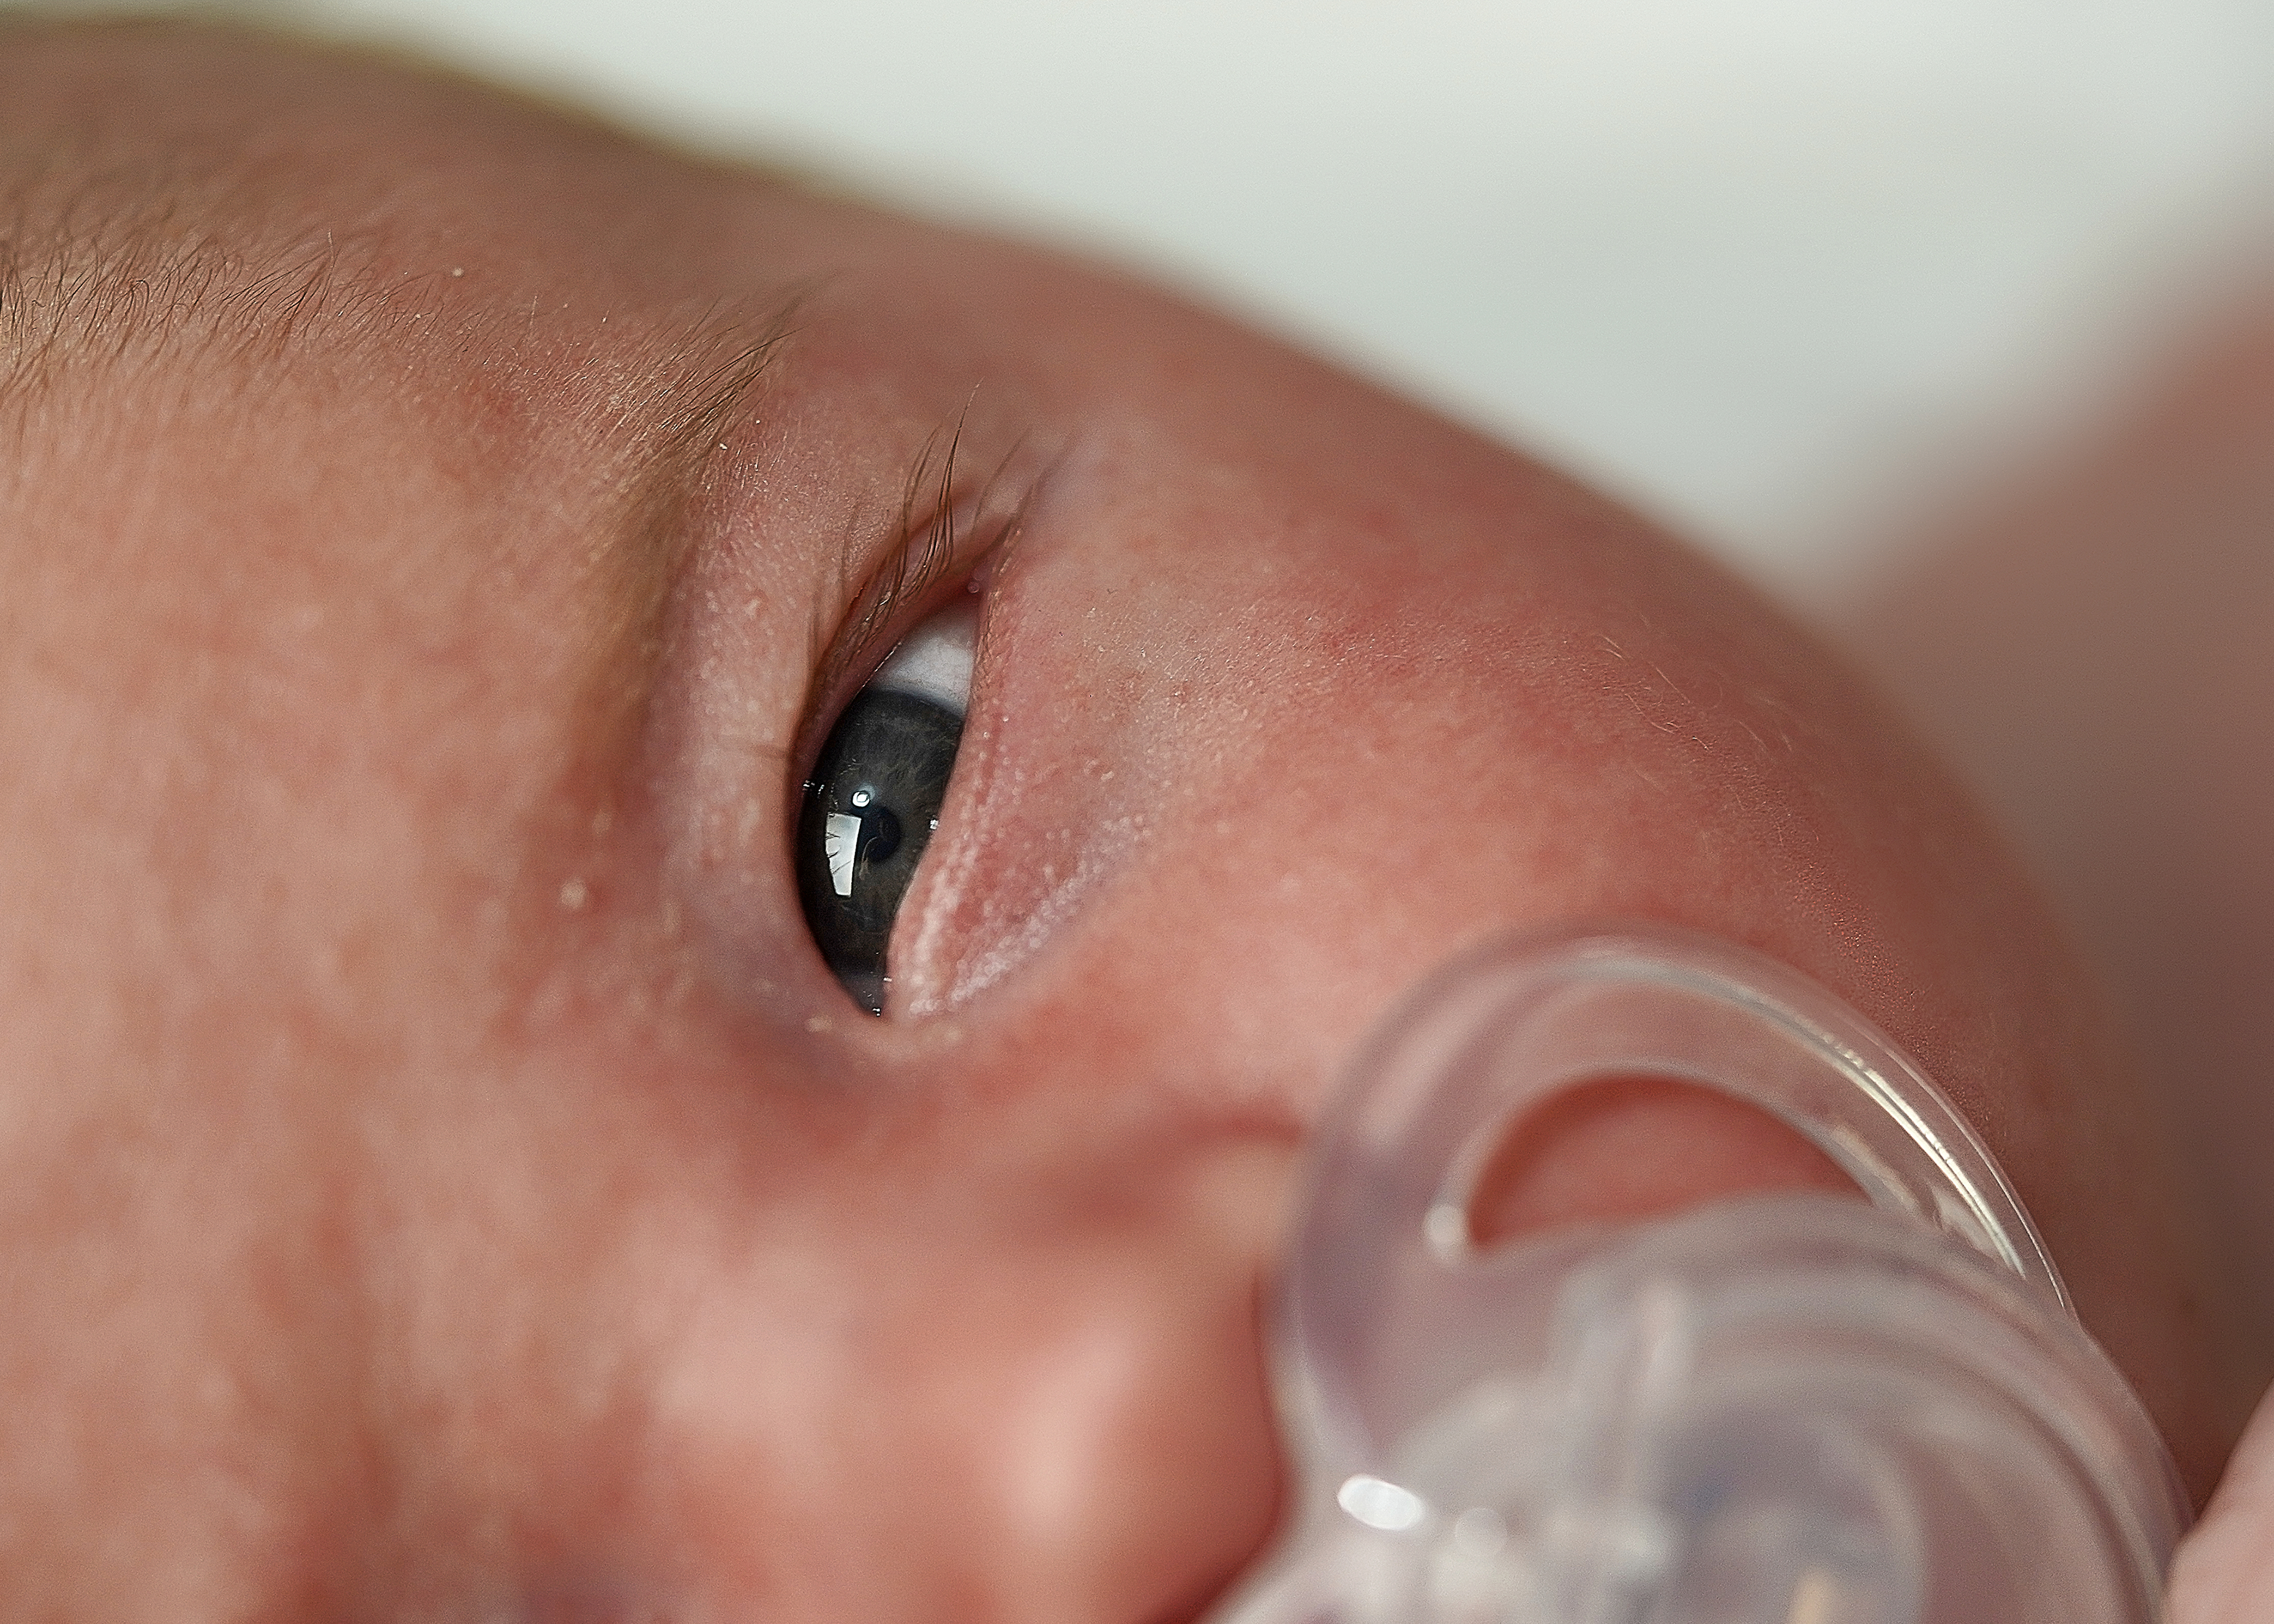
The images were shot using both camera setups, switching occasionally between them based on the type of zoom (both lenses were primes) and depth of field that I desired for the shoot – my Canon being better for high-res portraits, and my Sony paired with the macro G OSS 90mm capturing the close-up and smaller details.
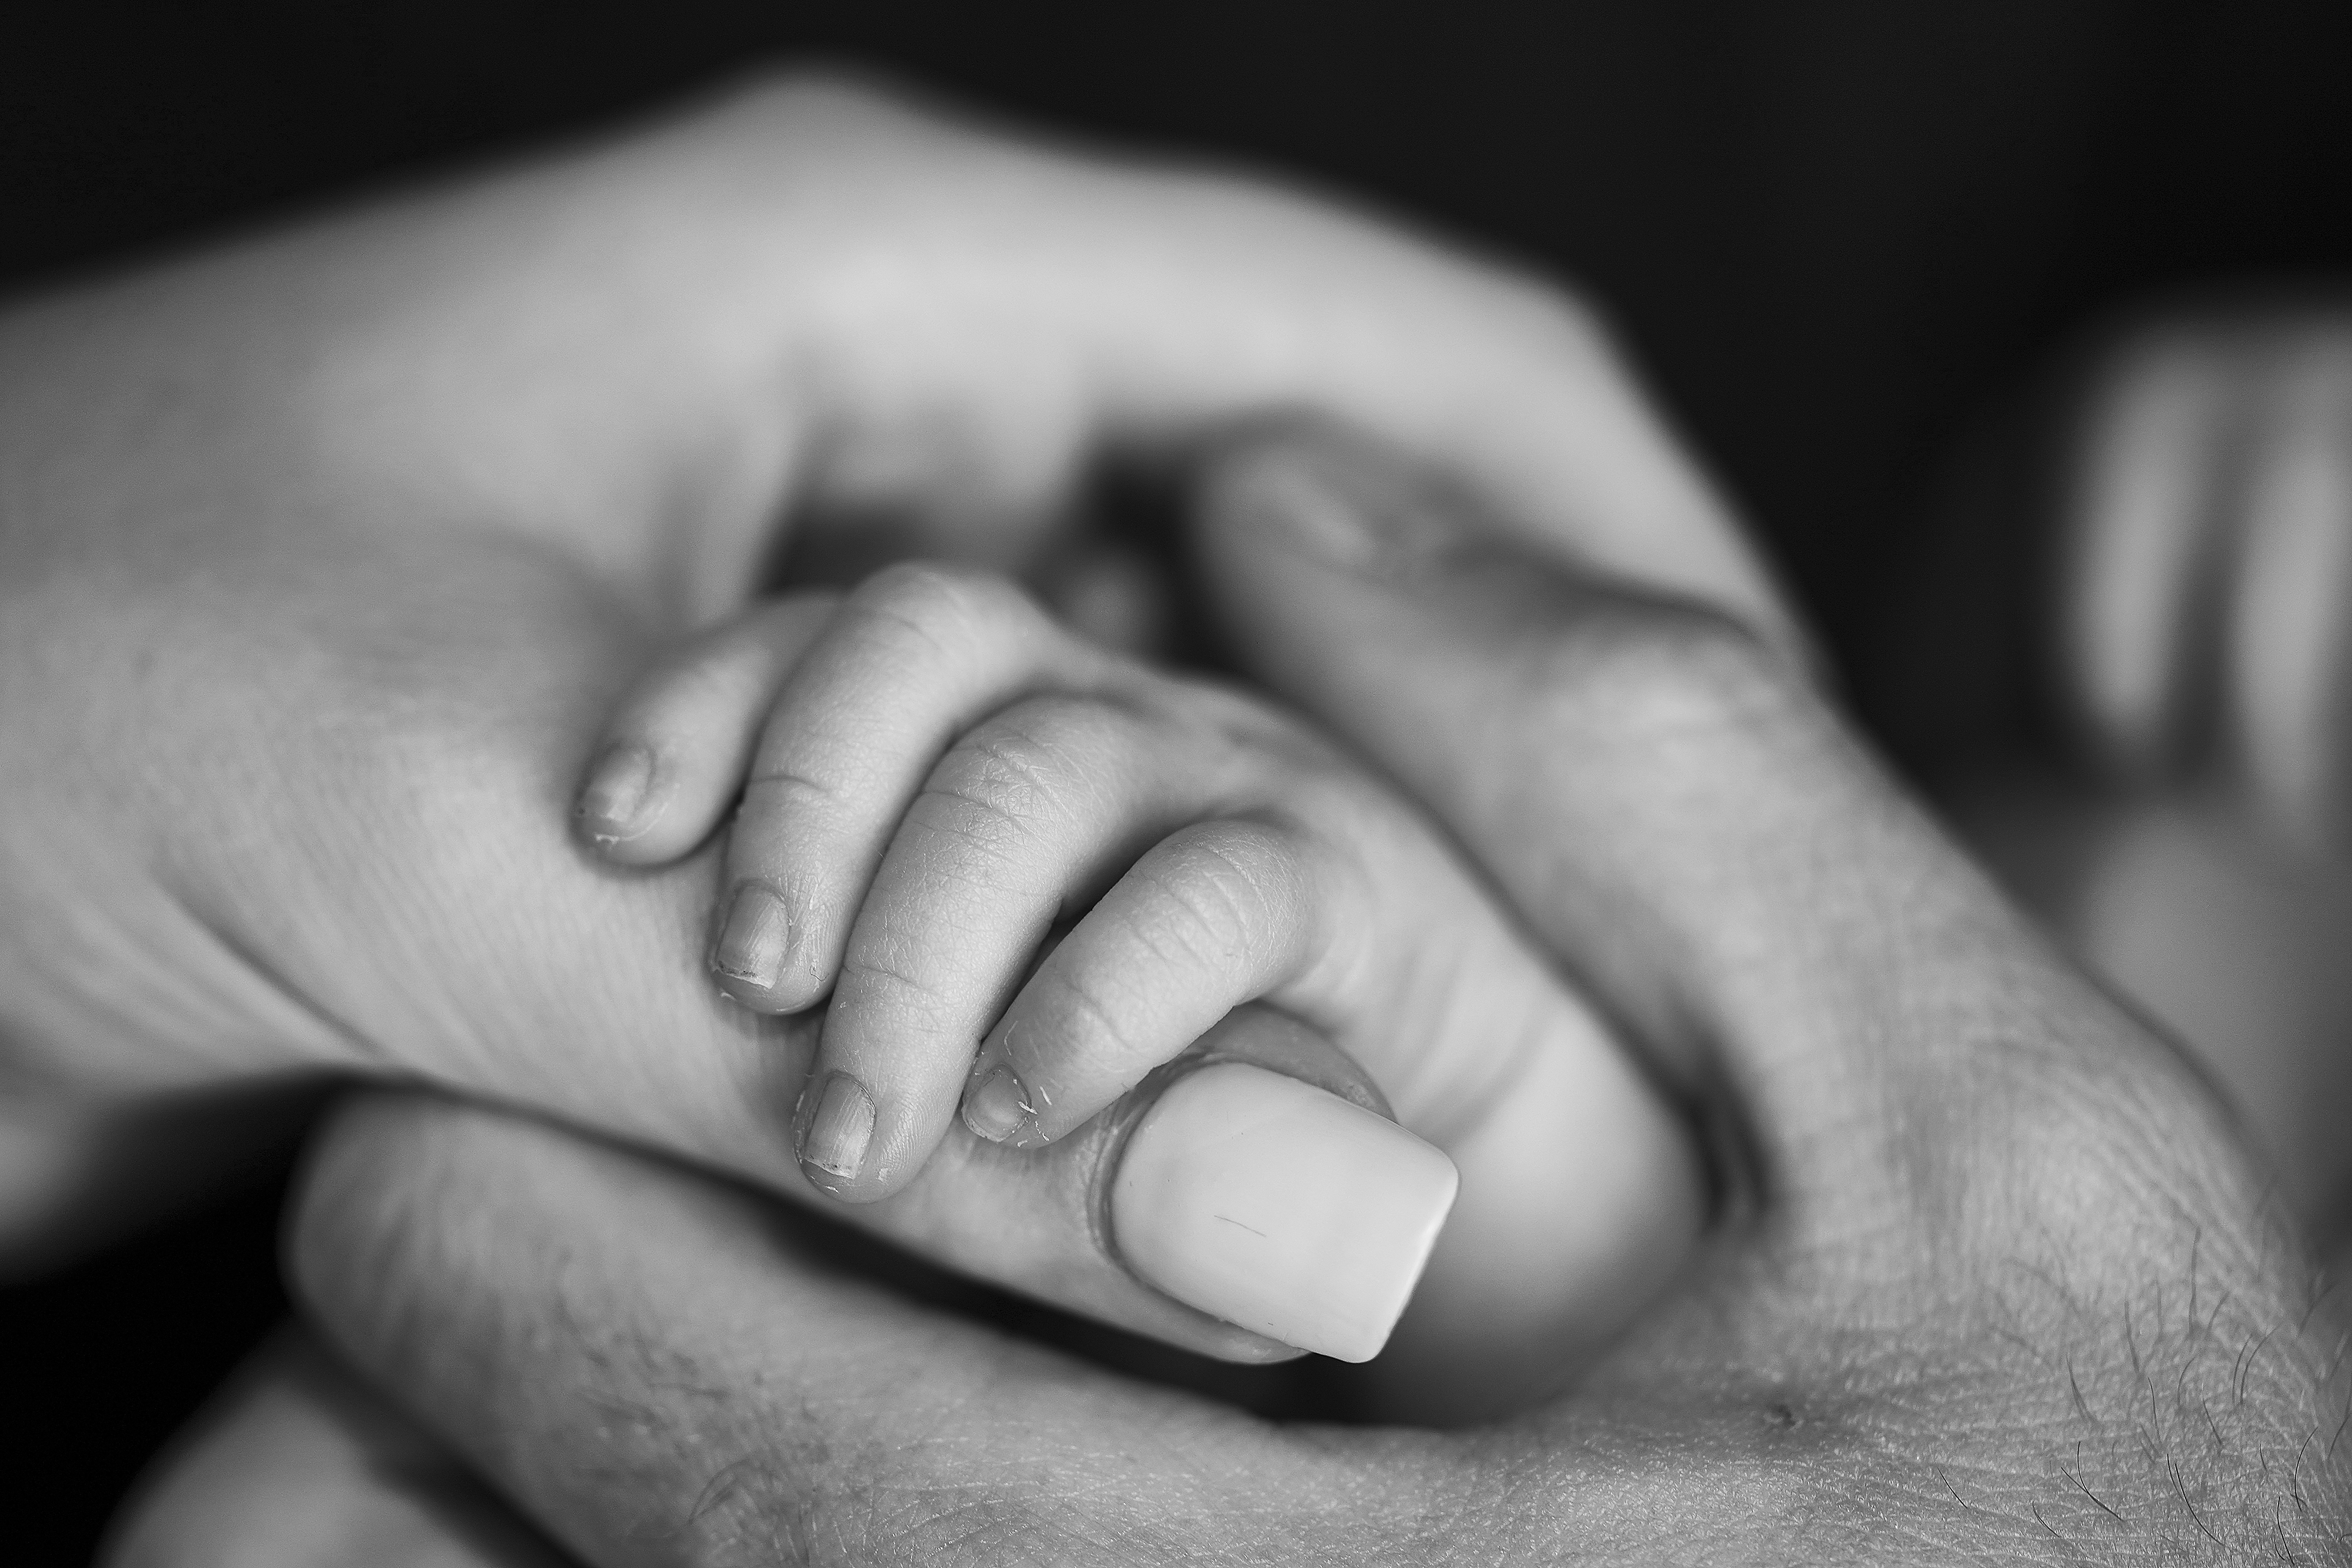
Overall we managed to achieve around ten useable images, though most of them were of elements such as his hands and feet, as well as Dumbo and Mickey Mouse making a few cameo appearances. The images of Hayden while pretty cute were a task to catch him in sweet moments in between tears – use a fast shutter speed!

You may also be interested in these Newborn photography tips, learning How to take stress-free children's portraits, and the best photoshoot ideas for photographers!
Beth kicked off her journalistic career as a staff writer here at Digital Camera World, but has since moved over to our sister site Creative Bloq, where she covers all things tech, gaming, photography, and 3D printing. With a degree in Music Journalism and a Master's degree in Photography, Beth knows a thing or two about cameras – and you'll most likely find her photographing local gigs under the alias Bethshootsbands. She also dabbles in cosplay photography, bringing comic book fantasies to life, and uses a Canon 5DS and Sony A7III as her go-to setup.
