I loved Canon's Image Upscaling on the EOS R5 Mark II, but it proved impractical
Shooting constant bursts as a wildlife photographer made it rather difficult to take advantage of what is otherwise a great feature

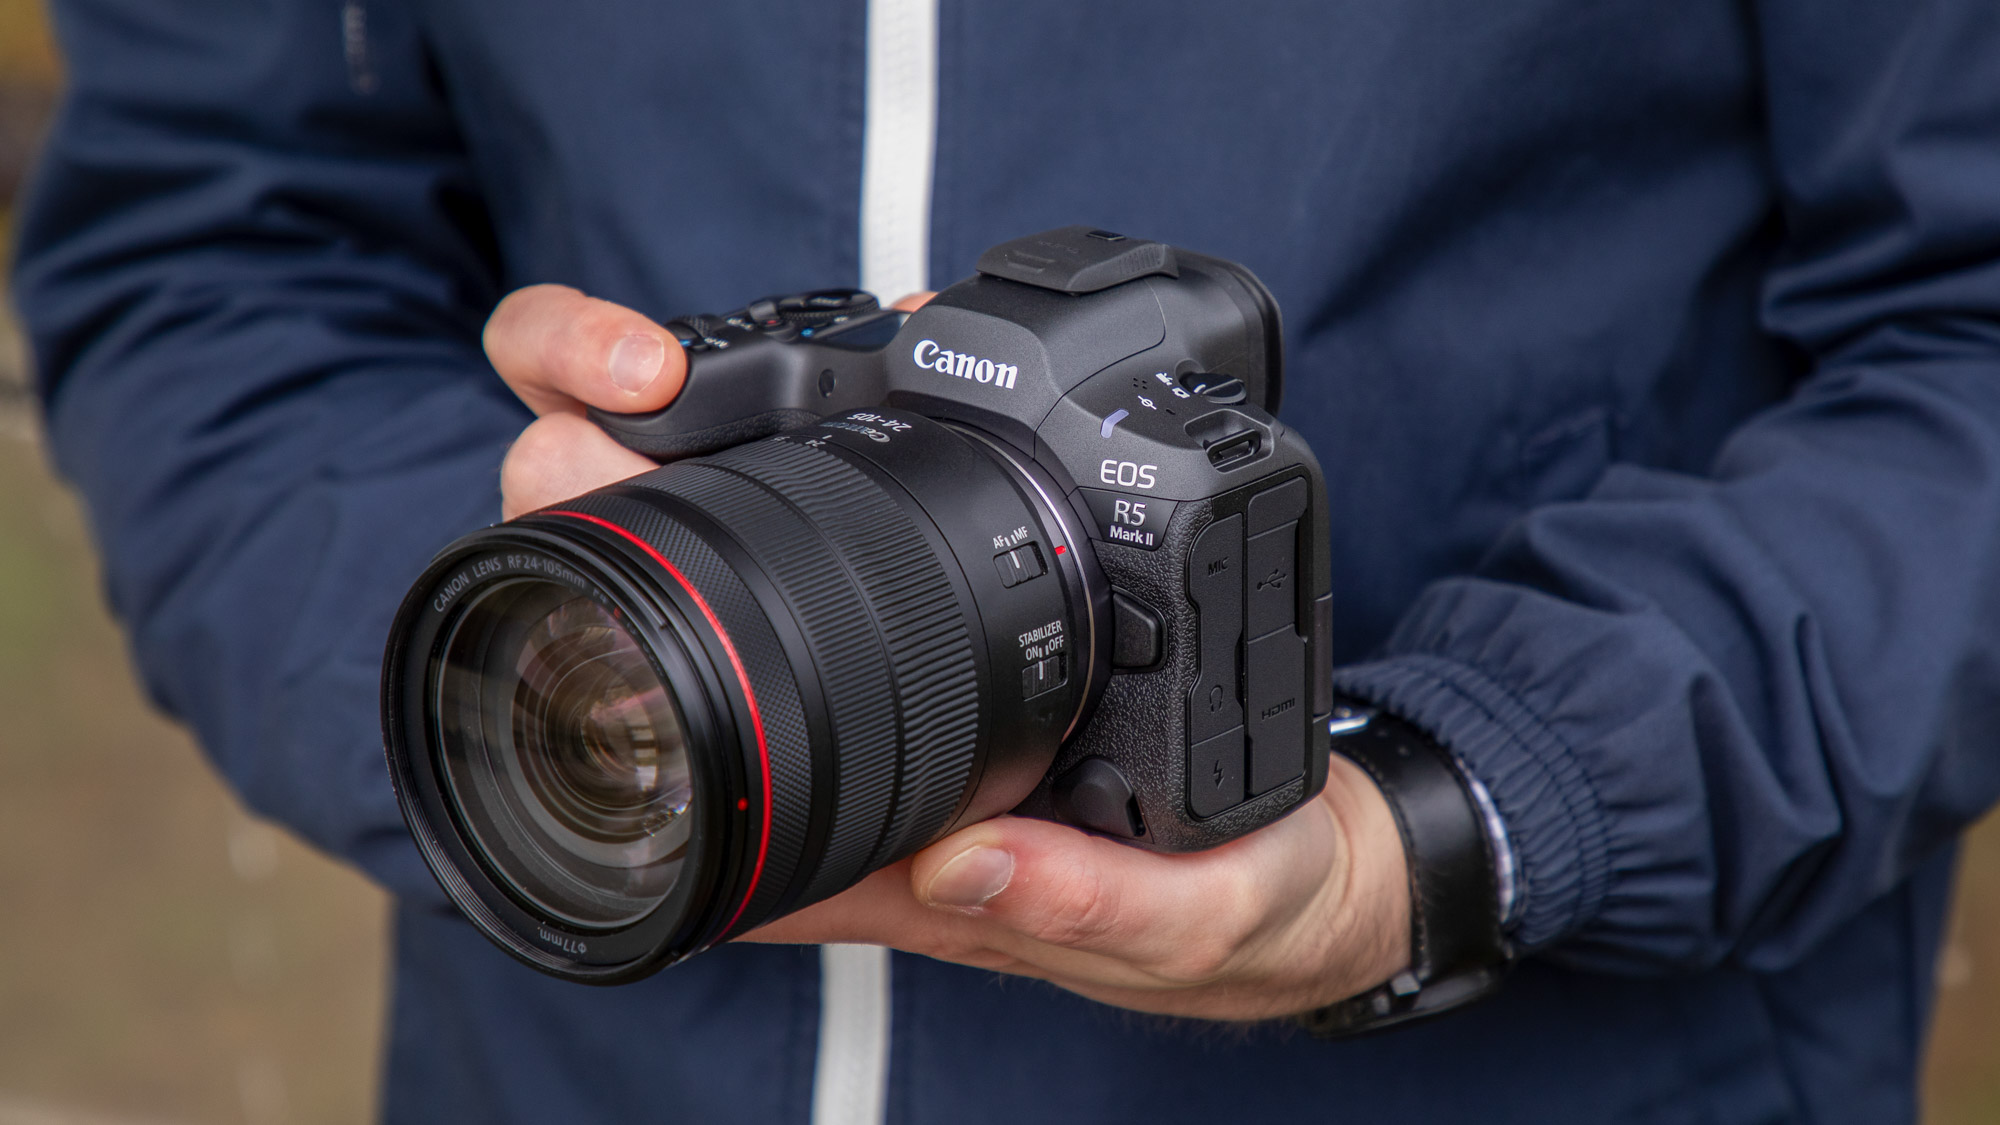
Canon made headlines with the launch of the EOS R5, thanks to its speed, precision and the promise of 8K video. Well, we know how that last bit turned out, but the Japanese camera maker has, again, made headlines with its AI-based in-camera editing features on the Canon EOS R5 Mark II and the EOS R1.
On paper, the Image Upscaling and Neural Network Noise Reduction options sound fantastic. The good news is that they do exactly what it says on the tin in real-world use as well. However, the upscaling feature can prove to be a little bit of an annoyance for some photographers in the field.
I'm one of them. While I wasn't on assignment – I was testing the R5 II for sister site TechRadar – I found the upscaling feature to be a little impractical as a wildlife photographer.
I was photographing birds at a local waterbird refuge and had the camera set to capture high-speed bursts with the 15-frame pre-capture also enabled. Pro sports photographers will also find themselves in a similar setting (pardon the pun), while photojournalists will also find the need to do so every now and then. And that's where the trouble can start.
Size absolutely matters
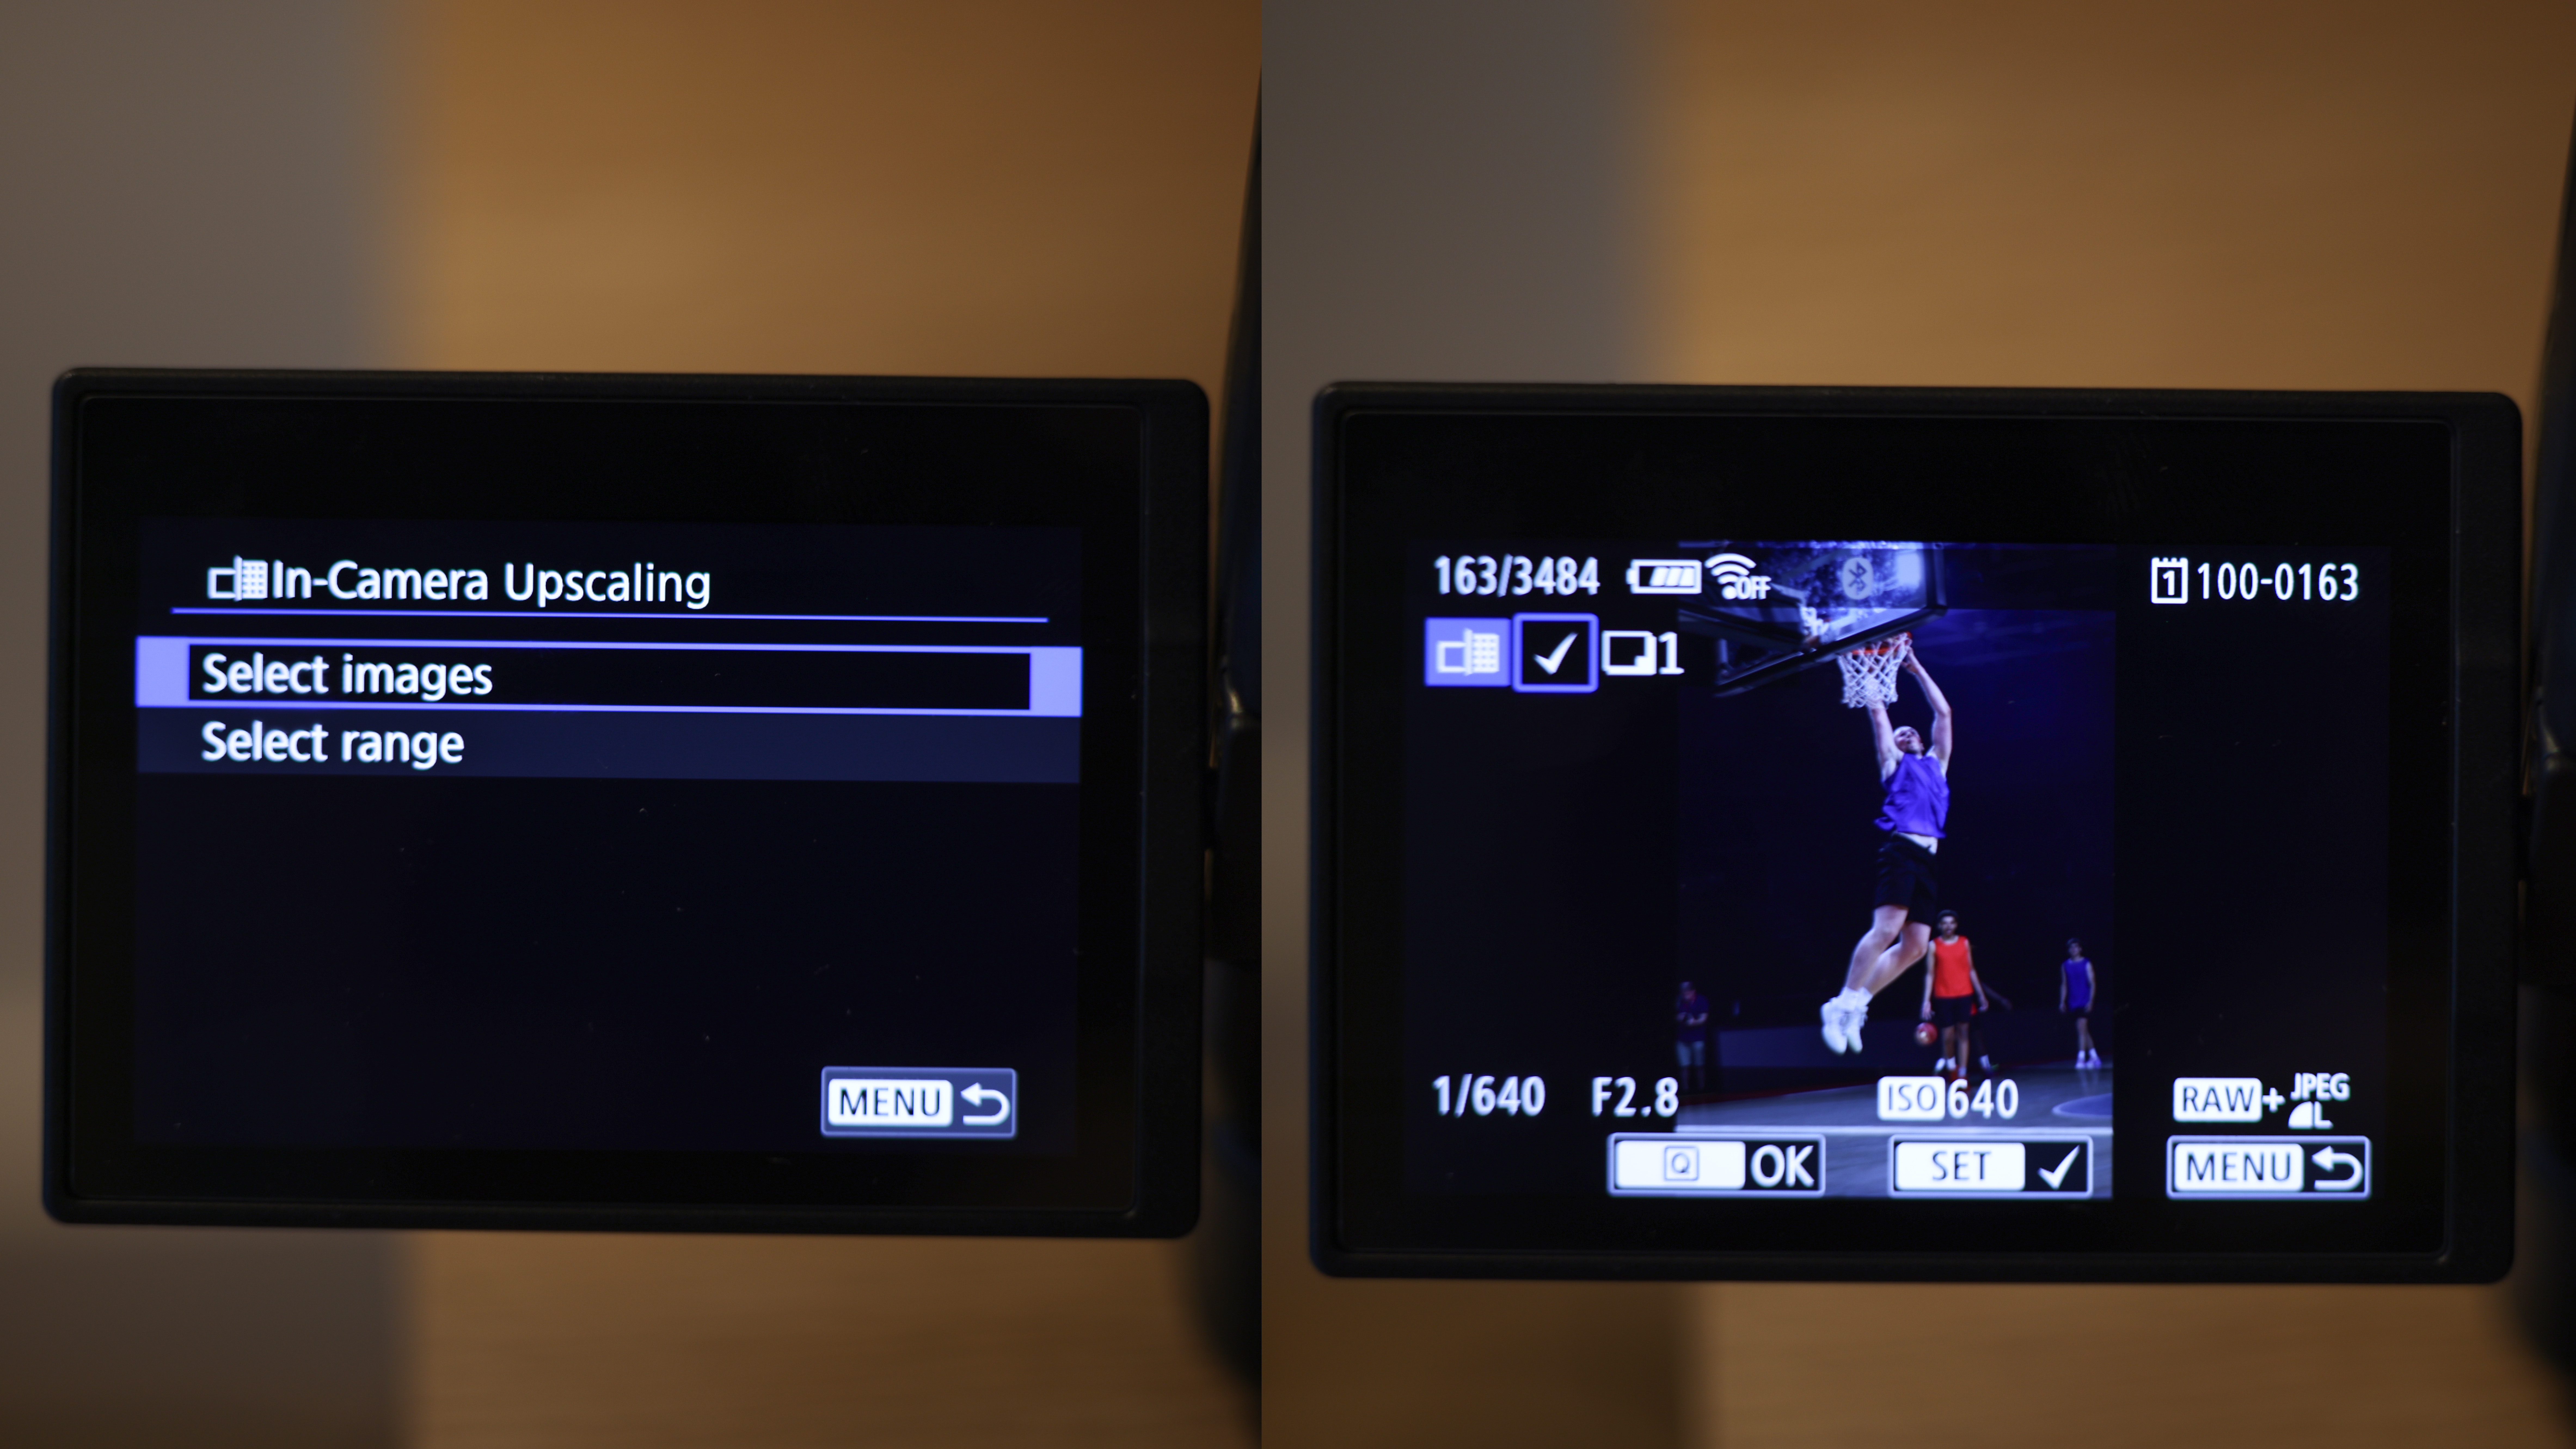
While Canon allows you to upscale either a single JPEG/HEIF frame or a range, imagine having to stop after each burst to go through the 30 frames (or 45 as the case may be) to select that one capture, or a few if you're uncertain. I doubt I'm the only one who wouldn't stop to check their handiwork that often but, during my time with the R5 II, I ended up shooting hundreds of frames before getting the chance to review the images for in-camera upscaling.

Then choosing the images wasn't easy on the relatively tiny LCD display, even individually. Sure, you can note the file number and then find it when the camera asks you to choose a frame, it gets harder if you're trying to find a set of images.
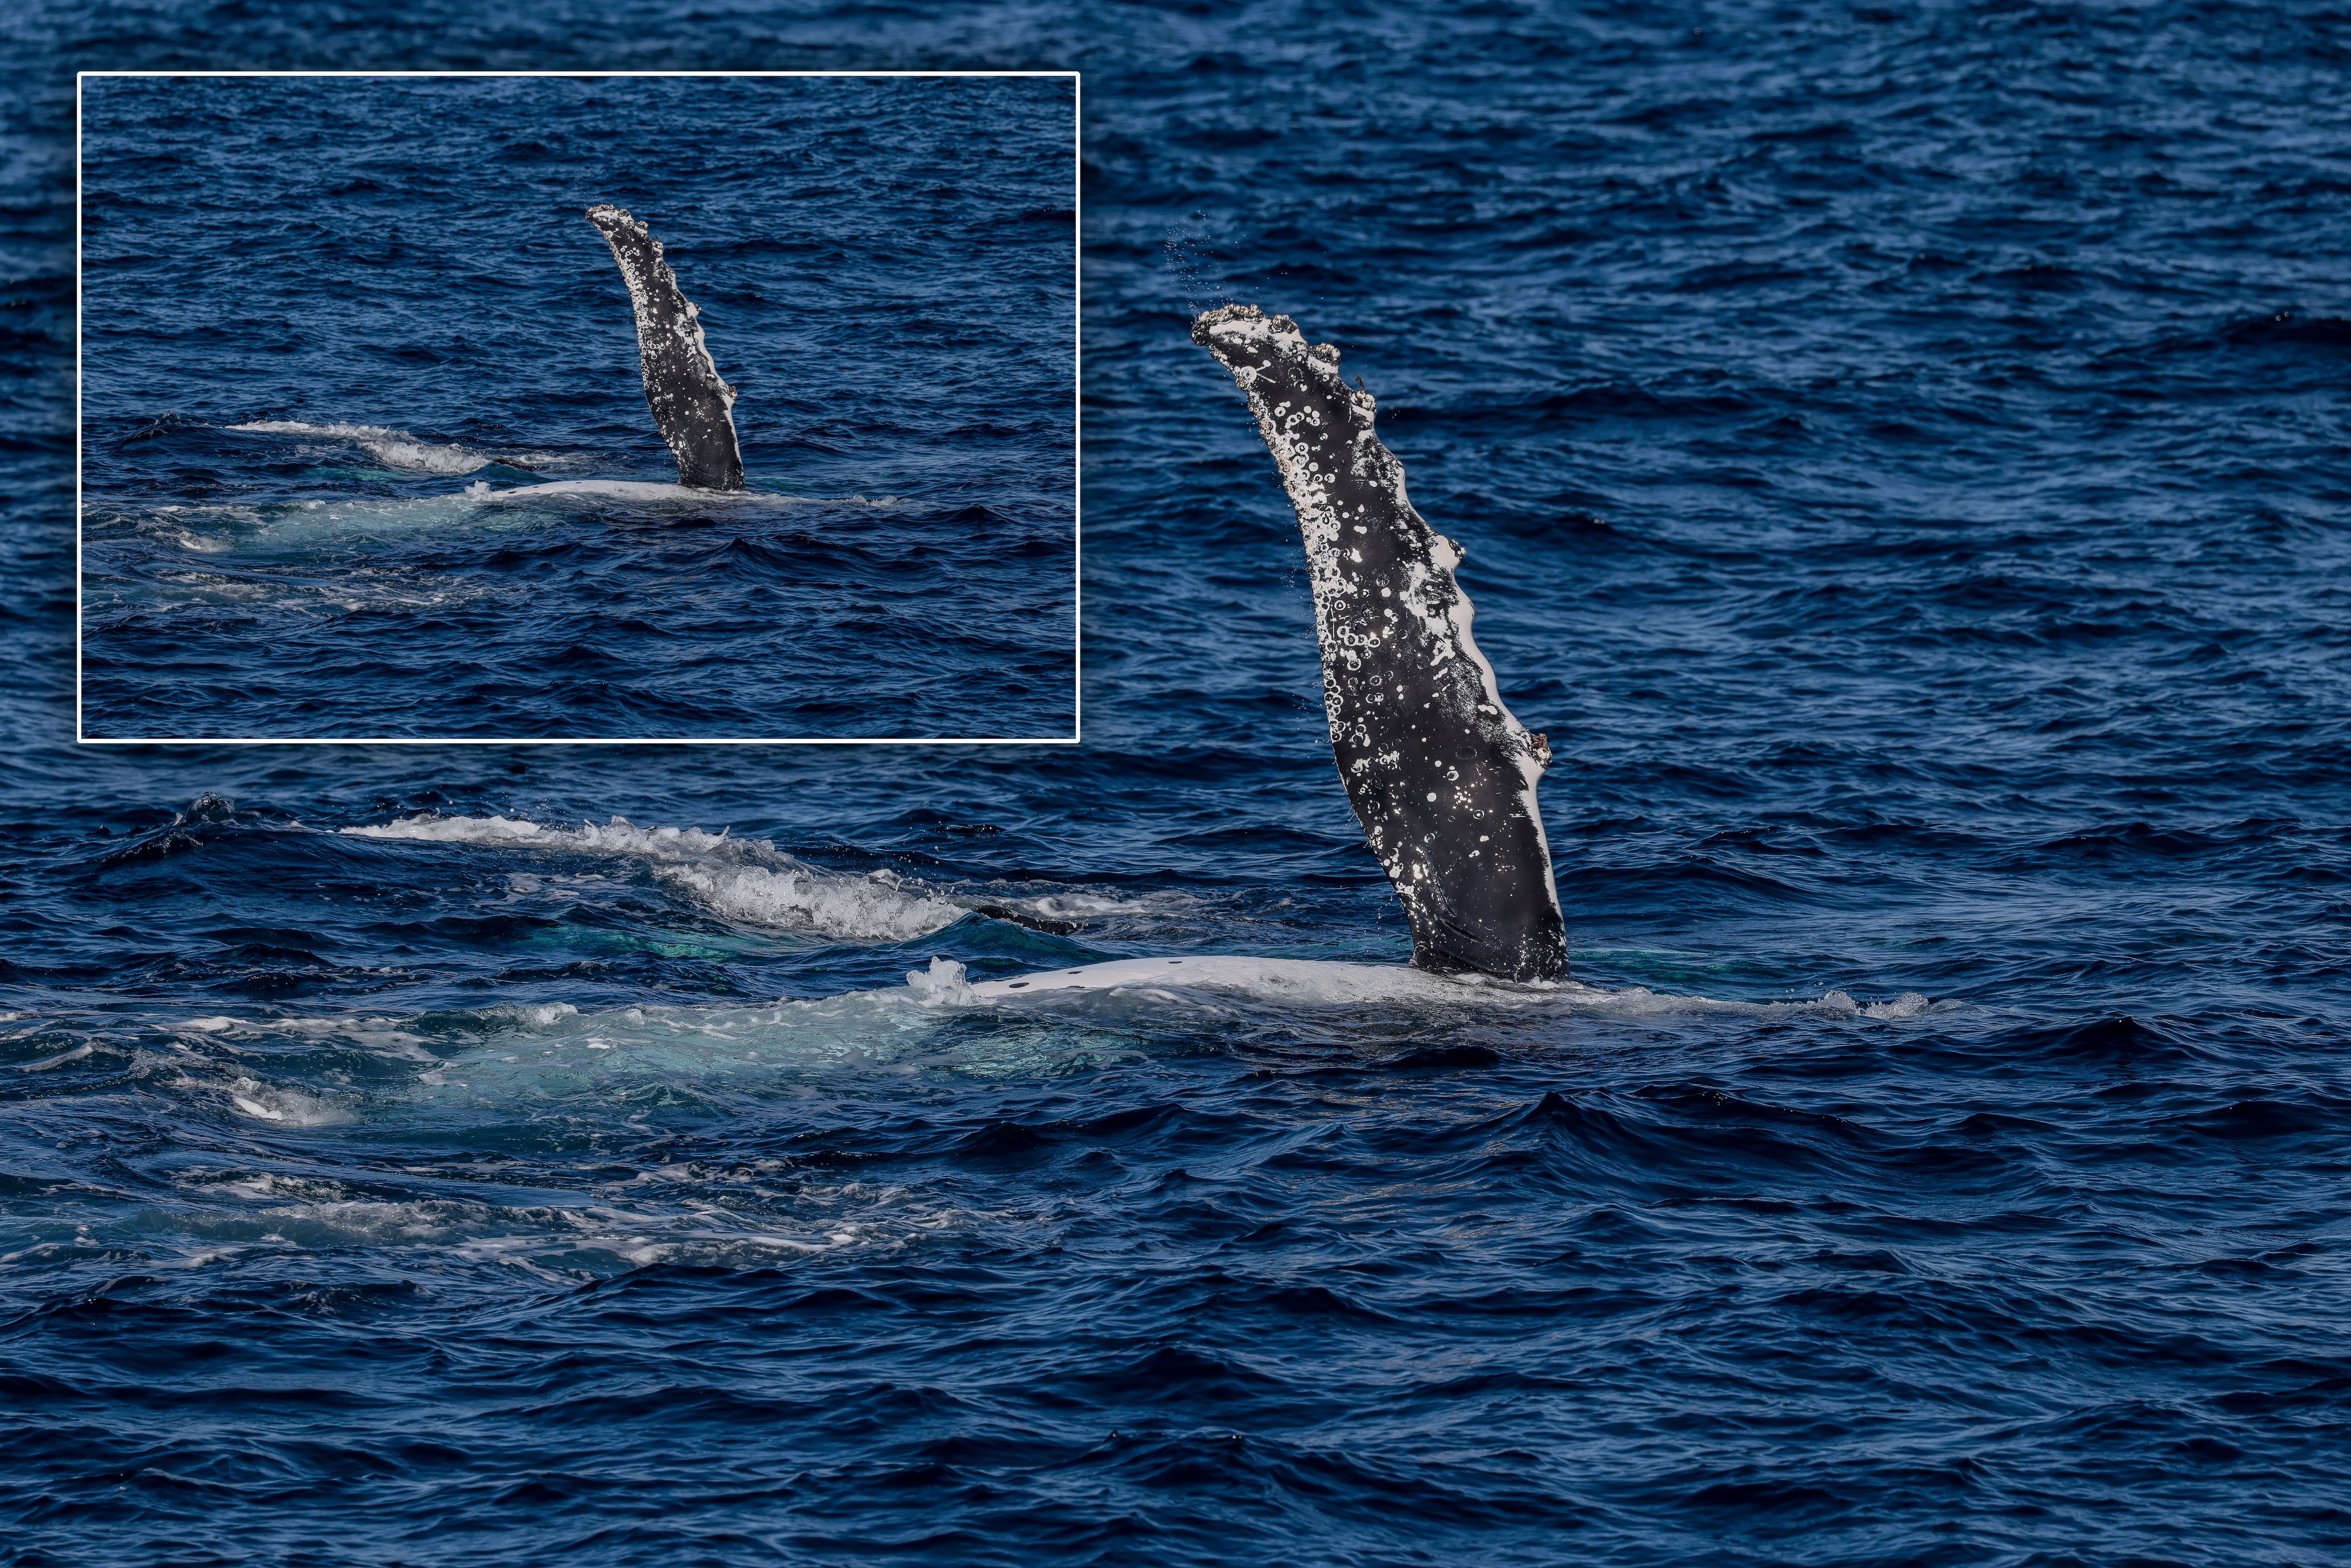
It was a similar situation when I was on a rocking boat trying to photograph a humpback whale mother and her calf – it's not the most ideal situation to pause to take stock of the captures you've just got.
Get the Digital Camera World Newsletter
The best camera deals, reviews, product advice, and unmissable photography news, direct to your inbox!
Then keep in mind that it's a 400% upscale, which means a 45MP image taken on the R5 II will produce a clone with a file size of 180MP. Sure, shooting in just JPEG format meant my files sizes weren't as large, but they do clock up. I was using a 128GB CFexpress card and even the few that I upscaled while out shooting took away a decent amount space. It's fair to assume that many photographers in the field or on assignment will have spare cards or transmit images as quickly as possible using a connected server, but it's still something to keep in mind.

Back home, the large image sizes proved difficult for both Lightroom (my preferred editing software) and my laptop. Trying to upload just six of the upscaled images – with an average file size of about 95MB – made Lightroom crash four times before I was able to view them for editing. My M3 Pro-powered MacBook Pro – which typically has plenty of grunt under the hood to do some heavy creative lifting – slowed down significantly and, at one point, hung. I had to do a full restart before things settled down again.
Given the file size problem, I'm not surprised Canon hasn't set up the Image Upscaling feature to work for RAW files – the results would be nigh impossible to handle!
Less noise is a simpler matter
Where Image Upscaling works only for JPEG/HEIF files, Canon's Neural Network Noise Reduction is only for RAW files and I can't quite see why this restriction is necessary – in fact, all the other in-camera editing options, like brightness and white balance are all only available for RAW captures.

And that's exactly why this ground-breaking feature isn't easily visible while trawling through the R5 II's rather simplified menu system. It's nestled within Playback > RAW Image Processing and is marked by the NR icon.
There, you're presented with three levels of noise reduction – Low, Standard and High – marked by the bar graphs, but it's unclear as to how much noise reduction is applied by each level. Canon says it's up to 2 stops, which is obviously the High setting.
Other than the fact that's hard to find and figure out how to use, I love this feature more than the Upscaling because it doesn't break anything in the process. You get visible results with the High setting, but I wasn't all that impressed with the Standard. I didn't even bother with Low. And given it only works on RAW files and saves as a JPEG or a HEIF, the file names are identical and easy to find when you plug your card into your laptop or PC to download.


Long story short: both of Canon's new in-camera editing features are fantastic, but you'll just need to ensure you find a way to make the Image Upscale option work well for you. You won't have trouble with the Neural Network Noise Reduction feature, if you can find it. The user manual offers some help, but doesn't quite tell you how to use it. Just keep tapping on the icon and the R5 II will walk you through it.
If this article intrigues you, take a look at our hands-on review the Canon EOS R5 Mark II and the Canon EOS R1, both of which we think are the best Canon cameras to date.

Along with looking after they day-to-day functioning of Digital Camera World in Australia, Sharmishta is the Managing Editor (APAC) for TechRadar as well. Her passion for photography started when she was studying monkeys in the wilds of India and is entirely self-taught. That puts her in the unique position to understand what a beginner or enthusiast is looking for in a camera or lens, and writes to help those like her on their path to developing their skills or finding the best gear. While she experiments with quite a few genres of photography, her main area of interest is nature – wildlife, landscapes and macros.
