
Taking a great photo is as much about editing as it is about the actual shoot. To help even beginner photographers bring their photos to life, we’ve partnered with two exceptional photographers from the UK and France who understand what goes in to editing the perfect snap with Lightroom CC.
Ron Timehin’s pro tips

We’re starting off with Ron Timehin. Specialising in cityscape, landscape and portrait photography, the freelance photographer and Instagrammer takes you behind the scenes of his atmospheric shots of London, the city he calls home.
Lightroom’s powerful features are easy to use and can help budding photo enthusiasts create beautiful images. Here’s two of the ways Ron uses the program. Get started with his top tips to bring out the artistry in your photos.
There are times when an otherwise perfect shot is spoiled by something beyond your control. This might include distortion caused by using a wide-angle lens, or grain and noise caused by low light.
When faced with these problems, Ron uses Lightroom to clean up his shots. For common lens problems like distortion, vignetting and perspective correction, Ron suggests going into the Optics Panel and enabling the Lens Correction feature – and that’s it: the software takes care of the rest.
To remove grain and other image noise, Ron recommends using the Noise Reduction sliders. Here Ron has used the feature to clean up his image of a bridge.
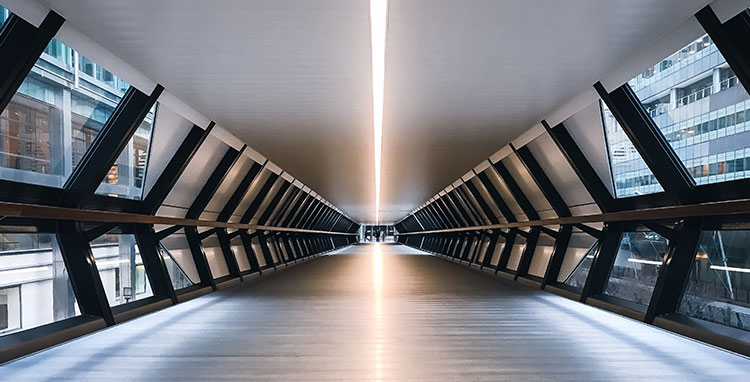
Even the greatest photo can be ruined if the lighting isn’t right. Lightroom allows you to adjust the light in an image so that the right elements stand out. Ron’s tip here is to use the Point Curve tool to bring out images that have been flattened by low light.
Get the Digital Camera World Newsletter
The best camera deals, reviews, product advice, and unmissable photography news, direct to your inbox!
This is as easy as anything; by simply dragging the Point Curve upwards you can lighten the image until you are happy with it.
The Point Curve is complemented by the Depth Curve tool. Ron uses this to darken the shadows and brighten the highlights, increasing the contrast in the image and adding more colour and depth. Here, Ron has used the Point Curve tool to make his image more dramatic.
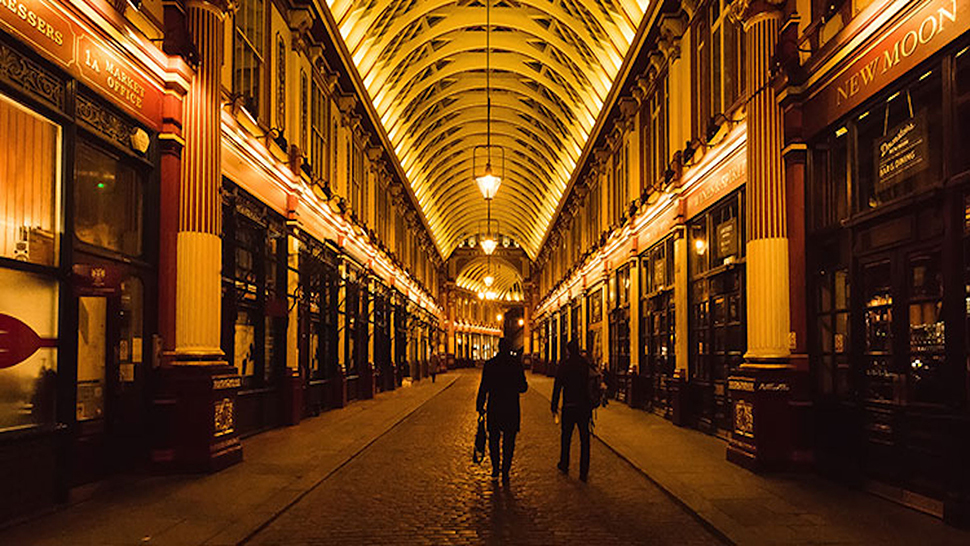
Flora Metayer’s pro tips

Paris-based freelance photographer and Instagrammer, Flora Metayer, focuses on culture and music. Here are two of her top tips for photo editing on the go with Lightroom.
Do you ever take what you think is a great picture only to find the perspective is a little off, or that the vertical and horizontal lines aren’t quite right? When Flora needs to remove perspective distortion, she uses Lightroom’s Geometry Panel.
By selecting one of the pre-set Upright modes, she uses the sliders to adjust the image. Here, Flora has selected the Guided Upright mode to give her gridlines, before adjusting the Vertical, Horizontal, Distortion and Rotation sliders until she has the perfect composition.
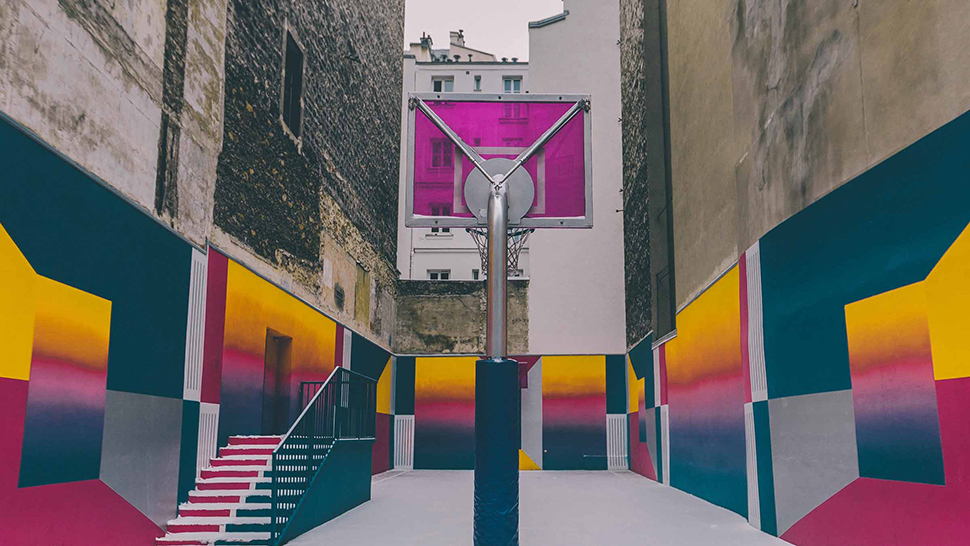
The editing process is essential to making vibrant images. To ensure her photos are rich in colour, while at the same time balanced, Flora uses the Colour Mixer feature of Lightroom.
This gives complete control of the colours in the image. Simply select a colour and then use the sliders to change its hue, intensity and vibrancy. Flora has used the colour mixer on this image to make the colours of the basketball court sing.
For more from these artists, check out their Instagram profiles. Visit Ron Timehin's profile here and Flora Metayer's here.
More on #LightroomStories
We'll be sharing more photo-editing tips and tricks in the next couple of weeks, and also have some great opportunities lined up for you, our community, to share some of your own top editing tips and how you’re using Lightroom. Plus, you may win something (hint hint)!
So stay tuned and follow us on social via #LightroomStories
Digital Camera World is one of the leading authorities on camera and photography news, reviews, techniques, tutorials, comparisons, deals and industry analysis. The site doesn't just specialize in cameras, but all aspects of photography, videography and imaging – including camera phones, gimbals, lenses, lighting, editing software, filters, tripods, laptops, printers, photo books, desks, binoculars and more.
Whether you're using, looking to buy or trying to get the most out of a compact camera, action camera, camera drone, cinema camera, beginner camera or professional camera, Digital Camera World has a roster of experts with combined experience of over 100 years when it comes to cameras, photography and imaging.


